How to harvest black-eyed Susan seeds – expert tips for perfect timing and seed storage
Master black-eyed Susan seed harvesting with these 5 simple steps for vibrant blooms year after year, ensuring seeds remain viable and healthy


Gathering seeds from mature black-eyed Susans, or Rudbeckia hirta, is a simple task that will allow you to enjoy these vibrant blooms year after year. This cost-effective and sustainable gardening practice typically yields seeds that are better adapted to your local climate and soil conditions, leading to improved germination rates and healthier plants.
As members of the sunflower family, black-eyed Susans produce prolific amounts of seeds – often generating up to 1,000 per plant – making collecting their seeds a worthwhile and easy endeavor.
By following these five expert steps, you can gather and store seeds effectively, paving the way for a flourishing garden in the coming seasons packed full of distinctive black-eyed Susan blooms.

What you'll need
- Gardening sheers, such as this Fiskars sheers from Amazon
- Paper envelopes
- A container with a lid
- A sieve
- Paper
- A bowl
1. Time harvesting correctly
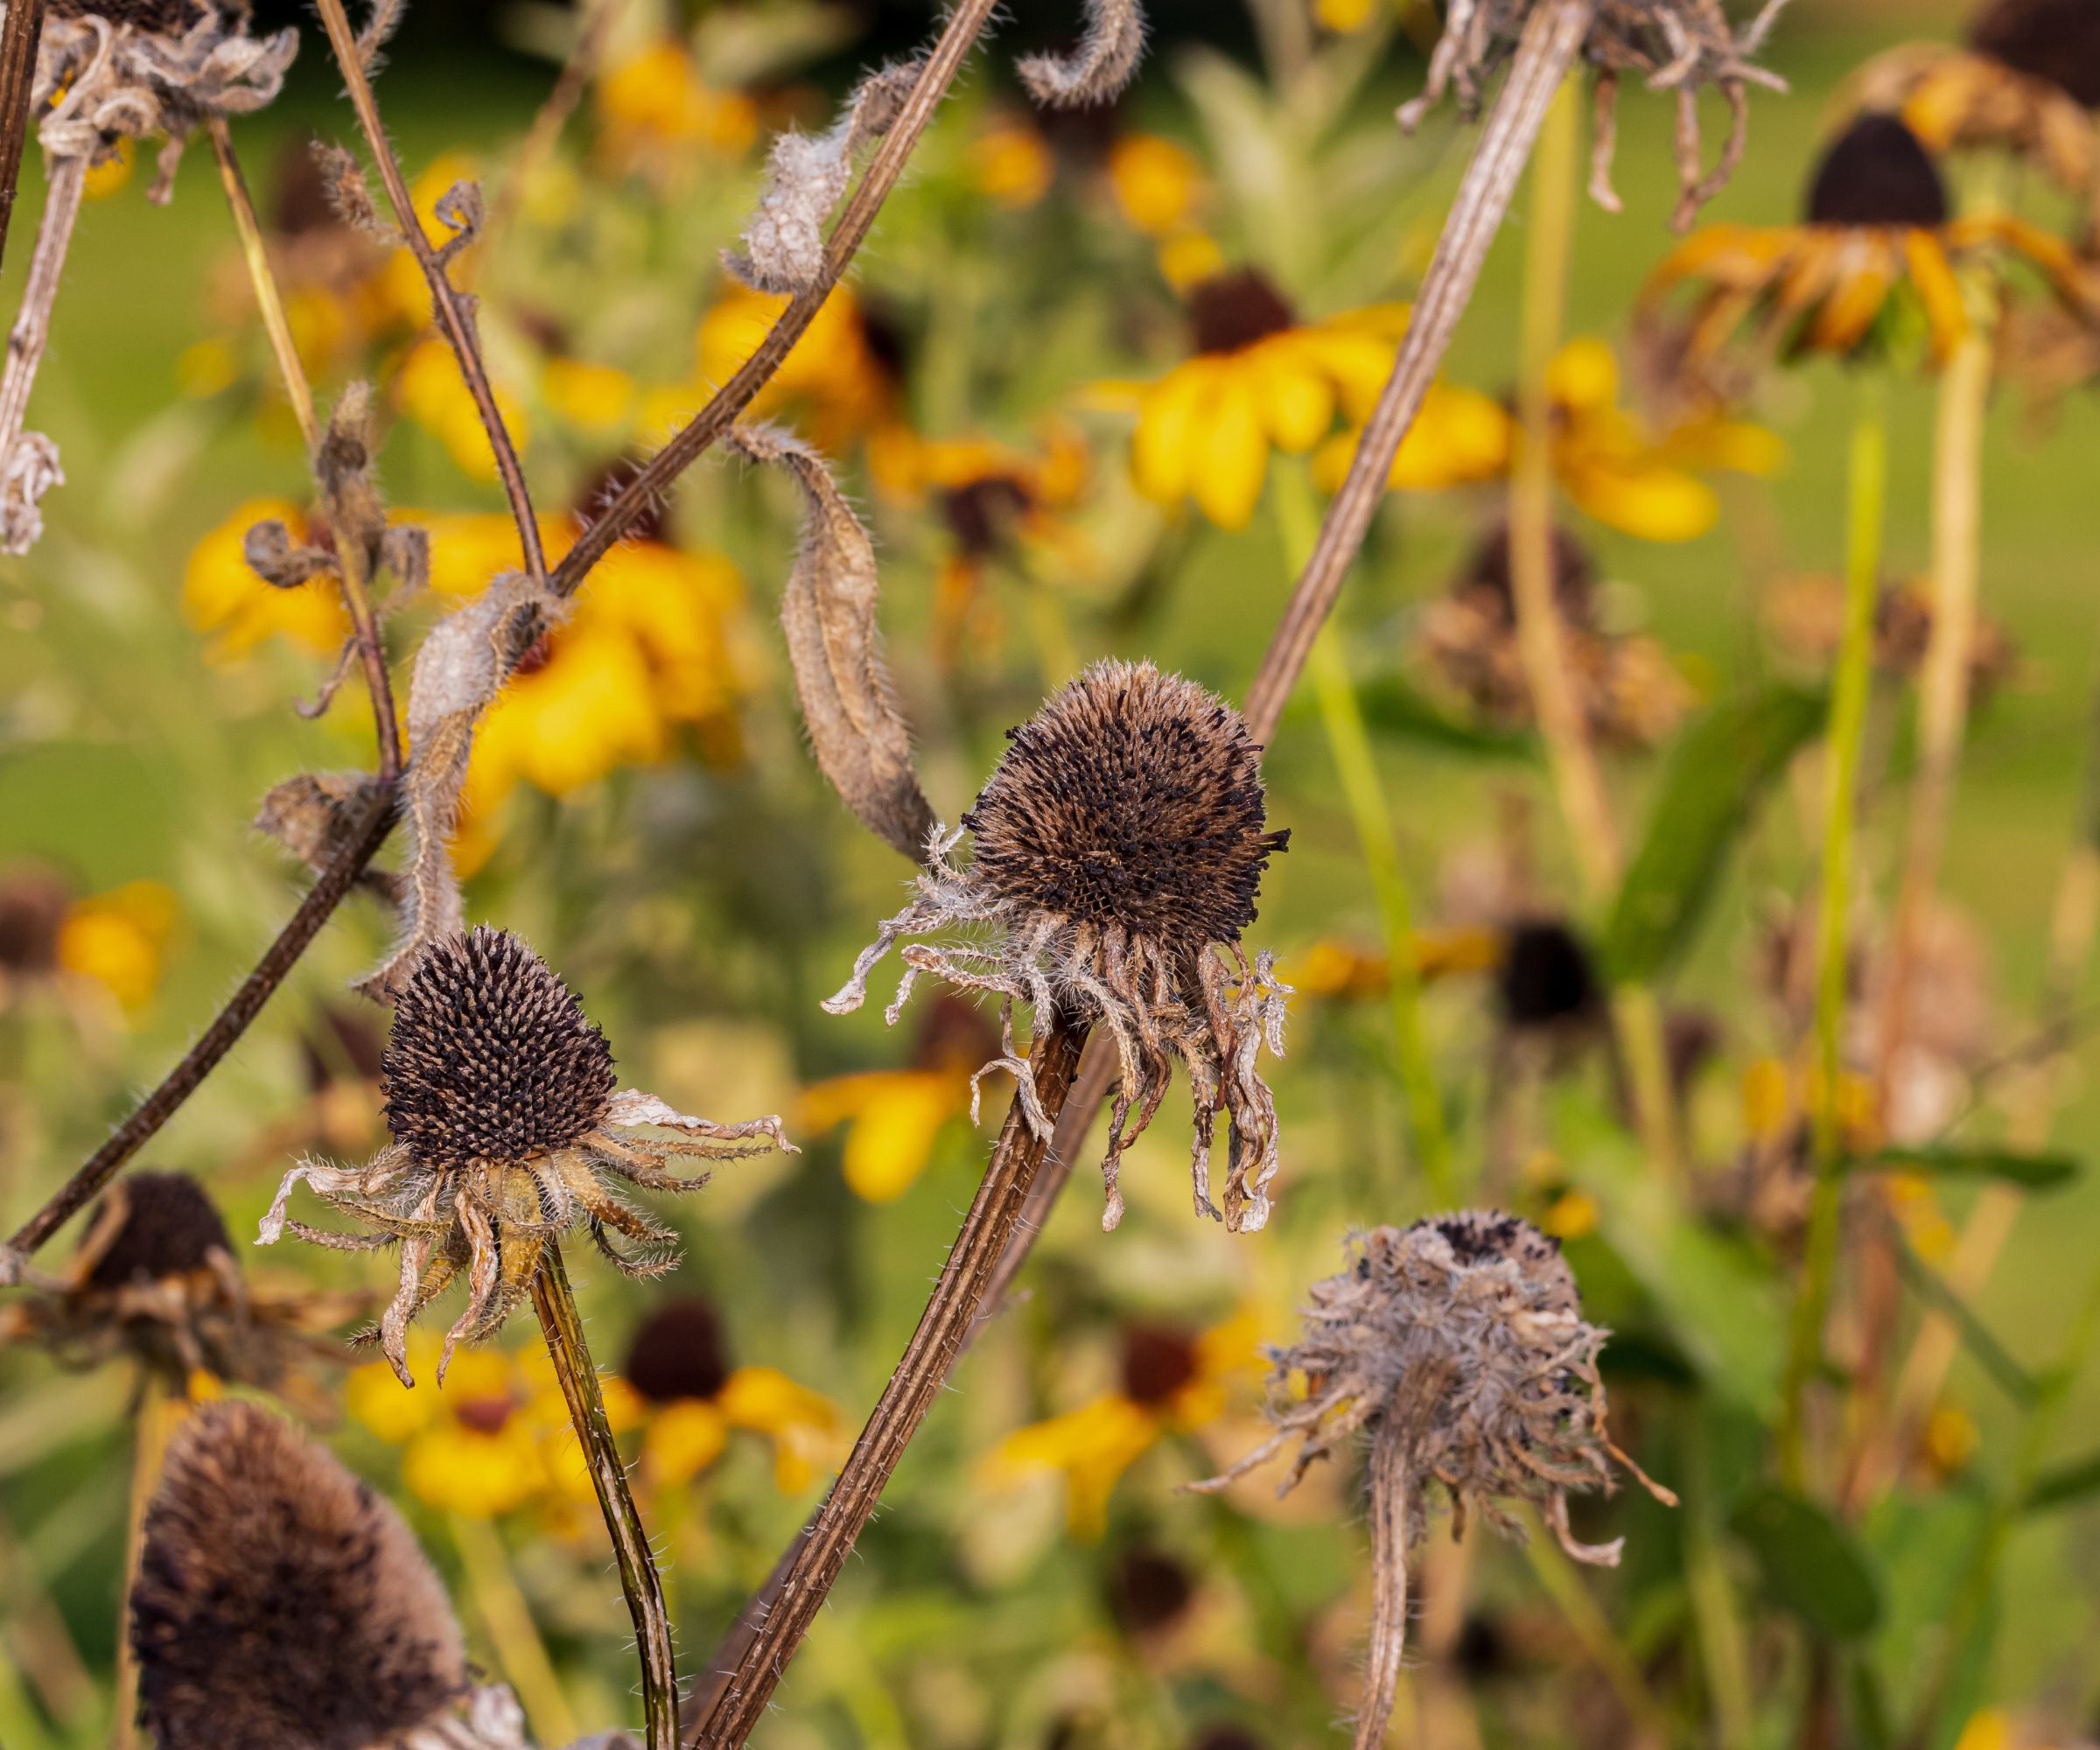
Timing is crucial when harvesting black-eyed Susan seeds to ensure you collect those that are mature and viable for future planting. If seeds are harvested too early, they may not have developed properly, leading to poor germination rates.
The key indicator that seeds have matured and are ready to be harvested is when their seed heads turn brown, becoming brittle and dry enough to fall apart easily.
Gardener and horticulturist Nathan Thorne advises, ‘Gently shake the flower heads when they're ready. If you can hear rattling, they are mature and it is time to harvest those seeds.’
This typically occurs between late summer to mid-October, three to four weeks after a flower has bloomed, when approximately half of the seed head has turned brown and brittle but before the seeds begin to drop naturally.
Design expertise in your inbox – from inspiring decorating ideas and beautiful celebrity homes to practical gardening advice and shopping round-ups.
‘The seeds will continue ripening over one to two weeks, so check regularly and gently swipe your hand over the heads to collect seeds as they drop,’ says Joe Dogherty, owner at D&G Landscaping.
Once your seeds are ready for harvesting, choose a dry day, grab your shears, and begin.

Nathan Thorne is a gardener, horticulturist and the CEO at Handy Flowers.

With over 30 years of hands-on experience in the landscaping industry, Joe leads D&G Landscaping, a full-service landscaping company based in Tewksbury, MA. Their mission is to create stunning, sustainable outdoor spaces that enhance the beauty and functionality of any property, whether residential or commercial.
2. Cut the black-eyed Susan seed heads

Once the seed heads are mature, use pruning shears to cut the stem a few inches below the seed head.
To avoid losing any seeds that may fall during the process, carefully place the cut seed heads into a paper envelope or onto a paper plate. Repeat this step for all the ready seed heads.
3. Dry the seed heads

The next step is to dry seeds to ensure they are fully mature and ready for storage or planting.
This prevents seeds from retaining moisture which can lead to the development of mold or rot in storage and will render seeds unusable. Properly dried seeds can be stored for longer periods without spoiling – they can last years, although germination rates are highest in the first year or two. Also, once seed heads are fully dried, the seeds separate more easily from the flower head.
Allow the seed heads to dry for about one to two weeks in a cool, dry, well-ventilated area, away from direct sunlight.
You can hang the seed heads upside-down to encourage more seeds to drop naturally as they dry. You can use this hanging drying rack for plants from Amazon to hang the seed heads by the stems.
4. Extract the seeds

Once the harvested seed heads have dried, you can gently shake or rub the cones between your fingers over a bowl to release the seeds.
Alternatively, you can place the seed heads in a container, such as a jar with a lid, add a small object like a coin or rock, and shake the container to help dislodge the seeds from the heads.
Next, pour the contents through a fine sieve onto a sheet of paper. The small black seeds will fall through, leaving behind larger debris like petals or cone fragments.
Don’t worry if some chaff (the cone material that looks similar to the seeds) mixes in with the seeds. It’s harmless and can be returned to the ground when planting. However, if you wish to further separate the seeds from any remaining debris, gently blow over them; the lighter chaff will blow away, leaving the seeds behind.
5. Store the seeds correctly
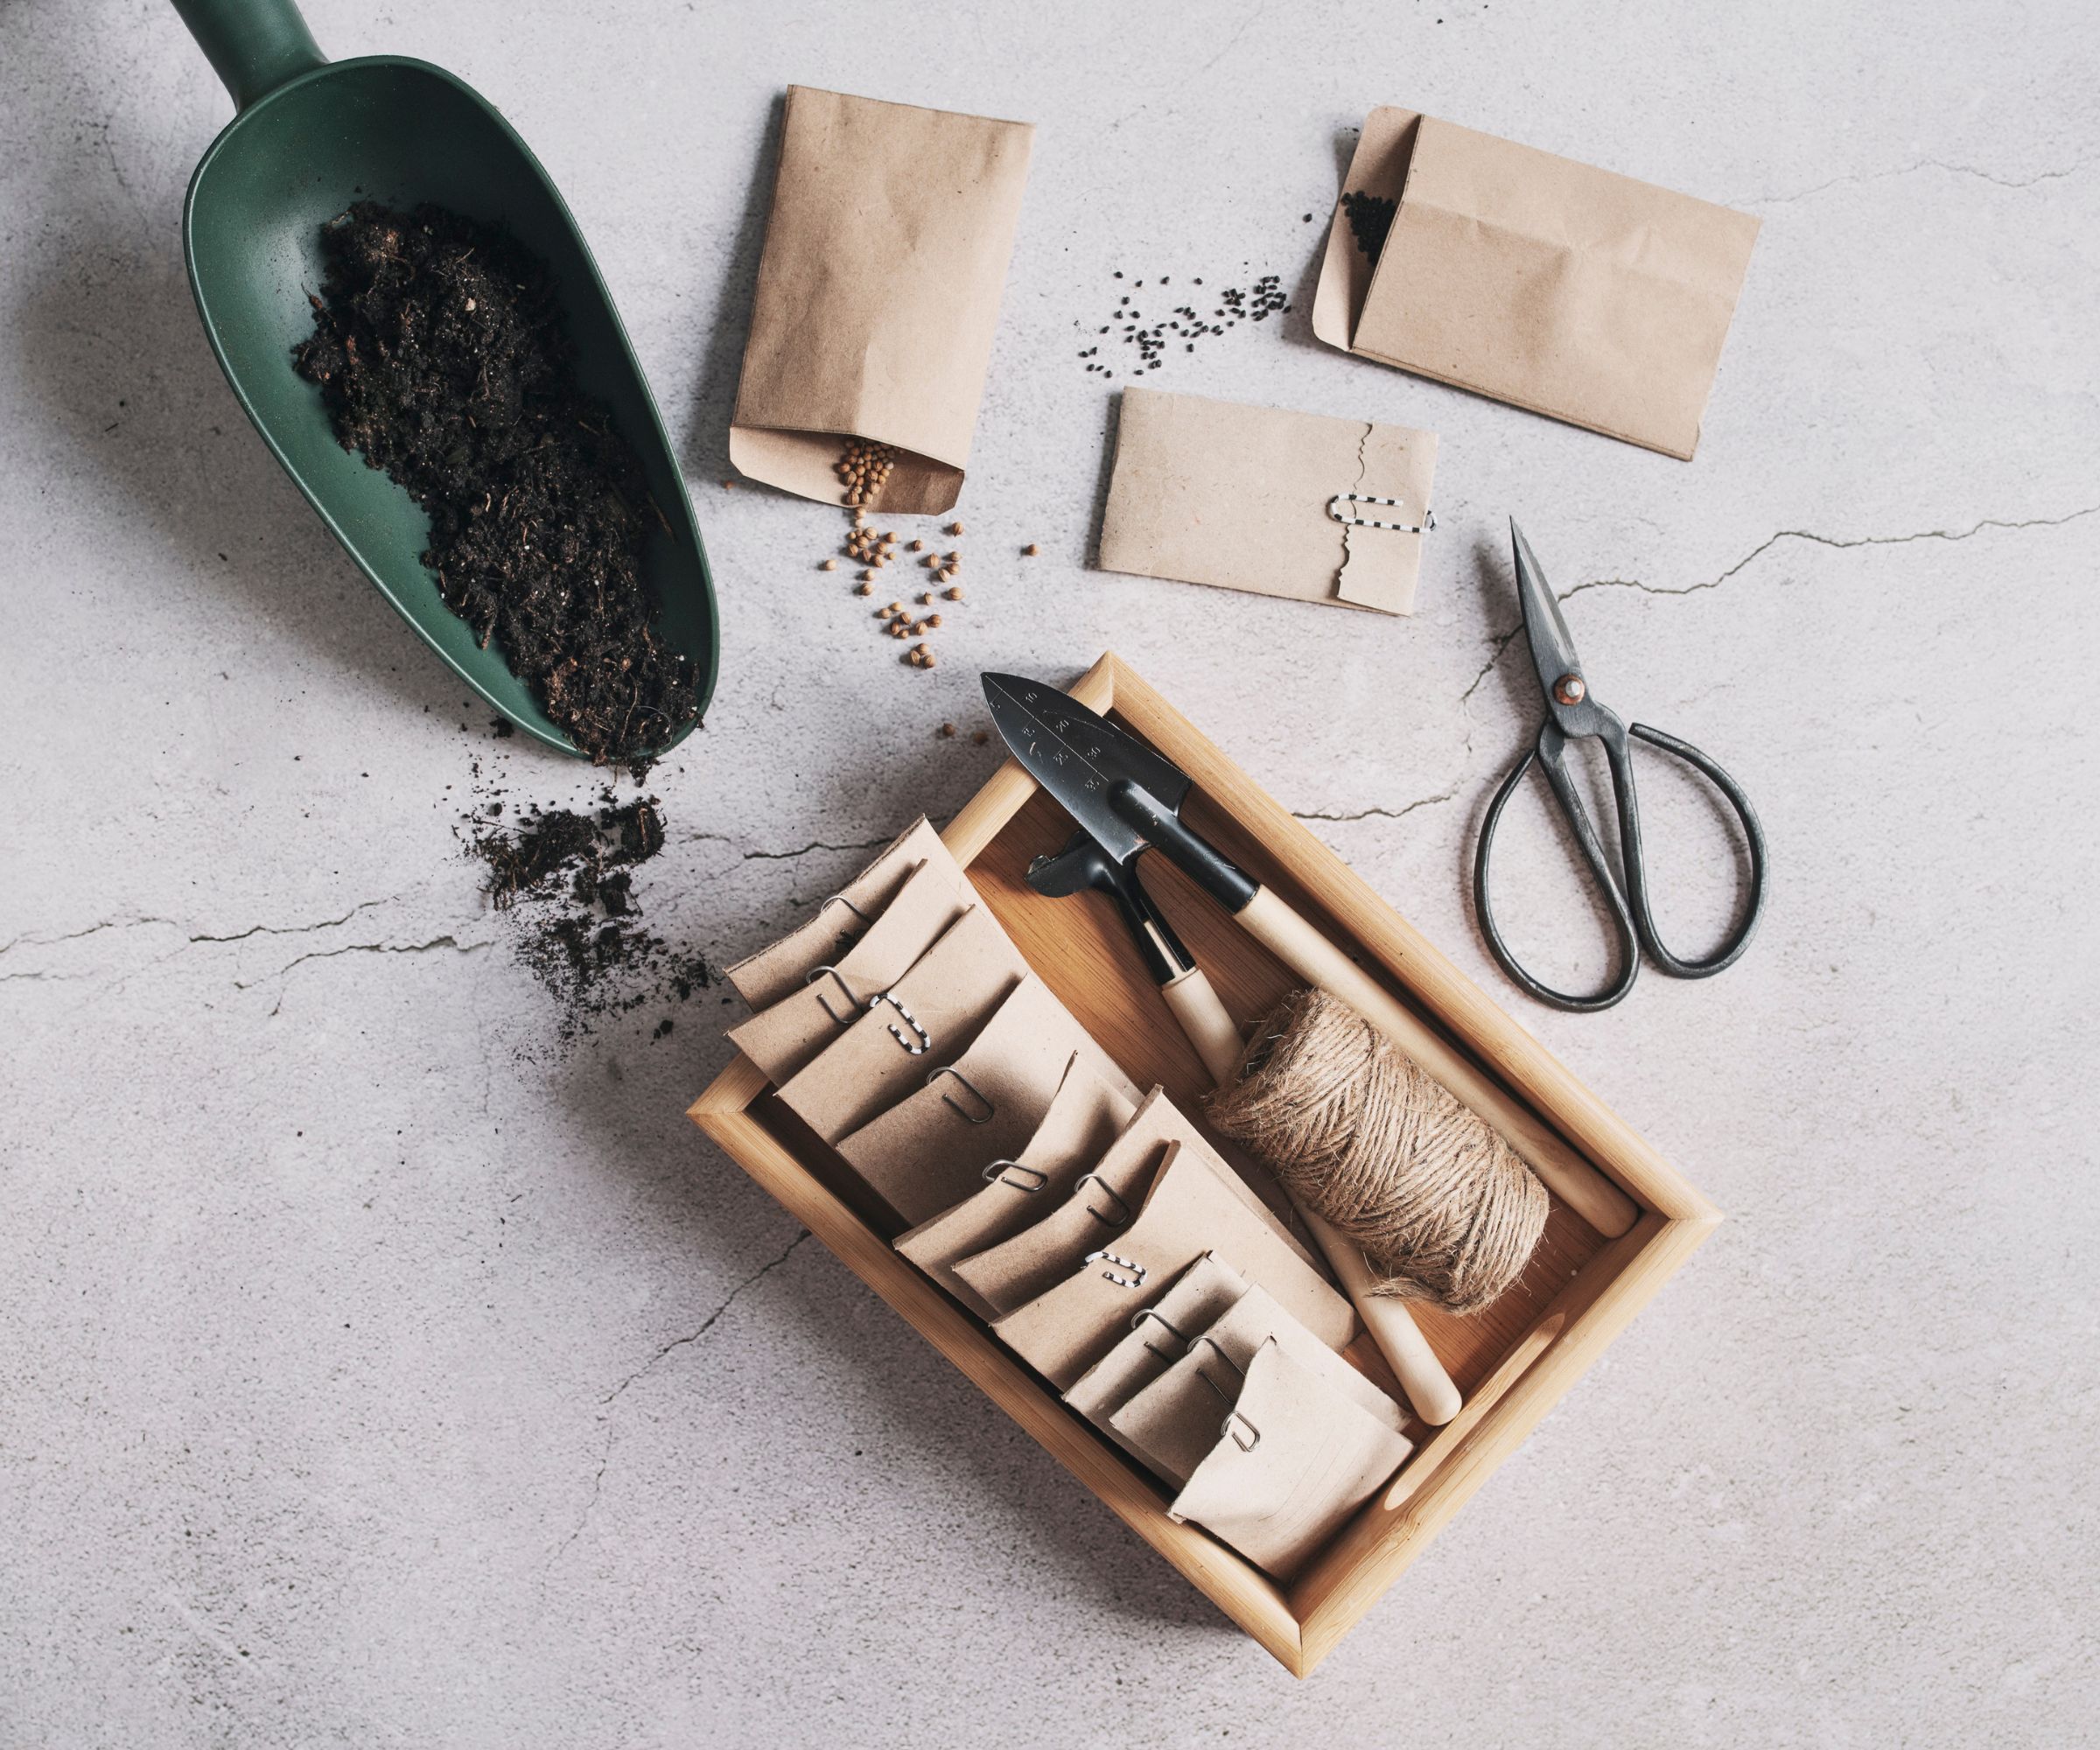
Now the harvesting is done, all that's left is to store the seeds properly for future planting.
Funnel the collected seeds into a paper envelope or an airtight container to keep them dry. Label the container with the seed type and date of harvest.
‘Keep the harvested seeds in a dry, cool spot, such as a drawer or pantry, until you're ready to plant them in the spring,' advises Joe Dogherty.
'Properly dried and stored black-eyed Susan seeds can last two to three years, though germination rates decline over time. With the right care and timing, harvesting black-eyed Susan seeds can provide an ample supply for your garden or to share.’
FAQs
How long can black-eyed Susan seeds last in storage?
The storage longevity of black-eyed Susan seeds not only depends on how they are stored but can also vary depending on the specific variant.
Perennial black-eyed Susans tend to have hardier seeds that can last longer in storage. This can be up to four or five years if storage conditions are ideal.
Biennial or annual varieties may have shorter seed viability – typically around two to three years – as their life cycle is quicker, and their seeds usually degrade faster.
Remember, that while black-eyed Susan seeds can remain viable for up to five years, germination rates generally decline over time. Seeds stored for one to two years will have the highest germination success.
The next task is to work out when to plant your black-eyed Susan seeds. In short, it’s best to sow them as soon as possible after harvesting. Keep in mind that the plants may not flower until their second year, so patience is key. With the right care, your harvested seeds will produce bright, long-lasting blooms for many years to come.

Lola Houlton is a news writer for Homes & Gardens. She has been writing content for Future PLC for the past six years, in particular Homes & Gardens, Real Homes and GardeningEtc. She writes on a broad range of subjects, including practical household advice, recipe articles, and product reviews, working closely with experts in their fields to cover everything from heating to home organization through to house plants. Lola is a graduate, who completed her degree in Psychology at the University of Sussex. She has also spent some time working at the BBC.
