How to safely paint socket covers in 3 simple steps – and alternative options for a fabulous finish
Spruce your sockets with this expert-led step-by-step guide


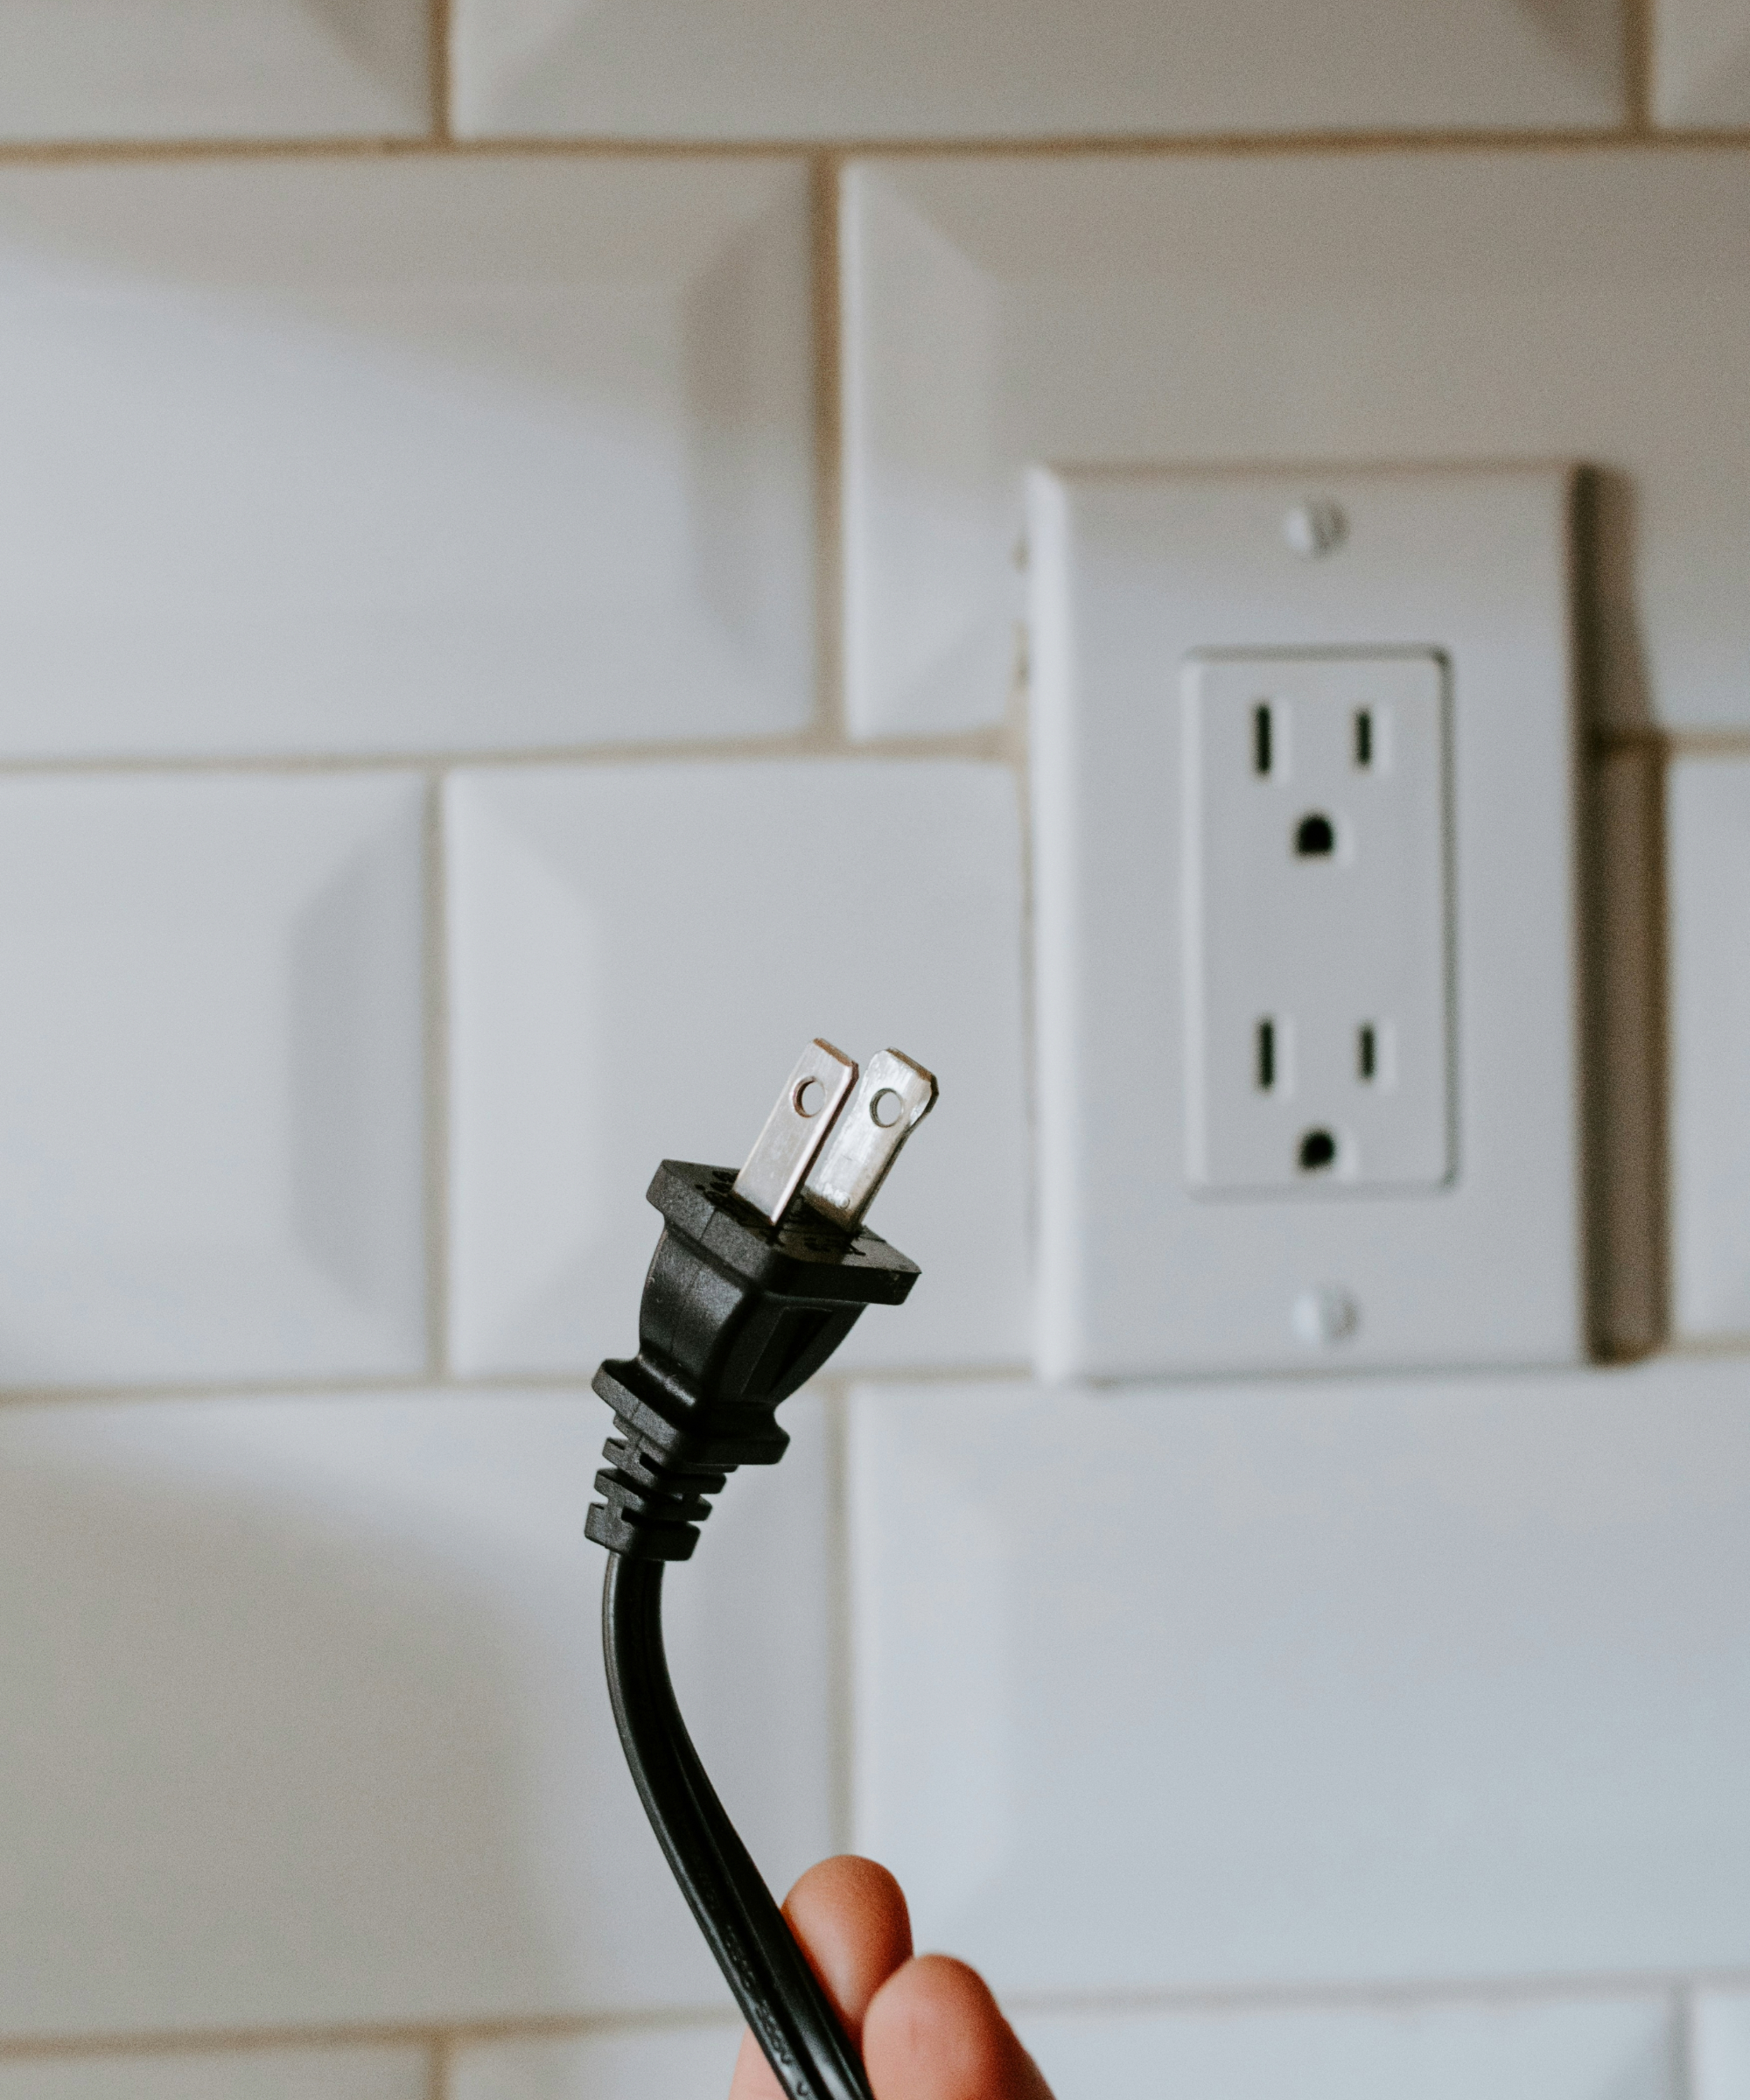
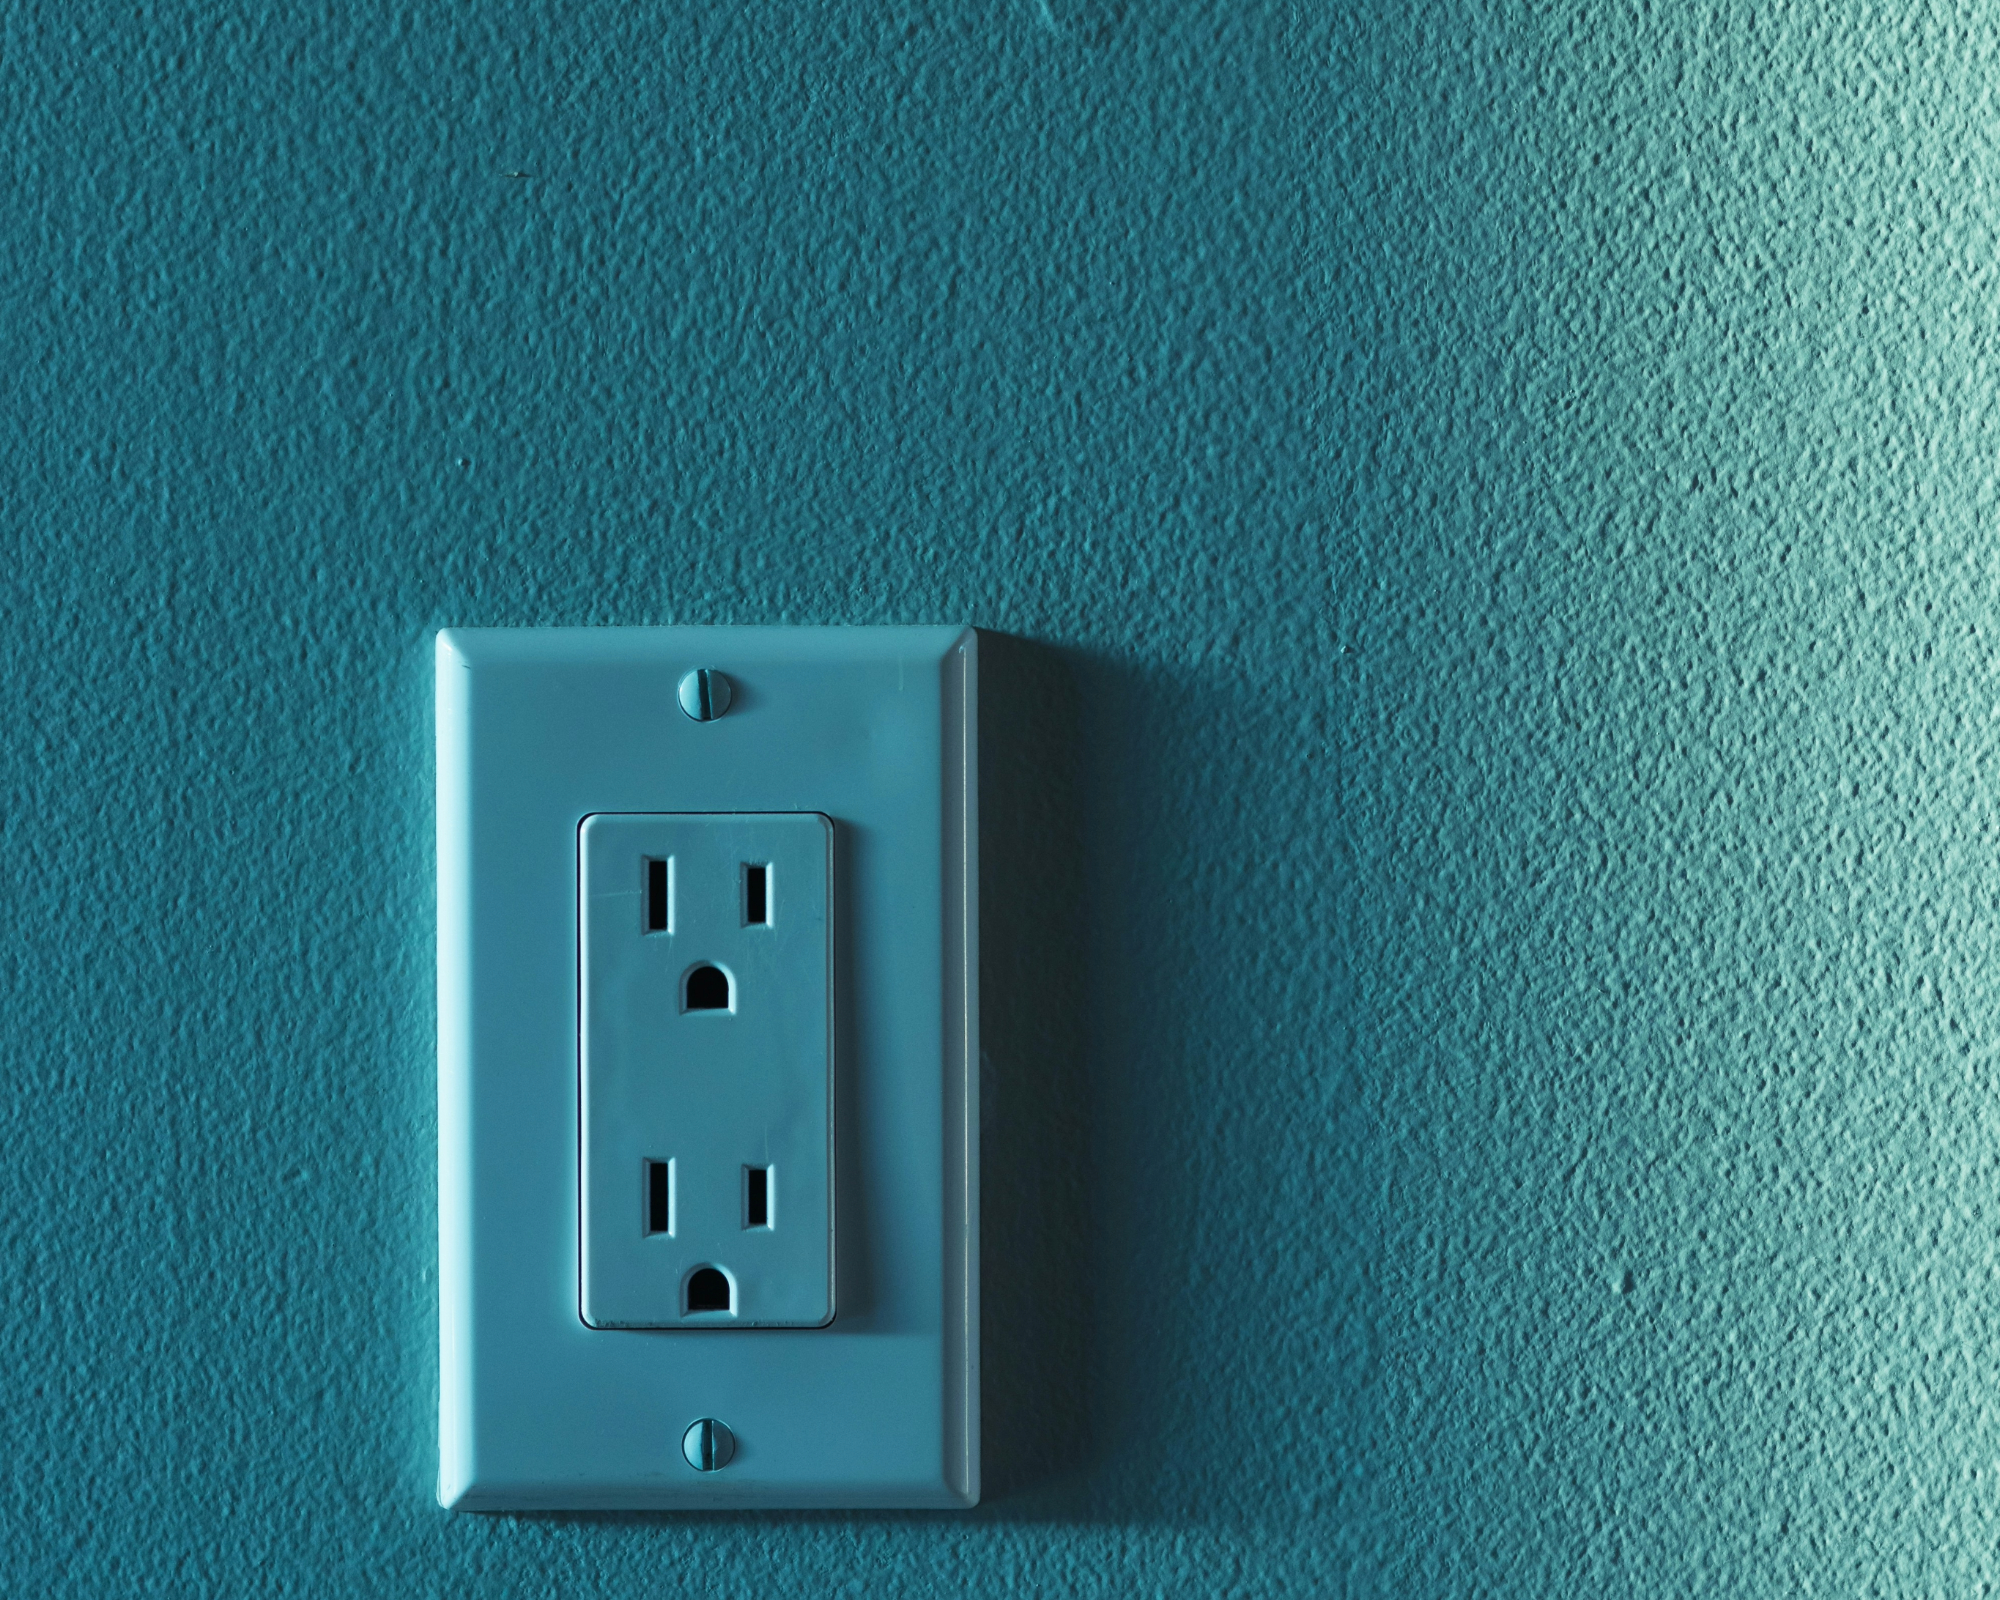
If you’re in the middle of a major DIY, it can be tempting to paint your plug socket covers to match your room's look. They're often white and clinical-looking, which is from homely and can look plain ugly.
The good news is you don't have to stick with the ones you have, and you can safely paint them for a quick update. We spoke to experts for their tips and a step-by-step guide on getting the look you want whilst staying safe, plus alternative casing ideas.
Once you have chosen the right electrical wall switches, embark on your interior overhaul (or this impactful household touch-up) with the reassurance of a safe job ahead.
Common reasons for painting a plug socket
One of the main reasons people wish to paint their plug socket covers, either as part of a larger DIY or as an isolated job, is because they tend to stand out unless the wall they are on is of a neutral color. This means the unpainted plug socket covers will draw attention away from the rest of your room’s design, highlighting them as the one part of the room you did not give maintenance to.
‘Painting plug socket covers can be a great way to blend them in with the wall’s color for a more cohesive and aesthetically pleasing look in the home,’ says Gregory Pittman, Director of Commercial Painting Services at Five Star Painting, a Neighborly Company.
The technical term for cultivating a coherent space across your walls, floors, ceilings and other fixtures is known as ‘color drenching’. If carried out safely to include your sockets, it can work wonders in blending in eyesores whilst retaining functionality and style.
The color drenching aesthetic doesn't have to be your goal, though. You can purposefully create an accent in your room by painting your sockets to stand out.
Design expertise in your inbox – from inspiring decorating ideas and beautiful celebrity homes to practical gardening advice and shopping round-ups.
Step 1: Assess

Stephanie Lipinski, Indoor Lighting Specialist from Don’s Lighthouse. ‘Turn the electricity off first then remove the socket cover from the wall and give it a thorough clean to remove any dust and dirt.'
Wiping down your socket cover is an essential part of the prep process as not cleaning it can result in residue getting trapped, or grime making it trickier for the paint to adhere. If you're not able to turn off the electricity to that room, turn off the current to that floor of your home, which you should be able to find a switch for in your fuse box.
You can clean socket covers in the sink with warm water and soap or with a cleaning wipe. Ensure your socket cover is fully dry on both sides before priming and painting.
If you haven’t painted electrical outlets before and remain unclear how to turn off the electricity to the space you're working in, consider seeking professional services. Do not paint them whilst they're still on your wall as you risk pushing wet paint inside the outlet and introducing humidity to a space with electrics.
Step 2: Prime
Most socket covers are made from plastic which is naturally shiny and can be hard to paint so prepping the surface will ensure good adhesion and a smooth finish.
‘Priming is the most important step to ensure you have a good surface between the smooth plastic and your paint,' says Lipinski.
Apply a primer spray such as Rust-Oleum's Painter's Touch Primer available on Amazon, as it works on plastic and comes in four colors, in a well ventilated area with a mat or bit of cardboard underneath. If working from a pot of primer, use a smaller brush for this step for more control over where the product is going. Avoid using too much.
It can sometimes be hard to know how many coats of primer you need, but when it comes to a freshly cleaned socket cover, one layer will likely do fine. Wait till it's dried and check all areas have been covered. If not, apply a light second coat.
Step 3: Paint

Once your primer has had enough time to dry (usually between thirty minutes to one hour), begin painting your plug socket covers with a non-conductive electrical paint. Acrylics are generally conductive, whilst epoxy, ceramic and polyurethane paints are non-conductive.
‘Lightly sanding the surface of your socket cover with fine sandpaper between thin paint layers and allowing adequate time for each layer to dry is a must,’ says Lipinski.
Apply thin layers of paint with a small brush onto your socket cover, painting in the same direction to avoid streaks. After covering your entire socket with a layer, wait until that layer is touch dry, before lightly sanding over it and beginning a new layer of paint. Repeat this process until your whole socket cover is covered well.
Wait three to five hours after you’re finished with painting for the socket cover to completely dry, or leave it overnight. Once fully dry, fix your covers back to the wall.
What to shop
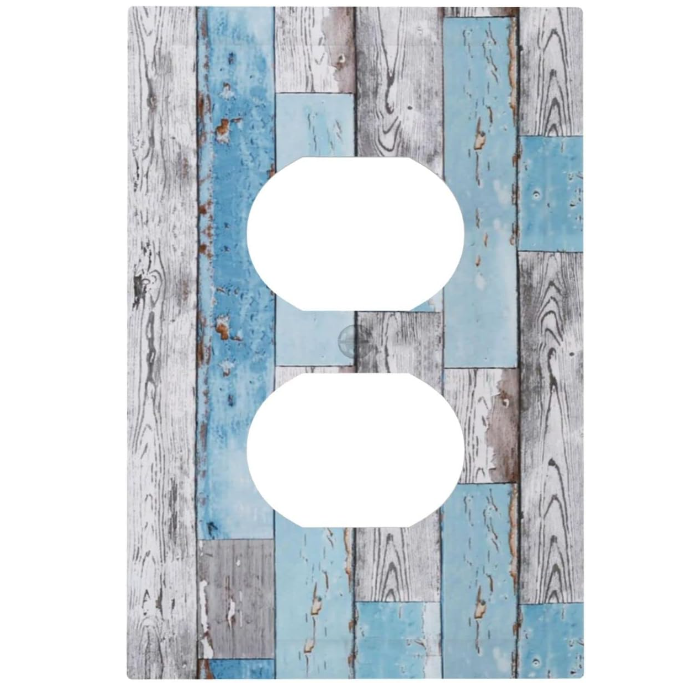
Instead of painting, swap out wall plates. ‘You can use decorative covers, replace the socket covers you have with colored or decorative ones if you can take them off the wall, or use removable wallpaper around the socket space instead of painting,’ says Pittman.
Stephanie Lindsey, Principal of Etch Design Group, echoes Pittman's points. ‘Wallpaper, always wallpaper,’ says Lindsey. ‘We cover plug socket covers in wallpaper all the time, and it creates a seamless look. The tricky part is making sure the socket cover’s pattern lines up with the pattern in the wallpaper on the wall, but once it’s complete, it looks stunning and elevates the whole design of a room.'
Here are a few to consider.

Easy to use, simple cut to size, then peel and stick. No need to add extra adhesive.

This decorated wall plate fits standard outlets, though the listing has multiple sizes and combos. Switch off your electricity before making a quick swap to brighten up your plug sockets.

This beautiful ornate Greek-style wall plate will add a refined look to any space. Choose from one of seven finishes including chrome and polished brass to match your aesthetic.
Whether you switch out your socket covers, wallpaper or paint them, safety must come first. ‘Please always prioritize safety by consulting a professional if you’re at all unsure about working with electrical components,’ concludes Pittman.
Next, delve into other chic DIY projects that will elevate your home.

Ciéra is a writer and regional laureate with particular passions for art, design, philosophy and poetry. As well as contributing to Homes & Gardens, she's an Editorial Assistant for Design Anthology UK and a contributing writer for magazines including Livingetc, Apartment Therapy, House Beautiful and Ideal Home. Previous commendations of hers include being Highly Commended by The Royal Society of Literature and receiving a prestigious MA Magazine Journalism scholarship to City, University of London.