If you want uniform planting, you need to try this easy DIY seed tape hack
Discover how to make DIY seed tape – for super simple, zero waste seed sowing

Design expertise in your inbox – from inspiring decorating ideas and beautiful celebrity homes to practical gardening advice and shopping round-ups.
You are now subscribed
Your newsletter sign-up was successful
Want to add more newsletters?

Twice a week
Homes&Gardens
The ultimate interior design resource from the world's leading experts - discover inspiring decorating ideas, color scheming know-how, garden inspiration and shopping expertise.

Once a week
In The Loop from Next In Design
Members of the Next in Design Circle will receive In the Loop, our weekly email filled with trade news, names to know and spotlight moments. Together we’re building a brighter design future.

Twice a week
Cucina
Whether you’re passionate about hosting exquisite dinners, experimenting with culinary trends, or perfecting your kitchen's design with timeless elegance and innovative functionality, this newsletter is here to inspire
While everyone enjoys different planting styles, there's no denying that neat and even spacing is pleasing to the eye. It can be tricky to leave the exact same width between all of your seeds, which is why so many gardeners swear by using seed tape.
Often one of the biggest seed sowing mistakes is not leaving enough space between plants for their root systems to grow. This is another reason you might opt for seed tape, ensuring seeds are spaced correctly. You can purchase seed tape with specific seeds already attached, but you can also make your own DIY seed tape for any loose seeds you have.
This is an easy and fun project to do, but it's best to only make DIY seed tape once you have made a seed sowing schedule. When you're ready to get sowing, follow our five simple steps to make seed tape.
What is seed tape?
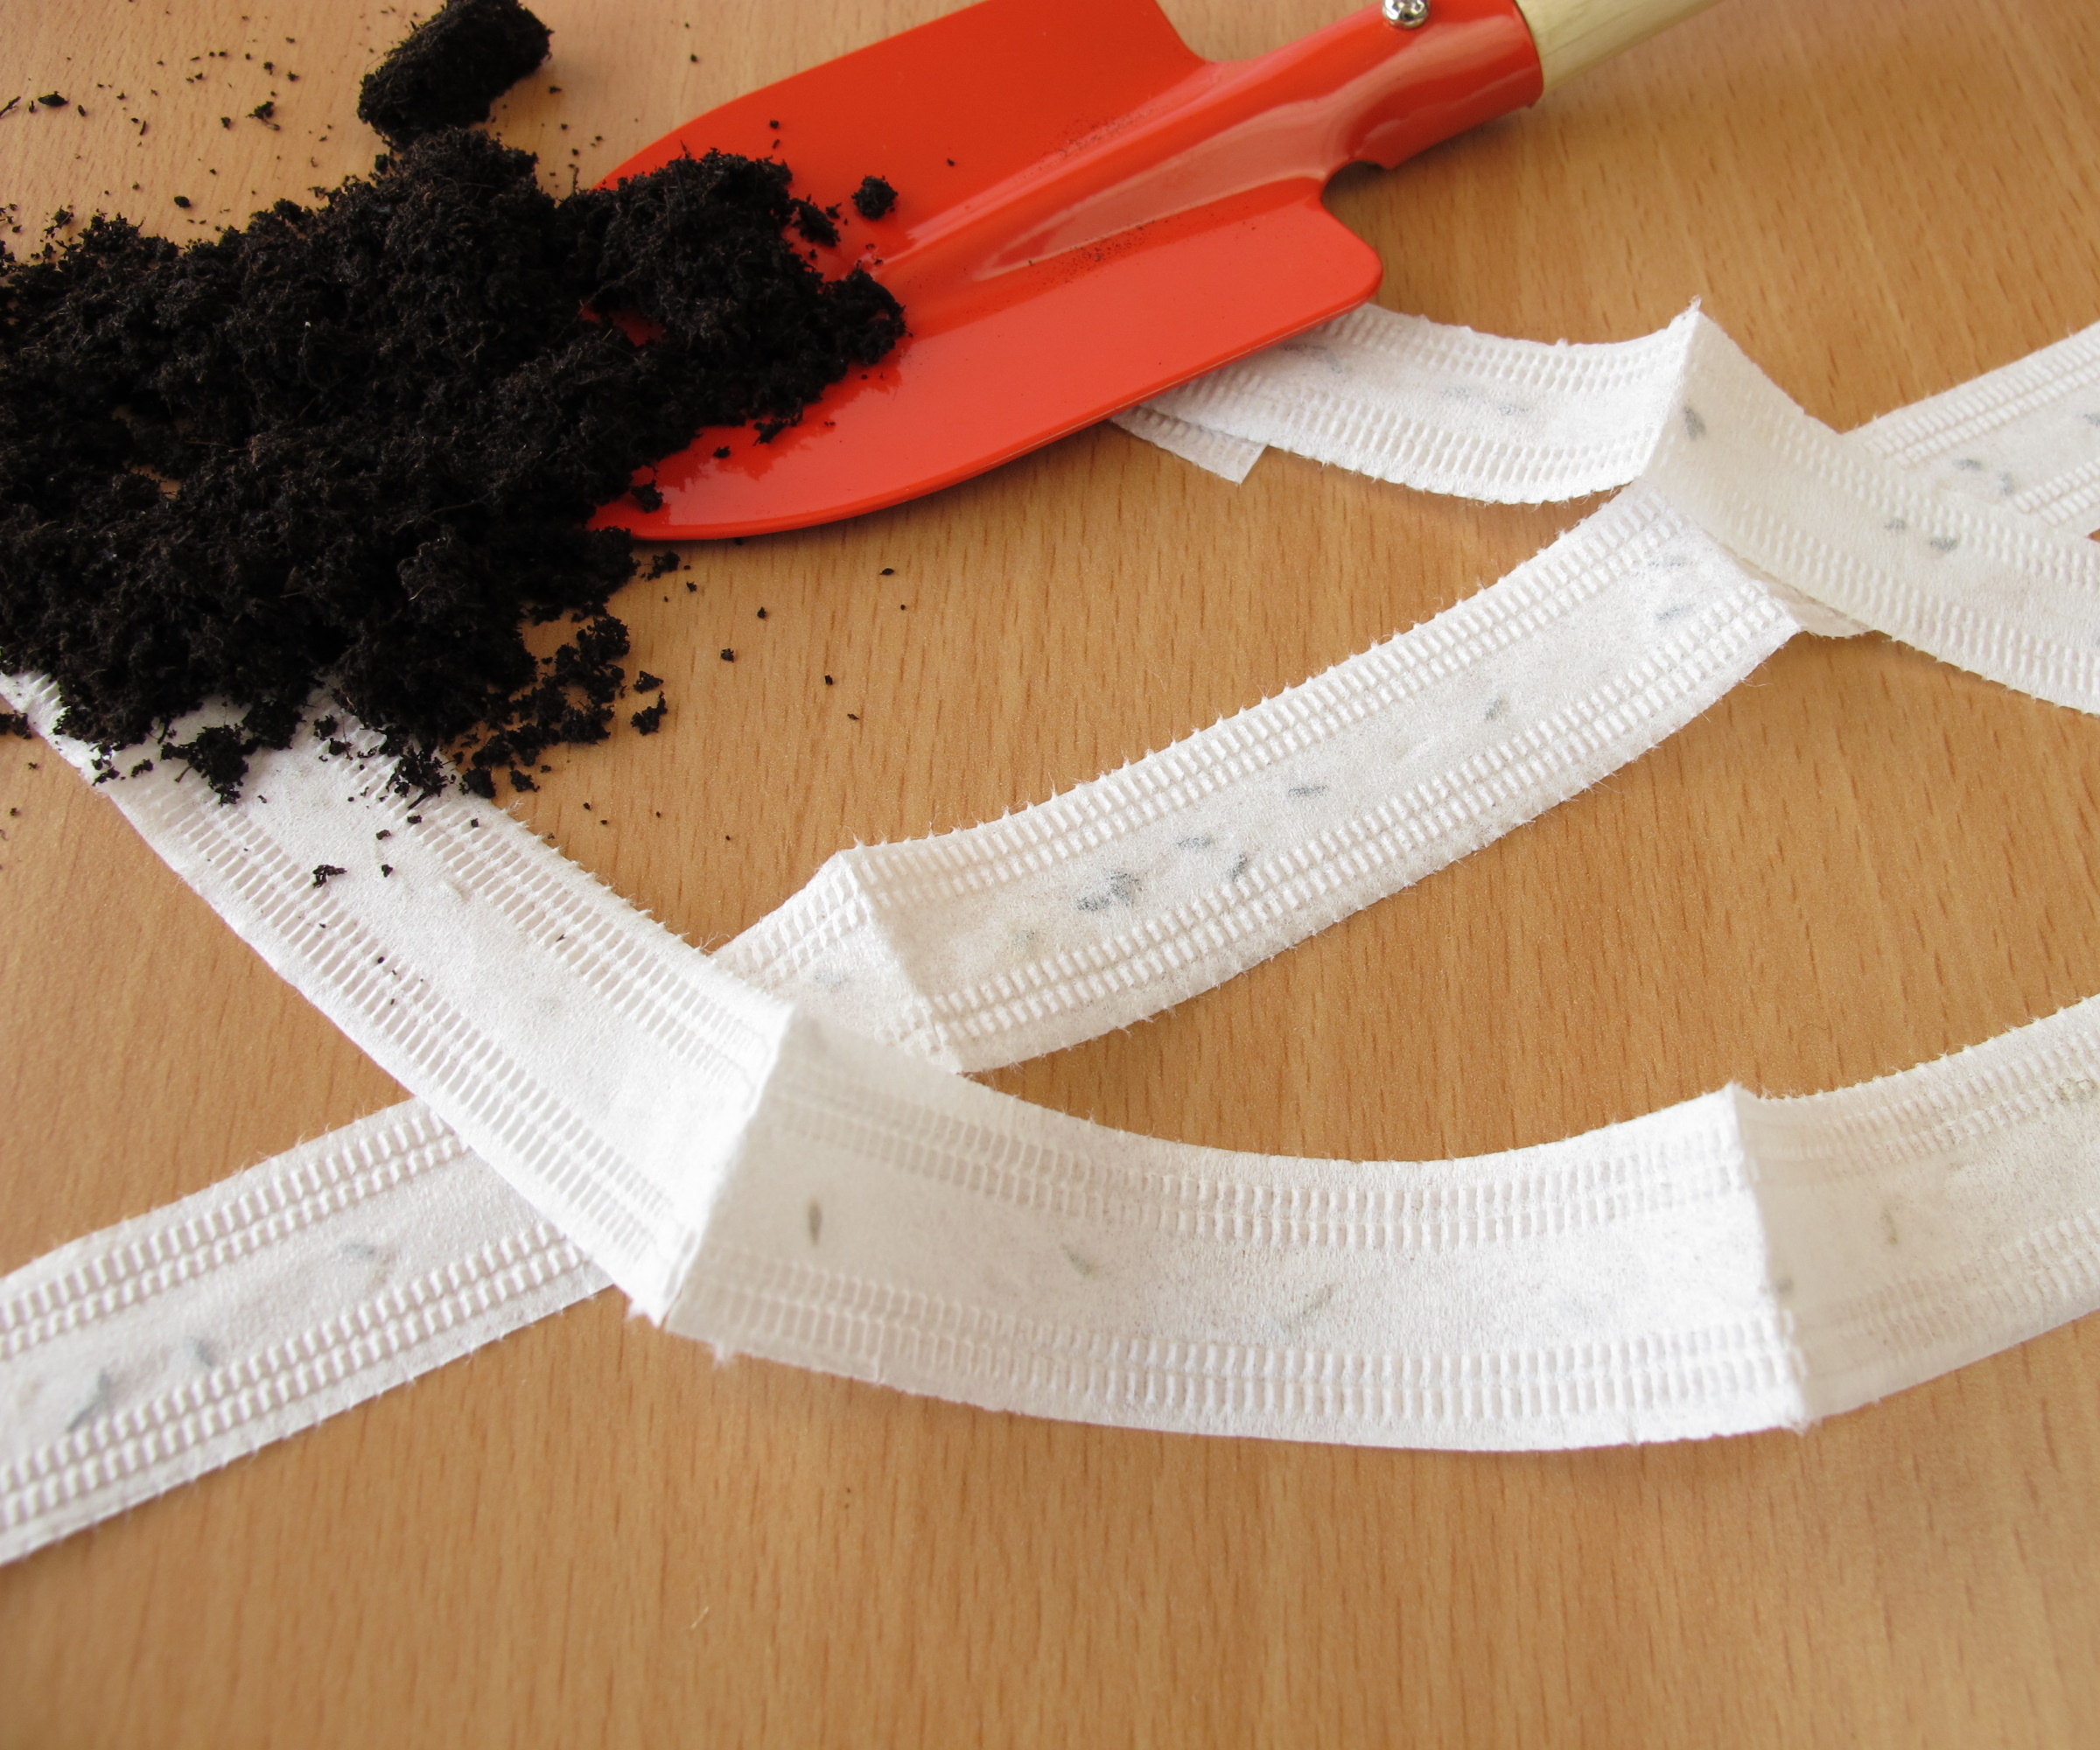
Seed tape is a of biodegradable paper with seeds adhered to it at even spaces. It makes it easier to achieve neat planting and correct spacing.
'Seed tape is a useful invention for gardeners as it allows for even spacing, reducing waste when sowing vegetable and crops in the yard,' says H&G Gardens Content Editor, Thom Rutter.
'As a former professional gardener, I would often over-sow, using far more seed than was necessary. After germination, this often means thinning the seedlings and throwing some of them on the compost heap,' Thom adds. 'Instead, by using seed tape, gardeners can know exactly how many seeds they are sowing per row, which means accurate growing and less waste.'
In this sense, seed tape is not only an essential gardening tool but also a way to incorporate zero waste gardening in your yard. You can take it one step further by choosing to make your own DIY seed tape. Here's how to do it:
Design expertise in your inbox – from inspiring decorating ideas and beautiful celebrity homes to practical gardening advice and shopping round-ups.

Thom is a Content Editor within the Gardens Team at Homes and Gardens. He has been working as a gardener and garden writer for several years. Whilst completing his Horticultural Traineeship at the Garden Museum, London, he was able to gain experience at many of the UK's world-famous gardens, including Sissinghurst, Lowther Castle, and Iford Manor. Following this, he worked for two private estates in Tuscany, Italy.
5 steps to make DIY seed tape
You can use your DIY seed tape for sowing seeds indoors or sowing seeds outdoors. It's a fun weekend project and takes just minutes to complete. You will need:
- Cornstarch
- Water
- Biodegradable paper
- Ruler
- Pencil
1. Create a cornstarch paste
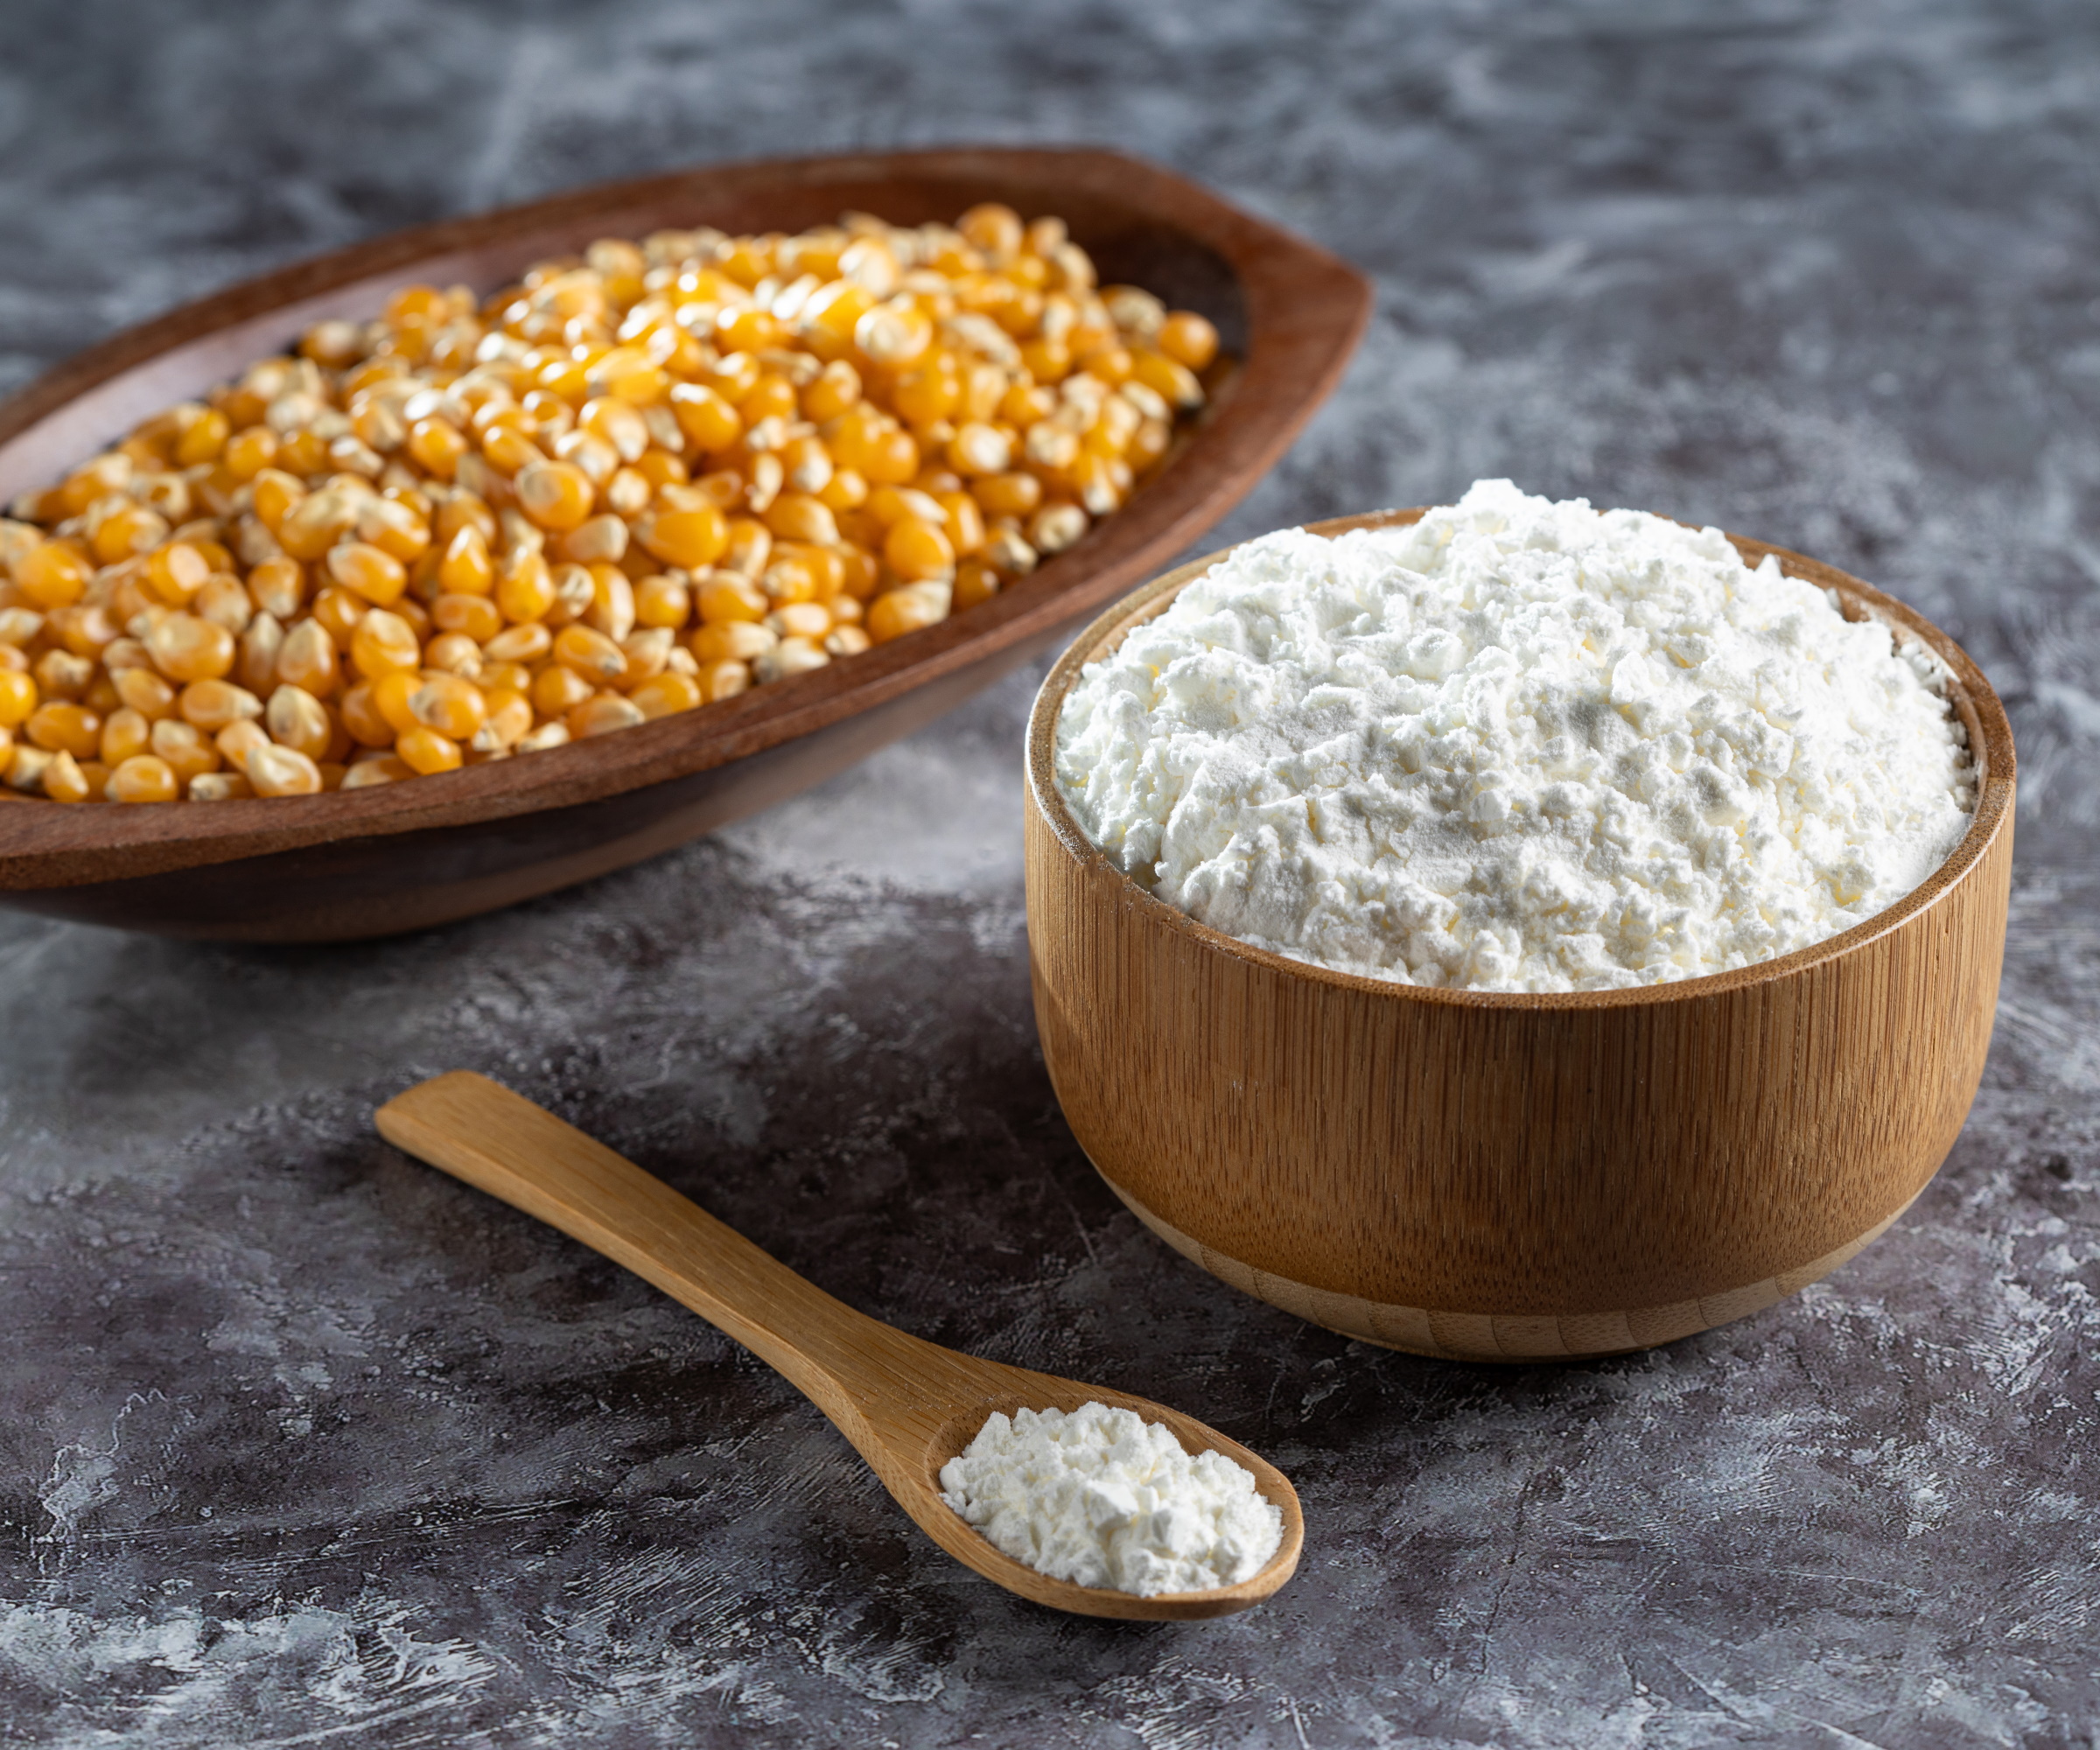
There are a few different things you can use to create the adhesive substance for your seed tape, but cornstarch paste is one of the most reliable. Plus, you likely already have some in your kitchen cupboard.
You can make cornstarch paste by combining one tablespoon of cornstarch (available at Walmart) with one cup of water. Boil the mixture until you achieve a gel-like consistency.
And it's as simple as that. Before using this adhesive, you need to let it cool down. Leave it to the side while you prepare your paper.
2. Mark spacings on your biodegradable paper
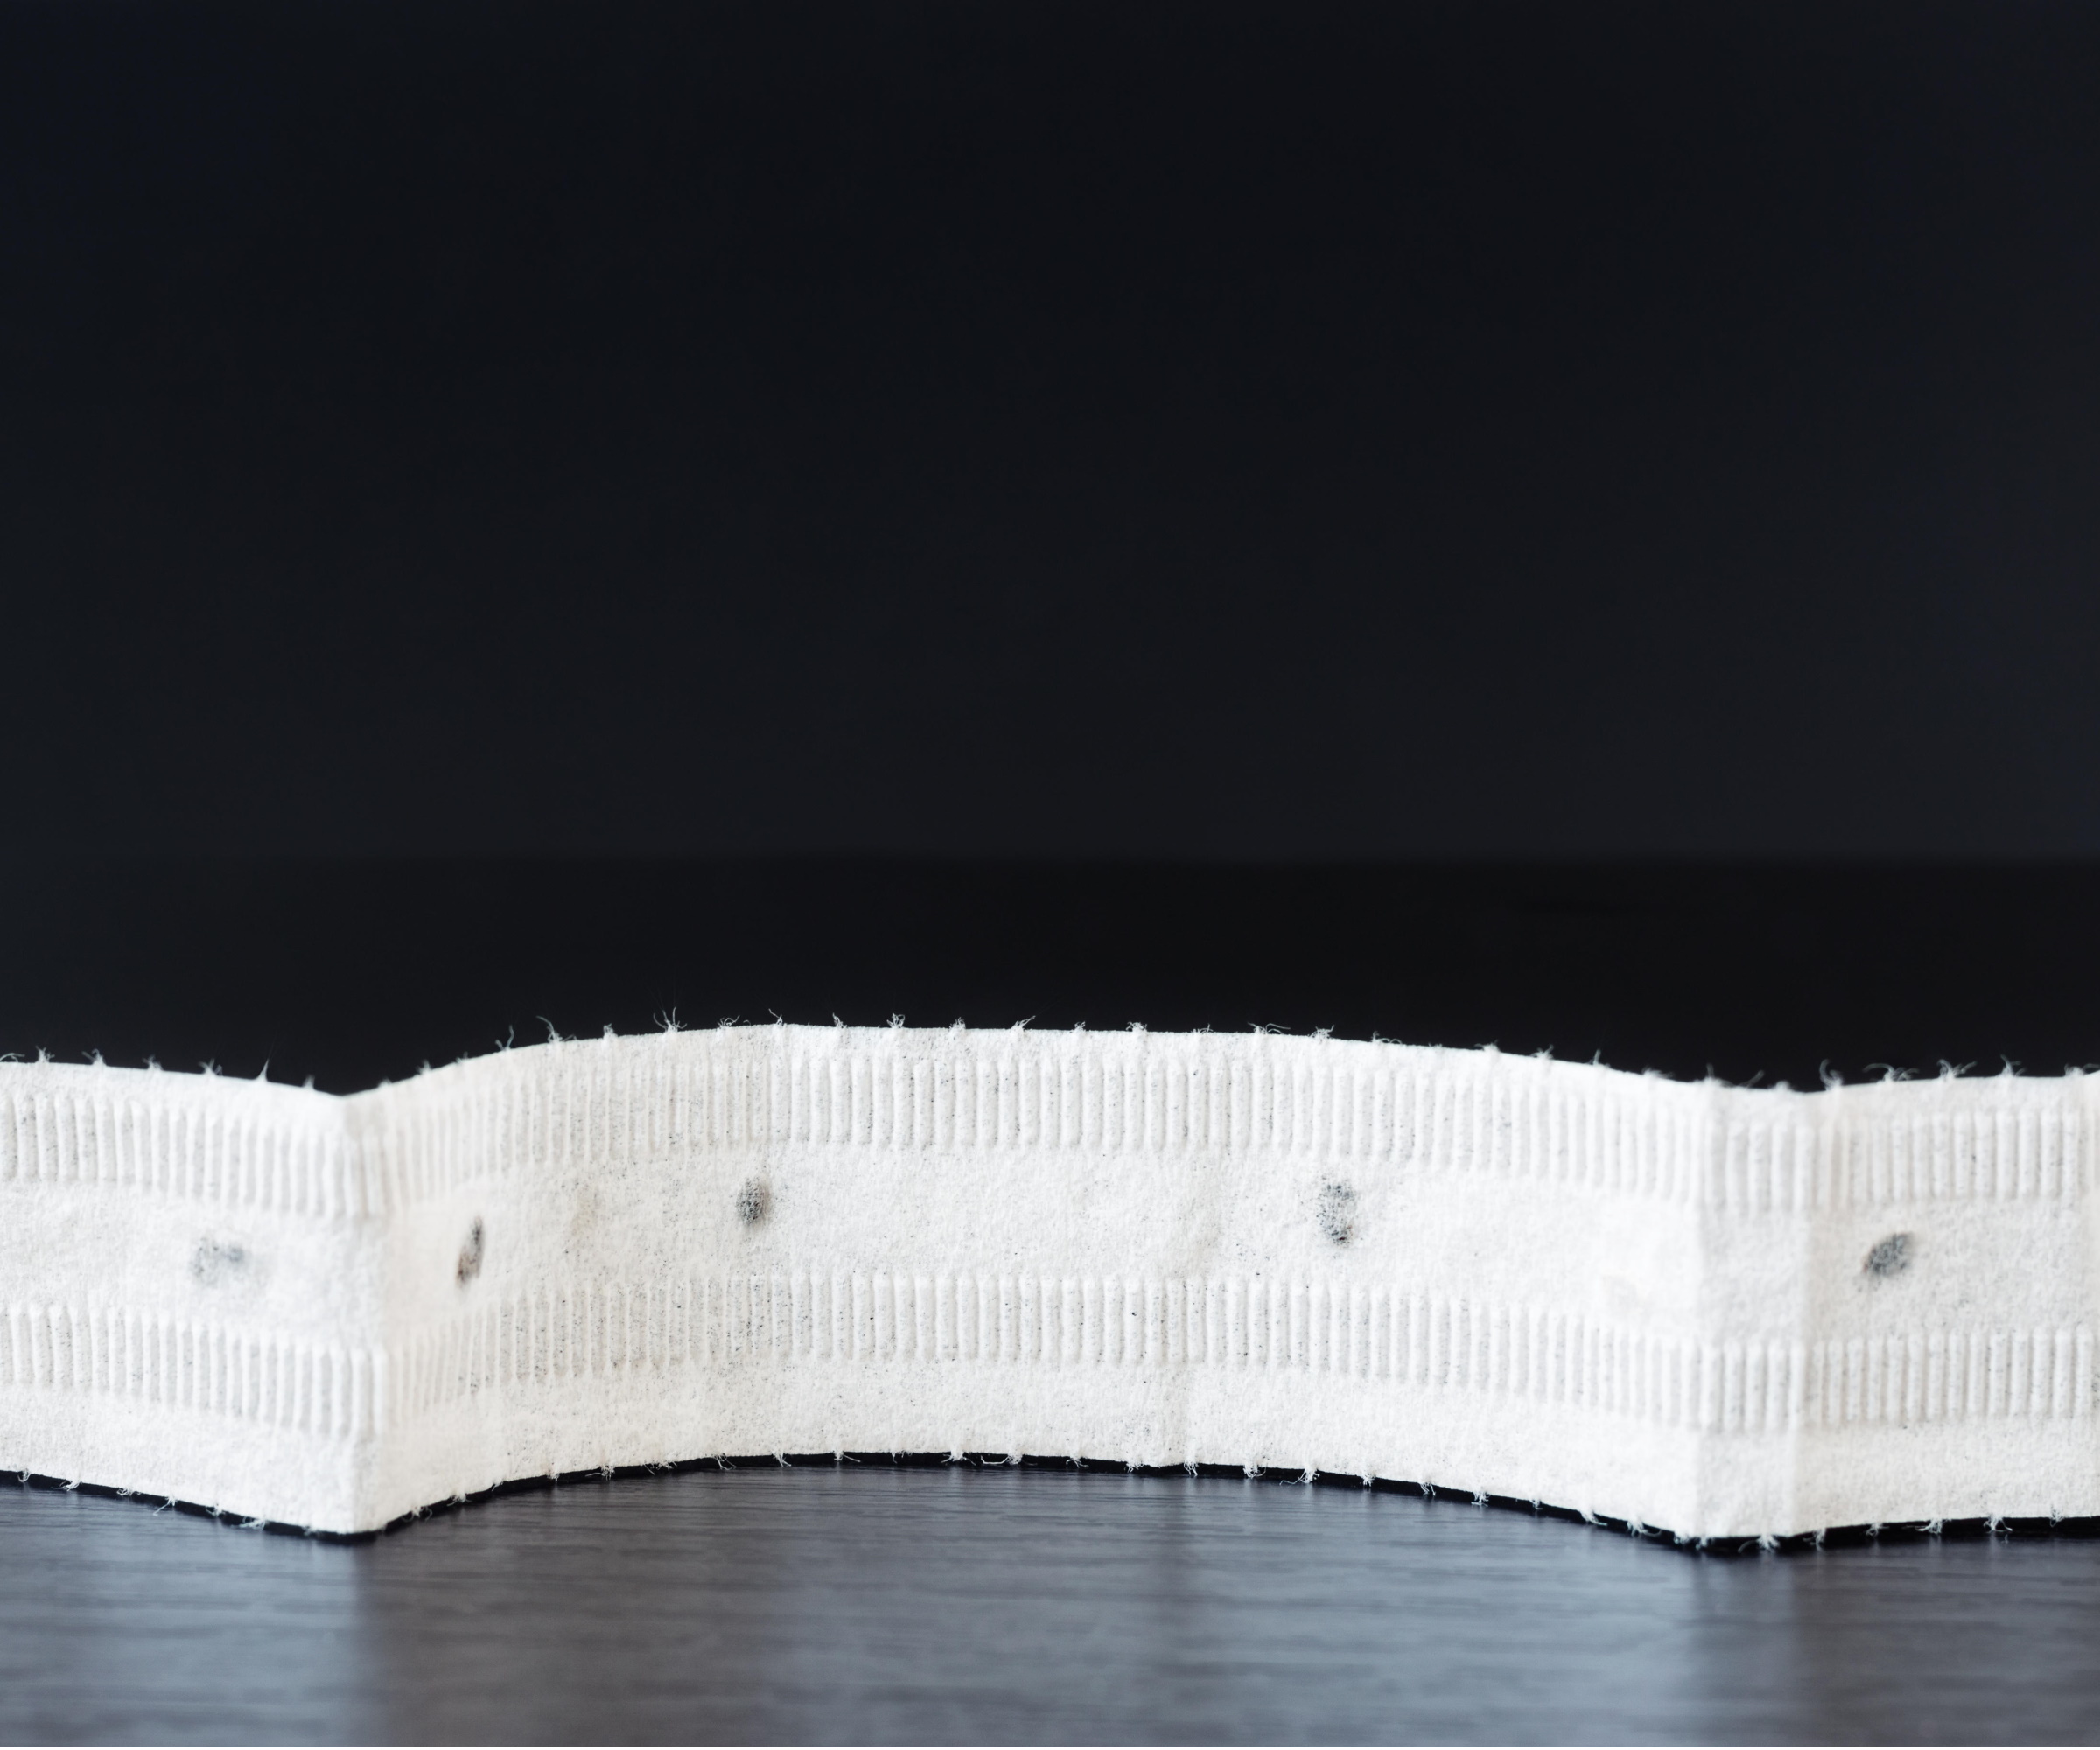
It doesn't matter what kind of biodegradable material you use for your tape, but the important thing is it needs to be able to break down in the soil.
Some options include toilet paper and cotton paper (from Amazon). A good test to know if you can use your chosen material is researching whether it can be used to make compost.
Cut your paper into long strips, with the width at least two-and-a-half the size of the seeds you wish to plant.
Grab your ruler, like this one from Walmart, and mark even spaces on the paper using a pencil. Your marking should be towards the bottom edge of the paper, indicating where your adhesive paste will go.
The space you leave between markings should reflect the growing requirements for the specific seeds you are sowing.
3. Dab the paste on your paper
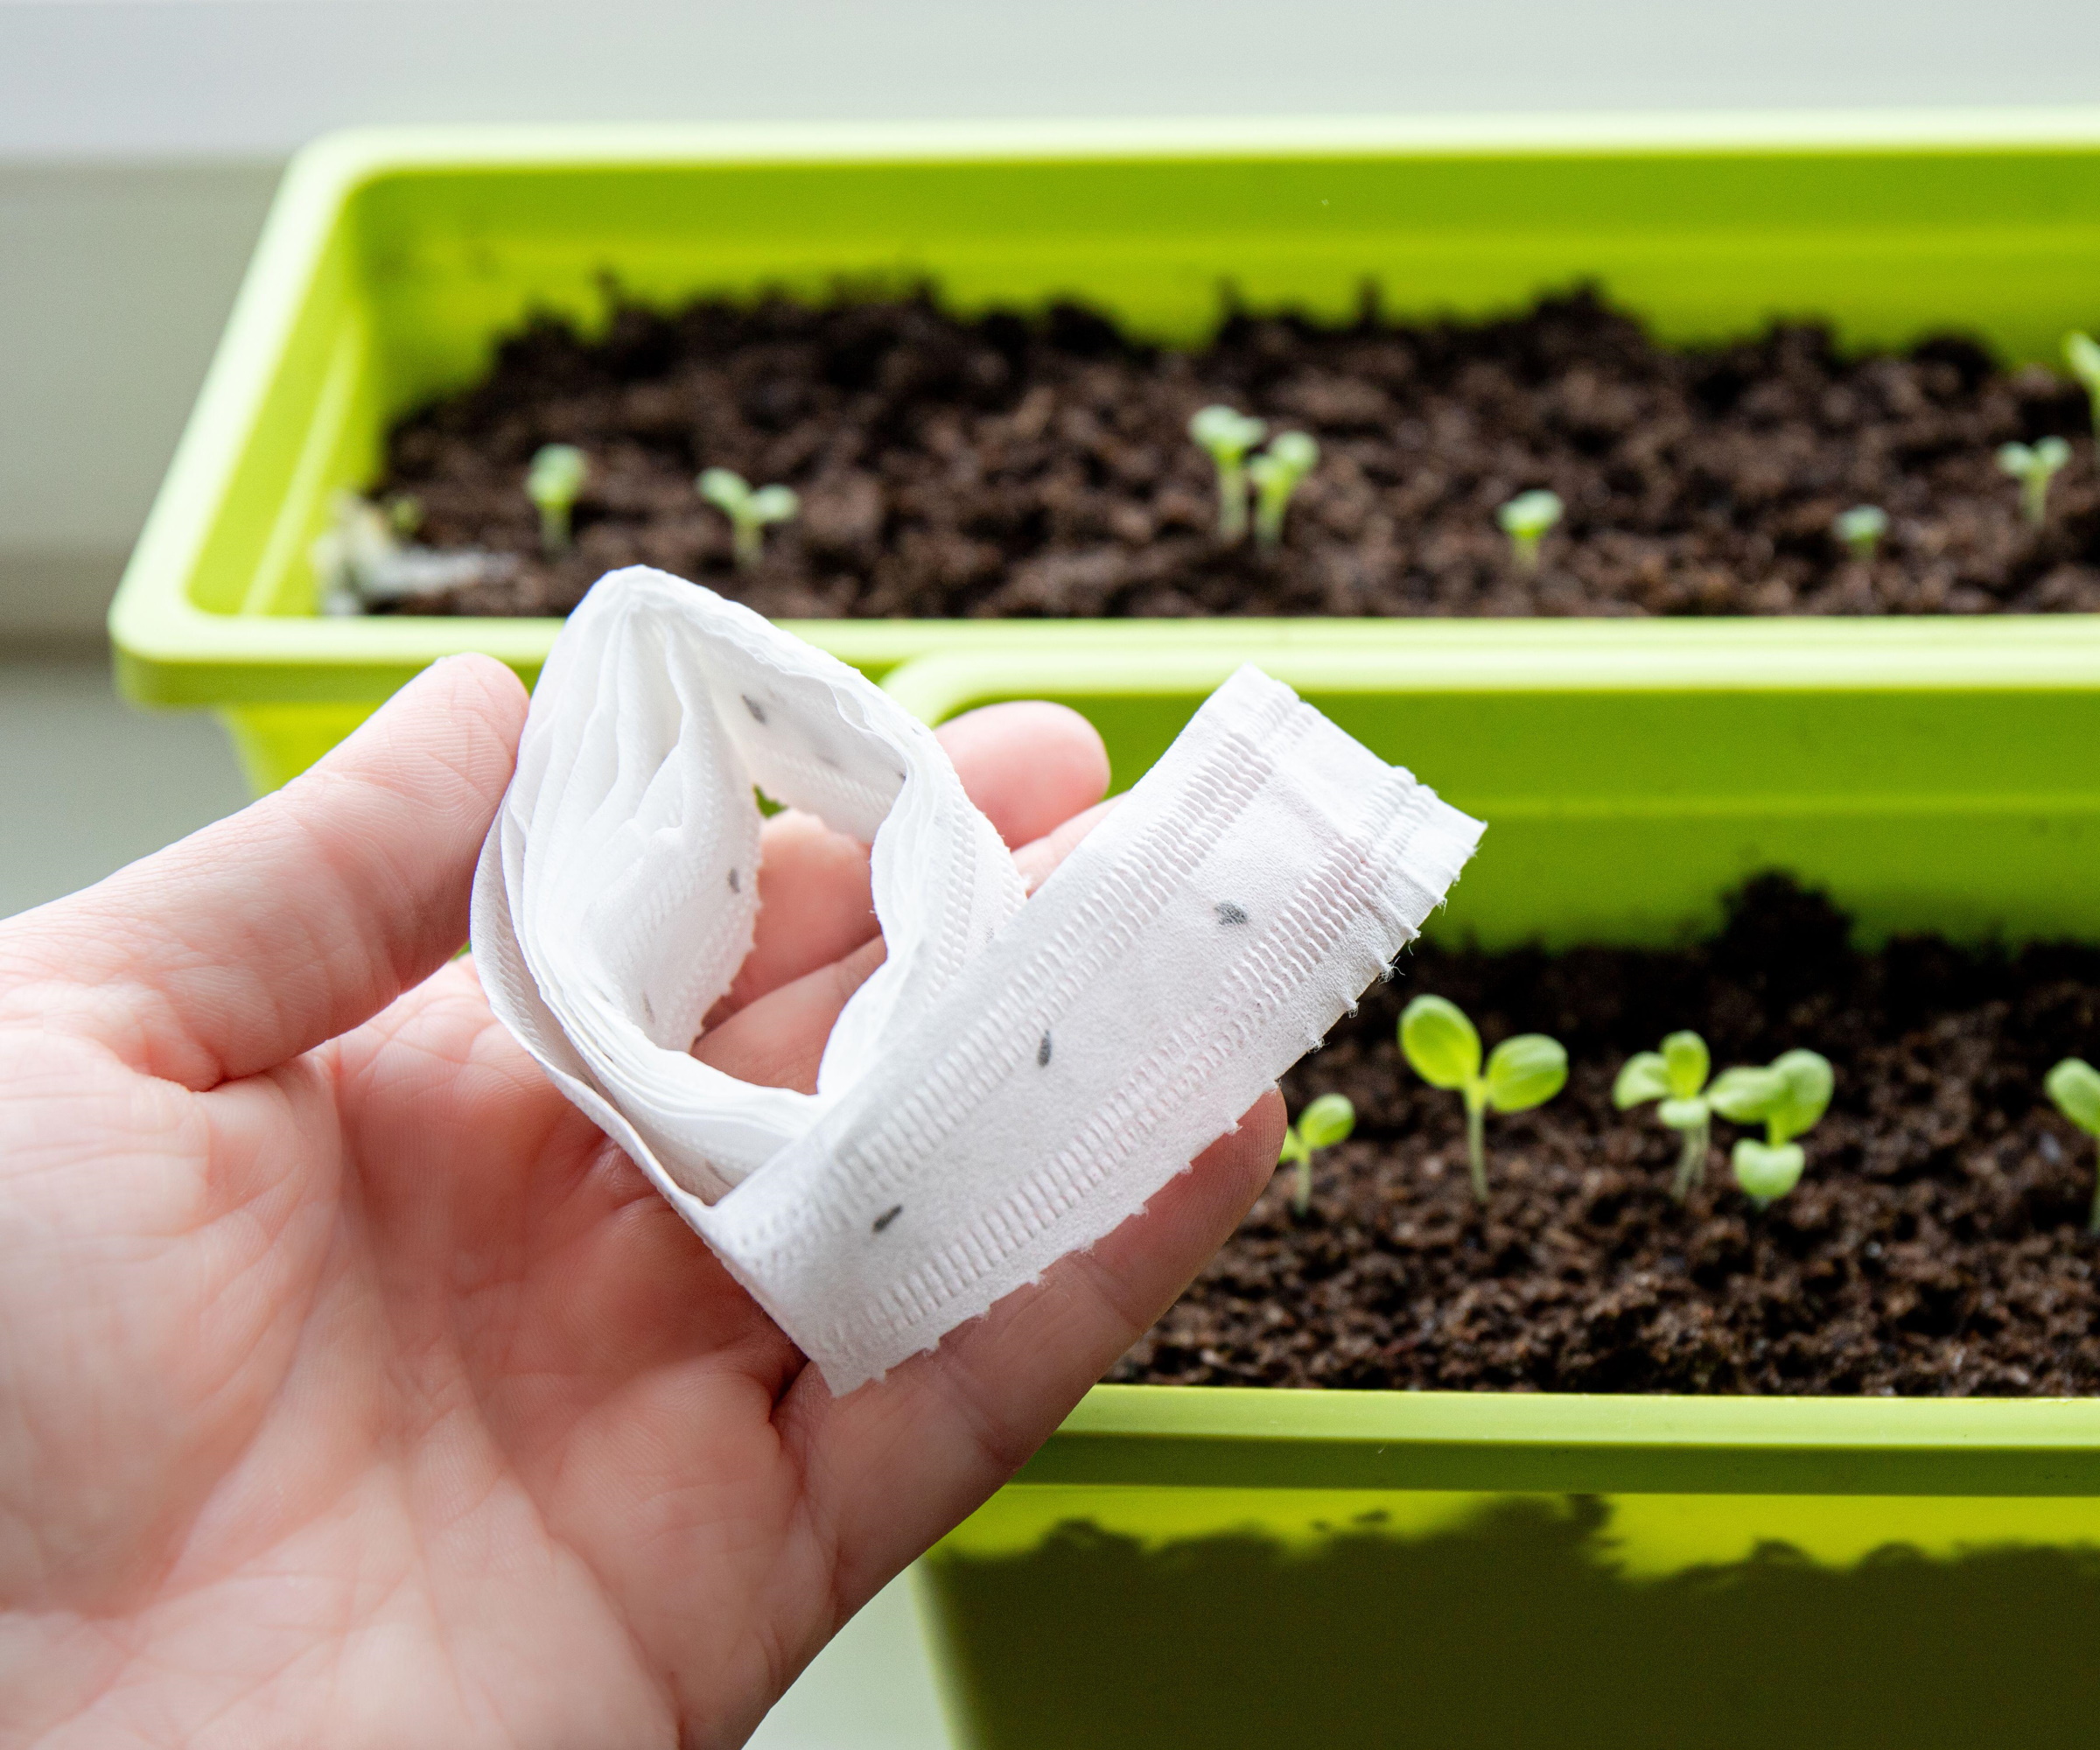
Next, you can apply your cornstarch paste to your seed tape paper. Make sure your paste has cooled down before doing this.
There are a few ways to do this, you might opt to use a paintbrush (from Amazon) or a kitchen spoon. However you do, make sure to dab a moderate amount of paste that will be large enough to hold your seeds.
4. Press seeds onto the tape
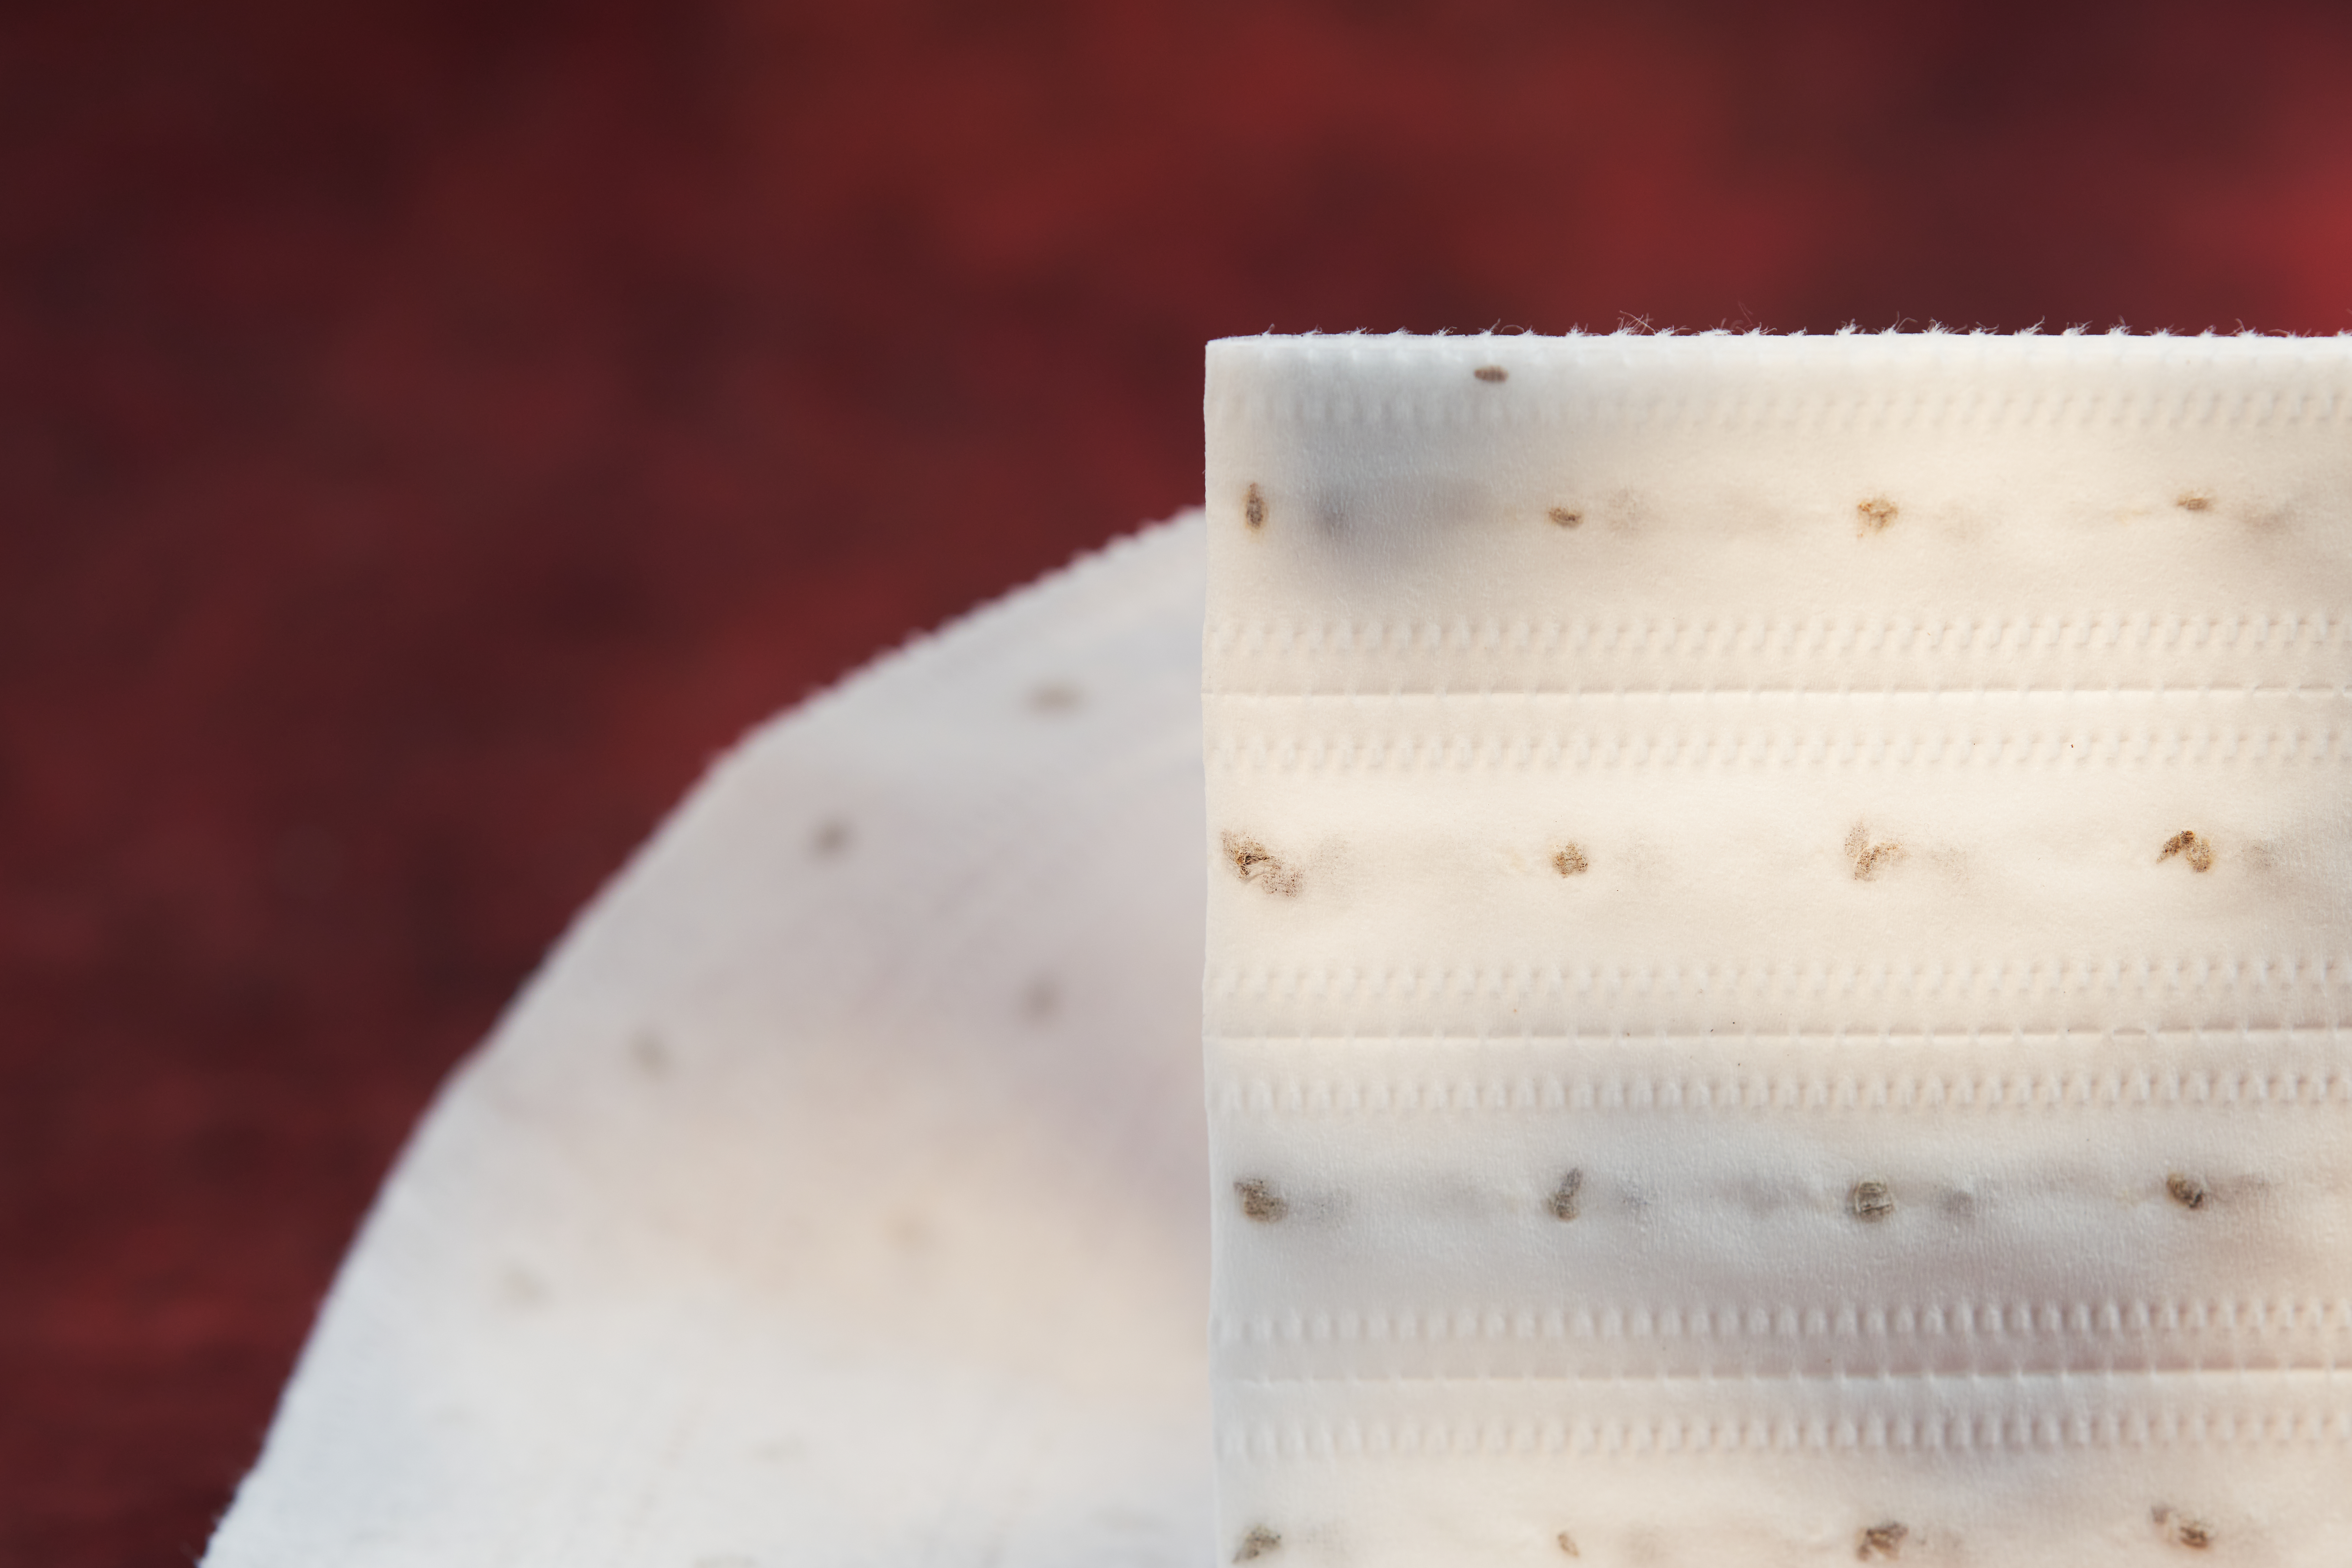
With your dollops of cornstarch paste in place, you can press your seeds in place. The paste should act like an adhesive, holding the seeds in place for planting.
This can be a fiddly task, especially if you're working with small seeds. Try using these craft tweezers from Amazon to carefully place your seeds. It's important not to damage your seeds in the process. Any seeds you don't use should be put away somewhere dry, cool and dark - find out how to store seeds.
Once all your seeds are in place, fold over the top of the paper to cover them and seal them in place. And just like that, you've made DIY seed tape.
5. Position the tape on your soil
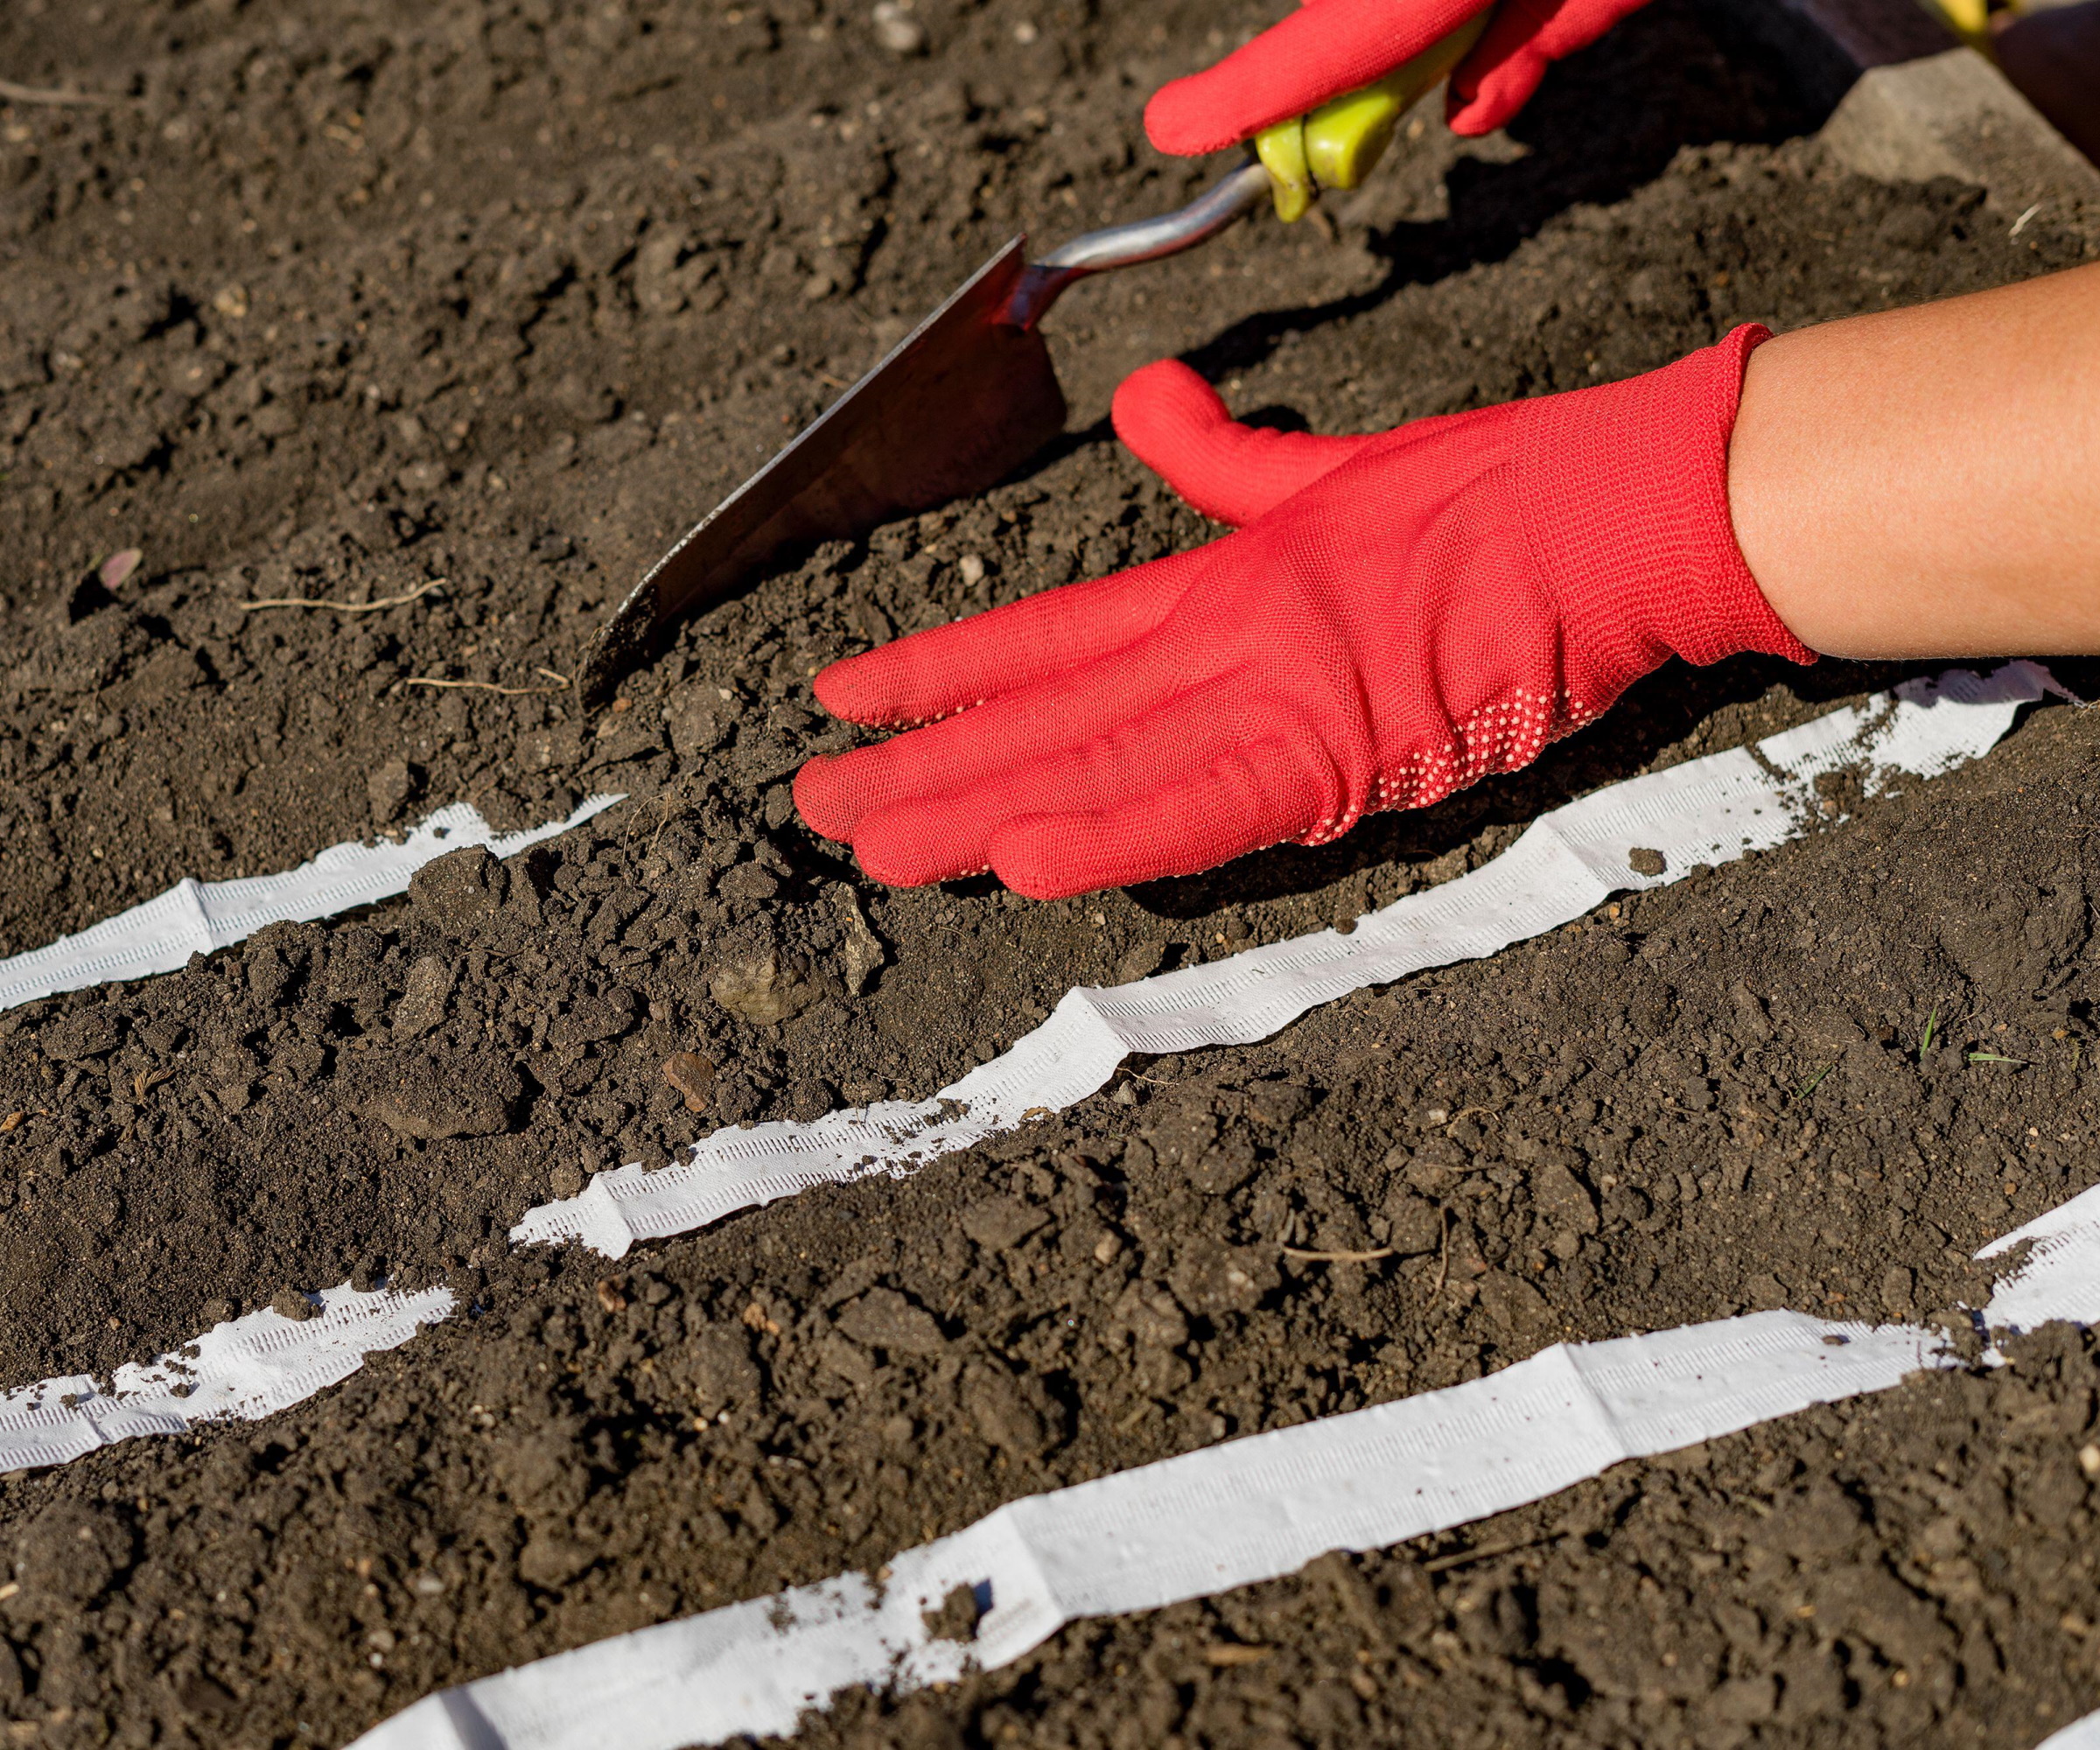
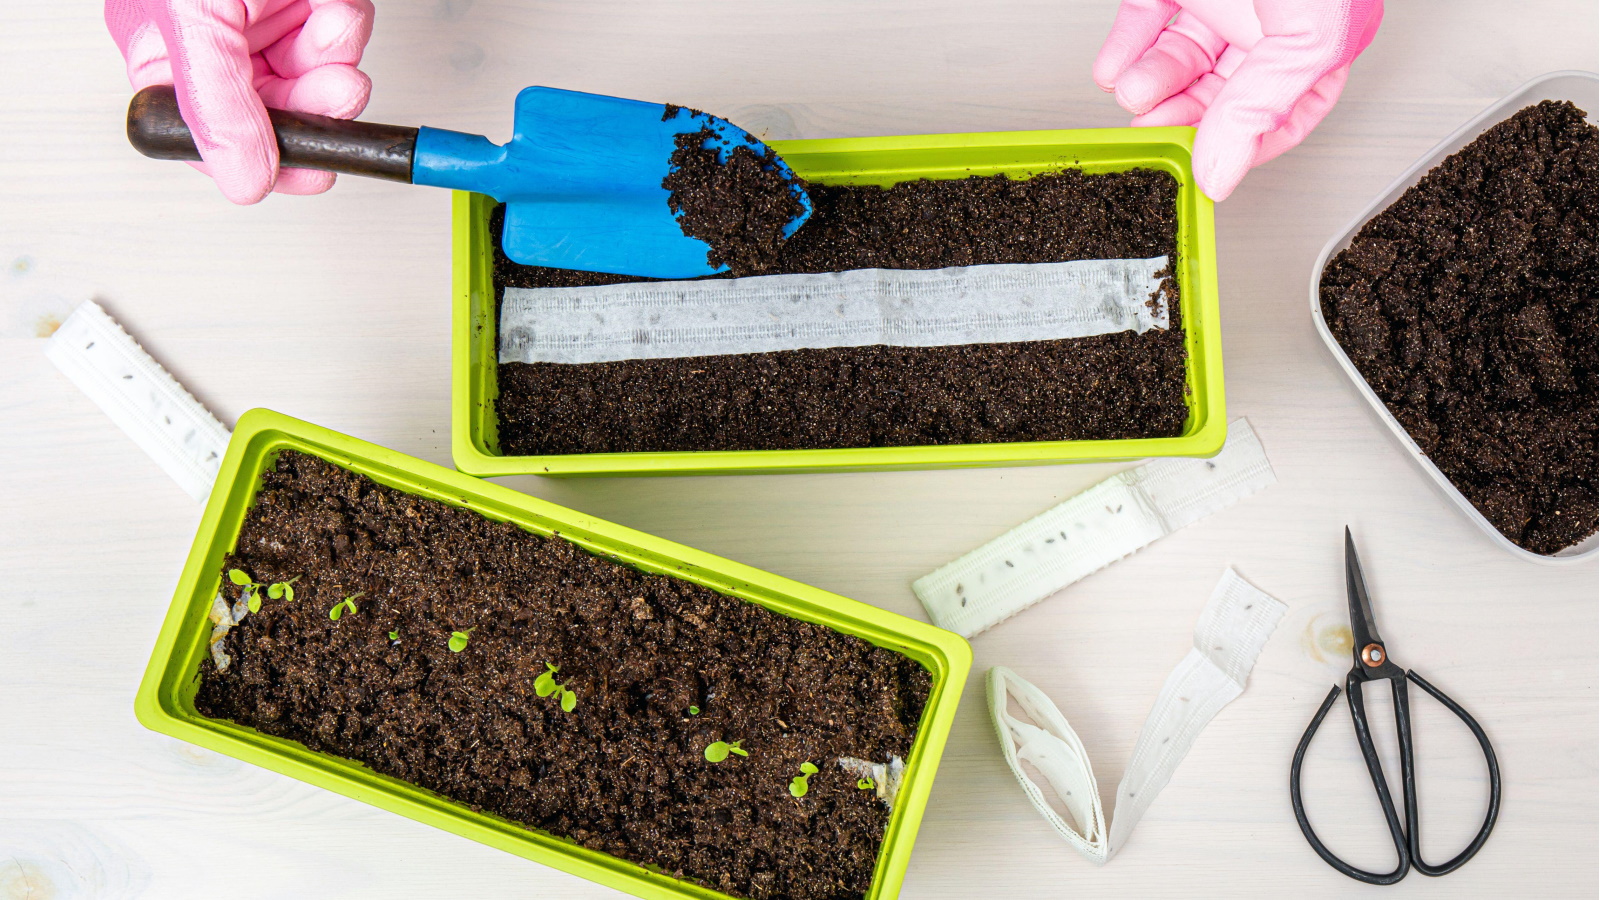
The final step of making DIY seed tape is using it. Place it on top of the soil where you want your plants to grow and cover the tape.
To germinate your seeds, don't forget to water the soil well. Over time, the tape will break down and decompose, while the seeds germinate and sprout into seedlings.
FAQs
Can you use regular paper for DIY seed tape?
It is possible to use regular paper for DIY seed tape, so long as it is compostable. Paper that is laminated or has a glossy finish is not necessarily compostable and won't break down easily in soil. Likewise, you might want to be cautious about using paper treated with chemicals or ink that will be released into your soil.
Making DIY seed tape is an eco-friendly garden idea you can do at any point in the year. Cornstarch is harmless to the seeds and holds them in place for neat planting. This kitchen ingredient isn't only handy in the yard, but there are also plenty of things you can clean with cornstarch.

Tenielle is a Gardens Content Editor at Homes & Gardens. She holds a qualification in MA Magazine Journalism and has over six years of journalistic experience. Before coming to Homes & Gardens, Tenielle was in the editorial department at the Royal Horticultural Society and worked on The Garden magazine. As our in-house houseplant expert, Tenielle writes on a range of solutions to houseplant problems, as well as other 'how to' guides, inspiring garden projects, and the latest gardening news. When she isn't writing, Tenielle can be found propagating her ever-growing collection of indoor plants, helping others overcome common houseplant pests and diseases, volunteering at a local gardening club, and attending gardening workshops, like a composting masterclass.