How to germinate seeds successfully – both indoors and outdoors
The experts reveal how to accomplish this first step of the grow-your-own process

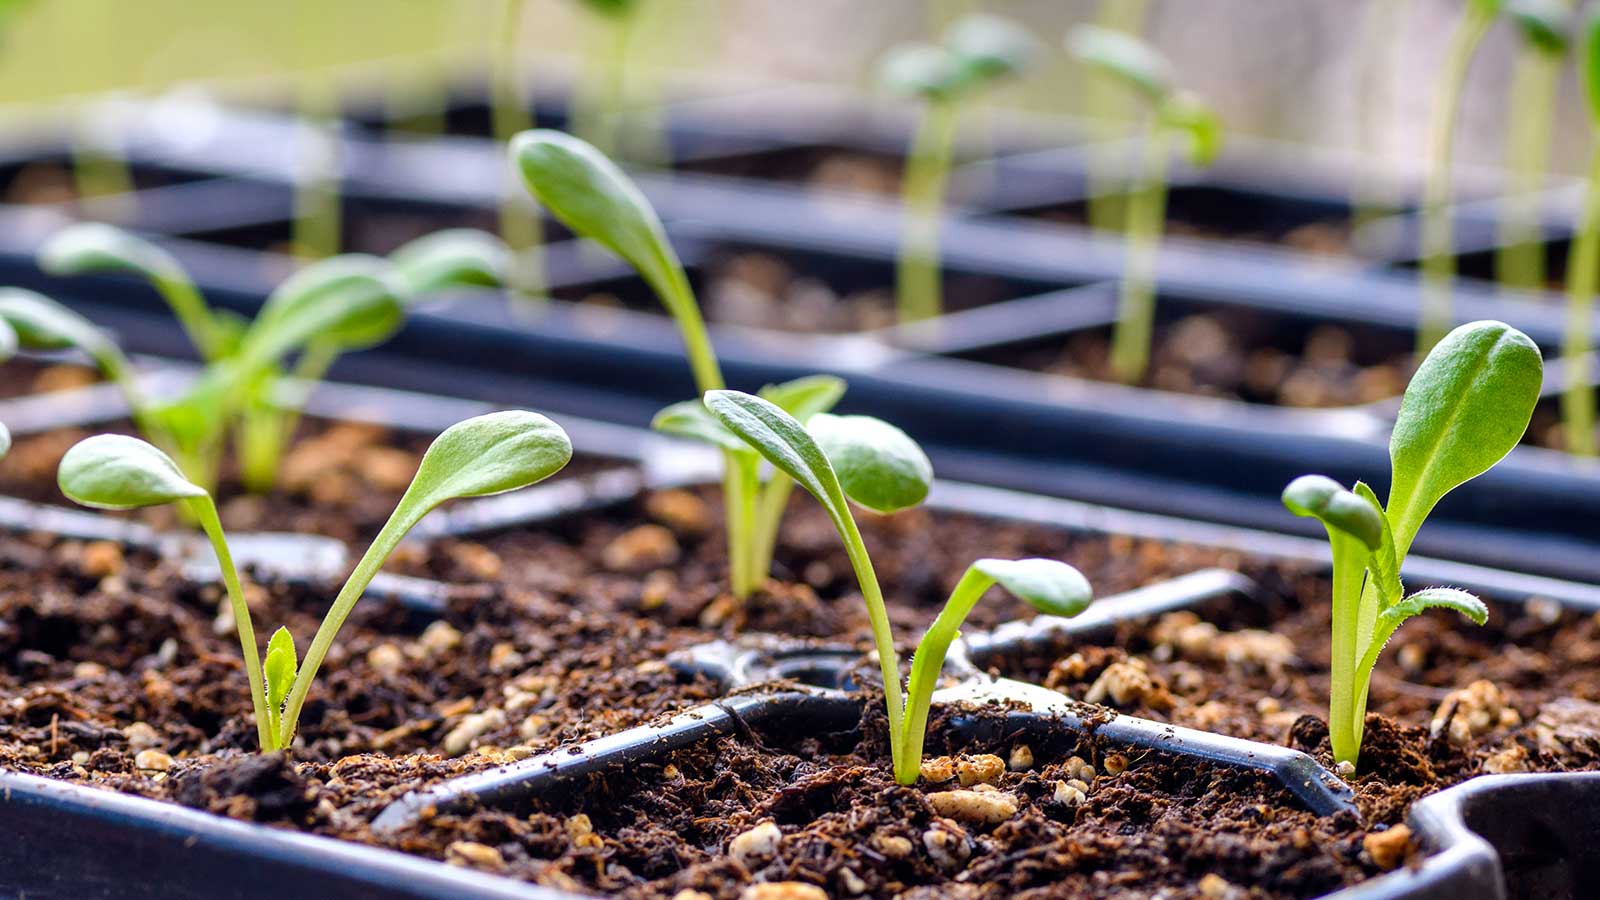
Growing veggies, fruits, and flowers from small, unassuming seeds is a wondrous process, even for the most experienced gardeners. Not to mention, it's budget-friendly – much more so than buying pot-grown plants in garden centers.
The first step is to get your seeds sprouting, a process known as germination. Then, once green shoots have appeared, the seedlings must be nurtured until they're big enough to transplant into their final position (unless you've direct sown them outside).
Germinating seeds successfully is a bit of an art in itself, but once you've got the know-how and a few basic tips up your sleeve, this first hurdle becomes easy to jump.
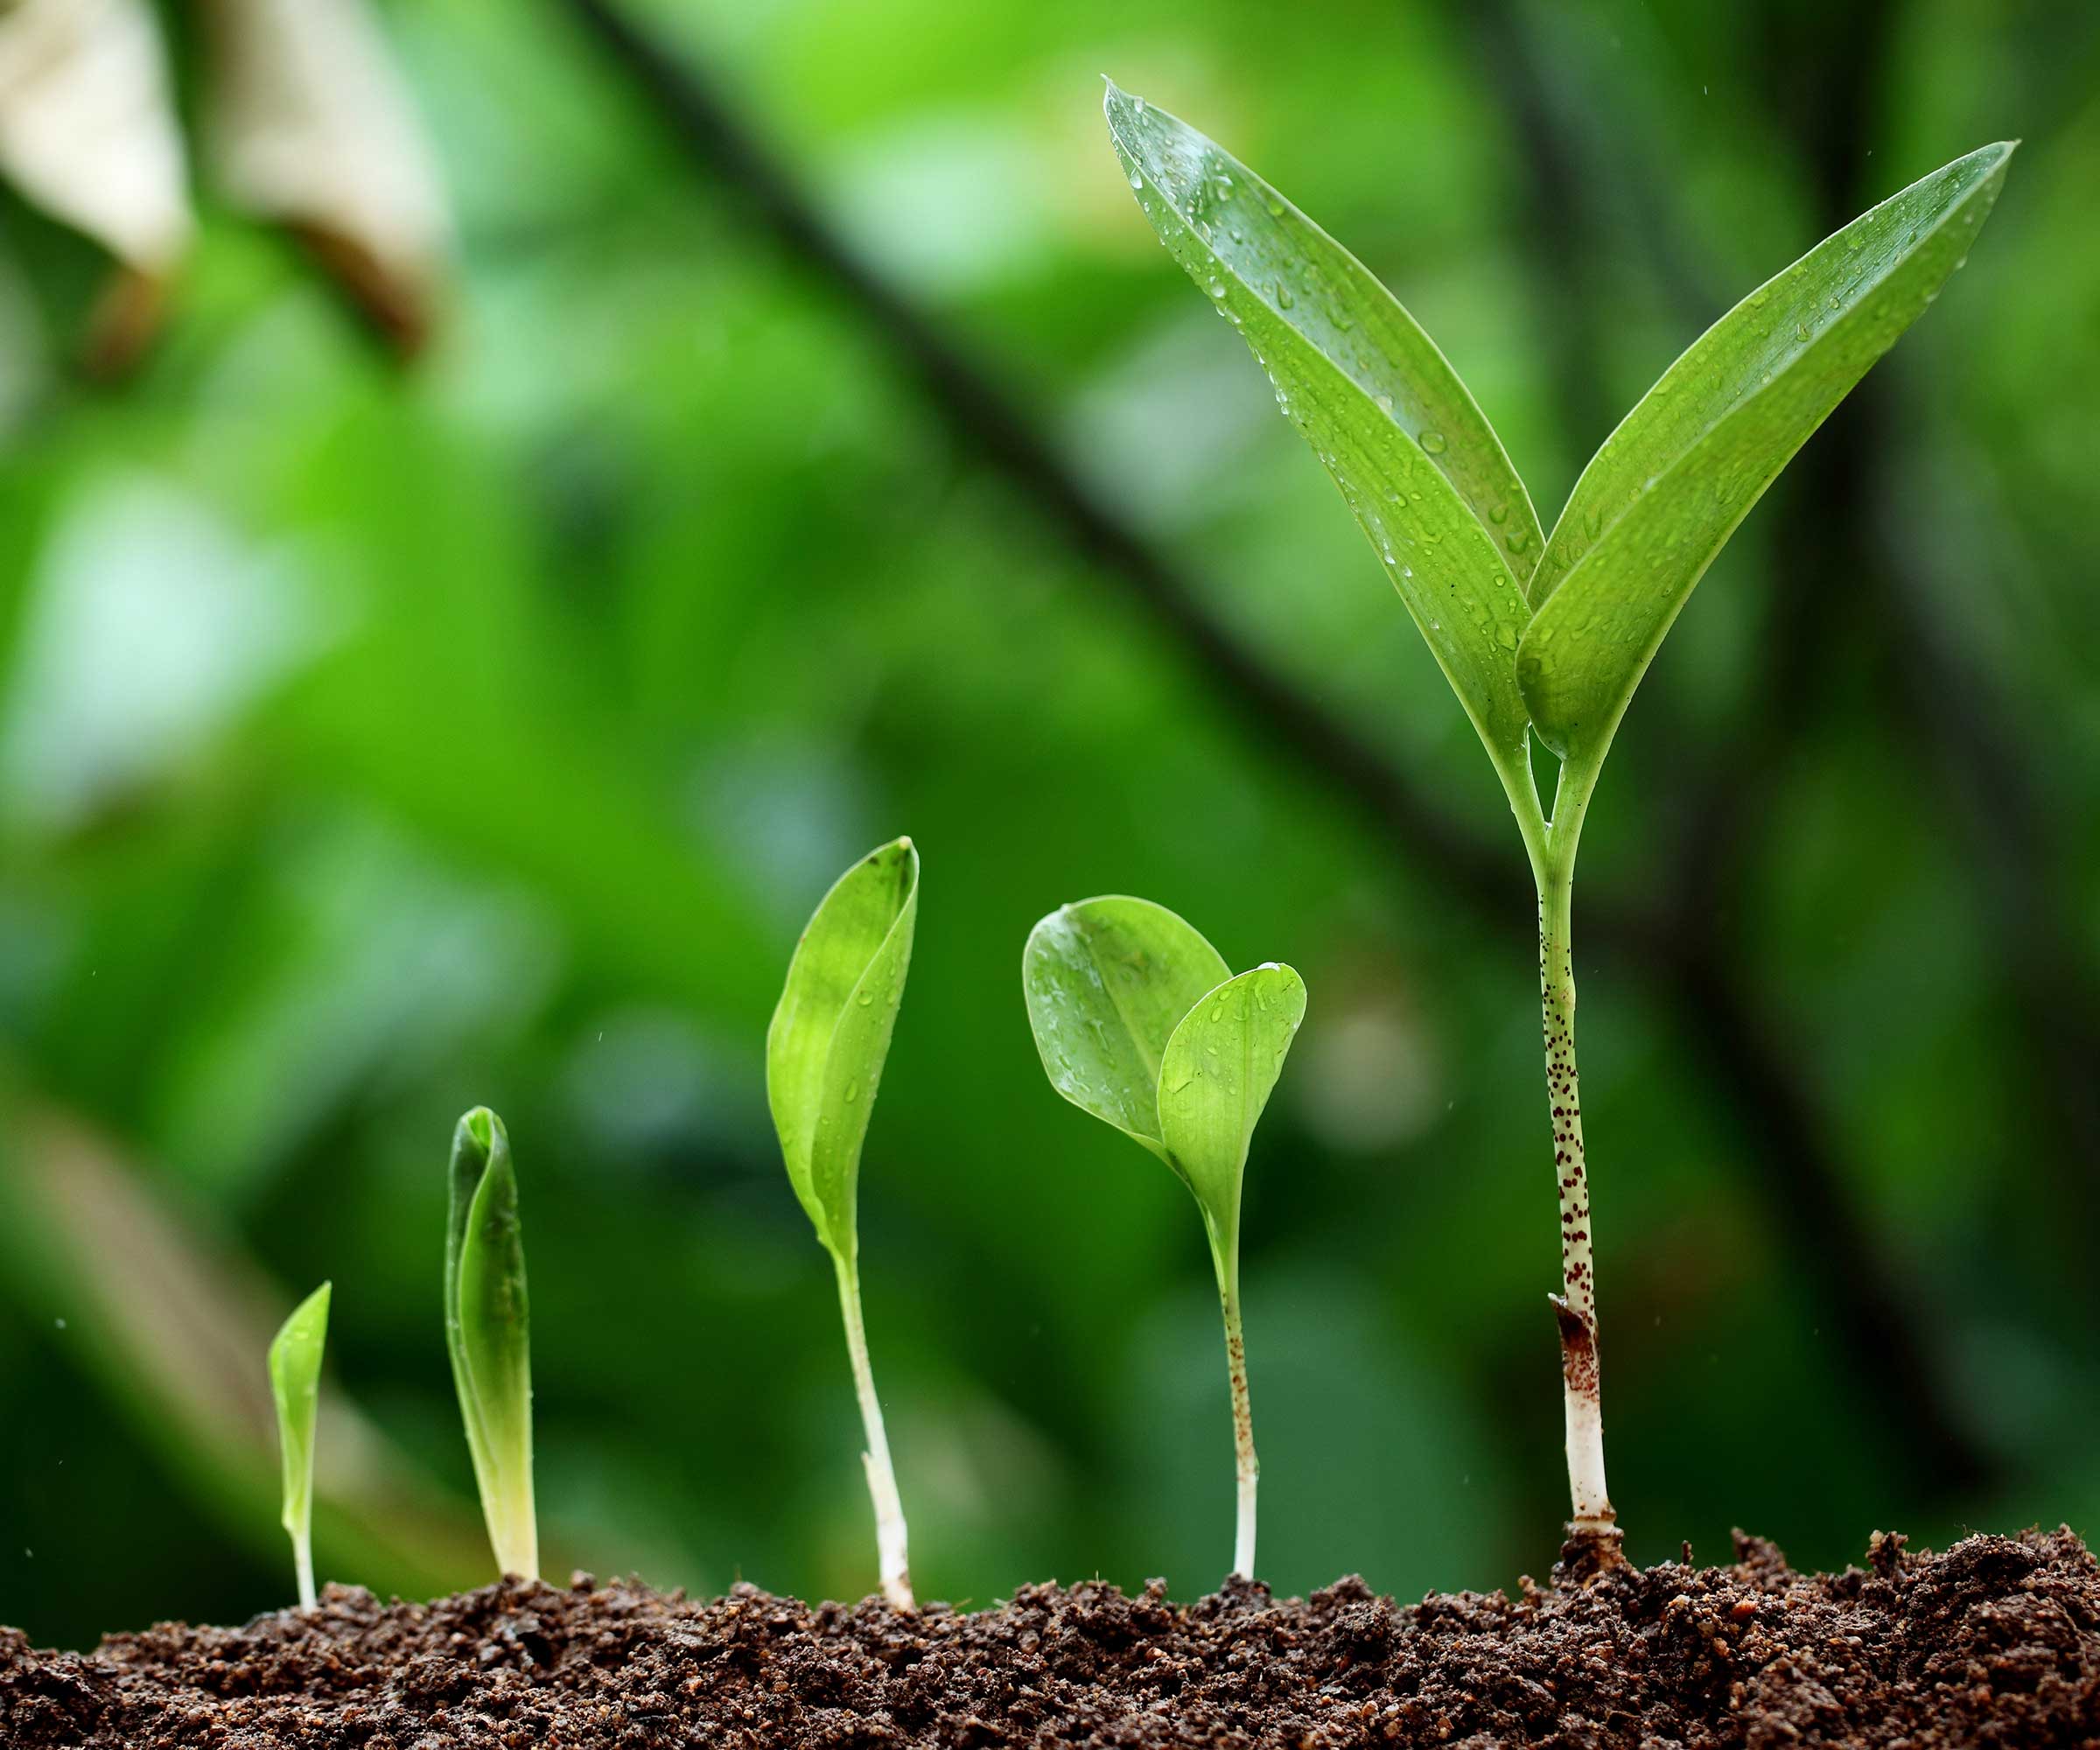
Germination is the first part of growing flowers and crops from seed
How to germinate seeds indoors
Until the weather warms up, growing flowers from seed, as well as edible crops, should generally be done indoors. This could be in a frost-free greenhouse if you have one, or on a warm windowsill.
Nancy Awot-Traut, Horticulture Specialist at Burpee, shares her step-by-step tips on how to do it:
- Gather the right materials: For most seeds, it's best to use a seed starting tray with shallow cells, such as this one from Burpee. You should also use the optimum soil for sowing seeds: a seed-starting mix or coir (not traditional potting soil or garden soil, as it is too heavy). If using compressed coir pellets, add water first and fluff up the pellets. Ruth Hayes, a gardening expert, adds that seed compost should be fresh each year, and that seed trays, as well as lids and other seed-growing equipment, should either be new or disinfected. Ruth recommends stocking up on vermiculite and perlite, too – minerals that can be mixed with the soil to improve the flow of water and air around seeds and seedlings.
- Sow the seeds: 'Fill the seed-starting cell so the soil is about ¼ inch from the top of the container,' says Nancy. 'Then, plant the seeds according to the packet, and water the cells lightly to settle the soil.'
- Provide an optimum growing environment: Place the tray in a bright place and keep the soil moist but not overly wet, Nancy continues. For most seeds, a heat mat is recommended, such as this seed starting heat map from Burpee. To further increase the chances of successful seed starting, cover the tray with a humidity dome, a lid, or a layer of clingfilm.
- Continue to care for them as seedlings appear: As soon as the seeds sprout, remove the heat mat, Nancy says. Ruth adds that the lid should be removed too, to encourage good ventilation which prevents fungal diseases. Thin out the seedlings that are growing too close together and, if possible, water the tray from the bottom, so that the compost stays damp and droplets are kept off developing leaves, Ruth adds. Ensure they are still getting plenty of light, as not enough results in weak and leggy seedlings. Use grow lights if necessary: if so, these should be on for 16 hours and off for 8 hours, Nancy advises.
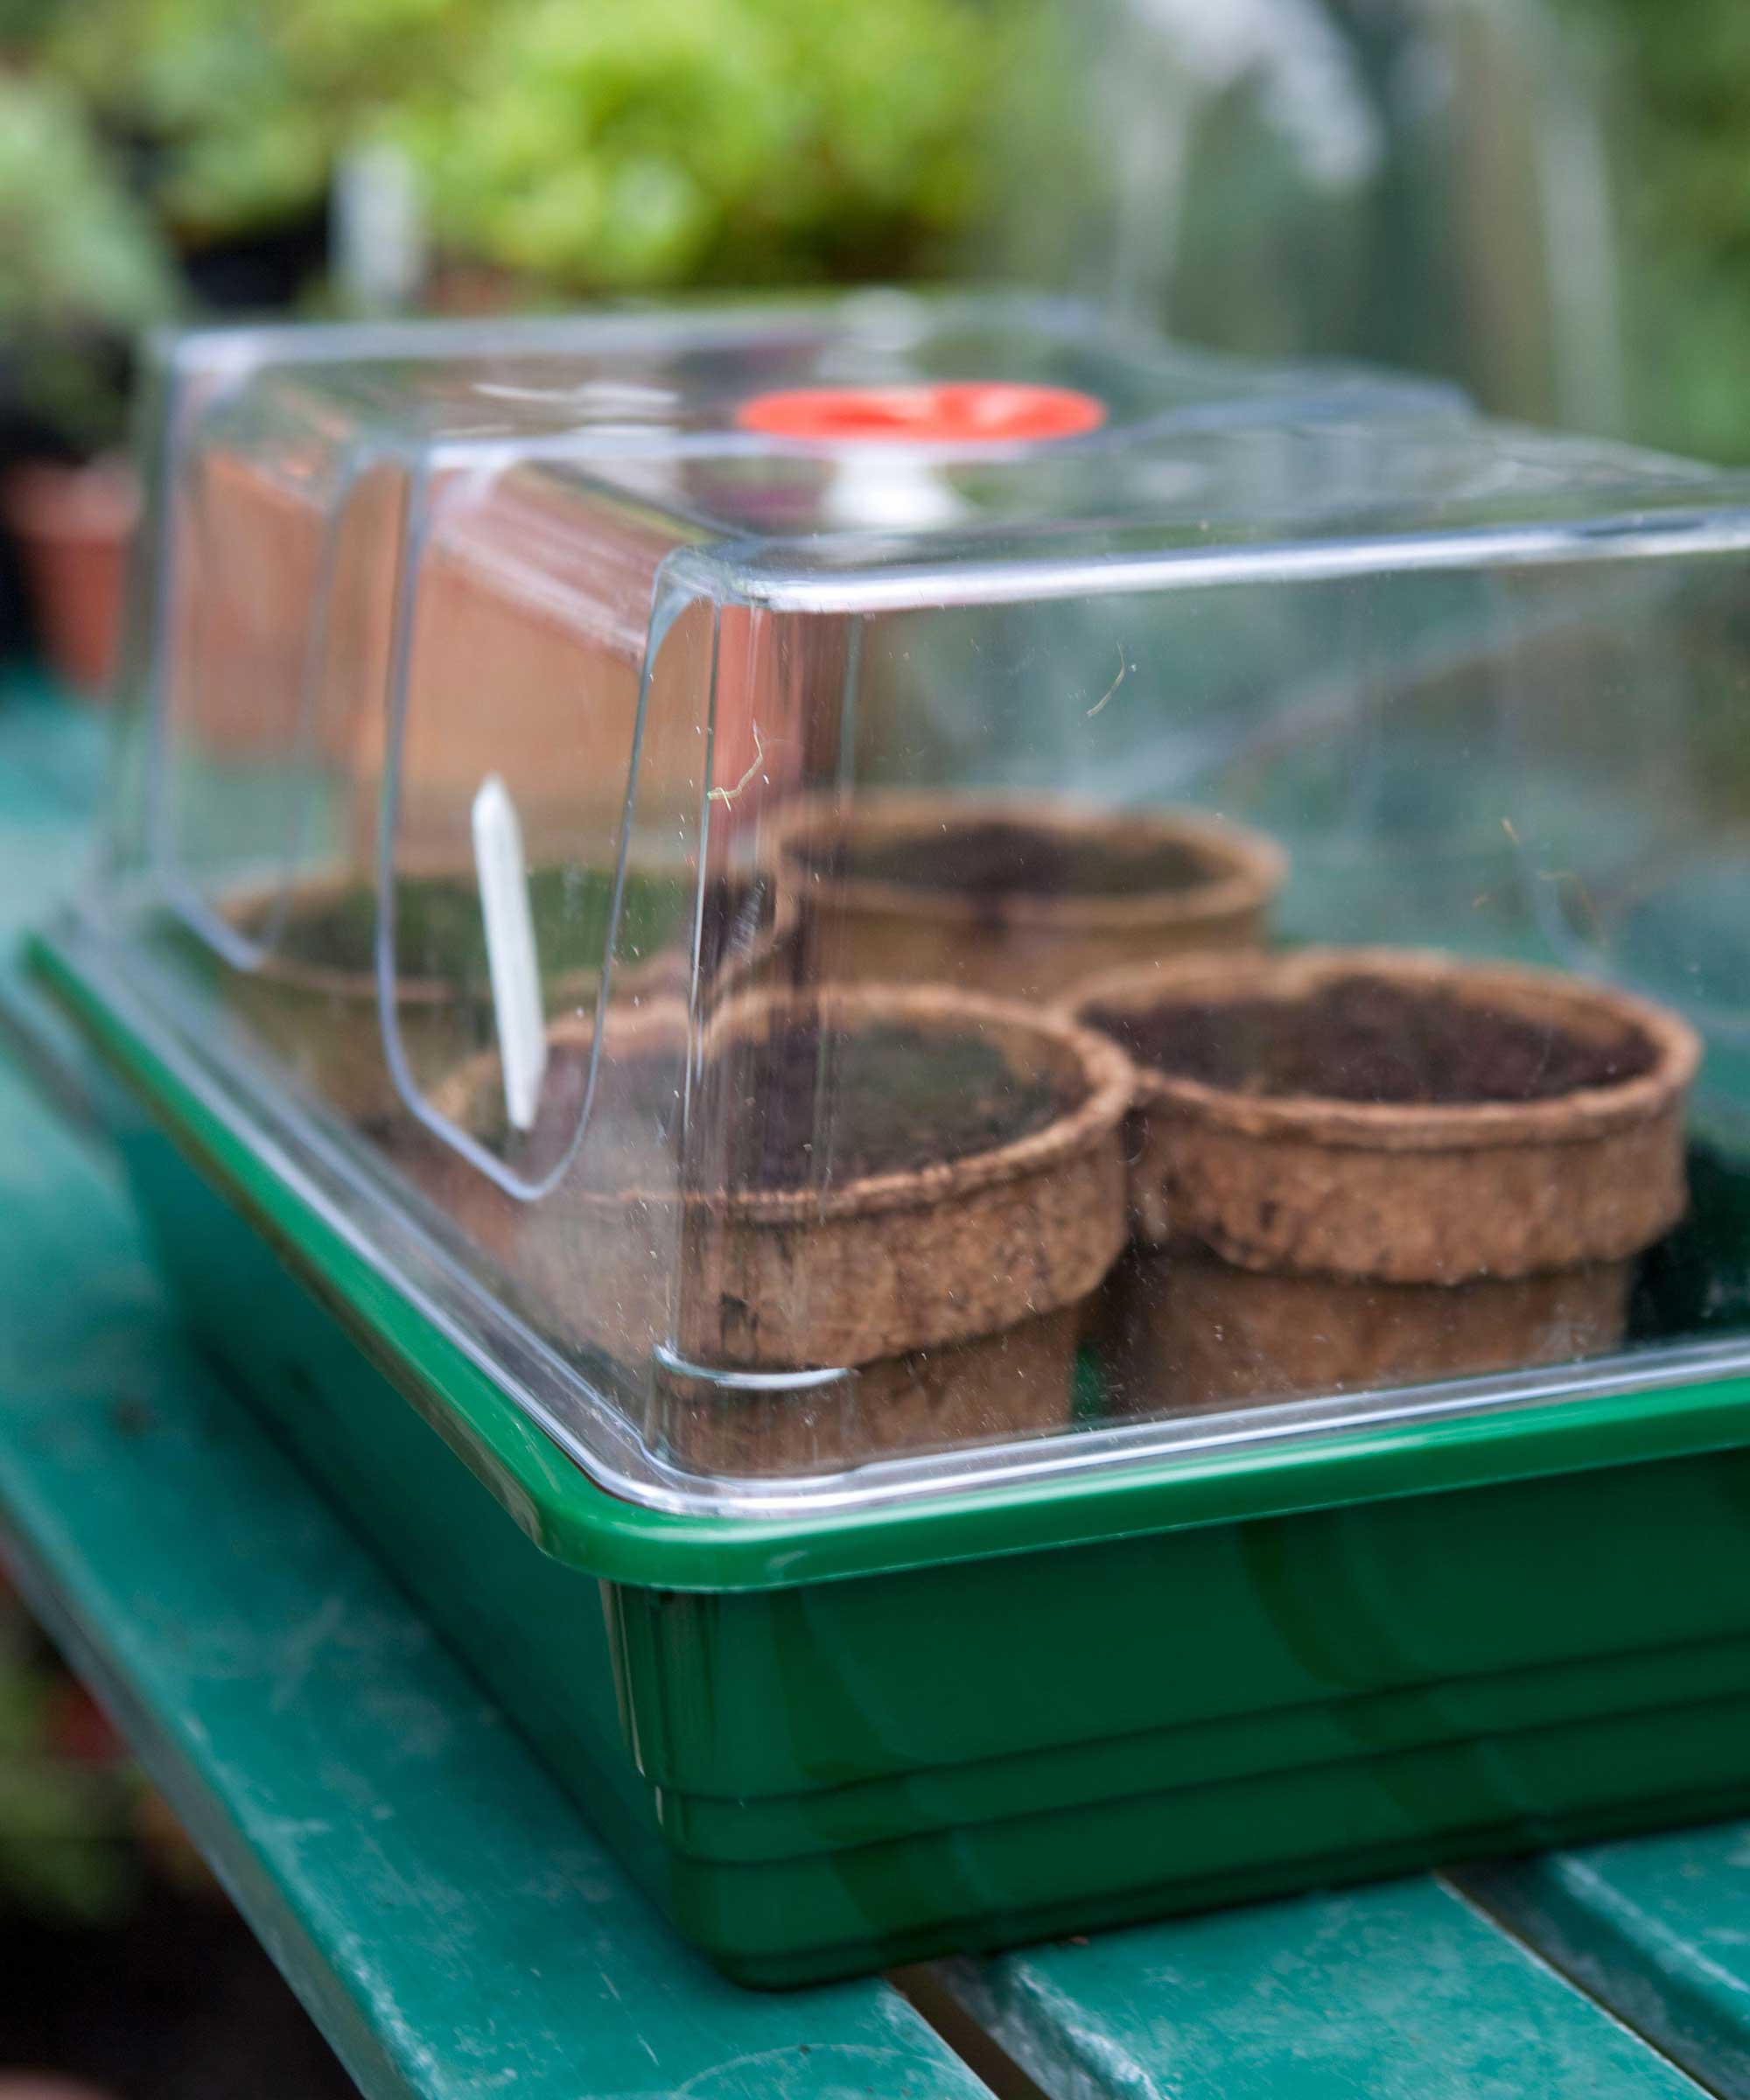
A lid creates a 'mini greenhouse' environment for your seeds
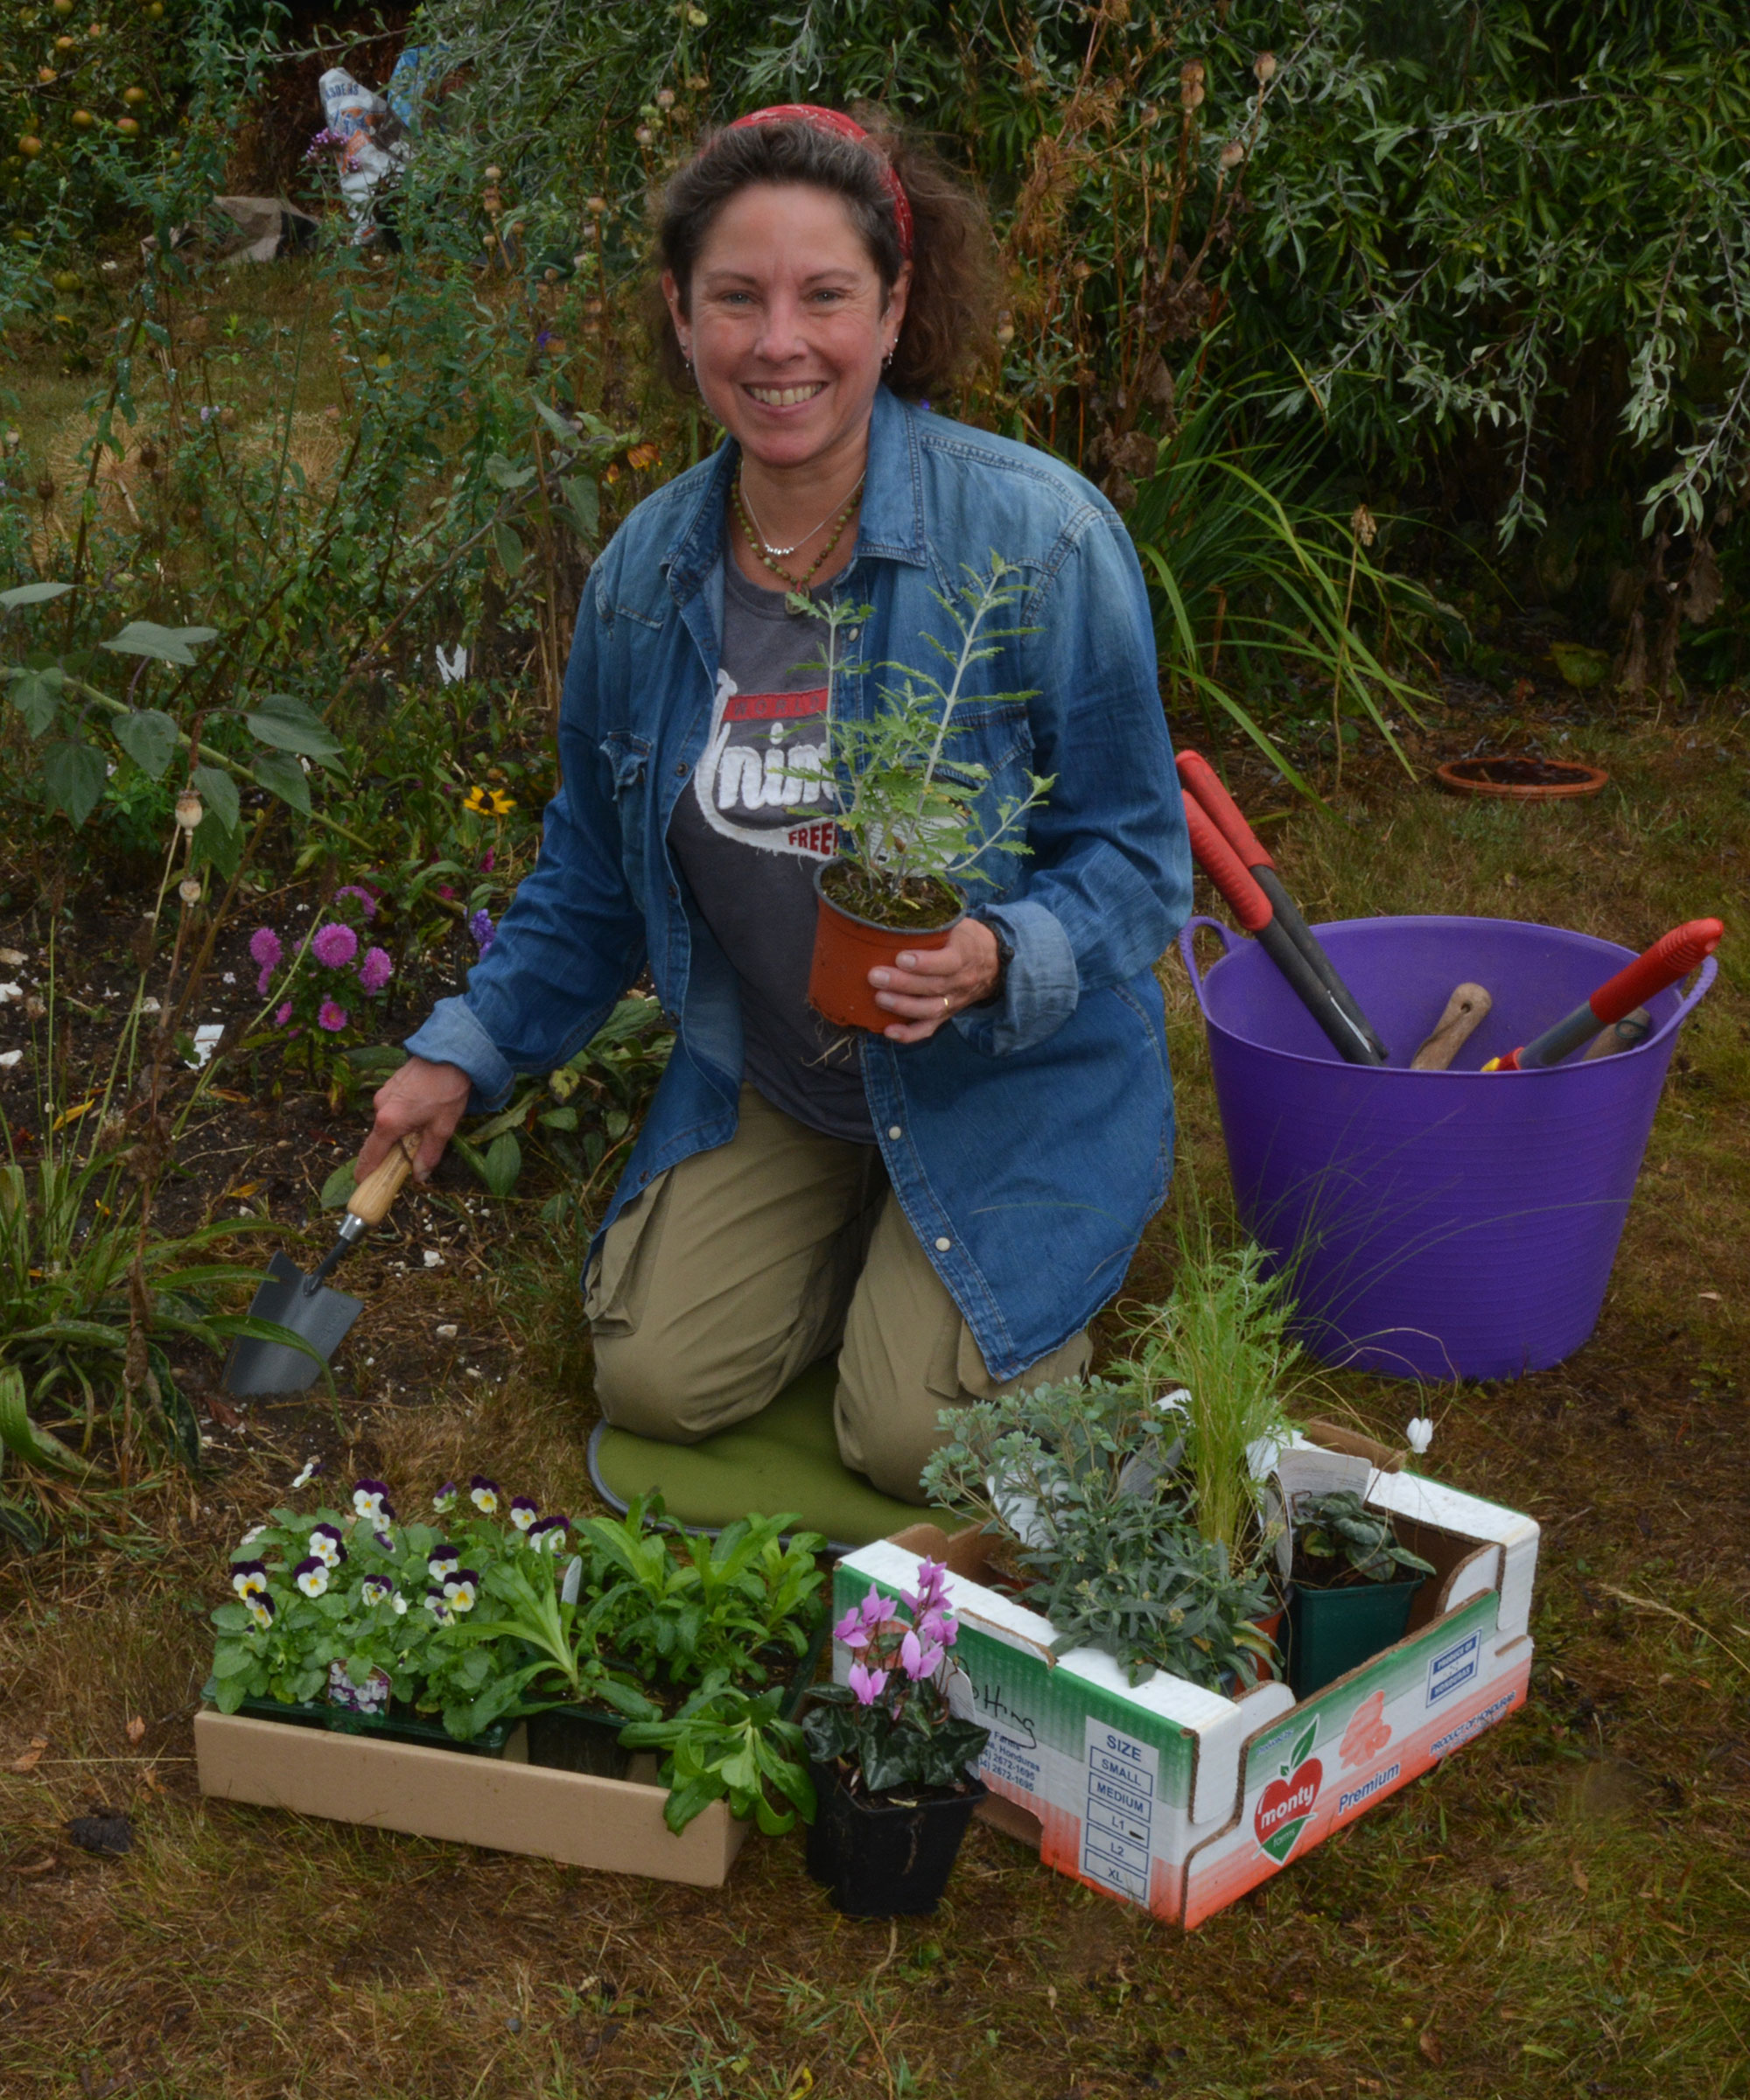
Ruth is the gardening editor of Amateur Gardening magazine, the UK's oldest weekly magazine. She is horticulturally trained and has qualifications from the Royal Horticultural Society. Ruth spends her working days writing about and photographing the gardening jobs that our readers should be carrying out each week and month, and tests many new products that arrive on the gardening market.
How to germinate seeds outdoors
When warmer weather arrives, seeds can be sown directly, says Ruth.
Here's how to do it, with tips from Nancy Awot-Traut:
Design expertise in your inbox – from inspiring decorating ideas and beautiful celebrity homes to practical gardening advice and shopping round-ups.
- Before planting your seeds, remove any stones and weeds from the soil. Then, add several inches of compost and mix it in. Follow this by raking the surface to a fine tilth.
- The seed packet will tell you the correct timing and the soil depths. This is very important – if seeds are planted at the wrong depth or wrong time they may not germinate at all.
- After planting, gently firm the soil around the seeds and water. Keep the soil moist but not waterlogged. Seedlings have shallow roots, and if they dry out, they can die.
The challenge with sowing seeds directly is keeping their seedbed free of weeds and preventing seeds and seedlings from being eaten by pests, says Ruth. So, keep a close eye on them and take action accordingly. Netting can be used to keep away birds, while a barrier of crushed eggshells or gravel can deter slugs. As for weeds, a quick removal by hand every day or so will keep the area in check.
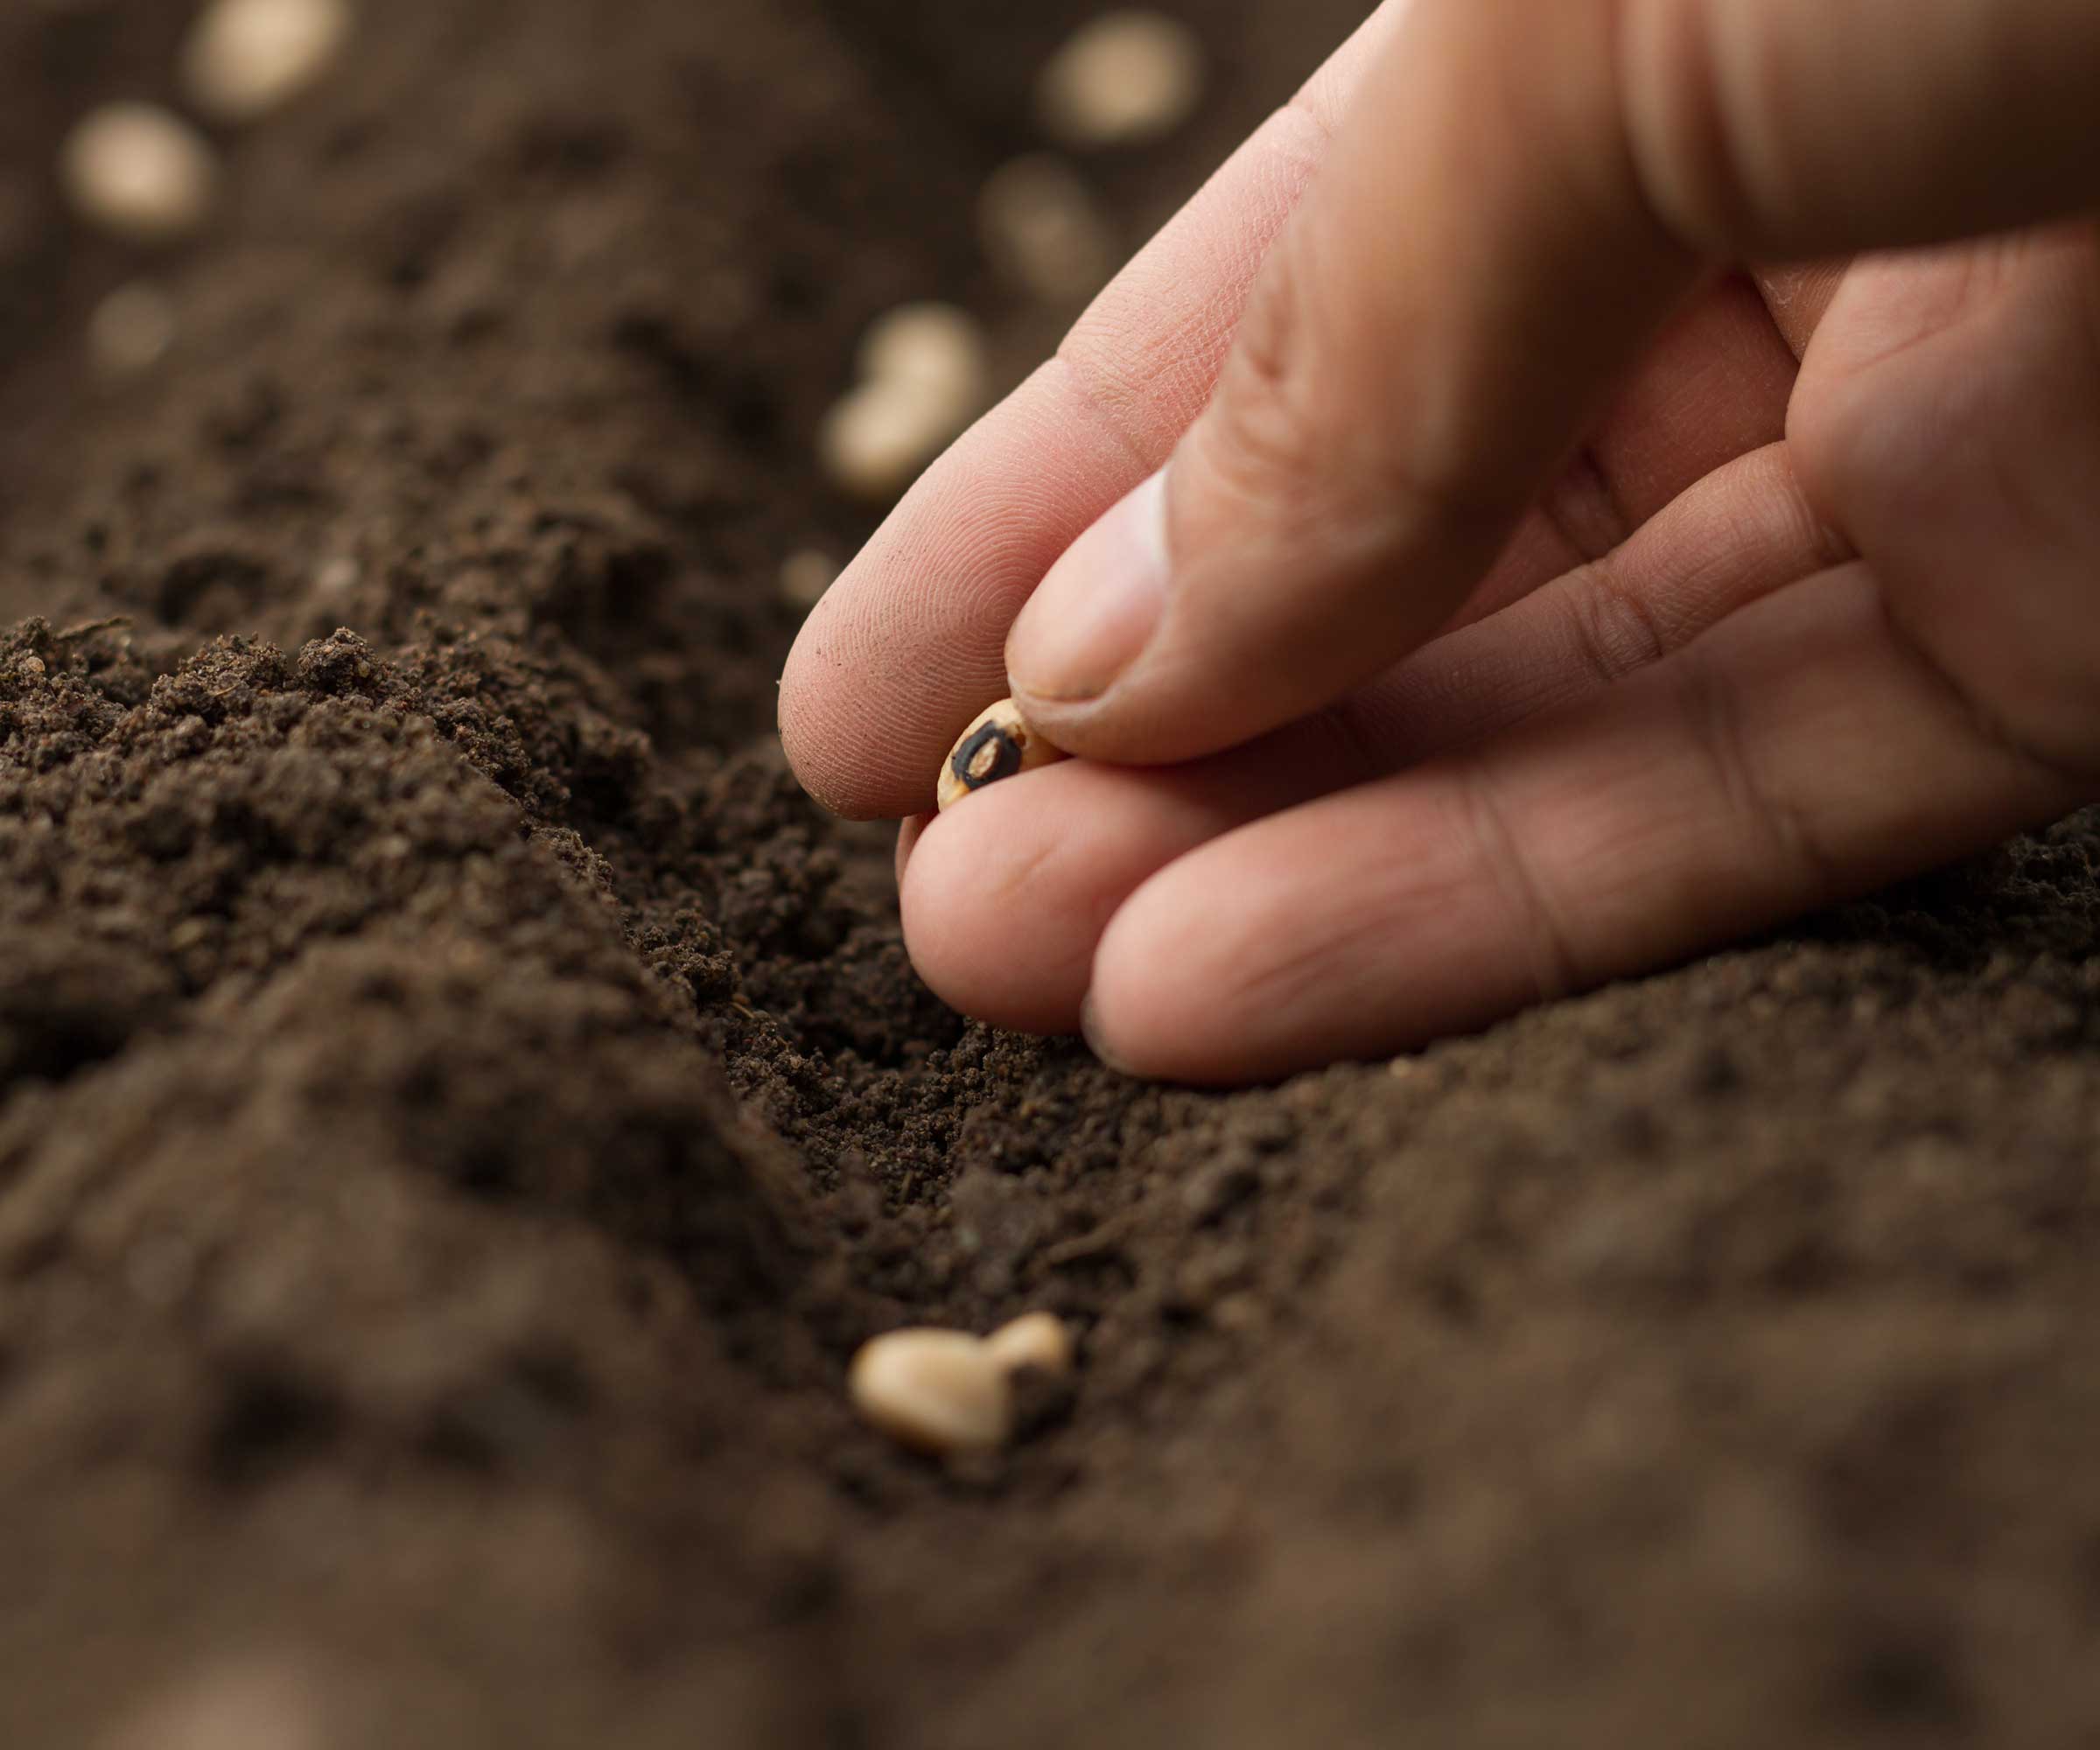
Some seeds can be sown directly outdoors
FAQs
How long does it take to germinate seeds?
Nancy Awot-Traut, a Horticulture Specialist at Burpee, says to check the packet to find out how long your seeds will take to germinate. 'Some seeds take as little as three days and some take over 30.'
Can you germinate seeds on wet paper towels?
Yes, it's possible to germinate most seeds on wet paper towels indoors. Doing so can speed up the process.
All you need to do is dampen a piece of paper towel, put it on a tray or a plate, scatter your seeds on top of it, then cover it with a clear plastic bag. Keep it somewhere bright and warm, and you will soon see shoots and roots developing. The seedlings can then be very carefully transplanted into trays or pots filled with soil.
Whether you're planning a new cut flower garden or growing new crops for your vegetable garden, starting plants from seeds is super rewarding. And with these tips above, you can increase your chances of success.
Holly started writing about gardening five years ago, and she is a regular contributor to Homes & Gardens. She has also written many gardening features for Woman & Home and Real Homes, too. She has previous experience as a professional gardener, where she helped to plant and maintain private gardens. Holly has also looked after allotment plots over the years and loves to grow her own flowers and veggies from seed. In her spare time, she enjoys visiting local gardens, botanical drawing, and tending to her ever-growing collection of houseplants.