How and when to transplant seedlings – the experts share their top tips for success
Learn how and when to transplant seedlings for the best results


Design expertise in your inbox – from inspiring decorating ideas and beautiful celebrity homes to practical gardening advice and shopping round-ups.
You are now subscribed
Your newsletter sign-up was successful
Want to add more newsletters?

Twice a week
Homes&Gardens
The ultimate interior design resource from the world's leading experts - discover inspiring decorating ideas, color scheming know-how, garden inspiration and shopping expertise.

Once a week
In The Loop from Next In Design
Members of the Next in Design Circle will receive In the Loop, our weekly email filled with trade news, names to know and spotlight moments. Together we’re building a brighter design future.

Twice a week
Cucina
Whether you’re passionate about hosting exquisite dinners, experimenting with culinary trends, or perfecting your kitchen's design with timeless elegance and innovative functionality, this newsletter is here to inspire
Q: I am growing many annual flowers from seed this year to fill a new cutting bed in my backyard. However, I'm a bit of a newbie to gardening and I'm not sure when and how to transplant the seedlings from their trays on my window sill into bigger pots, and from here, when to move them outdoors into their final position. I've heard that moving them too soon can damage them. Please can you help?
A: Growing flowers from seed is a great way to save money and it's easier than you might expect, but getting the first stages right is crucial for healthy, happy plants.
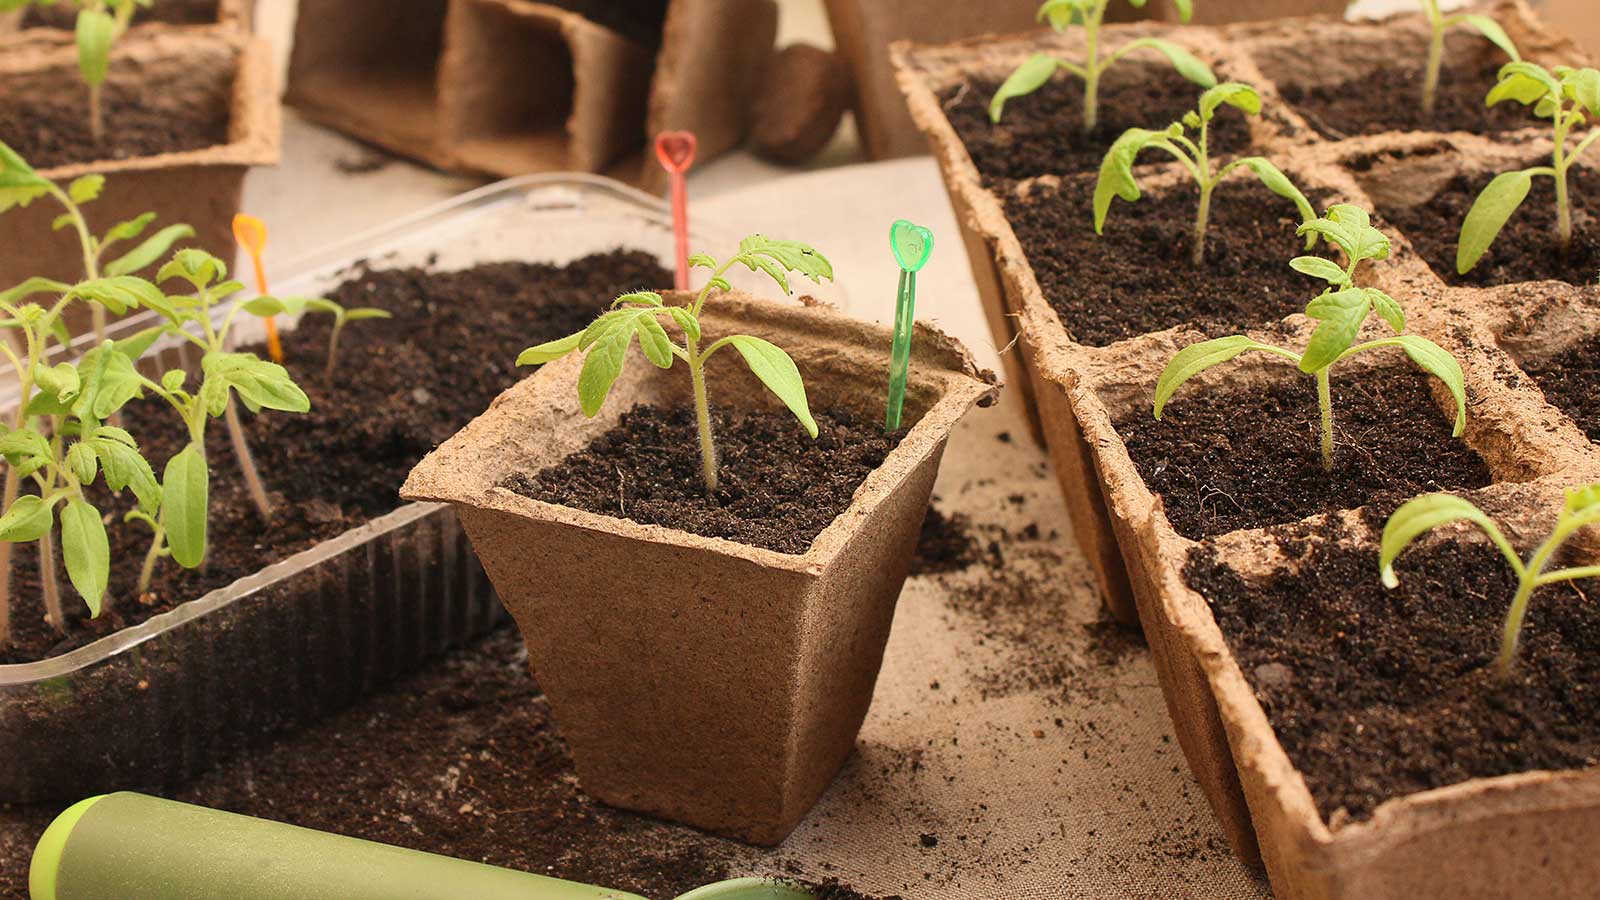
Ensure you're using the best soil to start seeds in to get them off to a strong start. Then, you generally need to wait until your seedlings are large enough to handle (no less than an inch in height) and have formed their second set of leaves before transplanting them, either individually or spaced 2in apart, into larger pots or trays filled with multipurpose or potting compost.

A former professional gardener and allotment grower, Holly now spends her days writing about plants and outdoor living for Homes and Gardens and caring for her large collection of houseplants.
Tips on how to transplant seedlings to bigger pots
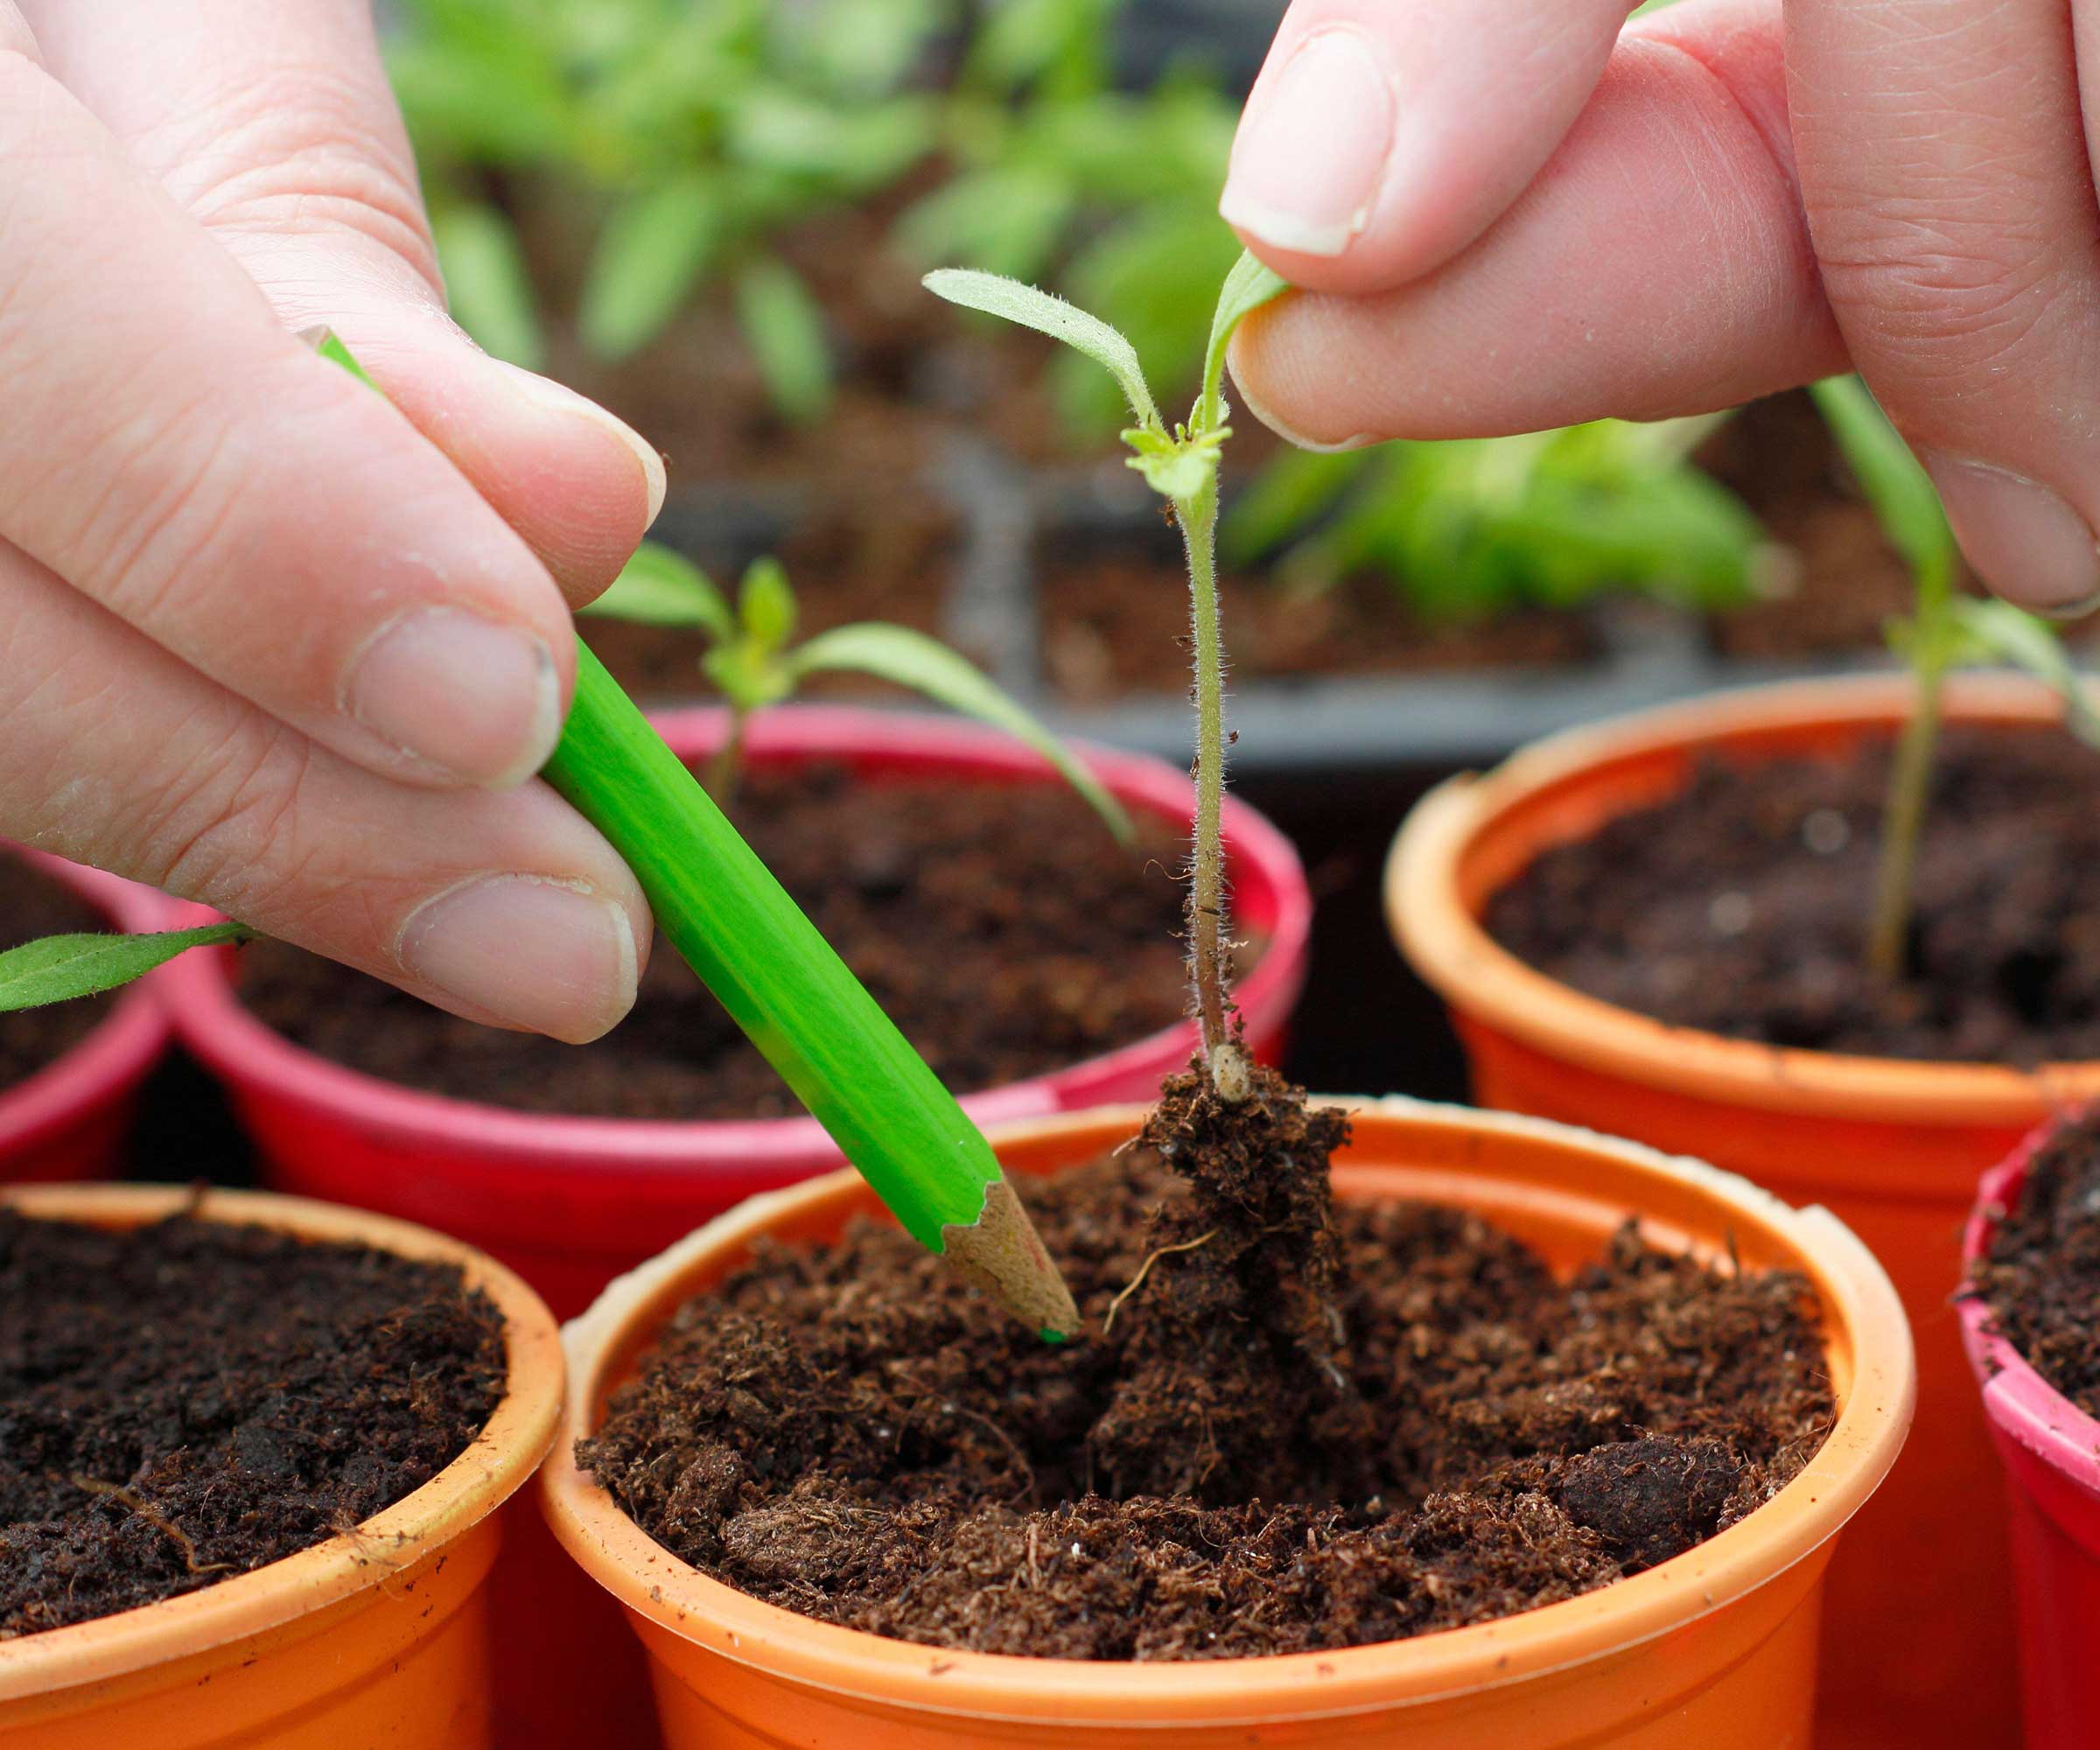
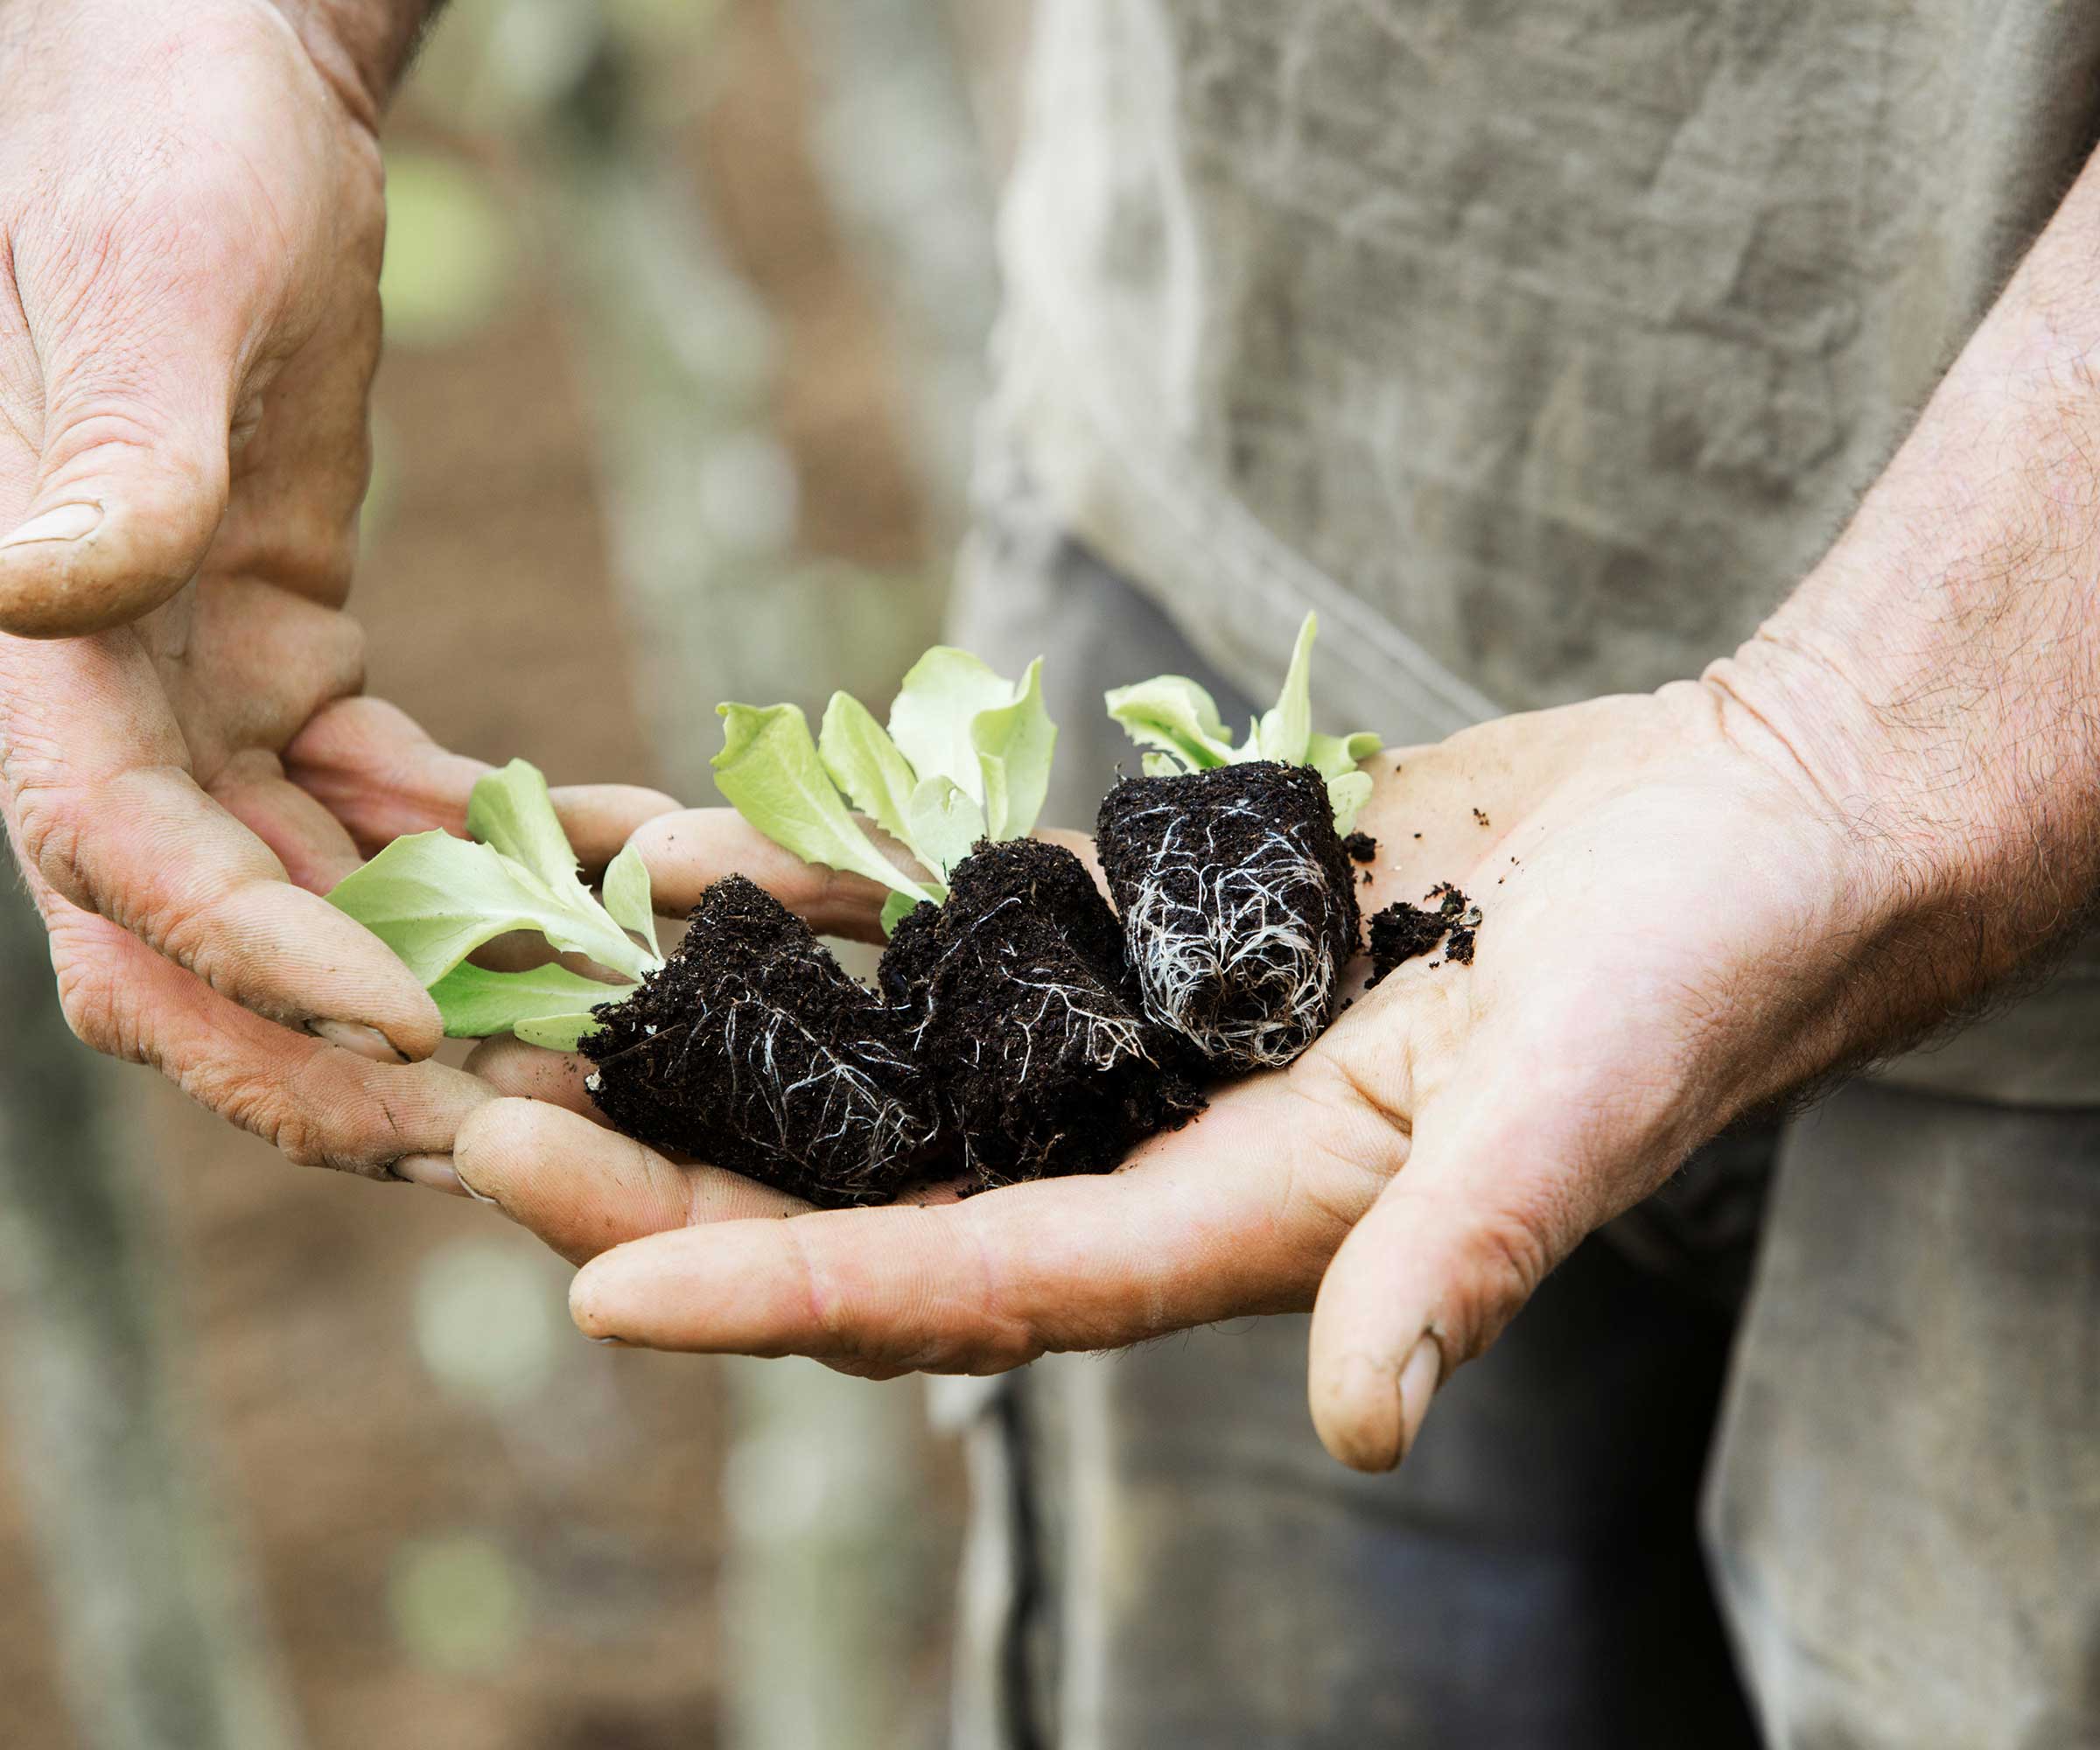
Use a pencil, dibber, or plant label to gently 'prick out' your seedlings from their starter trays. 'It’s important to handle them delicately,' says Hanna Bell of Gardeninghood.com. Avoid carrying them by the stem, holding them by the leaves instead. Robert Silver of ProGardeningBlog shares a top tip: 'Water the seedlings in their seed trays a few hours before transplanting. This will make them easier to remove from the trays and minimize root damage.'
Use the same tool to make small holes in your new potting compost, and gently re-plant the seedlings. Once you've transplanted your seedlings, Hanna advises gently firming the soil around the roots and watering the plants thoroughly. Make sure to keep a close eye on the plants in their new home and give them enough water and light to thrive, she adds.
'Once the seedlings have established themselves in their new pot, you can begin fertilizing them with a balanced fertilizer,' says Stacie Krljanovic, a Head Groundkeeper and advisor for Patio Productions. Here, they will continue to grow, until it's time to move them outdoors.

A pencil is useful for gently removing and re-planting your seedlings
Moving seedlings outdoors
'The most important factor when transplanting seedlings is soil temperature,' says Kate Russell, the Owner of The Daily Garden gardening blog. 'If the soil is too cold, young seedlings have to invest all of their resources into surviving, rather than thriving.'
Design expertise in your inbox – from inspiring decorating ideas and beautiful celebrity homes to practical gardening advice and shopping round-ups.
For this reason, you need to ensure outdoor temperatures are consistently warm enough for the flowers you are growing, and that all risks of frost have passed. Otherwise, your new plants may die.
To lessen the chances of your seedlings suffering from transplant shock, harden them off first. In fact, not doing so is a common mistake when growing seeds. 'This means gradually exposing them to outdoor conditions such as wind, sun, and temperature changes over a period of 7-10 days,' says Stacie.
The process is easy – simply position the pots outdoors in a sheltered spot during the day, then bring them back in at night. Alternatively, you can leave them outdoors and cover them with cloches (available from Amazon), remembering to prop them open at some point during each day to allow oxygen in and excess heat and moisture out.
Watch out for slugs, which are attracted to the young, green growth.

Once it's warm enough, you can start to bring your seedlings outdoors
Q&A
When should you uncover seedlings?
After sowing seeds indoors, you can cover the trays with a clear plastic bag, or use a tray with a lid, such as these from Amazon, which can help to speed up germination and keep the moisture levels high. Once the seeds have germinated and are showing signs of green growth, remove the cover to allow air to circulate and reduce the risks of disease.
In terms of when to uncover seedlings that have recently been planted out under cloches to harden off, you can usually remove these after a week or so, providing risks of frost have passed.

Holly started writing about gardening five years ago, and she is a regular contributor to Homes & Gardens. She has also written many gardening features for Woman & Home and Real Homes, too. She has previous experience as a professional gardener, where she helped to plant and maintain private gardens. Holly has also looked after allotment plots over the years and loves to grow her own flowers and veggies from seed. In her spare time, she enjoys visiting local gardens, botanical drawing, and tending to her ever-growing collection of houseplants.