A DIY self-watering planter can solve all your greenhouse irrigation woes – here's how to make one in 6 simple steps
Create a perfect watering system for thirsty plants without breaking the bank
Design expertise in your inbox – from inspiring decorating ideas and beautiful celebrity homes to practical gardening advice and shopping round-ups.
You are now subscribed
Your newsletter sign-up was successful
Want to add more newsletters?

Twice a week
Homes&Gardens
The ultimate interior design resource from the world's leading experts - discover inspiring decorating ideas, color scheming know-how, garden inspiration and shopping expertise.

Once a week
In The Loop from Next In Design
Members of the Next in Design Circle will receive In the Loop, our weekly email filled with trade news, names to know and spotlight moments. Together we’re building a brighter design future.

Twice a week
Cucina
Whether you’re passionate about hosting exquisite dinners, experimenting with culinary trends, or perfecting your kitchen's design with timeless elegance and innovative functionality, this newsletter is here to inspire
Watering is a necessary chore, yet it doesn't need to be a challenge. Whether you love it or loathe it, you need to do it to keep plants alive, but you can relieve some of the pressure with self-watering planters. And, what's even better, is that you can make a DIY self-watering planter in just a few simple steps.
When you shop around, many self-watering planters are small and suited for indoor plants, while larger ones carry a hefty price tag. You can get self-watering systems for watering greenhouse crops, but what if you are growing on a budget? This is one scenario where making a DIY self-watering planter comes in extremely handy.
Such a self-watering planter is quick and easy to make, requiring few materials. A DIY self-watering planter like this is ideal for growing thirsty greenhouse plants such as tomatoes, peppers, or eggplants. You can make a few of them for little expense, and it means less stress when it comes to watering plants, especially when you are away from home for a few days.
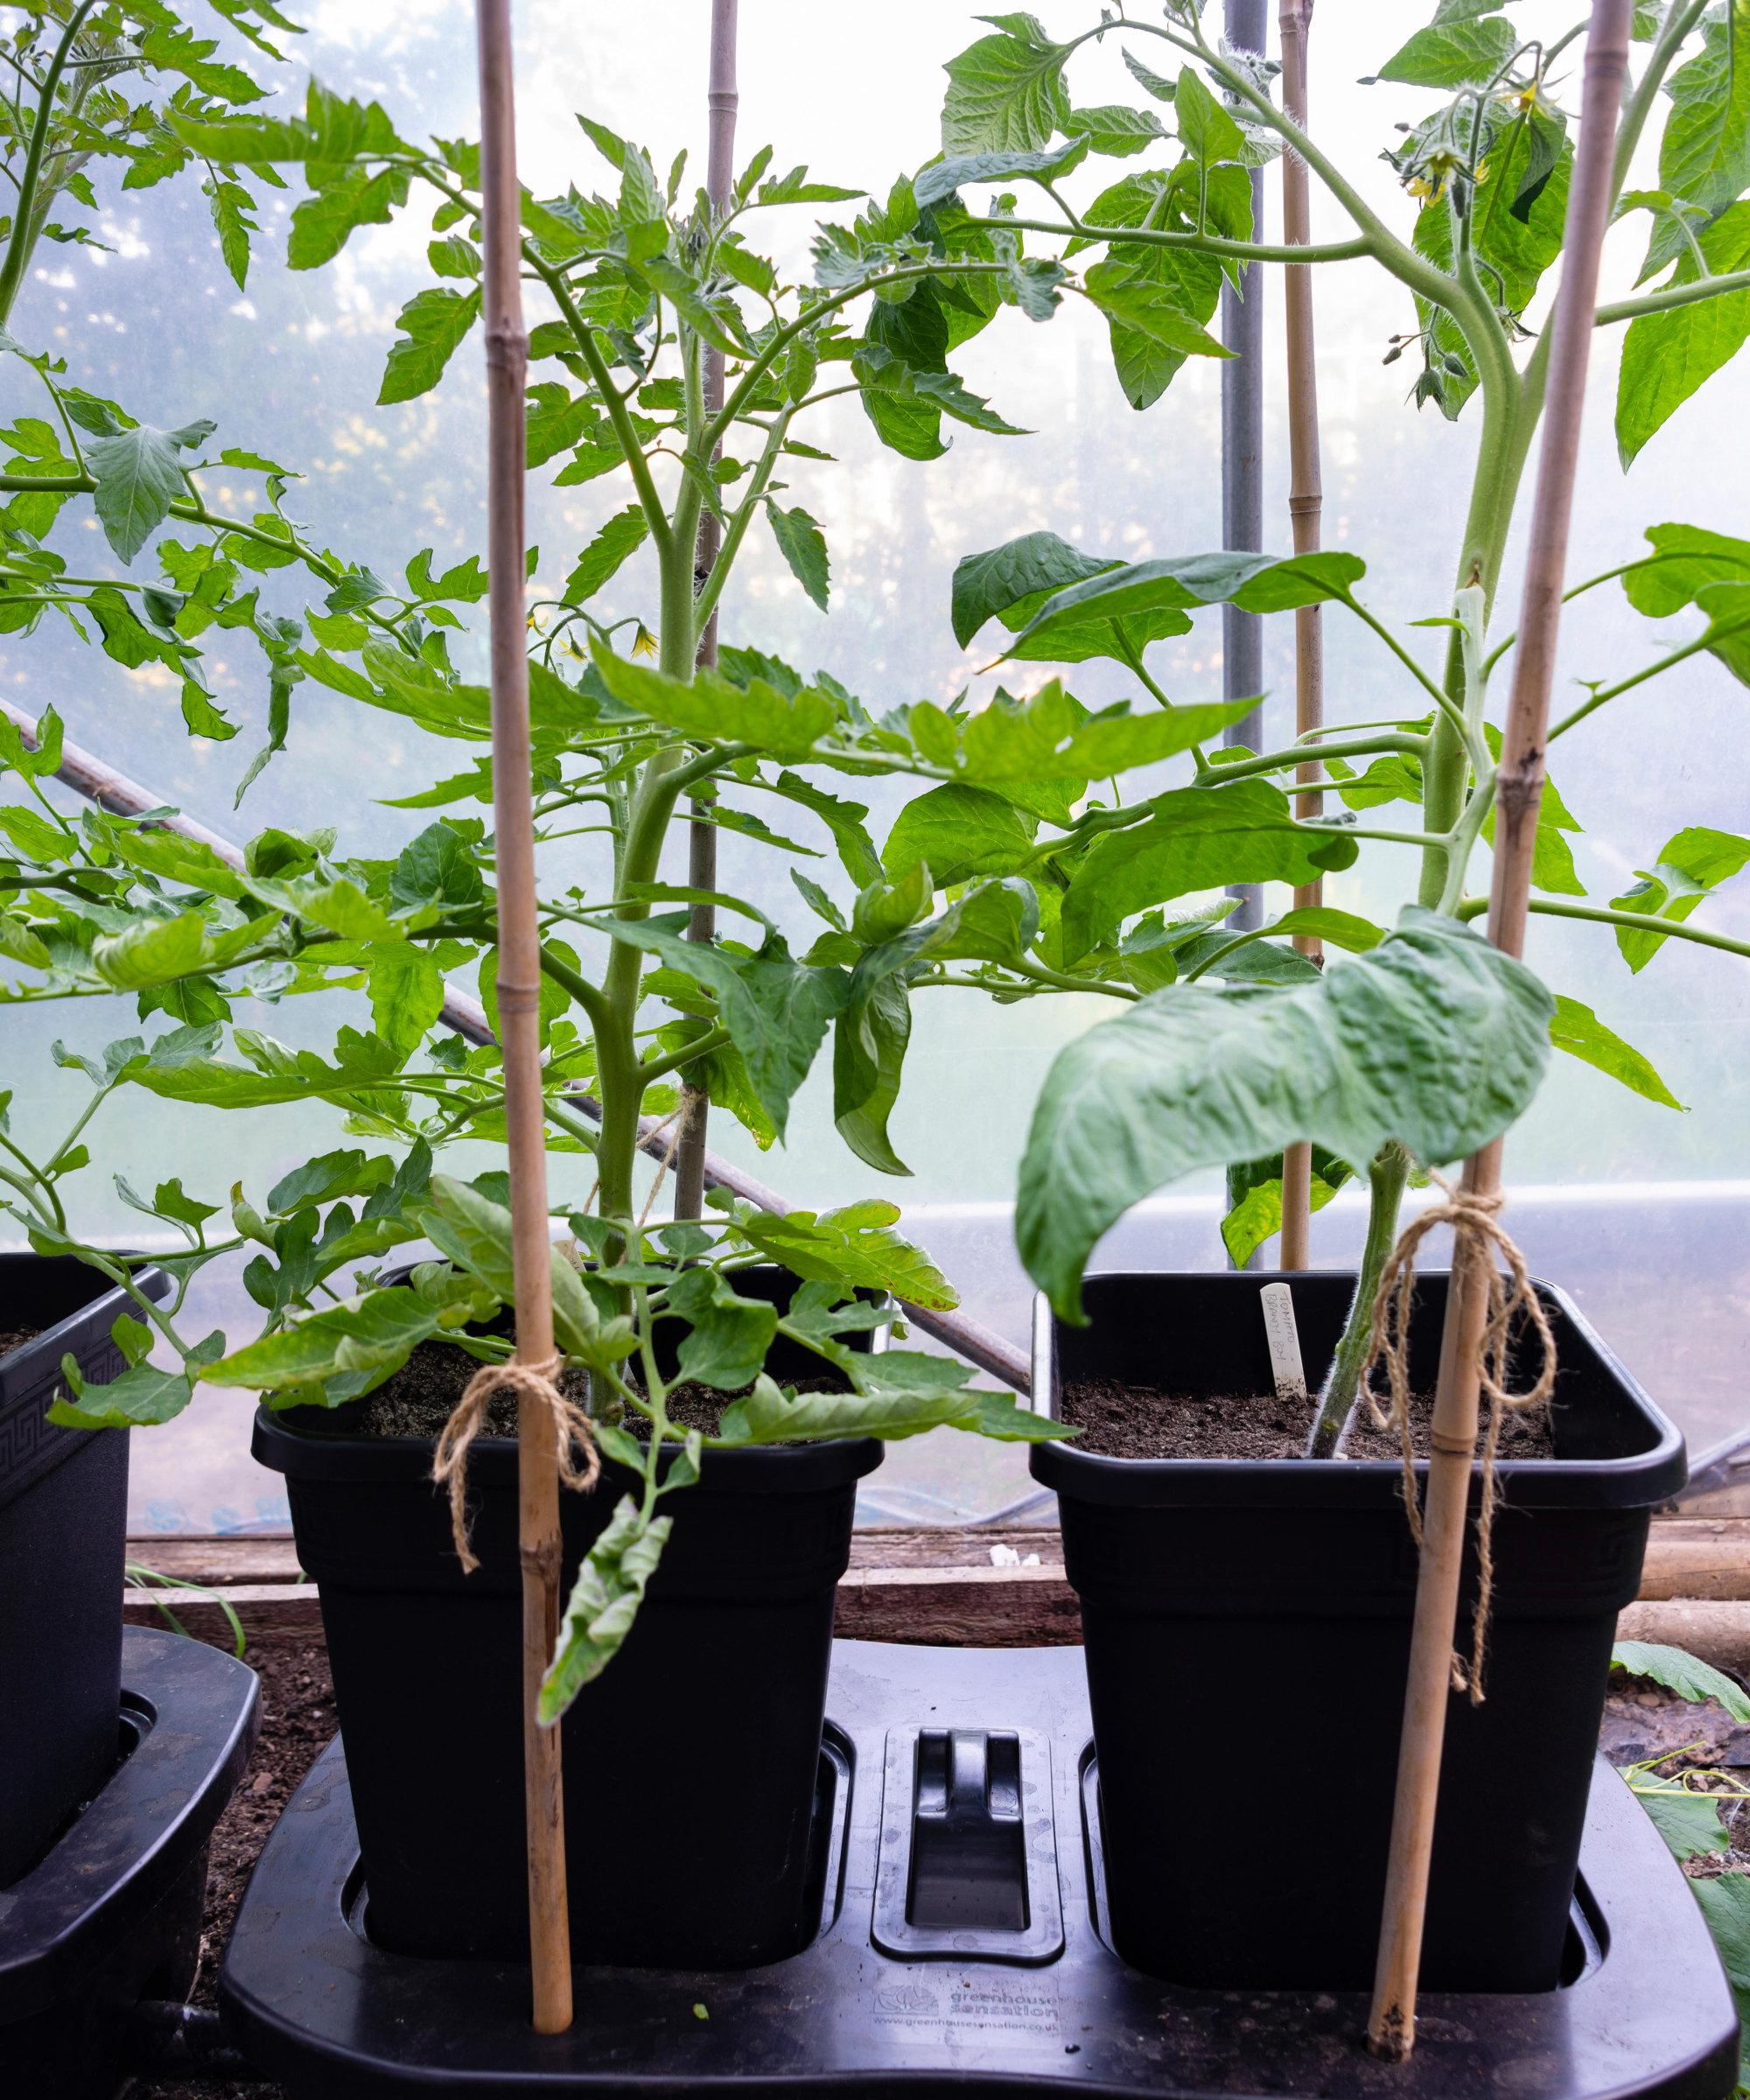
Benefits of a DIY self-watering planter
A self-watering planter has a reservoir to hold water, from which plants can draw water up to the roots via capillary action. It is an efficient system of watering plants in containers, and can be relied on to water plants while you are away on vacation.
The water is supplied directly to the plant's roots, so you don't need to worry about wet foliage and the risks of fungal diseases that come with it.
There are several DIY garden watering systems you can use at home, such as DIY drip irrigation systems. However, self-watering planters are ideal solutions for thirsty plants in warm greenhouses, as they require consistently moist soil.
Kit for a DIY self-watering planter – here's what you need
- A large plastic container
- A plastic bottle or a plant pot
- A plastic saucer
- Landscaping fabric (optional)
- PVC pipe
- A drill (such as this cordless drill kit at Walmart)
- A handsaw (like this hyper-tough handsaw, also at Walmart)
- Potting mix (a quality mix like this organic potting mix at Burpee is best)
- Plants
How to make a DIY self-watering planter in 6 easy steps
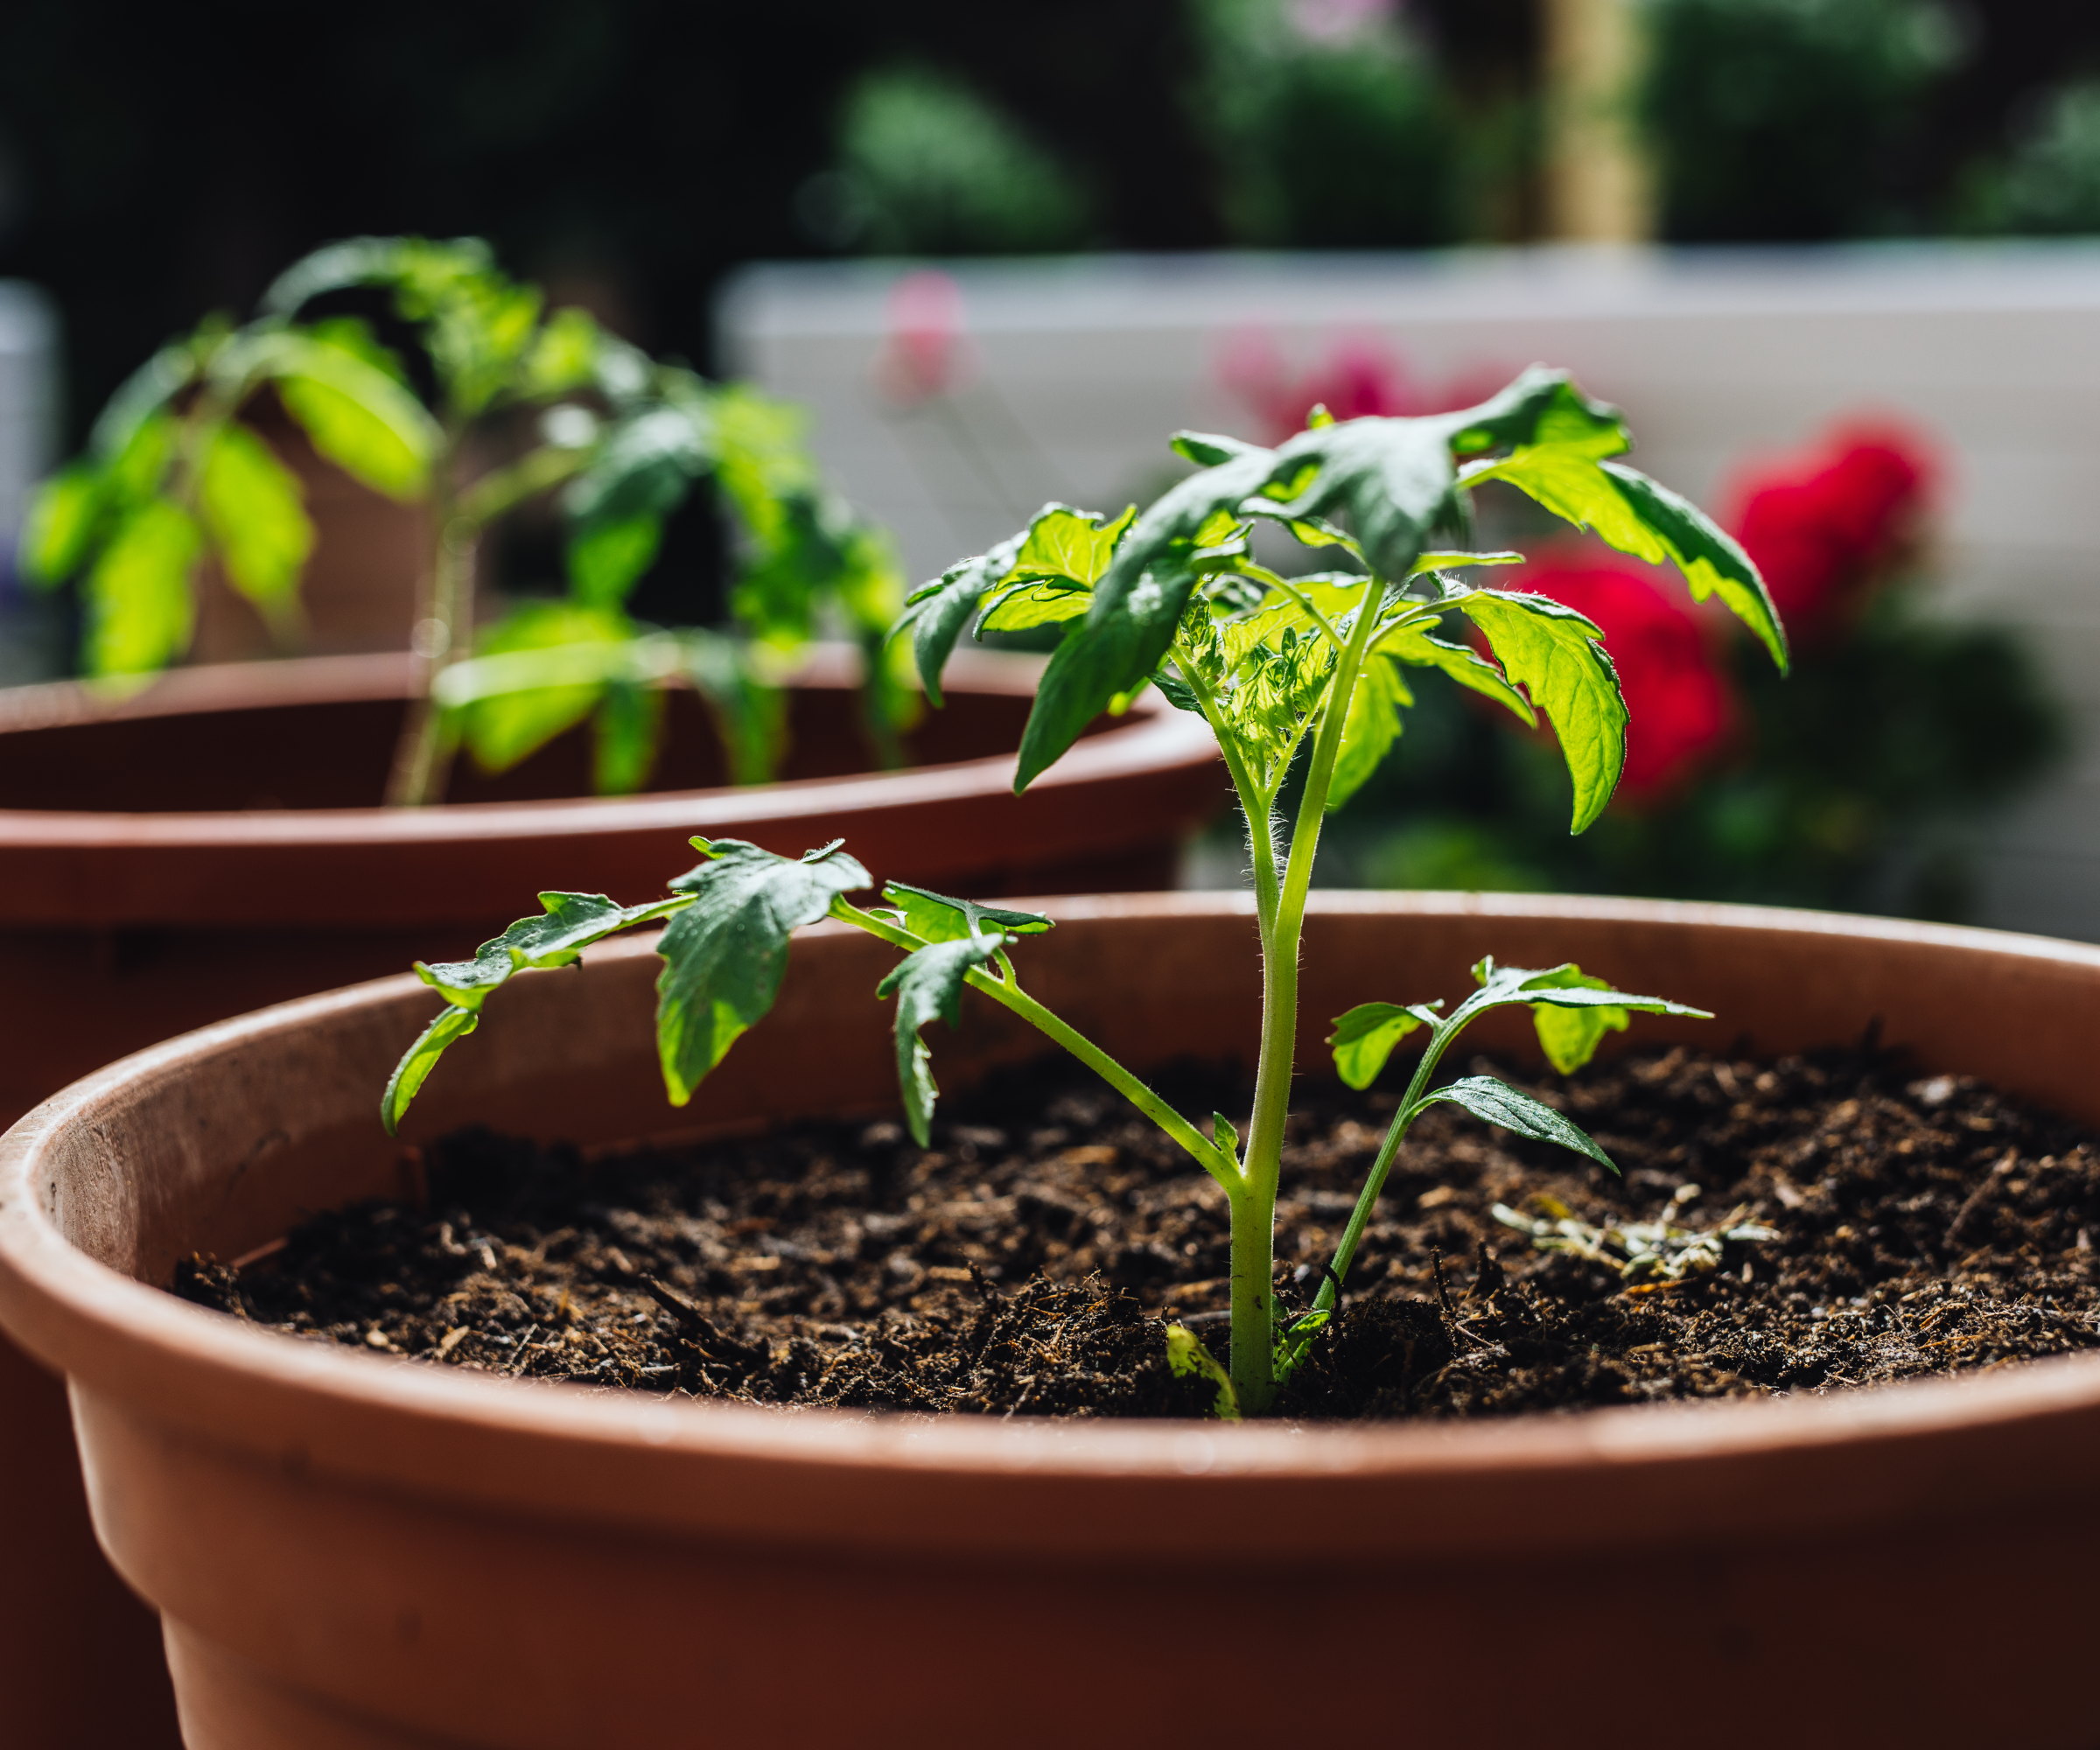
An ideal pot to turn into a DIY self-watering planter would be at least five gallons in size, such as these five-gallon buckets available at Amazon. It can be a large plastic planter, tub, or bucket, but it should not have existing drainage holes in the bottom. With this container, you can turn it into a highly effective DIY self-watering planter in six simple steps.
Design expertise in your inbox – from inspiring decorating ideas and beautiful celebrity homes to practical gardening advice and shopping round-ups.
- Prepare the wicking vessel - You can use a plastic bottle or a plastic plant pot to sit at the bottom of a planter and act as the wick to draw water up. If you use a plastic bottle, pick one two litres in size and cut off the top part. Make several rows of small holes in the vessel using a drill or nail, but don't get too carried away as to affect the structural integrity of the bottle or pot.
- Create room for the reservoir - A reservoir of water at the bottom is integral to a DIY self-watering planter. You can create this space by taking a strong plastic saucer, cutting a hole large enough for the bottle or pot to fit through, and pushing it down until it sits snugly against the sides of the planter. You can use saucers like these plastic plant saucers at Amazon that come in a range of widths. Alternatively, cut sturdy drain pipes to the same height as the wicking vessel and line the planter with landscaping fabric.
- Install a watering tube - A PVC pipe needs to be installed so you can add water to the planter without soaking the soil directly. A material like this rigid plastic PVC pipe available at Amazon does the job perfectly and can be cut to size. This PVC pipe should be cut to an inch or two taller than the planter itself. If you use a saucer, draw around the end of the pipe and cut out a tight-fitting hole for it towards the outer edge, while you can have the pipe outside the liner if you opted for the landscaping fabric method.
- Make a drainage hole - To allow excess water to escape from the DIY self-watering planter, drill a small hole into the side just underneath the top level of your wicking vessel. This means water can escape and prevent your planter from being waterlogged, as well as indicate when the reservoir is full.
- Fill the planter - Now is the time to fill the DIY self-watering planter with potting soil for container gardening, including the wicking vessel that will be responsible for soaking water upwards via capillary action. Take care when filling the planter, as you don't want to move or knock any of the component pieces. Fill the planter until it is an inch from the rim. Next, fill the reservoir with water until the water flows out of the drainage hole.
- Plant - Construction is now complete, so you can add whatever plants you desire to your DIY self-watering planter. Such a planter can make a great addition to any greenhouse setup, especially for thirsty plants like tomatoes, when consistently moist soil brings the best results.
FAQs
Do you put rocks in the bottom of self-watering pots?
There is no need to put rocks in the bottom of your DIY self-watering planter. A water reservoir is all that is required, with a drainage hole put in the side of the planter so excess water can escape.
If you are after other clever ways to water plants in containers, then you can get terracotta watering spikes, or irrigation spikes. These are easy to set up and will slowly release water into the soil to keep plants hydrated. Such spikes are ideal for containers as they don't contain masses of water, and are suited for watering for a few days rather than a full week.
These terracotta watering stakes at Amazon, for example, are perfect for putting onto the top of a long neck bottle, whether a glass or plastic bottle. Simply turn the bottle upside down and place it into the soil to slowly release water into the container.
Shop alternative watering solutions
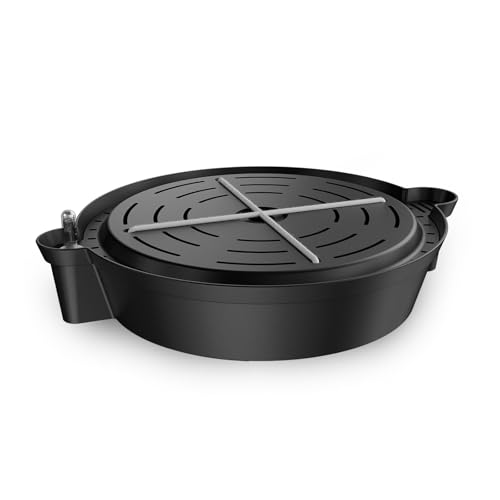
If you use grow bags for vegetables, this self-watering pot base delivers water to fabric pots and features a water meter display.
Drew has worked as a writer since 2008 and was also a professional gardener for many years. As a trained horticulturist, he worked in prestigious historic gardens, including Hanbury Hall and the world-famous Hidcote Manor Garden. He also spent time as a specialist kitchen gardener at Soho Farmhouse and Netherby Hall, where he grew vegetables, fruit, herbs, and cut flowers for restaurants. Drew has written for numerous print and online publications and is an allotment holder and garden blogger. He is shortlisted for the Digital Gardening Writer of the Year at the 2025 Garden Media Guild Awards.
