I tried the self-watering TikTok hack that will keep plants hydrated through summer
This quick DIY drip irrigation trick has saved my container plants from certain death, and it is now a part of my summer gardening routine


Design expertise in your inbox – from inspiring decorating ideas and beautiful celebrity homes to practical gardening advice and shopping round-ups.
You are now subscribed
Your newsletter sign-up was successful
Want to add more newsletters?

Twice a week
Homes&Gardens
The ultimate interior design resource from the world's leading experts - discover inspiring decorating ideas, color scheming know-how, garden inspiration and shopping expertise.

Once a week
In The Loop from Next In Design
Members of the Next in Design Circle will receive In the Loop, our weekly email filled with trade news, names to know and spotlight moments. Together we’re building a brighter design future.

Twice a week
Cucina
Whether you’re passionate about hosting exquisite dinners, experimenting with culinary trends, or perfecting your kitchen's design with timeless elegance and innovative functionality, this newsletter is here to inspire
Sweltering summer temperatures seem to have hit earlier this year than ever before, and as a beginner gardener, I was horrified to see my new collection of container plants withering in the hot sun. I, of course, couldn't water them constantly and I was stumped for a solution.
That is where a quick TikTok hack I saw for a drip irrigation system DIY saved the day. The trick is perfect for avoiding the common garden watering mistake of over or under-watering through summer and even helps you to save water when watering too.
Here, I break down how to make your own drip irrigation system, and why I love this quick fix so much as a first-time gardener.
Drip irrigation system DIY
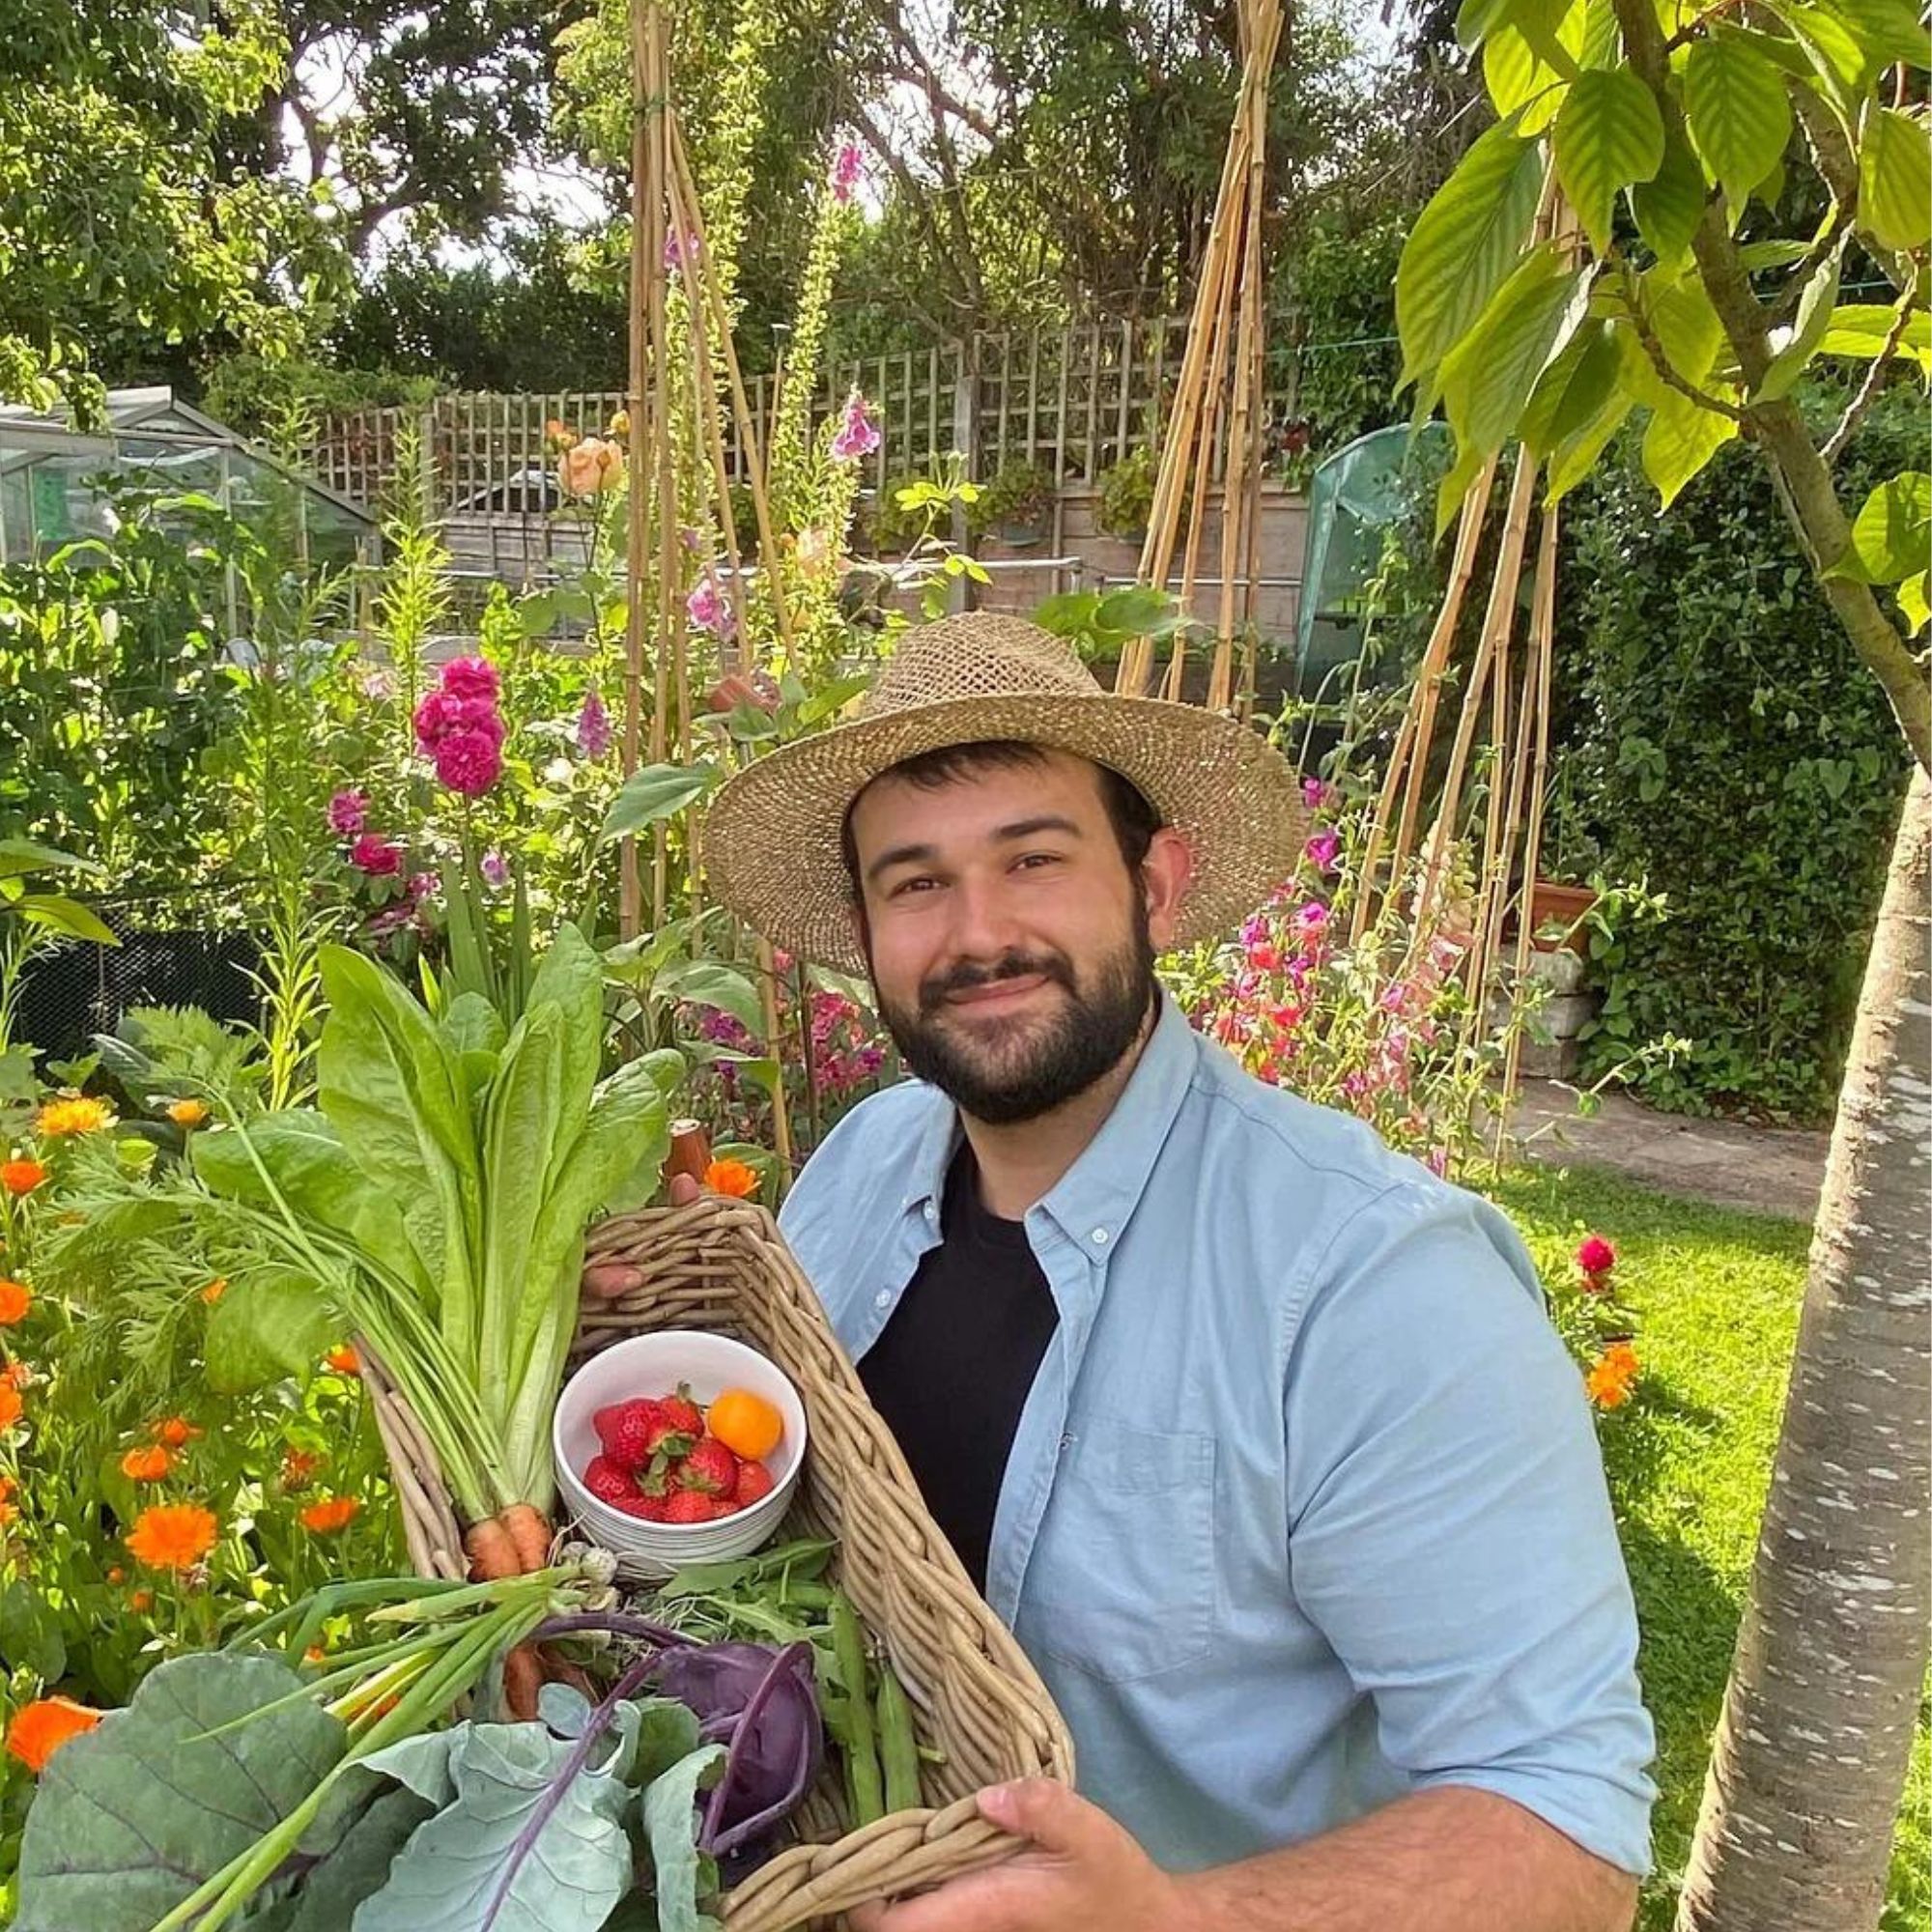
If, like me, you don’t have the space or need for a full-time drip irrigation system in your garden, then this quick bottle hack could be the ideal solution for you. Originally posted by gardening guru Joe Clark, founder of Joe's Garden, the trick uses an old plastic bottle and a cotton swab to slowly water plants in containers. Here is how I got on.

Joe and his team strive to share their top gardening tips with others online for free to help make gardening accessible for all no matter their garden size – be it a small balcony or a sprawling yard.
You will need:
- A clean empty drink bottle
- One cotton swab, from Walmart
- A pair of sharp scissors, from Amazon
1. Poke a small hole in the side of the bottle – and top of the lid
Once I had cleaned out the old water bottle I used the scissors to poke a small hole in the side of the bottle, around two inches from the bottom, only wide enough to fit the stem of the cotton swab into later, and did the same for the hard plastic lid.
In the original video, Joe heated up the end of a metal utensil with his gas stove to help melt the plastic and make the hole smoother. Instead, I used a lighter to warm the tip of the blade up carefully, but you could also place the bottle on a hard surface on a damp towel to prevent slipping and press and twist firmly until a hole forms.
2. Cut the cotton swab in half and fit to the bottle
The next step was to cut the cotton swab in half, with each end inserted into one of the holes so that the fluffy bit was on the outside. This acted as the water delivery mechanism, with the water slowly leaking out from the bottom bud with the top bud there to control the flow of water.
Design expertise in your inbox – from inspiring decorating ideas and beautiful celebrity homes to practical gardening advice and shopping round-ups.
The idea is that if you leave the top swab in, the water will drip more slowly. Take it out, and the water will flow more quickly, making this quick DIY adjustable as well as incredibly practical (and a great way to be sustainable at home too!).
I found that taking the bud out at first was a good way to start to wet the soil, but popped the top swab back in after an hour or so to slow the water down a little and prevent swamping the soil.
3. Fill the bottle with water
Obviously, a DIY watering system needs some water! I filled the bottle up, holding my finger to the bottom hole to stop it from leaking as I moved it outside to my plants.
I used everyday tap water for mine, but you could always add some plant food to your water mix, or even try rainwater harvesting to fill your bottles instead. This is a great way to save money at home, and it has been proven to be better for your plants, with rainwater containing the natural nutrients your plants crave.
4. Place in your plant pot and bed down to keep upright
A common container gardening mistake is to use a pot too small for the plant, but if you have managed to avoid this then there should be plenty of space to slot the bottle into the pot beside the plant.
I made a small hole in the soil, the width of the base of the bottle, and bedded it in as I would a plant so that the bottom cotton swab hovered above the soil surface. This helped to add some extra stability to keep the bottle in place in high winds.
My verdict

This quick drip irrigation system DIY was the perfect solution to my plants' dry soil. The method helps to deliver a steady stream of water to my plants without me having to worry about going out every evening to douse them in water. It also means I don't need to water them with a watering can and get the leaves wet in high sunshine (a quick way to ensure that your leaves burn or scald).
It is certainly a trick I will be adding to my summer gardening task list each year.
FAQs
Do you need drip irrigation in a garden?
Drip irrigation watering is a very convenient way to help keep your soil damp and plants well-watered. You may want to consider one of these systems for your yard or garden if you have a lot of plants that have precise watering needs, live in a hot area where soil frequently dries out, or want to save some money on watering them daily with a large watering can or hose pipe. Wetter or cooler climates, or gardens with a lot of drought-tolerant plants, on the other hand, may be able to go without.
Is drip or spray irrigation best?
Whether drip or spray irrigation is best for you will depend on your plants and where they are positioned. Spray irrigation is better for larger areas and watering plants at times when strong sun won’t burn the leaves. A drip irrigation system is better if a plant has more precise watering needs in smaller areas and needs consistently damp soil.
When using a drip irrigation system, make sure to check if your plants prefer to be watered from the top or the bottom first to make sure you are giving them the best treatment. More often than not, plants designed to live outside will do great with a drip system, whereas houseplants may prefer to soak up their water instead.

Chiana is Homes & Gardens’ kitchen appliances editor. With a lifelong passion for cooking and baking, she grew up experimenting in the kitchen every weekend with her baking-extraordinaire Mom, and has developed a great understanding of how tools and appliances can make or break your ideal relaxing kitchen routine.