How to harvest calendula seeds in late summer to grow more of these vibrant plants next year
Learning how to harvest calendula seeds is a free and fun way to propagate annual plants

Design expertise in your inbox – from inspiring decorating ideas and beautiful celebrity homes to practical gardening advice and shopping round-ups.
You are now subscribed
Your newsletter sign-up was successful
Want to add more newsletters?

Twice a week
Homes&Gardens
The ultimate interior design resource from the world's leading experts - discover inspiring decorating ideas, color scheming know-how, garden inspiration and shopping expertise.

Once a week
In The Loop from Next In Design
Members of the Next in Design Circle will receive In the Loop, our weekly email filled with trade news, names to know and spotlight moments. Together we’re building a brighter design future.

Twice a week
Cucina
Whether you’re passionate about hosting exquisite dinners, experimenting with culinary trends, or perfecting your kitchen's design with timeless elegance and innovative functionality, this newsletter is here to inspire
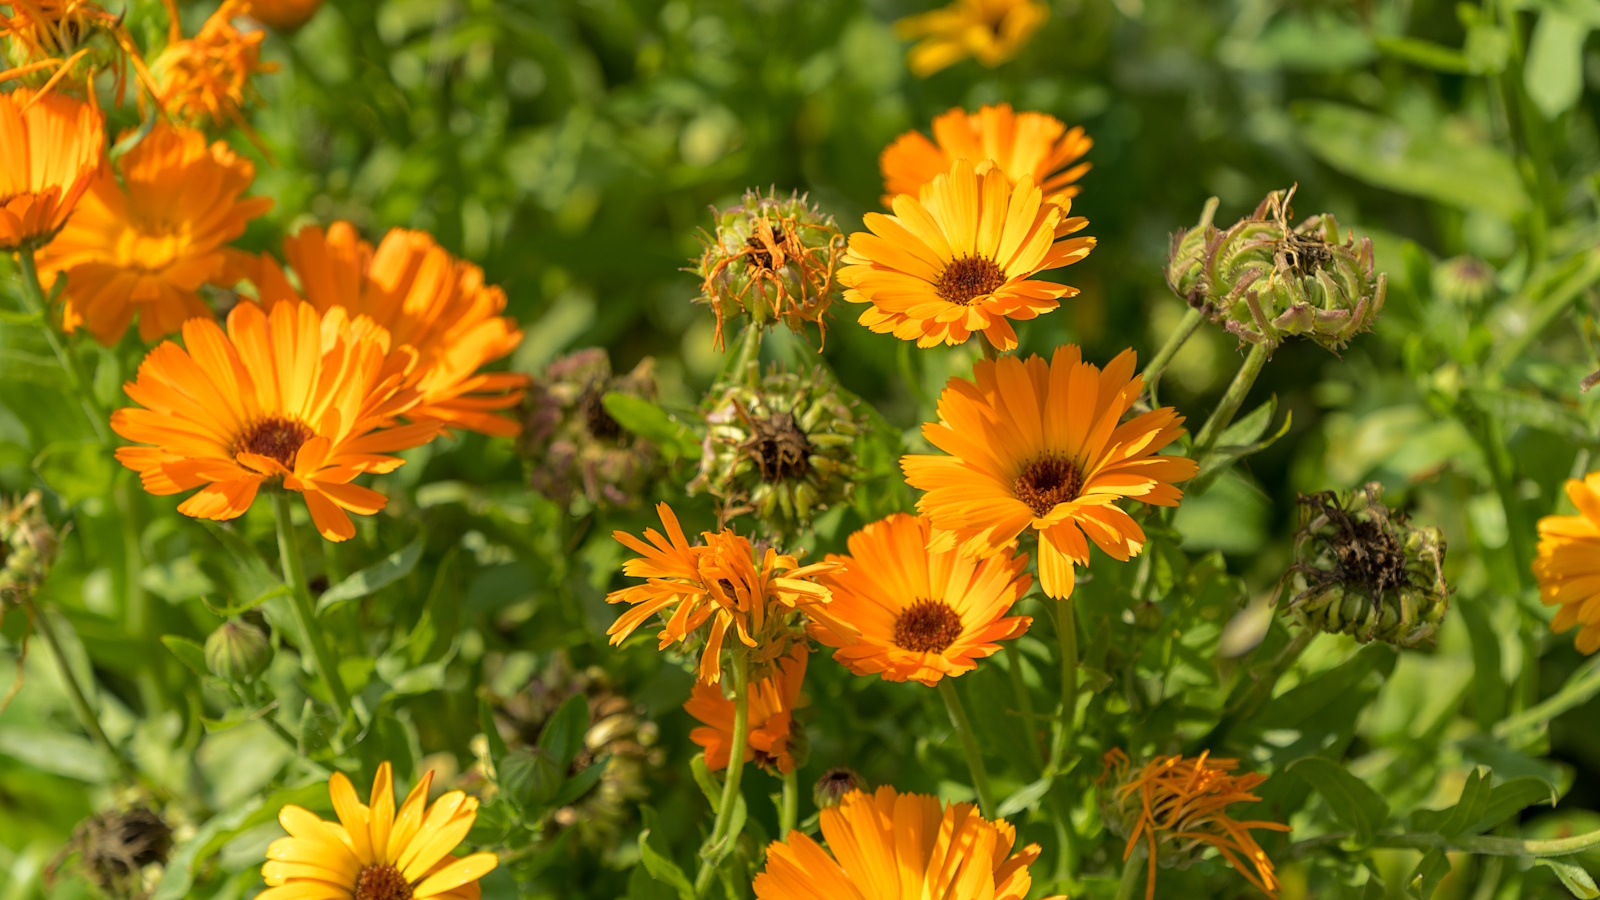
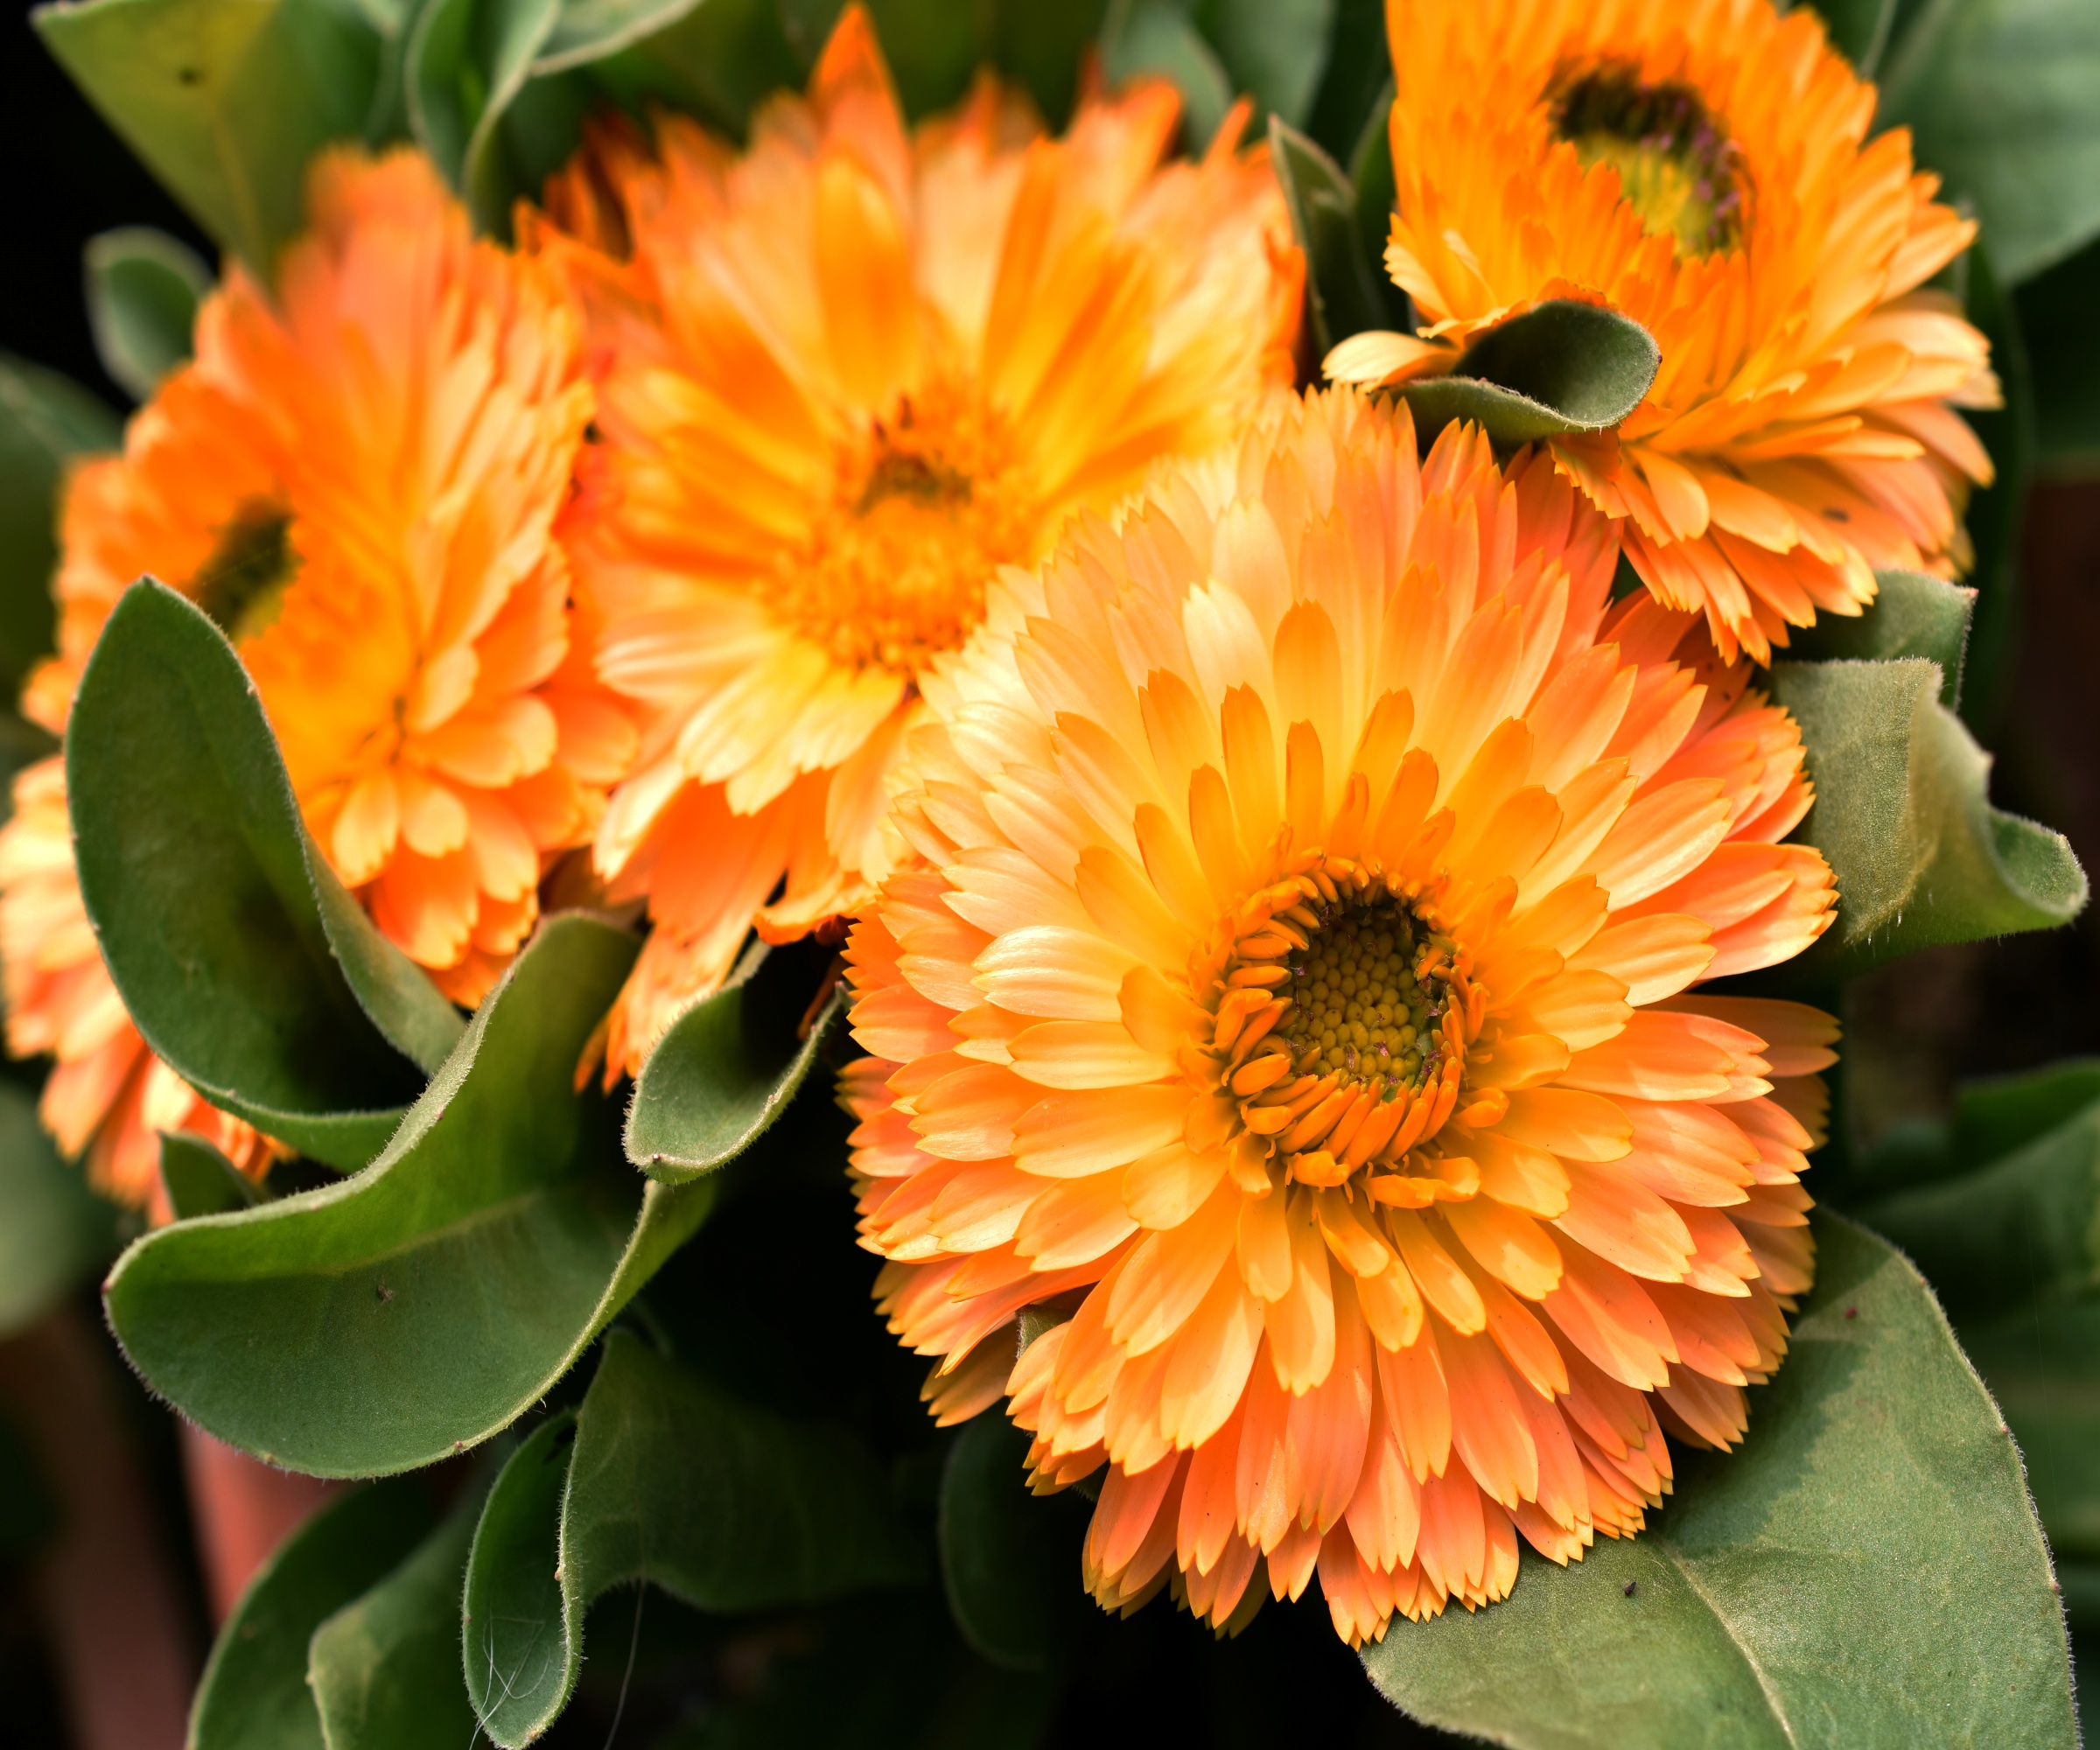
If you are looking for a cheerful annual to grow in borders and containers, it is hard to top calendula. With bright, brilliant blooms that are repeat-flowering, these long-lasting annuals can add vibrant color to any plot from May through until October - all they need is sunshine.
The end of summer is an ideal time to harvest calendula seeds. Doing so at this time is a good way to ensure you have viable seeds to propagate more of the plants you love next year. What's more, growing plants from seed is free, fun, and a great way to fill your yard with annuals that can be relied on for zingy color.
Last summer, when working as a gardener in Tuscany, I grew a dark orange variety that filled the garden borders with pleasing daisy-like blooms. I enjoyed growing Calendula officinalis 'Indian Prince' so much that I harvested and saved the seeds in August and September. Here, I share all I learned about collecting seeds from this popular plant.
How to harvest calendula seeds
Often considered some of the best fast-growing flowering annuals, calendula plants are sure to add vivid color to any yard. Towards the end of summer, when your plants begin to fade from the glory of late spring and early summer, it is time to gather as many seeds as you can to save for next year. While this can vary depending on your US hardiness zone, most gardeners can collect seeds from annual plants anytime from July until October.
When to harvest calendula seeds
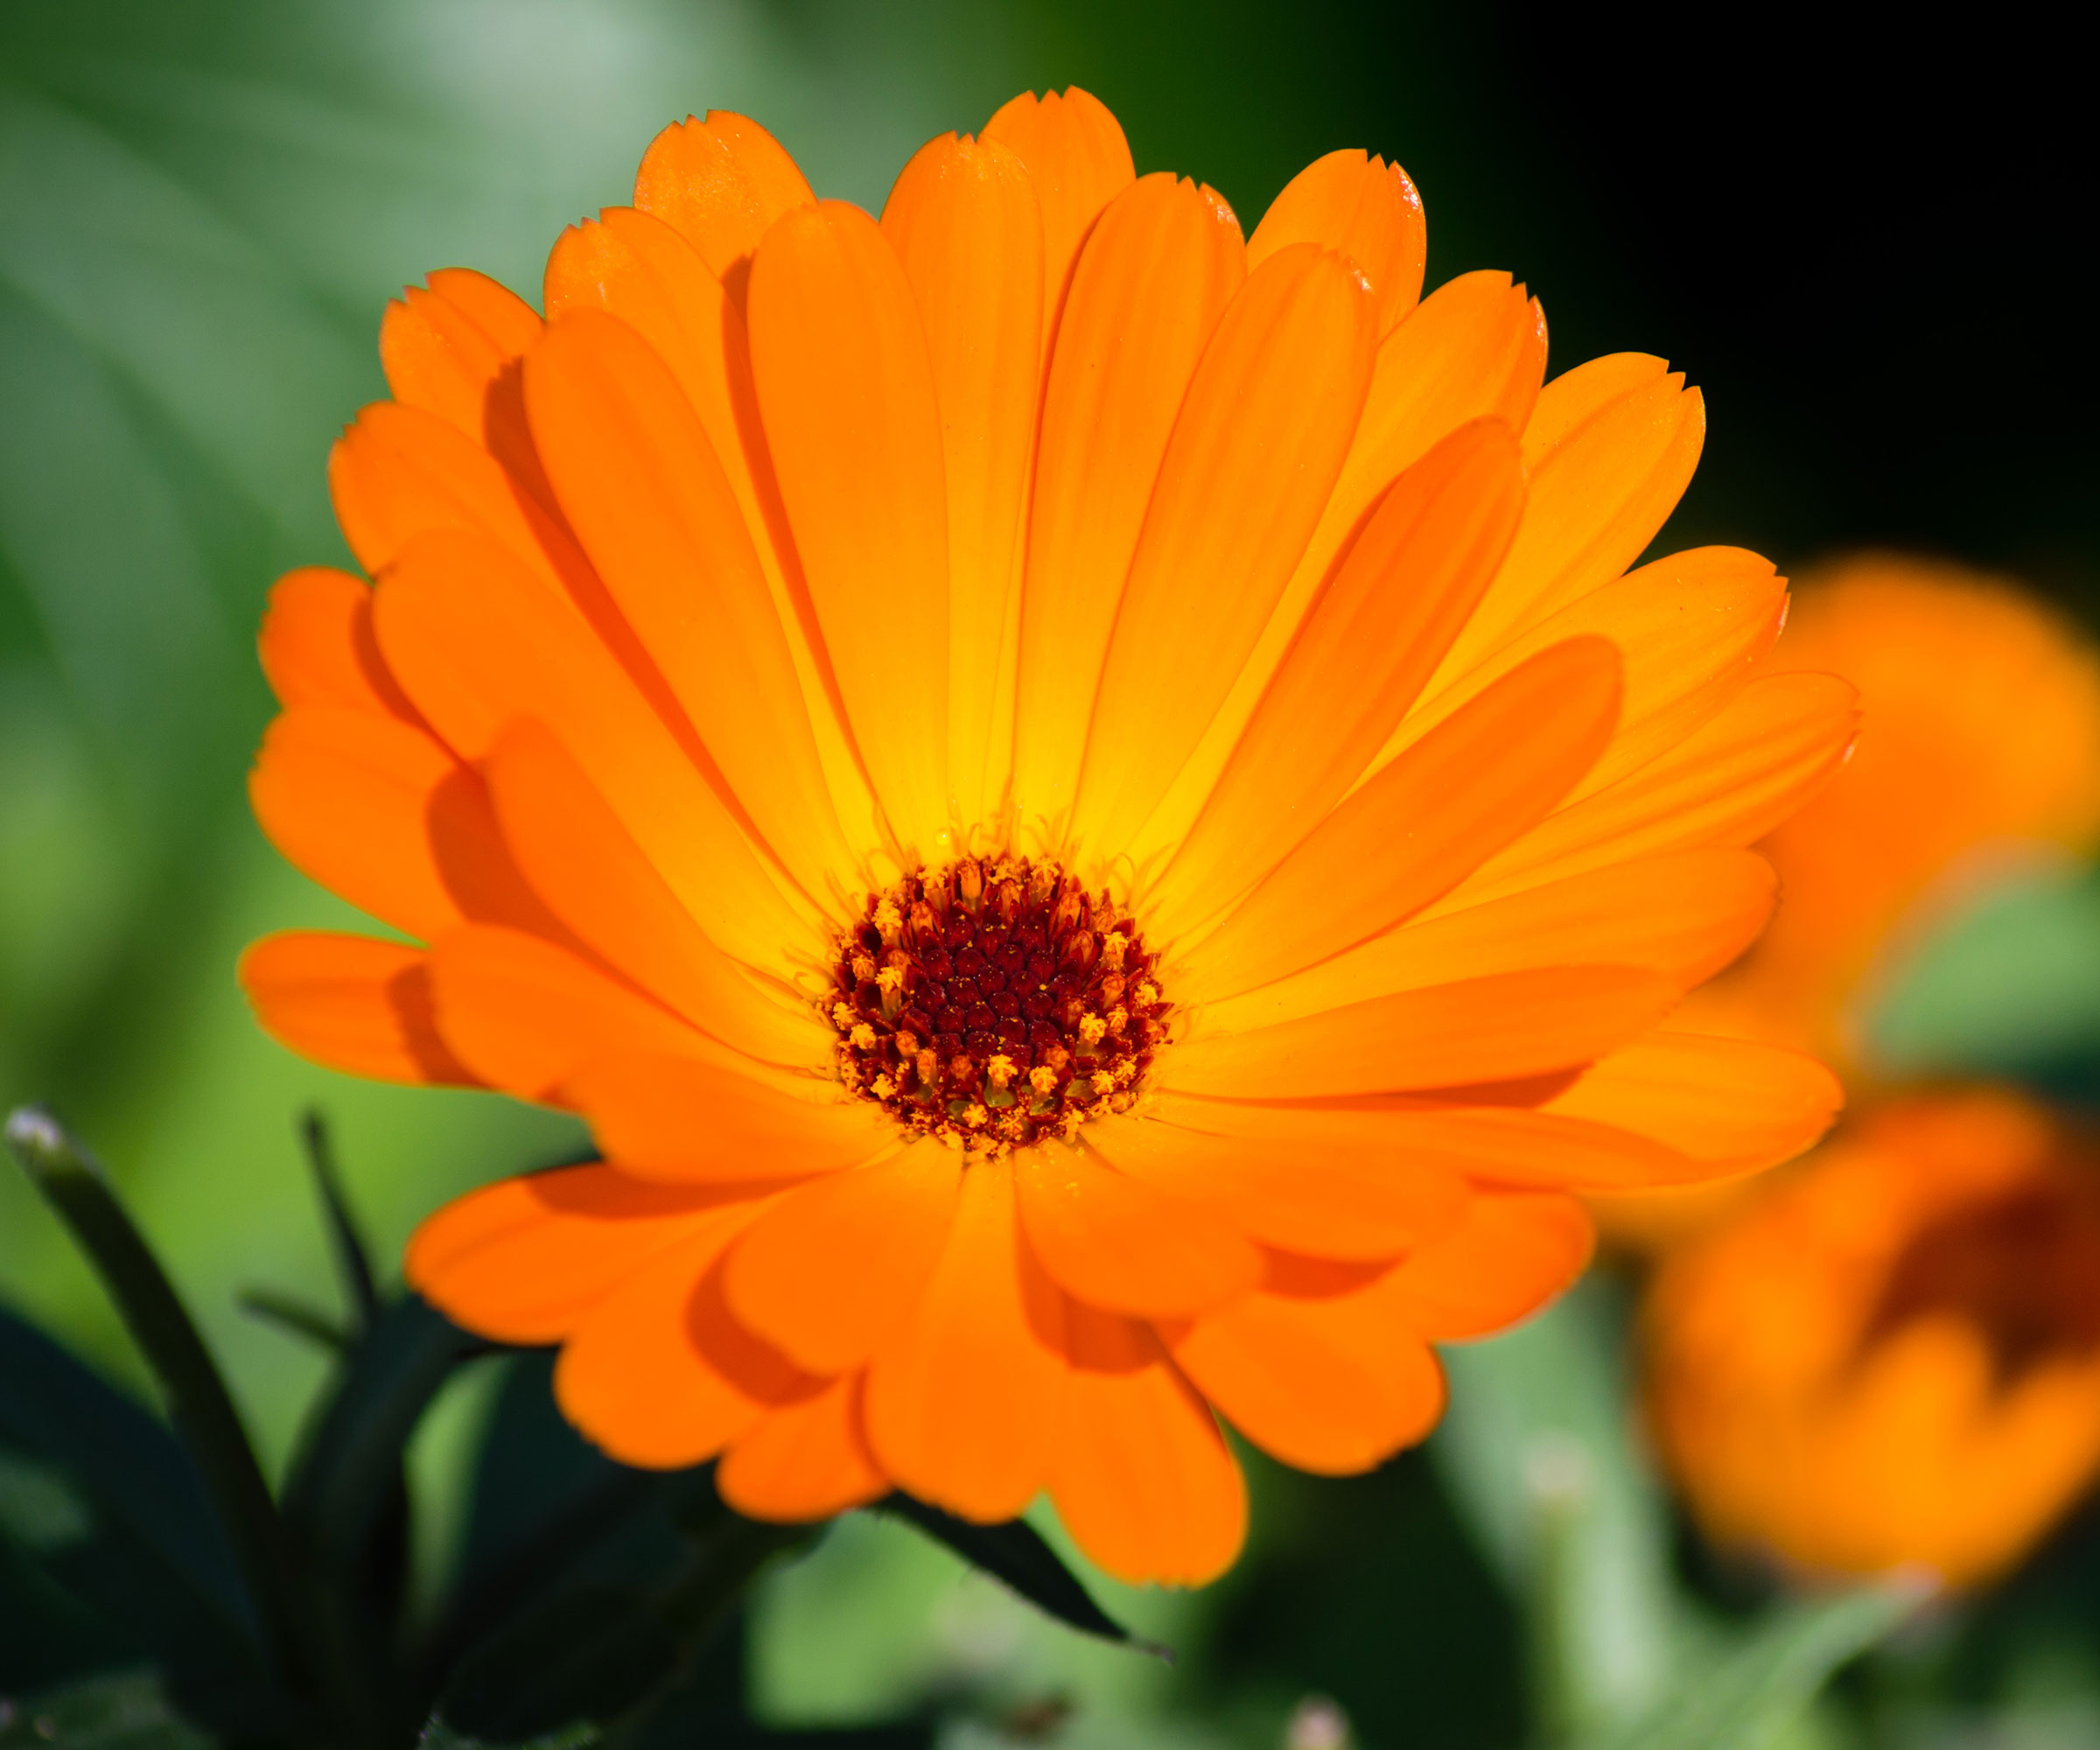
Calendula plants are one of the easiest annuals to grow, often used in kitchen gardens for companion planting, whereby they are positioned alongside beans, carrots and tomatoes as they are known to lure aphids away from your prized crops.
They will typically bloom from late spring and early summer until the first frost so long as you keep up a regular deadheading regime. However, towards the end of summer, you will want to put the pruning snips away and leave a few stems to go to seed. I would suggest doing this in July and August, ensuring that the flower heads have enough time to produce viable seeds before the cold weather hits.
There is no precise time during late summer, but the trick is to spot old calendula flower heads that are turning light brown to gray. As the petals drop the rounded seed pod will emerge, eventually turning from green to a darker shade. The long, curved seeds grow in a circle around the pod and will begin to loosen when they are ready.
Design expertise in your inbox – from inspiring decorating ideas and beautiful celebrity homes to practical gardening advice and shopping round-ups.
So, when you have spotted a few seed pods that are ready for collection, pick a dry summer's day and you are ready to harvest calendula seeds.
How to harvest calendula seeds
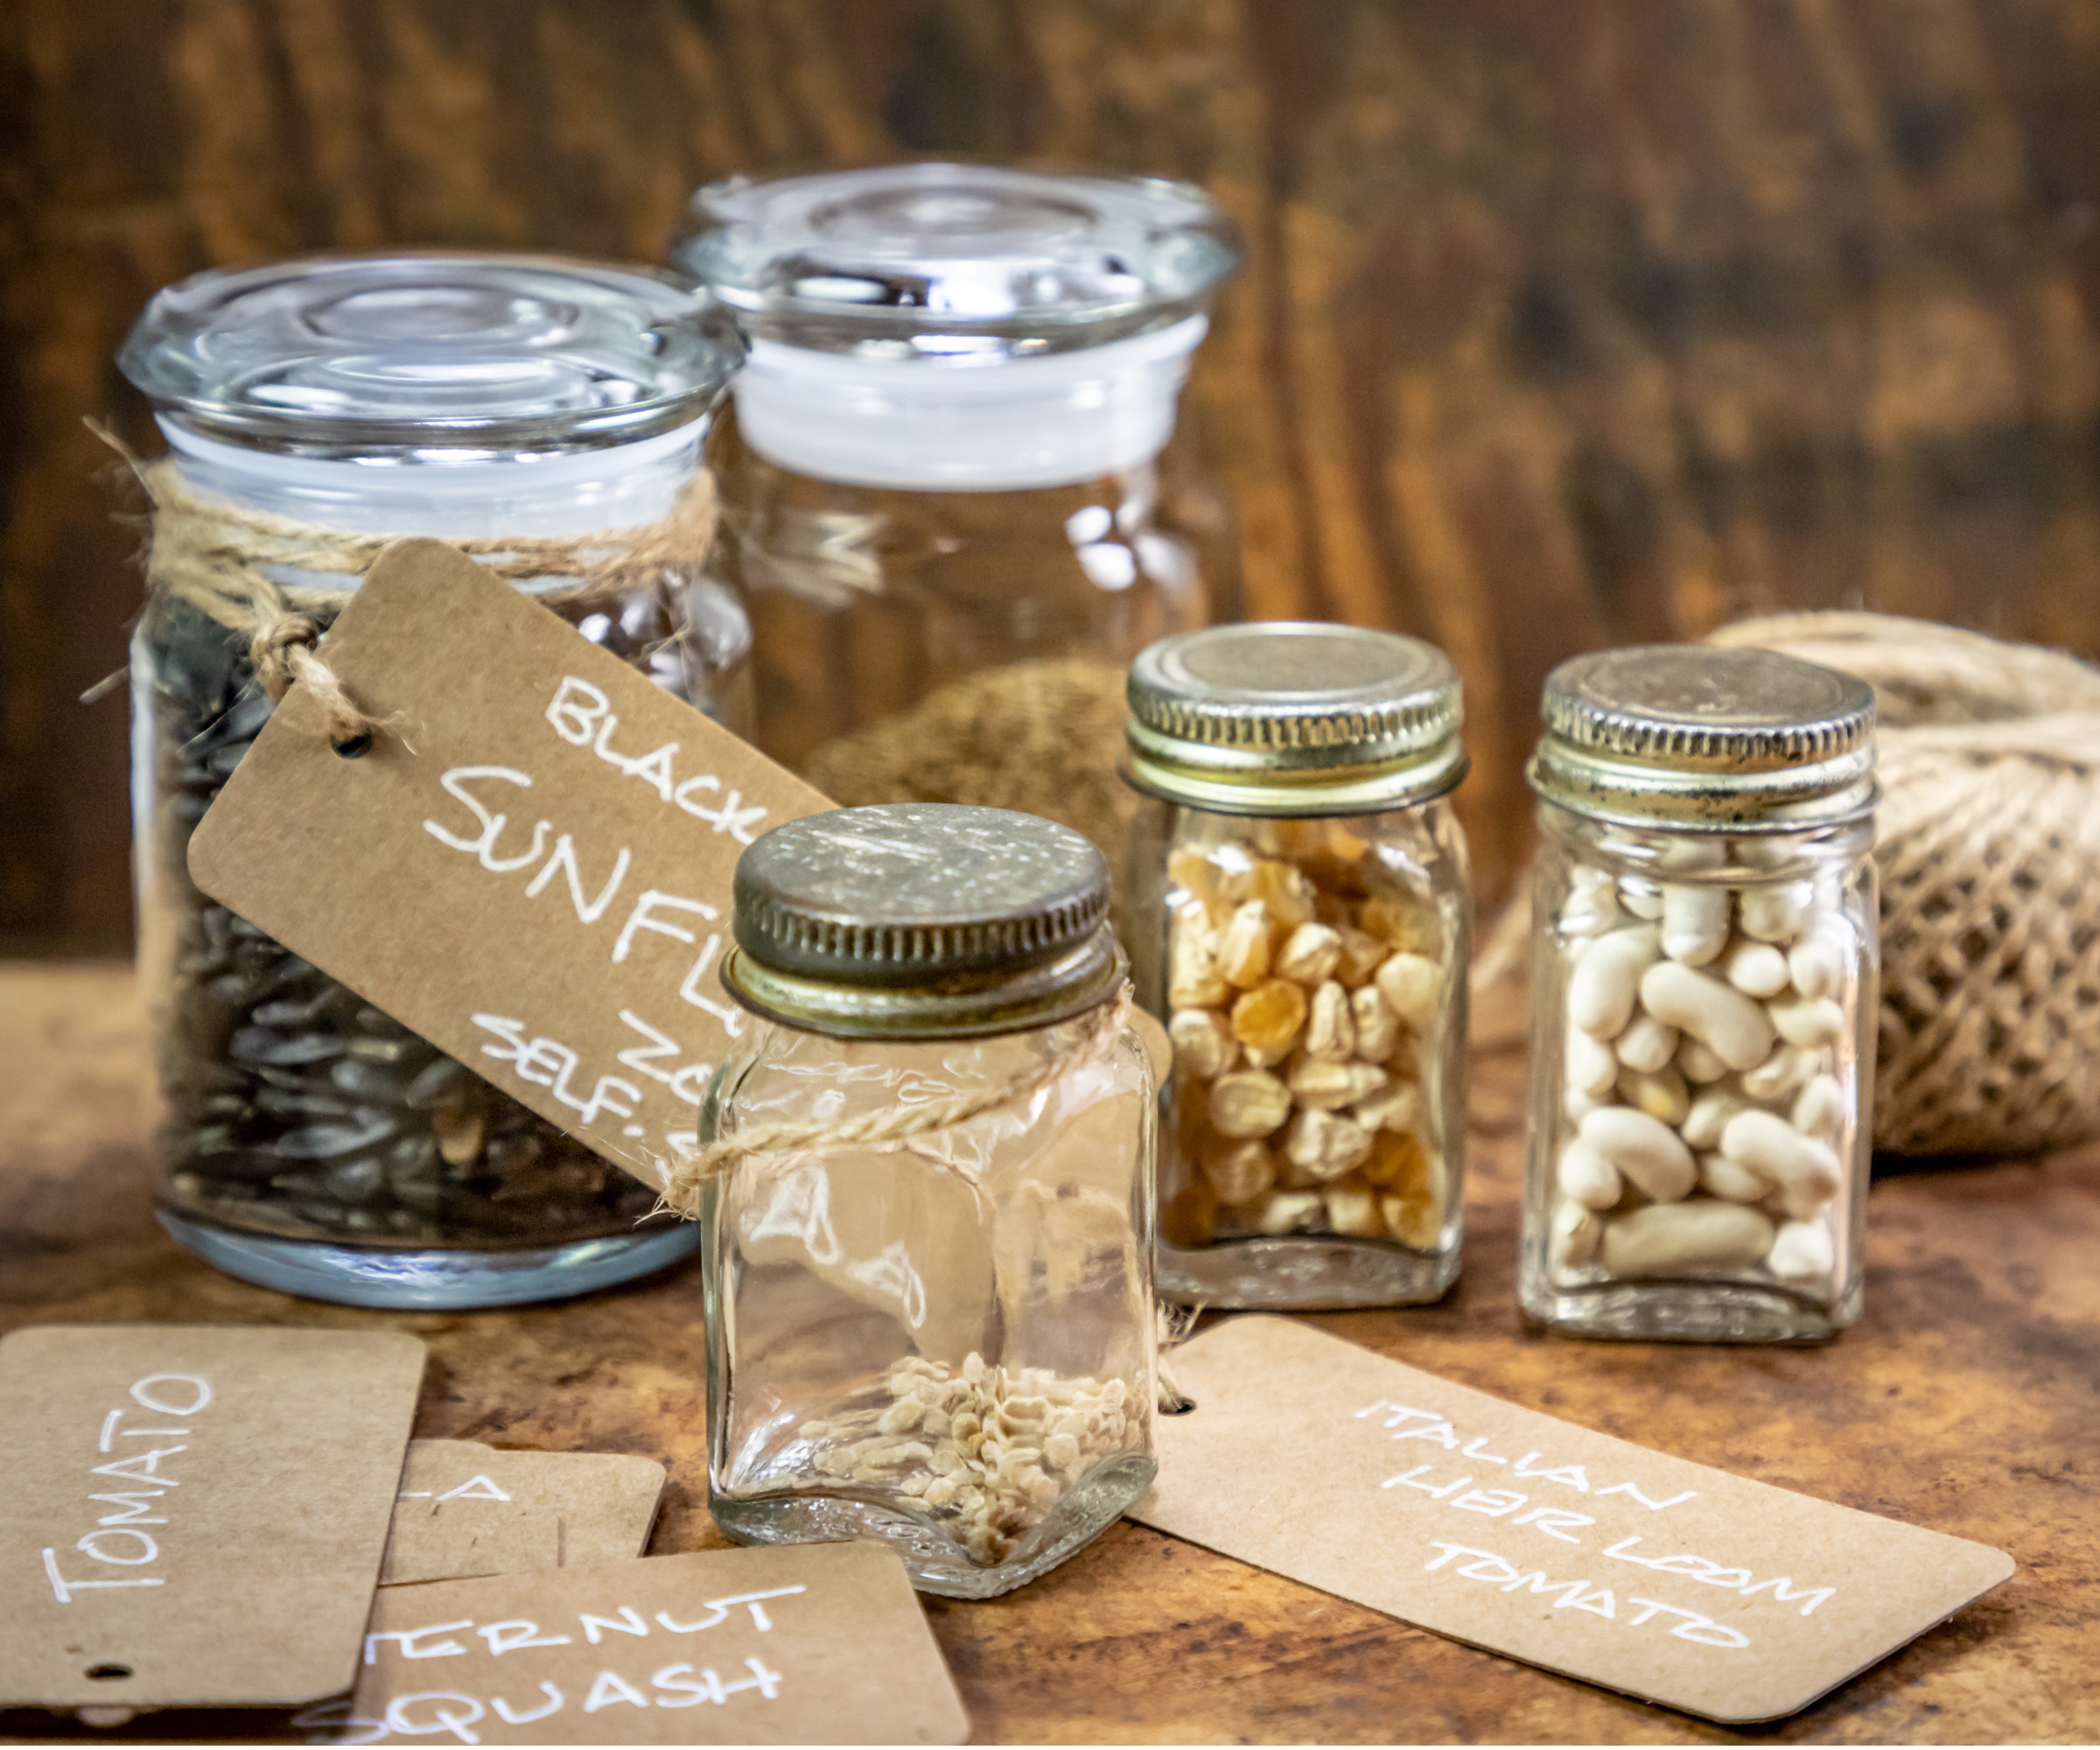
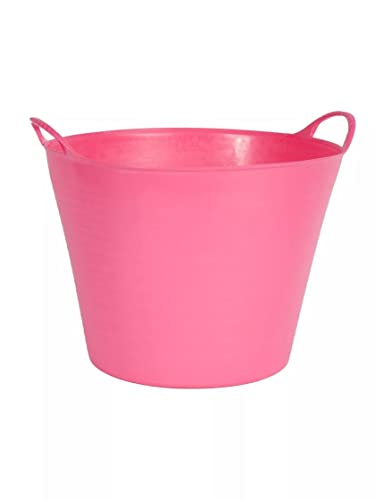
Using clean, sharp tools, such as these Felco snips from Walmart, carefully cut several dried calendula seed pods into a large bowl or garden tubtrug. Once you have enough dried pods take your container inside, where you can clean your harvested seeds.
Next, simply work the dry pods between two fingers into a different bowl, keeping the chaff (outer seed case) to one side. Do not worry too much about a small amount of chaff or debris remaining with your seeds, as it will not hurt germination. Each pod can contain many seeds, sometimes up to 30 or even 40 per flower head.
You should be left with small brown to light gray calendula seeds that are rounded and almost half-moon in shape. I would suggest spreading these seeds thinly over a paper towel on a flat surface. Leave them to dry for one to two days, before placing them in handy seed envelopes, available from Walmart.
Remember to clearly write the plant name and date, so that you remember what you have collected next year. No gardener needs a messy or confusing seed tin!
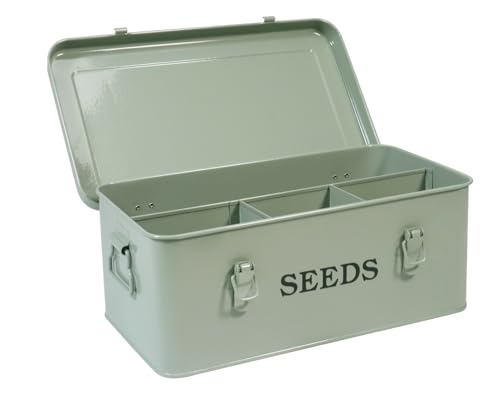
Store your harvested calendula seeds in a cool, dry place in a tin or box, like this seed container, available from Walmart. One common seed storage mistake to avoid is placing your seeds in a humid or warm environment, like a greenhouse or conservatory. Always remember that a cool and dry location is best if you want to ensure your seeds remain viable for as long as possible.
In my experience, annual flower seeds have a better chance of germination if used in the following one to three years. However, under the right conditions, your harvested calendula seeds could remain viable for up to six years.
FAQs
My hands are sticky after collecting calendula seeds - why is this?
The green base at the bottom of the calendula flower head produces a resin that is sticky to the touch. So, if you harvest with your hands, you might experience some unpleasantness or discomfort. In my experience, the sticky residue will wash right off with soap, but you can always wear garden gloves to prevent this from happening.
For the best chance of success, always remember to collect seeds on a dry, warm day. If you harvest seeds when the weather is damp, your seeds are at risk of rotting - which can be disappointing.
There are so many plants to save seeds from during the summer months and a small amount of work now will help you to grow more of your favorite plants next year. Why not learn how to harvest marigold seeds or perhaps harvest nasturtium seeds?

Thomas is a Content Editor within the Gardens Team at Homes and Gardens. He has worked as a professional gardener for both public spaces and private estates, specializing in productive gardening, growing food and flowers. Trained in Horticulture at the Garden Museum, he has written on gardening and garden history for various publications, including The English Garden, Gardens Illustrated, Hortus, The London Gardener and Bloom. He has co-authored a Lonely Planet travel book, The Tree Atlas, due out in 2024.
