This simple trick saved me hundreds of dollars on compost – it's time-consuming but, trust me, the results are worth it
This method is known to improve soil quality and structure


Design expertise in your inbox – from inspiring decorating ideas and beautiful celebrity homes to practical gardening advice and shopping round-ups.
You are now subscribed
Your newsletter sign-up was successful
Want to add more newsletters?

Twice a week
Homes&Gardens
The ultimate interior design resource from the world's leading experts - discover inspiring decorating ideas, color scheming know-how, garden inspiration and shopping expertise.

Once a week
In The Loop from Next In Design
Members of the Next in Design Circle will receive In the Loop, our weekly email filled with trade news, names to know and spotlight moments. Together we’re building a brighter design future.

Twice a week
Cucina
Whether you’re passionate about hosting exquisite dinners, experimenting with culinary trends, or perfecting your kitchen's design with timeless elegance and innovative functionality, this newsletter is here to inspire
When I moved into my home earlier this year, I was presented with a blank canvas of a garden. I stood in my yard and stared out, envisioning what I wanted it to become and decided I couldn't have such a bare lawn. That's when I took on the biggest project in my garden transformation: a brand new border.
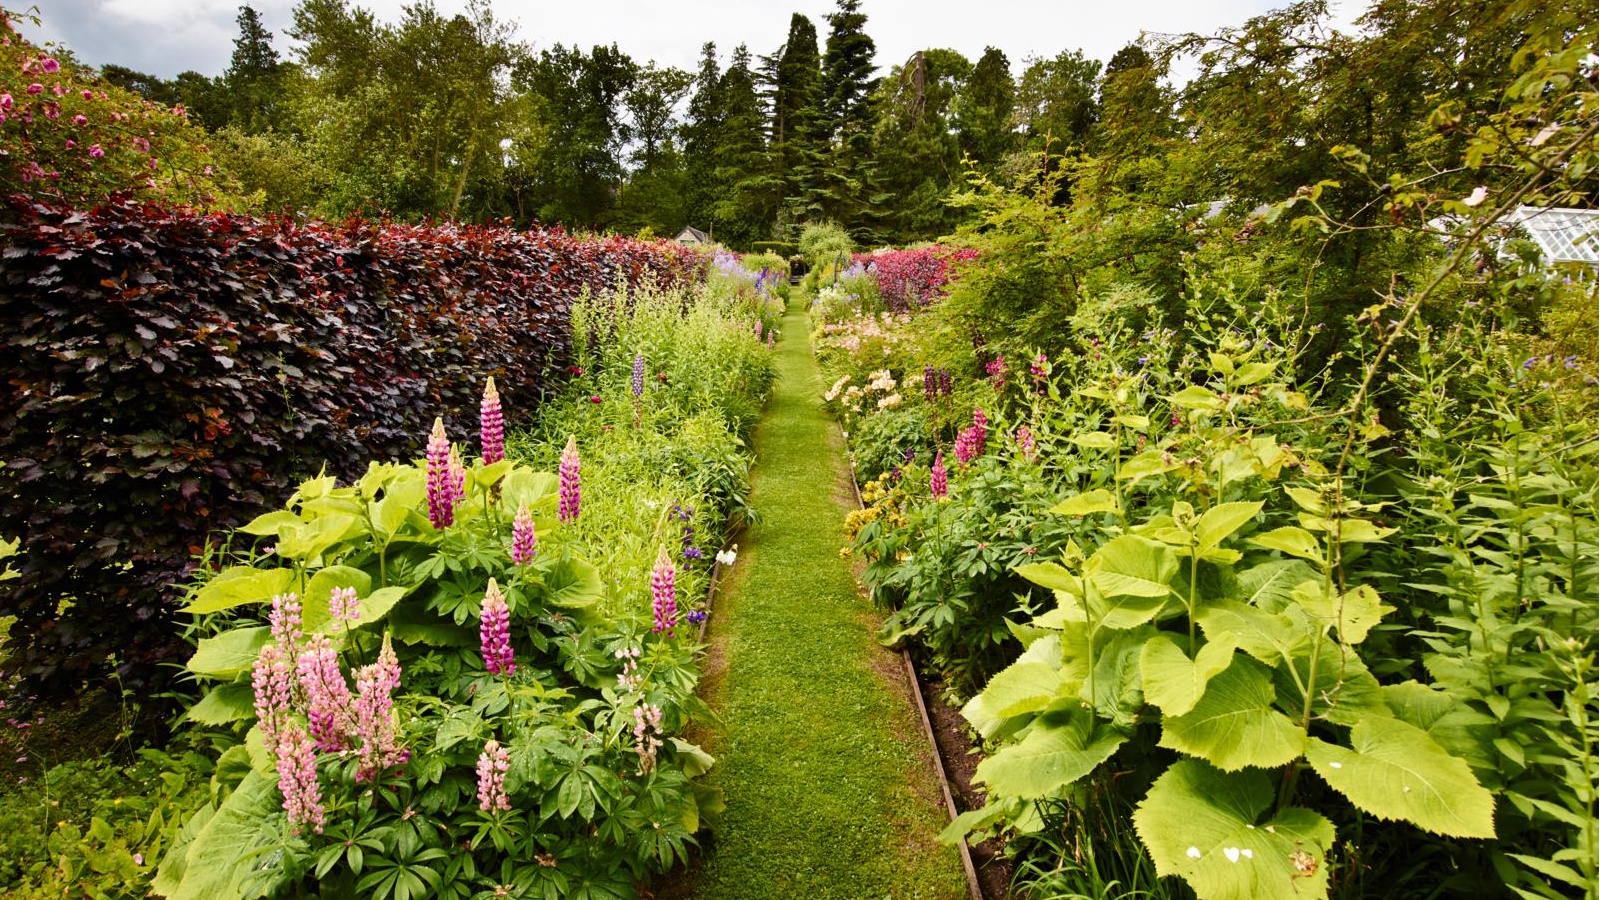
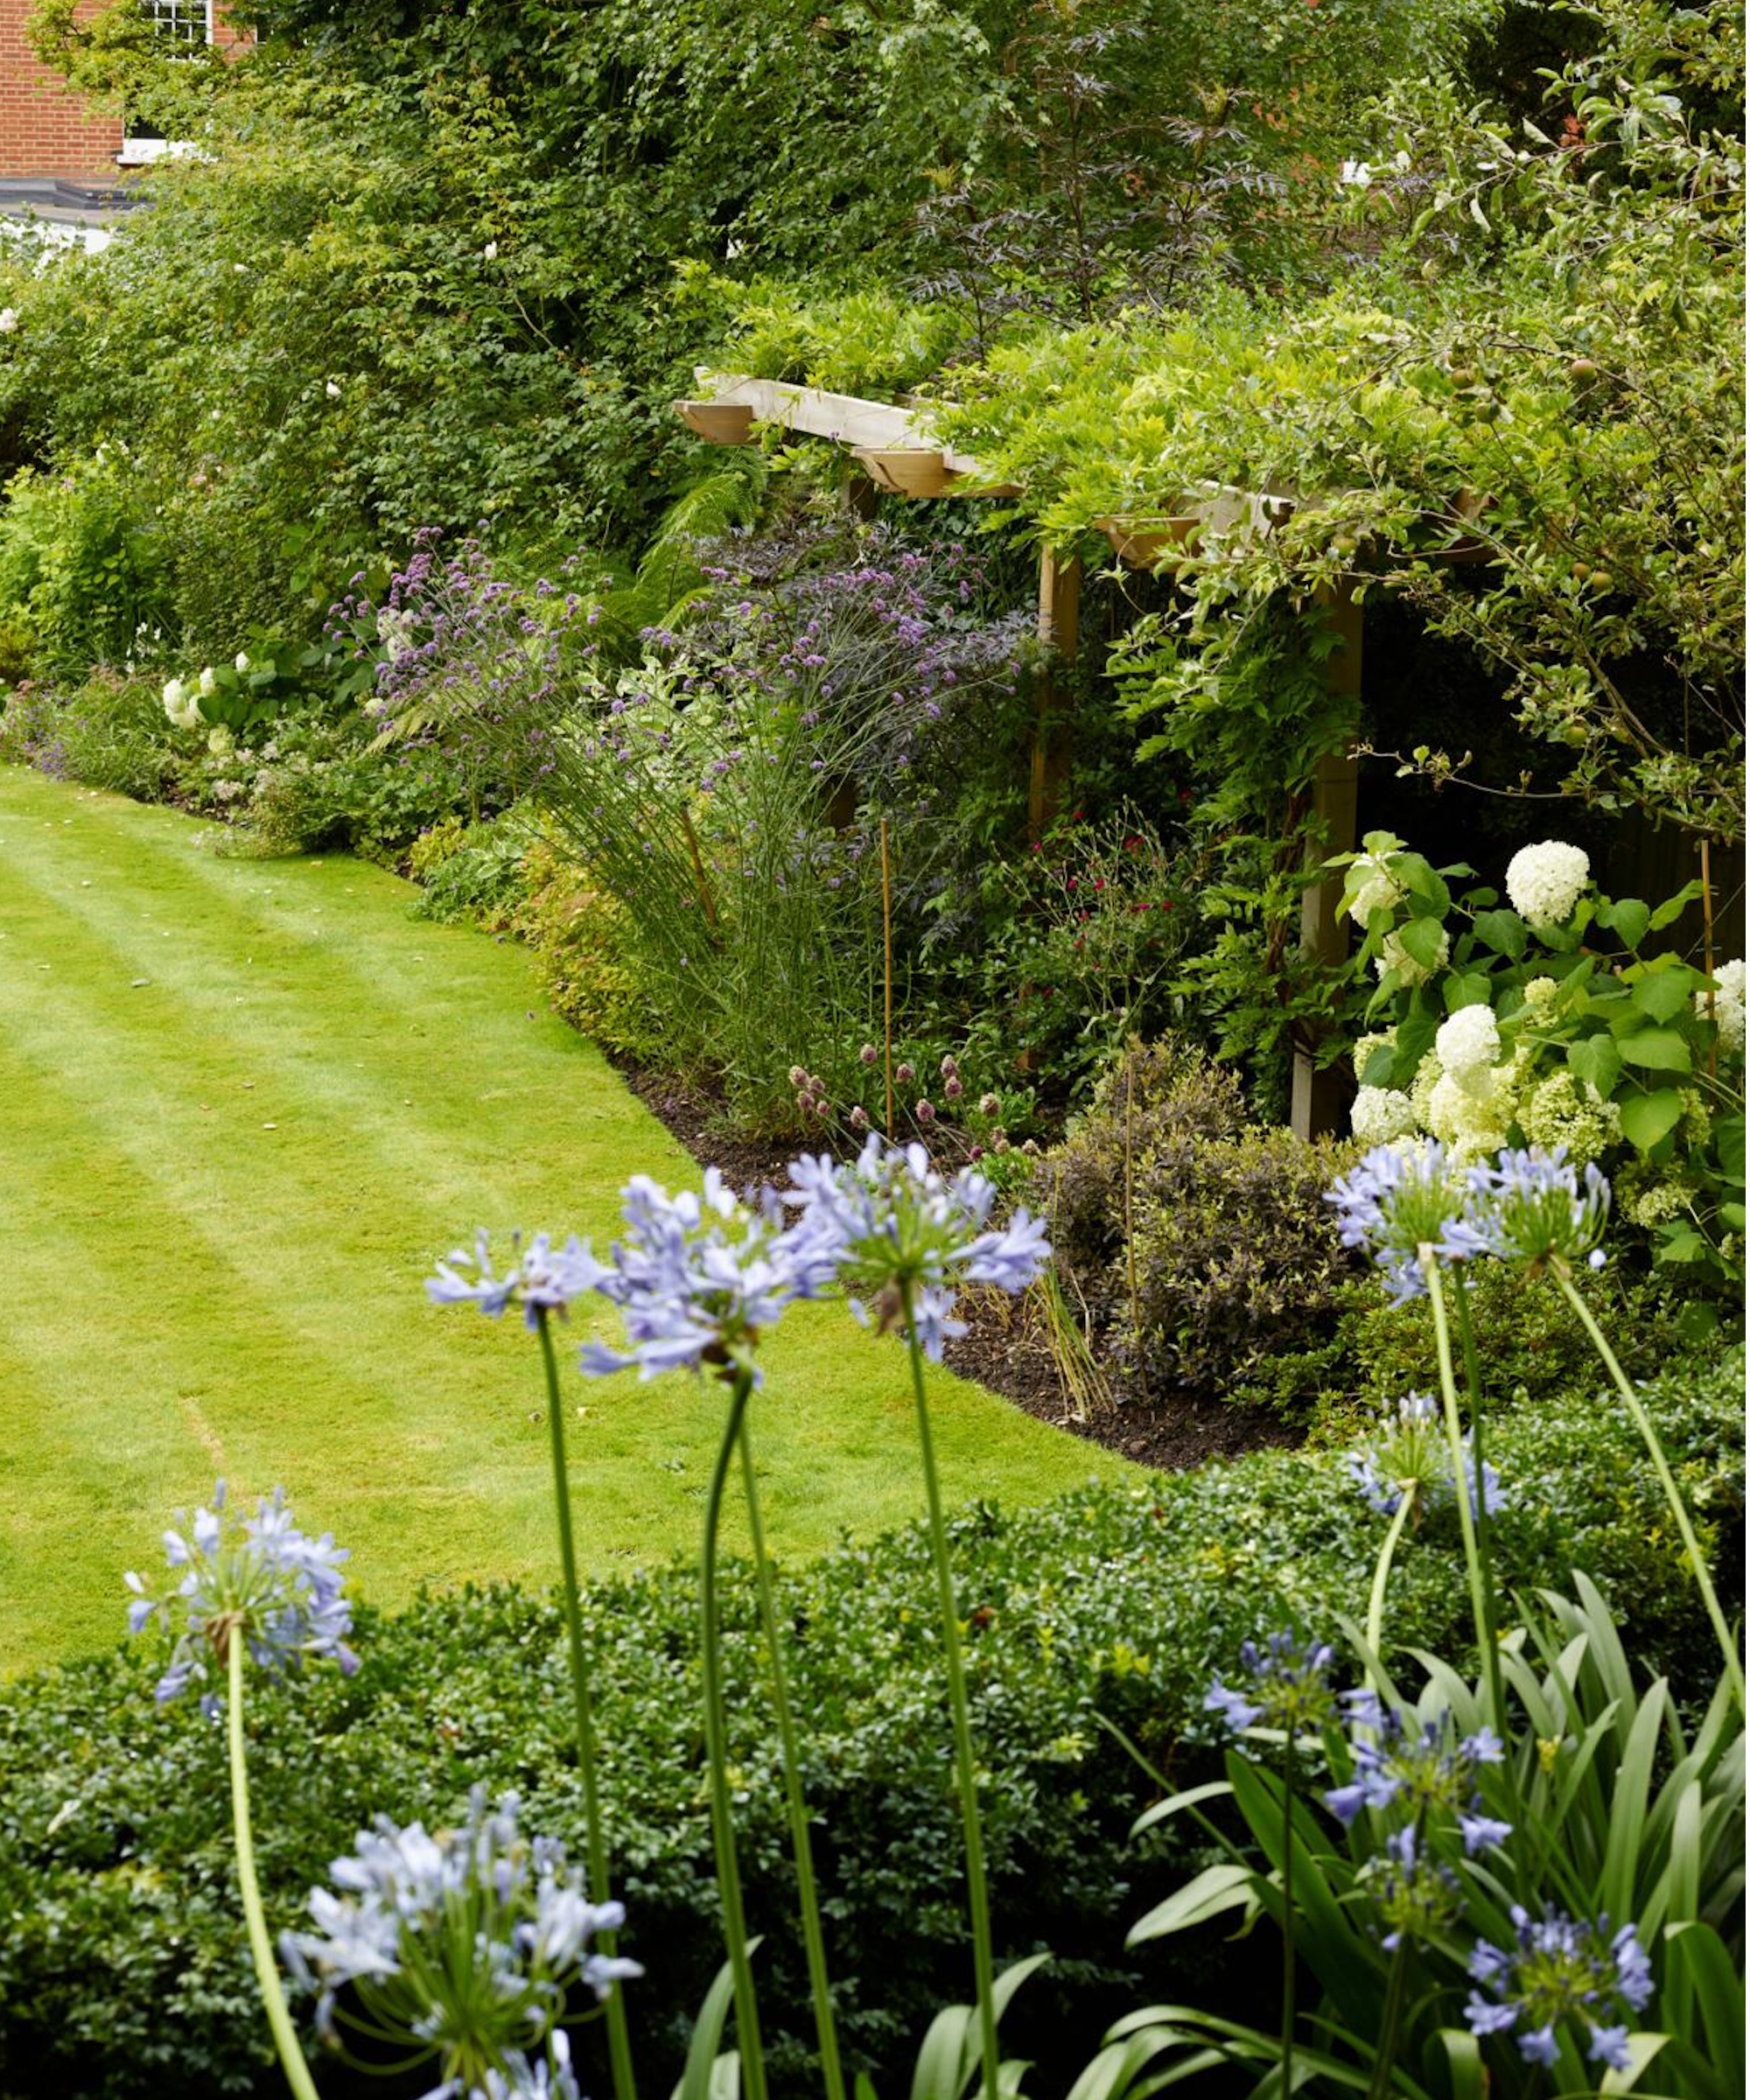
With exciting images of romantic cottage garden planting flashing through my mind, I started to plan exactly what I wanted my garden border to look like to bring my dream backyard idea to life. The space required both long and deep measurements, which I knew would be no quick or easy task. I needed to stick to a budget and limit my impact on soil health. That's why I turned to the method of stacking turf.
Stacking turf is an old gardening trick to install large planting areas in a garden without having to buy large quantities of compost. It involves stacking the turf you lift from digging out your border in a way that encourages it to breakdown, leaving you with nutrient-rich compost to put back in the border, for free. Of course, there are some cons alongside the pros of this method and you need to use some time-consuming techniques to get faster results, but for me the effort has been worth it and my border has started to come to life just six months after moving in.
What is the stacking turf method?

When creating a brand new border from scratch, you first need to dig out the lawn.
Of course, there are no dig gardening methods which entail building your border upwards. However, this can be costly in the amount of compost needed; something that wasn't an option in my budget. Instead, I turned to digging in a new border and using the removed turf to make compost to refill it.
After marking out the placement and shape of my cottage garden border, I took to my essential gardening tools to get digging. I used an edger tool (like this one from Amazon) to create neat edges, and a large garden shovel (similar to this one from Amazon) to do the digging and lifting.
To make this process less strenuous, I cut the turf into squares, no larger than the size of the shovel head. The smaller surface area of these pieces of turf later helped them to decompose more quickly, too.
Design expertise in your inbox – from inspiring decorating ideas and beautiful celebrity homes to practical gardening advice and shopping round-ups.
With my squares of turf cut out and lifted, I stacked them on top of each other, the first piece grass-side-down, the next layer grass-side-up, and so on. I opted to make a handful of piles, rather than one giant pile, to aid quicker decomposition.
I also used methods to speed up composting to help the grass breakdown. This included covering the pile to trap in heat and moisture (such as with this tarp from Amazon), maintaining moisture in the pile with my garden hose, and placing it in a spot of my yard that gets sun all day long.
To avoid composting mistakes with this method, I did also ensure there was airflow in the pile and occasionally turned it using a shovel to keep it aerobic and maintain active decomposition.
Thanks to the above techniques, my turf stack turned into usable compost for my border in less than six months. Alternatively, you can just leave the pile to breakdown on its own, but this can take a lot longer – sometimes even over a year, depending on how much turf you stack and the conditions its left in.
I then covered it with topsoil (from Amazon) to provide some extra nutrients and further improve water retention. This also gave my border a more finished, even look, ready for planting.
Saving money, improving soil structure, and enhancing nutrients

As well as saving money on lots of bags of compost, stacking turf improves soil health and structure by adding organic matter back into the soil.
Grass is rich in nitrogen, an essential plant nutrient that I have already witnessed my new border plants benefit from. This is what makes grass clippings a great ingredient when making your own compost, too.
Not only this, but stacking turf also adds aeration and improves drainage in this area of your yard, as the turf breaks down into a loamy compost for your plants to grow in.
What are the cons of stacking turf?

There are some drawbacks of stacking turf. The most obvious being it's time-consuming and labor-intensive.
The compost you get from stacking turf doesn't come instantaneously. You have to wait for it to decompose and use active composting methods to help it breakdown if you want fast results. This can, therefore, delay your new border being planted up.
Not maintaining your pile (e.g. by keeping it aerated) can also attract pests as the organic matter rots, so it's worth considering methods to keep rats away from your yard if this is a problem you encounter.
It can also take up a lot of space in your yard, depending on how much you're stacking, which can be unsightly for some time.
The other problem I've encountered is that occasional weeds regrow through the composted turf, so I do have to keep on top of getting rid of weeds in my border. I choose to manually remove them with a weeding tool (like this from Amazon) to pull the root out and prevent regrowth.
FAQs
Do I need to add topsoil to my stacked turf compost?
It's beneficial to add topsoil to the compost you created from your stacked turf. This is especially true if you have poor soil quality because top soil (from Amazon) can improve the nutrients available for your plants, as well as contribute to improved water retention. However, if your existing soil is good quality, you may not need to use topsoil.
There are other soil amendments you may wish to add to your composted turf, for example manure can improve nutrient content. I advise using this soil test kit from Amazon to get a better idea of the nutrient levels in your compost and garden soil, helping you to decide what to add to it.
Using this method, I only had to buy topsoil for my new border and not heaps of compost to fill the space. It's been a money-saver and an excellent source of nutrition to support the growth of my plants.
Once your border is ready for planting, you can start to get your hands on the plants you wish to add. We have lots of guides on different styles of border to inspire you, from impressive maximalist borders to underrated foliage borders. There are also plenty of garden edging ideas to explore to give your new border a neat look.

Tenielle is a Gardens Content Editor at Homes & Gardens. She holds a qualification in MA Magazine Journalism and has over six years of journalistic experience. Before coming to Homes & Gardens, Tenielle was in the editorial department at the Royal Horticultural Society and worked on The Garden magazine. As our in-house houseplant expert, Tenielle writes on a range of solutions to houseplant problems, as well as other 'how to' guides, inspiring garden projects, and the latest gardening news. When she isn't writing, Tenielle can be found propagating her ever-growing collection of indoor plants, helping others overcome common houseplant pests and diseases, volunteering at a local gardening club, and attending gardening workshops, like a composting masterclass.