10 easy ways to age brass with household items for the perfect antique patina – some of these may surprise you
Get a vintage brass look for less with these expert-approved methods

Design expertise in your inbox – from inspiring decorating ideas and beautiful celebrity homes to practical gardening advice and shopping round-ups.
You are now subscribed
Your newsletter sign-up was successful
Want to add more newsletters?

Twice a week
Homes&Gardens
The ultimate interior design resource from the world's leading experts - discover inspiring decorating ideas, color scheming know-how, garden inspiration and shopping expertise.

Once a week
In The Loop from Next In Design
Members of the Next in Design Circle will receive In the Loop, our weekly email filled with trade news, names to know and spotlight moments. Together we’re building a brighter design future.

Twice a week
Cucina
Whether you’re passionate about hosting exquisite dinners, experimenting with culinary trends, or perfecting your kitchen's design with timeless elegance and innovative functionality, this newsletter is here to inspire
There's nothing better than finding a beautiful brass antique to add a timeless feel to your interiors. As a lover of all things vintage, this got me thinking, what if there was a way to give newer brass pieces that vintage patina?
I spoke to interior design and home experts and they seriously delivered with 10 smart ways to age brass including surprising methods like using eggs, lemon, vinegar or coffee. Turns out many items already in your pantry are perfect patina-making ingredients.
It's the perfect chic DIY project for the weekend.
10 hacks to age brass for an antique feel
1. Use vinegar and salt
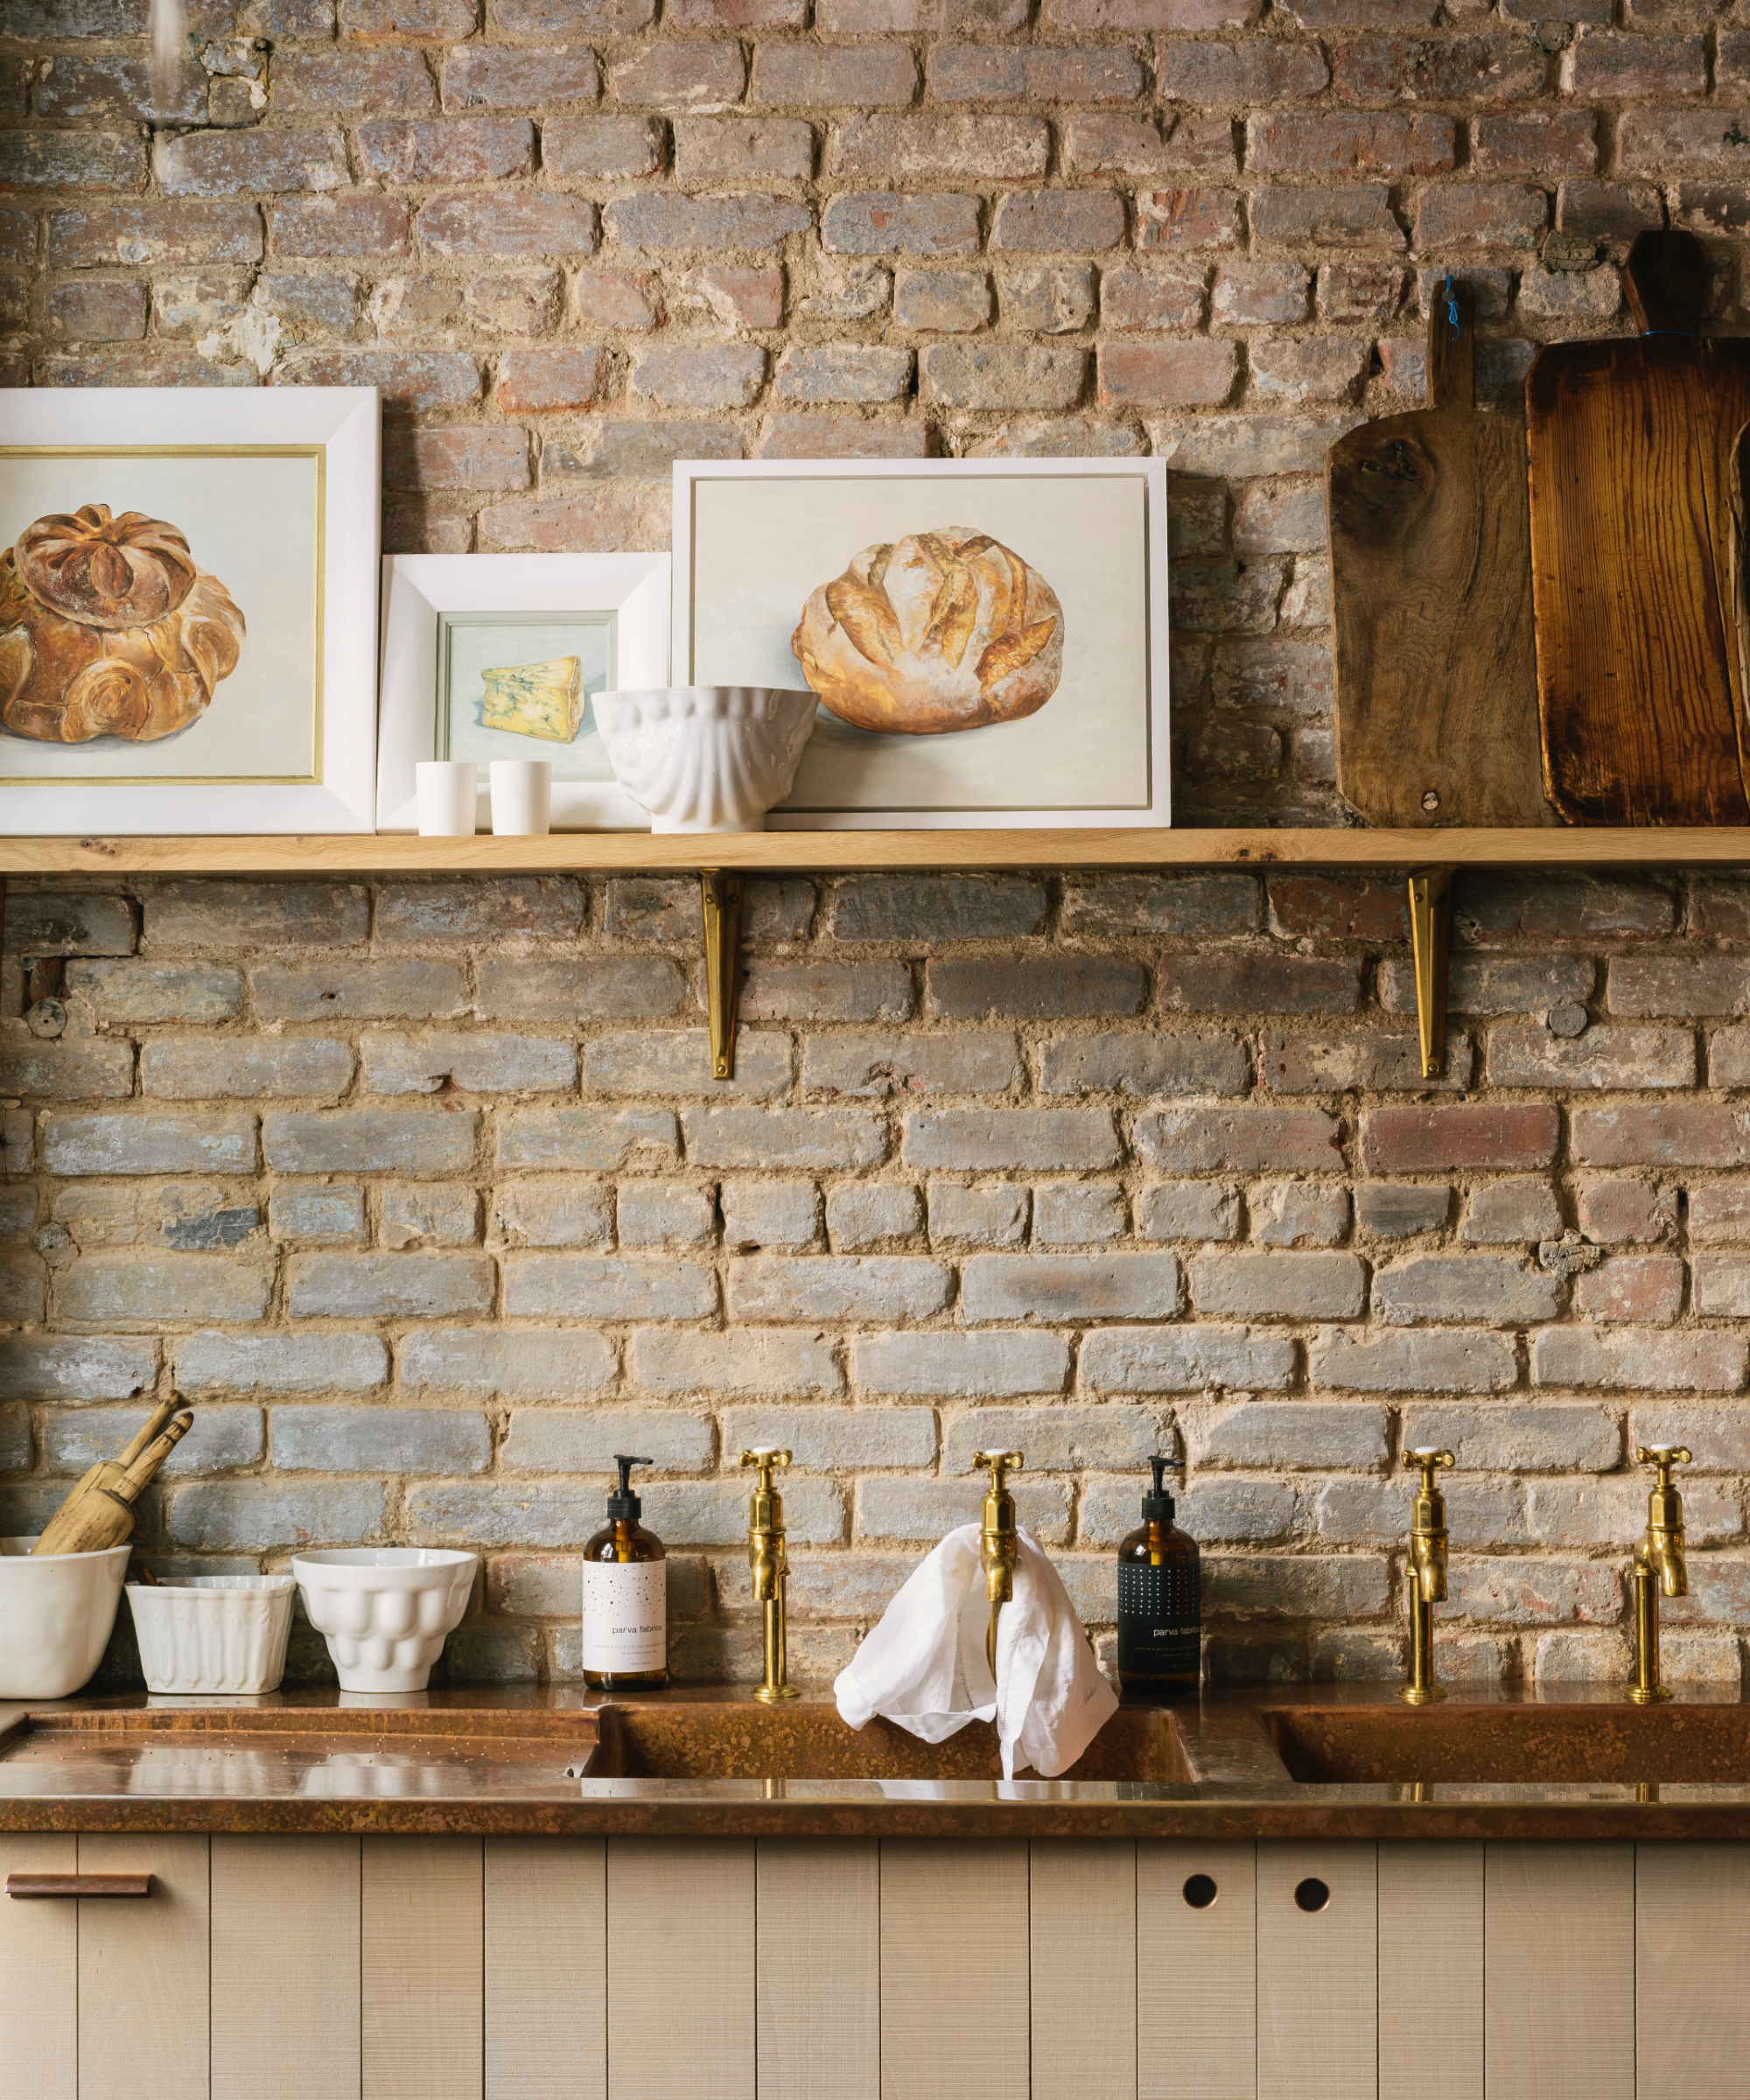
You might have heard about cleaning with vinegar, but it's also one of the most effective household ingredients to age brass naturally and easily.
'Just mix white vinegar with a little bit of salt, and either spray it or wipe it onto the brass,' says Matthew Coates, president and principal architect at Coates Design. 'Leave it for a few hours, and the reaction will start darkening the brass. The longer you leave it on, the darker and more aged it’ll look. You can always repeat the process if needed.'
Jason Lamprey, owner of Lamprey Construction also recommends using steel wool, such as the #1 bestselling Homax 10120000 Steel Wool available at Amazon, for this step. 'The acid in vinegar and chloride in salt create a patina,' he adds.
You can also add hydrogen peroxide to the salt and vinegar solution. 'I encourage you to mix hydrogen peroxide with vinegar and salt, then apply it to brass for a fast, dark patina,' recommends Jonathan Faccone, interior designer and founder of Halo Home Buyers.
Design expertise in your inbox – from inspiring decorating ideas and beautiful celebrity homes to practical gardening advice and shopping round-ups.
'The reaction between the chemicals and the metal creates an uneven, beautifully worn effect. Make sure to use a weaker ratio of 1:2 peroxide to vinegar for safety reasons. I would point out that you should wear gloves and protect your eyes while handling these solutions.'
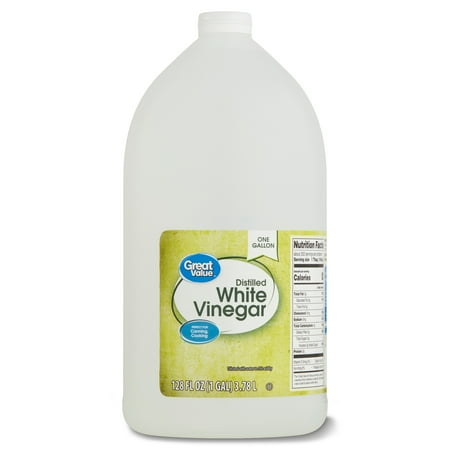
This vinegar is distilled to a 5% acidity, perfect for creating an antique-look patina. It can also be used as a versatile cooking and cleaning product in your kitchen and bathroom, with no artificial colors or flavorings.
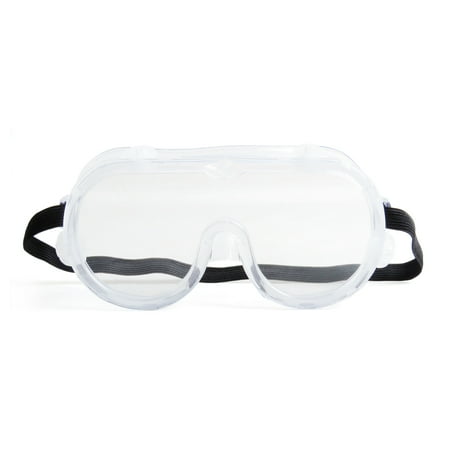
These safety glasses provide excelled eye protection, with ventilation, a flexible frame and large polycarbonate lens for an unobstructed view. They also block 99% of UV rays, so are perfect for patina projects outdoors.
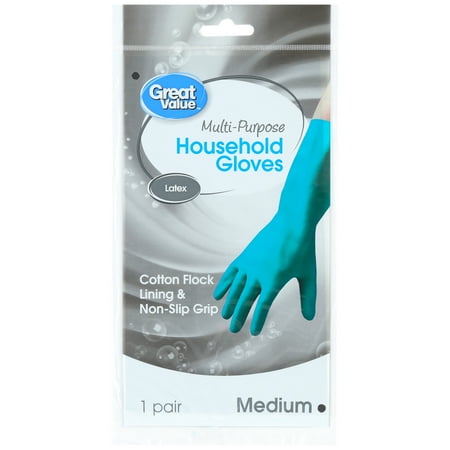
These multipurpose gloves can be used for all household cleaning tasks, offering superior protection from harsh chemicals, dirt and germs. They can also be used for pet and baby care, household and craft painting and cooking.
2. Use baking soda
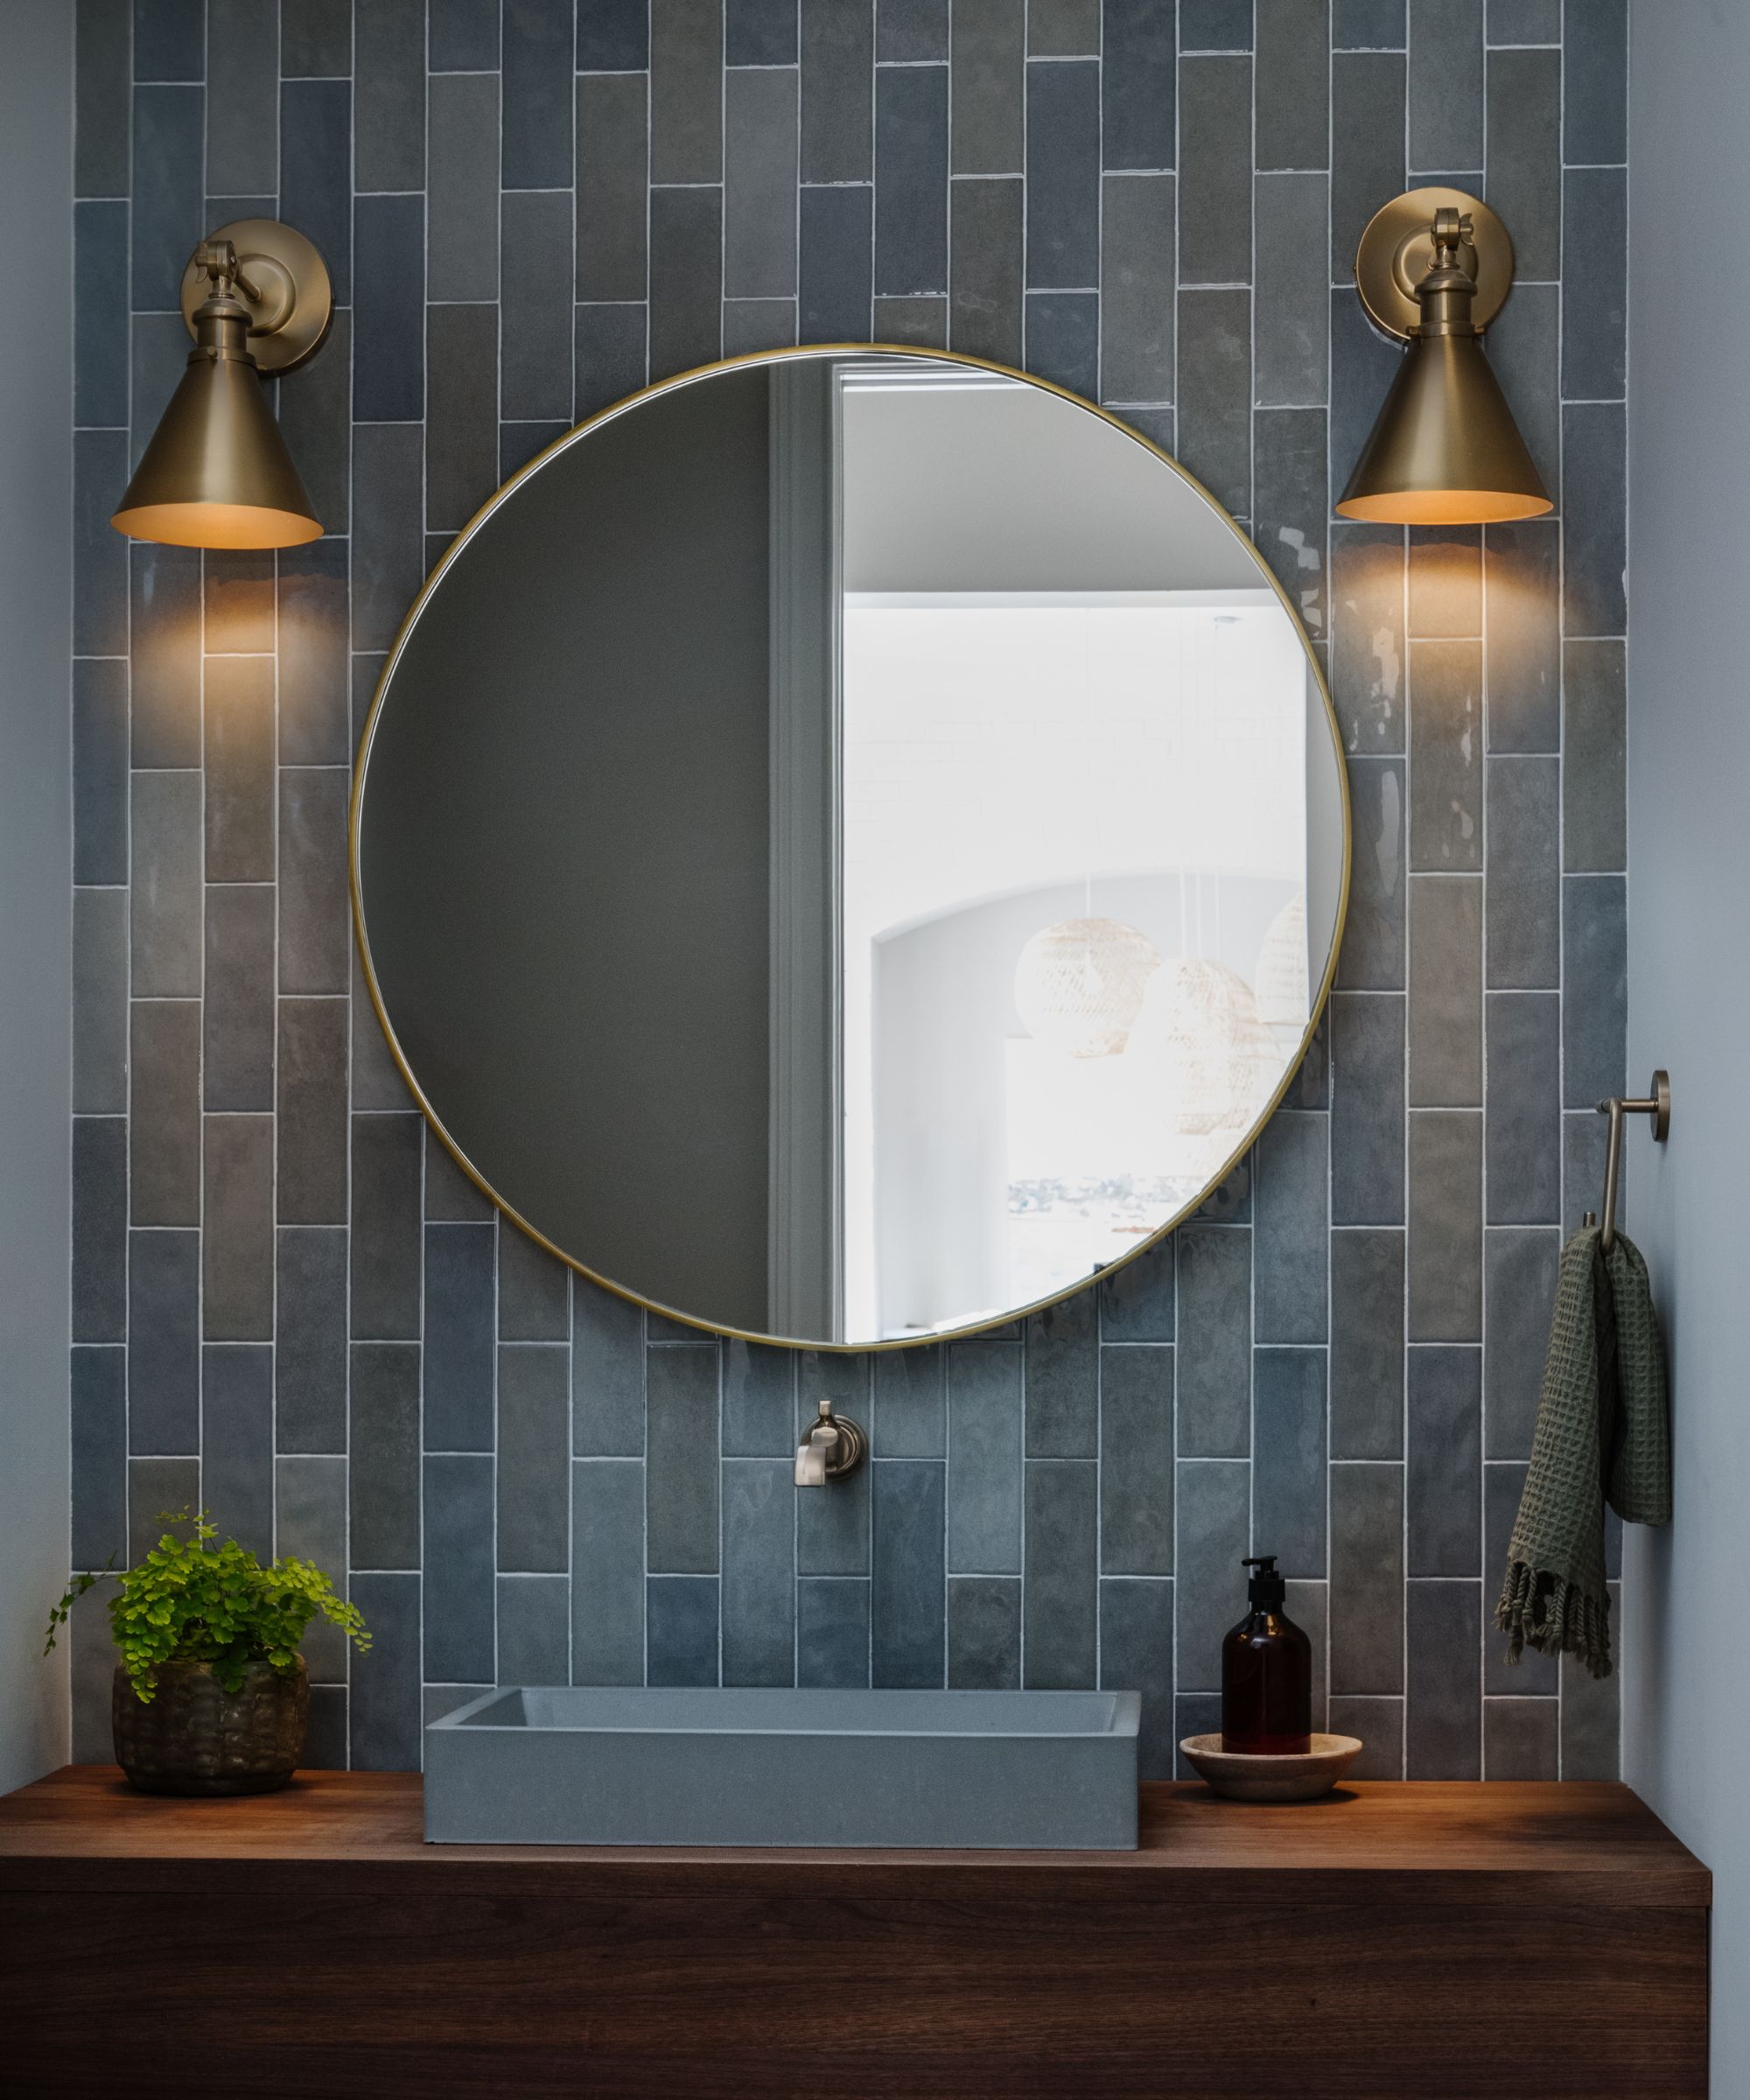
There are many household items you can clean with baking soda, and it can also be used to age brass.
'It can matte the surface of the brass and develop patina,' says Daniel Anderson, CEO of GoRubbishGo.
Simply mix 2 tablespoons of baking soda, we recommend the ARM & HAMMER Baking Soda available at Amazon, with one cup of water to make a thick paste. Then, apply the paste liberally on the brass using a soft cloth or sponge, such as the MR.SIGA Microfiber Cleaning Cloths available at Walmart.
'Let it stand for 15 to 30 minutes, wash with warm water and dry,' adds Anderson. 'It's ideal for a soft, aged appearance.'
3. Use lemons
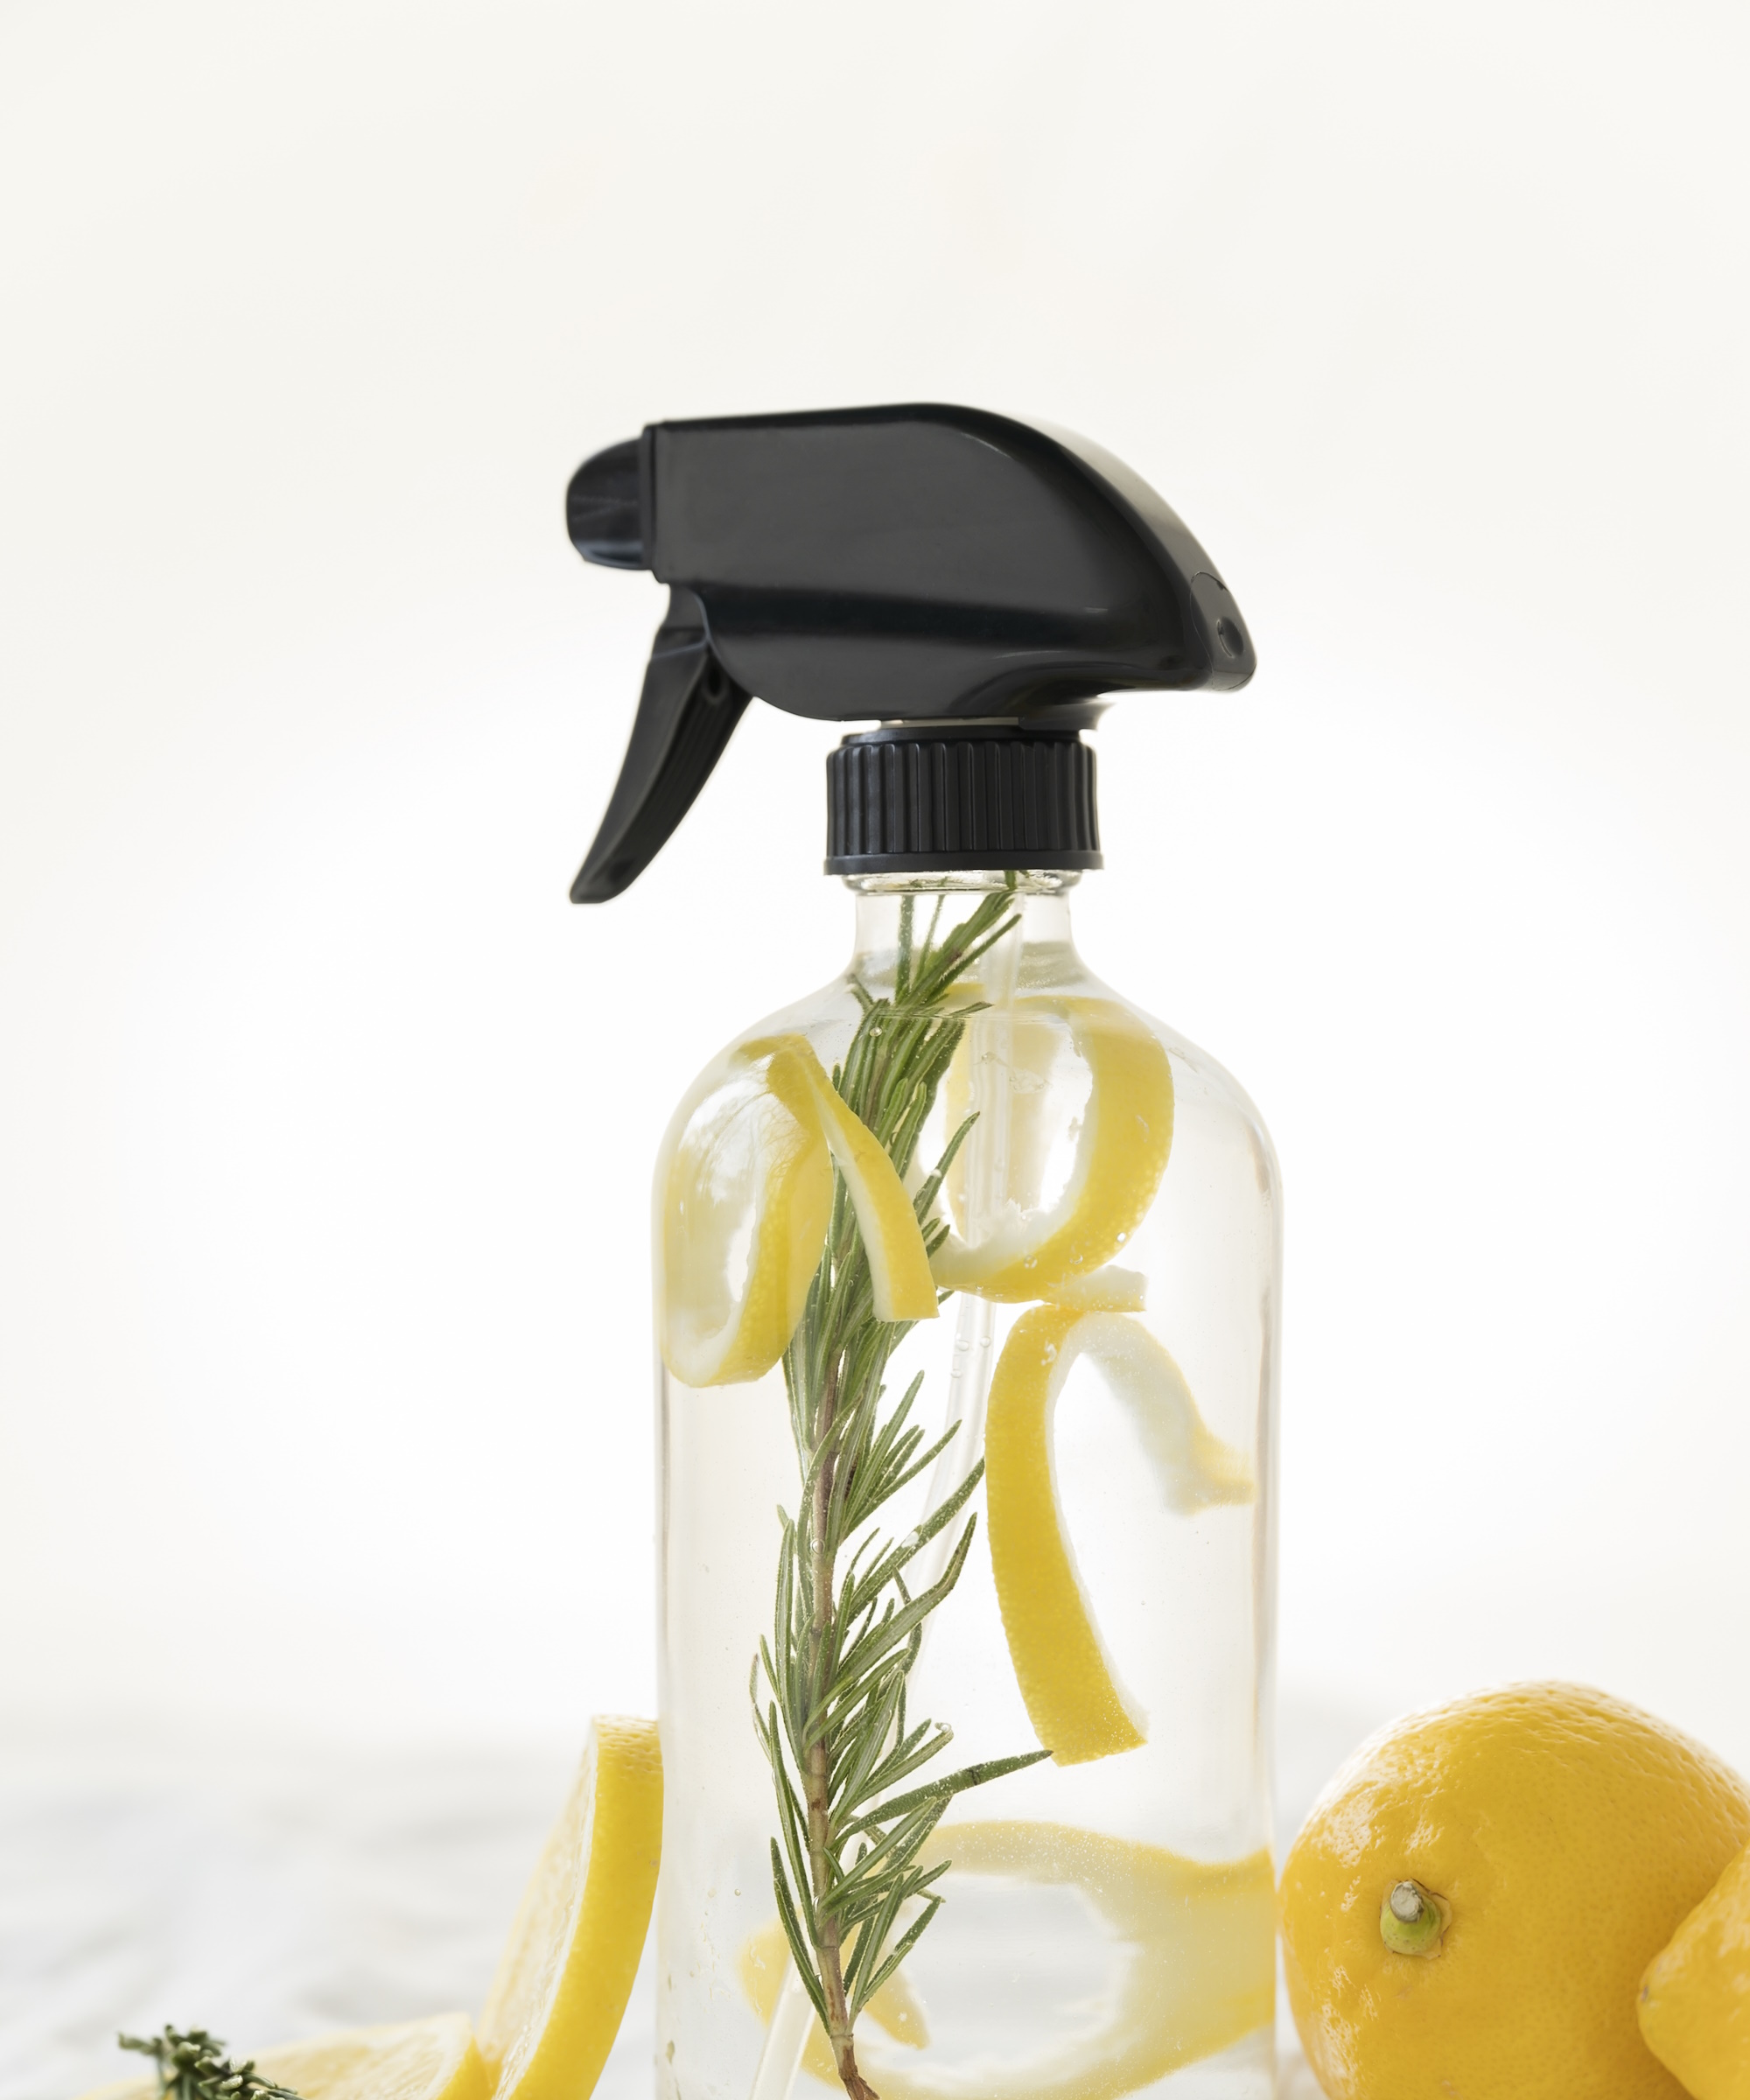
While cleaning with lemon juice is a great, eco-friendly alternative to chemical products, lemons are also useful for aging brass.
Sean Phillips, self-proclaimed Master of Metallic Metamorphosis and owner of Otto ADU has built over 50 tiny homes in LA, with brass being one of the most common finish choices. He recommends this 'lazy lemon' approach.
'Cut a lemon in half, rub it on the brass, sprinkle it with salt, and leave it to sit,' he says.
As this is a gentle approach, keep an eye on it and rinse once you have achieved your desired look. Without chemicals, it's also safe to leave overnight, or to use for regular touch-ups.
You can also mix lemon juice with baking soda for a natural golden color. 'Make a paste and rub it on the brass,' says Tony Simon, home interior and renovation specialist at Bathroom Renovations Brighton. 'Allow it to dry and then wash it off.'
4. Try the brass burying technique
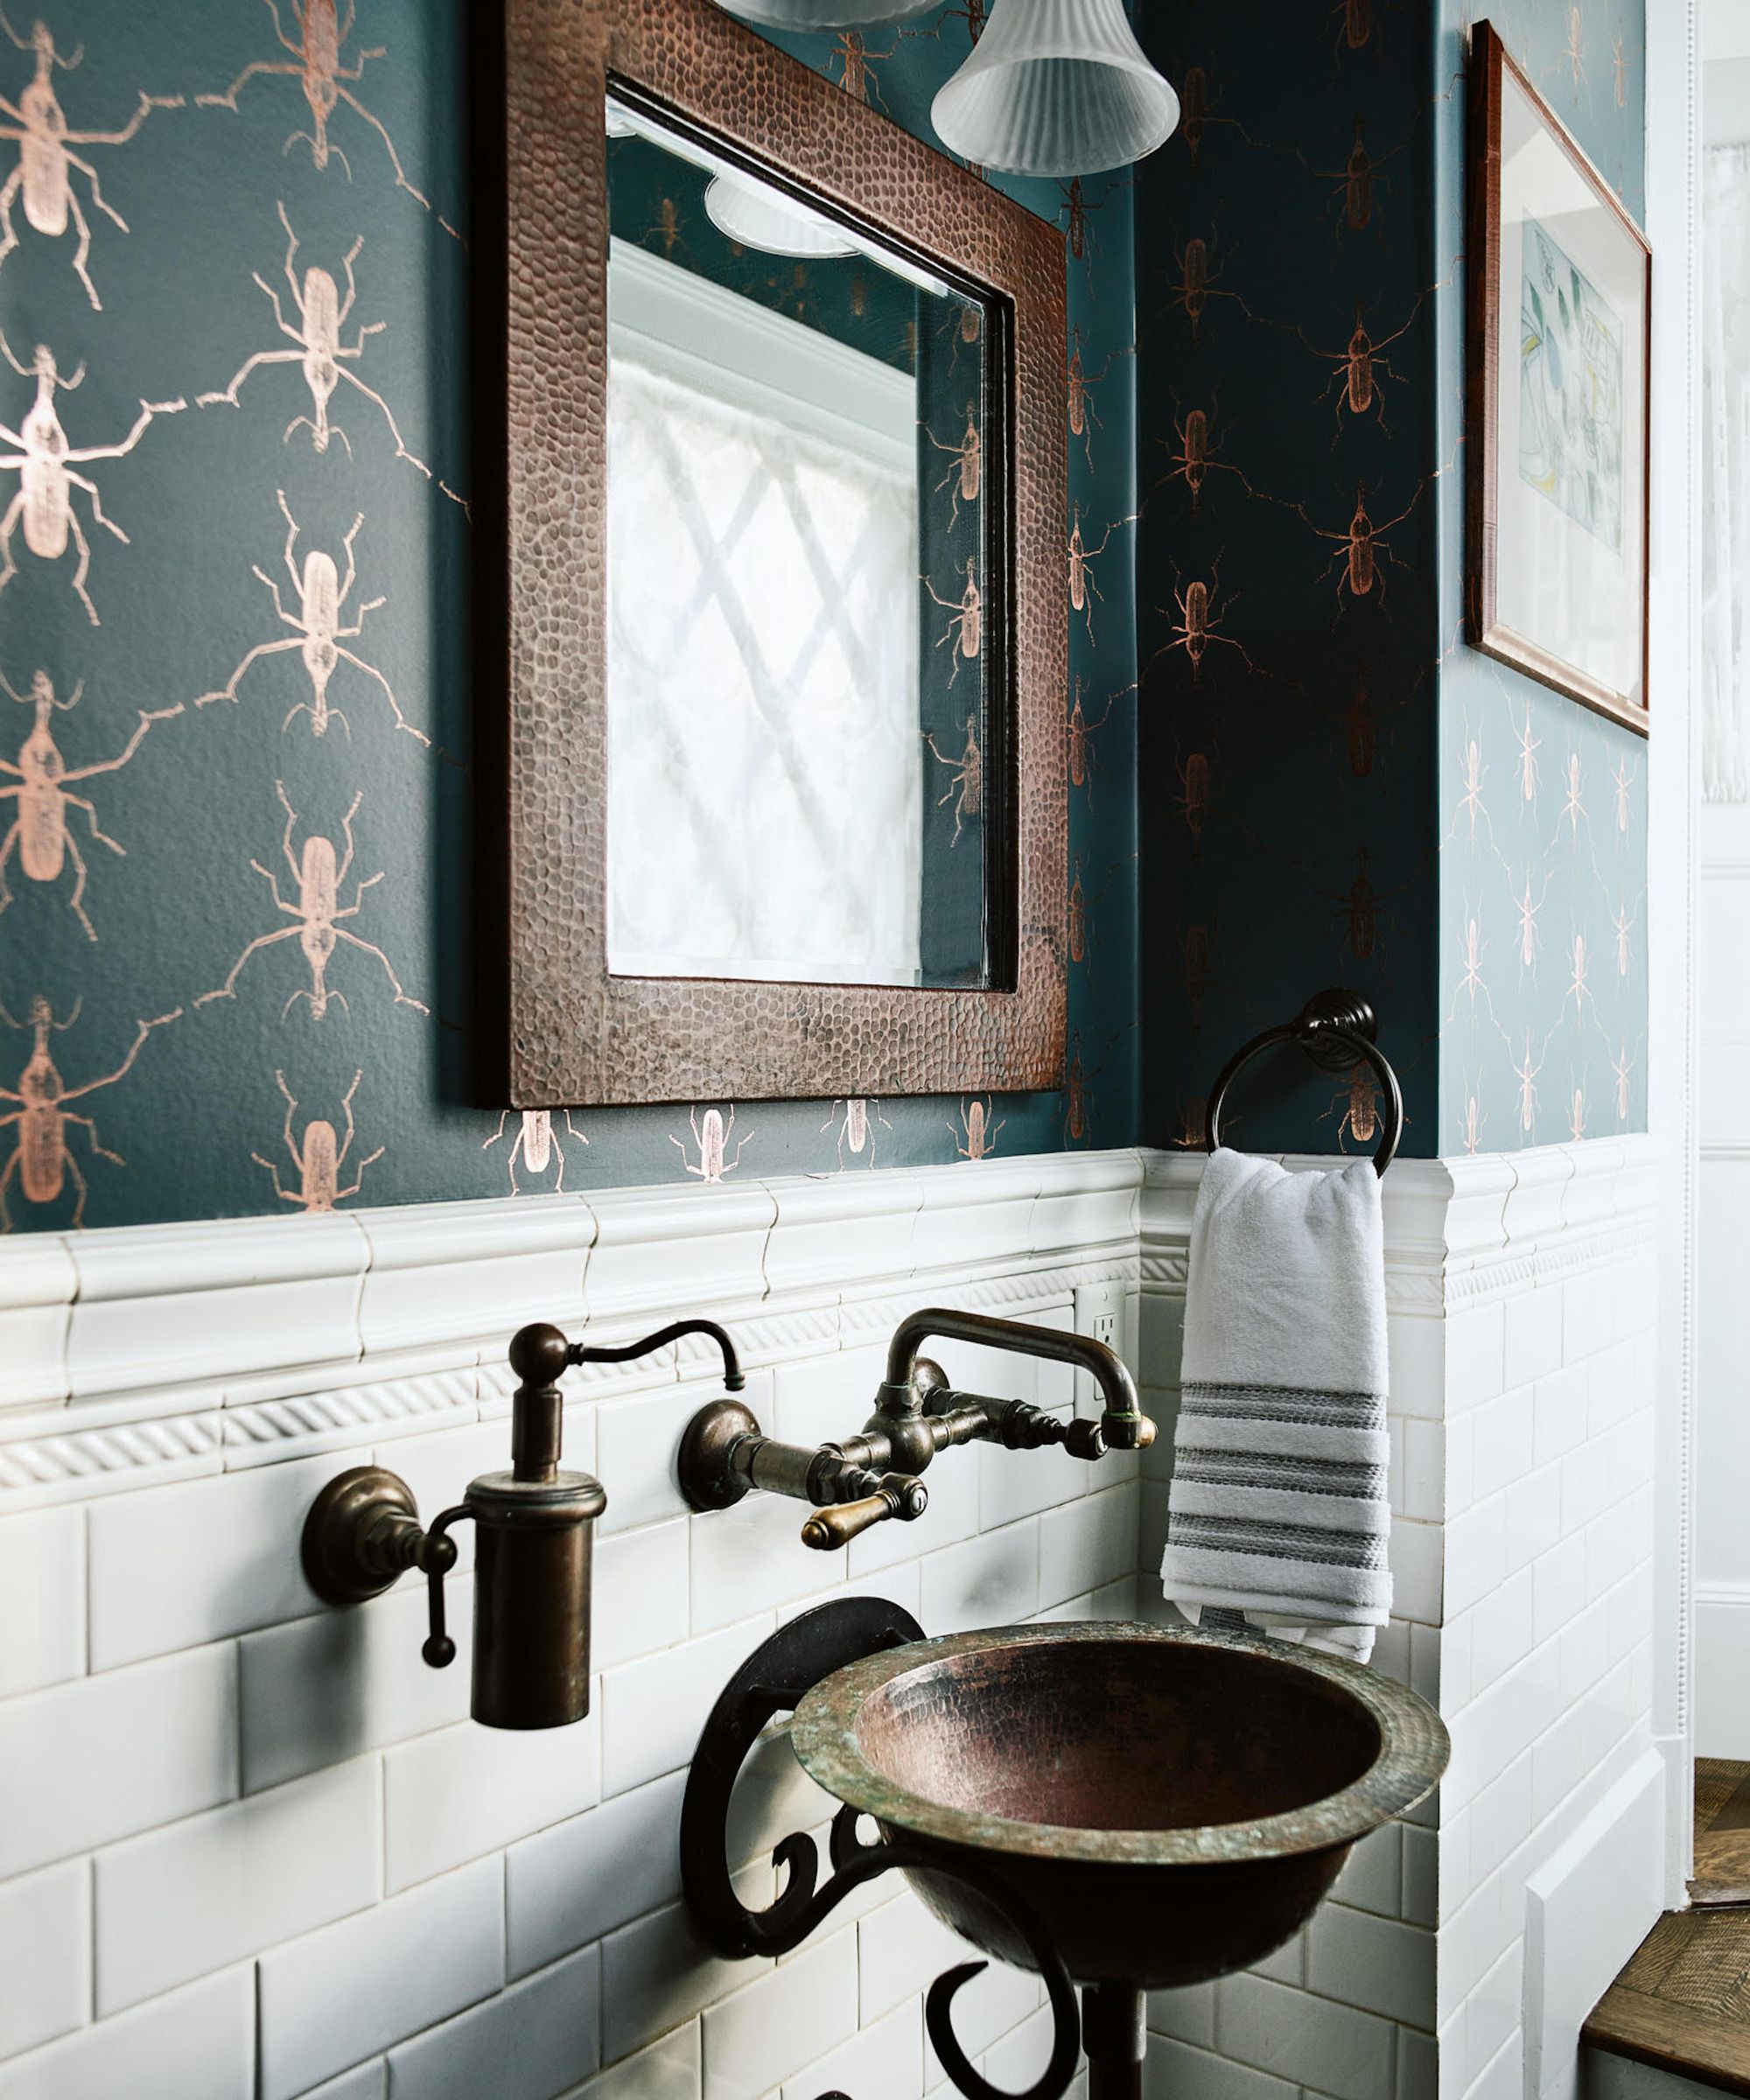
This is certainly one of the more unusual methods, but it's free to try and simple.
As recommended by Brian Curran, founder of Drafting Services, an architect and interior designer with over 8 years of experience, you simply bury your brass in the garden.
'My secret hack is to bury the brass pieces in the garden for a few weeks to naturally age them,' he says. 'The moisture, dirt, and outdoor elements accelerate oxidation, leaving behind a natural, weathered patina that looks like the brass has aged outdoors for years. My advice is to wrap the brass in a cloth or paper towel before burying it to avoid any staining from dirt or debris.'
5. Use ammonia
'For a more intense patina, you can expose brass to ammonia fumes,' says Coates. 'Put your brass piece in a sealed container with a little bit of ammonia in a dish (don’t submerge the brass in the liquid, just let it sit in the fumes). It will start developing a darker, more dramatic patina in just a few hours. Make sure you're in a well-ventilated area since ammonia smells pretty strong!'
Therefore, we recommend trying this hack outdoors, using a plastic container such as the Rubbermaid Commercial Products Standard Bus/Utility Box available at Amazon.
Always be sure not to mix bleach and ammonia, as they are cleaning products you should never mix.
6. Use boiled eggs
Another more unusual approach is using boiled eggs, more specifically the sulphur-infused water left after cooking them.
'Boil eggs and keep the water,' says Phillips. 'Then, submerge brass in this sulfuric soup for an instant antique.'
Again, this is a less extreme method which will give a more natural look. You can then use the boiled eggs for some delicious egg recipes.
7. Use liver of sulfur
'This is a chemical method that’s widely used by jewelers and hobbyists,' says Coates. 'You can buy liver of sulfur online or at craft stores. Mix a small piece of it with water, then dip your brass in the solution for just a few seconds. It will start turning dark brown or even black, so rinse it off quickly when it reaches the color you like.'
This can be purchased online, and we recommend The Beadsmith XL Gel available at Amazon, which can also be used to clean jewelry.
8. Use chalk paint
To fake the look of aged brass, you can use chalk paint for a weathered and worn look.
'I prefer to paint the brass lightly with chalk paint, then rub some areas off for a distressed, antique look,' says Faccone. 'This technique mimics an aged, weathered finish, giving brass a softer, vintage aesthetic without completely altering the metal's base color.
'Try to use a matte finish chalk paint for the best results such as Rust-Oleum Chalked Paint (available at Walmart) or Annie Sloan Chalk Paint (available at Annie Sloane),' which is also perfect for creating a plaster wall effect.
9. Use coffee grounds
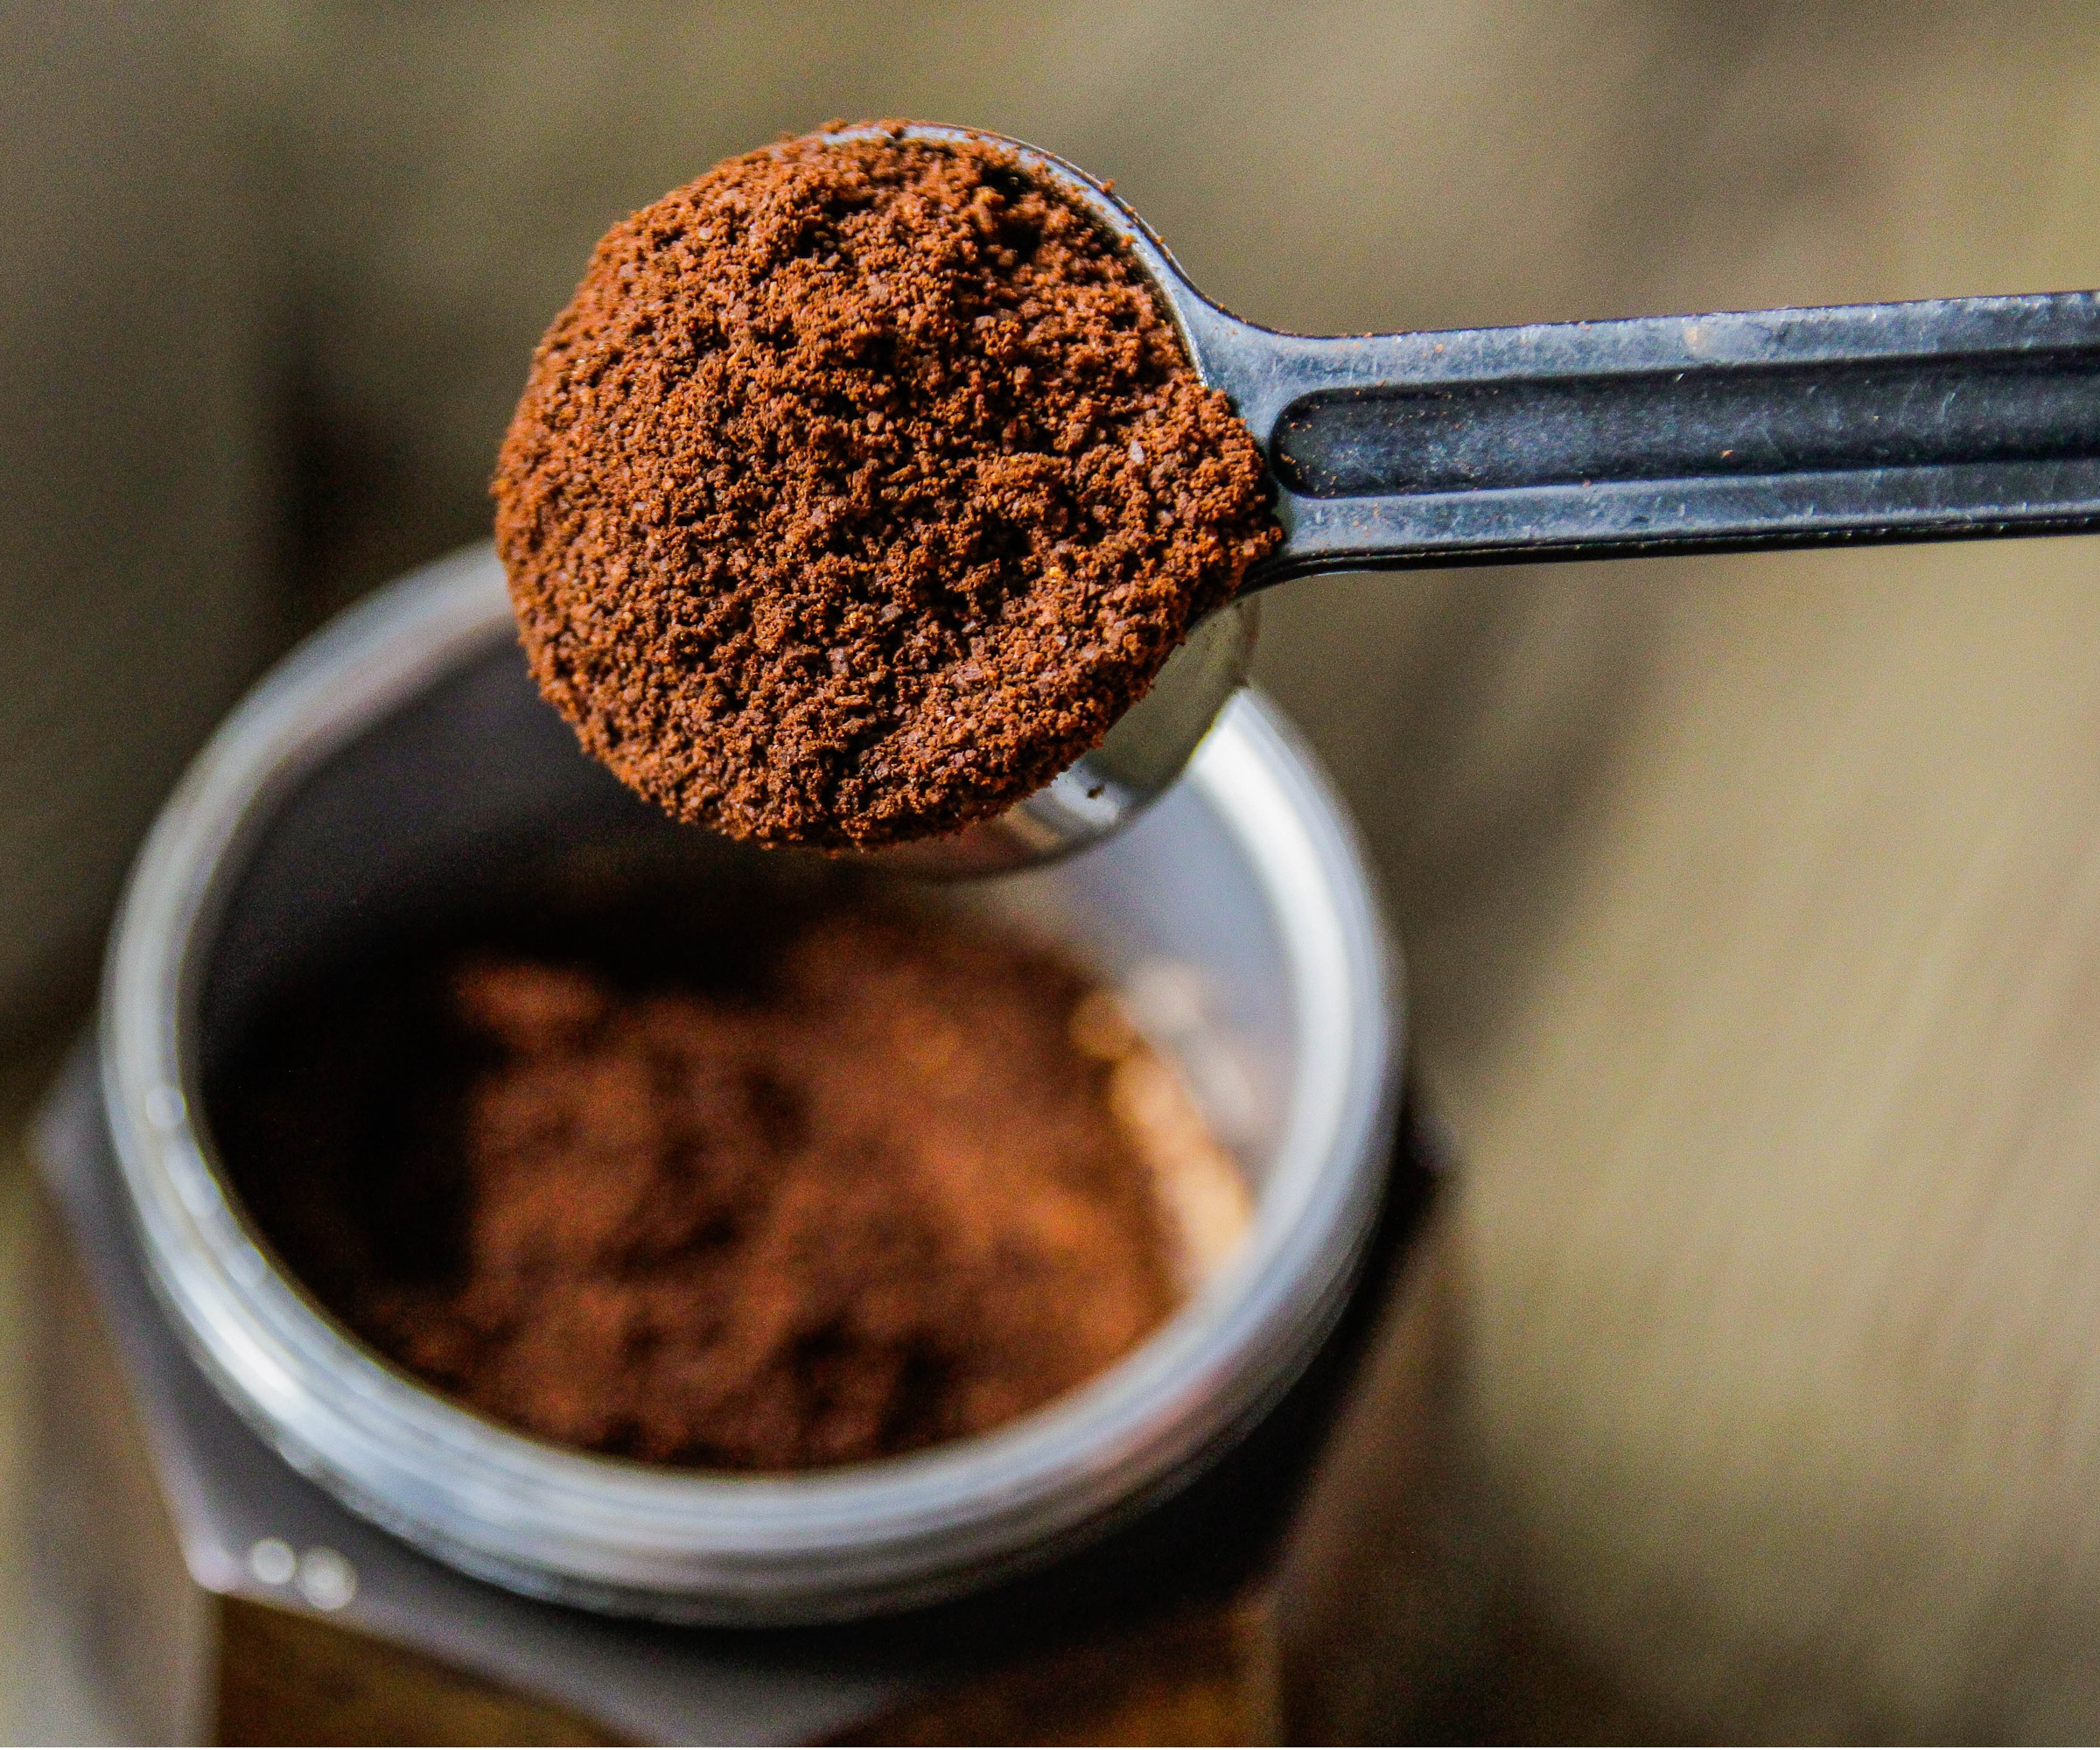
'My best tip is to place brass pieces in a container filled with damp coffee grounds for a few days,' says Curran. 'The acidity in the coffee breaks down the surface shine, creating a rich brownish tint and vintage texture, ideal for rustic or farmhouse-style décor. I have found that finely ground coffee works best for this method. For instance, Starbucks Espresso Roast (available at Amazon) is perfect for a deep, rich color.'
You can also use coffee grounds to clean furniture, or as fertilizer for house plants.
10. Try pre-made patina products
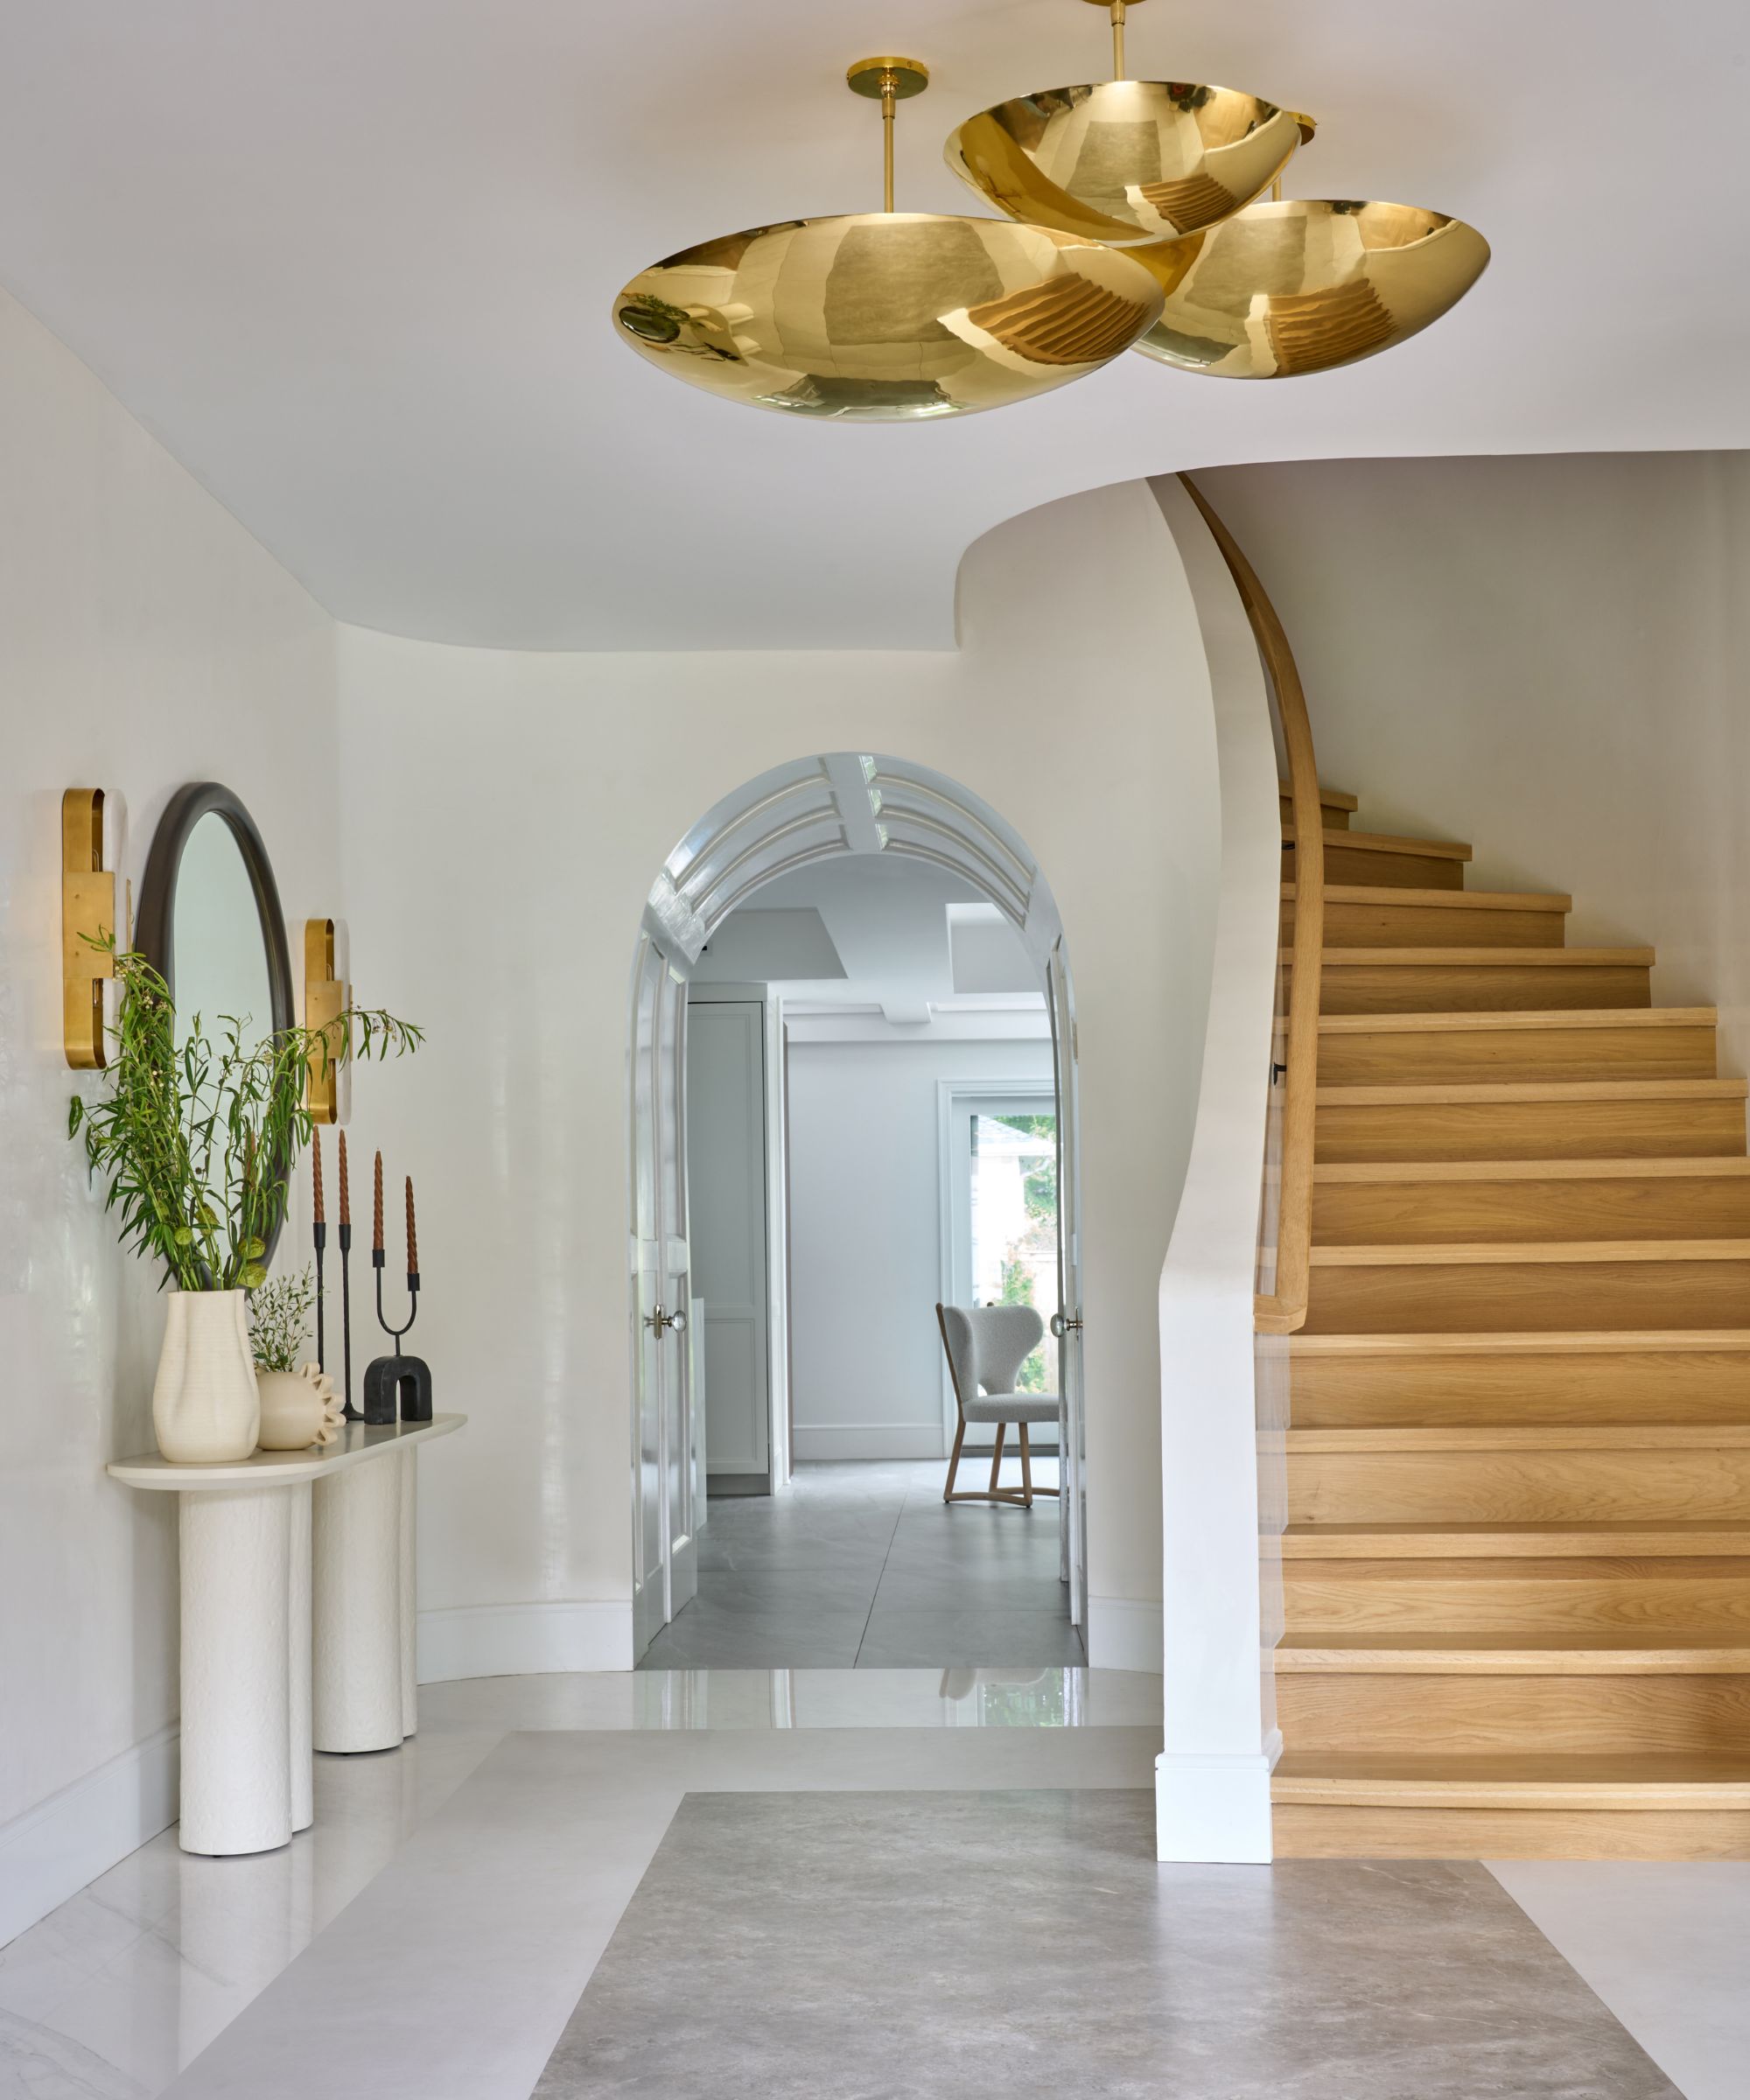
While there are alternatives, there are a whole host of products made specifically for creating a patina on new brass.
'There are also products designed specifically for aging brass, like Jax Patina Solution (available at Amazon) or Birchwood Casey Brass Black (also available at Amazon),' says Coates. 'These are easy to use– you just apply them directly to the brass, and they’ll create an instant aged look.'
Harpreet Saini, CEO of We Buy Houses in Detroit, says, 'I've always loved the charm that aged brass brings to a home. In one of our recent house flips, we wanted to give the brass fixtures a vintage feel without breaking the bank.'
She also recommends the Jax Instant Brass and Copper Blackener. 'Just apply it with a brush, and you'll see the brass darken instantly. We used this on cabinet handles and it gave them an antique finish that our buyers loved.'
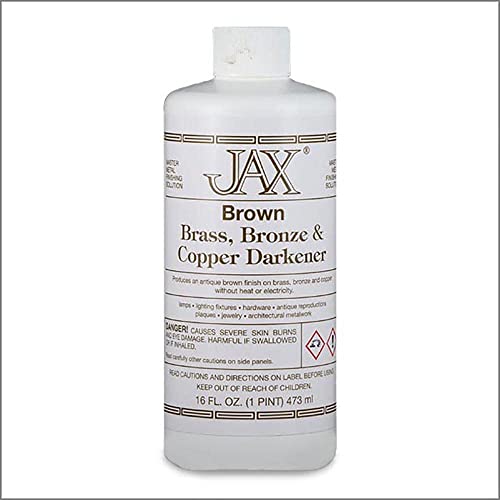
This product is a water-based solution that doesn't require heat or electricity, and works quickly to darken metals with an antique look. You can use a bristle brush or cloth to apply it, or simply dip your brass item into it. You can also further dilute it with water to slow down the reaction, giving you more control over the finish.
FAQs
How long does it take to age brass naturally?
You can also age brass naturally, but be prepared to wait patiently. It takes around two years to develop a distinct and discernible patina naturally but it will give a beautiful, authentic character. You can also restore old brass if purchase second hand brass that you feel is too aged for your space.
'After patina is the way you want it, you might want to seal the brass with a clear wax or lacquer to protect the finish to keep the look intact,' says Coates.
If you're currently renovating your kitchen and want to go for a vintage brass look, this is how to choose kitchen fixtures with the perfect patina.

Ottilie joined Homes & Gardens in 2024 as the News Writer on Solved, after finishing a Master's in Magazine Journalism at City, University of London. Now, as the Sleep Editor, she spends her days hunting deals and producing content on all things sleep – from mattresses and sheets to protectors and pillows, all of which she tests in her own home. She also has particular expertise in home fragrance, covering everything from candles to reed diffusers.
Previously, she has written for Livingetc and Motorsport Magazine, and also has a Master's degree in English Literature and History of Art from the University of Edinburgh, where she developed a love for inspiring interiors and architecture.