How to restore brass
Breathe new life into your brass hardware using these store cupboard essentials

Design expertise in your inbox – from inspiring decorating ideas and beautiful celebrity homes to practical gardening advice and shopping round-ups.
You are now subscribed
Your newsletter sign-up was successful
Want to add more newsletters?

Twice a week
Homes&Gardens
The ultimate interior design resource from the world's leading experts - discover inspiring decorating ideas, color scheming know-how, garden inspiration and shopping expertise.

Once a week
In The Loop from Next In Design
Members of the Next in Design Circle will receive In the Loop, our weekly email filled with trade news, names to know and spotlight moments. Together we’re building a brighter design future.

Twice a week
Cucina
Whether you’re passionate about hosting exquisite dinners, experimenting with culinary trends, or perfecting your kitchen's design with timeless elegance and innovative functionality, this newsletter is here to inspire
Restoring brass hardware can seem like a daunting task, especially if it's got years of tarnish build up or is a chore you've never tackled before. However, its actually surprisingly easy.
While slightly tarnished brass brings aged character to door fittings, creating an antique-style look, there is a fine line between a piece looking like an antique and one that looks corroded, unattractive and uncared for.
Thankfully, we've rounded up a host of easy ways to restore brass hardware that will help you get the shine back in your favorite pieces.
See more cleaning know-how on our dedicated page.
What is brass hardware?
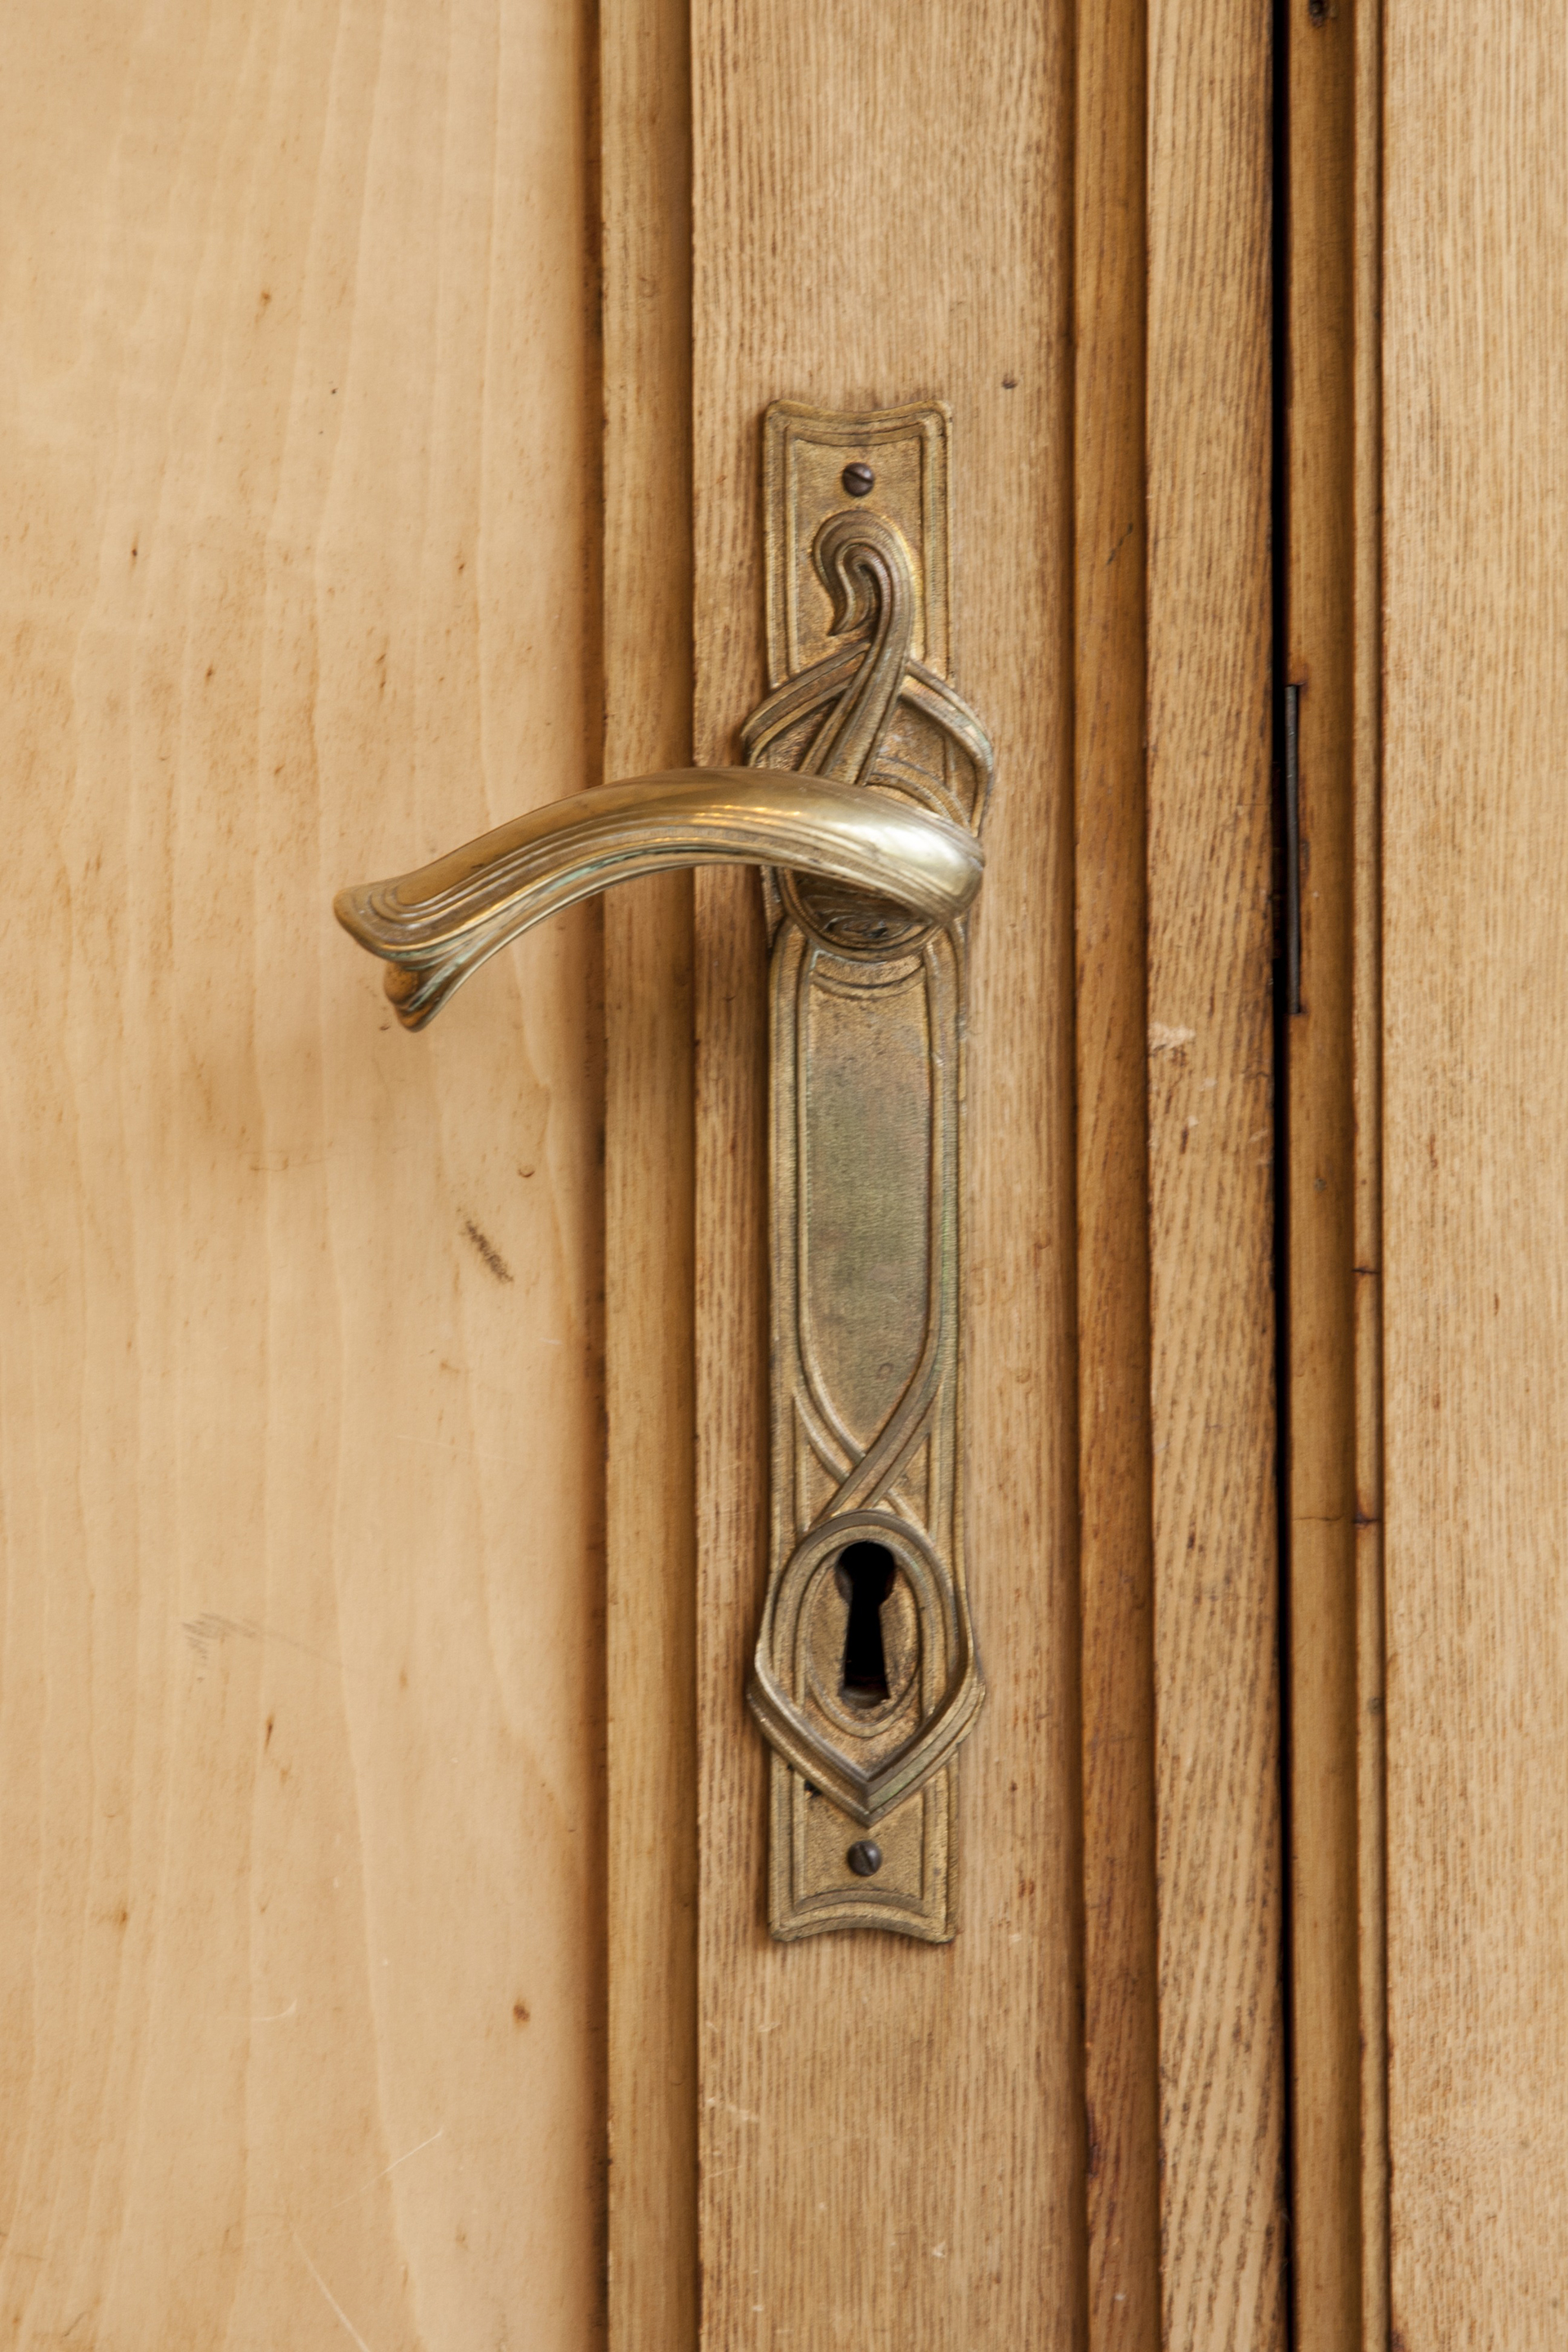
Brass hardware is simply hardware made from solid brass. There are lots of brass-plated and finished versions but solid brass hardware offers a longevity and quality that adds traditional character to a home.
'Cast, sheet or spun brass was widely used to make door and window furniture but requires regular polishing. Some pieces may be lacquered or brass plated,' says Roger Hunt, Period Living's renovation expert and author of Old House Handbook.
- See: How to clean cast iron – remove rust, reseason and refinish
How can you tell if hardware is brass?
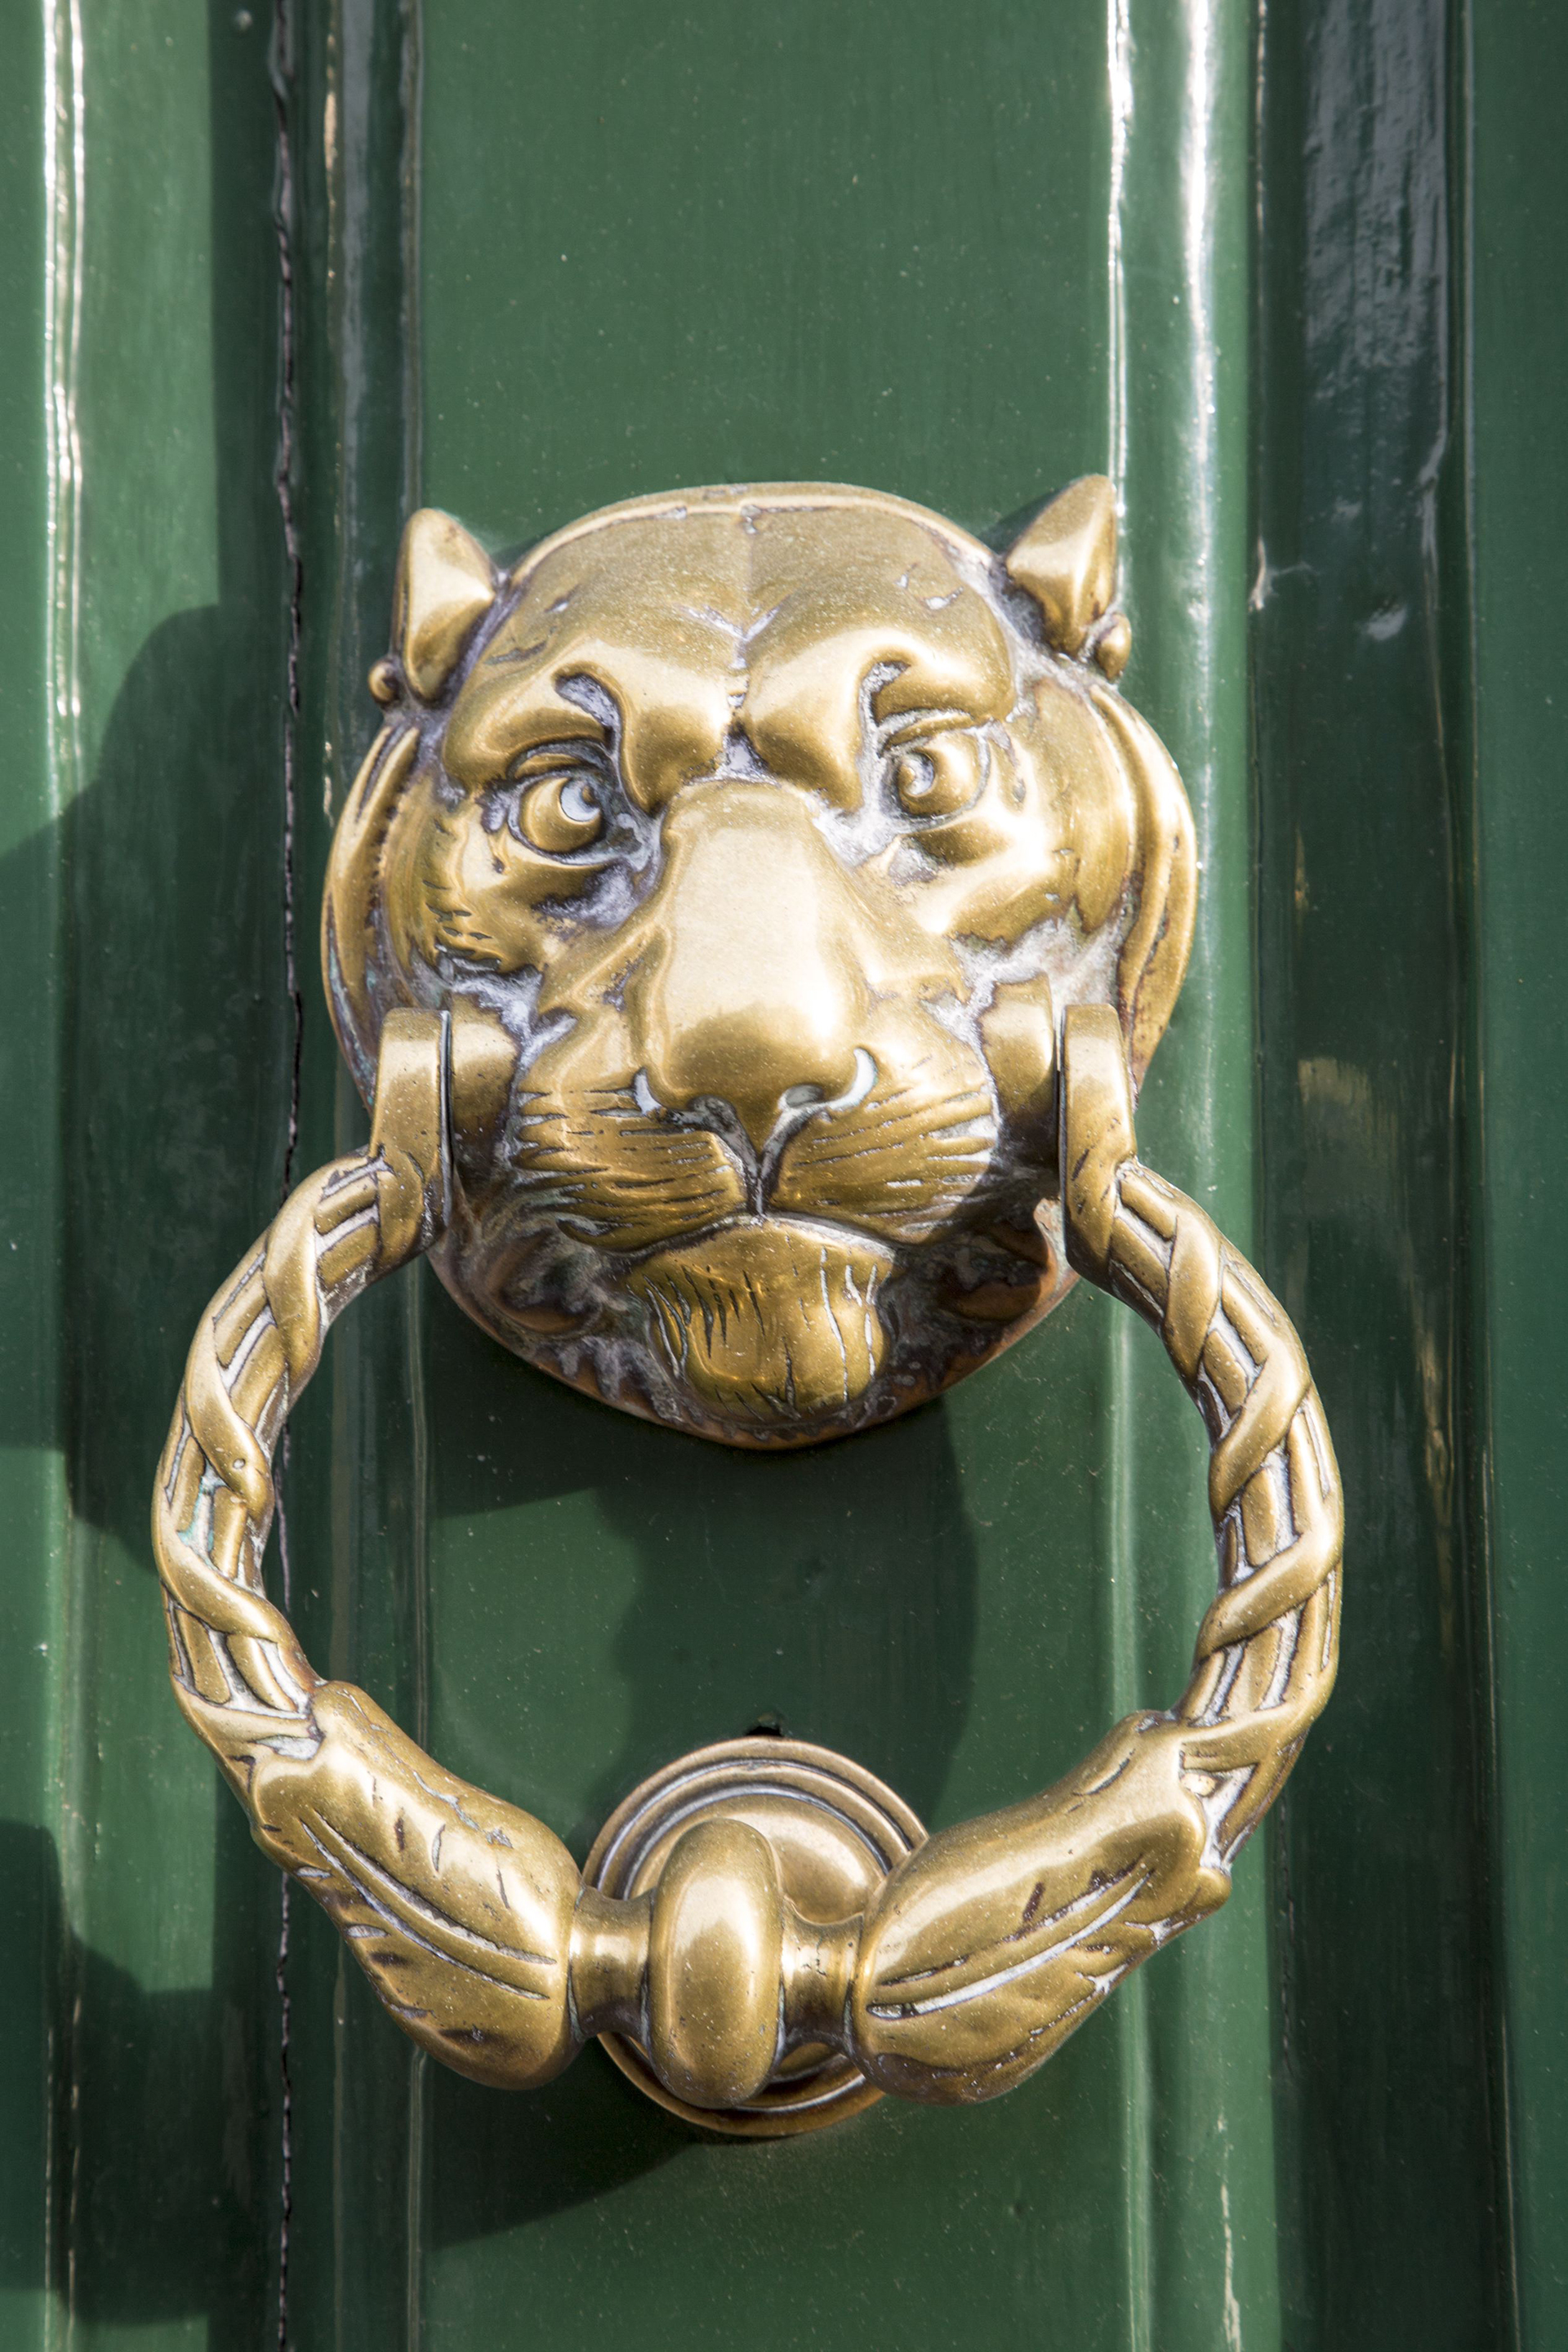
It is important to make sure that your hardware is actually made from brass before attempting these cleaning methods. If it is brass-plated or simply painted to look like brass, these methods can completely ruin your hardware.
Design expertise in your inbox – from inspiring decorating ideas and beautiful celebrity homes to practical gardening advice and shopping round-ups.
Thankfully double checking is really easy. You can tell if hardware is brass by touching it with a magnet – if it sticks, it is not brass as brass isn’t magnetic.
If your hardware is not brass (as the magnet sticks to it), then gently washing with warm soapy water followed by a gentle rub with olive oil to chase out the water, is the best course of action and will have your hardware shining again in no time. Don’t polish it though as this can damage the plating.
If your magnet doesn’t stick and your hardware is brass then you have a wide variety of options to choose from, depending on the severity of the tarnishing.
Before starting any cleaning work though, you must remove your hardware. This will let you get in all the nooks and crannies as well as protecting your door. ‘Always keep the screws that came with each piece together with the hardware (I like to put the complete piece and fasteners in a plastic baggie),’ advises Jon Eaton the creative director of House of Antique Hardware.
- See: How to clean silver – an expert guide
Which products to use for restoring brass hardware
Successful brass cleaning all comes down to the products you use. Whether you opt for store-cupboard essentials like lemon and salt or vinegar and baking soda or purchase a purpose-made cleaner, there are a few must-haves to complete your brass cleaning toolkit.
- A toothbrush will help you get into all the nooks and crannies;
- Fine wire wool will let you remove stubborn tarnishing without scratching your brass hardware;
- Olive oil is a great option to naturally polish your piece and repel any water that's been trapped as part of the cleaning process.
How to restore brass with lemon and salt
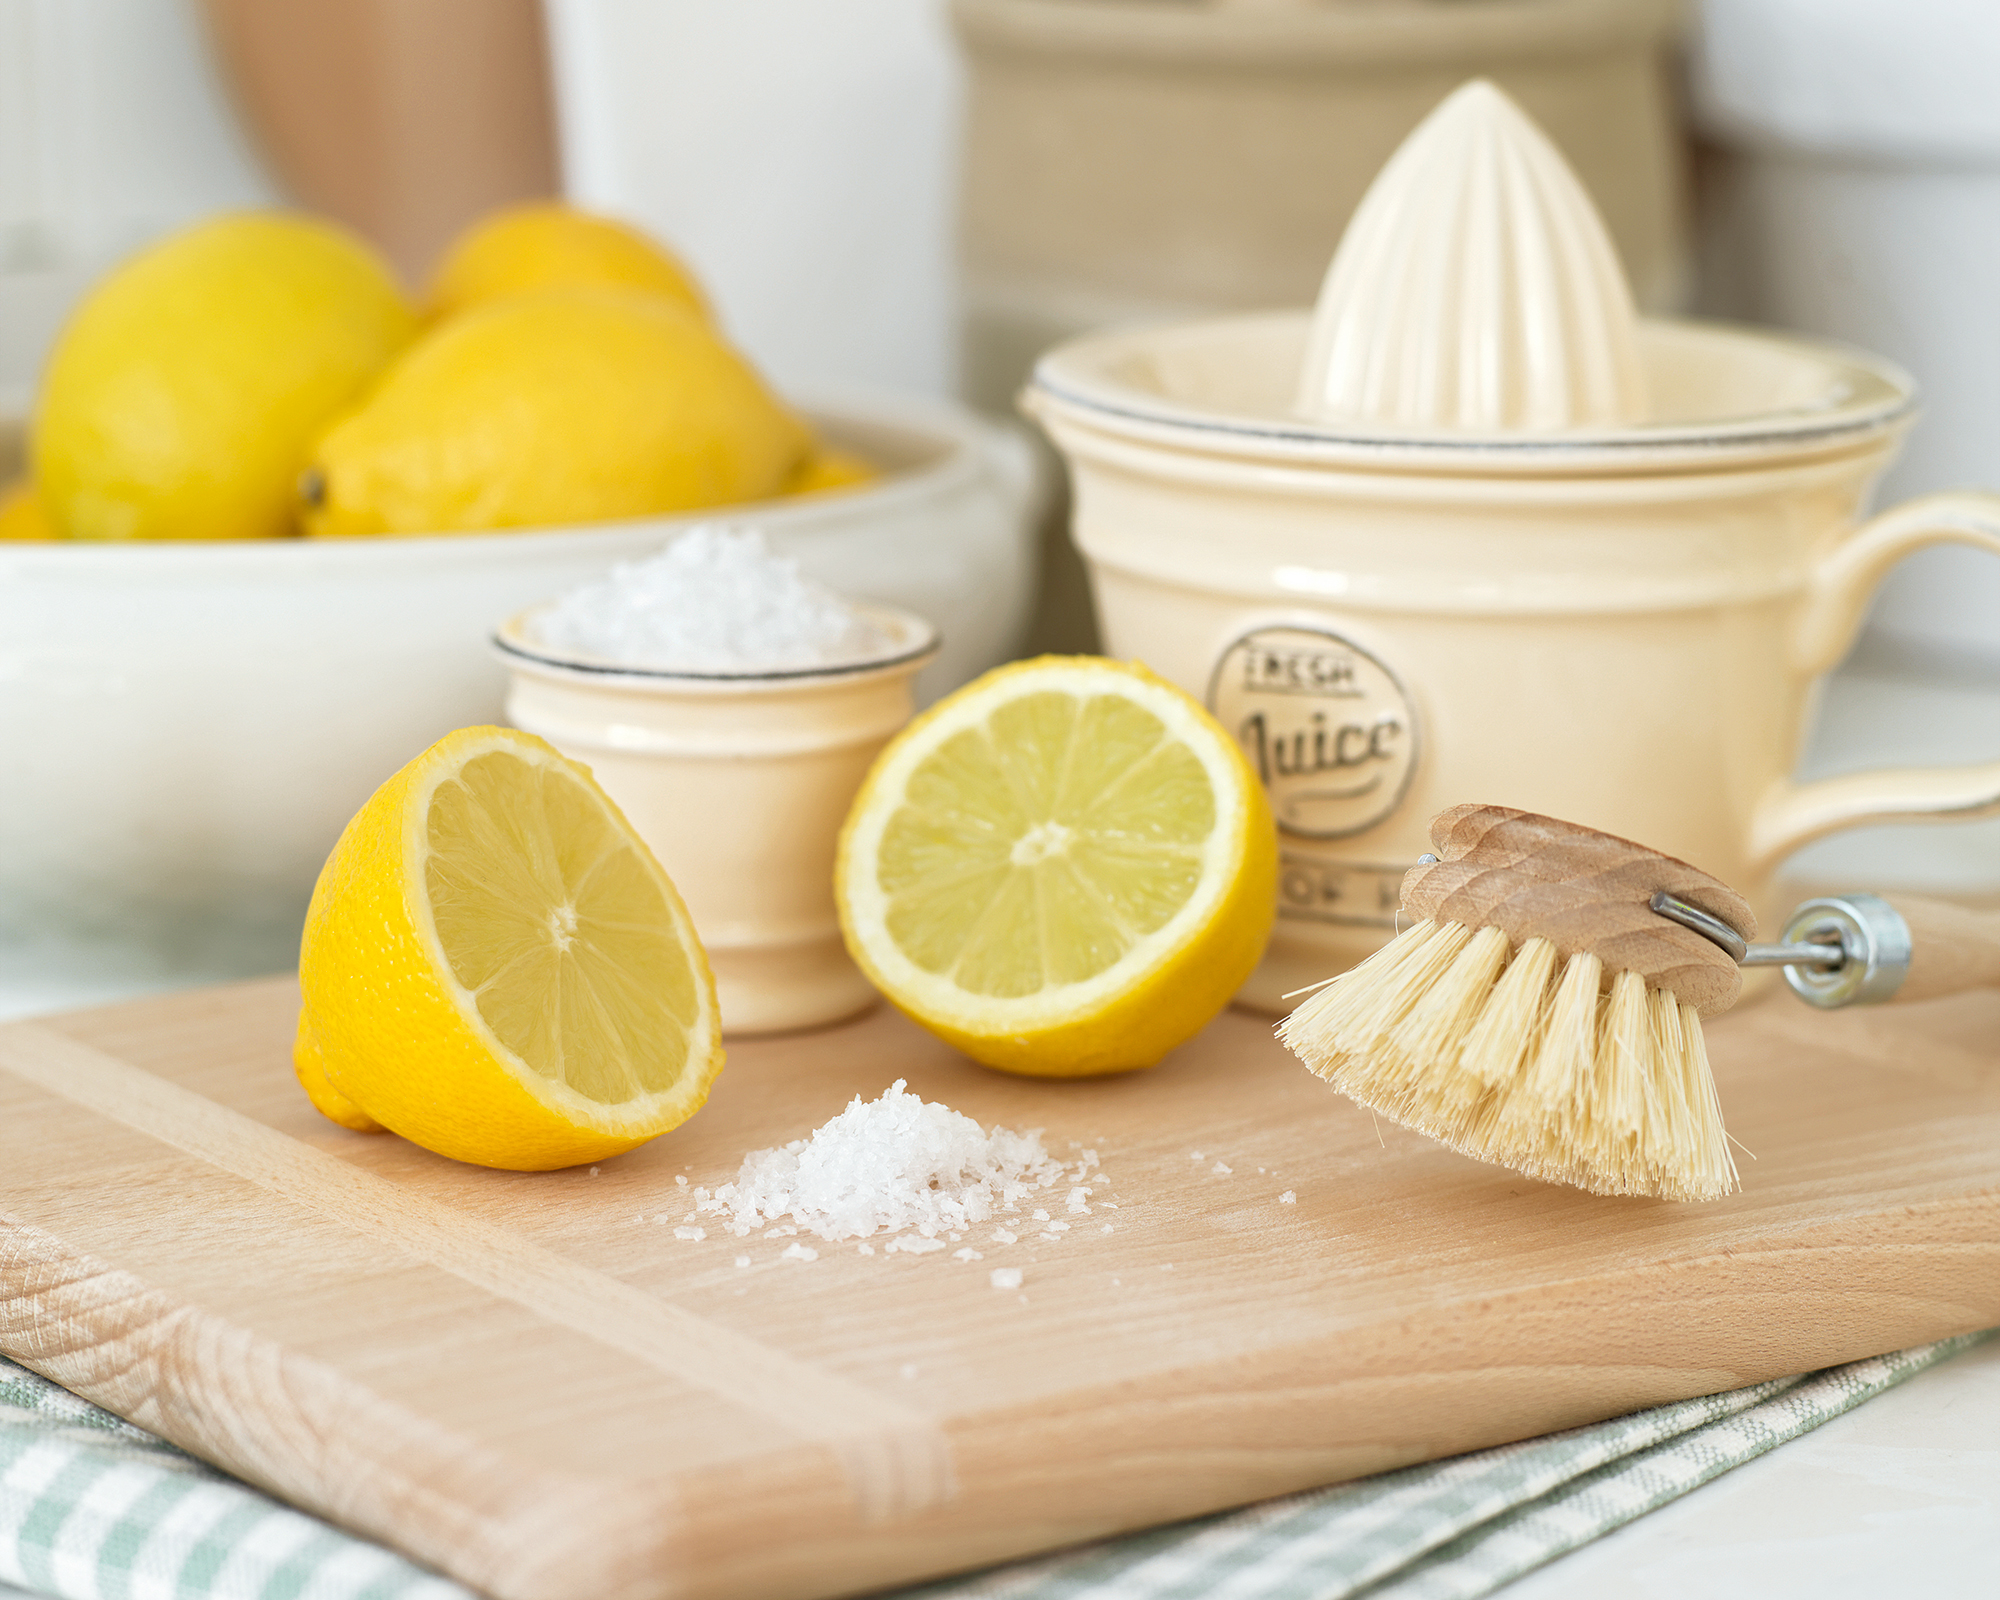
Create a paste using ¼ cup of salt with ½ cup of lemon juice, then rub into the brass with a soft toothbrush to remove tarnishing.
However, you must make sure you wash off the lemon juice with water as it's acidic and will corrode the brass hardware if left. Once washed and dry, rub with olive oil to chase out the water and preserve the shine.
How to restore brass hardware with baking soda and vinegar
It seems as though baking soda and vinegar can clean virtually everything and brass hardware is no exception.
Mix ½ cup of baking soda with 1 cup of white vinegar to create a paste (you can also add 2 tbsp of table salt if your piece is badly tarnished). The paste will fizz for a few seconds. Once the paste has stopped fizzing, rub on to your brass hardware in circular motions with a toothbrush. Let the paste sit for 30 minutes then rinse off.
Repeat if necessary, then rub with olive oil to protect the brass hardware and add shine.
This feature was created by H&G's sister brand, Period Living magazine
Subscribe to Period Living for more inspiration Period Living is a best-selling period homes magazine. A subscription provides you with all you need to know about caring for and improving a traditional house and garden.
How to restore heavily corroded vintage brass hardware

Reclaimed brass hardware or vintage brass hardware can pose a greater challenge when it comes to restoration. These pieces may have not been cleaned for centuries. 'Brasso and a cloth won’t cut it, but luckily it’s not too expensive to have them machine polished,' says Paul Nash of Architectural Decor
'The restoration of brass hardware is an artform.' says Liz Gordon of Liz’s Antique Hardware. 'It requires stripping off old paint or removing aged finishes to arrive to the original patina of the base metal, then from there achieving the desired patina requires handwork and the use of a variety of techniques, like firing and buffing wheels for example. The results are rich patinas that may continue to age with time.'
How to restore lacquered brass hardware
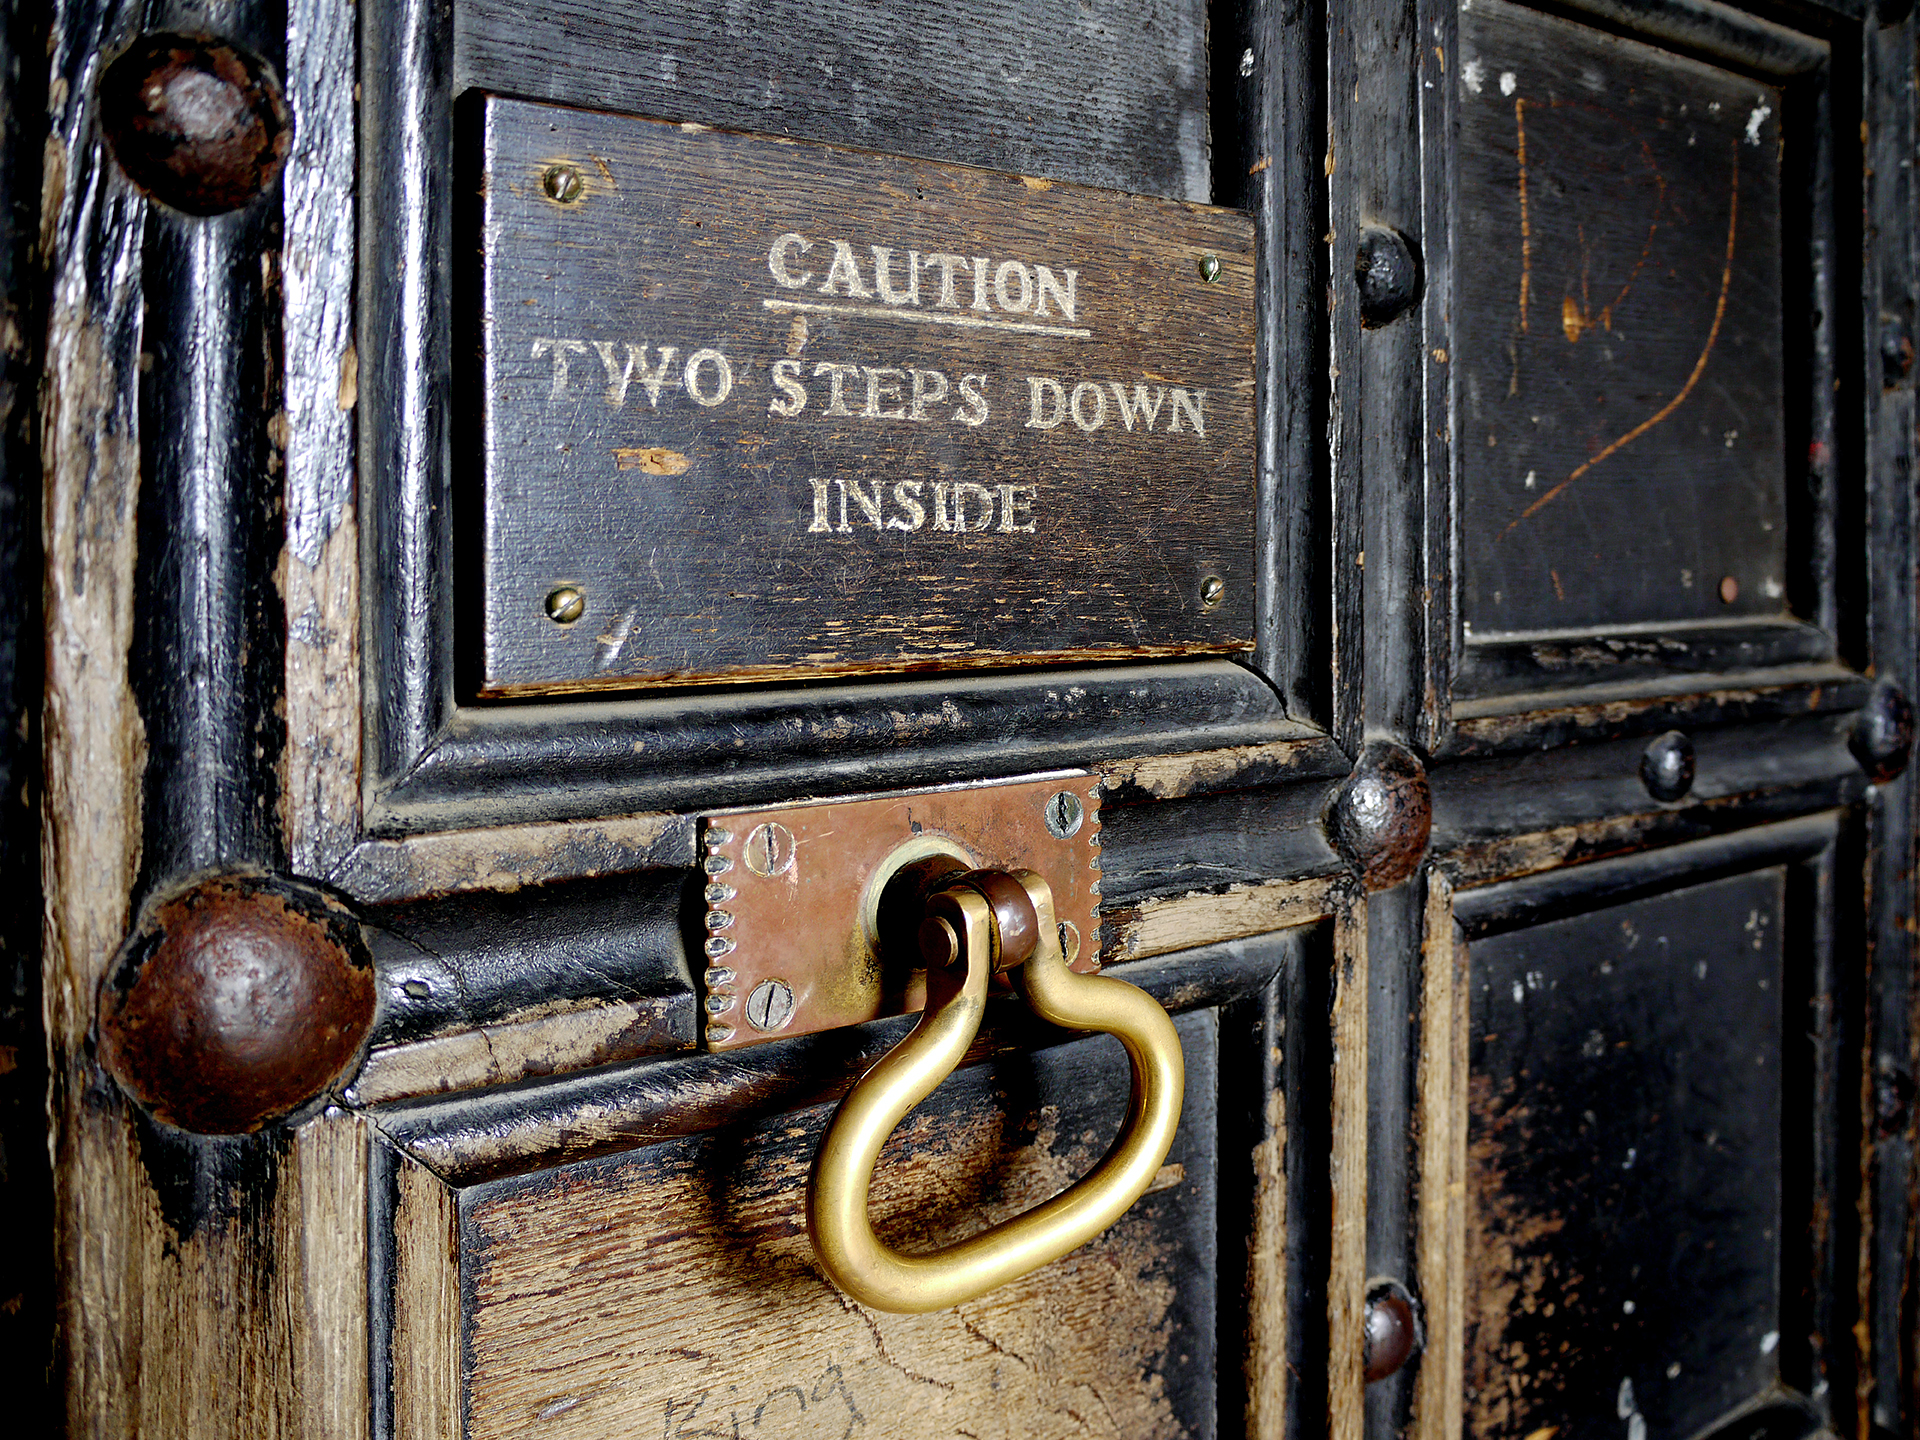
Lacquered brass hardware has a tendency to peel, which then allows the brass beneath to tarnish in some spots.
‘This is one of the trickiest situations,’ says Jon Eaton. ‘Sometimes brass is lacquer coated to prevent it from tarnishing, but inevitably the lacquer begins to wear off. In this case the only solution is to remove the lacquer and repolish.’
To restore lacquered brass hardware, soak it in a paint stripper for a few minutes and then use steel wool to scrub the lacquer until fully removed. This can take some time as the lacquer is clear, making it hard to see the spots you have missed.
‘If you don’t remove every spec, your hardware will take on a spotted look,’ warns Jon Eaton. ‘However, you can identify any remaining lacquer residue by dipping the hardware in the brass ageing solution which will darken all the areas except those with lacquer. Don’t worry about the darkening effect of the ager as it will be removed by polishing.'
How to restore brass hardware that has been covered or partially covered with paint
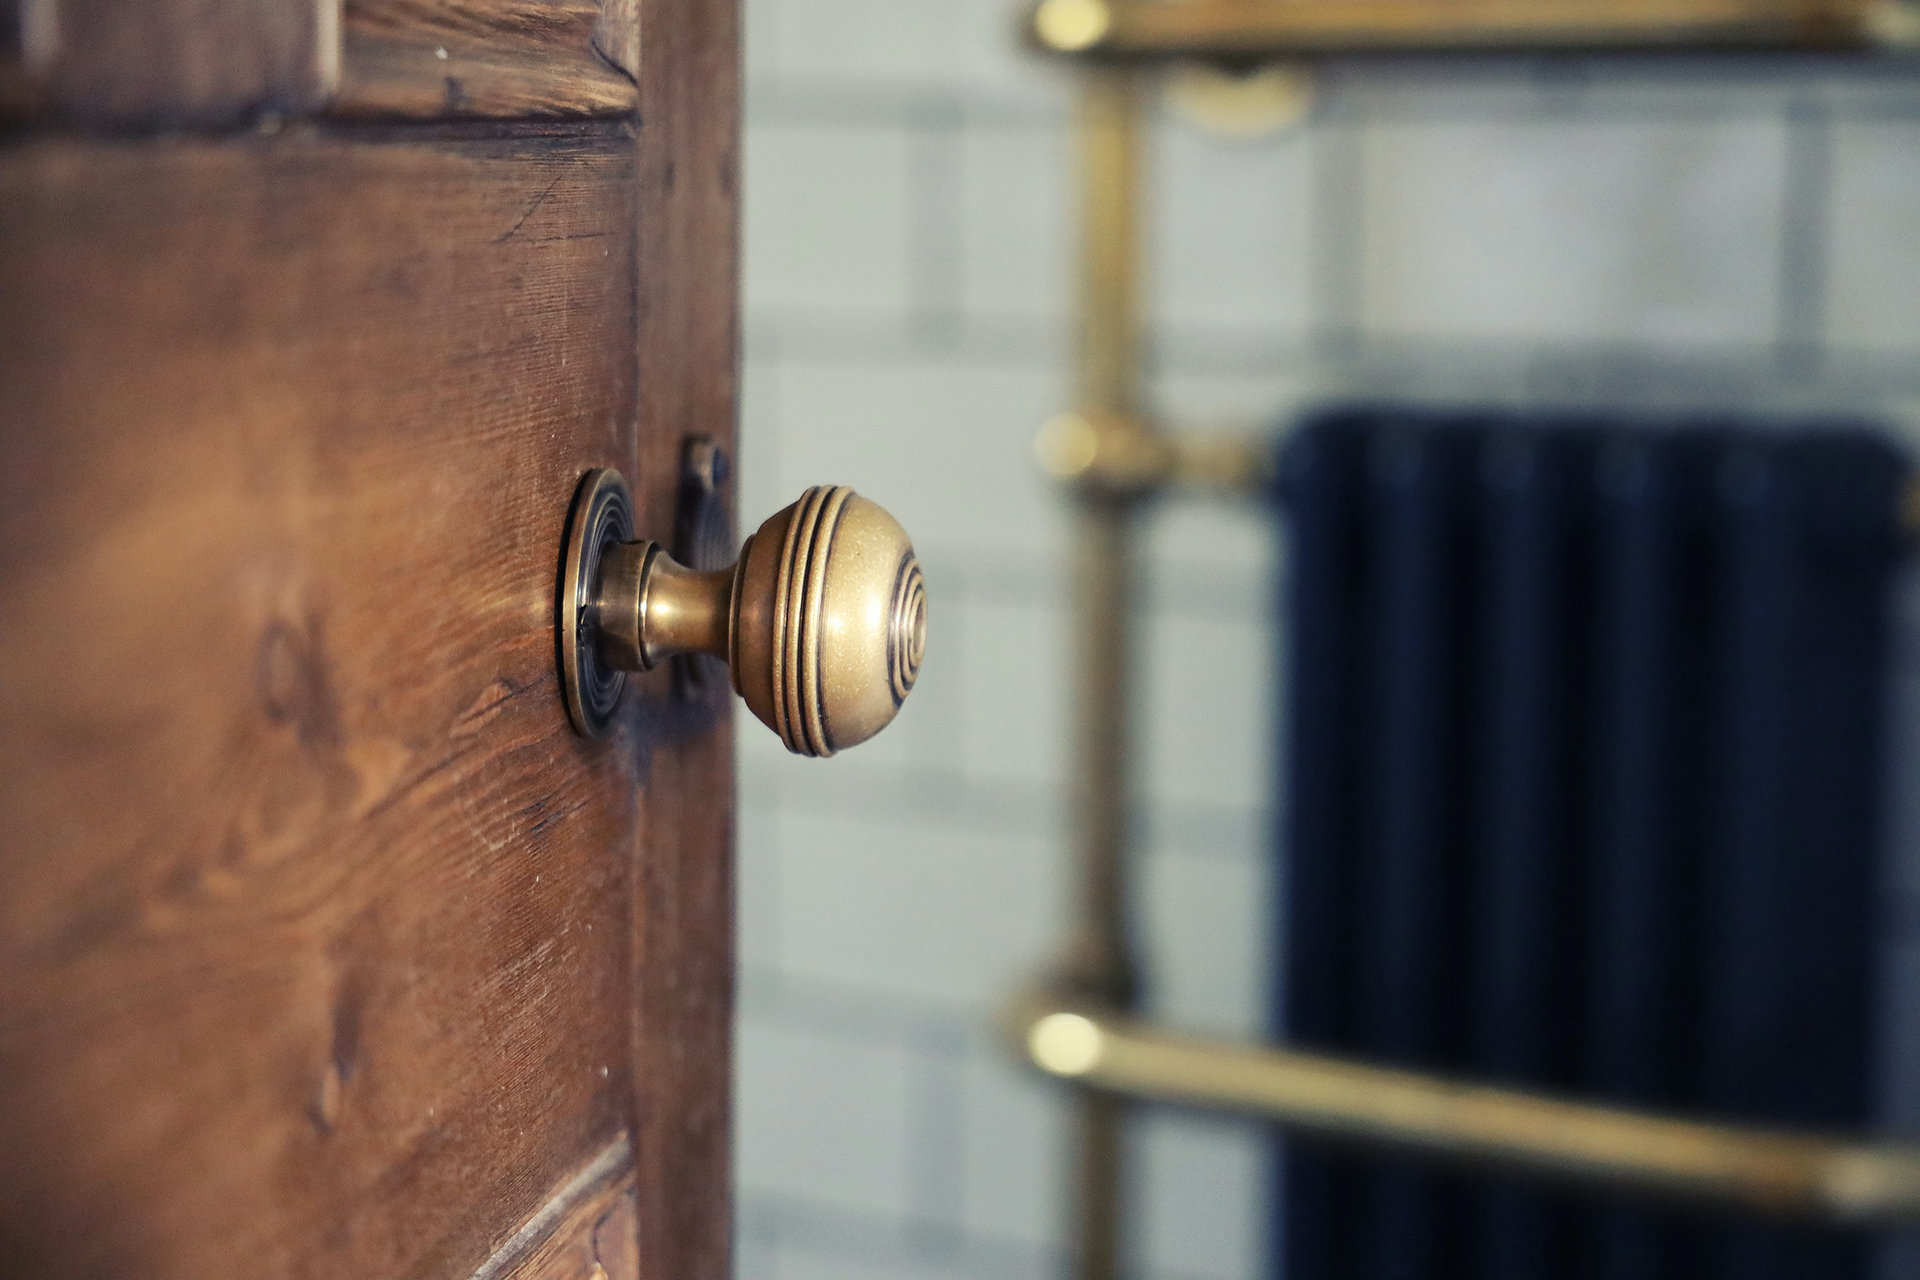
When it comes to restoring brass hardware that has been covered with paint, ‘I prefer the boiling method over using a paint stripper,’ says Jon Eaton. ‘Add hardware to low boiling water – if you have several pieces I suggest doing one piece at a time so as not to get parts mixed up. Let it boil for a few minutes until the paint wrinkles up on the metal.
‘Remove the hardware with tongs and lay on paper towels on a counter or cookie sheet. You don’t need to dry them off and you want to work quickly. Using the steel wool rub the paint off the metal. It may take some scrubbing in places, and come off easily in others. Simply rub and polish till all paint is removed. Use a utility knife to pry any paint out of crevices, like the heads of screws.
‘Repeat until all the paint is removed then rub lightly all over with the finest grade steel wool to polish.’
- See: Cleaning tips - easy, eco-friendly and from the world's top experts
How to polish brass hardware
'Regular polishing will keep brass looking attractive,' advises Roger Hunt, Period Living's renovation expert. Though you must take care when doing this as some chemical polishes can cause harm if they come into contact with stone, wood or paintwork. 'When polishing,' continues Roger, 'make a cardboard or plastic template to fit around the fitting so adjoining surfaces are protected and cleaning is easier, and be sure to gently wipe off dirt with a soft, damp cloth'.

Having graduated with a first class degree in English Literature, Holly started her career as a features writer and sub-editor at Period Living magazine, Homes & Gardens' sister title. Working on Period Living brought with it insight into the complexities of owning and caring for period homes, from interior decorating through to choosing the right windows and the challenges of extending. This has led to a passion for traditional interiors, particularly the country-look. Writing for the Homes & Gardens website as a content editor, alongside regular features for Period Living and Country Homes & Interiors magazines, has enabled her to broaden her writing to incorporate her interests in gardening, wildlife and nature.
