How to dry rosemary in summer – to save and store this nutritious, fragrant herb
A step-by-step guide to drying and preserving your homegrown rosemary

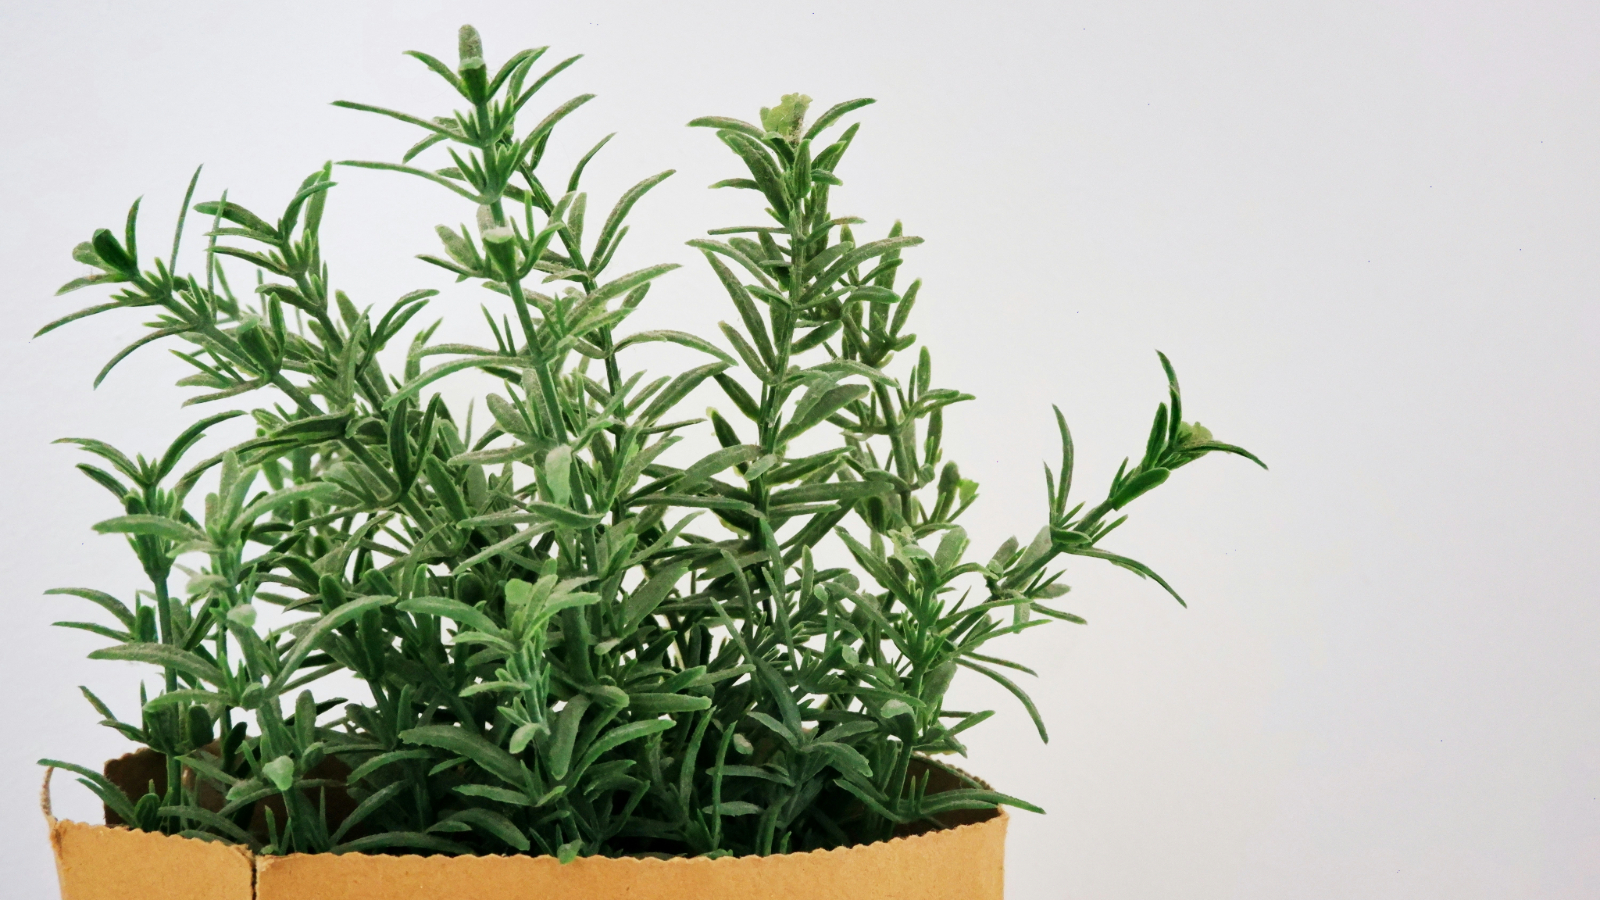
Rosemary is a popular choice to grow in any herb garden. This low-maintenance and extremely versatile plant can do so much, from adding a pop of flavor to your dinner to injecting the most beautiful fragrance into your handmade soaps.
However, with this ease of growing comes more rosemary than you might need or want. My old garden used to be flooded with lavender bushes, so I would always harvest hundreds of stems and make far too many scented lavender pouches during the summer months.
If you wish to make the most out of your rosemary crop, drying it out and storing it for future use is exactly what you need to do. Learning how to harvest rosemary is not complicated, but knowing the right tricks will ensure that you succeed.

How to dry rosemary in 5 steps
Drying out rosemary will allow you to have a steady supply of this versatile herb within easy reach at all times, ready and waiting in your pantry. What's better than growing your own produce and feeling the joy of putting it to use? I asked Jodi Danyo, founder and CEO of Cherry Valley Organics, to find out the best approach.
1. Harvest your rosemary at its prime
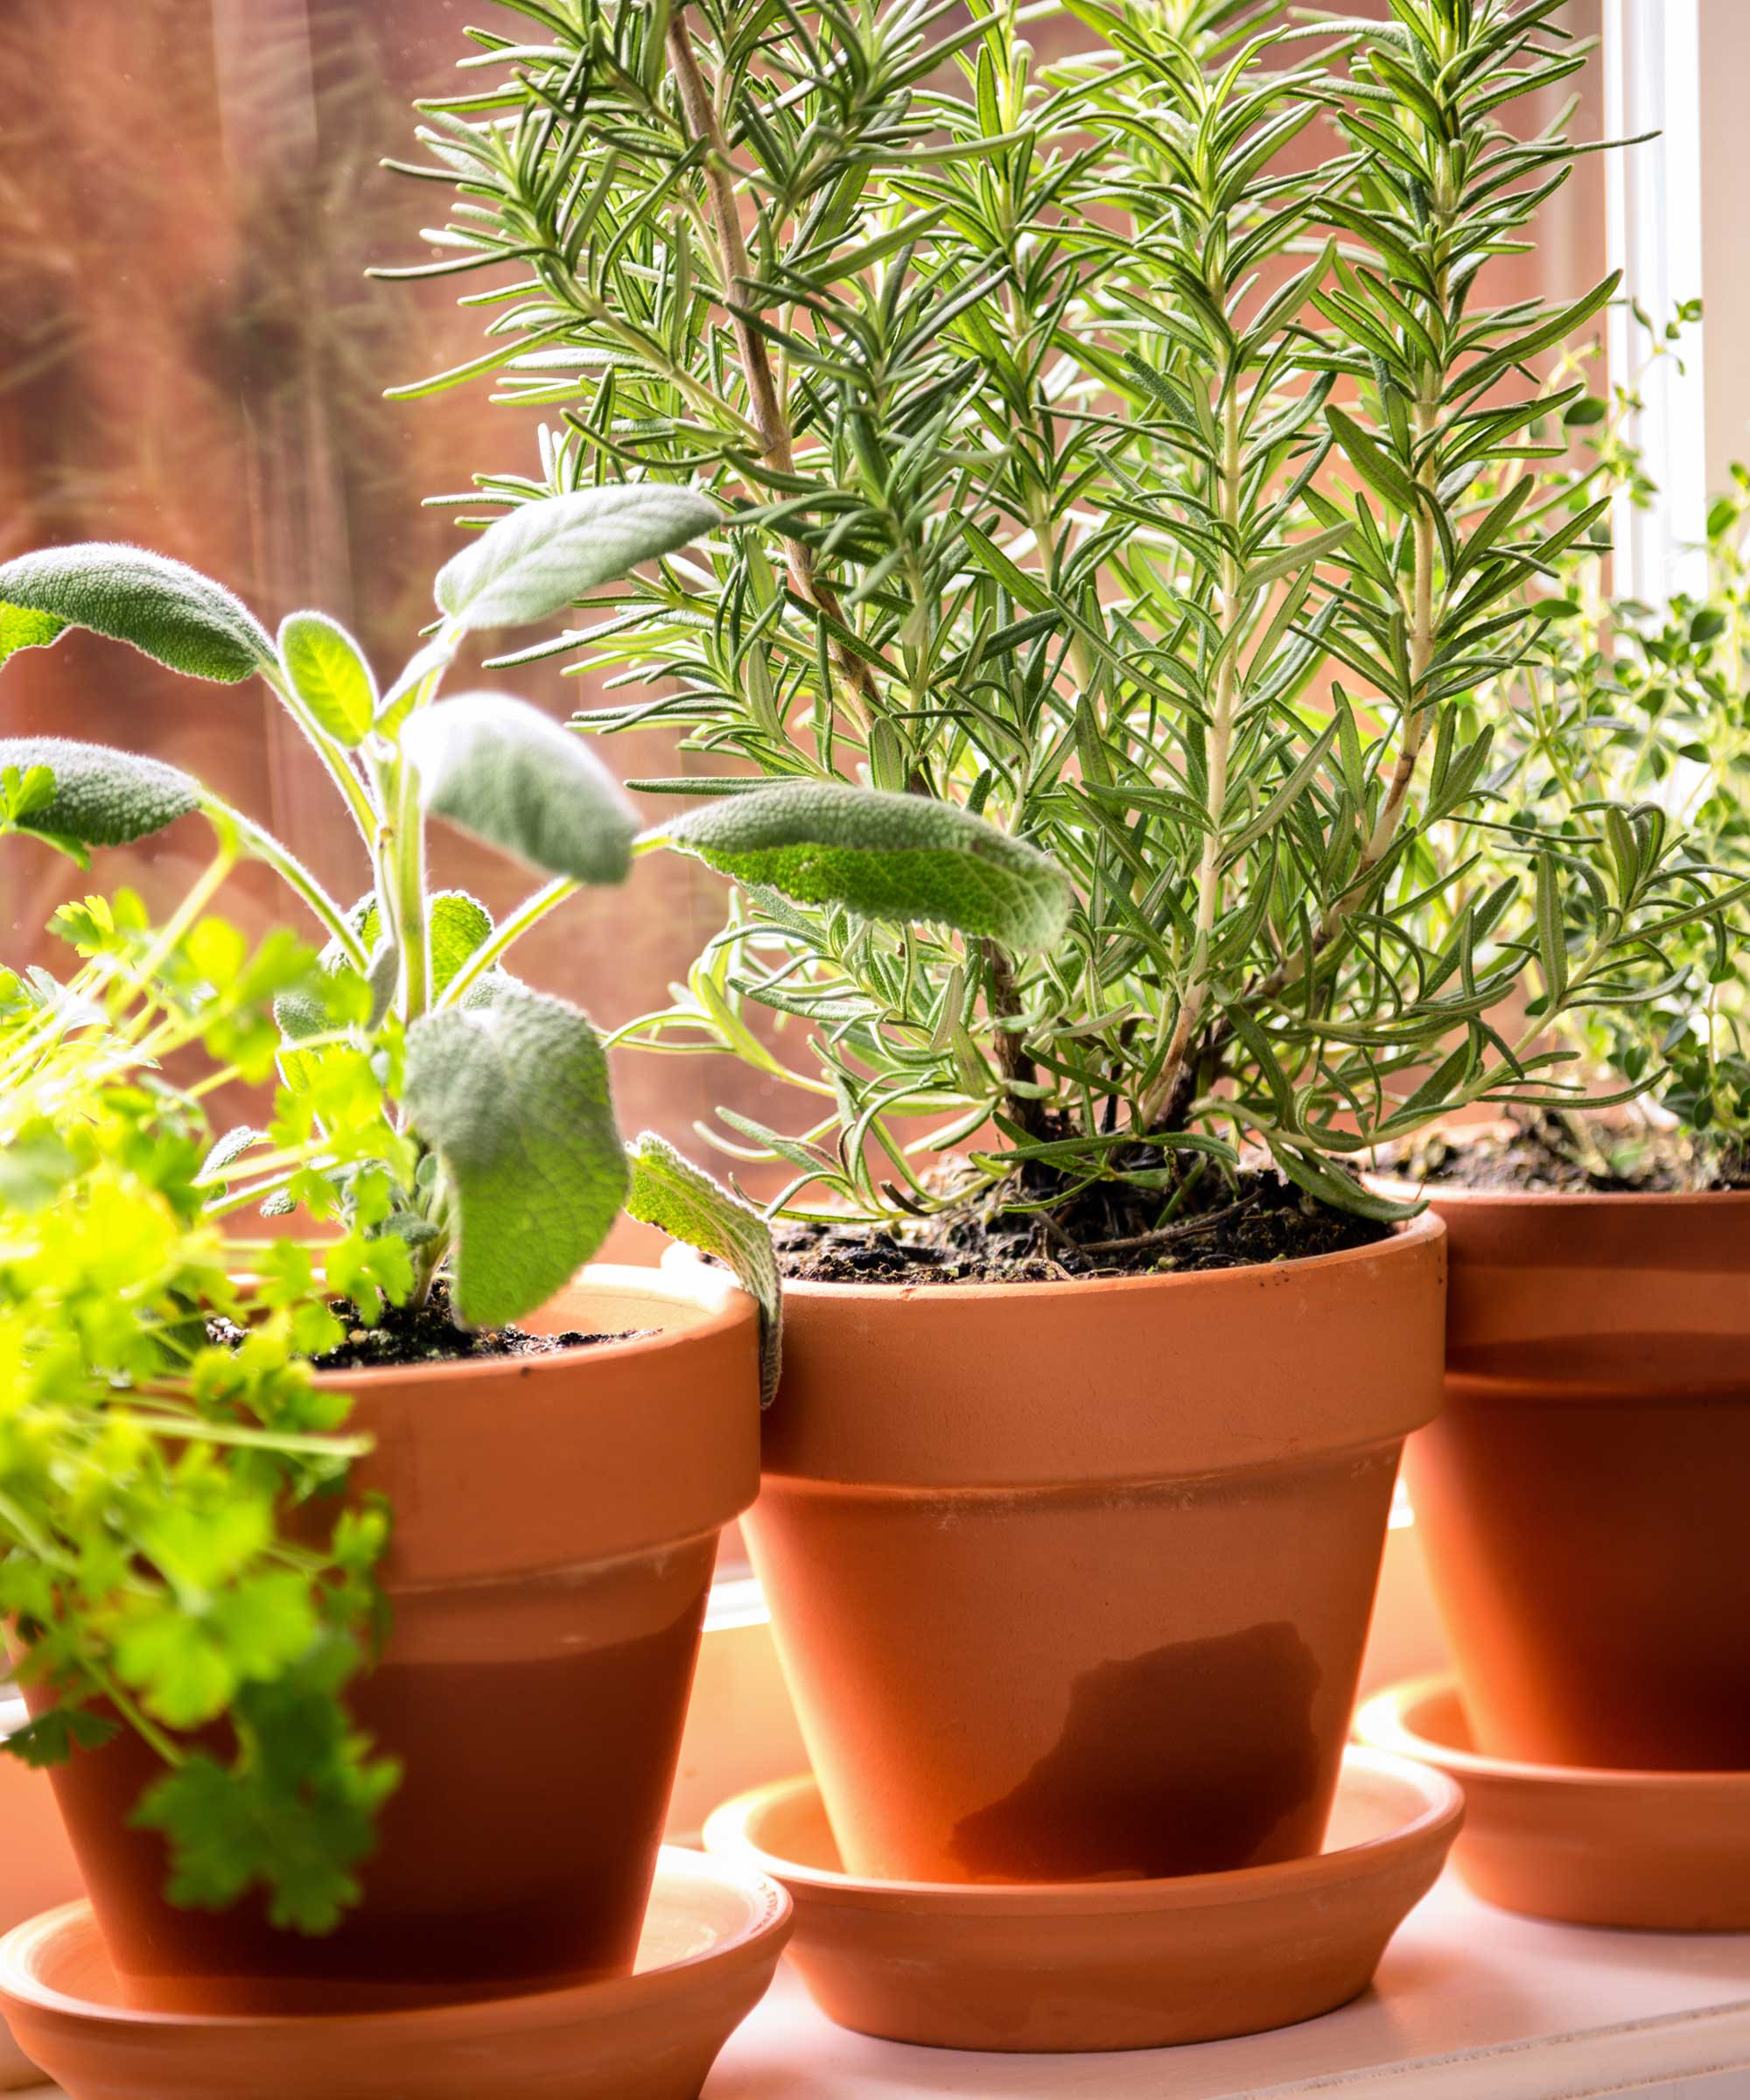
Rosemary is an evergreen, meaning that whatever your US hardiness zone, it can be harvested all year round. However, if you're seeking to harvest rosemary while it's in its prime, generating the best possible flavor, it's recommended to get to work gathering it during the summer. The newer the rosemary shoot is, the fresher and more flavorful the rosemary leaves will be. Harvesting your rosemary early in the season will also allow your crop more time to grow back, yielding another harvest.
'Rosemary can be harvested at any point during the growing season,' says Jodi Danyo. 'Harvesting the stems early in the season, however, will generate more branching in most varieties of rosemary, yielding more leaves for drying by the end of the season.'
You can harvest your homegrown rosemary with a pair of scissors, such as the Fiskars pruners, available from Walmart, snipping off fresh shoots. To maintain an attractive shape for your plant, aim to snip each sprig of rosemary as low down on the shoot stem as possible.
Design expertise in your inbox – from inspiring decorating ideas and beautiful celebrity homes to practical gardening advice and shopping round-ups.
Feel the shoots for softness - newer shoots will be more flexible than older shoots. An older shoot of rosemary that has begun to lose its flavor will feel dry and can look woody.

Jodi is the Founder and CEO of Cherry Valley Organics, an organic farm and e-commerce company innovating in the herb and edible flower space. She has over 25 years of experience growing vegetables, herbs, and flowers organically for retail and wholesale markets.
2. Wash your rosemary

It's always important to wash any herbs you're about to dry to ensure that residue is removed from the surface of the plant, regardless of whether you grow rosemary indoors or outdoors. If you skip this step, you will end up drying and storing rosemary that may contain remnants such as dust or dirt that you definitely won't want to eat!
'Since the lowest stems of your rosemary plant will grow very close to the ground, it is very likely that the leaves will be covered, at least on the undersides, by fine dirt particles,' says Jodi Danyo. 'Washing removes all this dirt before drying, keeping your dried rosemary leaves free of grit.'
Jodi explains how to clean your rosemary leaves effectively, regardless of whether you're harvesting a whole crop or a few sprigs.
'If you are bulk harvesting rosemary at the end of the season for drying, select a harvest bin large enough to fully submerse the rosemary in cool water. Slosh the rosemary around to remove all the dirt from the lower leaves of the plants. Stubborn dirt can be removed using light spray from your garden hose. But if you are just harvesting a small amount of rosemary for immediate use or drying, harvesting into a colander and rinsing the sprigs under cool water from your kitchen faucet will also work.'
The Fiskars harvesting basket, available from Walmart, will perfectly accompany your pruners. It has three sections for storing your produce, making it a breeze to bring indoors, and holes like a colander to rinse everything off.
3. Dry out your rosemary
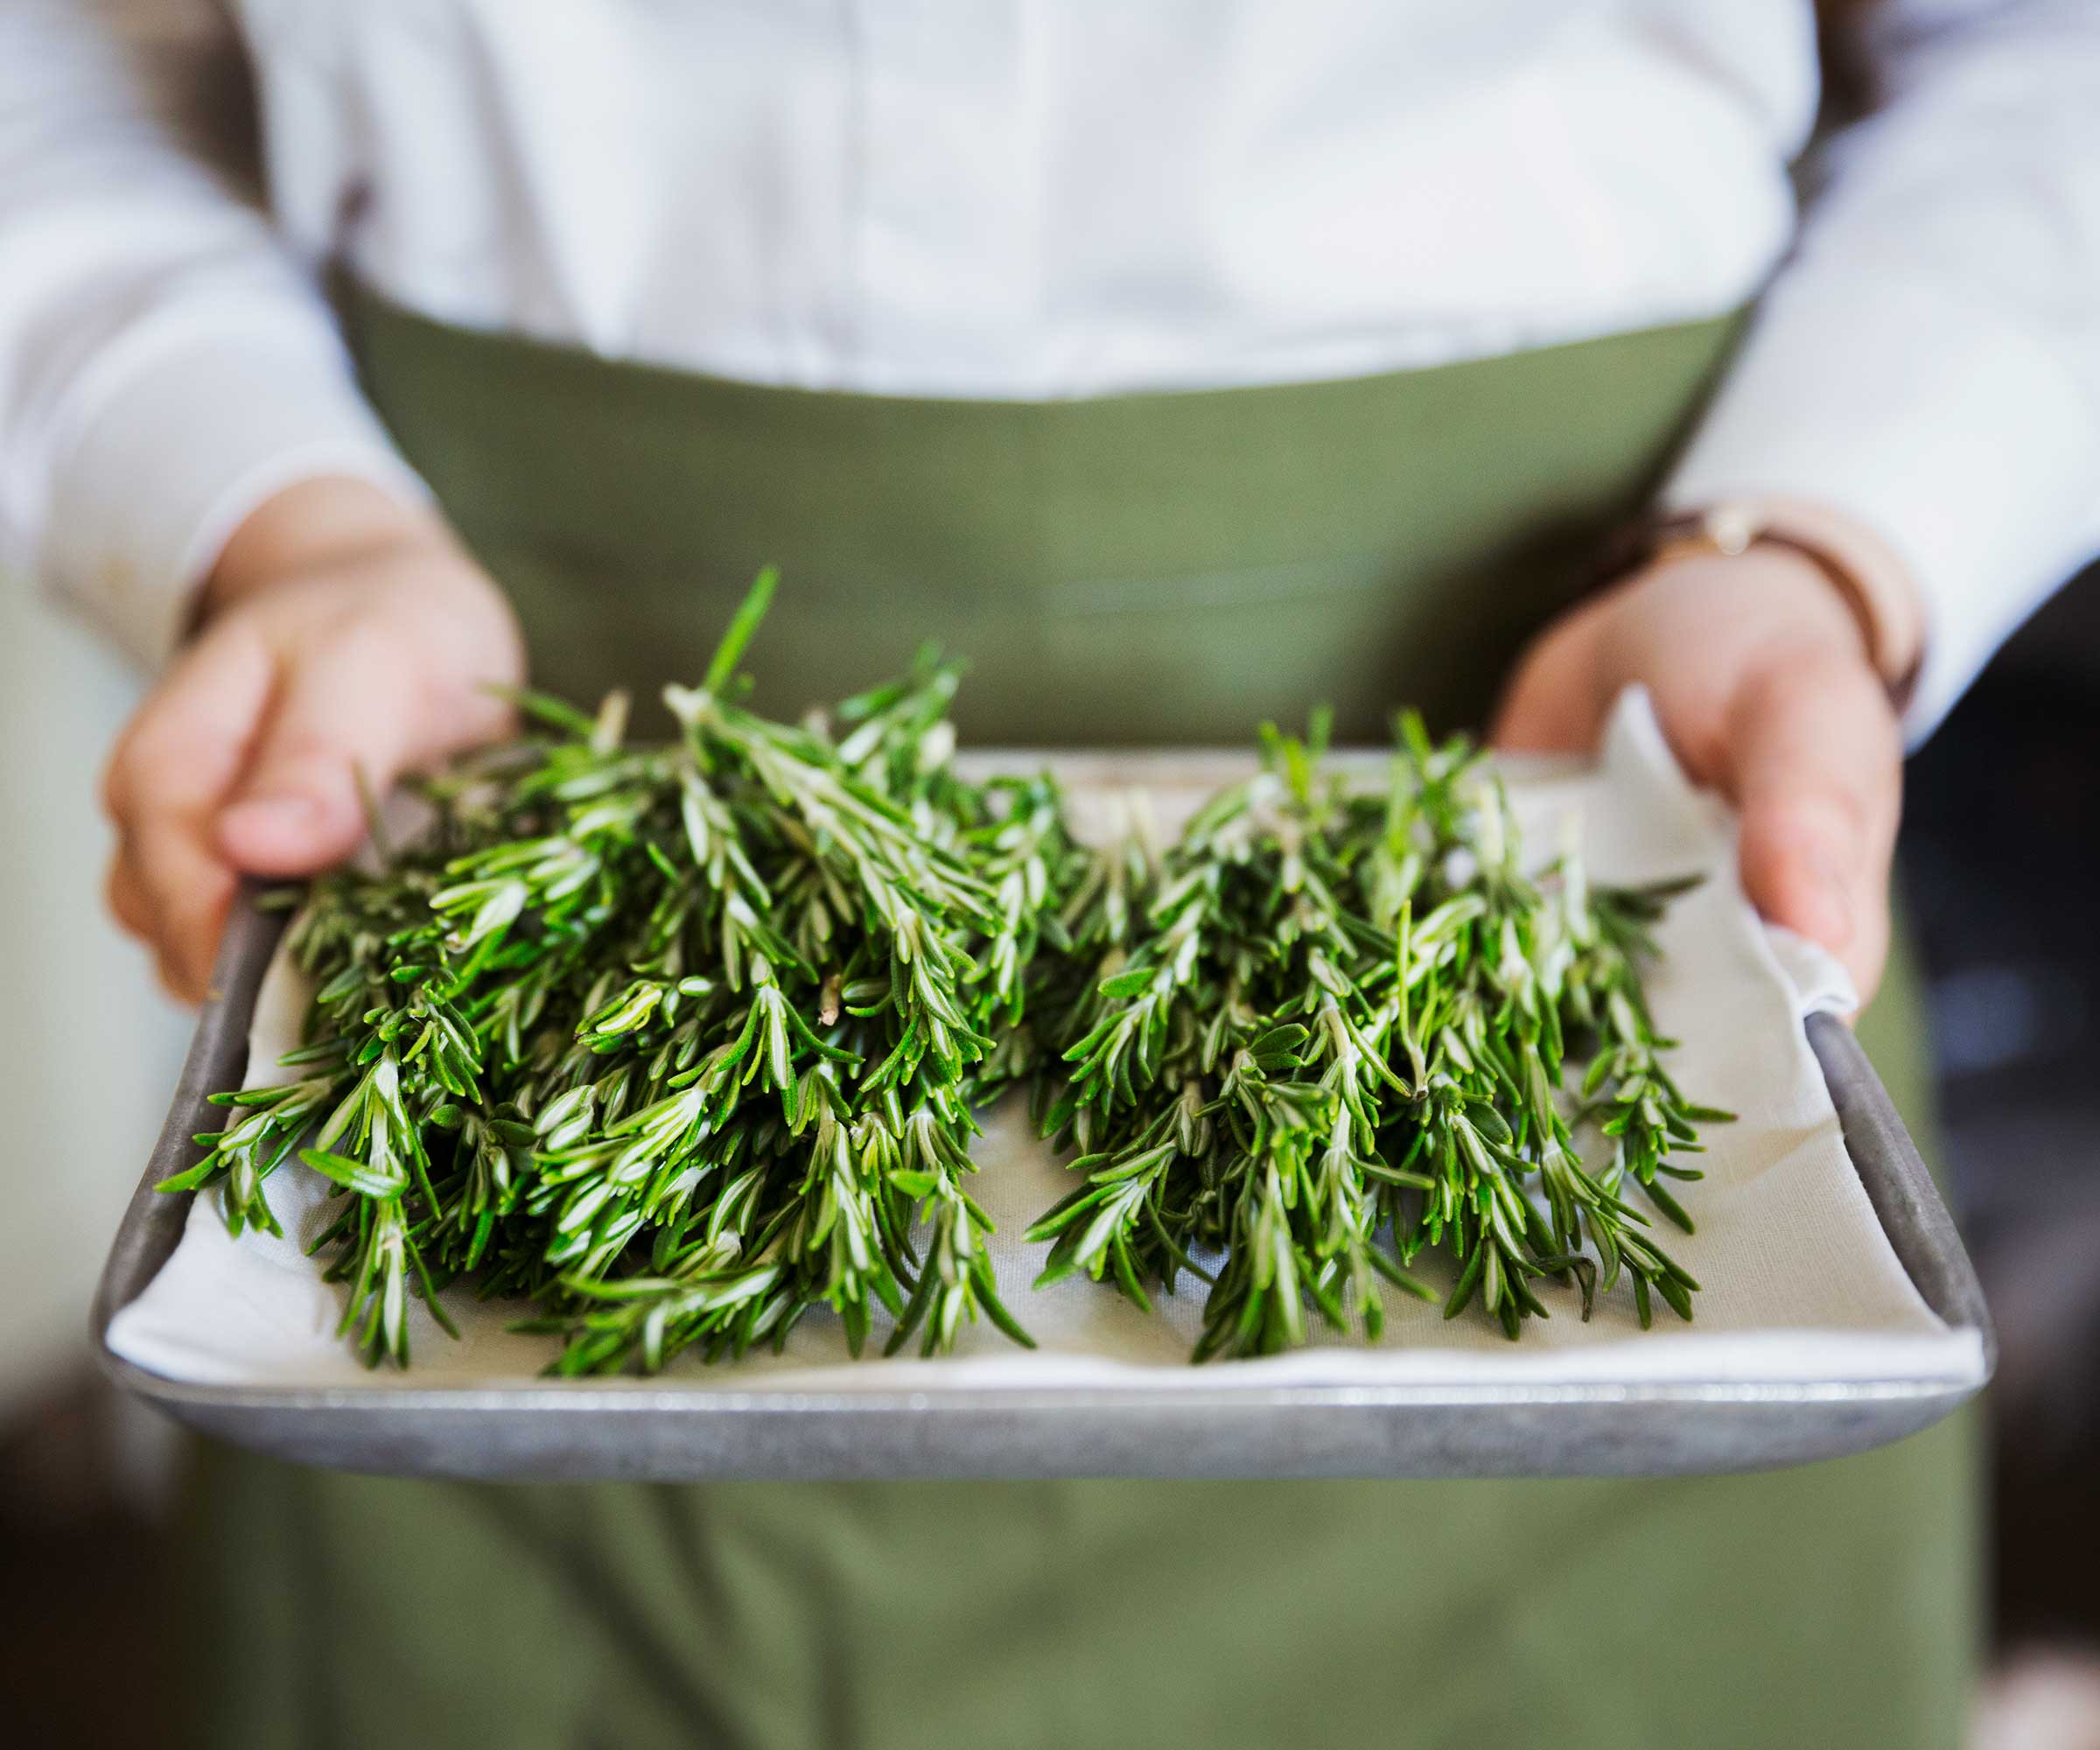
There are many different ways to dry out aromatic herbs, so you can make the process work in a way that suits the tools you have available for the task.
Jodi lays her rosemary out onto handmade trays made from untreated wood at Cherry Valley Organics. For drying out larger batches of the herb, Jodi builds supports to hold multiple trays in a vertical storage unit.
Inside this space, high-velocity industrial metal floor fans circulate air around all the trays, drying them to an excellent standard in one to two weeks. 'If your climate is extremely humid, you may need to supplement the drying process with added heat,' says Jodi. 'You can use a space heater to achieve this.'
If you're just growing herbs indoors and seeking to dry a small amount, an easy way to do this is to bundle together eight to ten rosemary sprigs in an elastic band and hang them upside down in a warm area that is preferably dark, dry, and well-ventilated. Under a porch awning, in a non-dusty attic or basement are all good drying options for this method. After two to three weeks when the leaves have become stiff, your rosemary's drying stage is completed.
Alternatively, you can bake your rosemary in the oven on a very low heat (180 degrees or lower) for two to four hours. This approach works well if you want dried rosemary fast but it may sacrifice some of the flavor.
4. Garble your rosemary leaves
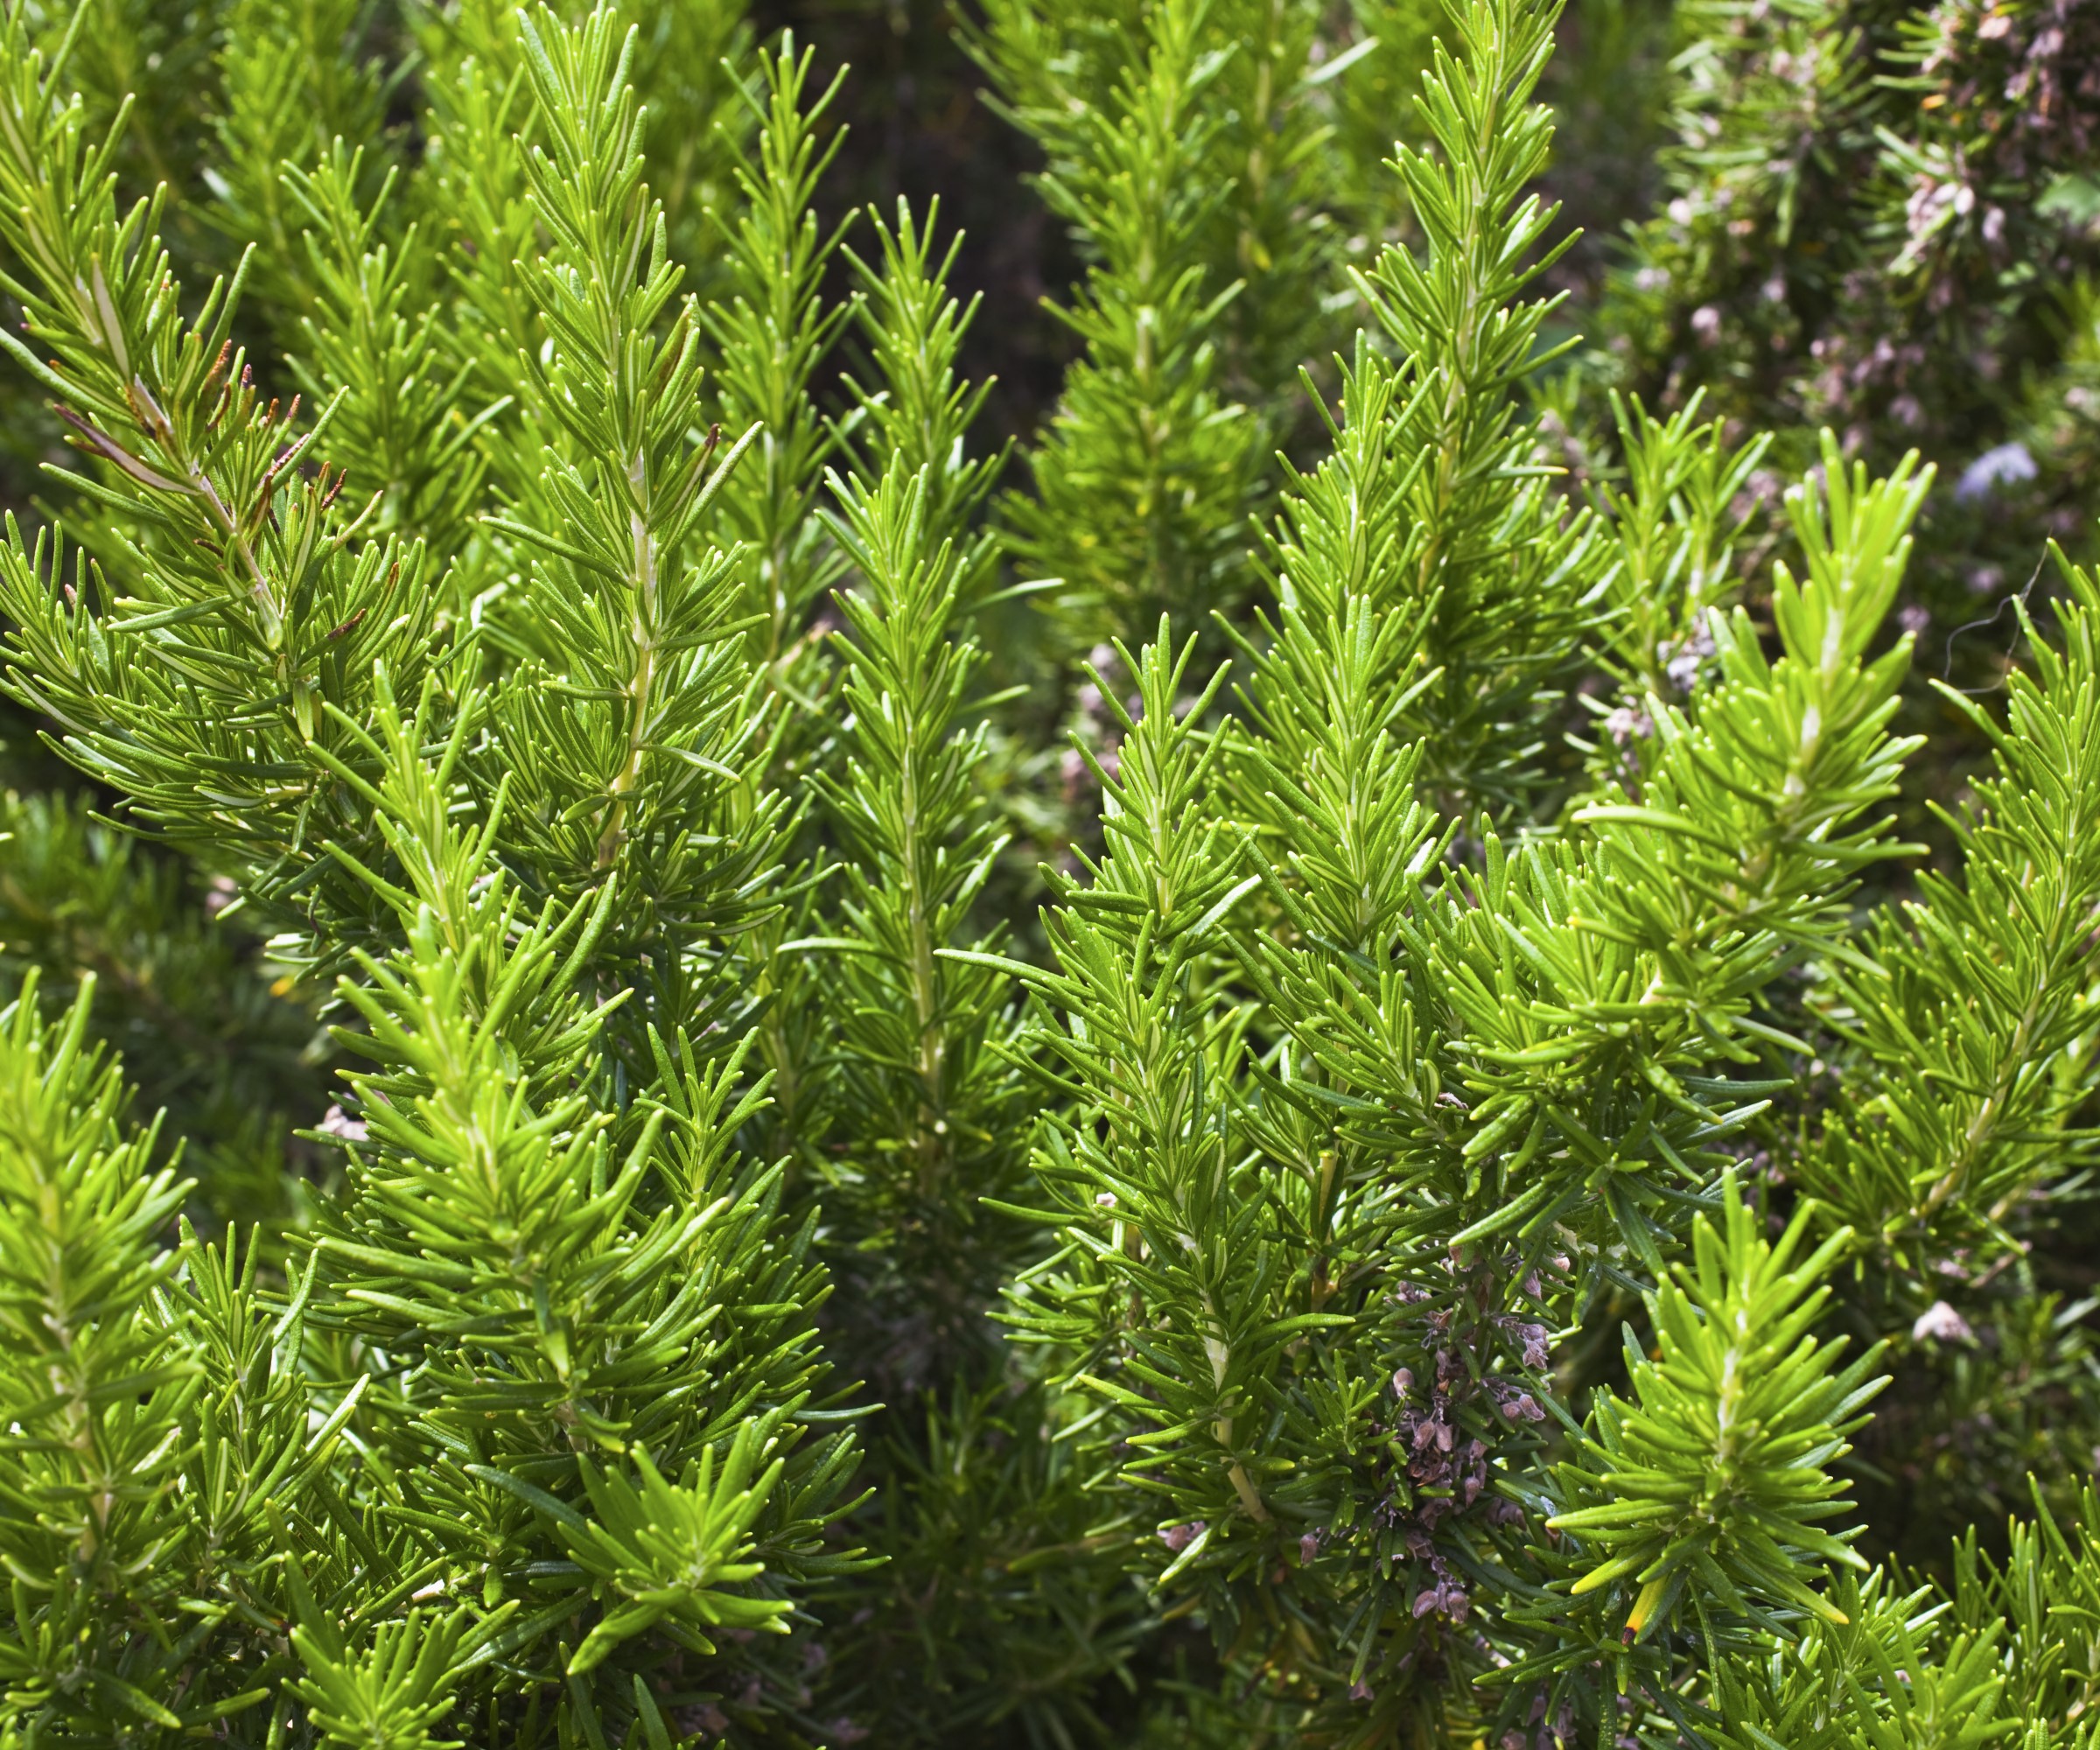
Before talking to Jodi, I had never heard of this term before. But fear not, the definition is quite simple. It's the process of removing the rosemary leaves from their sprigs.
'When the rosemary leaves easily fall off their stems with a little hand massaging, you know that your rosemary is dry enough and ready to put into storage,' says Jodi. 'The process of removing herb leaves from their stems is called garbling.'
Gently removing your rosemary leaves in this natural way as opposed to pulling leaves off ensures as little damage as possible. This helps to create the biggest pieces of dried rosemary for storing and better assists them in maintaining all of their gorgeous flavors.
'By maintaining the largest leaf size possible through the garbling process, you will retain more of the rosemary’s essential oils. Then, crushing the rosemary leaves just before adding them to your favorite dish will enhance the rosemary flavor,' says Jodi.
5. Store your dried rosemary
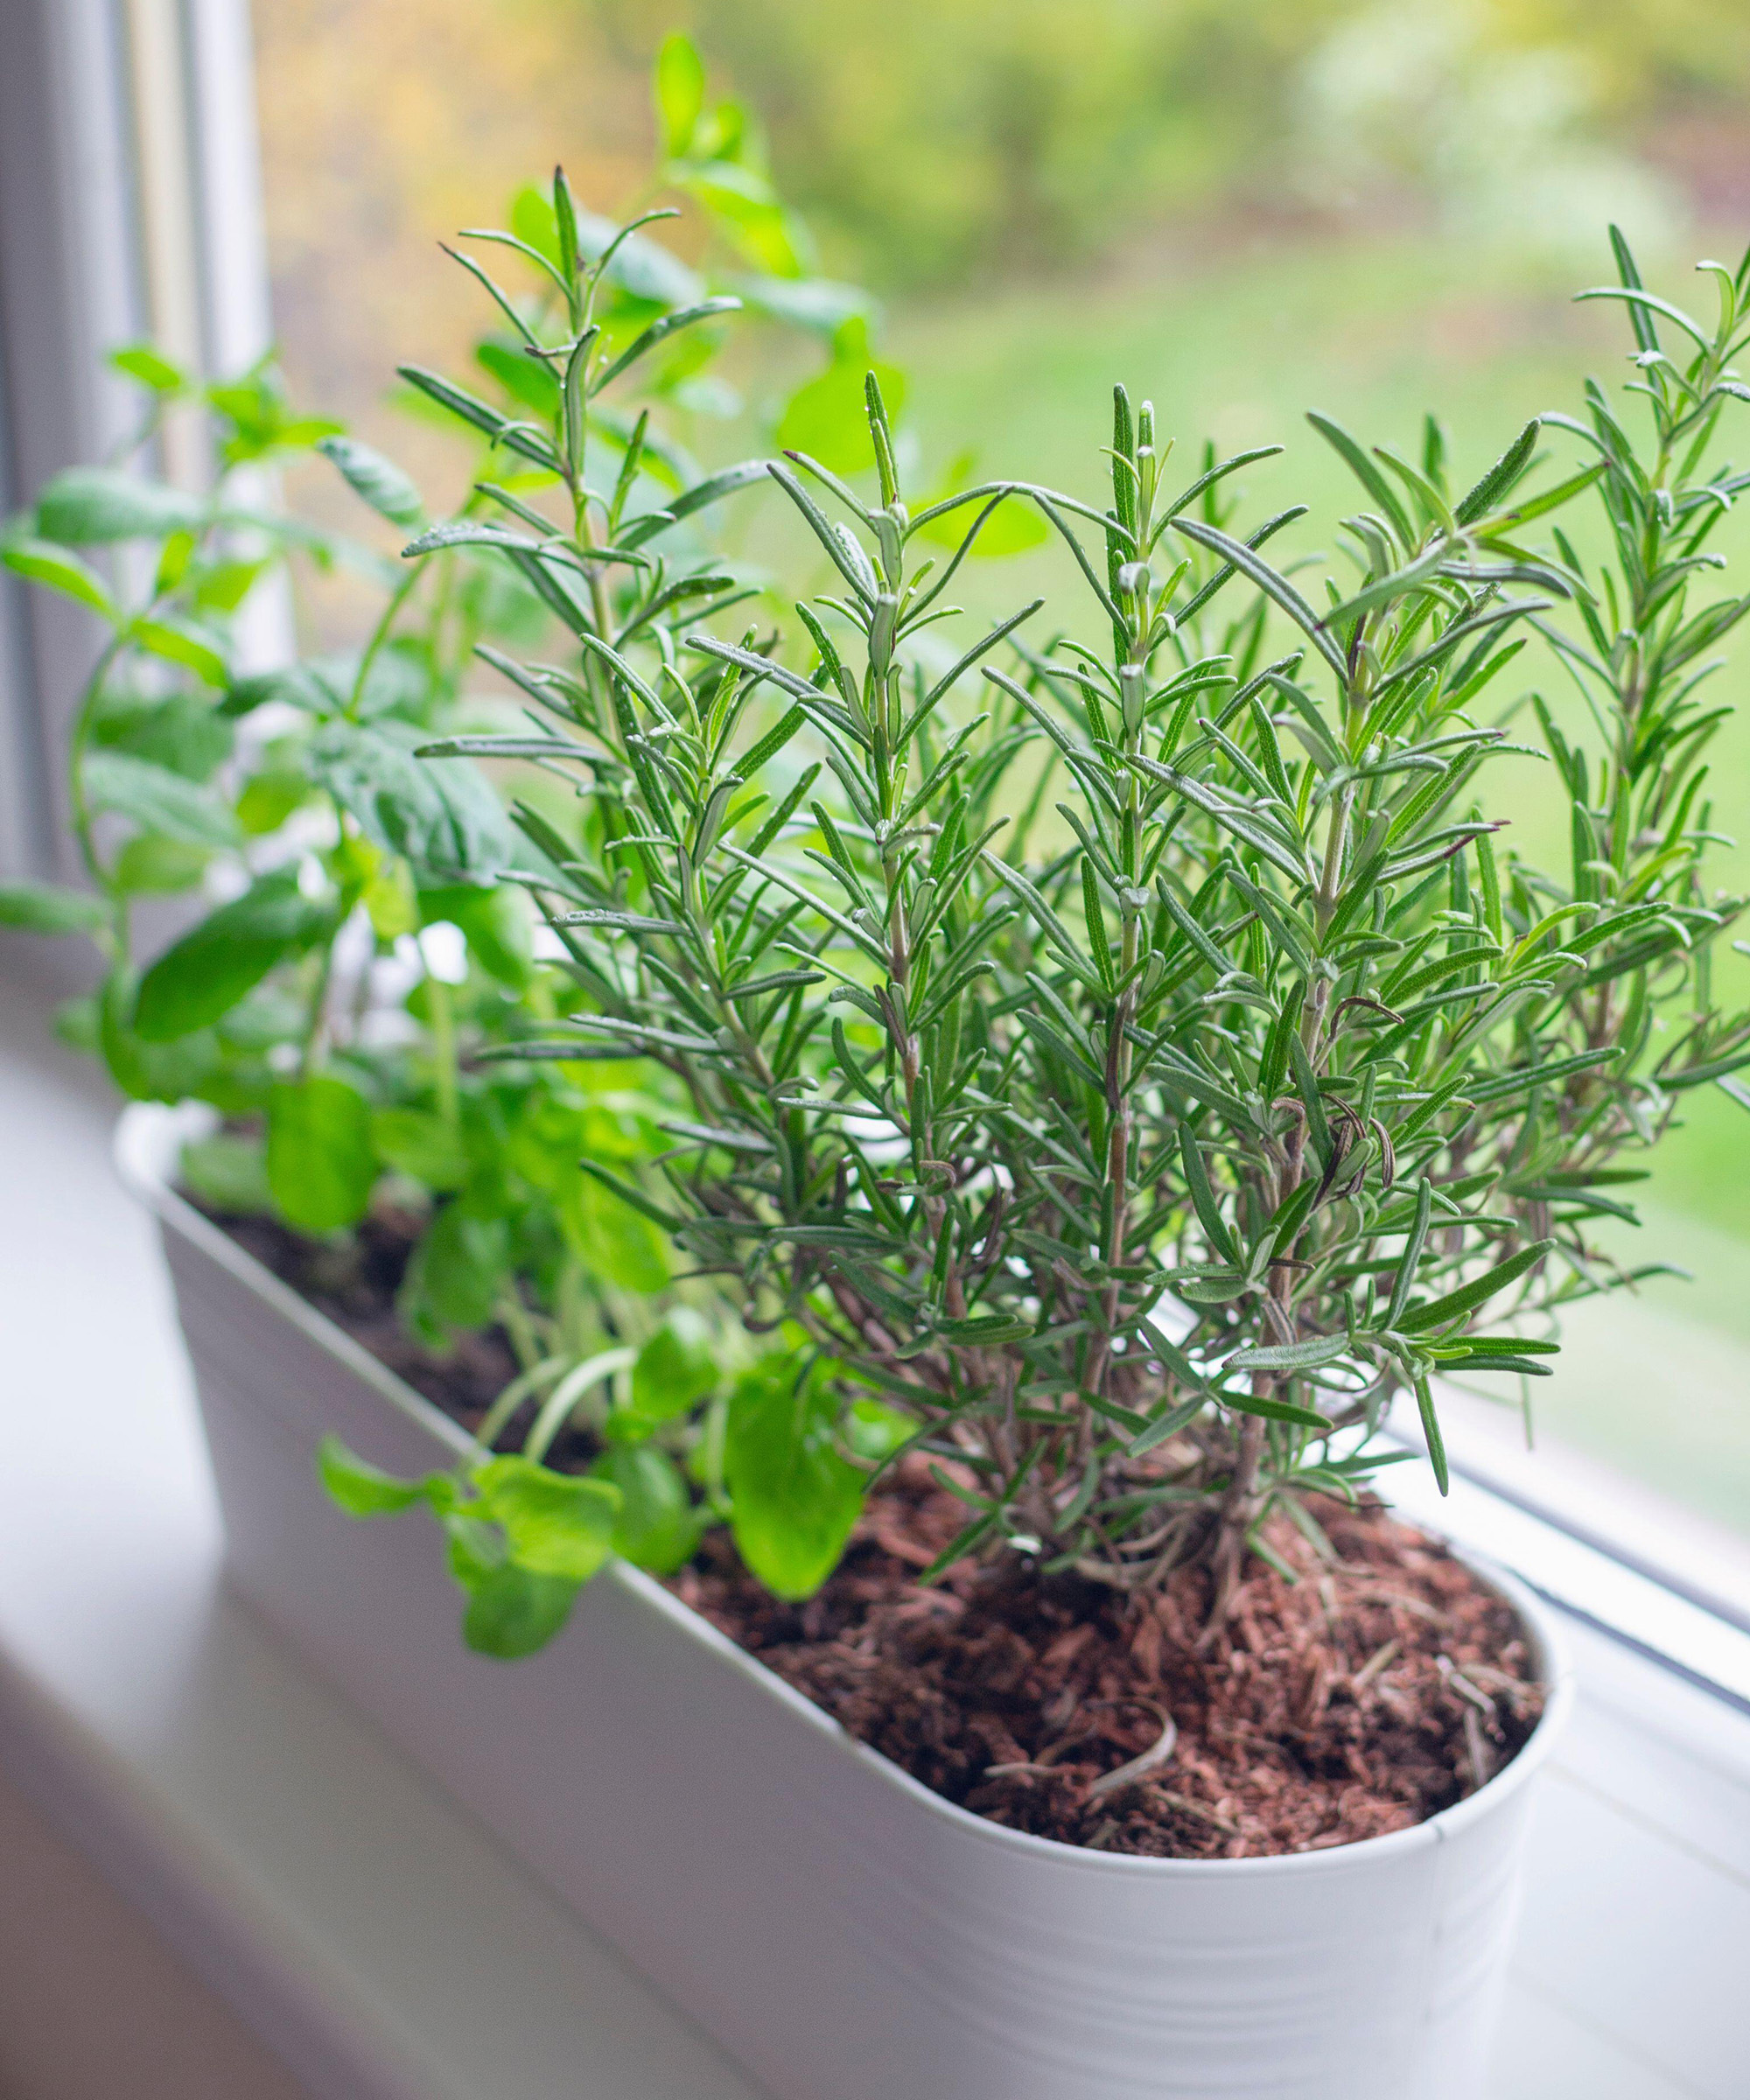
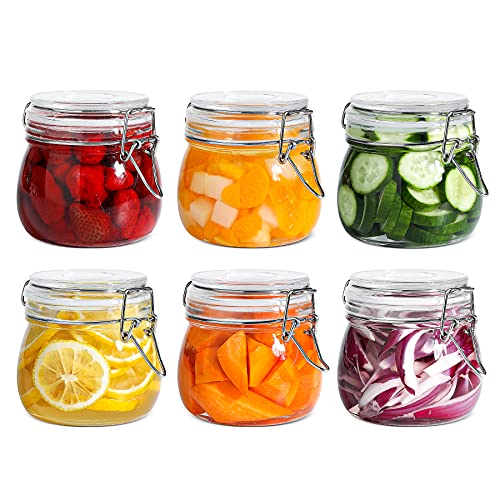
Harvested rosemary is best stored in a cool, dry place. It's vital to check that the container it's stored in is airtight though, as otherwise, you run the risk of exposing it to moisture, which will cause it to spoil. Jodi recommends opting for a glass container and storing it out of direct sunlight for the best shelf life.
'As long as your dried rosemary is not exposed to water or direct sunlight, it can last for many years in storage,' she says. 'But as the flavor diminishes over time you may need to increase the amount of the herb you add to your favorite recipes to get the same level of flavor you started with.'
In my experience, your dried rosemary will smell and taste so good that it won’t be around for that long!
Now you're a pro when it comes to all things rosemary, why not consider learning how to propagate herbs of other varieties? You'll have a rack of homegrown herbs and spices filled to the brim before you know it.

Ciéra is a writer and regional laureate with particular passions for art, design, philosophy and poetry. As well as contributing to Homes & Gardens, she's an Editorial Assistant for Design Anthology UK and a contributing writer for magazines including Livingetc, Apartment Therapy, House Beautiful and Ideal Home. Previous commendations of hers include being Highly Commended by The Royal Society of Literature and receiving a prestigious MA Magazine Journalism scholarship to City, University of London.
