How to restore a rusty fire pit – 4 simple steps from an artisan designer, and why you should never use vinegar
I asked fire pit experts how to restore a rusty fire pit and they gave me four simple steps.

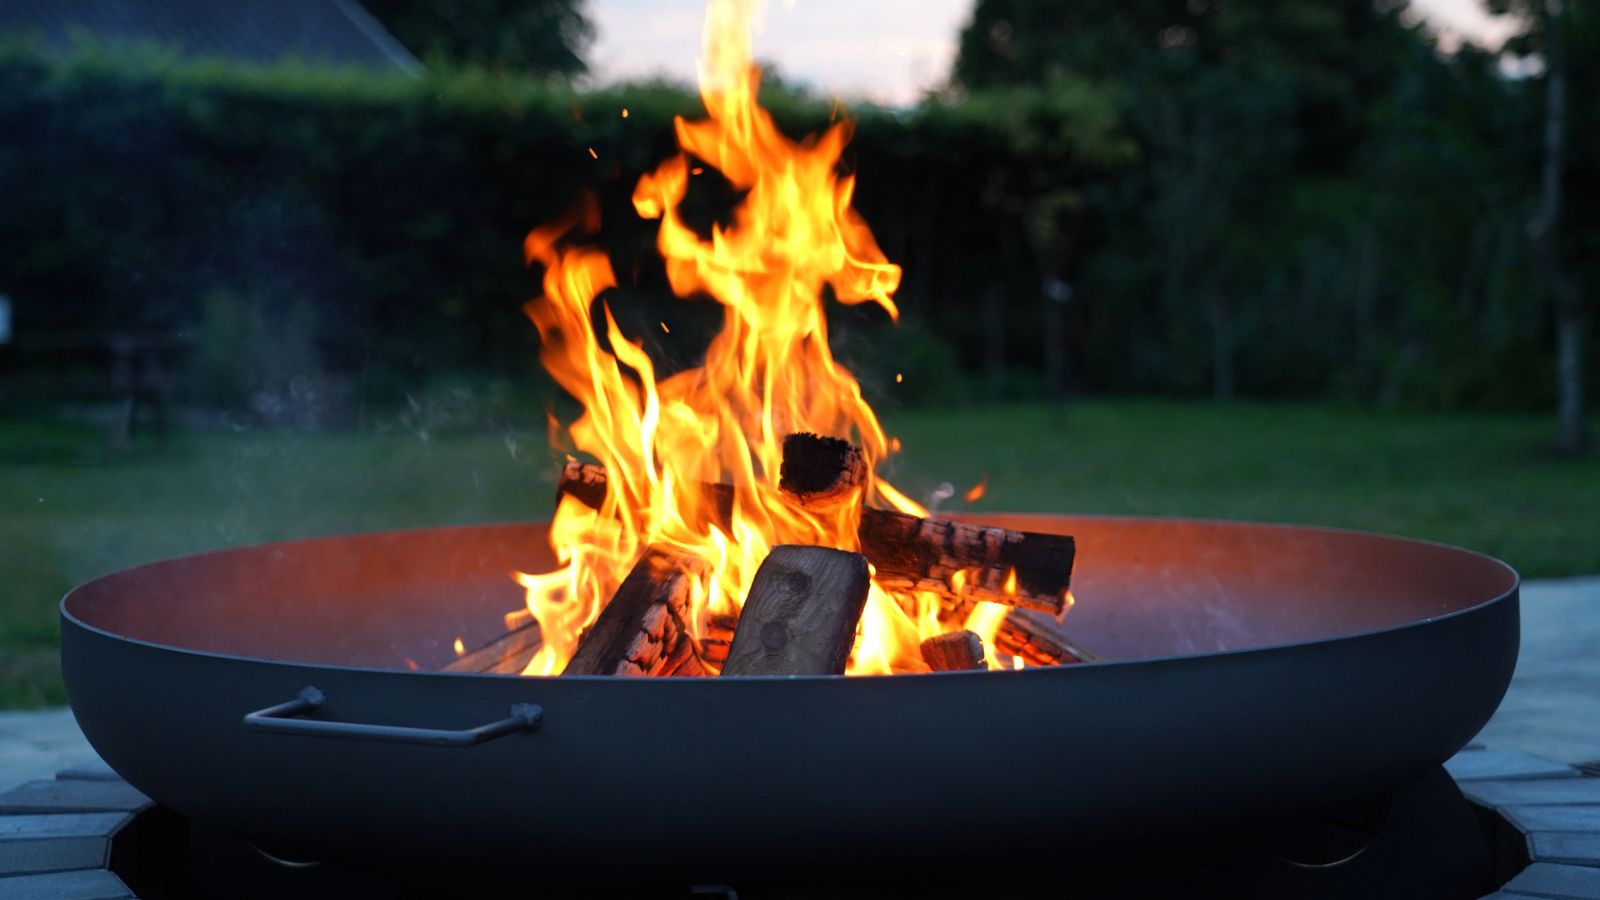
There's nothing like a fire pit. Every yard benefits from somewhere stylish and safe to hold a bonfire. As we head into fall, a fire pit offers a warm and rustic setting where you can enjoy your outdoor space even as colder nights draw in.
However, even the best fire pits will rust over time, turning a sleek feature of your yard design into a hunk of ugly brown metal. Not only is it unattractive, but it feels like a waste of money - as fire pits can be pretty expensive.
Thankfully, with a little sandpaper and paint, you can get your fire pit back to looking its best. I spoke to fire pit experts about how to fix this common problem.
1. Clean the fire pit
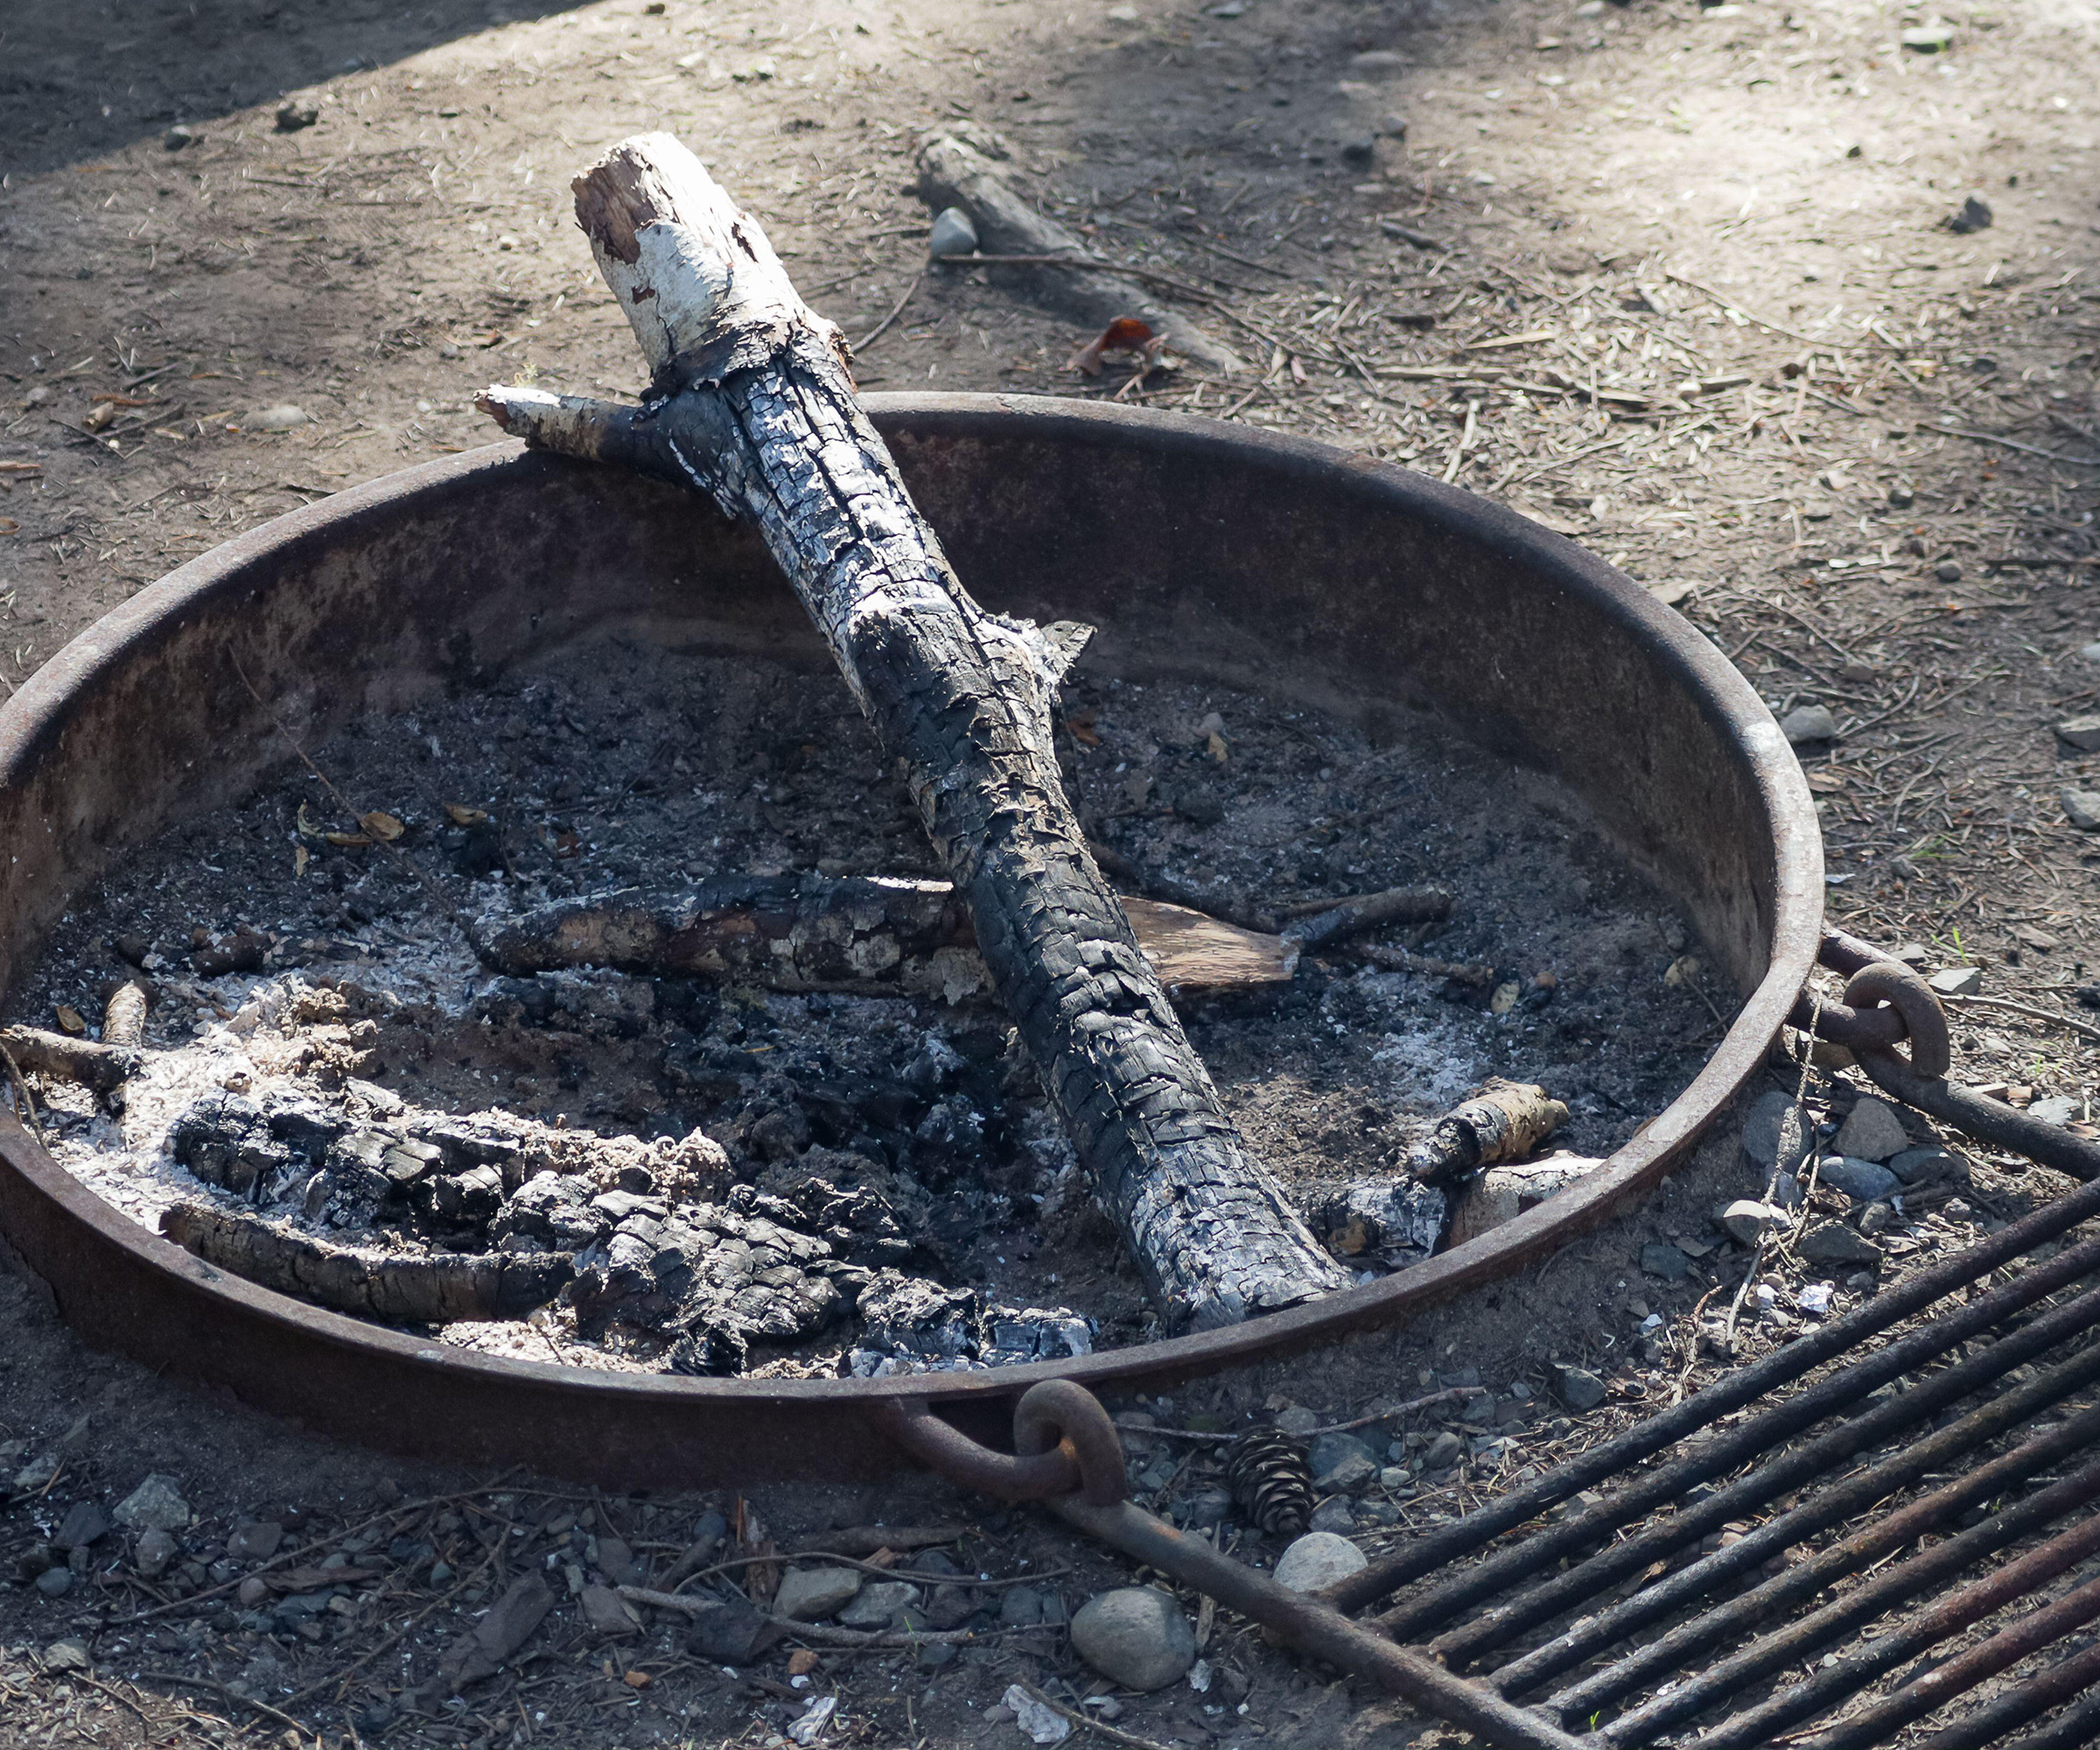
The first step is to clean your fire pit. Brushing it clean of spider webs, ashes, and dirt gives you a clean base for your restoration project. Fire pit maker Steve Schoettle says: 'The first step is to make sure you’ve got any debris out. If you’ve just had a fire, make sure you place any ash in an ash bucket with a lid.'
After you've removed the ash, you need to clean the surfaces. Fire pit expert Metturan Ketheswaran says: 'If soot or grime has really been building up, a warm water and mild dish soap combination will do wonders.'
Once clean, you need protective eyewear and gloves. That's because you now need to remove any large rust flakes. You can pick these off with your hands, but you should wear thick gloves to protect your fingers.
Then, Metturan says you need to use a wire brush all over the pit in the final prep stage. 'Scrub the surface with a wire brush to really dislodge whatever remaining residue there is, then give it a good hose down.' Let the pit dry and then you're ready for your rust remover.
Design expertise in your inbox – from inspiring decorating ideas and beautiful celebrity homes to practical gardening advice and shopping round-ups.

Steve is the co-founder of Sea Island Forge, a Georgia-based company that makes artisan kettle-style fire pits with a variety of custom accessories and other gear for open-fire gathering and cooking.
Metturan is the owner of the Great Fire Company, a company specializing in fire pits, fireplaces, wood stoves, and chimneys.
2. Use a rust remover
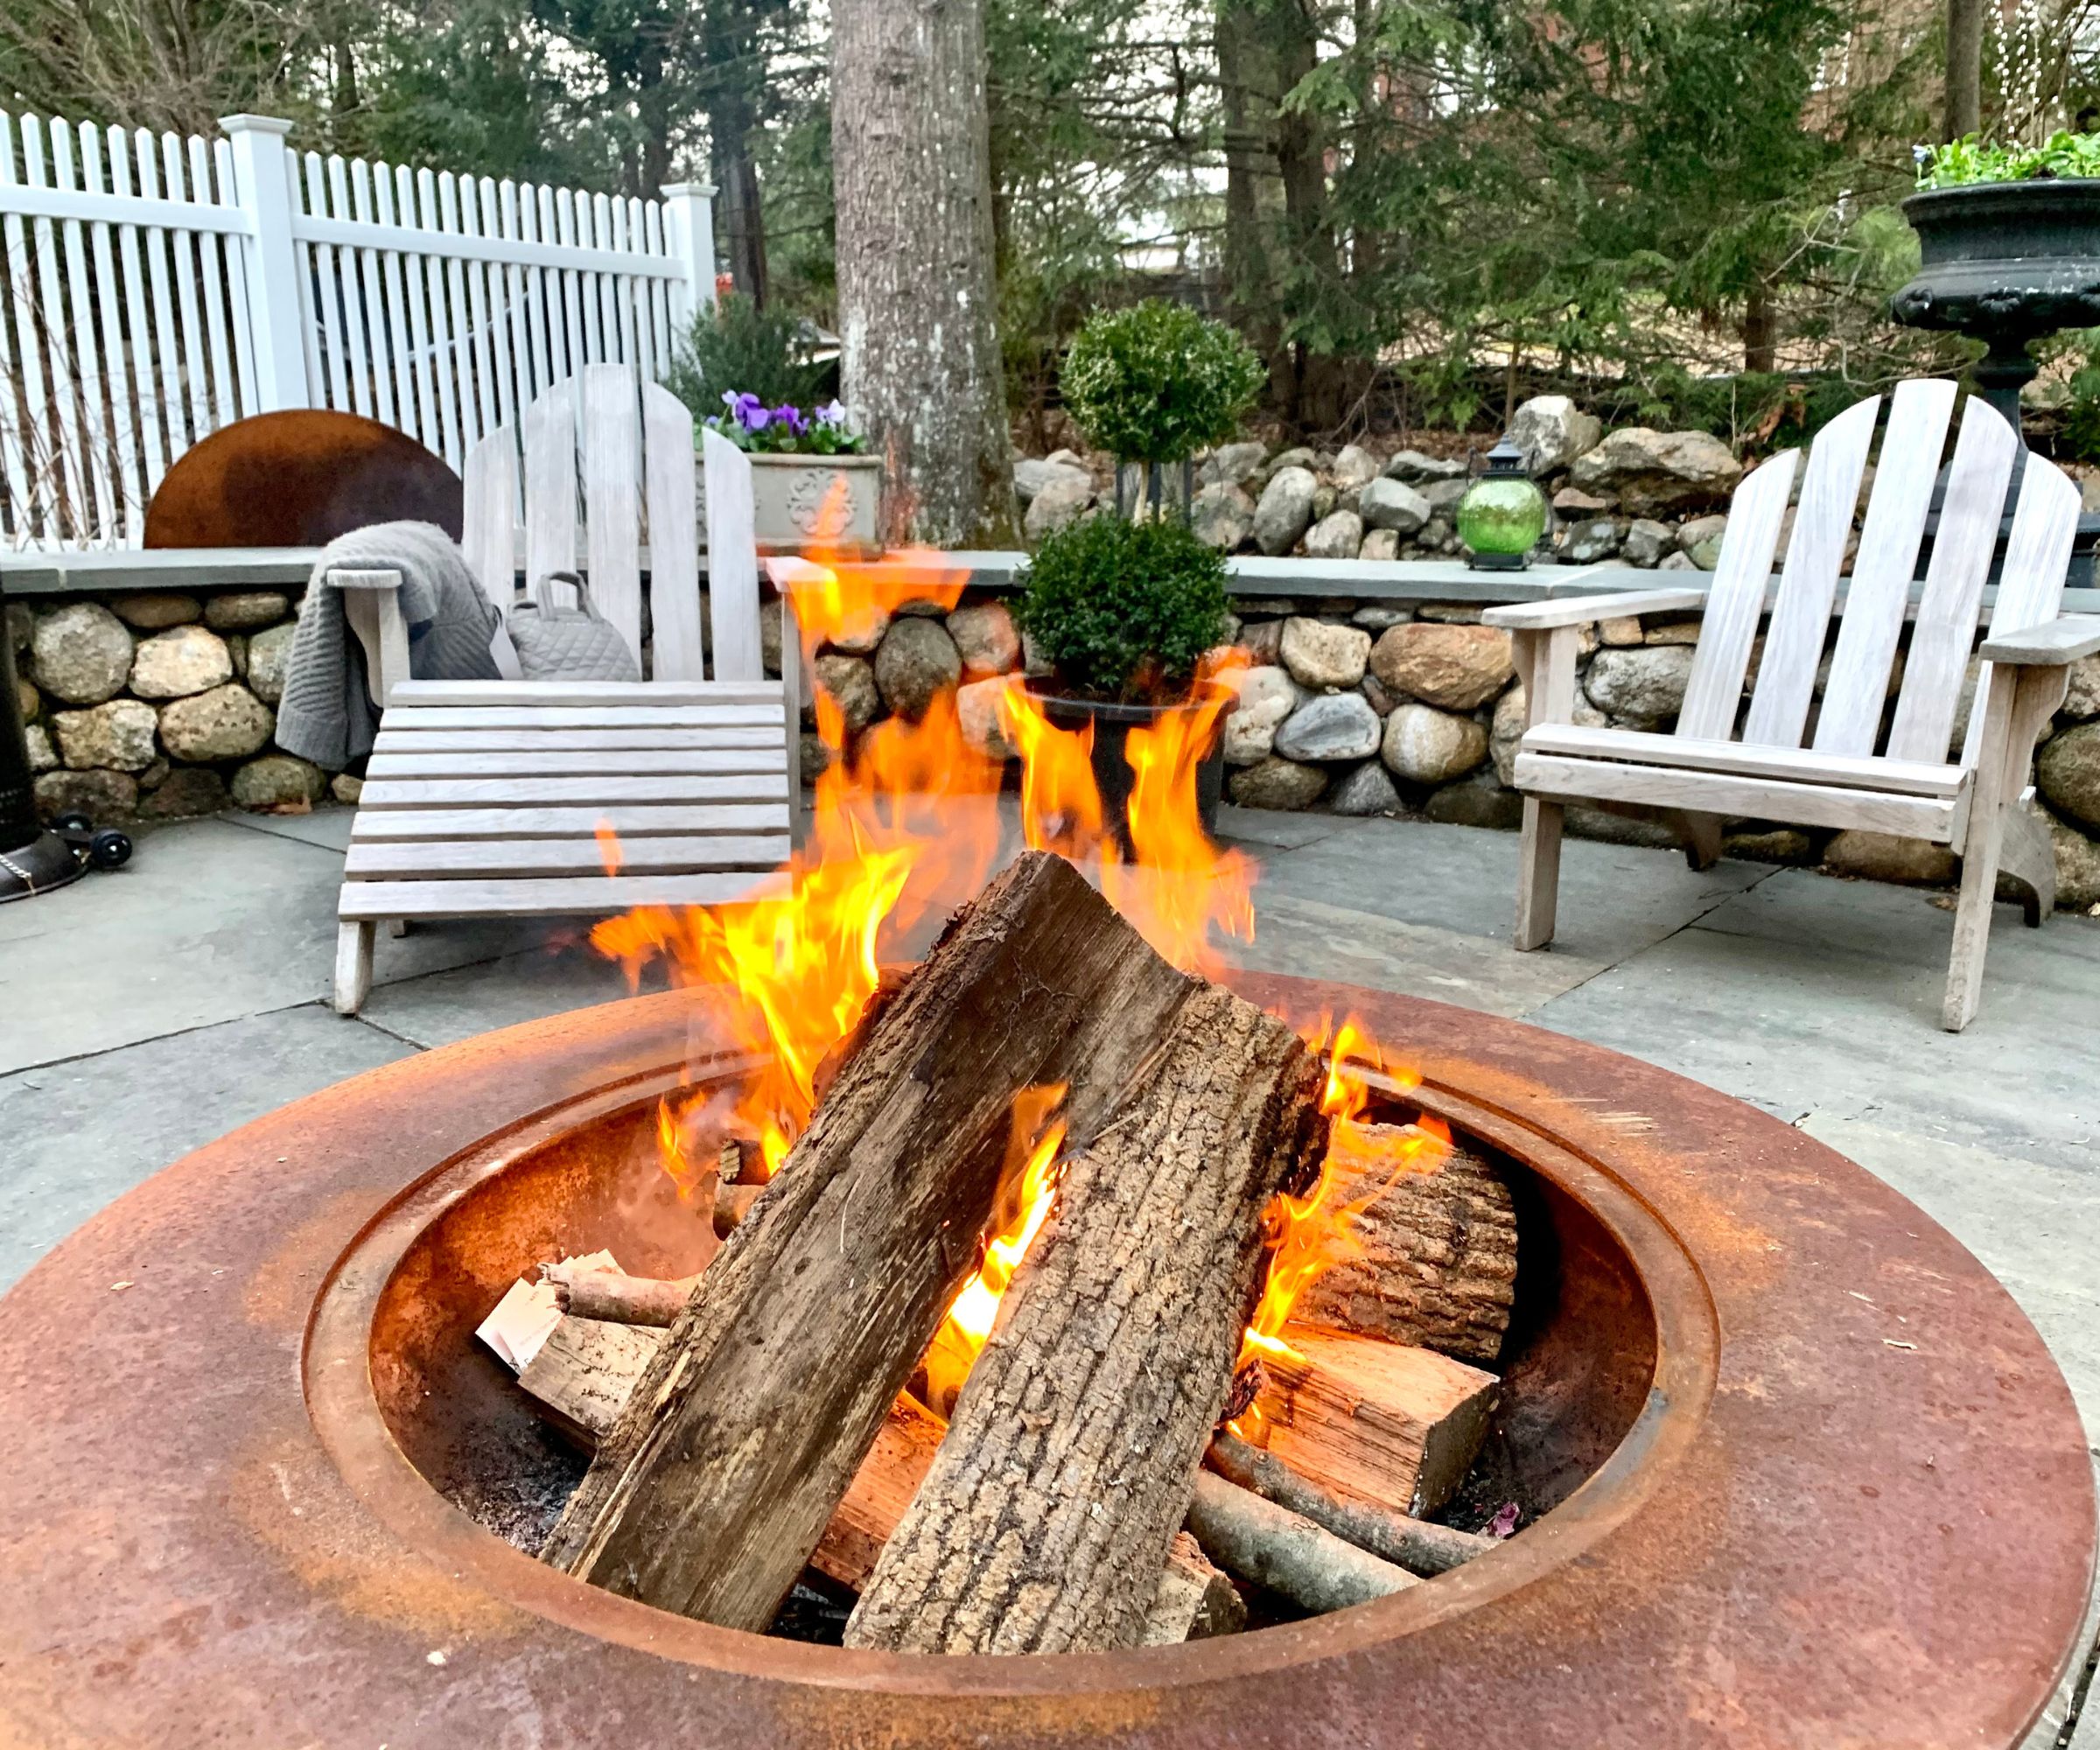
Now that your fire pit is ready, you can apply a rust remover. Steve recommends Naval Jelly, available at Amazon, but there are lots of other options around.
In fact, there's a couple of natural options, though they aren't as effective. Metturan Ketheswaran says: 'Vinegar is one of those everyday pantry staples that can resurrect your fire pit. Dip the rusting parts in white vinegar or dip a cloth in vinegar and wrap it around the rusting parts. Let it be for several hours, even overnight. The acetic acid within the vinegar degrades the rust.'
He also suggests baking soda, adding: 'A little baking soda can make a lot of difference to your fire pit's pristine condition. Mix baking soda with water to make a paste and smear it on the rusted places.'
However, both experts I spoke to say that these methods, while ultimately effective, take much longer than a chemical rust remover. Steve Schoettle warns that vinegar and baking soda 'are not going to be aggressive enough for a steel fire pit' and 'it’s going to be a very slow process'.
Whichever remover you choose, the process is the same. Metturan Ketheswaran says: 'Apply your rust remover according to the directions on the packaging, generally spraying or brushing the product onto the affected areas.'
Let it sit for a few hours, then scrub it off with a wire brush and water. This will remove the worst of the rust, but we're only halfway done.
3. Sand it down
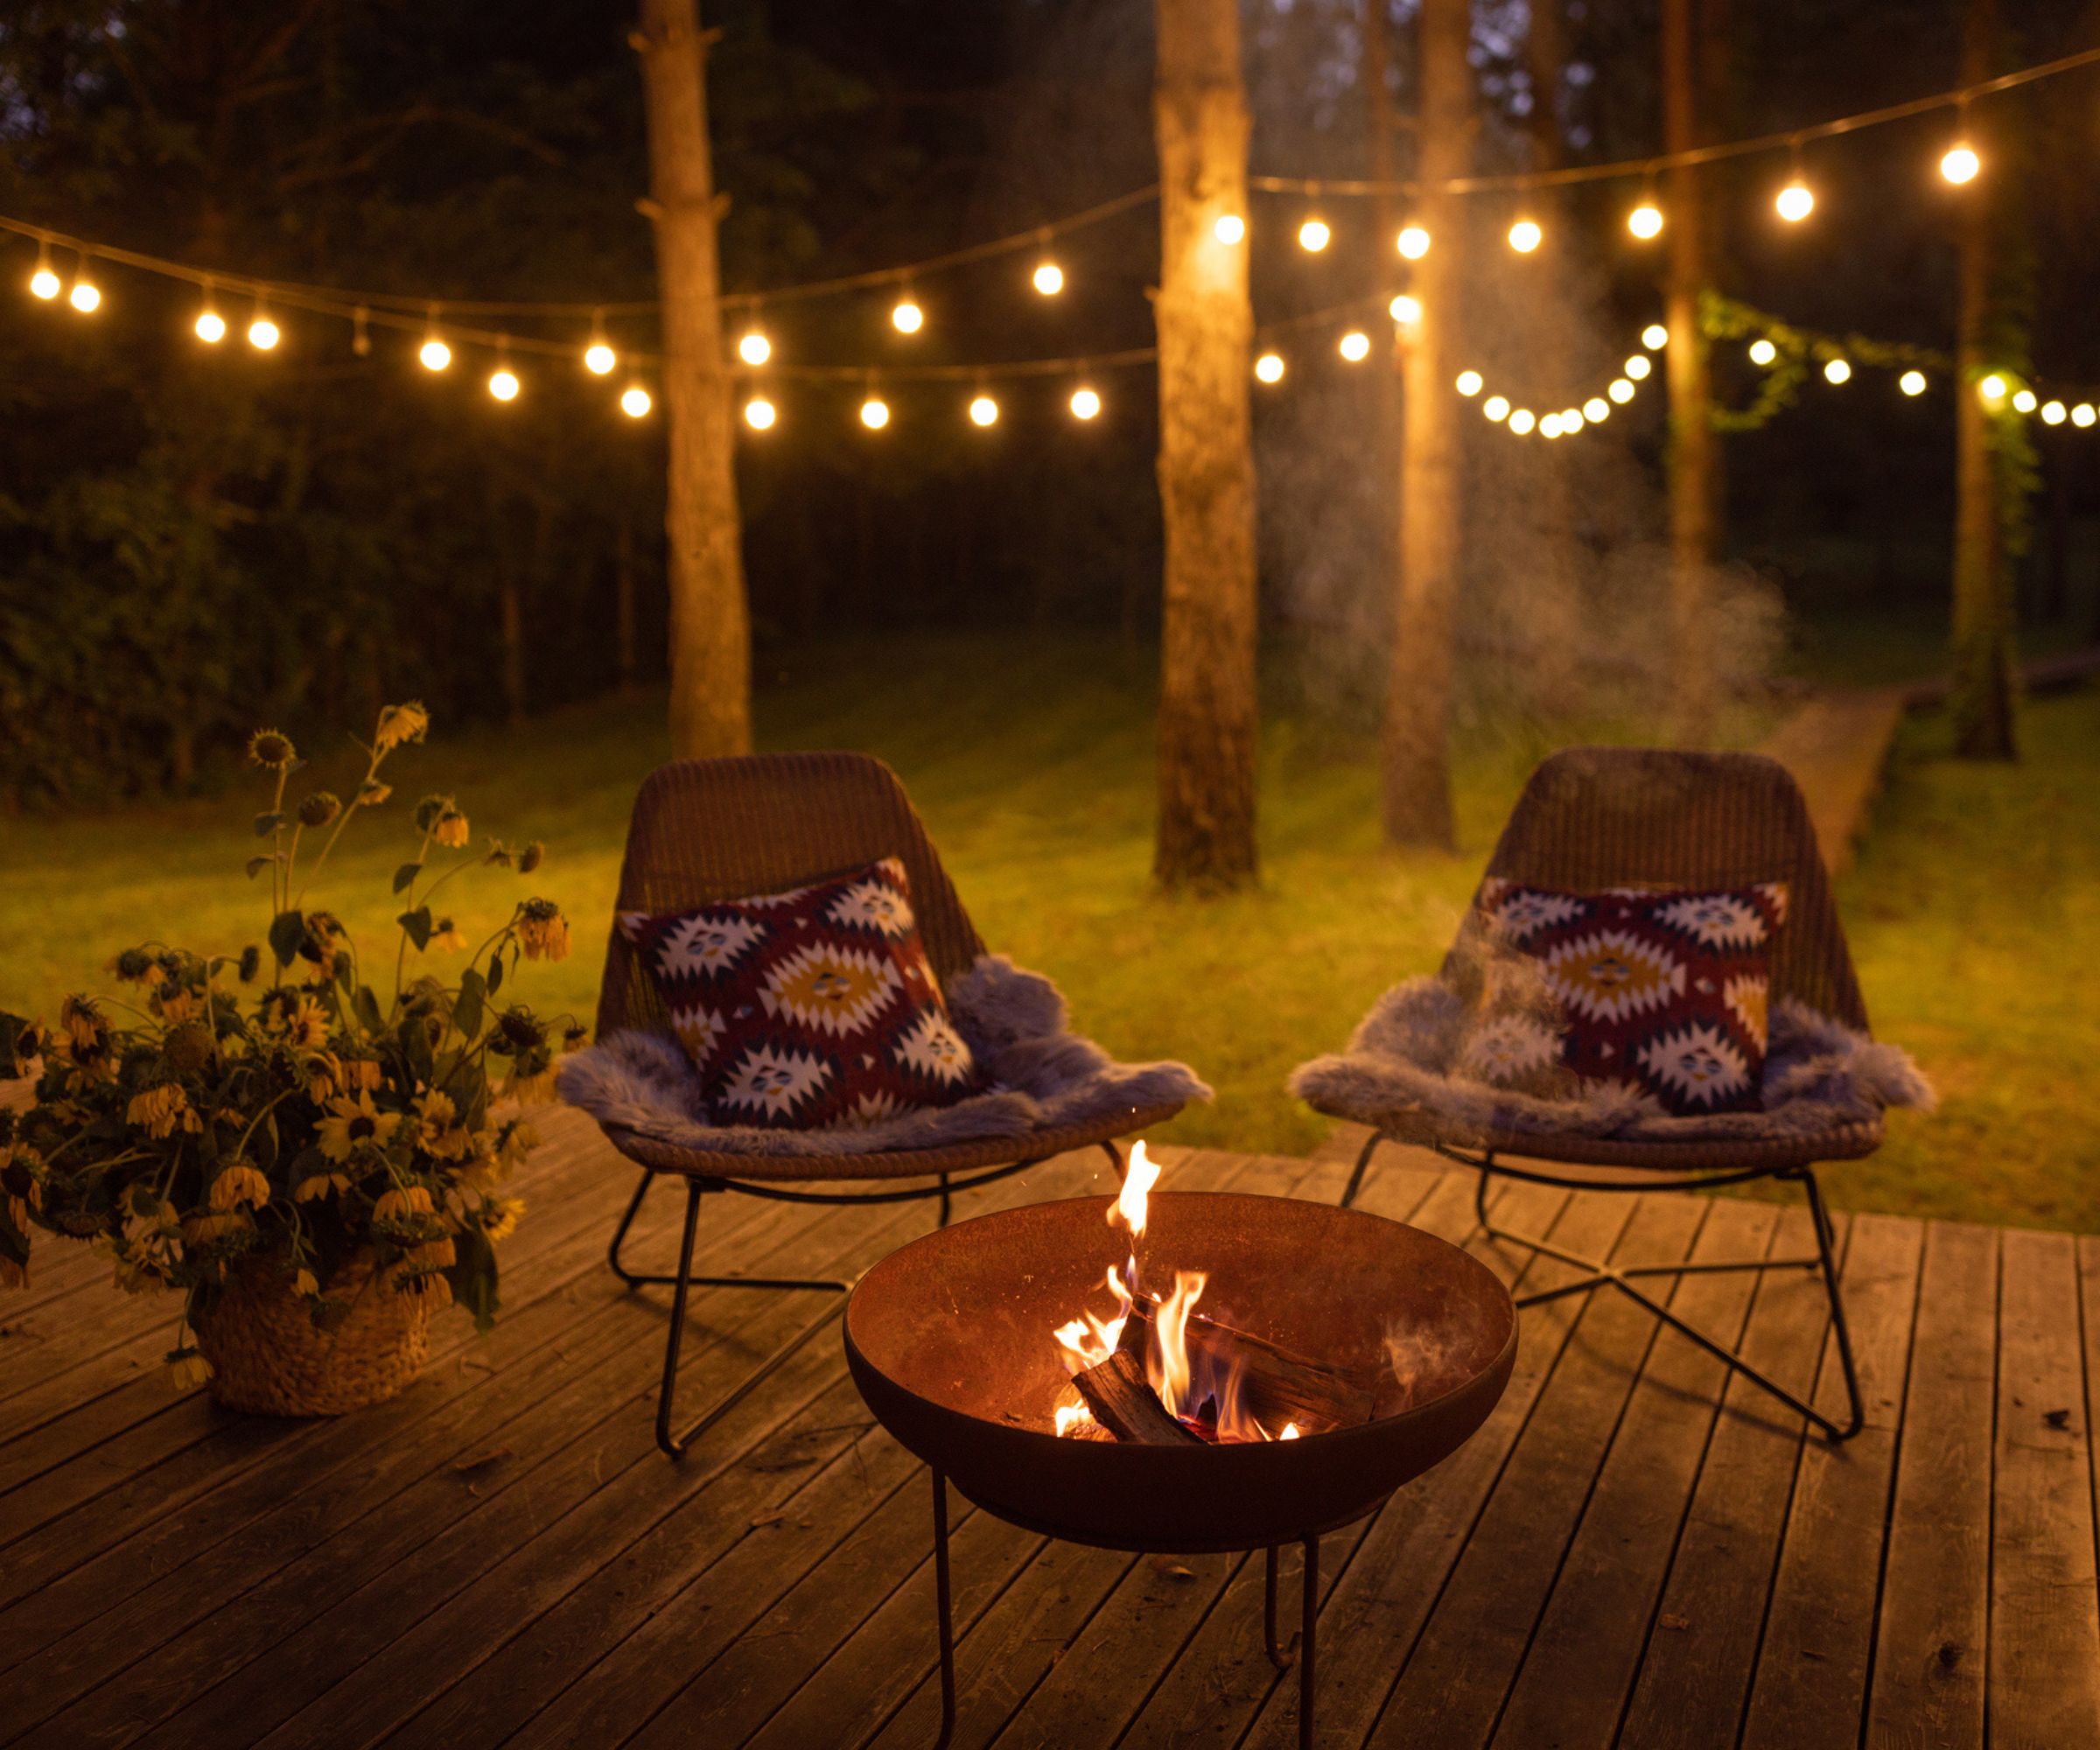
The fire pit will still have some rough patches of rust and paint, so you need to remove them with sandpaper. This not only gets rid of the rust, but makes an abrasive surface on the metal for paint to cling to.
Steve Schoettle says: 'Make sure you’re using the right grit - I recommend 40 or 60 grit sandpaper. If you’re doing it manually, look for sandpaper attached to a sponge so you avoid scraping your knuckles.' You can also use an orbital sander to save a little time.
It takes a little effort, but the process is very simple. Keep sanding until all the old paint and rust are removed. After that, Metturan Ketheswaran says to 'wipe the surface clean with a damp cloth before proceeding to painting'.
4. Paint it
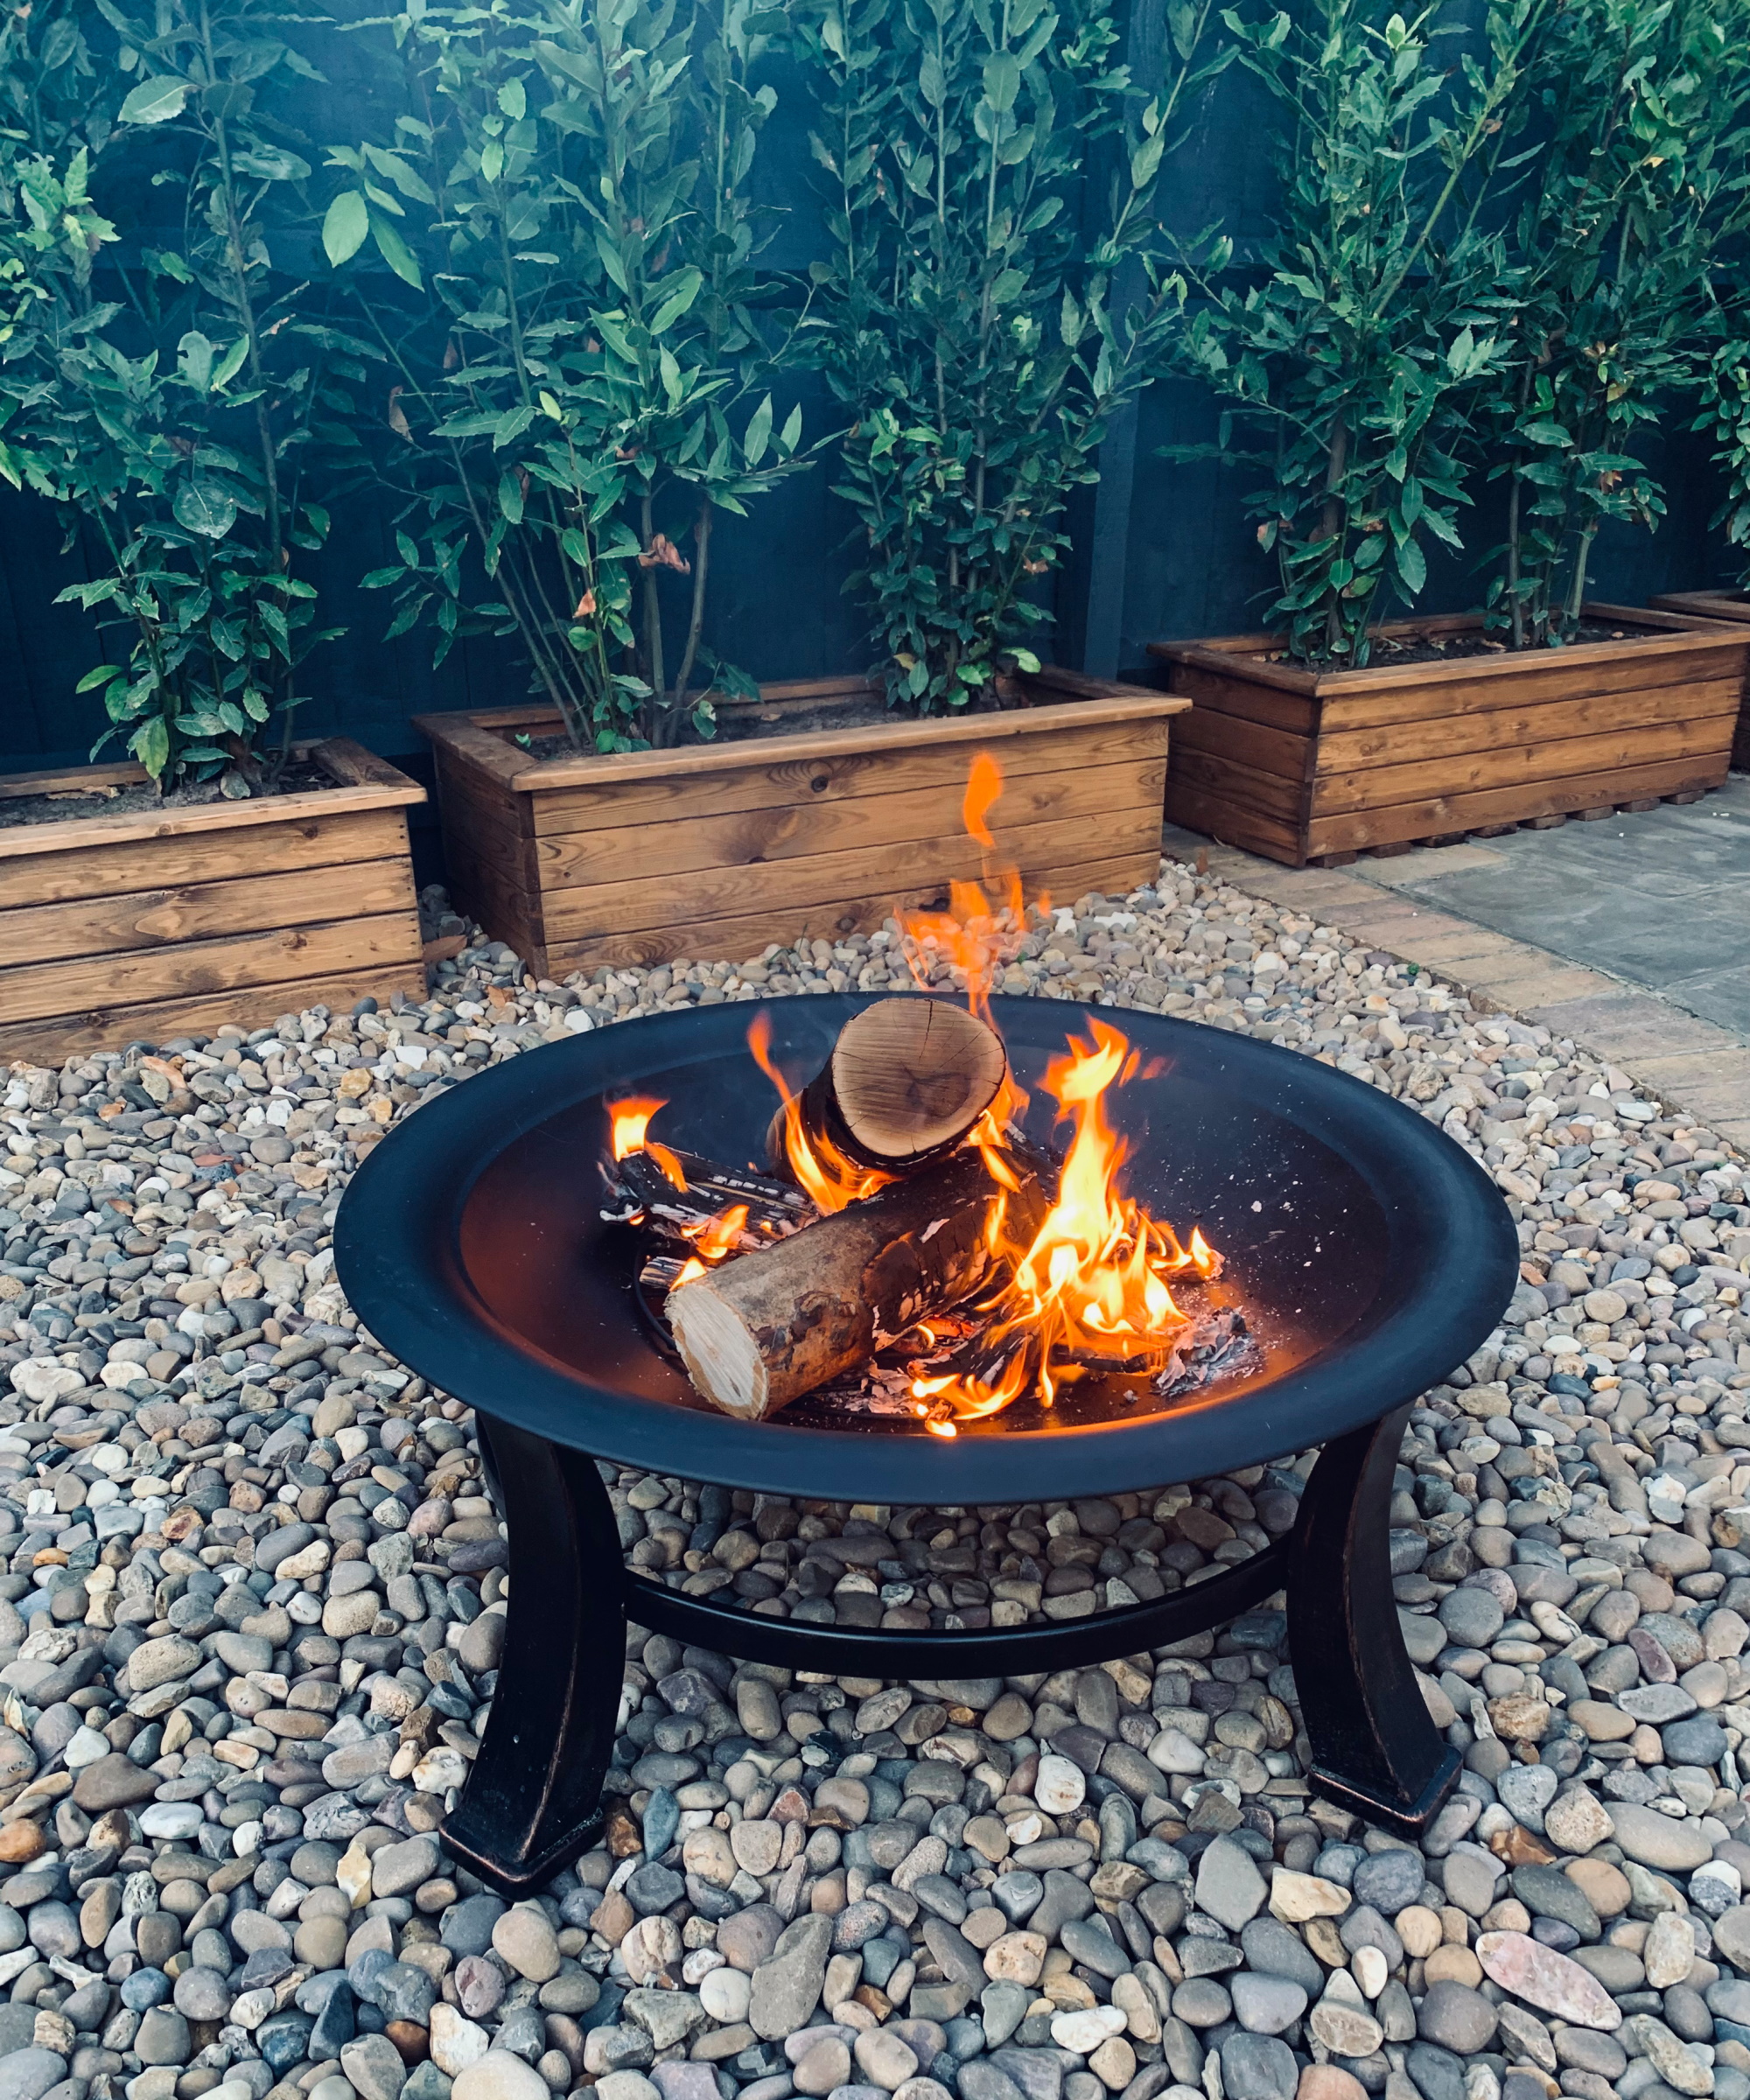
Finally, we have the fun part - painting. The key thing here is to use high-heat paint. High-heat paint is designed to stand up to extreme temperatures, so it's perfect for a fire pit. Steve recommends Rustoleum spray paint, available at Walmart, but there are plenty of other brands on offer at Lowe's, for example.
As well as paint, Metturan Ketheswaran recommends a rust-inhibiting primer, such as this Rustoleum rusty metal primer at Home Depot. This primer creates a layer of zinc phosphate over the surface of your fire pit, stopping oxygen and water from reaching the pit and causing it to rust. Spray or paint on the primer first and then let it dry.
After that, you need to paint your pit. Metturan Ketheswaran says: 'Spray or brush in thin, even coats, allowing each coat an appropriate time to dry completely before the next coat is applied. Generally, 2-3 coats provide an extremely durable finish. The paint always needs to be fully cured before use of the fire pit is resumed.'
The only thing to bear in mind is food safety. If you're going to cook food in your fire pit, don't paint the inside of the fire pit. There's a risk that toxins could get into your s'mores if you cook them over a painted pit. Instead, Steve Schoettle says: 'If you are going to cook on your fire pit you only want to paint the exterior and the lip of the firepit. Use vegetable oil in the fire pit bowl.'
Fire pit rust FAQs
Which type of fire pits don't rust?
For a fire pit that doesn't rust, you need a stone or concrete pit. You can also buy copper fire pits, but while these don't rust, they oxidize into a blue color.
Some fire pits are made of corten steel and designed to oxidize over time. Metturan told me that, with these fire pits, you can control the oxidation and keep them clean by following all the steps above - just don't use rust remover or paint them.

As a gardens and lifestyle contributor, Alex makes sure readers find the right information to help them make the best purchase. Alex got his start in reviewing at the iconic Good Housekeeping Institute, testing a wide range of household products and appliances. He then moved to BBC Gardeners’ World Magazine, assessing gardening tools, machinery, and wildlife products.