How to grow broccoli sprouts – it is so simple to get this super-nutritious food in just five days
Discover how easy and quick it is to grow your own broccoli sprouts at home in jars


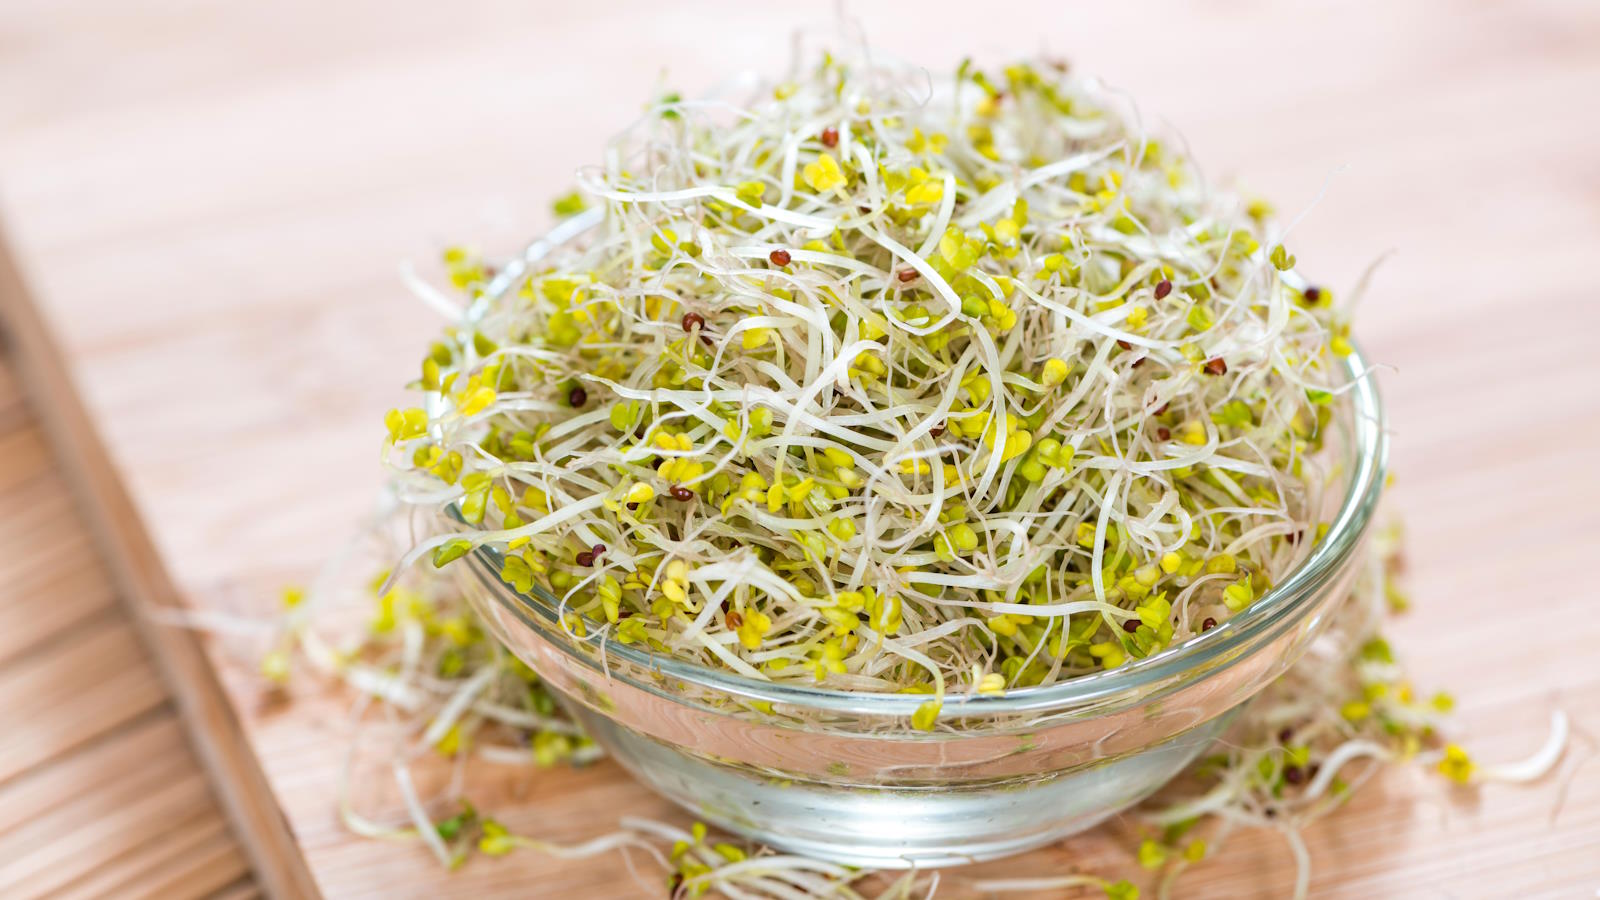
Broccoli sprouts are tiny seedling versions of the classic vegetables. These sprouting seeds can be ready to harvest in under a week and are packed full of vitamins. It may come as a surprise to some that such tiny sprouts can be so nutritious and beneficial to your health.
Broccoli is one of the most common sprouting seeds to grow at home, along with the likes of mung beans, wheatgrass, and alfalfa sprouts. Knowing how to grow your own broccoli sprouts at home means you can quickly and simply grow protein-packed positive foods for your family.
Sprouting seeds can also be a fantastic project and a way to introduce children to growing homegrown foods. Growing broccoli sprouts at home is so easy and can be done with only a few common household items.

Broccoli sprouts can be ready to harvest in just five days
How do you grow broccoli sprouts
Homegrown broccoli sprouts can be grown in specialized sprouters that can come in a range of sizes and be bought from stores or online. An example is this 4-Tray Seed Sprouter available at Amazon, which allows for growing larger crops or even multiple varieties of sprouts.
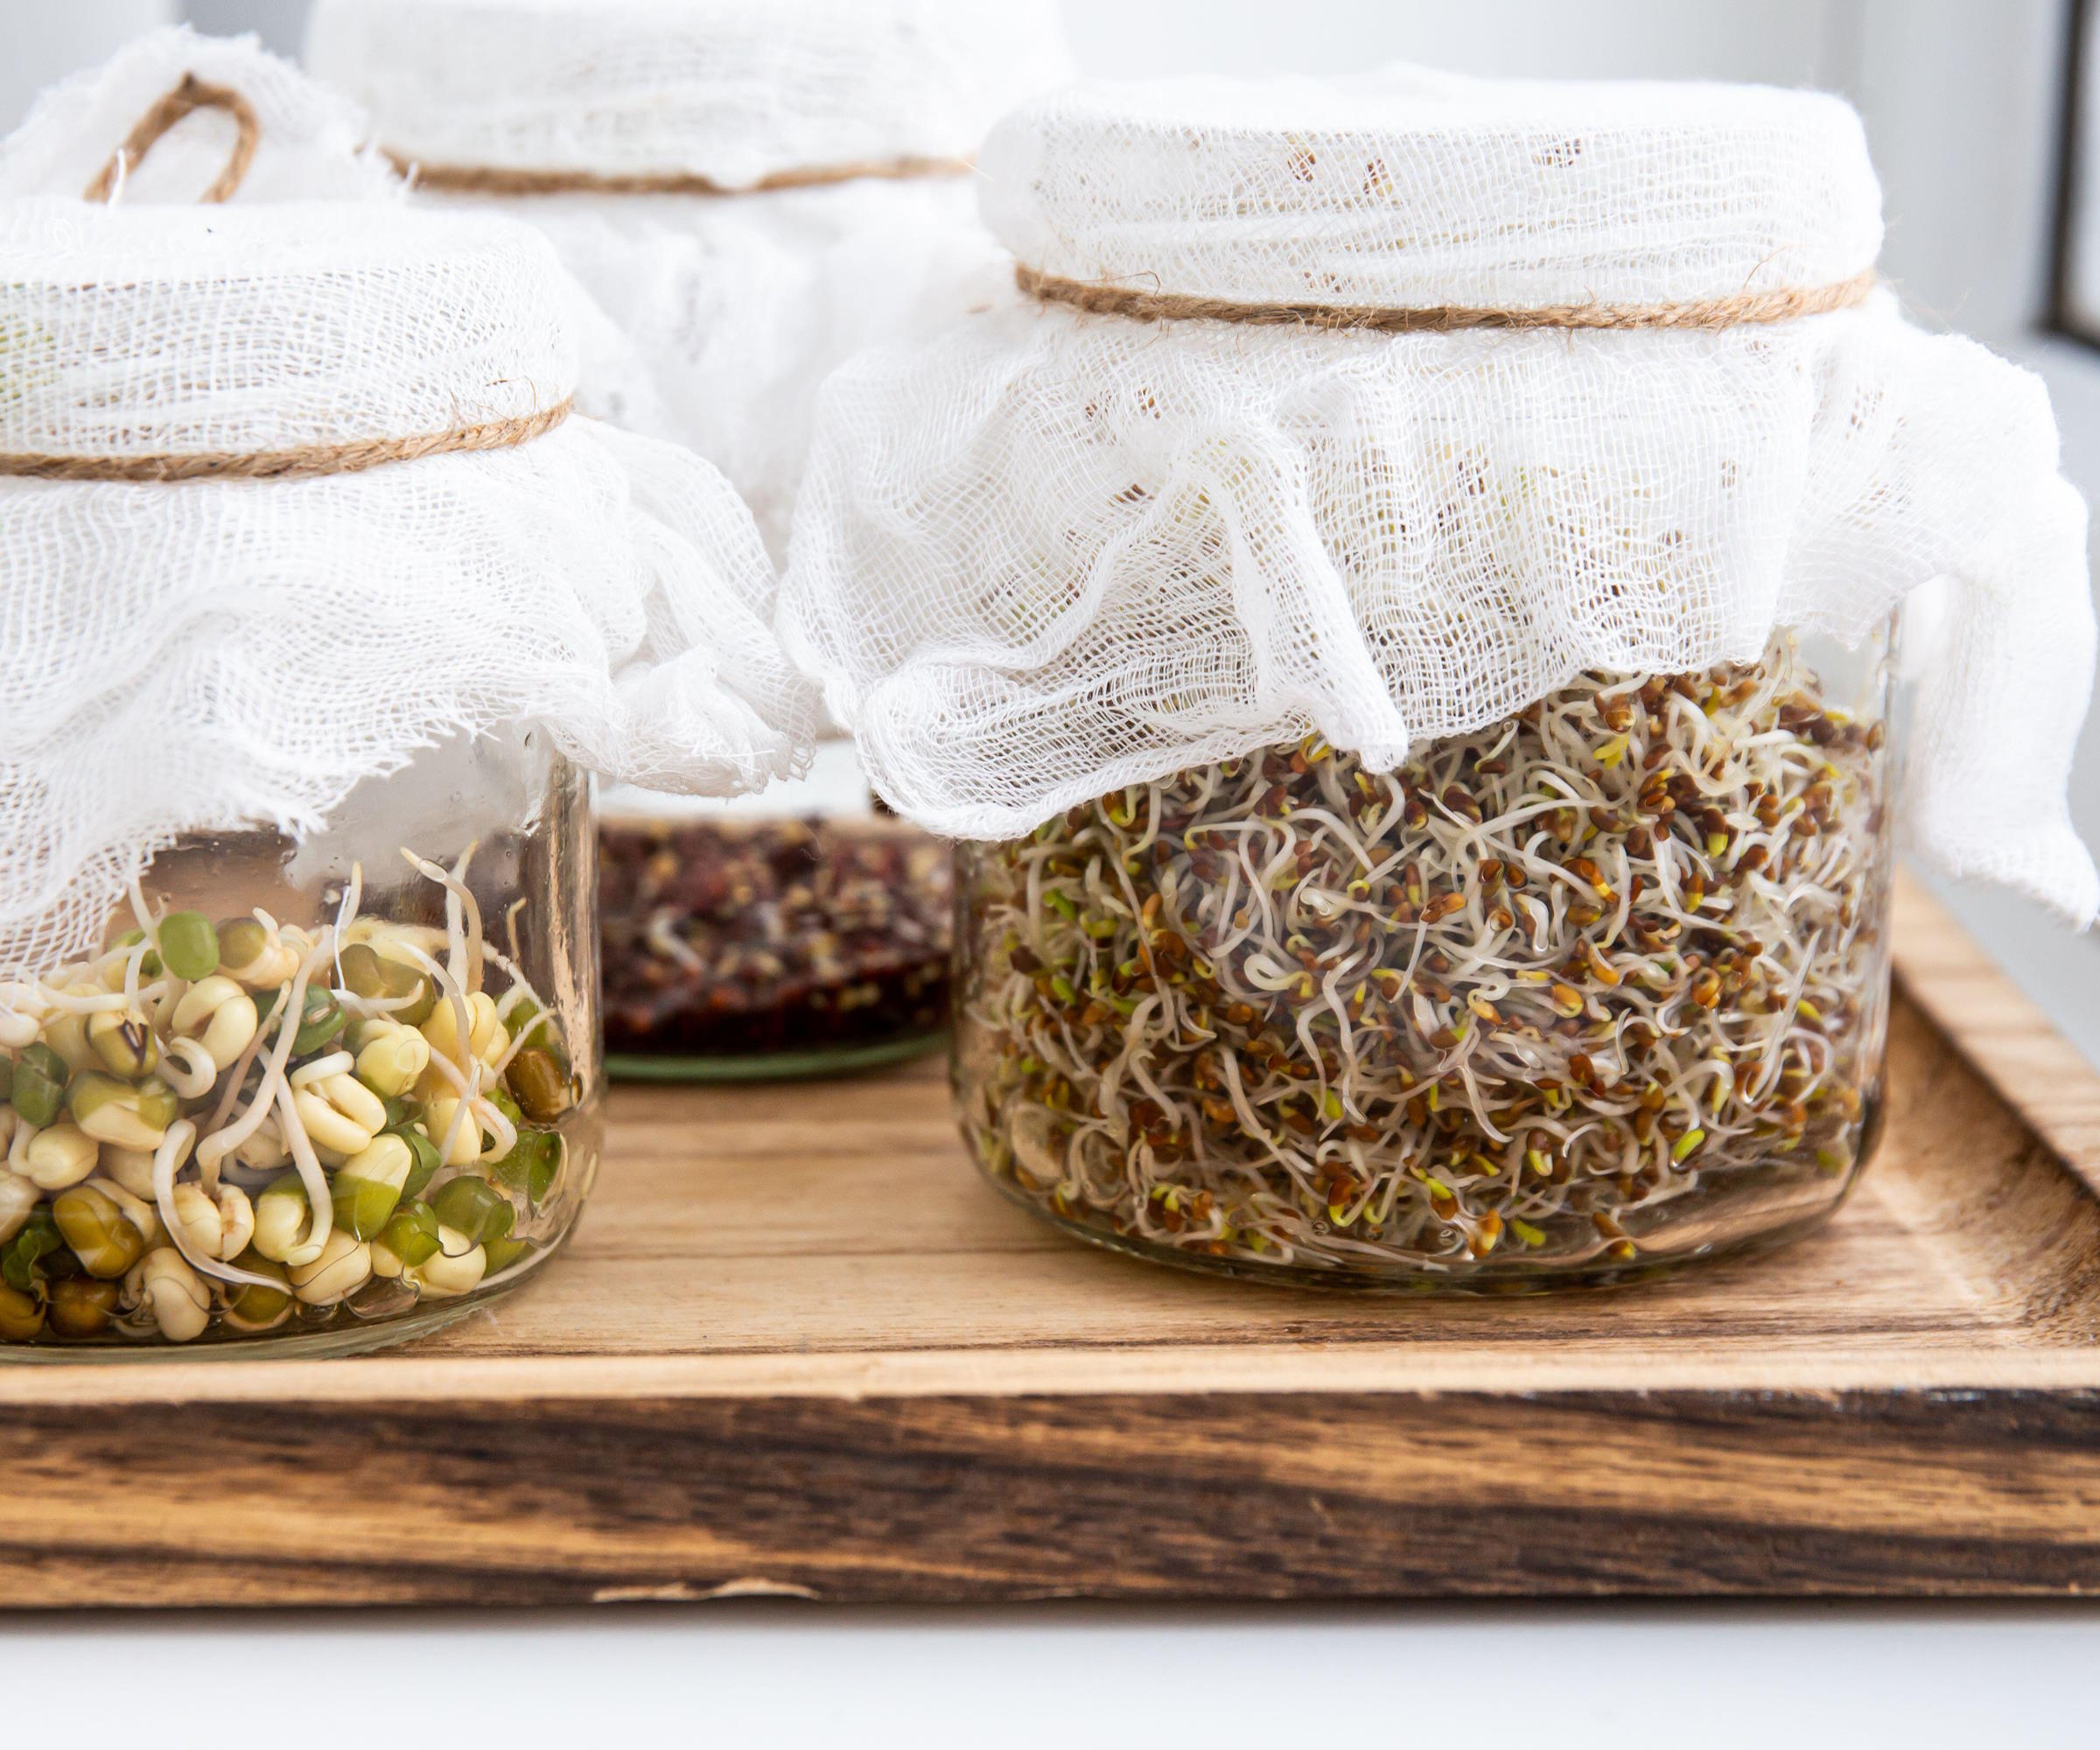
The alternative homemade solution to buying a seed sprouter is to simply use a sterilized vessel. These can be glass or plastic, but the most common method is to sprout broccoli seeds in a mason jar. We take a closer look at how to grow your own broccoli sprouts at home using the jar method.

A wide range of seeds can be sprouted in jars at home
How to grow broccoli sprouts in a jar
Always use high quality seeds for sprouting and use a sterile container. Only around 1-2 tablespoons of these seeds are needed for a batch and an ideal container to sprout them in would be around one quart in size.
When it comes to sourcing seeds, Benedict Ang, a senior coach at TotalShape and someone who sprouts his own seeds at home, recommends that you ‘can easily find them at your local health food store or online’. He adds: ‘Make sure they're organic to get the best quality.’
Design expertise in your inbox – from inspiring decorating ideas and beautiful celebrity homes to practical gardening advice and shopping round-ups.
You can get organic Broccoli Sprouting Seeds at True Leaf Market
Glass jars can be sterilized by first washing them in hot and soapy water. The jars are then either put in an oven at 275 F/130 C for 20-30 minutes, or in a dishwasher on a high-temperature cycle. Thoroughly cleaned and sterilized jars will mean the food in there will not be contaminated or spoiled, as any bacteria or fungi in the vessels are eradicated.
- Soaking - The first step is to soak your broccoli seeds in a bowl of water for at least 12 hours. They are then thoroughly drained and rinsed with cold water, before being transferred into your chosen sprouting container. Cover the container lid with a mesh lid, or cheesecloth, to allow air circulation, and secure in place with a rubber band.
- Rinsing and draining - Put the container in a cool and dark place for the seeds to crack open and start to sprout. You want to repeatedly drain and rinse the sprouts at least twice a day with water. Mike Lansing, co-founder of Planters Digest, advises that it is “crucial to completely drain" the seeds of any excess water during each rinsing stage of this process. He recommends: ‘Using centrifugal force, shake the jar briskly in a circular motion to extract as much water as possible from the seeds. Although excessive moisture can cause seeds to ferment and deteriorate, it is necessary for seeds to germinate and sprout.’ Jars may also be stored at an angle, facing downwards, to allow any excess moisture to drain out through the mesh lid into a vessel underneath.
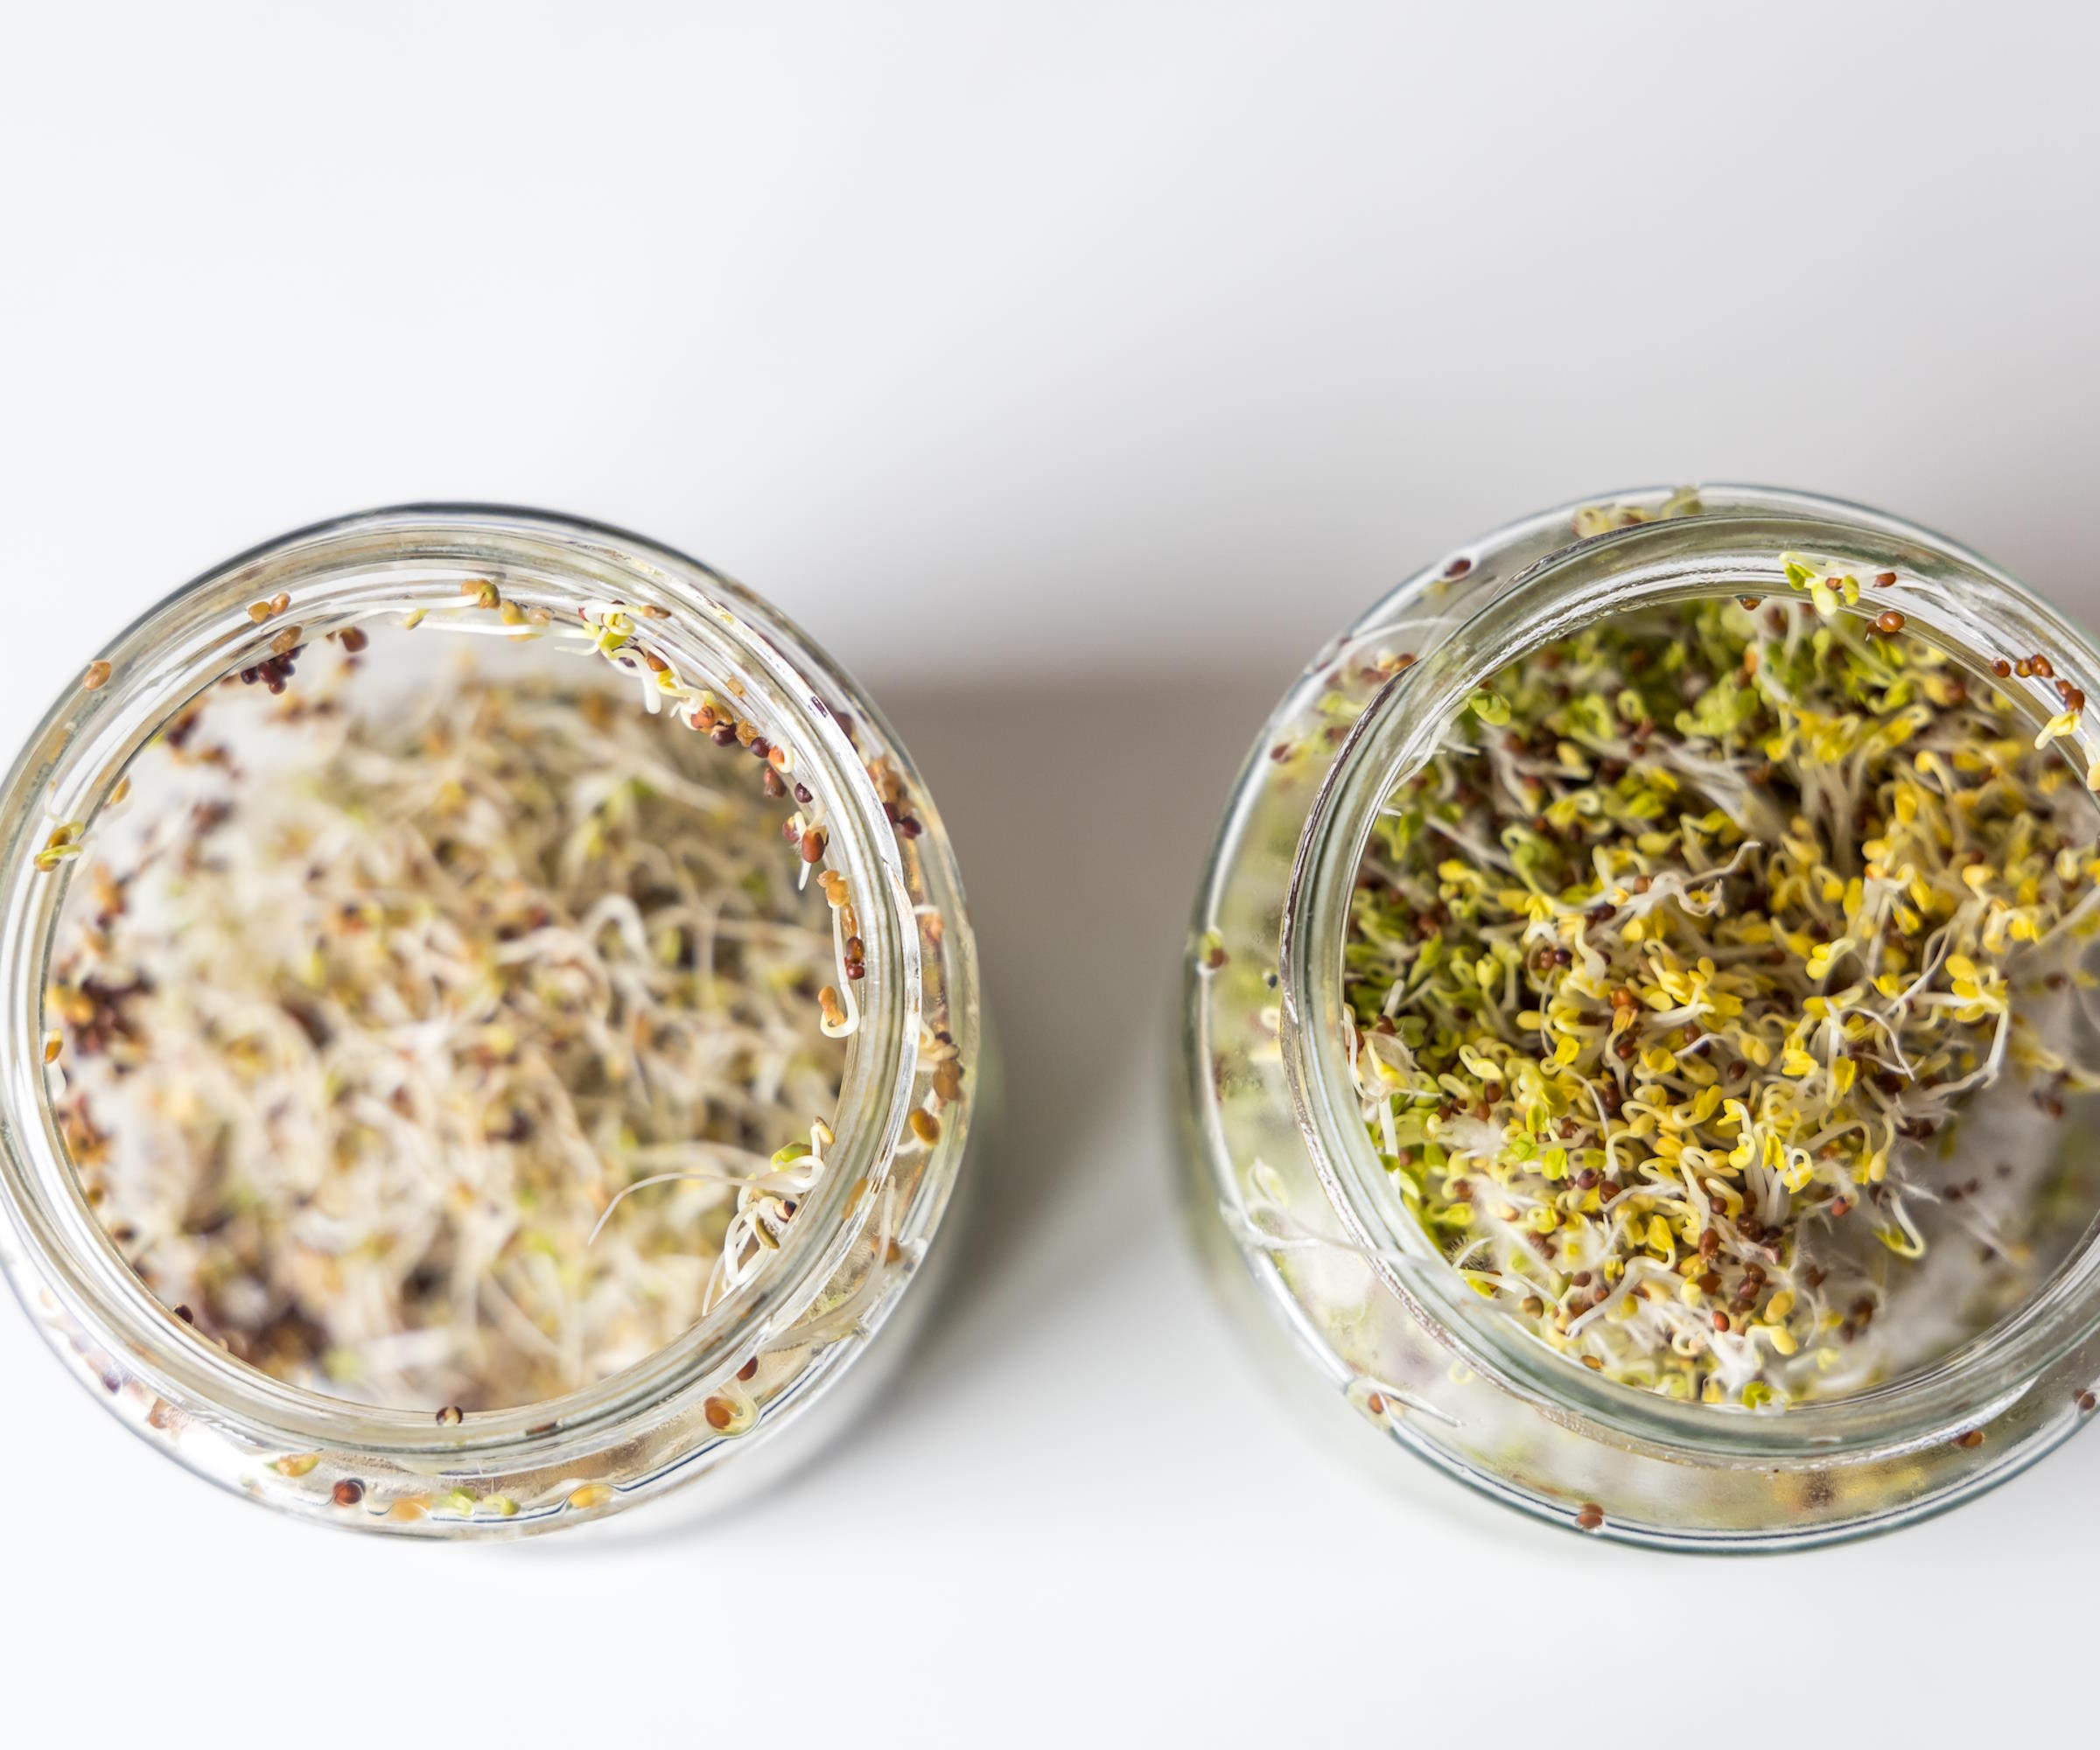
- Harvesting - The seeds will start to sprout quickly. Once the sprouts have grown to over half-an-inch long, which is likely to be around 4-5 days, the container can be brought out into indirect sunlight. They will develop a lovely green color after about 12 hours and be ready to harvest. After one last rinse, they are ready to eat and can be stored in a refrigerator for up to three days in an airtight container.

Mike Lansing is the co-founder and managing director of Planters Digest, and a certified garden designer, who turned a passion for plants into a thriving business.
FAQs
Why do my broccoli sprouts go mouldy?
There can be a few reasons why broccoli sprouts may go mouldy. It can include poor air circulation, too much moisture caused by inadequate drainage, or too much heat.
However, it might not be mold that you are seeing, as the root hairs are very fuzzy. After a few days growing, the just-visible root hairs may be visible and could be confused for mold. If there is mold on your sprouts, then it will be accompanied by an unpleasant smell.
Sprouting broccoli seeds is one of three ways you can grow this vegetable. You can also grow broccoli microgreens, where the seedlings are grown and harvested once they have developed leaves, after around a week or two after sowing. The final, and most traditional option, is to grow broccoli plants in the vegetable garden.

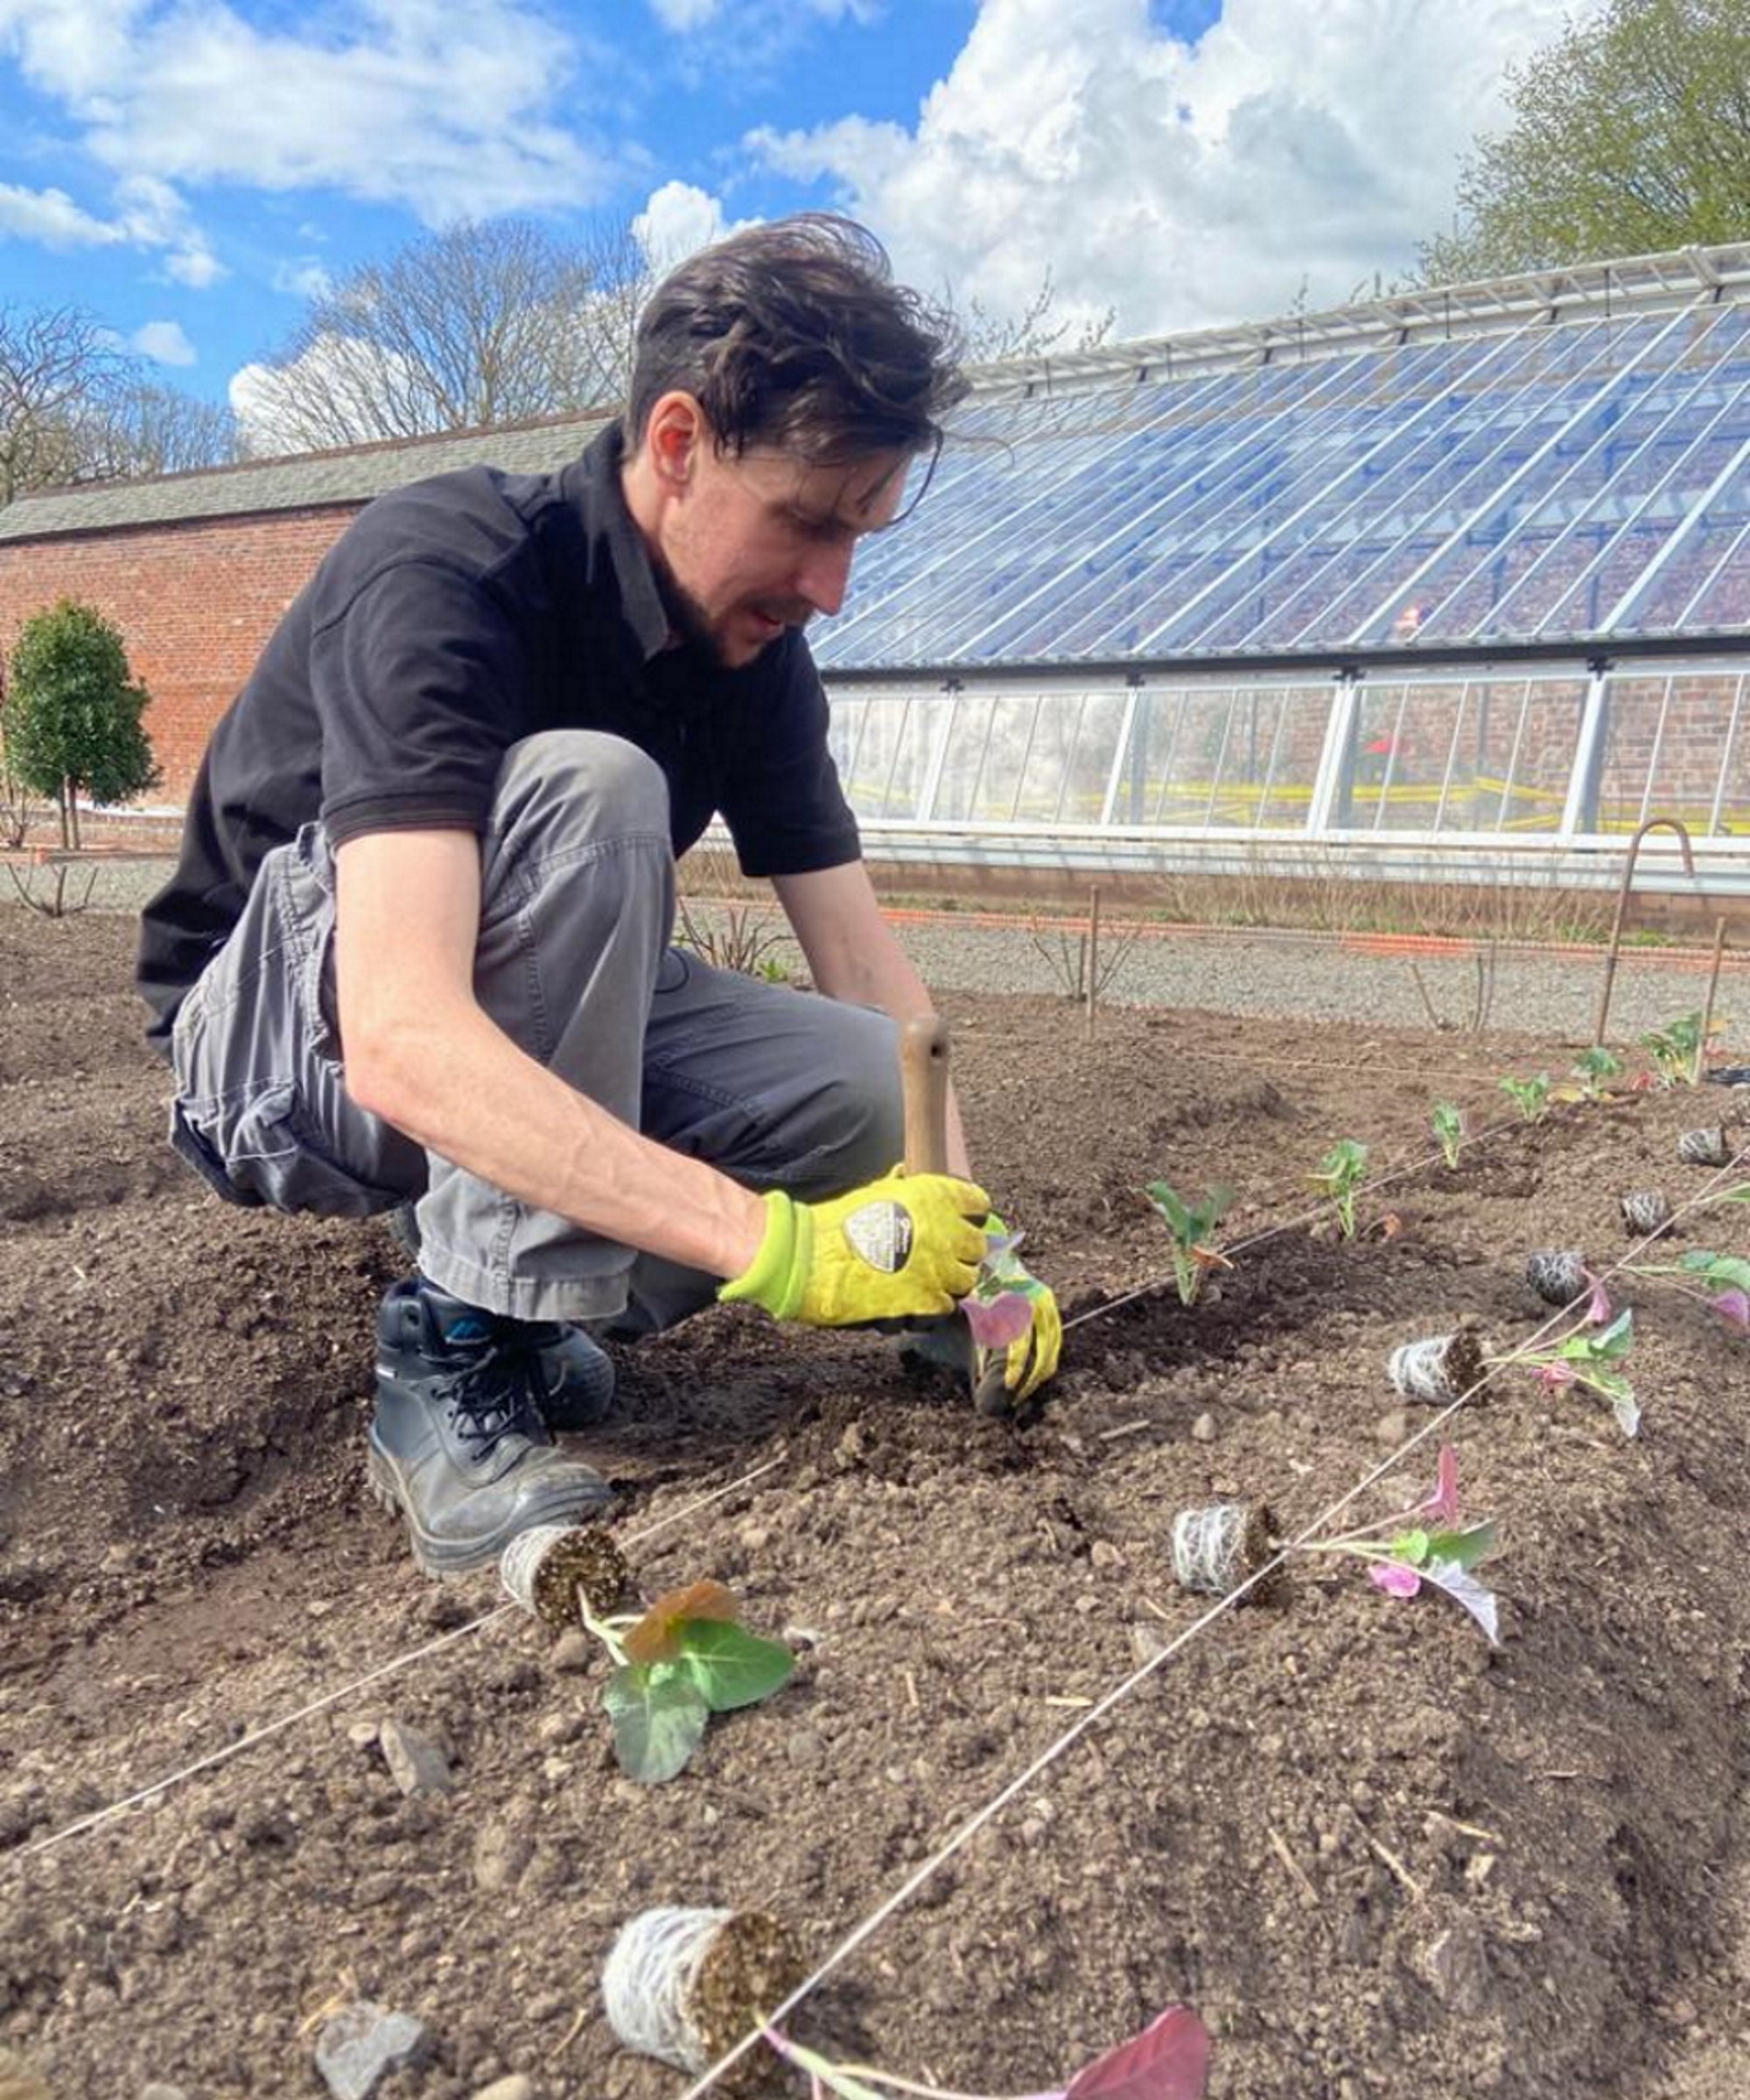
Drew has worked as a writer since 2008 and was also a professional gardener for many years. As a trained horticulturist, he worked in prestigious historic gardens, including Hanbury Hall and the world-famous Hidcote Manor Garden. He also spent time as a specialist kitchen gardener at Soho Farmhouse and Netherby Hall, where he grew vegetables, fruit, herbs, and cut flowers for restaurants. Drew has written for numerous print and online publications and is an allotment holder and garden blogger. He is shortlisted for the Digital Gardening Writer of the Year at the 2025 Garden Media Guild Awards.