How to harvest chives – and enjoy this delicious tasting herb
Discover how to harvest chives for the best flowers and leaves


Find out how to harvest chives like the experts, with our easy-to-follow guide. Emerging in early spring, chives’ slender leaves are a sure sign that warmer months are on the way. Quick to grow, these delicious leaves with their mild onion flavour can be chopped and added to a wide variety of savory dishes and salads. High in anti-oxidants, this relative of the onion family also has anti-inflammatory properties and can help improve heart health too.
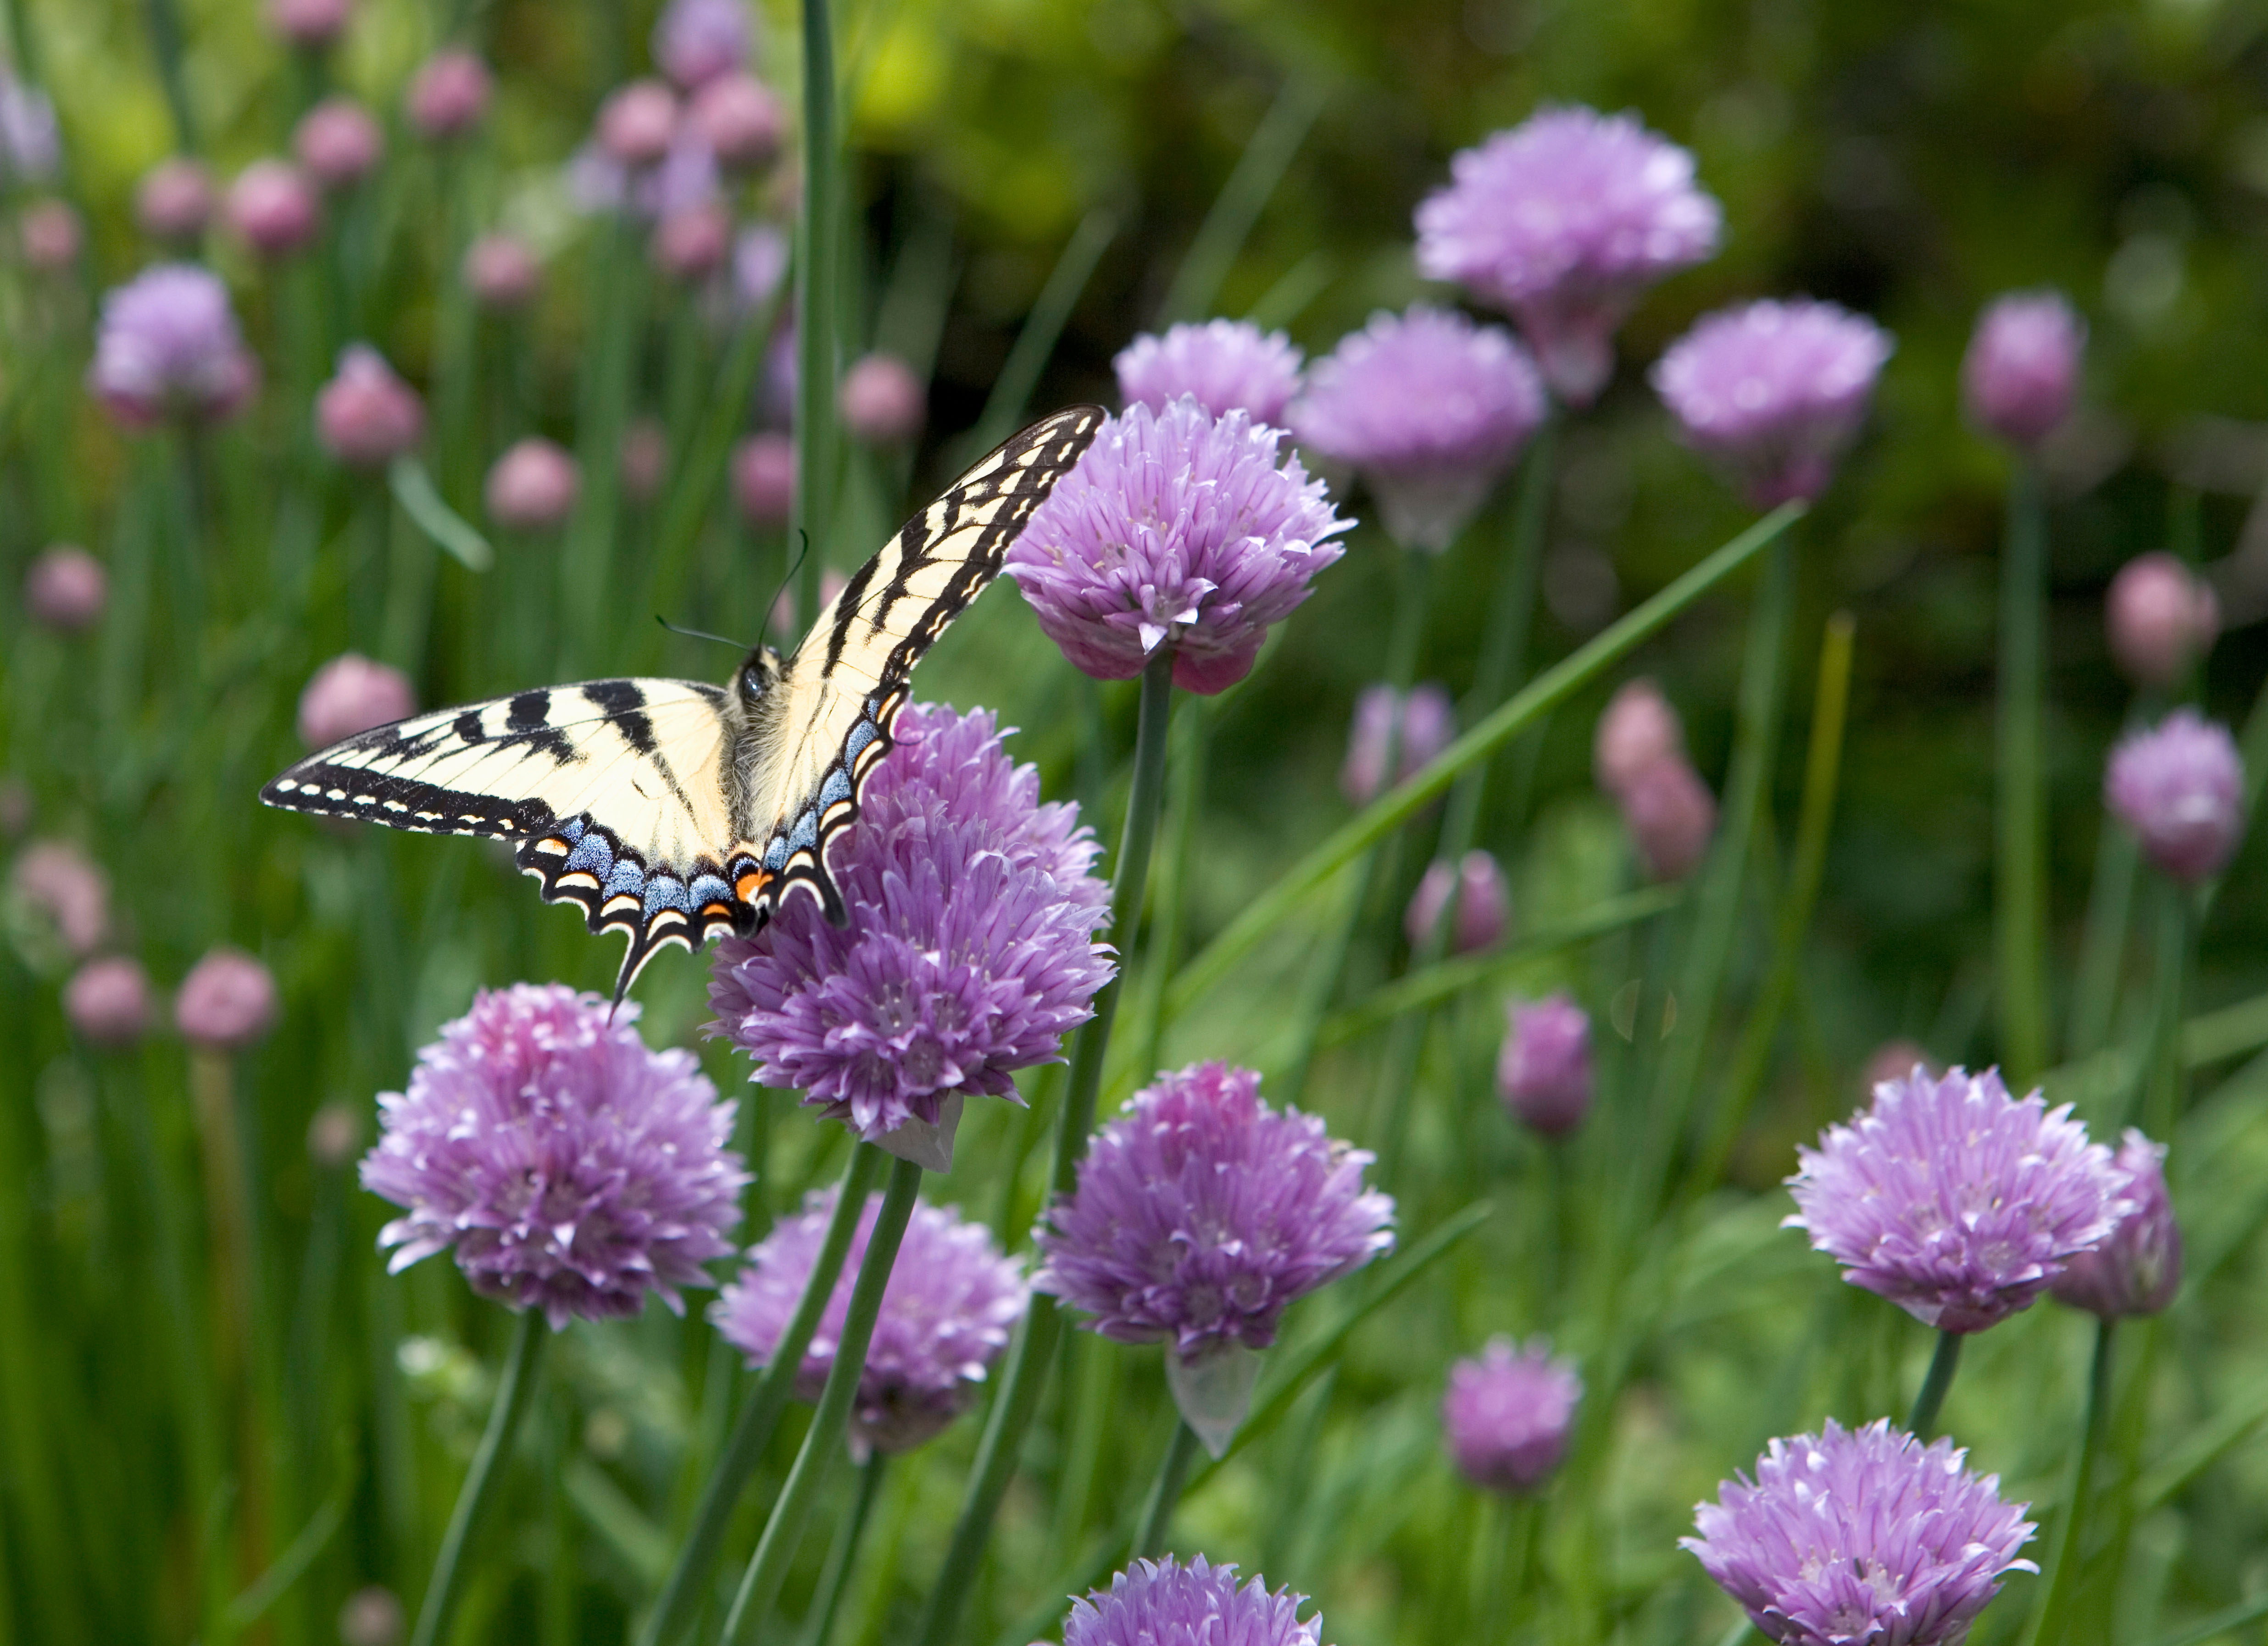
Not just tasty, chives are also a beautiful perennial. Producing pompom pink-purple flowers from late spring to late summer, they put on a stunning display that’s also popular with pollinators. When growing chives you can use them as edging, to make a statement in planters or grow them as companion planting alongside roses, tomatoes or cucumbers to keep pests at bay. The striking blooms are edible too – with a tangy onion taste – so add them to soups and salads as a colorful garnish.
Undemanding to grow – they will happily thrive in sun or light shade – all they need is well-draining soil and regular watering during dry spells. Just like most other herbs, the more leaves you pick, the more leaves they produce, but it is well worth knowing the best way to harvest chives to avoid decimating and weakening the plant. Follow our guide so you can enjoy your plants with confidence.
How to harvest chives
As chives are such forgiving plants to grow, harvesting their leaves is a pretty simple task. Over time the seeds form into bulbs and it’s from here that the leaves shoot, quickly reaching heights of around 6 inches (30cm). In colder climates the foliage will die back in late fall, before shooting again the following early spring.
‘Chives can be harvested by either removing single leaves or by chopping the whole clump back during the growing season to around 5cm, where regrowth will occur, allowing another harvest in around a month,’ says Catherine Wallsgrove, owner of Pepperpot Herb Nursery.
Judith Hann, author of Herbs, also adds that ‘chives thrive by being cut back to 1in (2.5cm) from the ground about four times a year to encourage fresh, green growth. They should always be cut back after flowering.’
How to harvest chive flowers
Delicious and colorful, with their pink pompom heads, chive flowers are perfect for jazzing up salads and other savory dishes. Pick or snip them off their slightly rigid stems as soon as they open. This is when their flavor is the most intense. You can dry the flowers and still use them for garnishing food and in cooking, but they will lose some of their oniony flavor.
Design expertise in your inbox – from inspiring decorating ideas and beautiful celebrity homes to practical gardening advice and shopping round-ups.
Snip off and discard any faded blooms – composting is best – as they will be too papery and tough to eat.
How do you pick chives so they keep growing?
To harvest chives so they keep growing, simply snip off leaves that are at least six inches tall from the outer edges of the plant first. The key to keeping a crop of chives to harvest continuously is not to cut back all of the chive plant in one go; do so in growing season, and it will regrow but you will have to wait a few weeks to harvest it again. Once growing season is finished, harvest the chives before the weather gets too cold and the plant starts to die off, before returning again in spring.
How to harvest chive seeds
Want to increase your crop or number of chive plants? Then it’s well worth saving the seed to re-sow the following spring. Wait until the flowers have just started to fade, before snipping them off and storing them in a paper bag, somewhere warm and dry. After a few weeks the seeds should have fallen away from the flowerheads and collected at the bottom of the bag. Just give the bag a good shake to make sure.
How can you harvest chives without damaging the plant?
Chives are speedy growers and can happily be harvested three or four times during the warmer growing season. Snip off individual leaves as and when needed or cut back part or all of the clump just above the base to encourage more leaves to grow. As long as you leave the bulbs in the ground the plant will continue to grow.

Journalist Jill Morgan has spent over 20 years writing and editing gardening, interior and property features. Titles she has worked on include The English Home, House Beautiful, Ideal Home, Houzz and Modern Gardens and she writes regularly for H&G as a Contributing Editor. Whilst she is a dab hand at renovation projects and DIY, she is happiest when out digging in the garden or planning a new border.