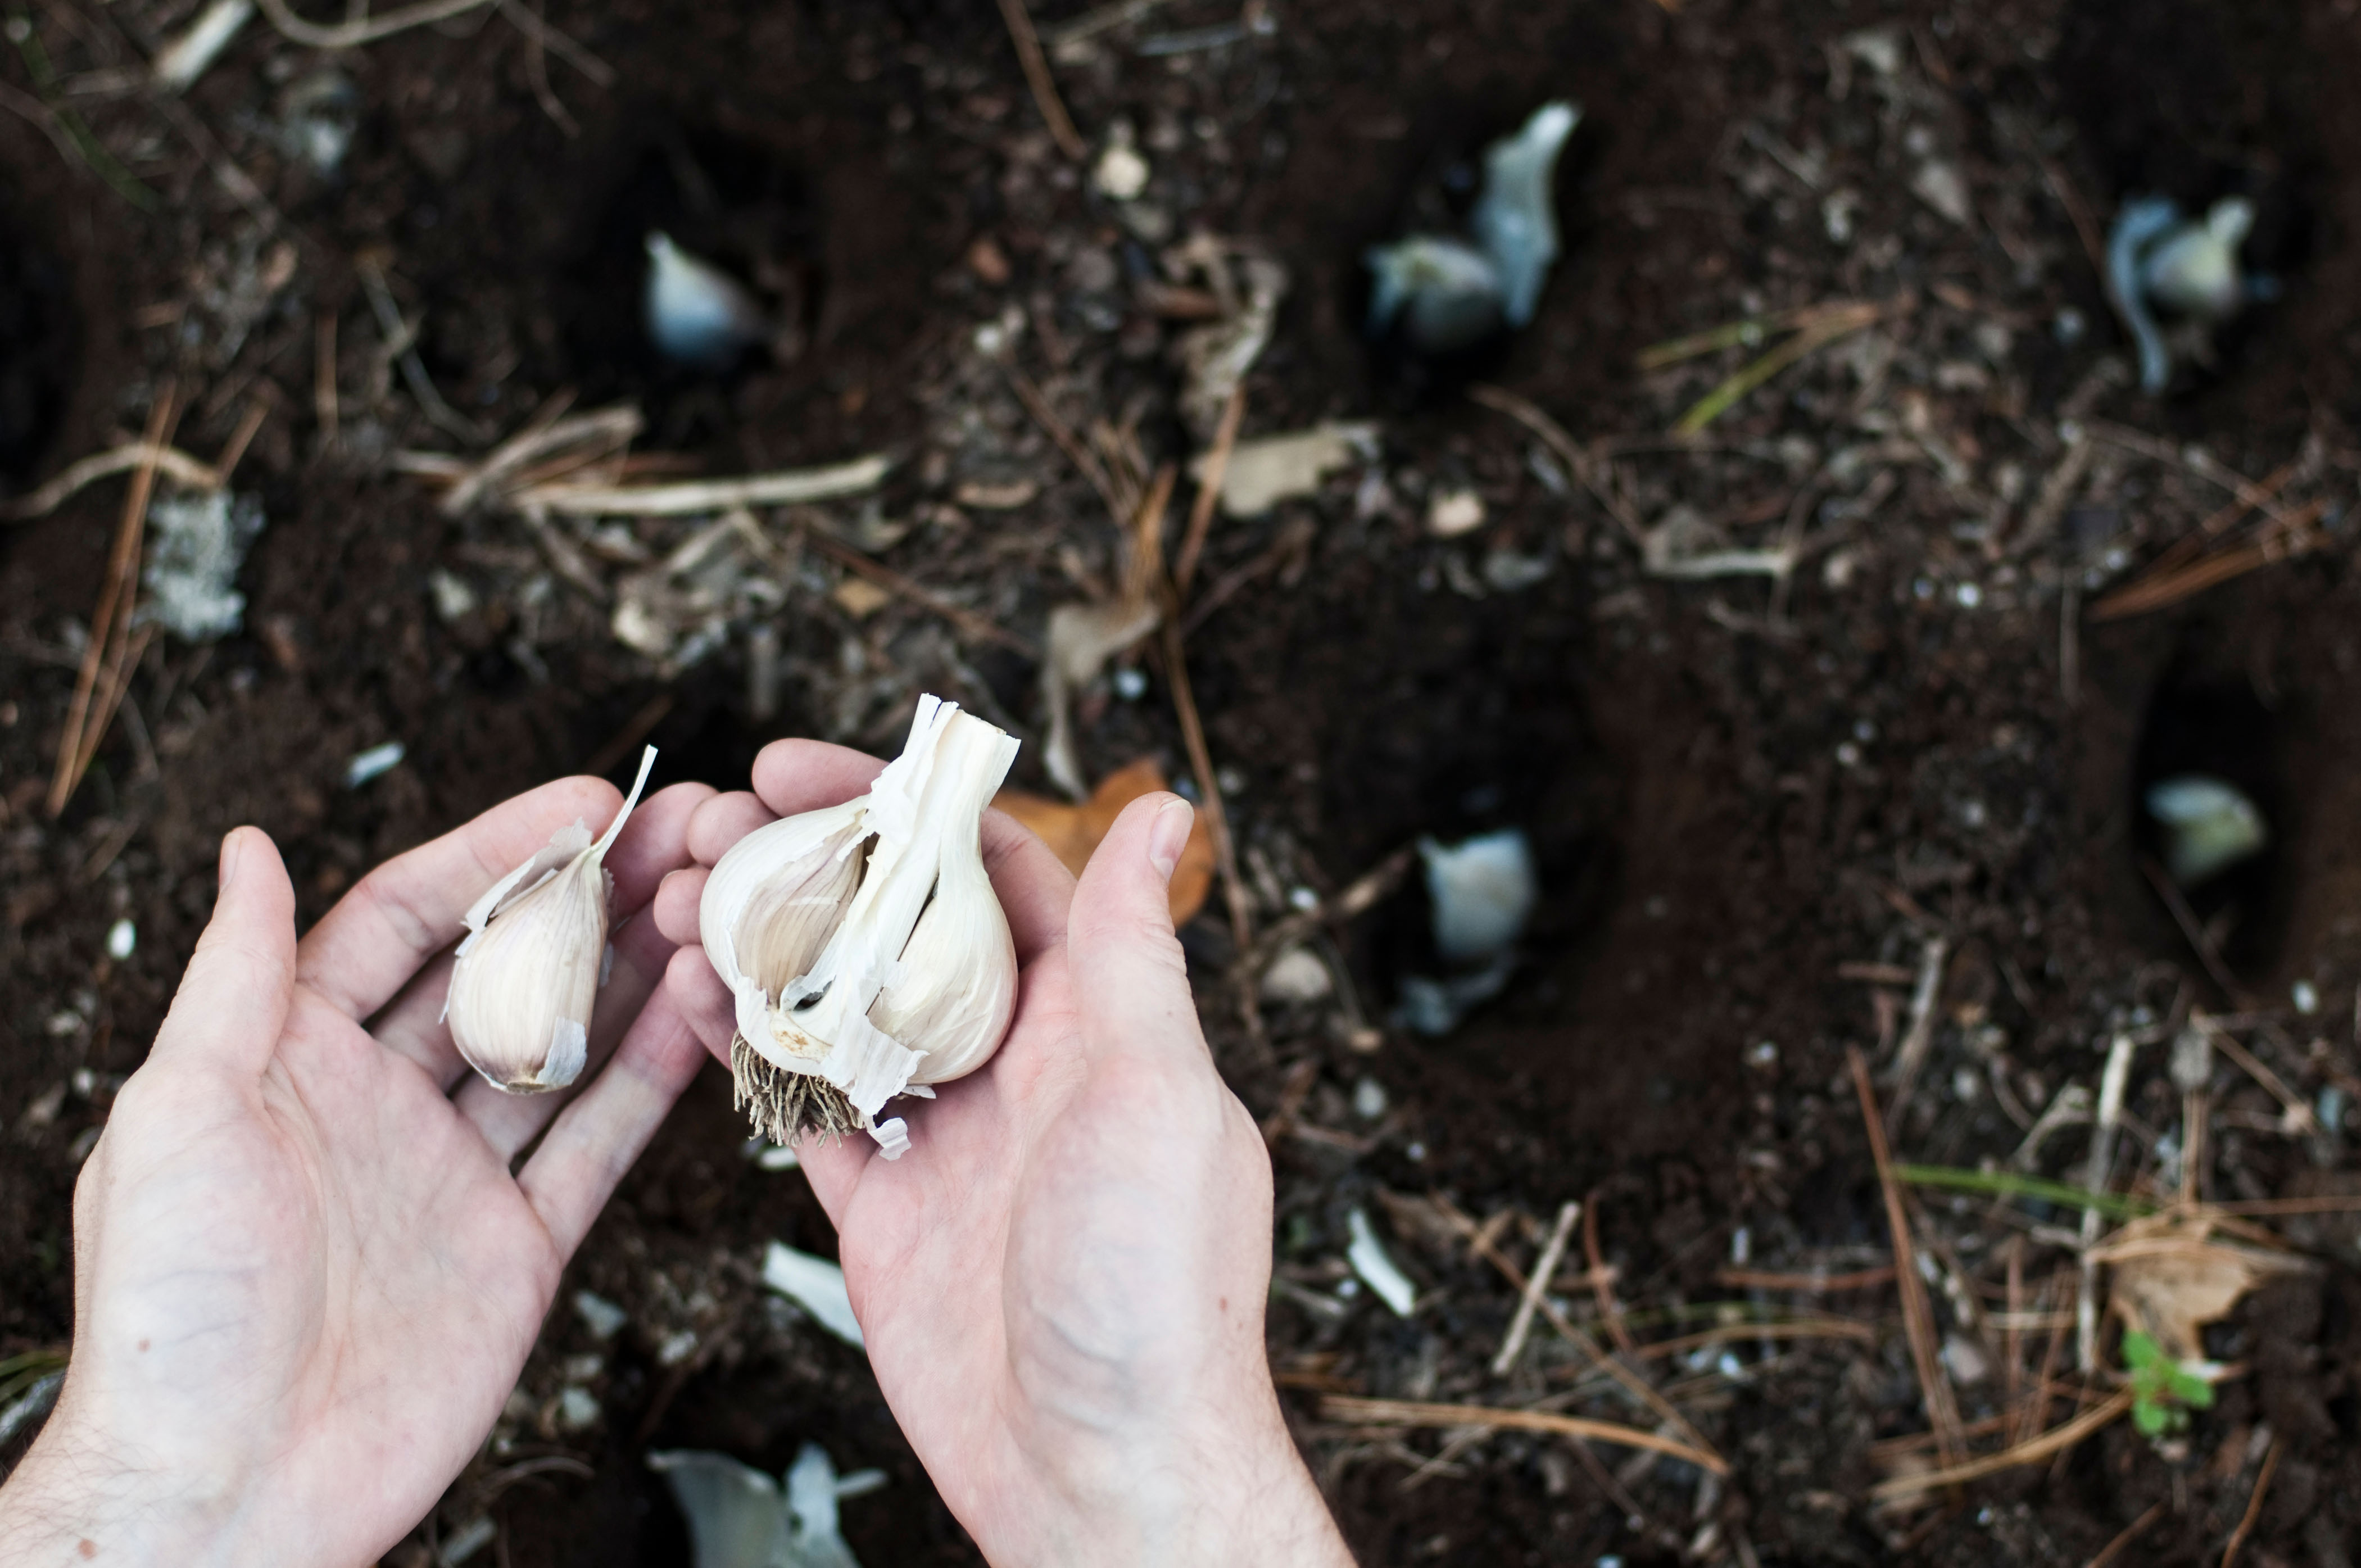
How to harvest garlic – for both cooking and keeping long term
Find out how to harvest garlic the right way and savor these flavor-packed bulbs


Learning how to harvest garlic is vital for making the most of these pungent and tasty bulbs. A Mediterranean staple, this member of the onion family is easy and rewarding to grow and needs very little attention.
Best bought as sets and planted out as individual cloves, grow garlic in a warm sunny spot and know that it loves sinking its roots into well-draining soil. As each clove swells and fattens, the flavor develops, making it even more important to know not just how to harvest garlic properly, but when to harvest garlic for best results.
‘Garlic is easy to grow in your garden – it’s fairly low maintenance and doesn’t require much space,’ say the team at Suttons. ‘It will happily grow in a patio container or pot if that’s what you have available.’
How to harvest garlic
Just as it's important to know when to plant garlic at the right time, it's vital to know how to harvest it properly so as not to damage the bulbs.
‘Try not to delay harvesting,’ say the experts at the RHS, ‘as the bulbs open up and store less well if lifted late. Carefully dig up the bulbs with a fork.’
Follow our step-by-step guide on how to harvest garlic, so you can enjoy cooking your crop for the months to come and have some left to replant for the following year.
1. Lift a 'test' bulb
Successfully harvesting your tasty crop lies in knowing how to lift and handle the plump bulbs.
Design expertise in your inbox – from inspiring decorating ideas and beautiful celebrity homes to practical gardening advice and shopping round-ups.
The team at Patch Plants suggests starting 'with one bulb to test if the others are ready.’ This way you can make sure you pick your crop when they are at their very peak.
2. Slide a trowel under the bulb
A hand trowel or fork is all you need for the job. Once the leaves have withered and turned yellow, simply slide the trowel under the bulb, making sure not to cut into the garlic bulb itself.
If there are any accidental nicks or cuts in the bulb’s papery outer skin, it can cause the cloves to soften quickly and reduce garlic storage time. To avoid throwing these crops away make sure these bulbs are used first.
3. Loosen the soil and lift
Carefully loosen the soil around each bulb before lifting them out, roots and all. This is best done by holding the base of the stem.
4. Lay your crop out
Once lifted you will need to lay your crop out to dry and harden the papery outer skin. Do this by spacing the bulbs out on trays or wire racks and placing them somewhere warm, light and dry. A sunny windowsill or glasshouse is ideal but do make sure they are well ventilated to prevent mold spores from forming.
The drying or ‘curing’ process can take anytime from three weeks to a couple of months. Brush off any soil that has dried around the bulb and hang in bunches, either braiding or tying the stalks or leaves together.
Seattle’s Swansons Nursery suggests hanging 'bulbs in mesh sacks with good air circulation on all sides or hang the bunches or braids of softneck types. Perfect storage conditions are 45º-55ºF. Storage below 40ºF can make garlic sprout.’
What is the best way to harvest garlic?
Once the leaves of the garlic turn brown it’s time to lift the crop. Use a garden fork to loosen the earth surrounding each bulb. Gently wriggle and twist the plant from the earth. A sharp pull on the leaves can cause damage and leave the bulb behind. Shake and brush off any remaining soil and leave to dry either in the sun or in a warm, dry and well-lit indoor space.
Do you wash garlic after harvesting?
Freshly harvested bulbs need to be ‘cured’ of left to dry for a period of time – this can be from three weeks to two months. This will harden the outer skins and the bulbs need several layers of intact papery layers to store well. Brush rather than wash off any dried soil as any moisture can lead to rot setting in.

Journalist Jill Morgan has spent over 20 years writing and editing gardening, interior and property features. Titles she has worked on include The English Home, House Beautiful, Ideal Home, Houzz and Modern Gardens and she writes regularly for H&G as a Contributing Editor. Whilst she is a dab hand at renovation projects and DIY, she is happiest when out digging in the garden or planning a new border.