How to light a garden path – lighting designers reveal 8 ways to avoid the dreaded 'runway light'
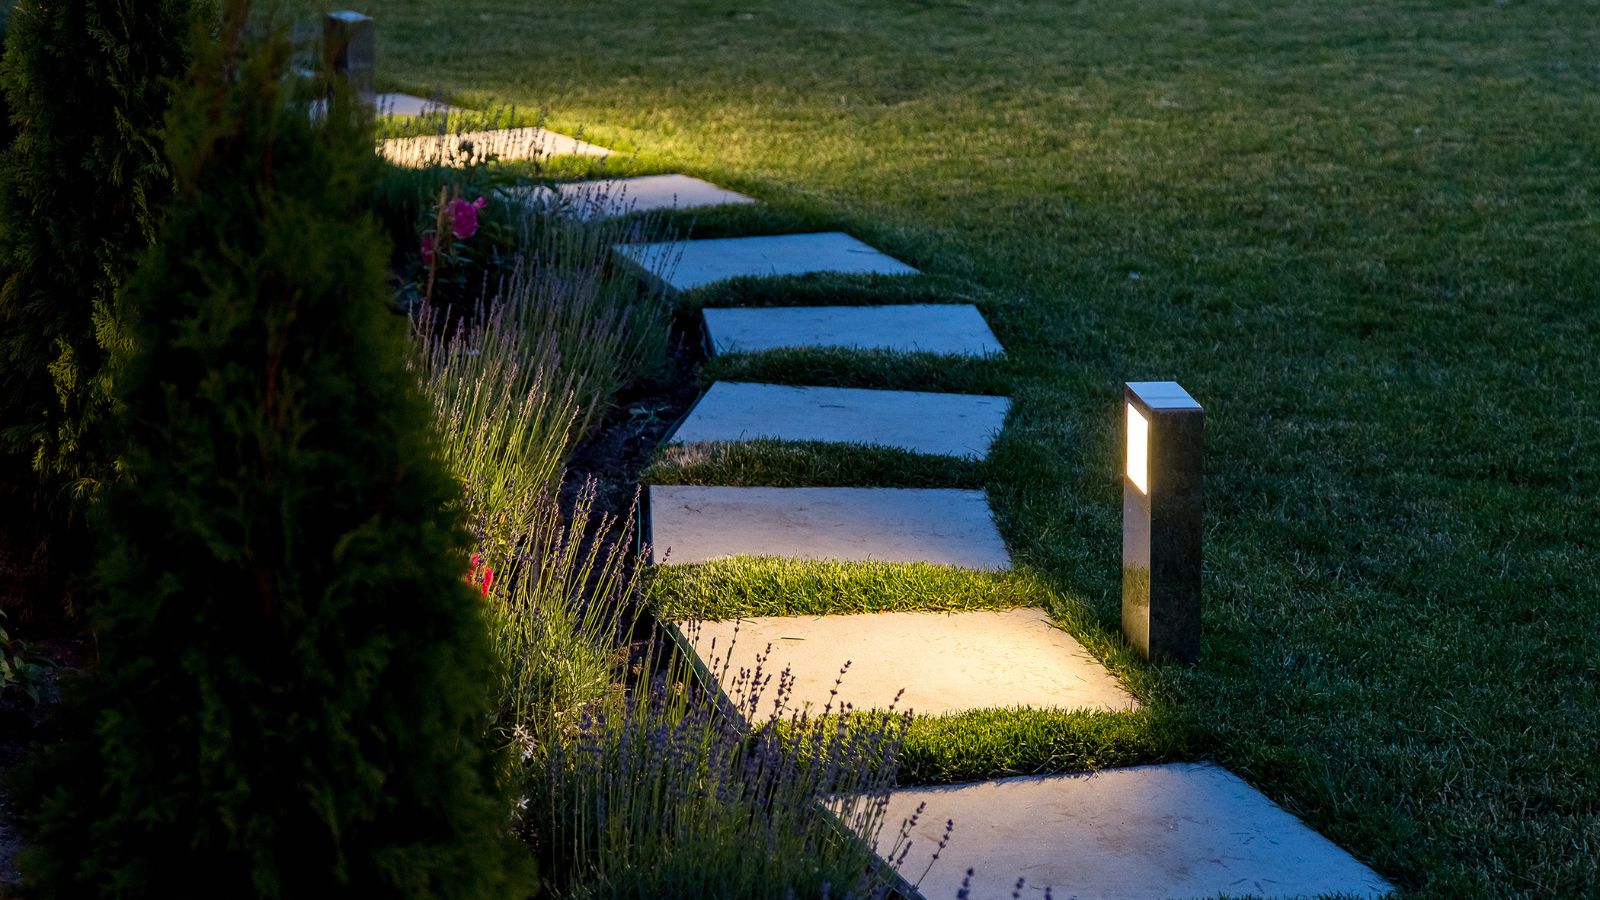
I spoke to industry-leading lighting designers about the best and most stylish ways to light a garden path

- 1. Space your garden path lights 8 feet apart
- 2. Place path lights the right distance away from a path
- 3. Consider which direction your lights face
- 4. Try downlighting from trees
- 5. Only use gentle or warm color
- 6. Keep the light dim
- 7. Avoid solar lights to illuminate pathways
- 8. Try candles - but only on special occasions
- FAQs
Lighting a garden path can be surprisingly hard to get right. It's easy to swing between two extremes: on the one hand, you can have a bright, safe path, but one that looks severe and stark - the fearsome 'runway lights'. On the other, you can make moody, atmospheric path lighting that wows your guests but doesn't, you know, actually light the way.
On top of that, path lighting can be expensive to buy and install. Get it wrong, and you've made an expensive mistake.
Even the best festoon lights can't save your garden from bad path lighting. I spoke to lighting, landscaping, and garden design experts about the best way to strike a balance. They told me exactly how to light a garden path, giving me 8 tips and tricks to try that will ensure pretty but practical path lighting.
1. Space your garden path lights 8 feet apart
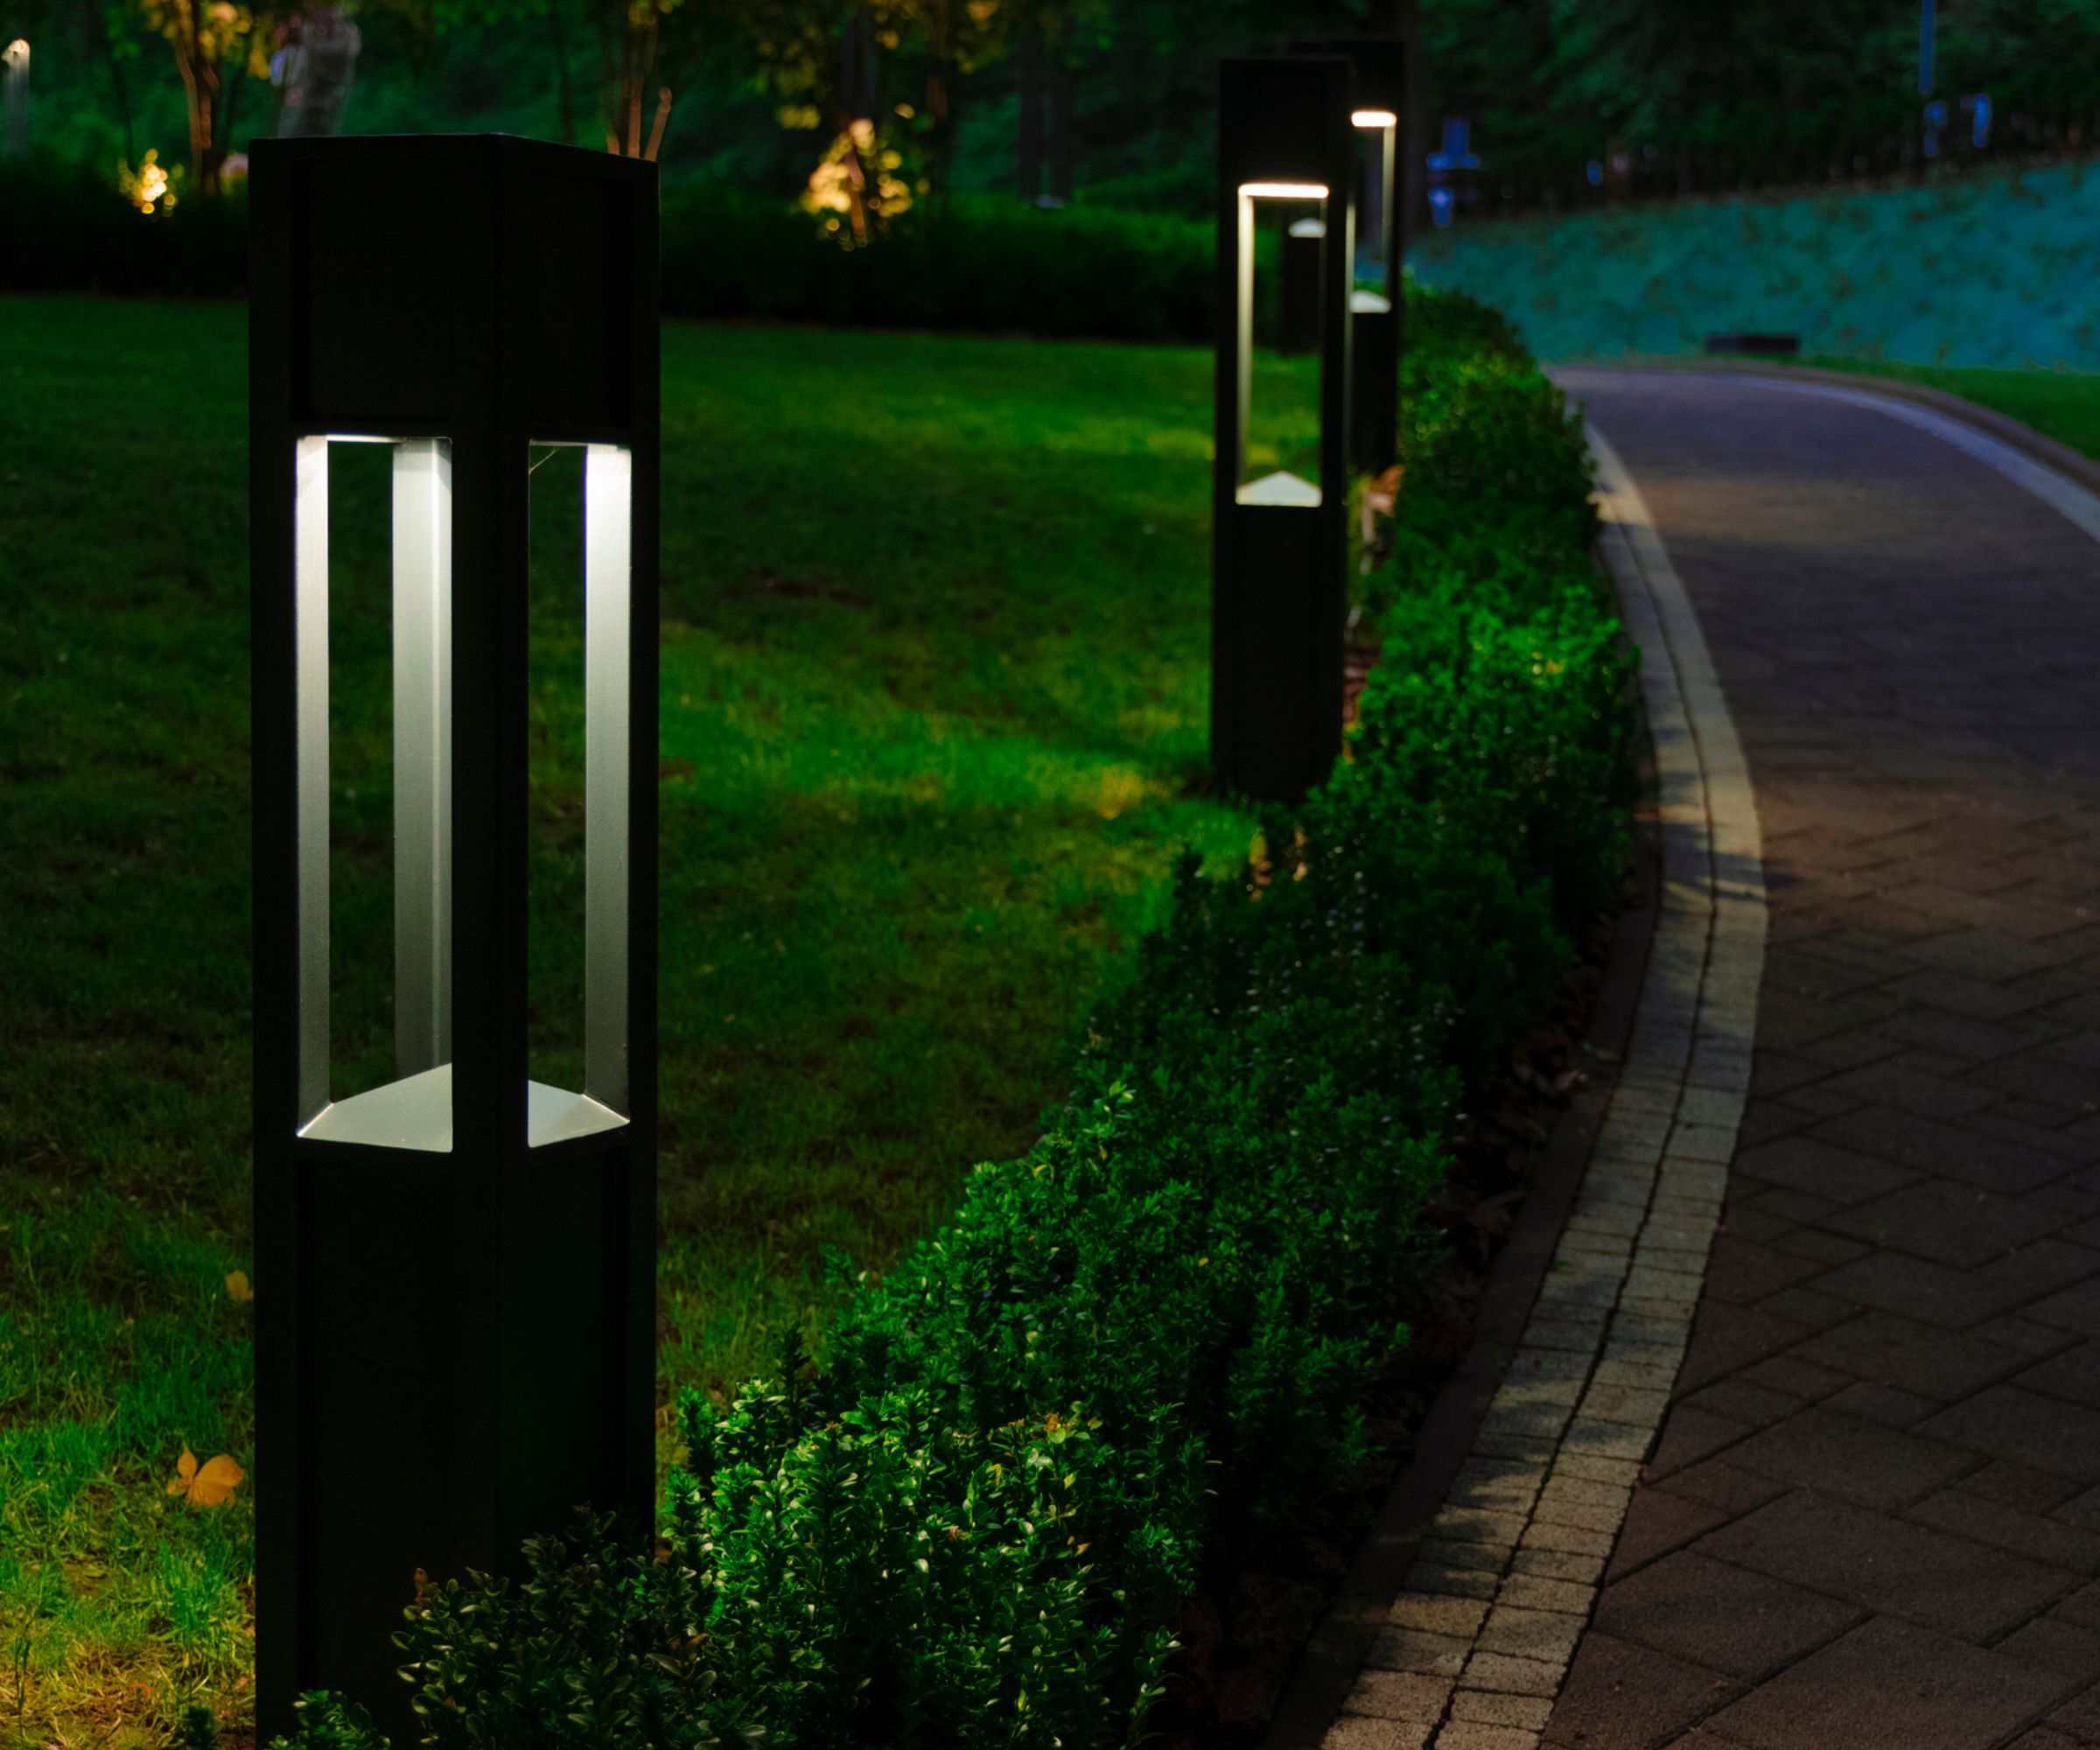
The first thing to consider is how far apart you want to place your lights. Paving expert Joe Raboine told me the most important thing is that 'We want to avoid the runway look.' This happens when you have too many lights bunched too close together; your path starts looking like a brightly lit fashion show rather than a calming route through the garden.
Thankfully, there's an easy way around this. All of the experts I spoke to recommended spacing lights around 8 feet apart. Joe says 'I suggest spacing of 8-10 on center for traditional pathway lighting. This provides a pleasing visual, as well as safety when using a walkway.'
Other experts agree. Award-winning lighting designer Nels Peterson told me that 'In most cases, placing them approximately 8-12 feet on center apart from each other will cover most situations.' Garden designer Raine Clarke-Wills didn't want to be so precise, but says 'While I'm hesitant to give a precise measurement, a general rule would be spacing lights about 5 to 8 feet apart.'
However, there are some nuances to bear in mind. Raine says it depends on the length and layout of the garden path, so you don't need to rigidly stick to 8 feet. 'Path lights should be spaced subtly, providing a gentle glow rather than overwhelming brightness. Most will desire an ambiance of calm and relaxation rather than evoking a deer-in-the-headlights effect.'
Design expertise in your inbox – from inspiring decorating ideas and beautiful celebrity homes to practical gardening advice and shopping round-ups.
On top of the variance of the path, the type of lights can change how far apart you space them. He says 'we must look at what the approximate beam spread or area of illumination that the path light provides. Some fixtures cast a large circular pattern, and others cast light forward from the pathway illuminating the area in front of it. The best way to address this is to place them in a dark room or outside and move them until you're happy with the light look.

Raine Clarke-Wills is an expert garden designer. in her 23 years in design, Raine has built and designed several award-winning gardens at the RHS Hampton Court Palace flower show. She is the founder and head consultant at Raine Garden Design, where she works on small gardens as well as large estates.

Nels Peterson is a lighting industry veteran with over 30 years of experience. Nels is a Certified Outdoor Lighting Designer through the Association of Outdoor Lighting Professionals (AOLP). In 2023 and 2024 he earned the National Award of Excellence in Landscape Lighting for Most Outstanding Landscape Lighting Project in the U.S. by the AOLP. He now serves as the Vice President and Brand Leader for Blingle, a lighting company.

Joe is Vice President of Design at Belgard, a hardscape company in Atlanta, Georgia. He is an expert in paving, paths and hardscapes, and has worked in the industry for 25 years.
2. Place path lights the right distance away from a path
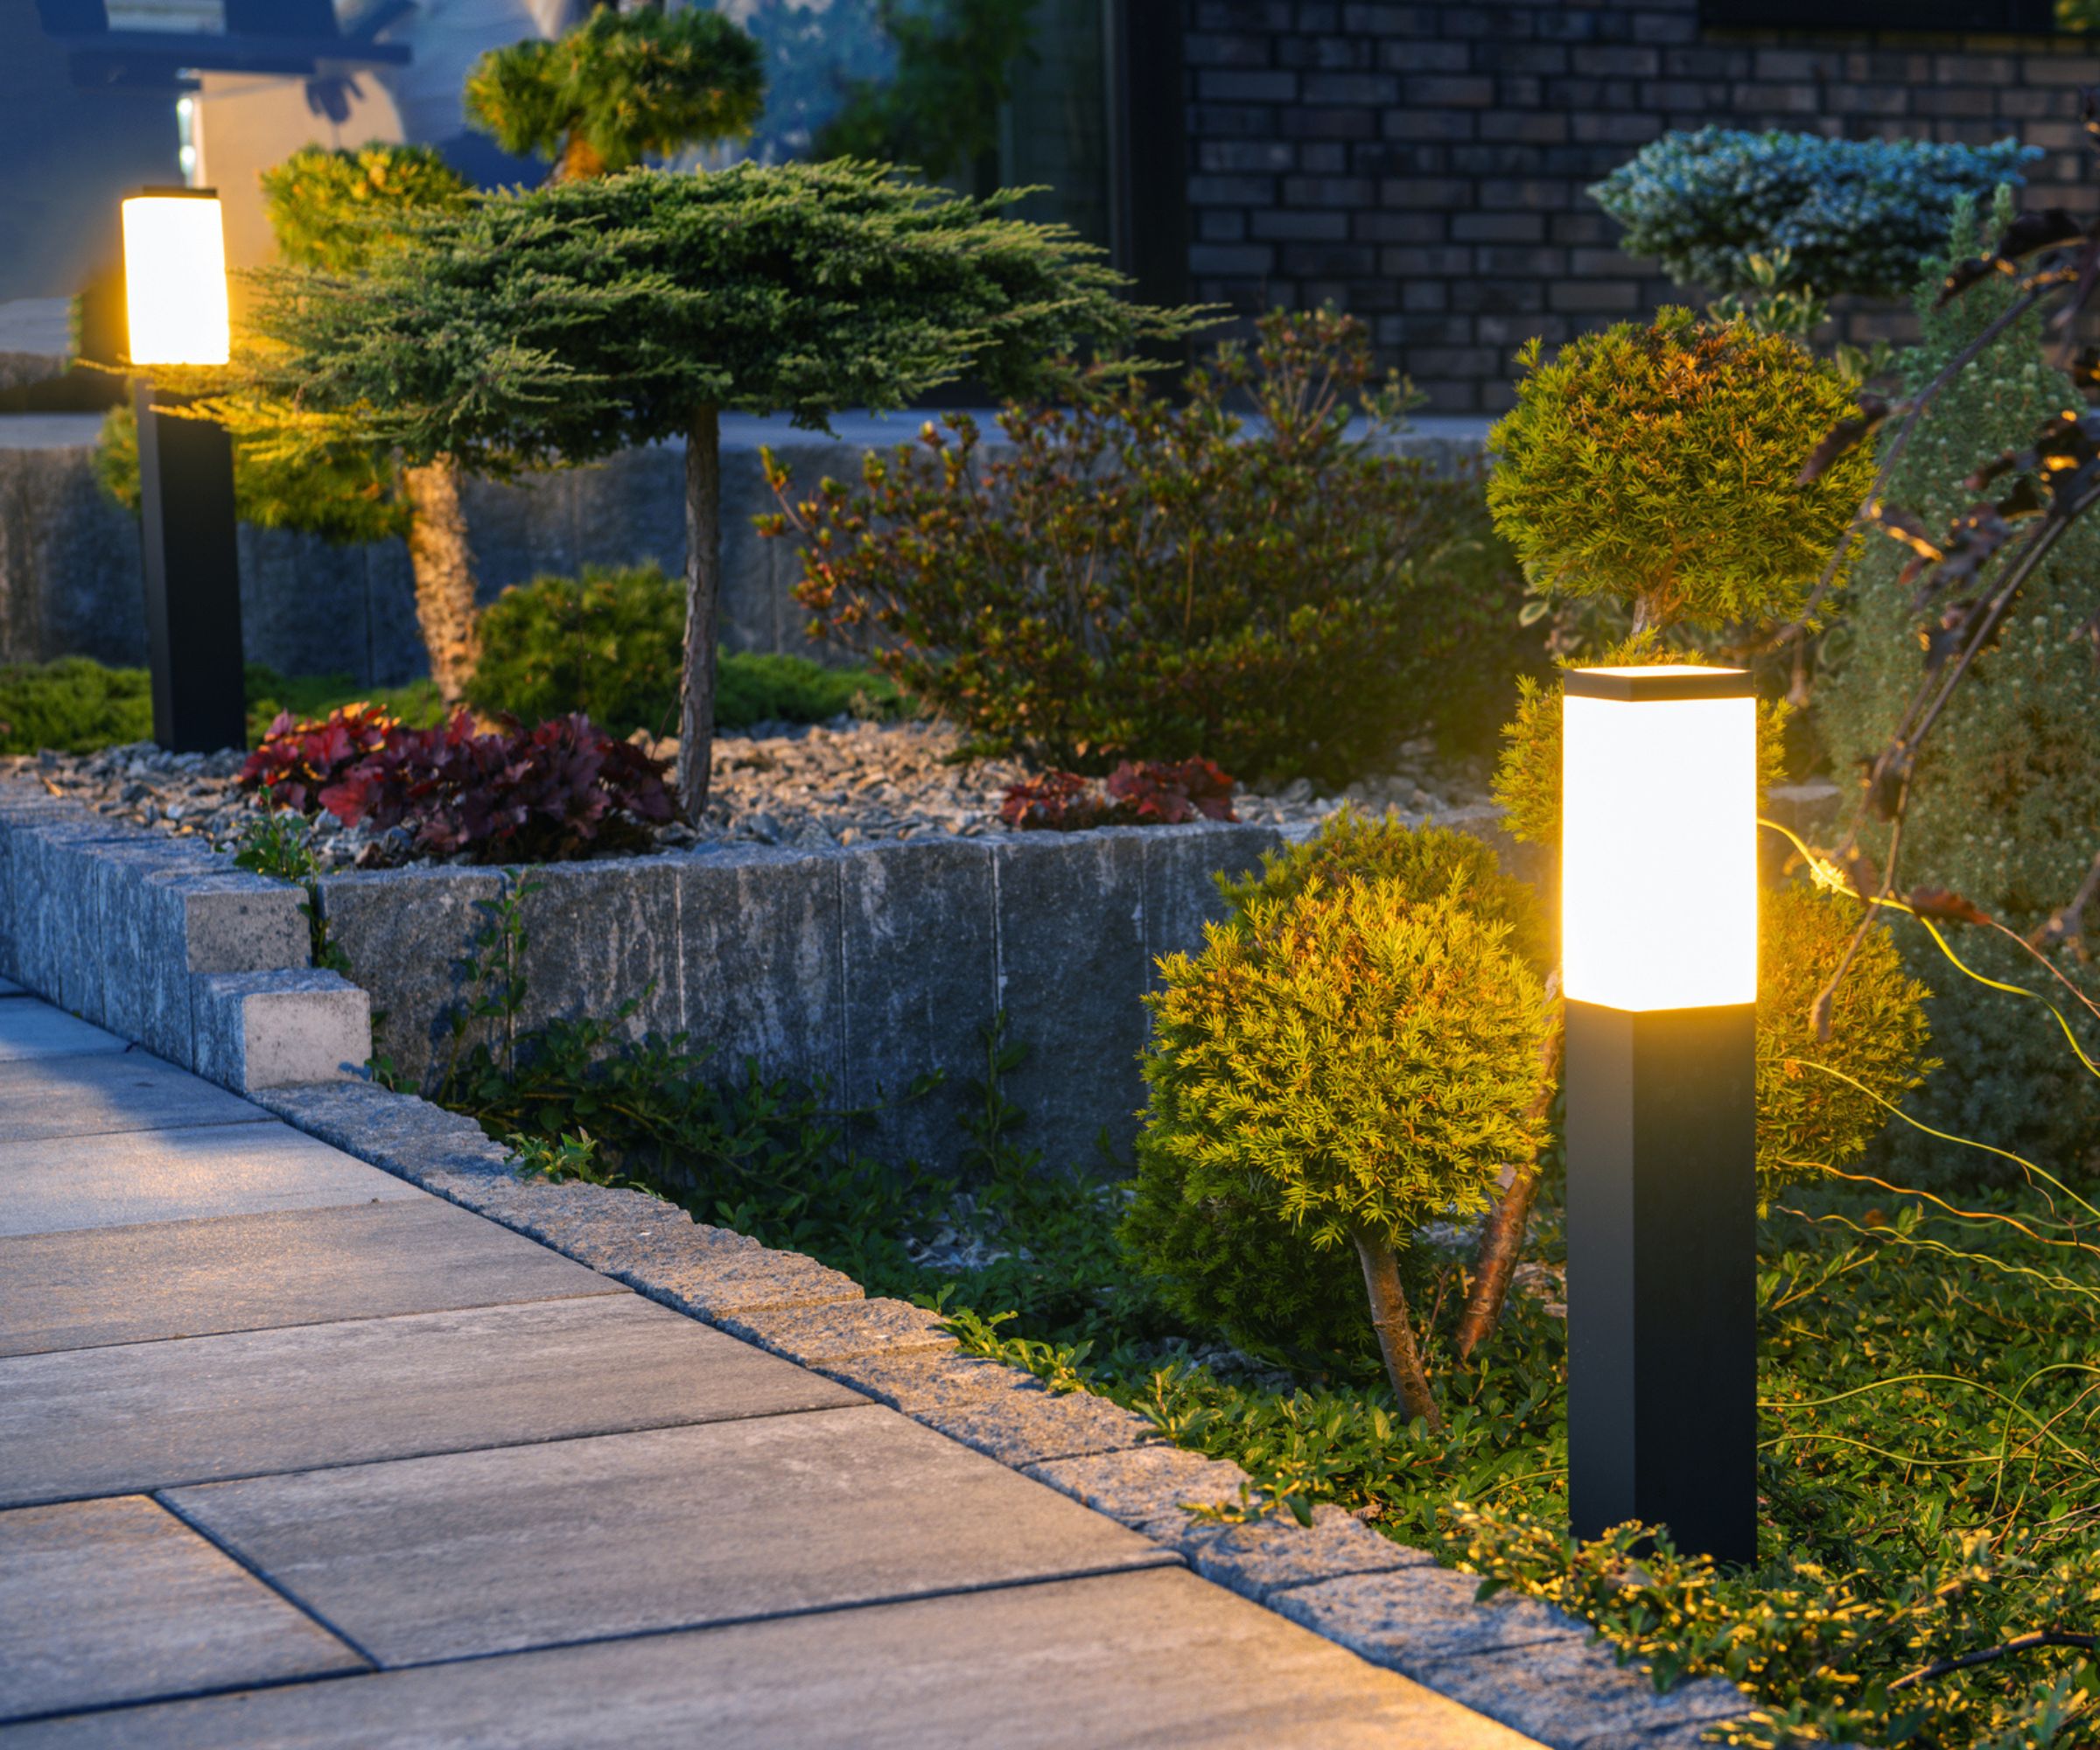
Once you're happy with the spacing of the lights, you need to consider how far back from the path to place them. All the designers I spoke to had interesting ways to judge this.
Nels Peterson gave me a simple, ingenious rule. If you use bollard lights, 'A good rule of thumb is to measure the overall height of the path light and use that as the distance to space it off a walkway.' This takes out all the guesswork. If you have a little foot-tall path light, place it a foot away from the path. Not only is it easy to follow, but it has practical benefits, too. Nels says 'By placing light farther back off the path, you avoid having people run into the fixture, and in the case where there is snow removal, you provide a little more space for shoveling.'
Of course, it depends on your design, and placing lights right along the edges of a path isn't always practical. Joe Raboine told me 'You can also place pathway lights in low-growing flower beds. This can offer a unique design element in the landscape.' It breaks up the monotony of evenly-spaced lights, while still providing practical illumination.
Raine Clarke-Wills gave me another tip to add interest. 'Even when viewed from afar, the path should create a mesmerizing effect, transforming features with well-placed lighting. Alternating lights on either side of the path create a balanced and visually appealing effect.' This also stops your lights from being too stark, as the light fills the path from a single side rather than being harshly lit from from sides.
3. Consider which direction your lights face
With the spacing and placing established, the next move is to sort out the direction of your lights. This seems pretty obvious - the lights should just shine on the path. However, straightforward lighting like this isn't the only option.
Raine gave me three ways you can aim your light. The first is classic: 'Facing light across the path provides an evenly lit effect suited to walking, creating a warm and glowy ambiance.' However, she also puts a lot of stock in uplights. 'Embedded within the floor facing upwards, these lights ensure the path is illuminated without causing glare, creating a dramatic and elegant effect.'
Finally, she recommends downward-facing lights. These 'can illuminate the path with a soft glow without causing too much glare, making it both practical and pretty.' They're also much better for light pollution and local wildlife because they keep the sky dark for bats and stars.
Which direction you prefer is entirely up to you. Simply facing the lights along the path is safest, which should be the priority, but the other styles can provide more intriguing effects.
4. Try downlighting from trees
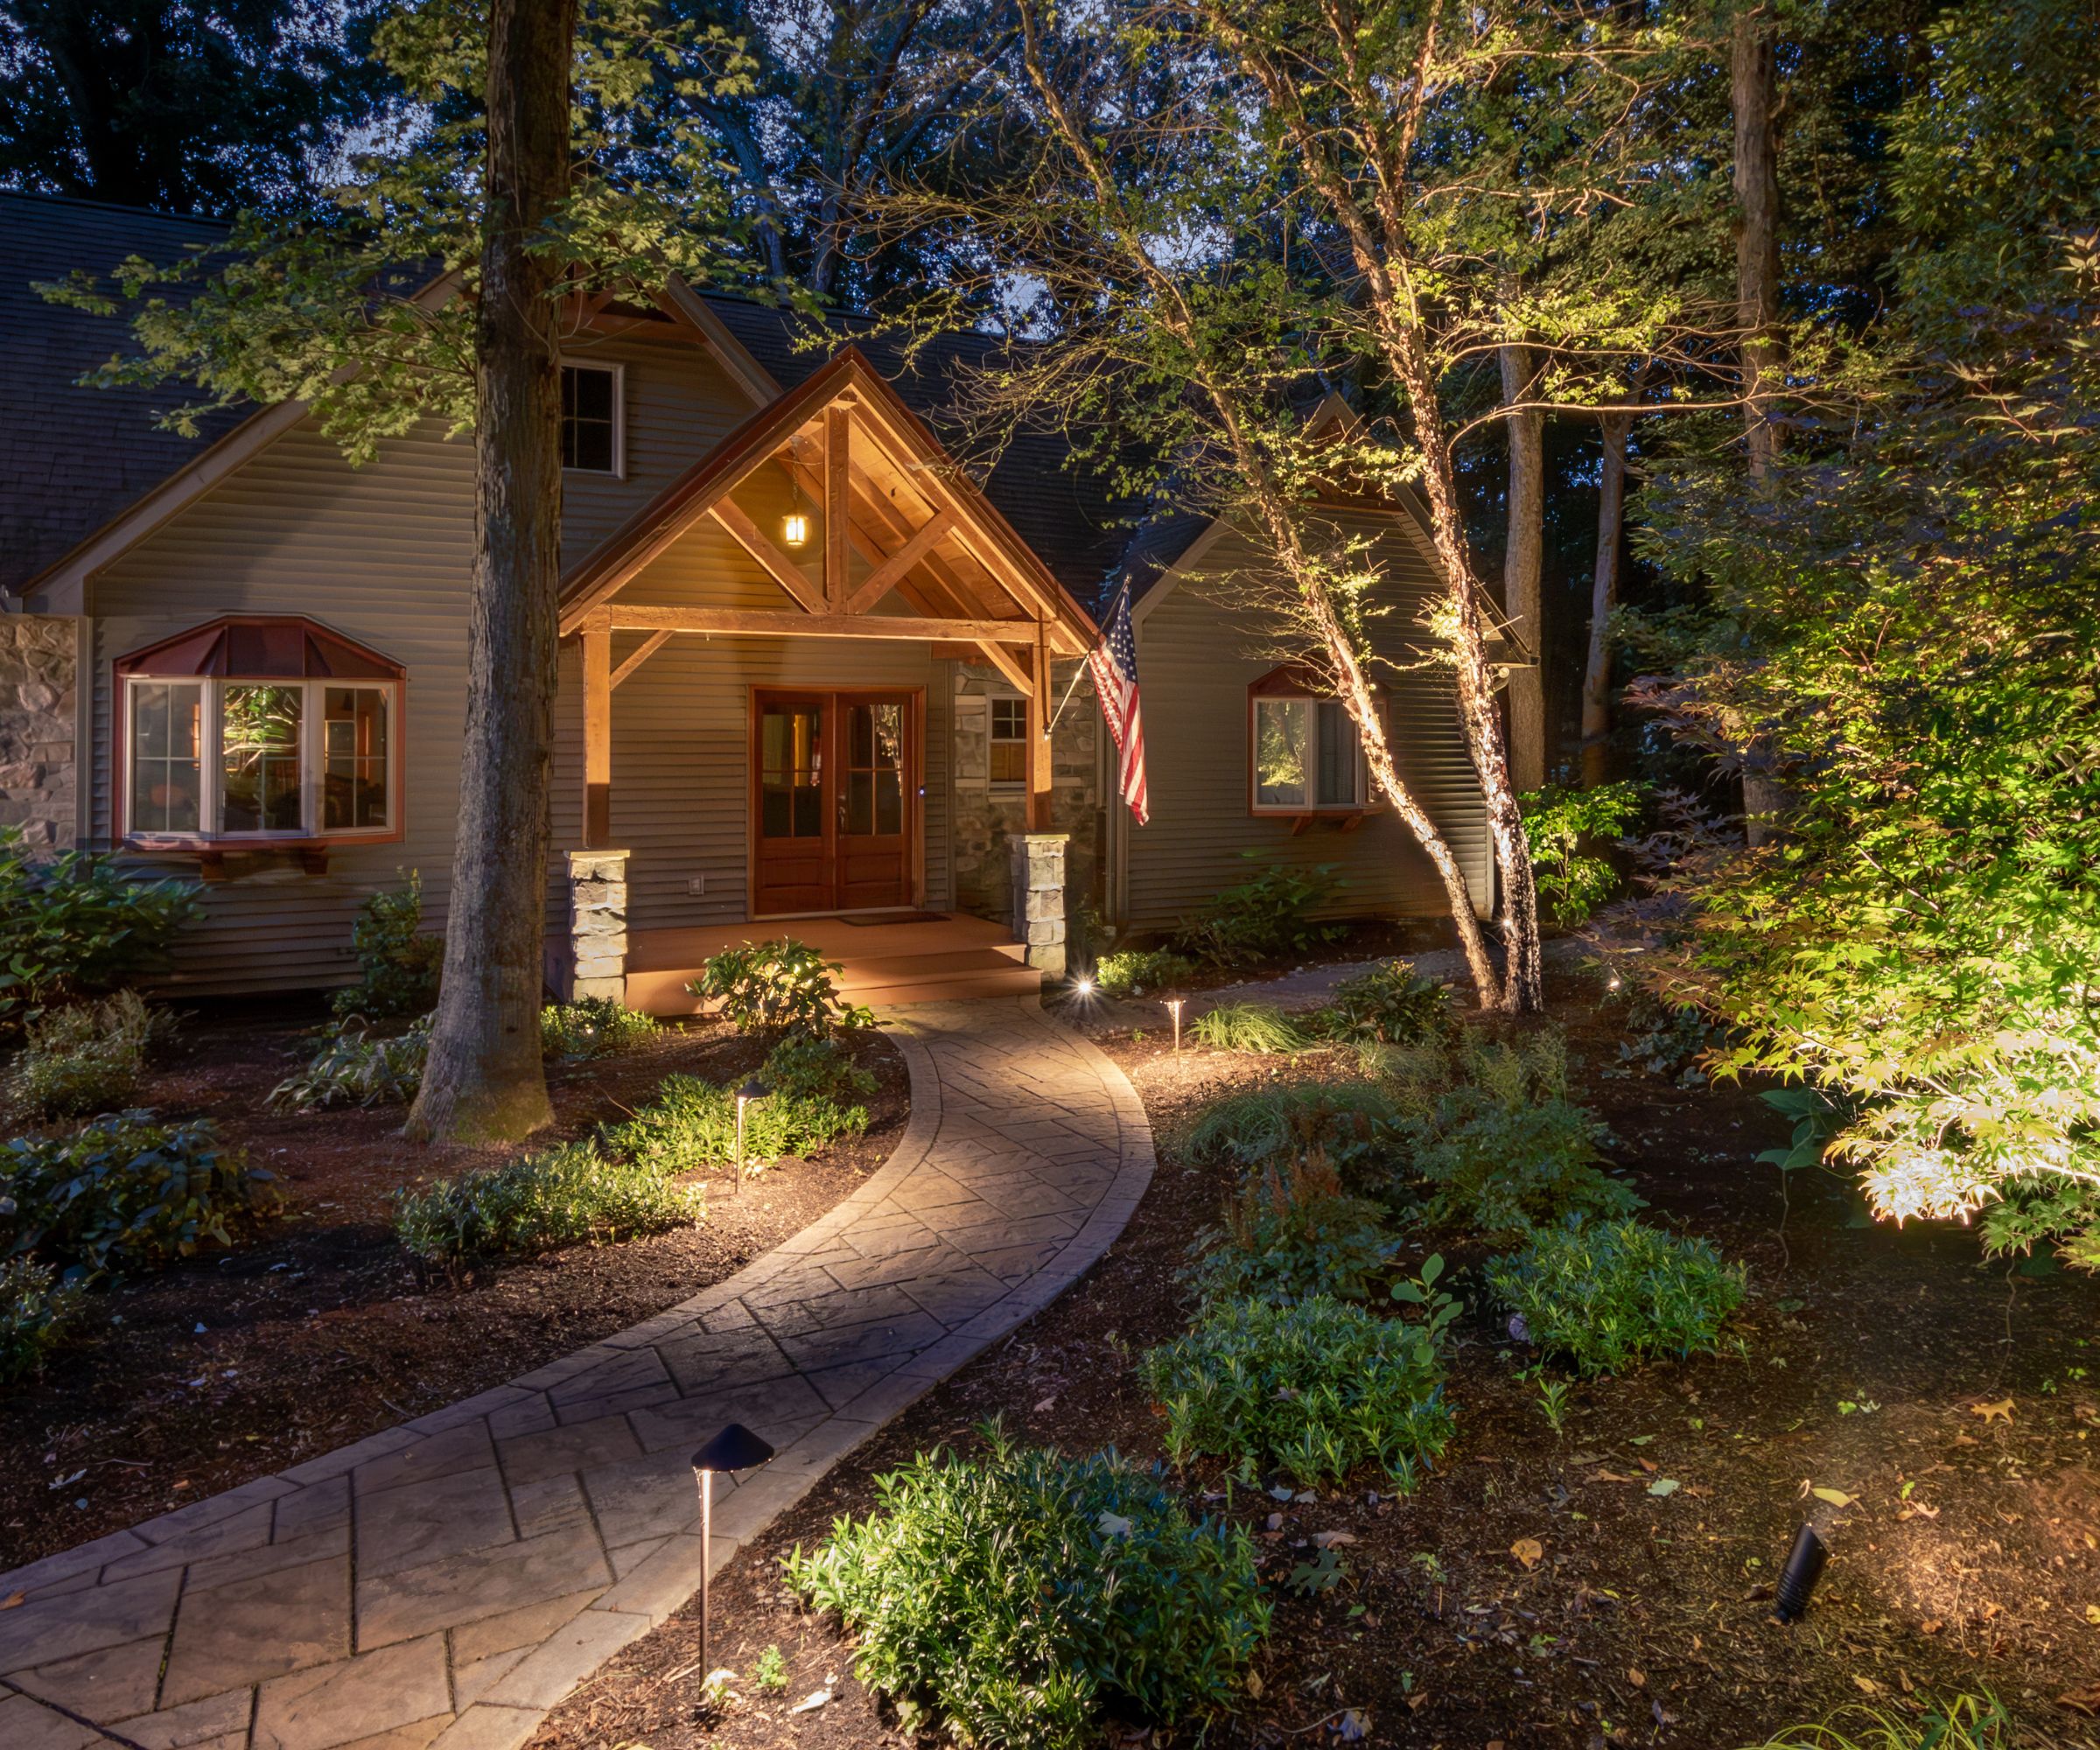
All of the above methods work for path lights, but there are other ways of lighting a path. Landscaping expert Jeremy Martin swears by using trees to light paths. 'Downlighting pathways from adjacent trees or structures tends to have a much softer, natural feel' than dedicated path lights. The logic behind this is simple. Jeremy says 'Remember it’s the light you want to see, not the source.' By placing light in trees, the fixture itself is hidden, and you only have the effect of the light.
Jeremy specifically recommends downlighting, where lights face down onto the path from trees. 'We use a technique called moonlighting, where downlights are placed above the bottom branches of the trees. This casts interesting shadows on the ground from the branches and leaves.'
It's an incredibly effective technique for adding interest to a functional path. The only drawback is that it won't work if you don't have any trees nearby.

Jeremy is the CEO of Willow Gates Landscaping. With over 20 years of experience, he is an expert in patio and hardscape design and installation, including outdoor kitchens, landscaping lighting, and walls.
5. Only use gentle or warm color
The color of your lights is vital. For a quick explainer, light color is measured in kelvin. The higher the kelvin, the more like daylight, bright white and blue; and the lower the kelvin, the more like firelight, warm red and orange. For context, office fluorescents are between 3500-5500 kelvin, and candlelight sits at around 1000-2000 kelvin.
The experts are unanimous: your lights should be under 3000K. Nels Peterson says 'This is very important. Your eye is more comfortable seeing light in the kelvin range of 2700 K to 3000 K. Higher kelvin temperatures aren't as pleasing and don't render the best color.'
Raine Clarke-Wills agrees, saying 'I recommend off-white tones, similar to natural light, rather than pure white. Harsh lighting can create a commercialized aesthetic unsuited to most gardens.'
2700K is a good sweet spot. It's warm, but not so red-toned that it's dim or overly colorful. Joe Raboine agrees with Nels: 'The preferred ‘color’ or temperature of the light is 2700 kelvin.'
6. Keep the light dim
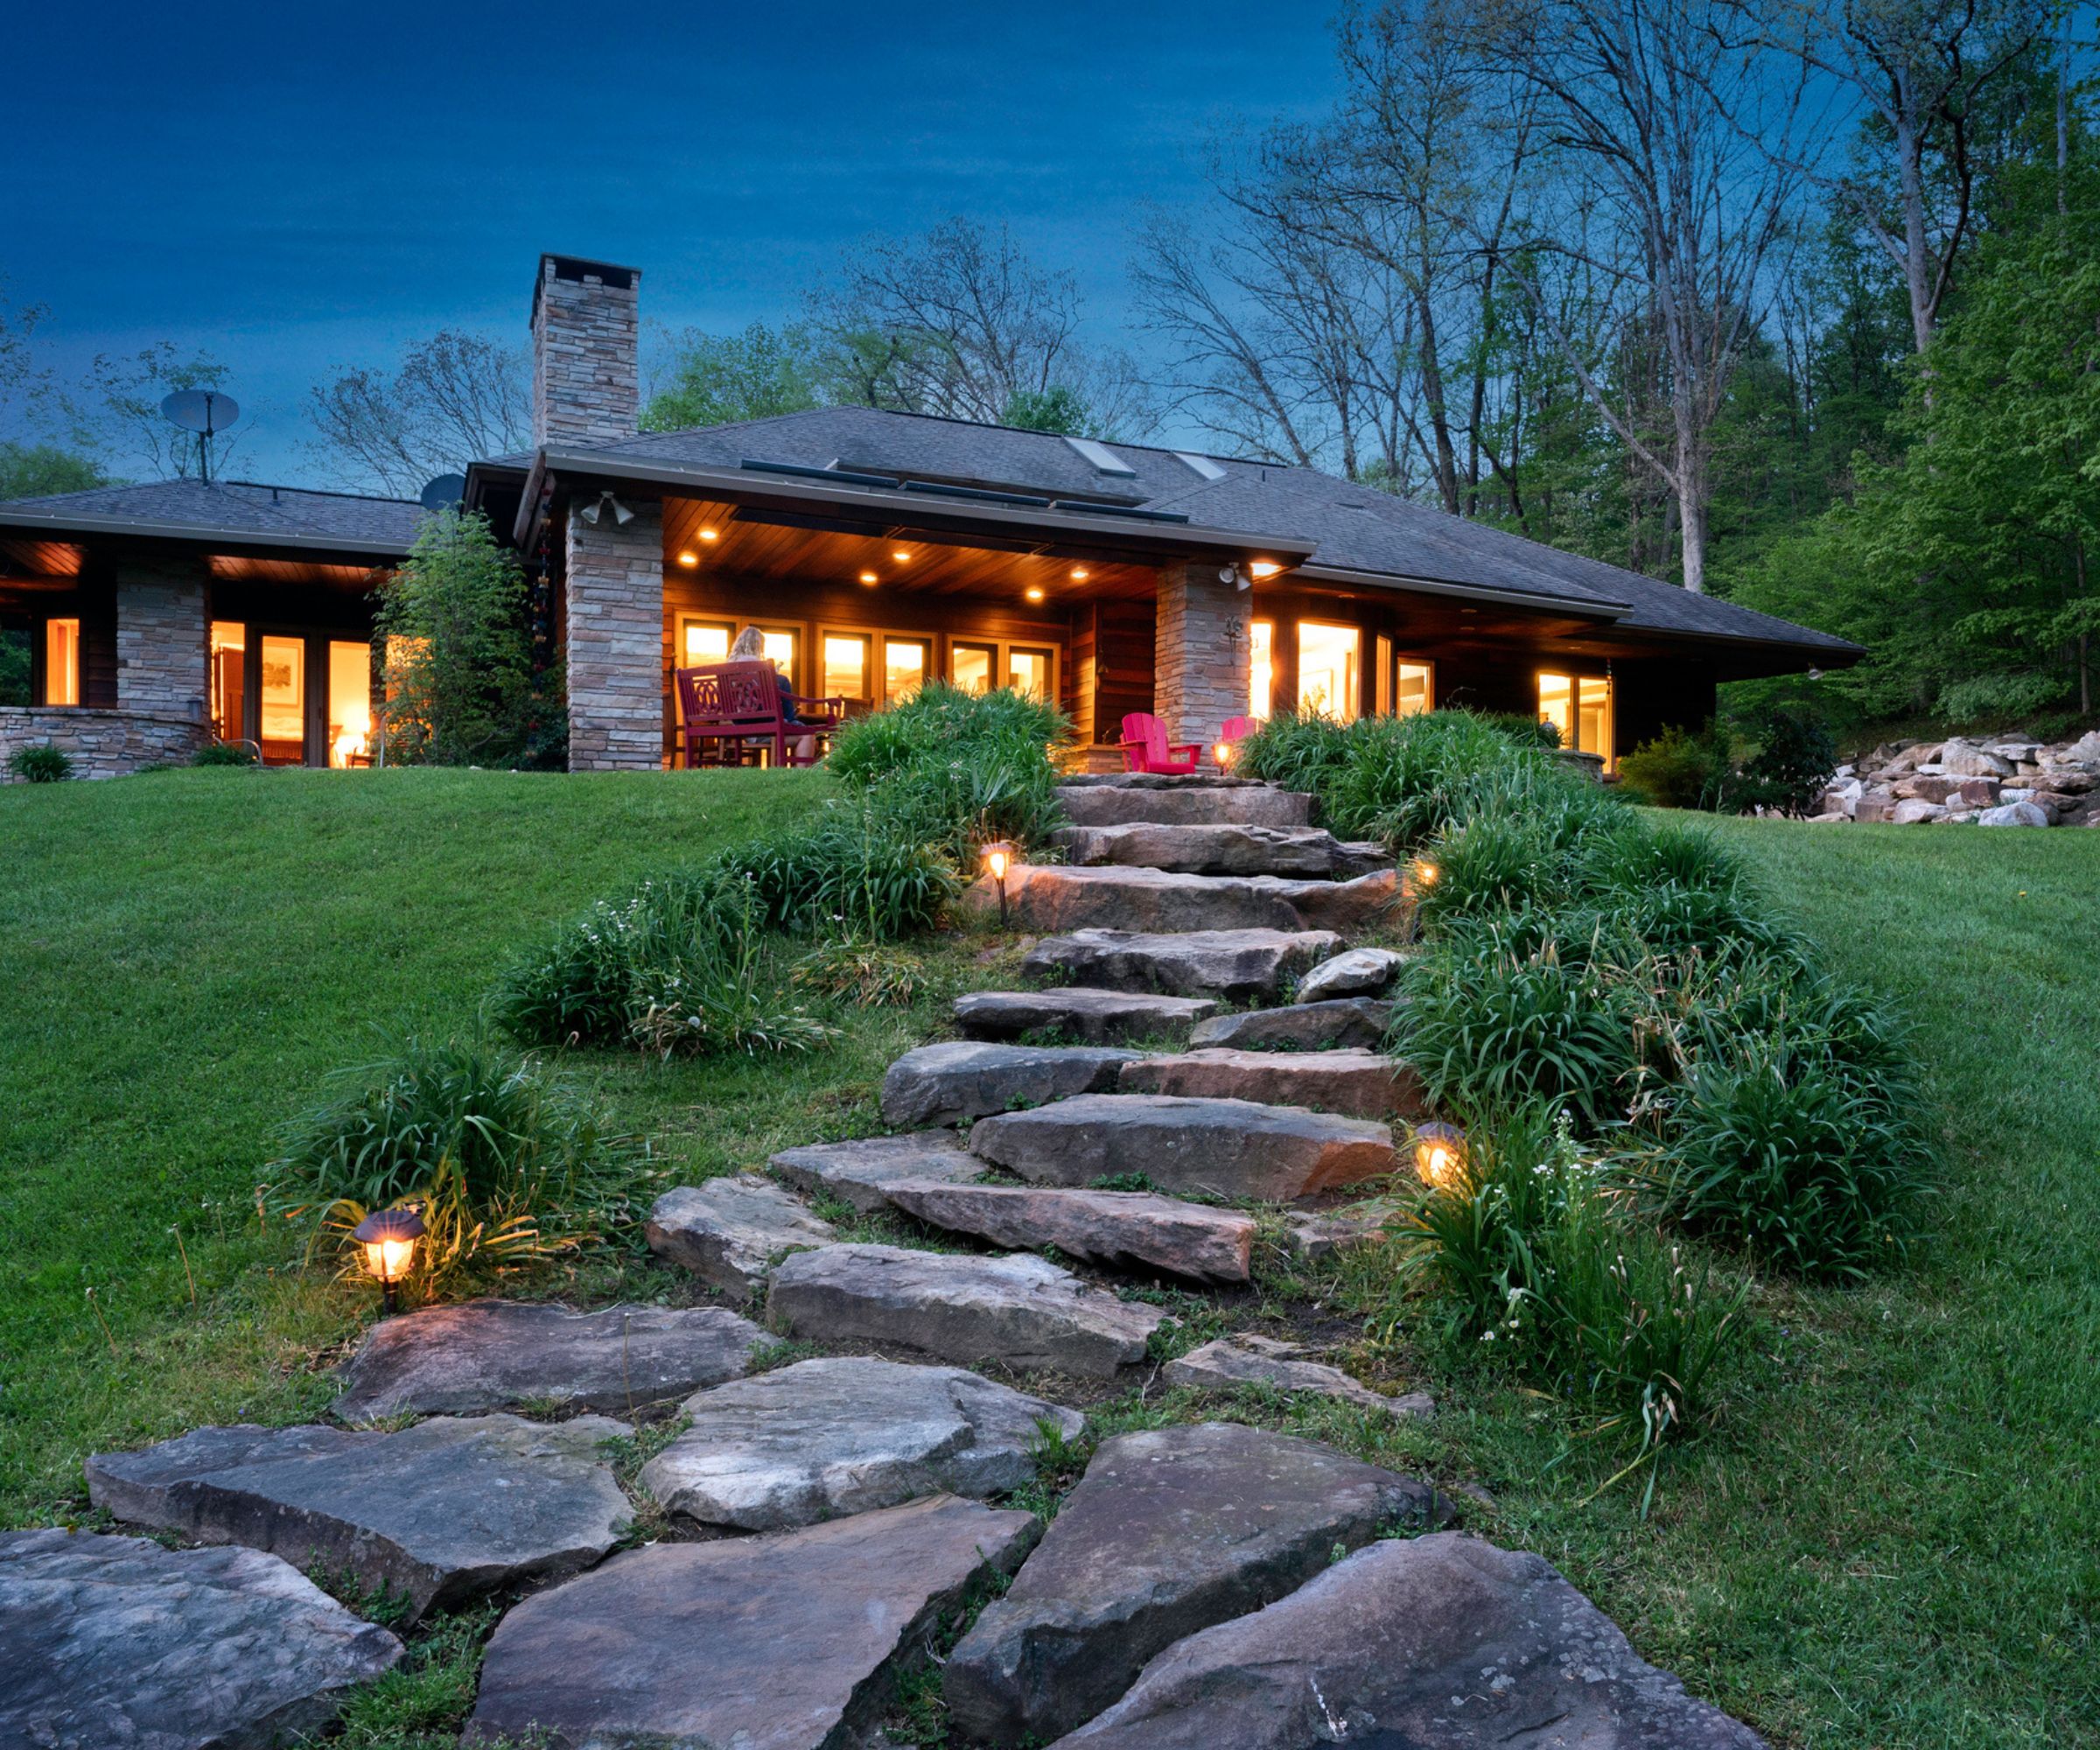
Kelvin is a good measure of color temperature, but you also need to consider lumen, which is a measure of brightness. Nels tells me that 'Lower wattage or lumen output is almost always better. Keeping path flights illuminated in the 200 lm range or lower usually works just fine.'
The trouble here is that manufacturers don't always list the lumen in their product specifications, so it can be tricky to buy the right lights. However, Raine Clarke-Wills has a handy buying tip. 'To avoid harsh lighting, use fixtures that diffuse light, such as frosted glass covers. This enables lights to spread evenly across the path rather than concentrating them in one area, creating a delicate and attractive effect.'
She adds that if you can, spend a little extra and get dimmable lights; that way you can have bright light when you need it and gentle light for the rest of the time.
Joe Raboine agrees and says that 'To achieve a softly lit path, use lights with lower lumens and warmer color temperatures, and scatter the light evenly. Fixtures with diffusers can soften the light.'
He gave me another tip, too. You can soften harsh lights with clever planting or garden structures like mirrors. 'Integrating landscaping features with lighting can enhance the beauty of both. For example, well-placed plants can cast graceful shadows across the path and protect from the light's harshness, while other features can reflect light to add to the natural beauty.'
7. Avoid solar lights to illuminate pathways
Solar lights can be great for lighting a garden on a budget, but all the experts all agreed that they aren't the best idea for path lights. Nels isn't a fan and told me that 'Small solar-powered path lights seldom last more than one or two seasons. There are some larger and more commercially designed fixtures that will last for several years, but once again it is not necessarily a good choice.' Not only that, but most solar path lights are above 3000K, which is too harsh for most gardens.
On top of that, solar lights can be temperamental. They don't always switch on at the same time. Joe Raboine says that 'Solar lighting tends to offer minimal output and reliability compared to a professional low voltage LED lighting system.'
Instead, the experts recommend running your lights off utility power. Nels says 'It's always best to use a fixture that is powered by a transformer or other source of electricity to ensure many years of proper illumination and sustainability.'
However, solar lights aren't a total wash. You just need to pay a little extra for quality lights rather than getting them from a big-box place. Raine Clarke-Wills says 'I would recommend using only high-quality solar options for path lighting. They are environmentally friendly and cost-effective, harnessing energy from the sun. However, ensure they have sufficient battery life and brightness to remain effective when needed.'
8. Try candles - but only on special occasions
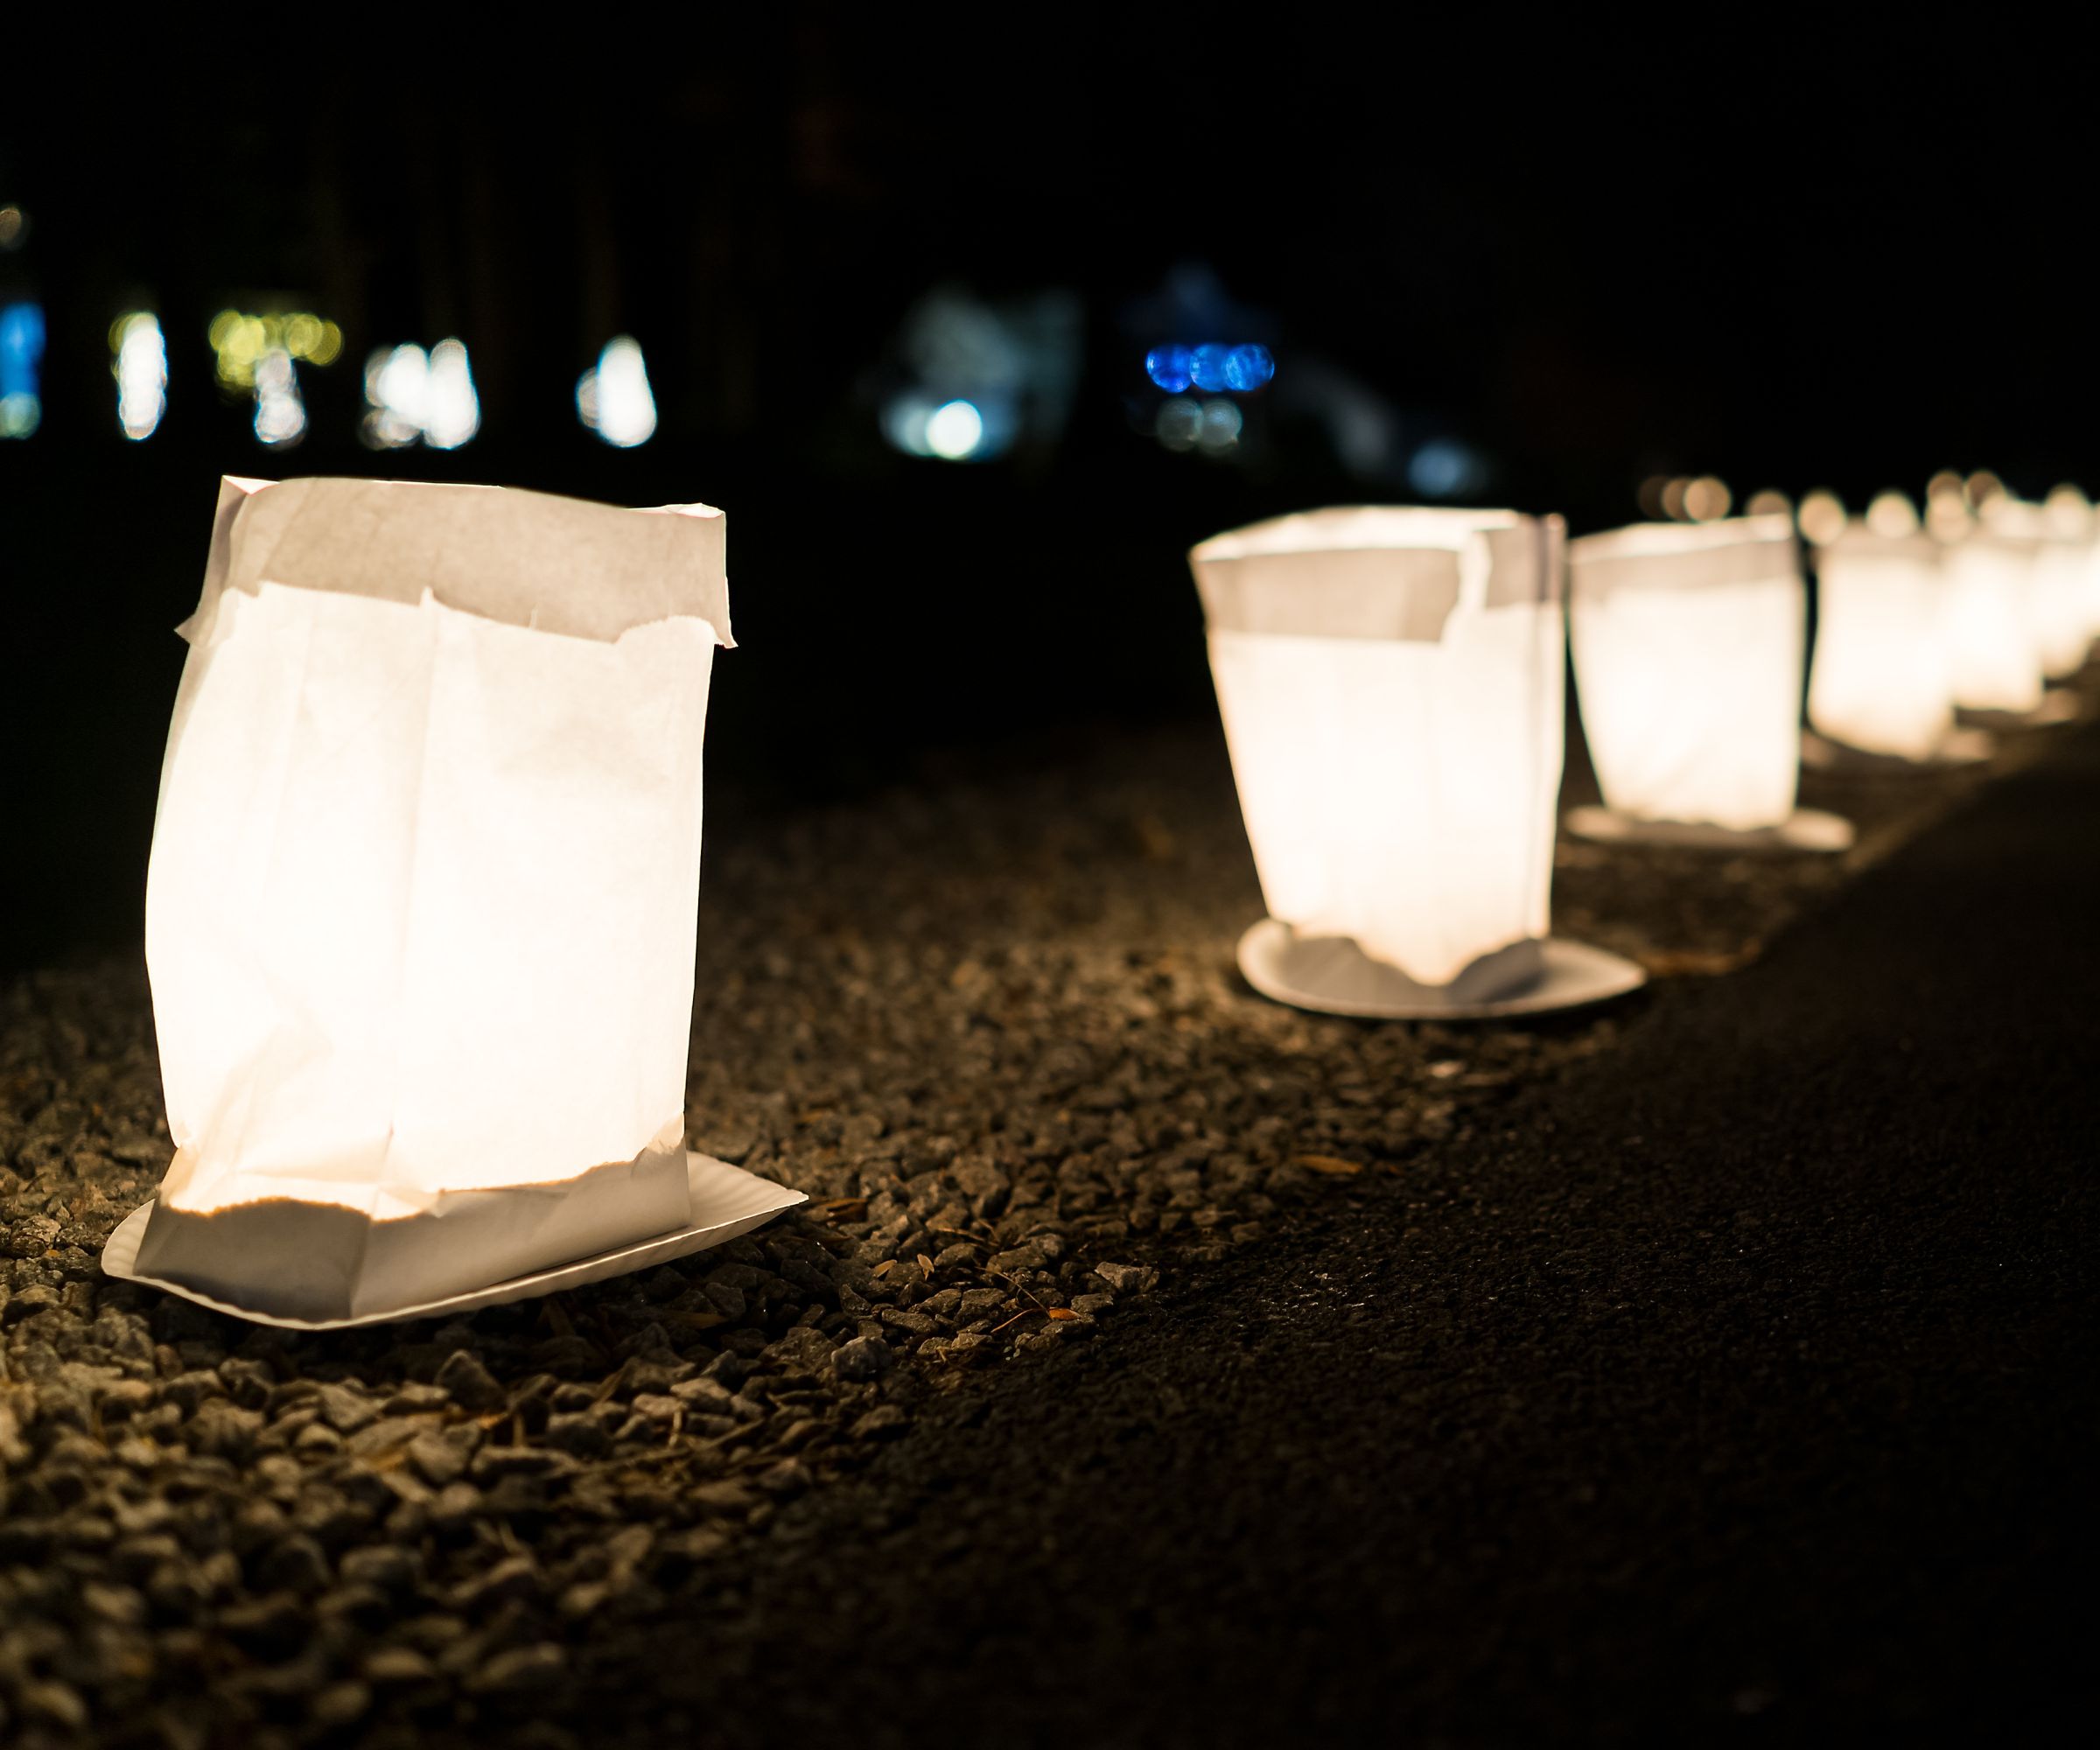
With all of the above in mind, you can create solid garden path lighting that shows the way while creating a soft, gentle feel to your garden. However, for a really stunning display, you can also light the way with candles.
Nels Peterson told me that he's a big fan 'One of the things I always say is that there is nothing more lovely than a candle in a white paper bag illuminating a journey.' However, candles are obviously a big fire hazard, so he gave me some clever tips. If use a candle in a paper bag, you can stabilize it but putting a handful of sand in the bottom of the bag.
Nels says 'This not only keeps the bag from blowing around in the wind, but also provides a nesting space for the candle and an additional level of safety.' If the candle tips over or the bag and stake are knocked to the ground, the sand should extinguish the candle. If you use votives, they should be inside glass holders as extra security.
Of course, this won't work for everyday use. Raine says: 'Candles can add a charming touch to garden lighting, creating an enchanting display. However, they are often impractical for regular use due to the need for relighting and their susceptibility to weather conditions.'
Joe Raboine agrees, and says 'For very unique situations such as a holiday or special event, a candle may be an option – but in regards to safety and reliability, a candle is not the preferred option.'
However, all the experts told me that you can achieve a similar effect with cheap LED candles like these from Amazon though it doesn't look as good as the real thing.
FAQs
Does outdoor lighting attract wildlife?
Outdoor lighting can attract insects to you yard, but not larger animals like deer or bears.
Getting your garden lighting right can be tricky, but it makes for a much more relaxing home. For more help with outdoor lighting, take a look at our guide to placing outdoor lights, and our ideas for lighting a pergola.

As a gardens and lifestyle contributor, Alex makes sure readers find the right information to help them make the best purchase. Alex got his start in reviewing at the iconic Good Housekeeping Institute, testing a wide range of household products and appliances. He then moved to BBC Gardeners’ World Magazine, assessing gardening tools, machinery, and wildlife products.
