How to repot an orchid – 4 steps to healthy, long-lasting blooms
Learn how to repot an orchid and keep blooms fresh with this expert guide

Rachel Bull
Design expertise in your inbox – from inspiring decorating ideas and beautiful celebrity homes to practical gardening advice and shopping round-ups.
You are now subscribed
Your newsletter sign-up was successful
Want to add more newsletters?

Twice a week
Homes&Gardens
The ultimate interior design resource from the world's leading experts - discover inspiring decorating ideas, color scheming know-how, garden inspiration and shopping expertise.

Once a week
In The Loop from Next In Design
Members of the Next in Design Circle will receive In the Loop, our weekly email filled with trade news, names to know and spotlight moments. Together we’re building a brighter design future.

Twice a week
Cucina
Whether you’re passionate about hosting exquisite dinners, experimenting with culinary trends, or perfecting your kitchen's design with timeless elegance and innovative functionality, this newsletter is here to inspire
With their exquisite, uniquely-shaped flowers and smooth, shapely foliage, it's easy to see why so many of us have orchids in our homes. Get your orchid care right and you will be rewarded with long-lasting, tropical blooms that add elegance to any room.
Though many species of orchids will bloom best when pot-bound, there comes a point when the sheer lack of room to grow, food and space for water will begin to take its toll on the overall health of your plant. Therefore, it's worth knowing how to repot an orchid - and when to repot one - ahead of time.
You can either transplant your orchid into a bigger pot or divide the parent plant into smaller sections.
Orchids have their own particular needs when it comes to repotting, including trimming, dividing and repositioning.
But don't worry if that sounds complicated, as we've broken the process down into a few simple stages so it's easy to follow.

How to repot an orchid in 4 simple steps
The best time to repot or divide your orchid is immediately after flowering, when all the flowers have faded. Knowing how to repot an orchid is key if you want it to flourish and continue to produce those eye-catching blooms.
Ensure your orchid remains one of your best indoor plants by following this simple repotting guide.
Design expertise in your inbox – from inspiring decorating ideas and beautiful celebrity homes to practical gardening advice and shopping round-ups.
1. Soak to ease extraction
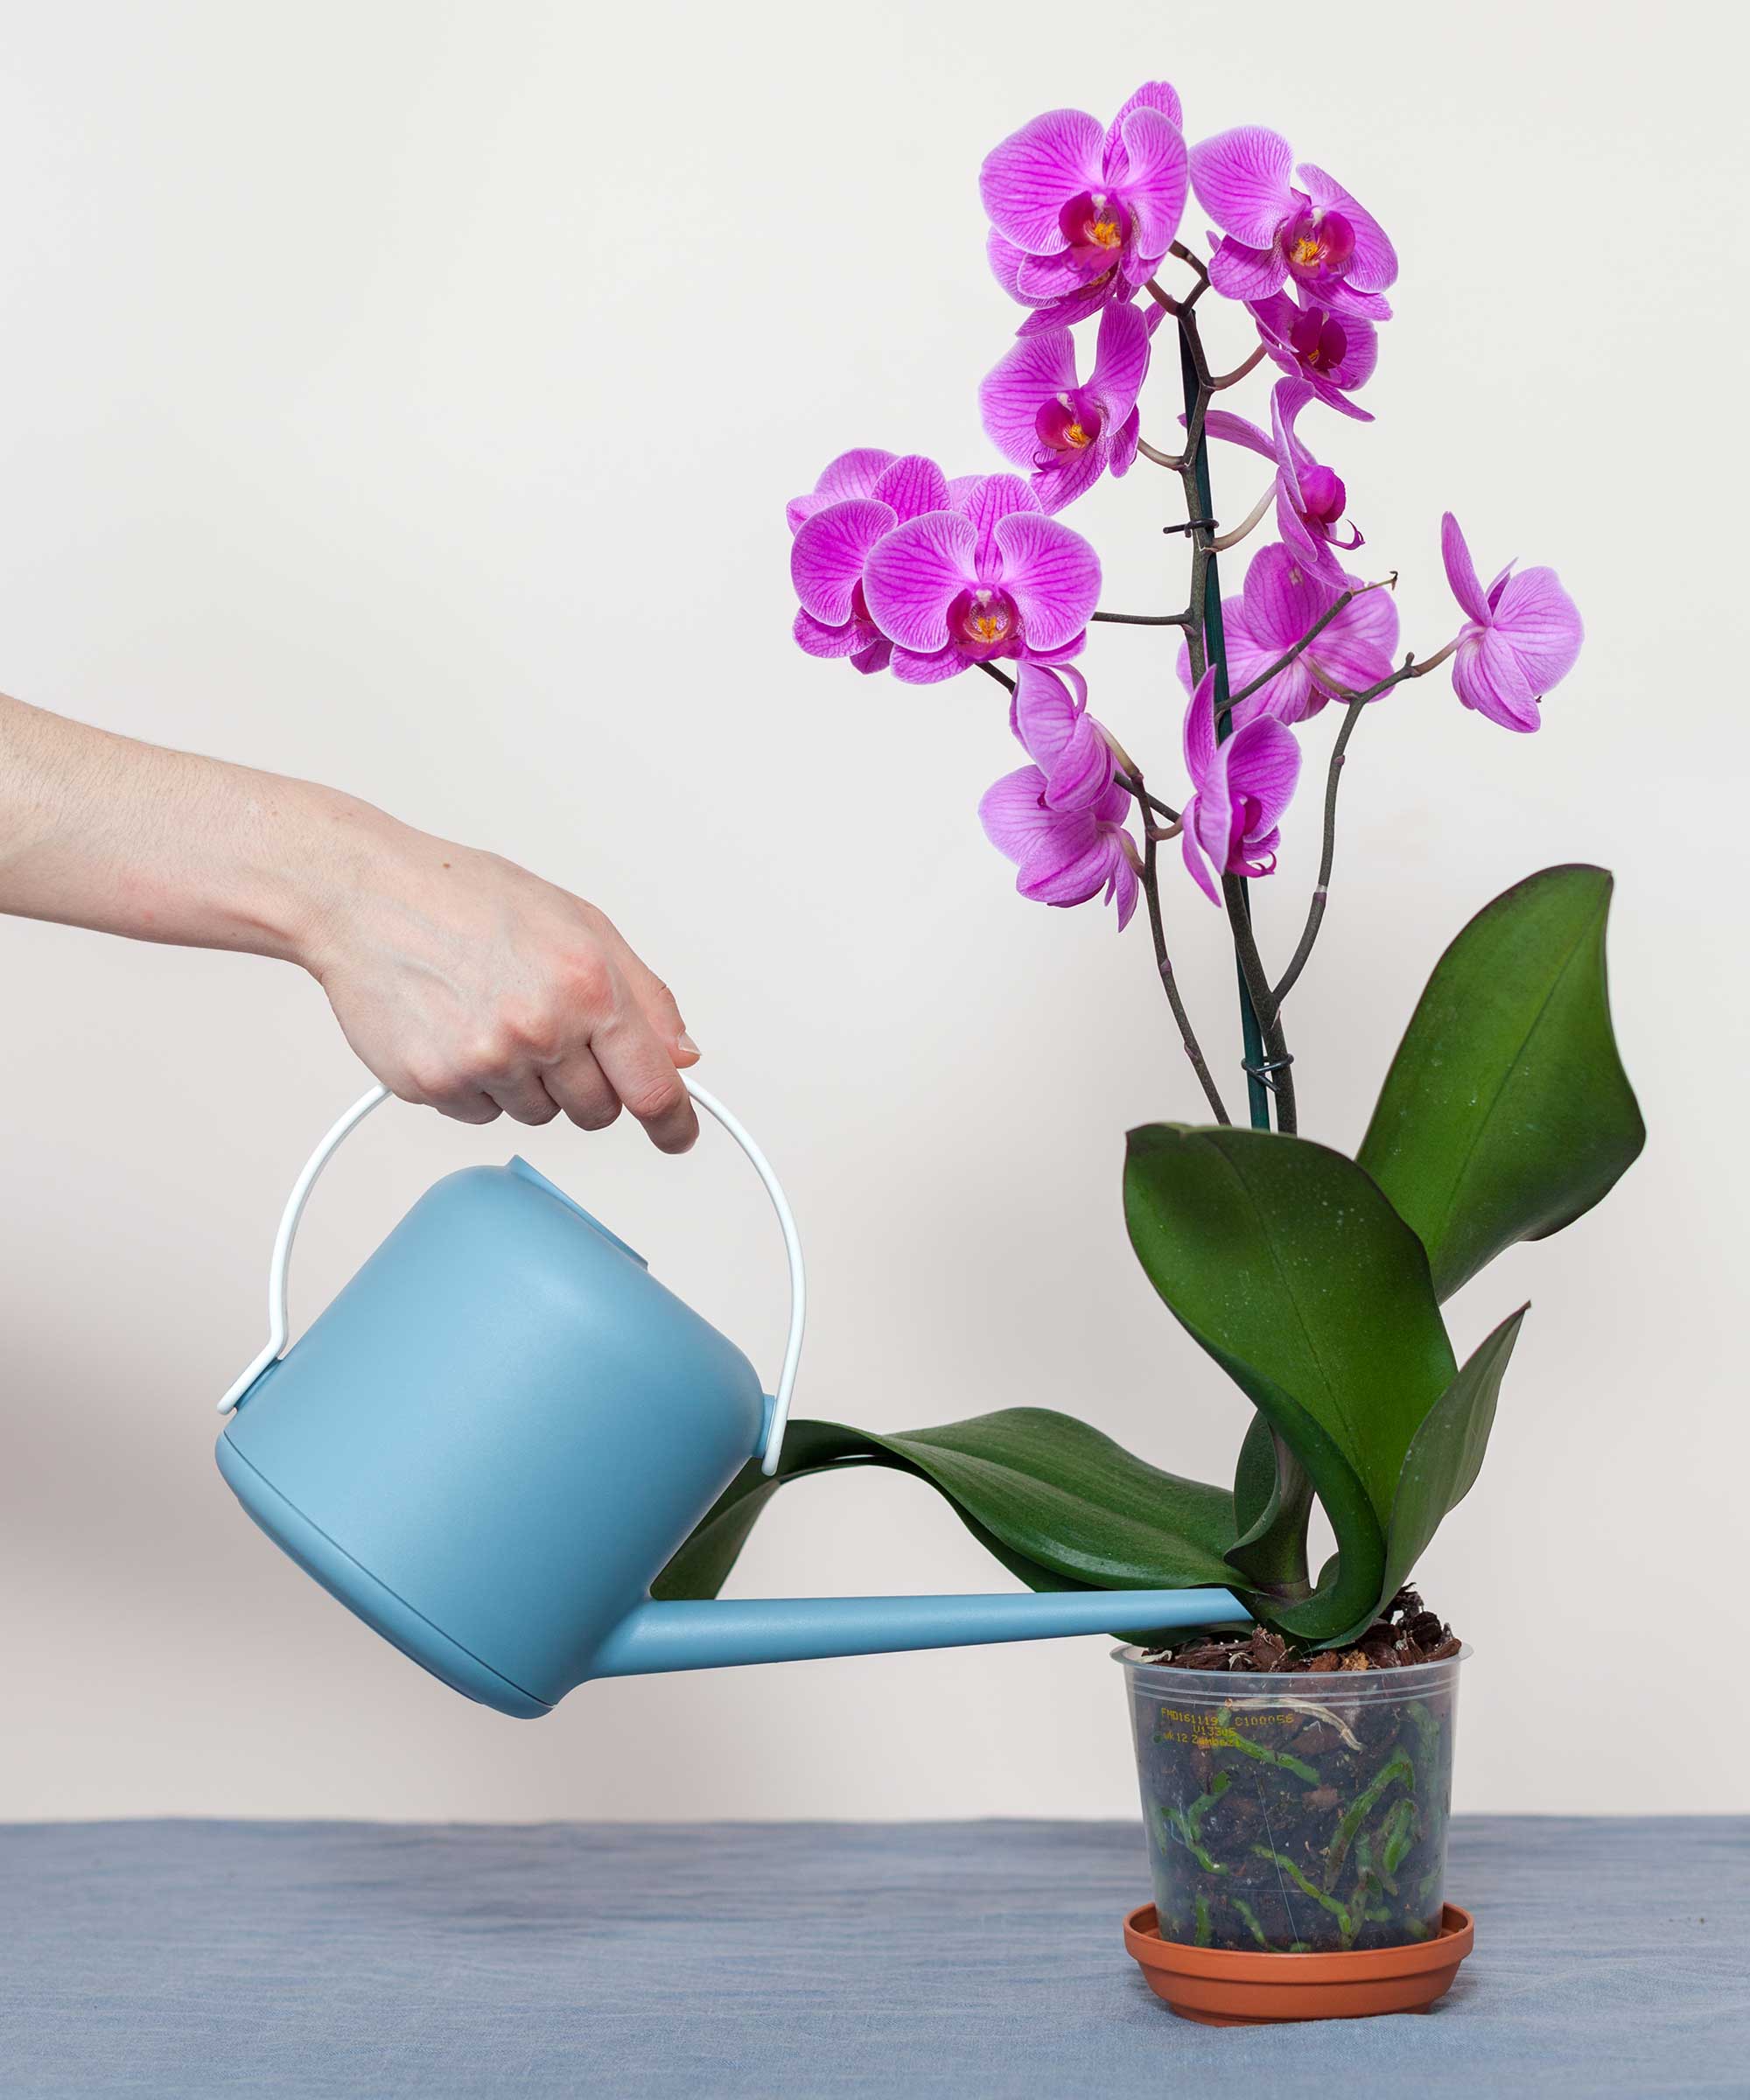
Water your orchid plant well before you begin repotting or dividing. This should make it easier to remove from the pot and to help loosen the compost. If any roots are stuck to the container, detach them by gently running a sterilized knife around the inside.
Wash off as much of the old growing medium as possible, as it will have deteriorated over time.
Examine the roots and trim away any that are dead or rotting, as well as carefully removing any papery dead leaves, making sure you do not damage any live tissue.
2. Tease roots apart to divide
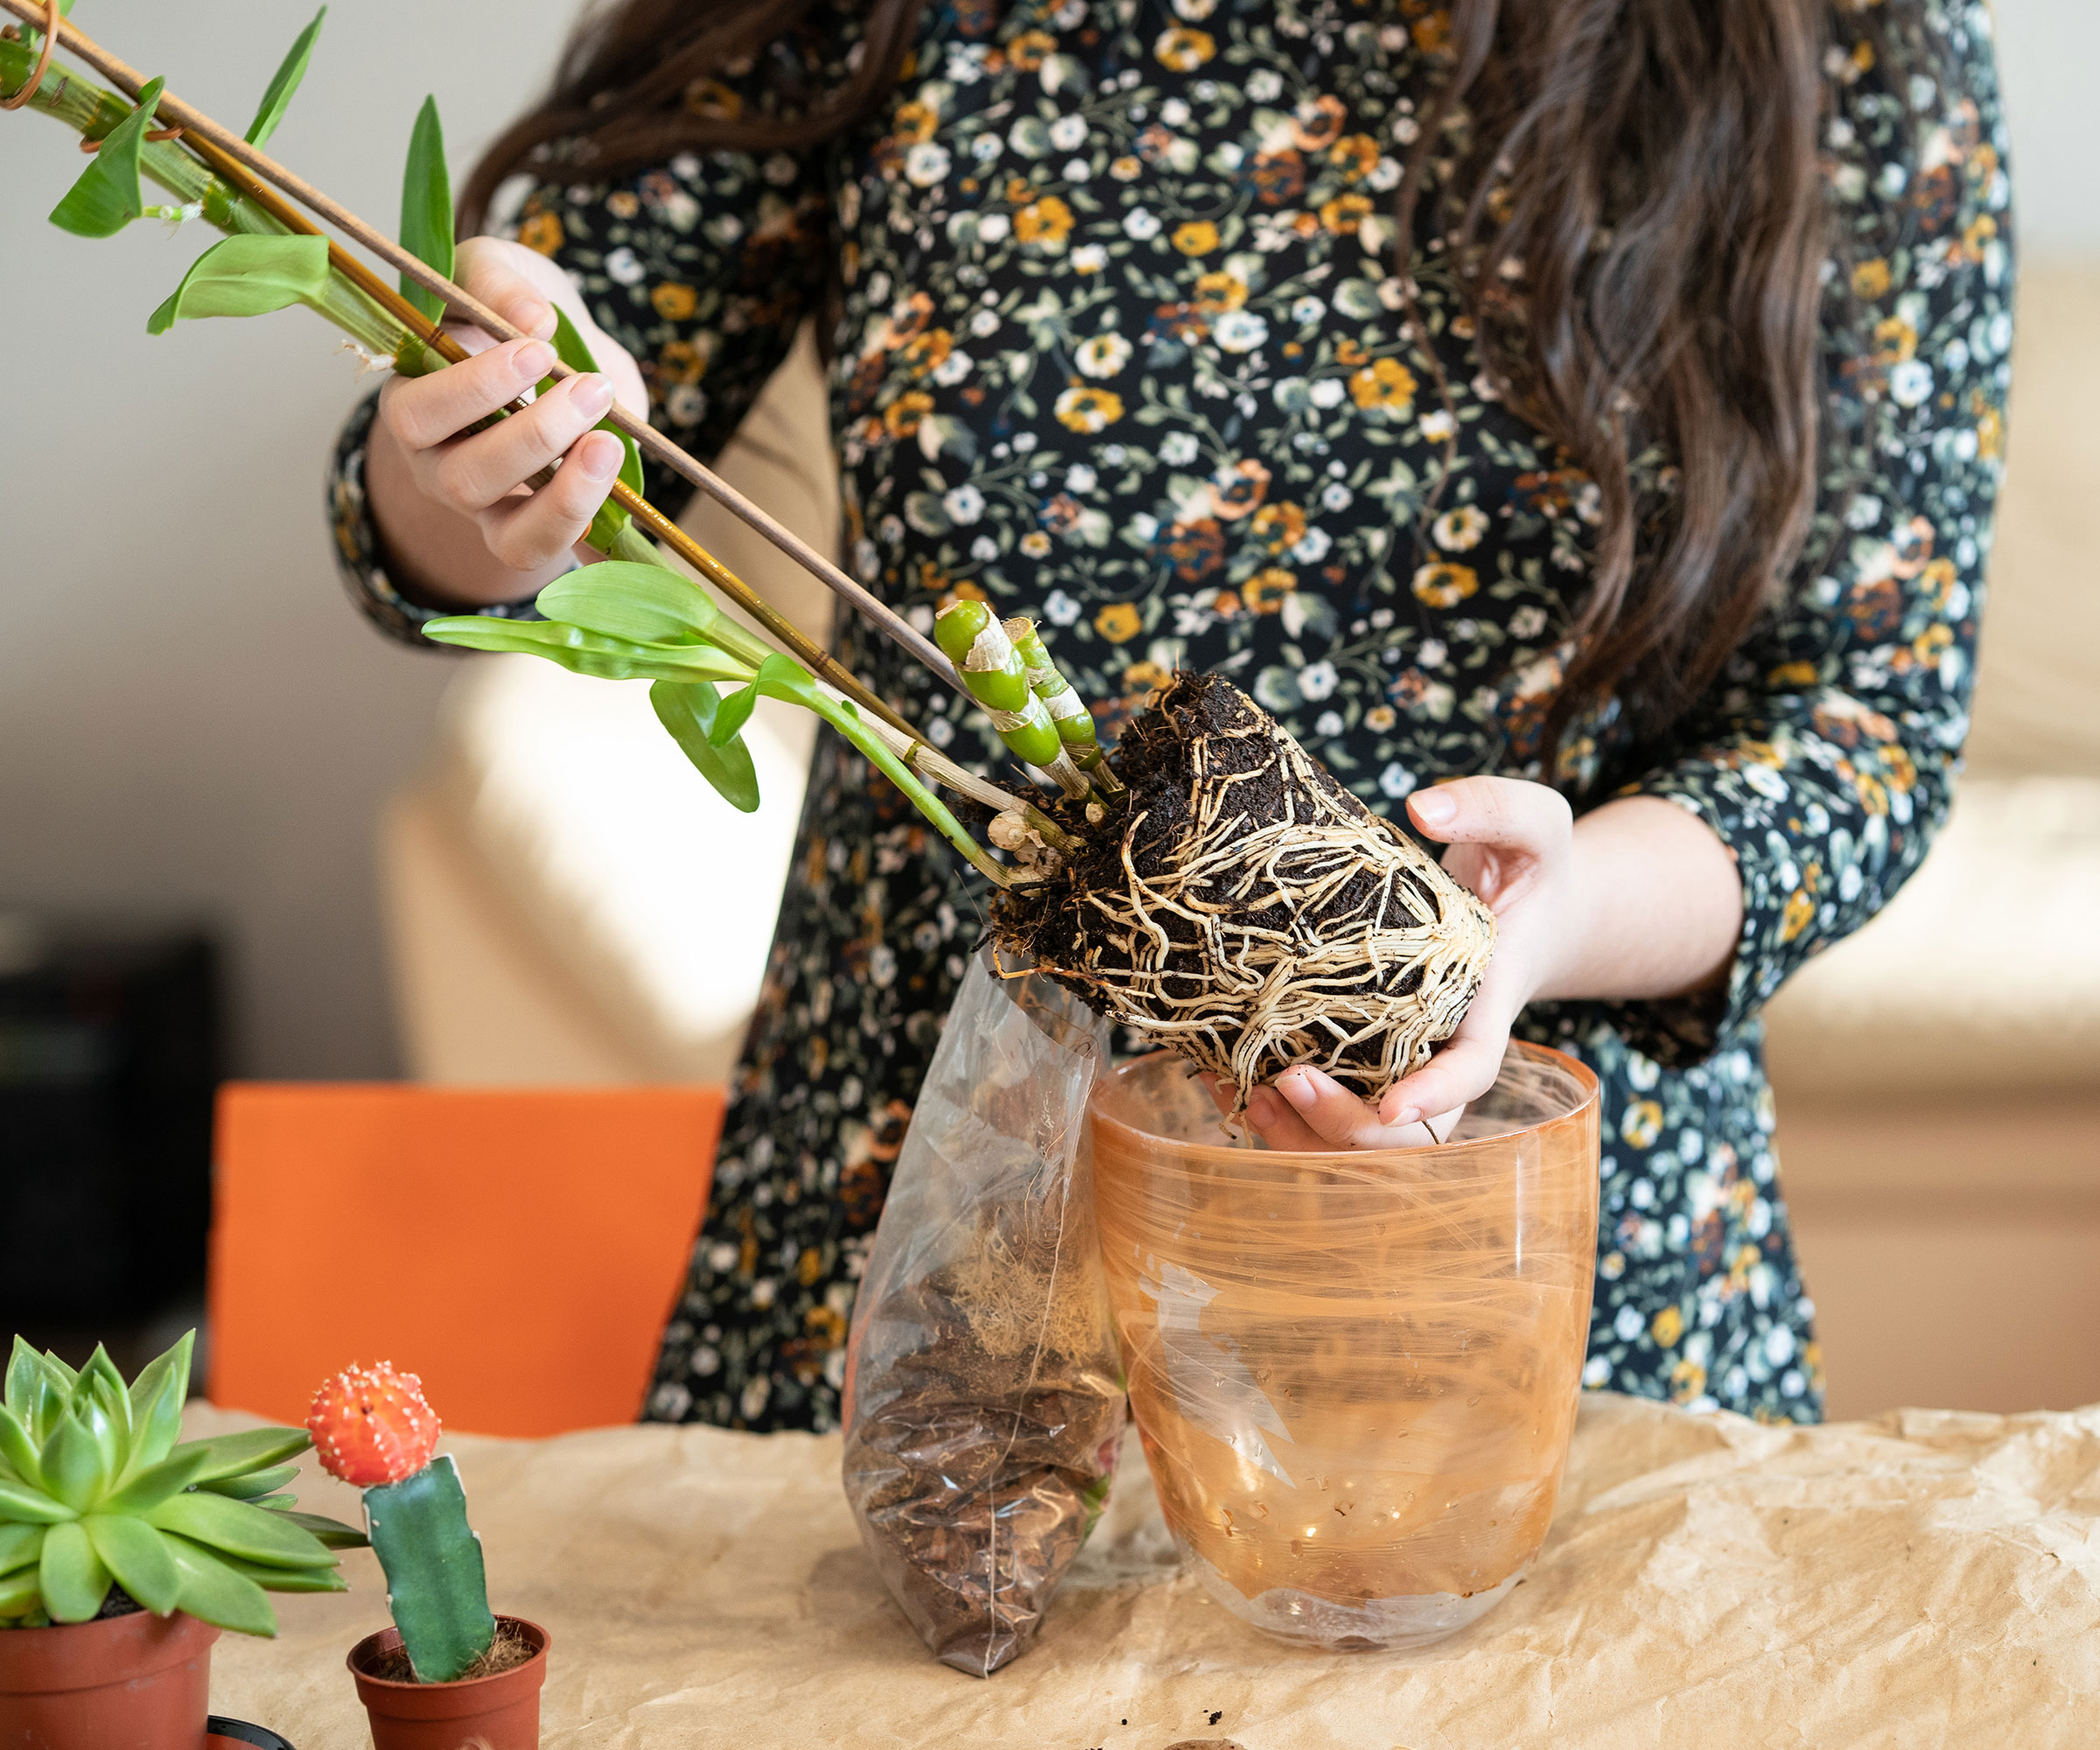
Look for logical places to divide the plant into as many pieces as you wish.
Holly Crossley, houseplant expert and gardens writer for Homes & Gardens, says there is no need to split away every separate plantlet. 'You can leave a larger clump to carry on growing and flowering while the small ones catch up. In fact, they survive better when you keep at least three young plantlets together.'
You should be able to do most of this by hand, but if you need to use a knife or pruning shears, such as these specialist orchid pruning snips from Amazon, make sure they are clean and sharp before beginning.
Discard any parts that are obviously dead or dying. The enlarged pseudobulb (a storage organ derived from the part of a stem between two leaf nodes) at the base of the leaves generates food and stores water, and will function even without leaves attached.

Holly is a former allotment keeper and professional gardener. She now spends her time tending to her many houseplants and writing about gardens and outdoor living for Homes & Gardens.
3. Repot for two years' growth
To ensure the best results, make sure you choose a potting mix that is similar to your plant's original one - this might be sphagnum moss, perlite or bark, such as this orchid bark available on Amazon.
Position the oldest pseudobulb towards the outside of the pot, with the youngest towards the center, so there is maximum room for growth. Keep the rhizome level with, or just below, the surface.
Push the compost mix down gently with your fingers near to the roots. Keep adding the mix until it is at the top of the pot, before staking your orchid to ensure it has additional support as it begins to regrow.
'Do not replant into pots any larger than absolutely necessary, or you might risk losing the young plants to overwatering,' explains Holly Crossley. Simply allow room for about two years’ growth after potting.
4. Water in your orchid
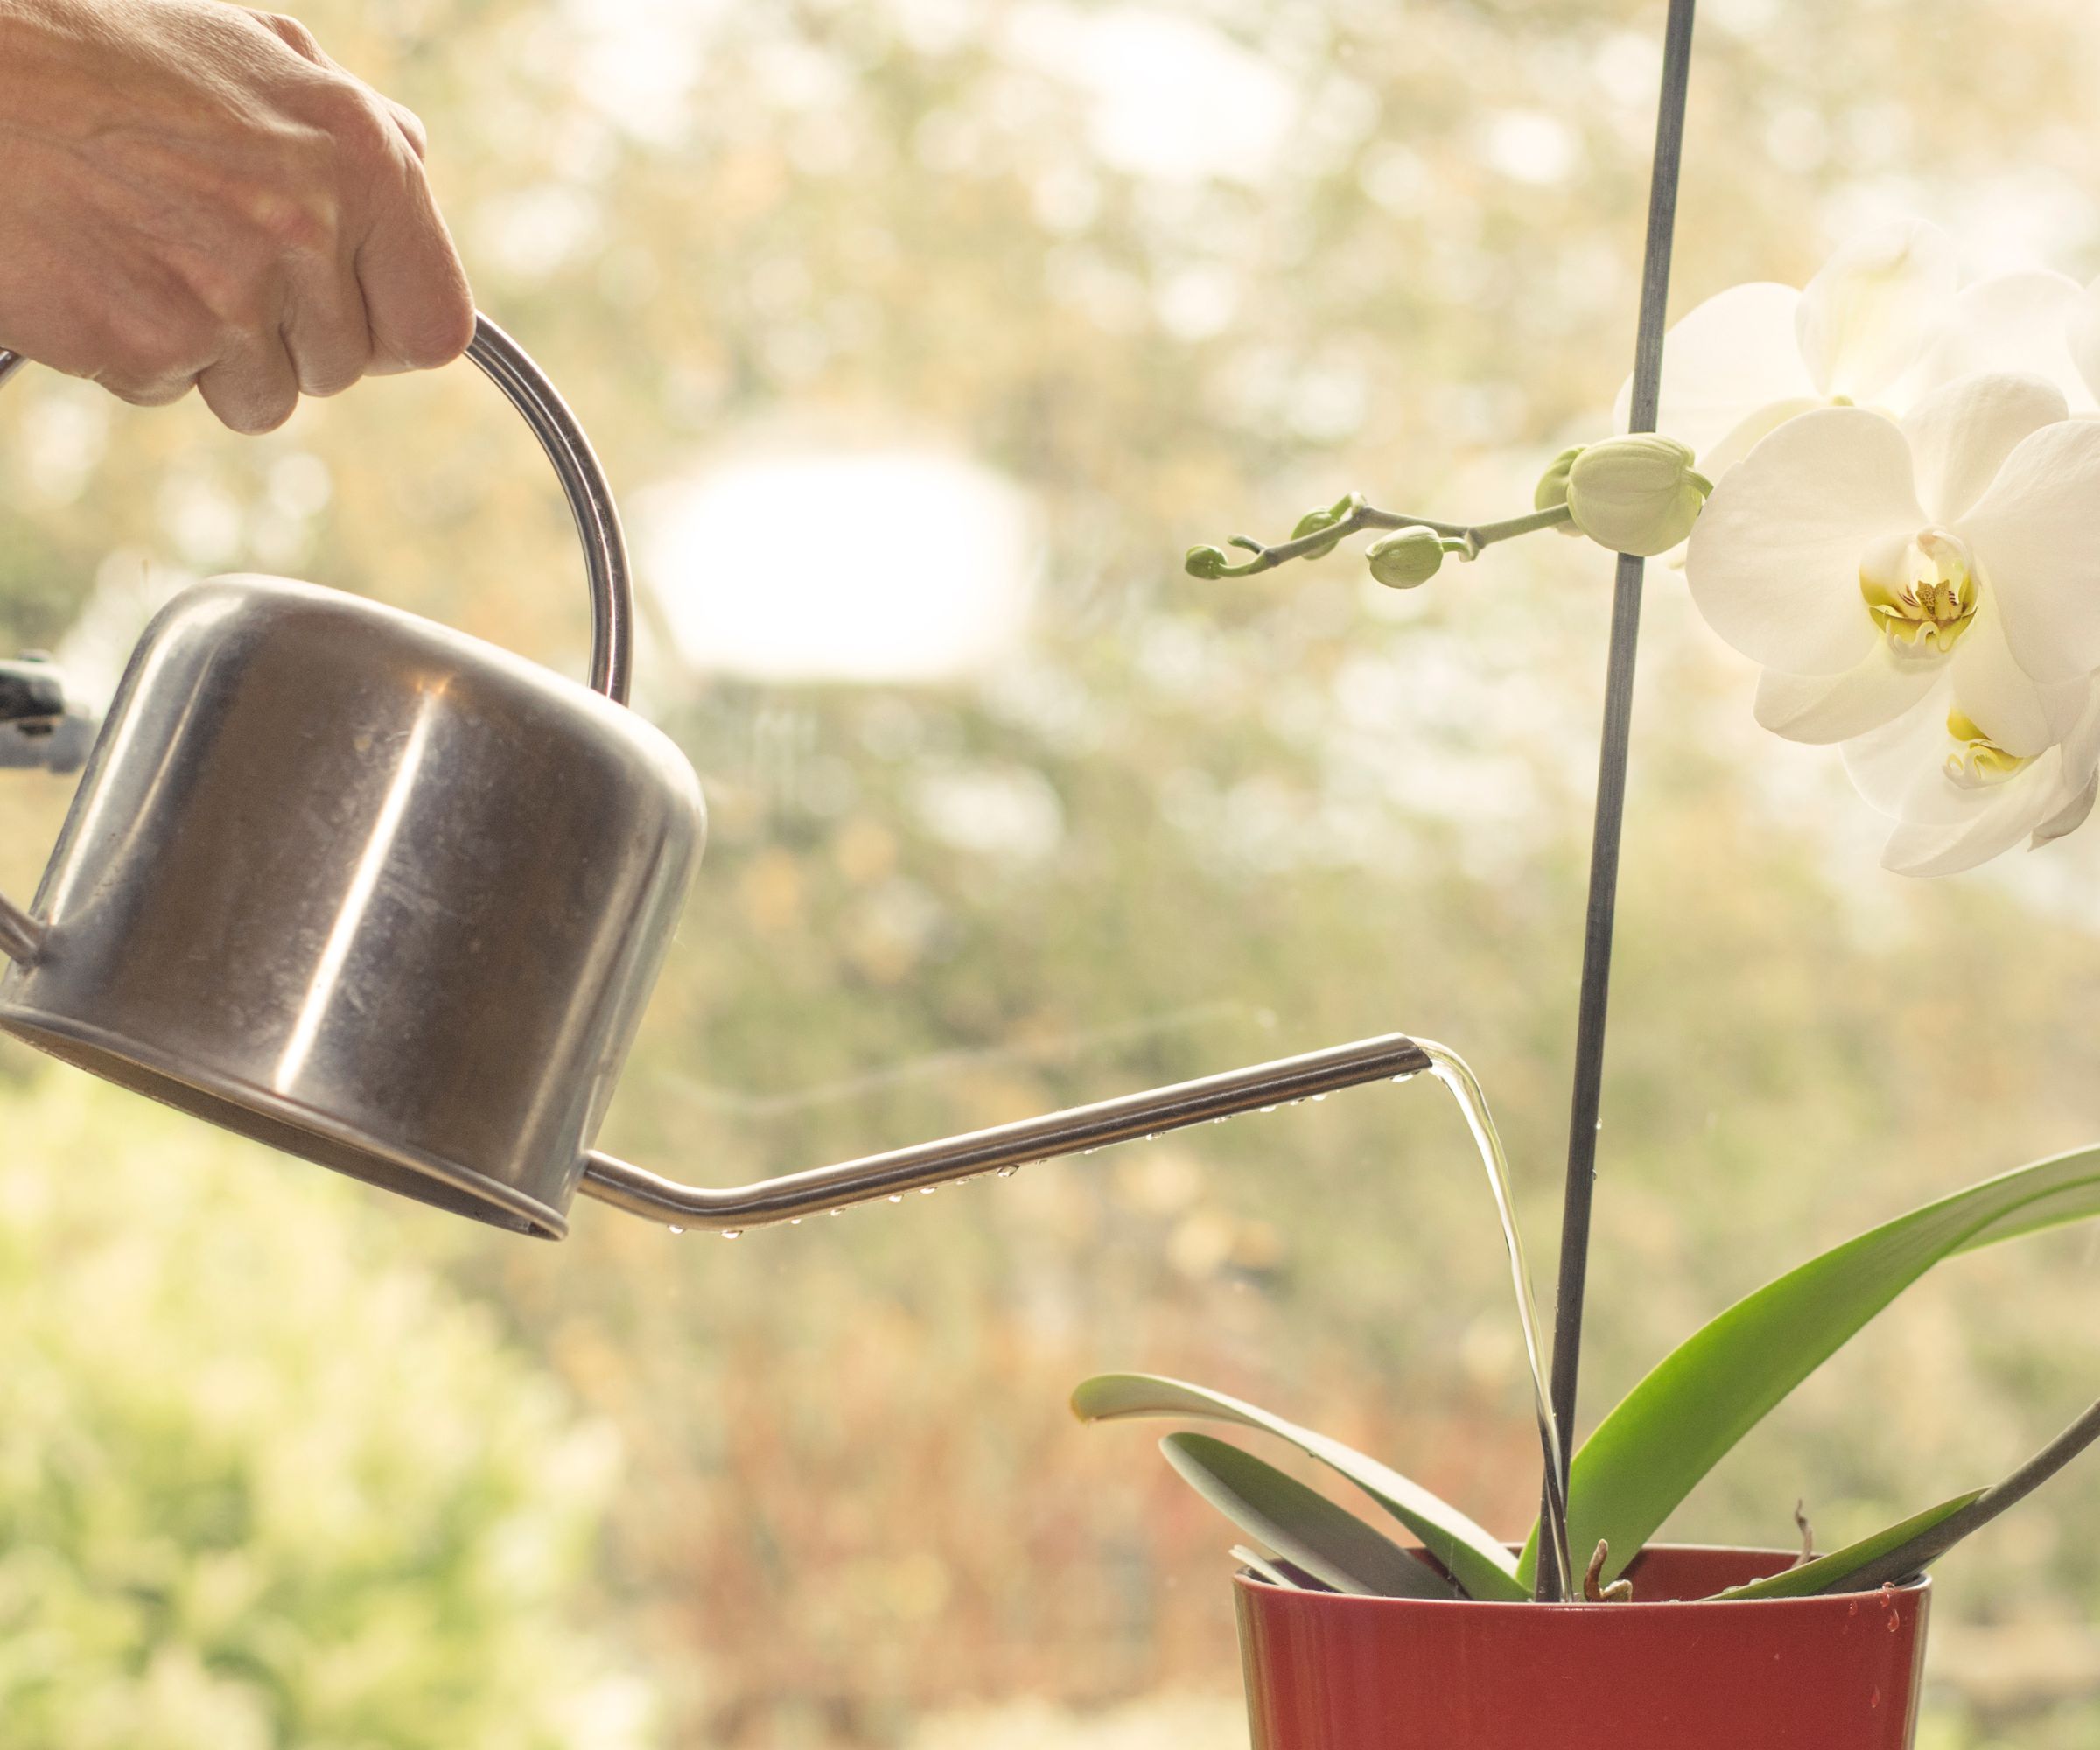
Once transplanted, water your orchid gently with either rainwater or cooled boiled water to help it settle into its new pot.
It will take a week or two for a repotted plant to settle down, so monitor the bark or compost mix to check it hasn't dried out. Also, be mindful of overwatering, as this might lead to your orchid wilting. It's really useful to understand how often to water your orchid to ensure it remains healthy and problem-free.
FAQs
What soil is best for repotting an orchid?
When you go to repot your orchid plant, always use a bark-based specialist orchid compost mix: never a loam-based or standard multipurpose one as these can harm and sometimes kill your orchid.
Now you know how to repot an orchid, you can be confident your plants will continue to thrive and provide you with those statement, elegant blooms. It's a good idea to fertilize your orchids every so often, replenishing nutrients to keep your plants as healthy as possible.

Freelance writer and author Flora Baker is a keen amateur gardener and houseplant enthusiast. Her small garden in South London is a constant work in progress as she gets to grips with snail prevention, DIY trellises and what to plant in shady spots overrun with ivy.
- Rachel BullHead of Gardens