How to repot orchid aerial roots – in 5 easy steps
Expert advice on when to repot and how to care for aerial roots


Design expertise in your inbox – from inspiring decorating ideas and beautiful celebrity homes to practical gardening advice and shopping round-ups.
You are now subscribed
Your newsletter sign-up was successful
Want to add more newsletters?

Twice a week
Homes&Gardens
The ultimate interior design resource from the world's leading experts - discover inspiring decorating ideas, color scheming know-how, garden inspiration and shopping expertise.

Once a week
In The Loop from Next In Design
Members of the Next in Design Circle will receive In the Loop, our weekly email filled with trade news, names to know and spotlight moments. Together we’re building a brighter design future.

Twice a week
Cucina
Whether you’re passionate about hosting exquisite dinners, experimenting with culinary trends, or perfecting your kitchen's design with timeless elegance and innovative functionality, this newsletter is here to inspire
Orchids are a fascinating houseplant choice, and among the best indoor flowering plants, with their long-lasting display of exotic blooms. There are a number of things you can to do take care of orchids indoors. They are easy to grow and will add a touch of elegance to any room.
Moth orchids, also known as Phalaenopsis, are a popular choice for their arching stems, shapely foliage and beautiful blooms. In their natural environment orchids are epiphytic, meaning they grow on other plants like tree trunks and gain moisture and nutrients through their aerial roots rather than in soil.
That's why it's best to pot orchids in a medium like bark, allowing for water to drain well and stop the roots from rotting. You can buy the appropriate medium for orchids online, like this orchid potting mix from Greendigs.
Aerial roots tend to have a mind of their own and will start to grow rigorously above the surface of the potting medium. While many orchid owners like this look and will leave them as they are, you may decide to transfer your orchid and its tangling roots into a larger container. We asked the experts on how best to do it.
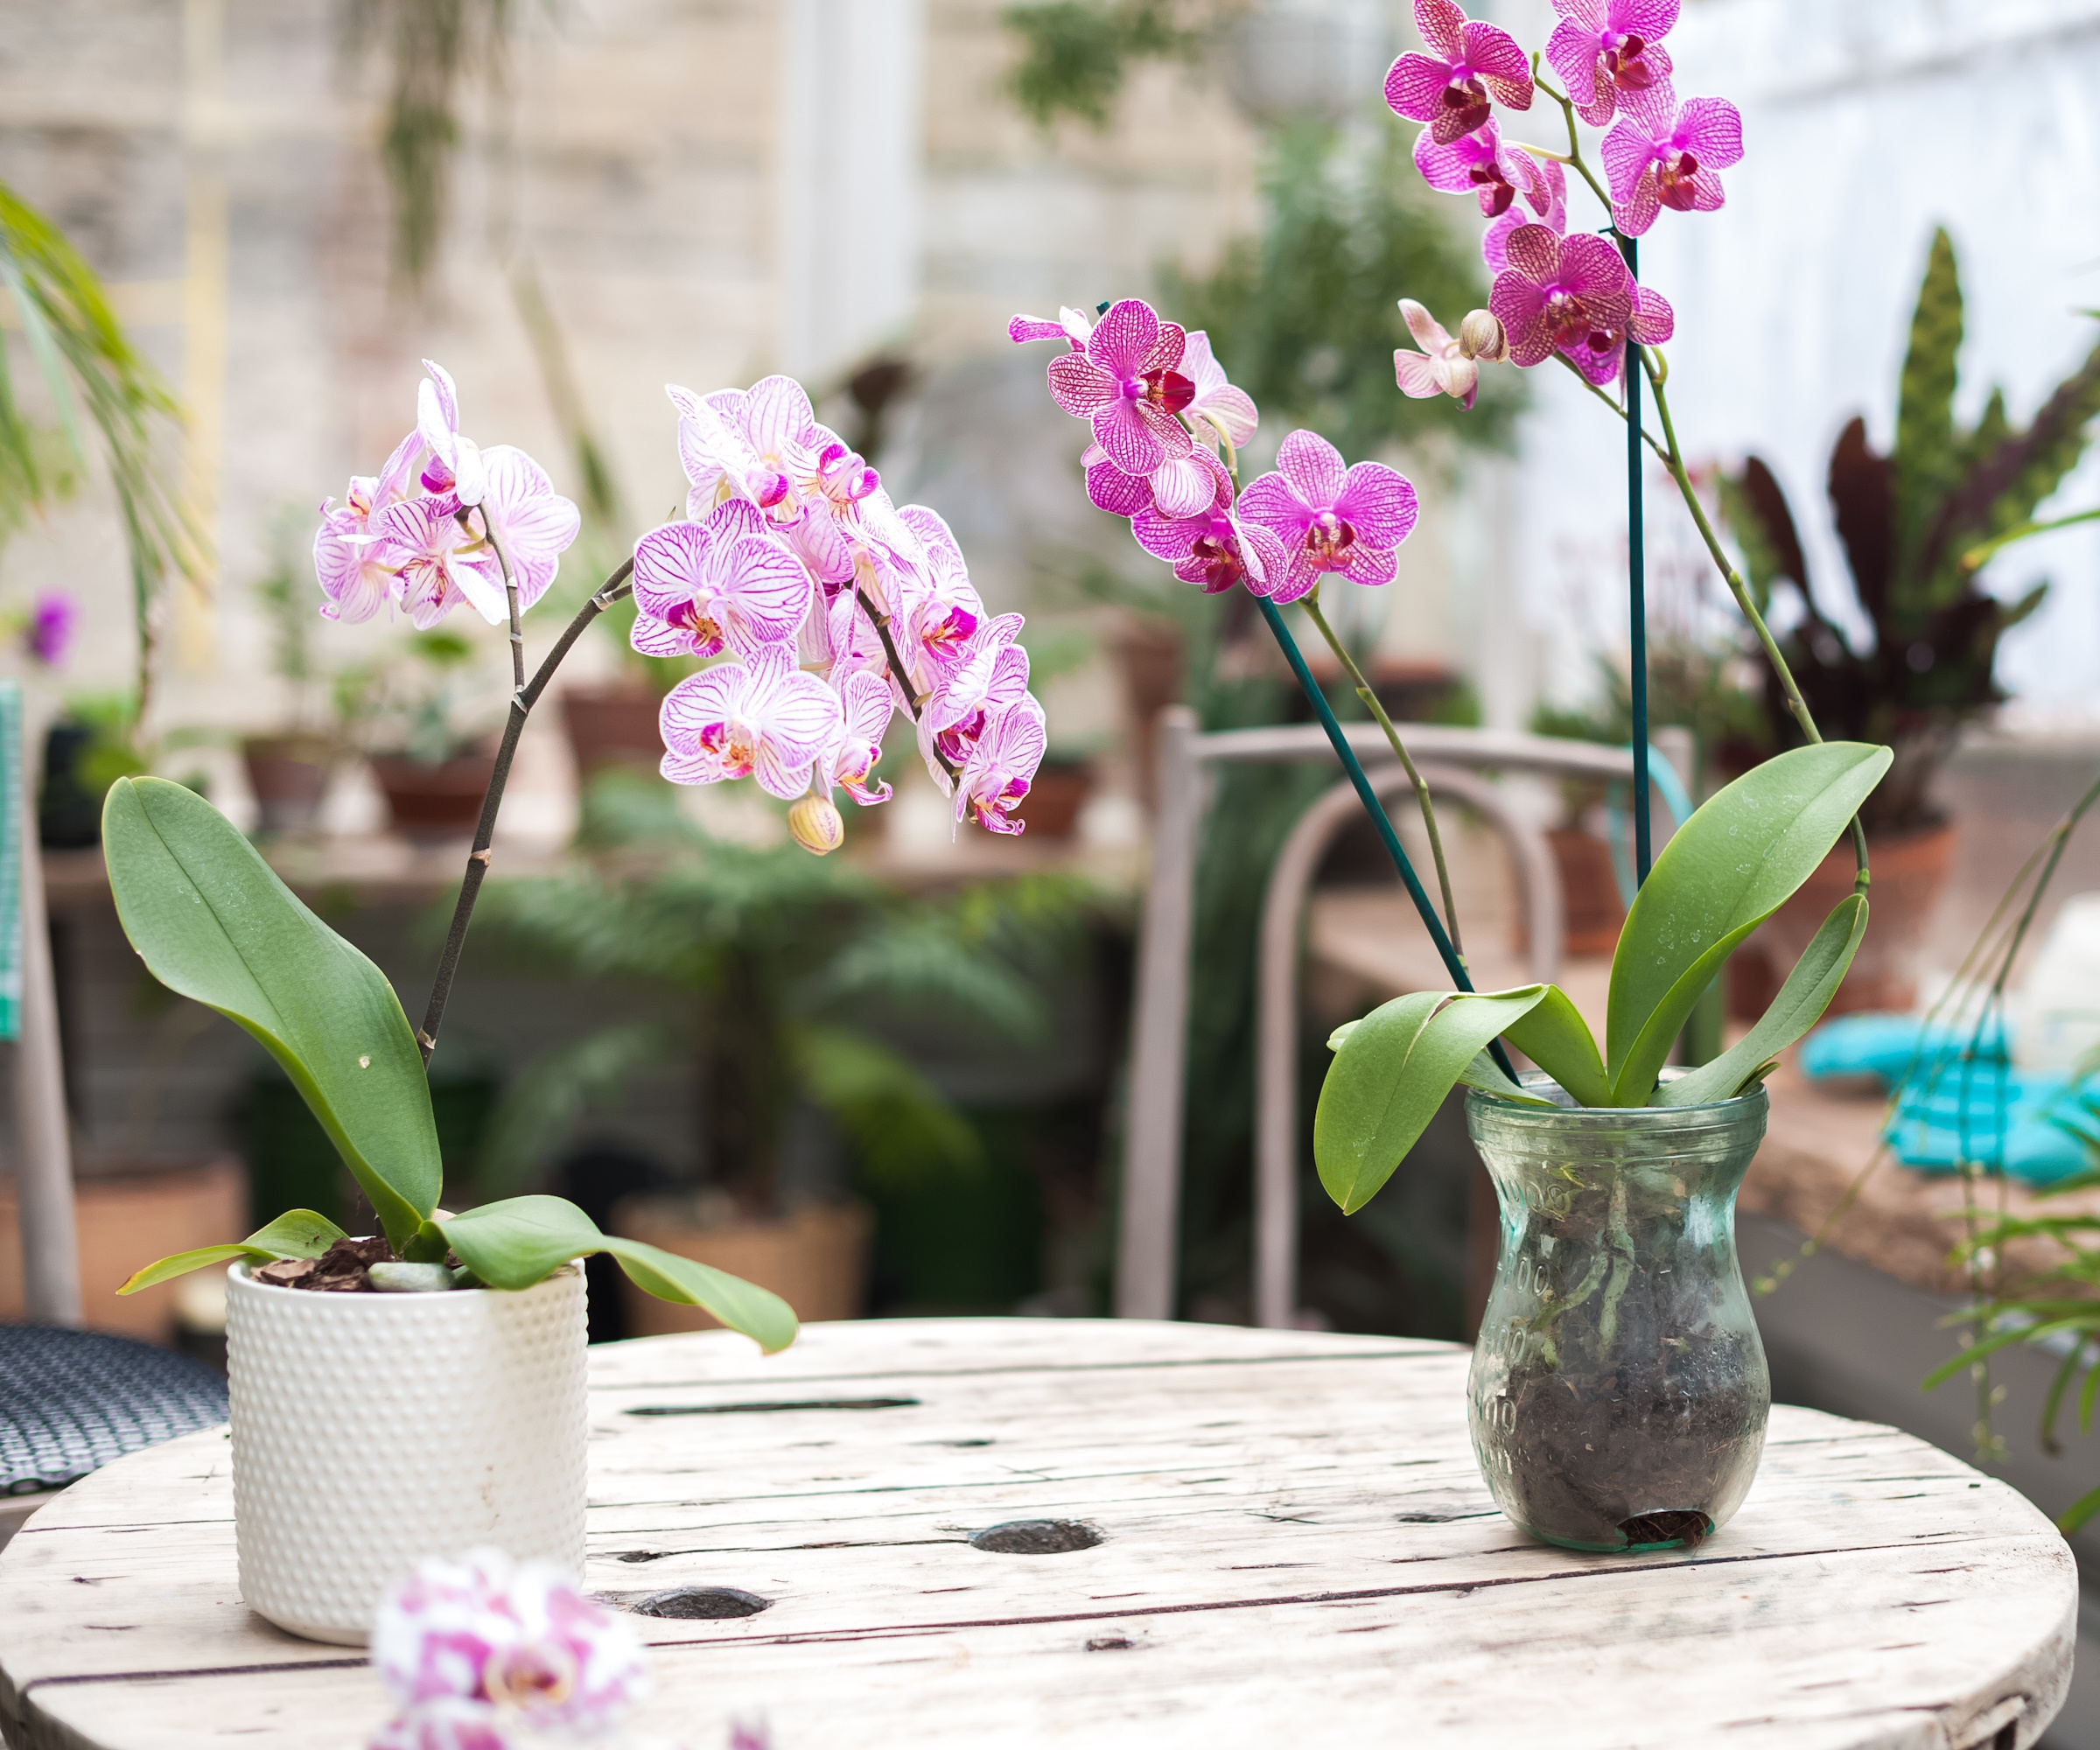
5 steps to repot your orchid's aerial roots
Working with aerial roots may seem daunting, but we've gathered expert advice on what to do with those long intertwining roots when rehoming your orchid.
Vladan Nikolic from Mr. Houseplant recommends just a few materials to get started with repotting:
- A new pot with drainage holes
- Bark or sphagnum moss
- Scissors or pruning shears
- Rubbing alcohol

Vladan Nikolic is a houseplant expert with over 10 years of experience. He is the founder of the houseplant care blog Mr. Houseplant and is a social media influencer for houseplants with over 500,000 followers.
1. Carefully remove the orchid from its pot
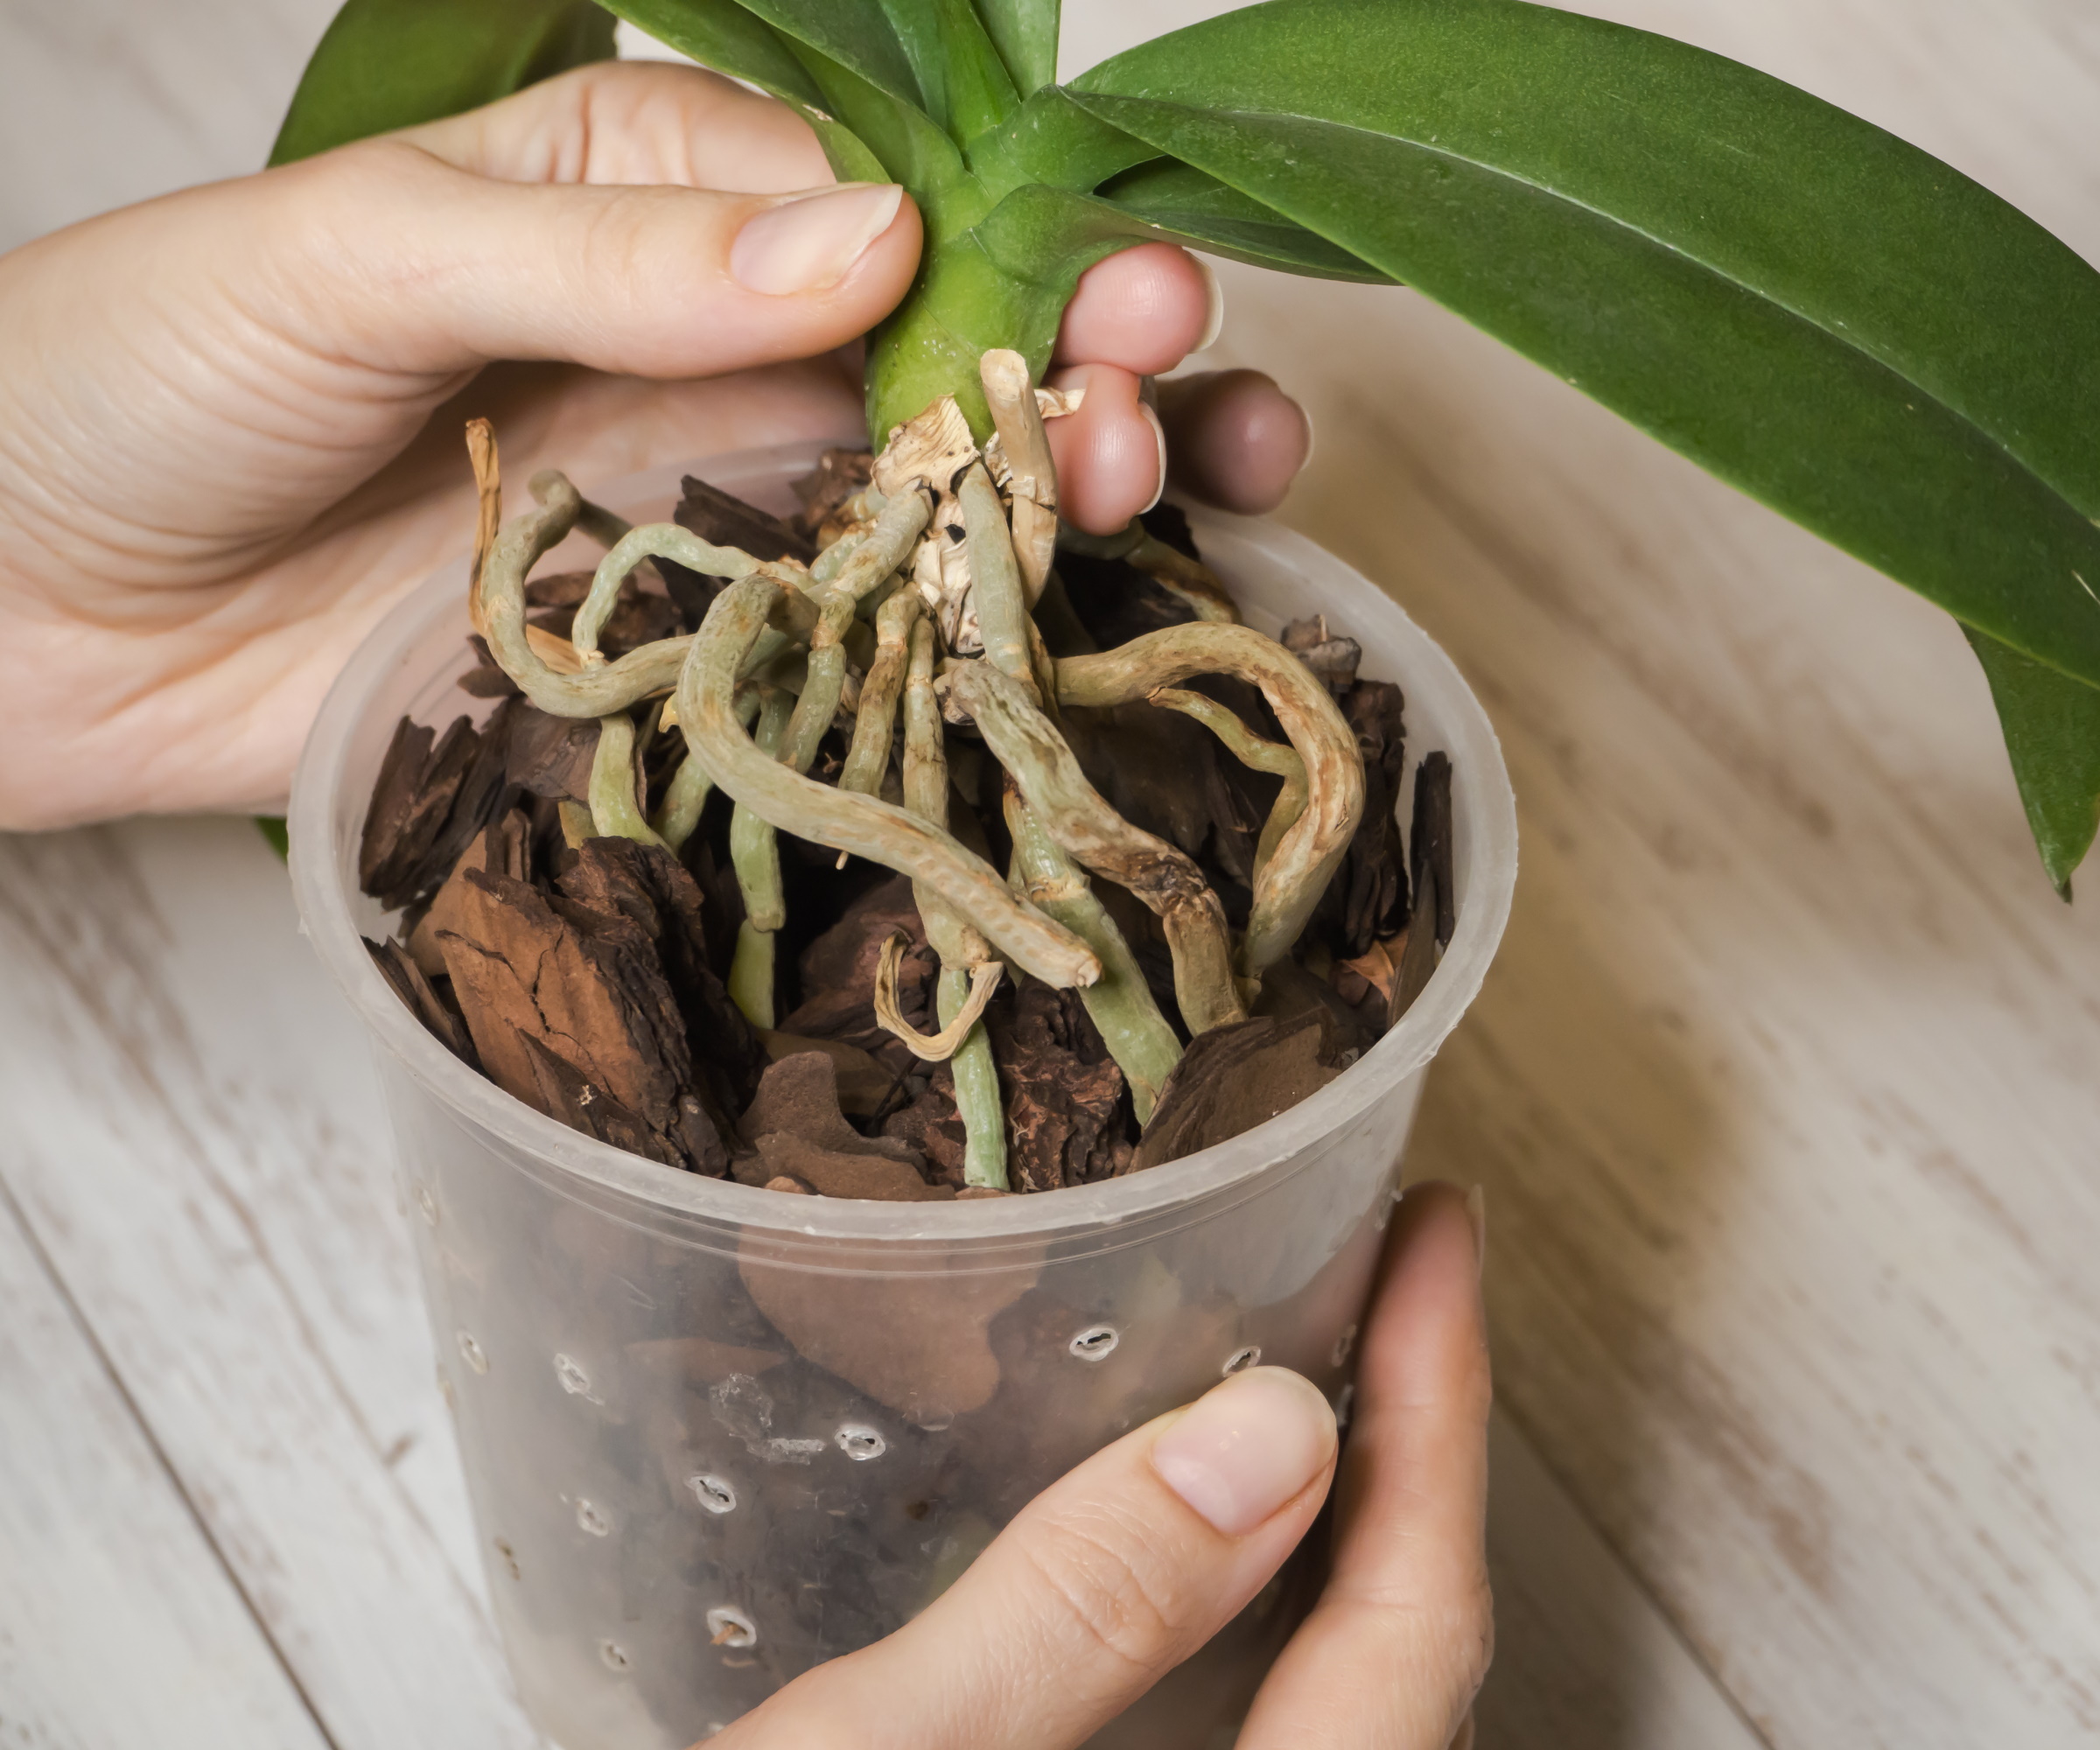
The first thing to do when repotting your orchid is to take it out of its current container. Aerial roots like to grow in all sorts of directions, so take care not to damage any in the process.
Design expertise in your inbox – from inspiring decorating ideas and beautiful celebrity homes to practical gardening advice and shopping round-ups.
'If it's root-bound, try to shake the pot and give the sides a tap. Then use the ends of a spoon or fork to create a space between the potting material and the pot's walls,' says Carmela de Castro, owner of Orchid Republic Floral Boutique, a luxury florist based in California.
Once out of the pot, you can discard the plant's old potting medium. Why not use it to make your own compost?

Carmela is the owner of Orchid Republic Floral Boutique, a luxury florist with boutiques in Sherman Oak and Santa Monica, California. She specialises in bespoke flower arrangements, orchids and succulents.
2. Remove any dead roots
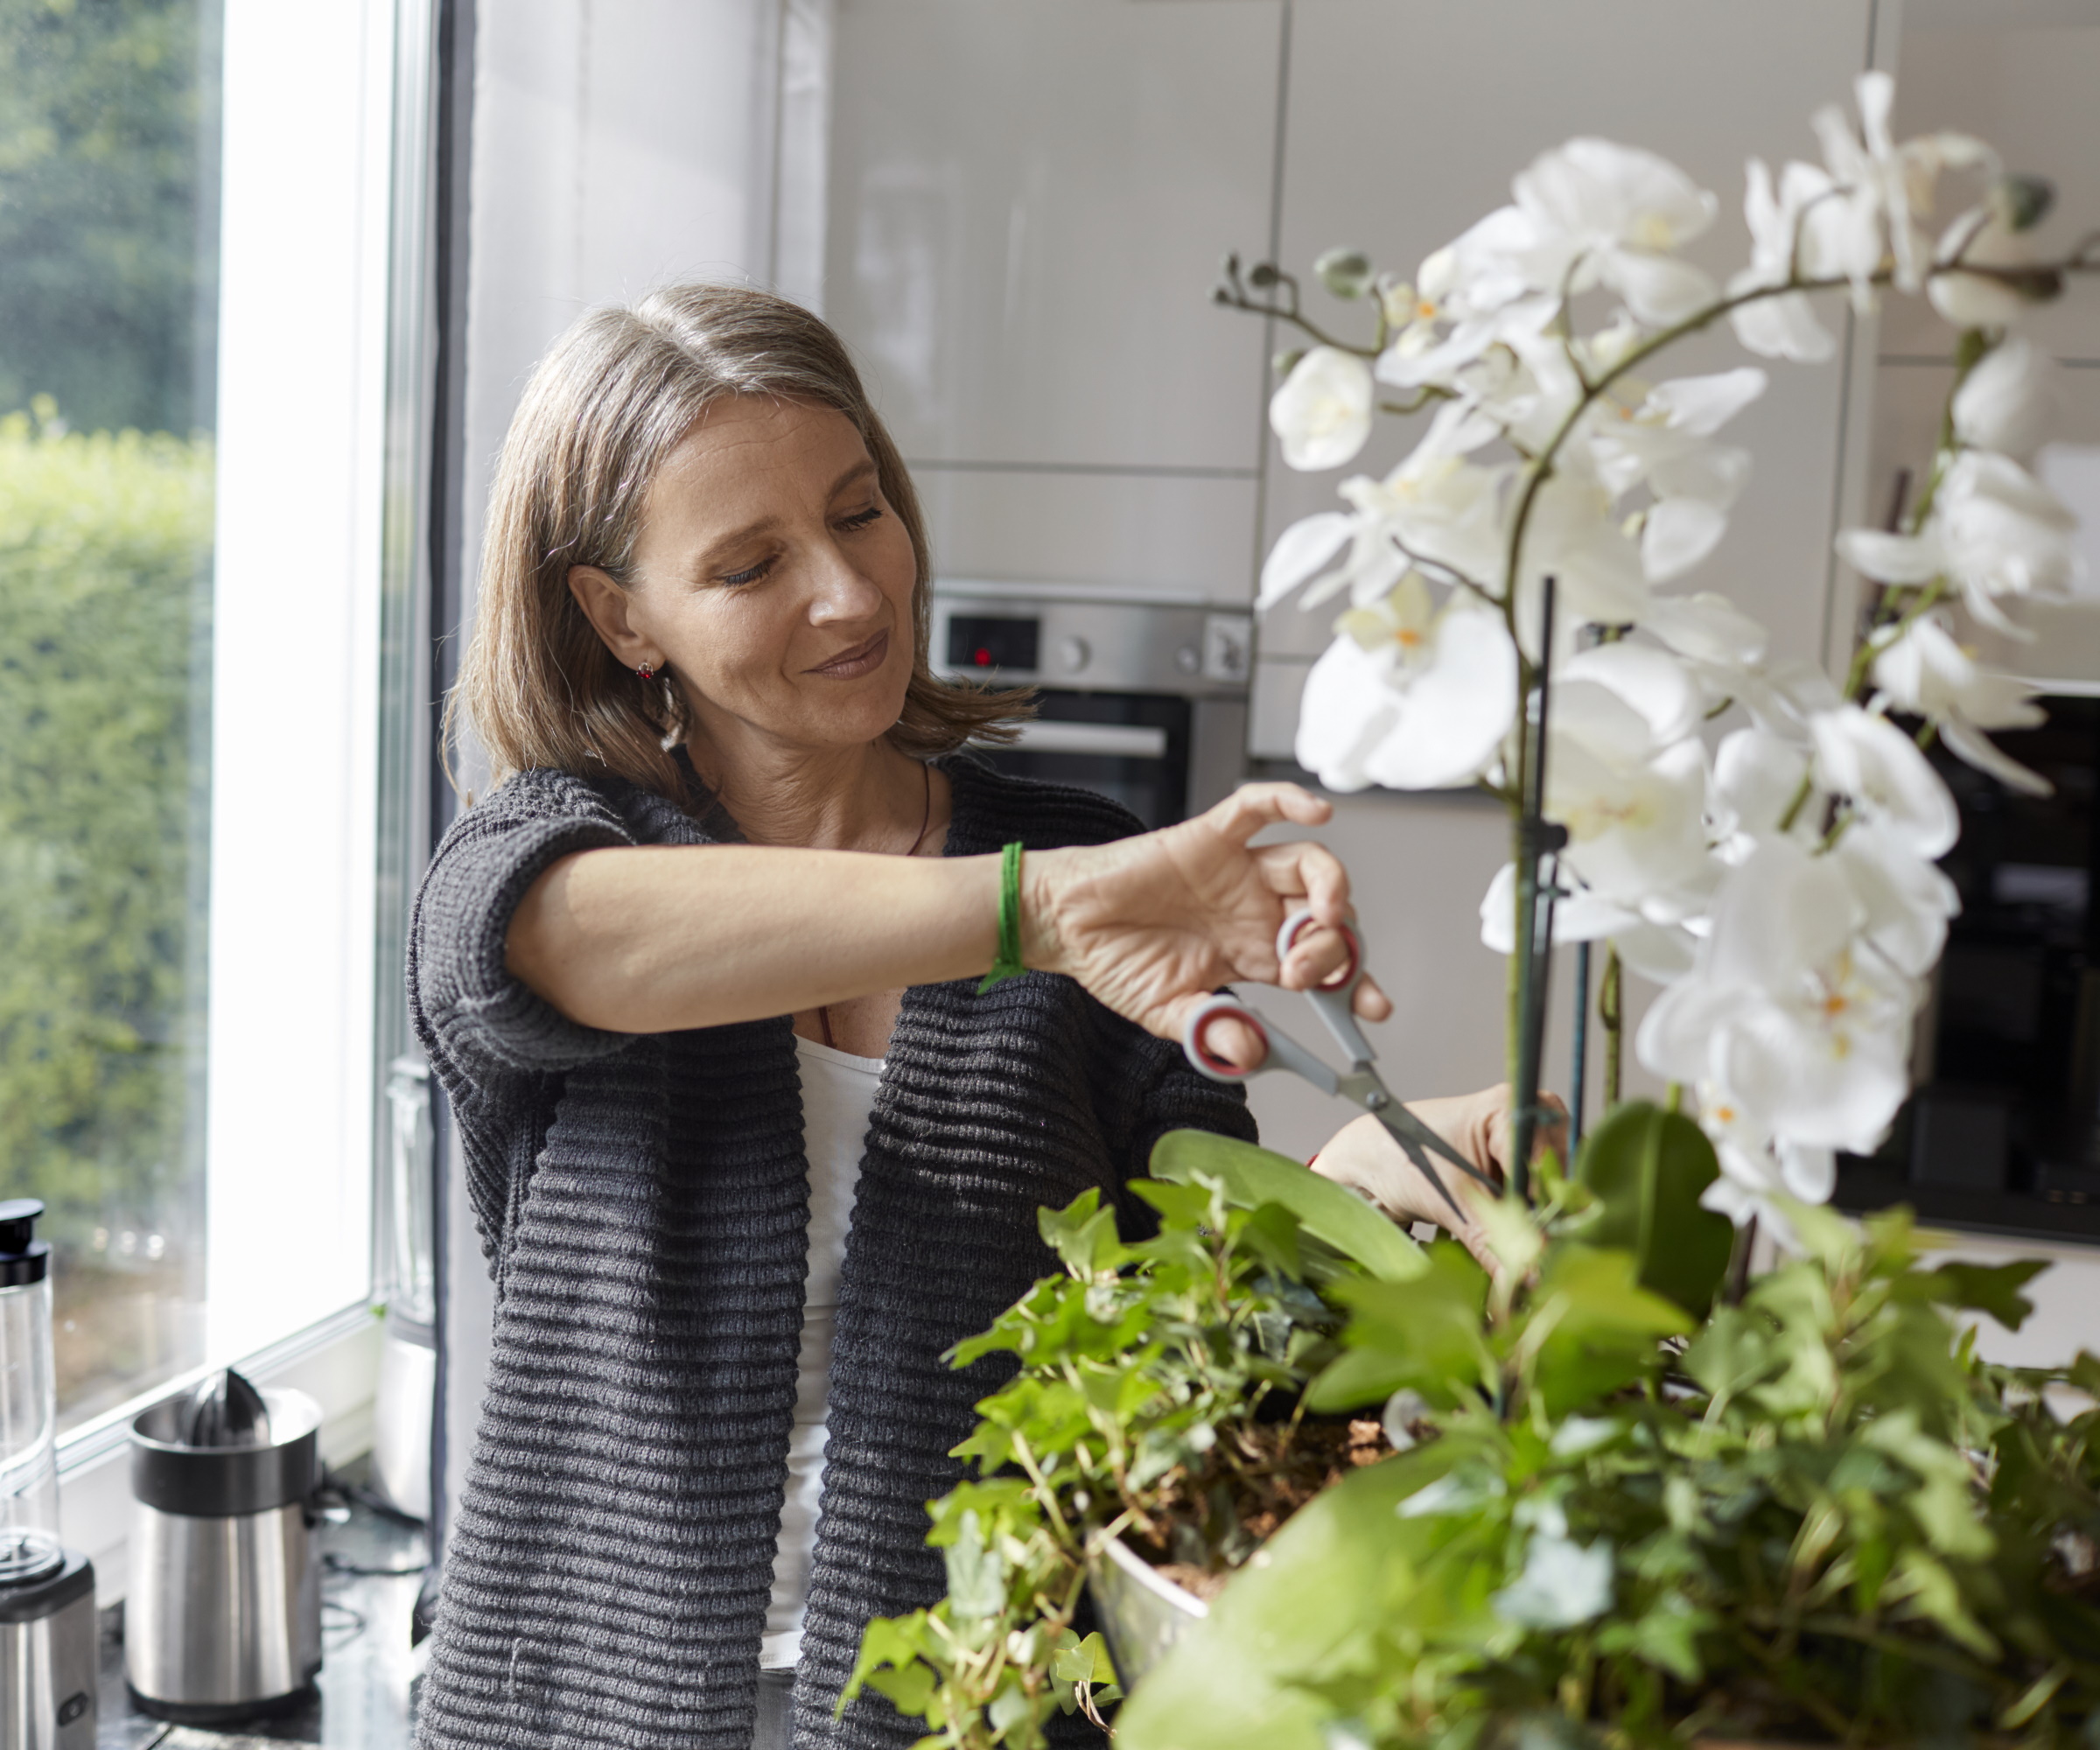
Now that the orchid is free from its pot, it's time to get rid of dead roots. Pruning orchids is simple and you can use scissors or pruning shears sterilized by rubbing alcohol to trim away soft and discolored roots.
‘Sometimes you can easily pull off the outer layer of roots, leaving only the central string. This also indicates the root is dead,’ says Vladan Nikolic.
Unlike many other indoor plants, orchids don’t always have a large root system so Vladan suggests leaving all healthy roots alone.
‘You will recognize healthy roots by their color and firmness. Healthy roots are white, gray or green and will be firm to touch, rather than mushy,’ says Vladan.
3. Fill the new pot with new potting medium
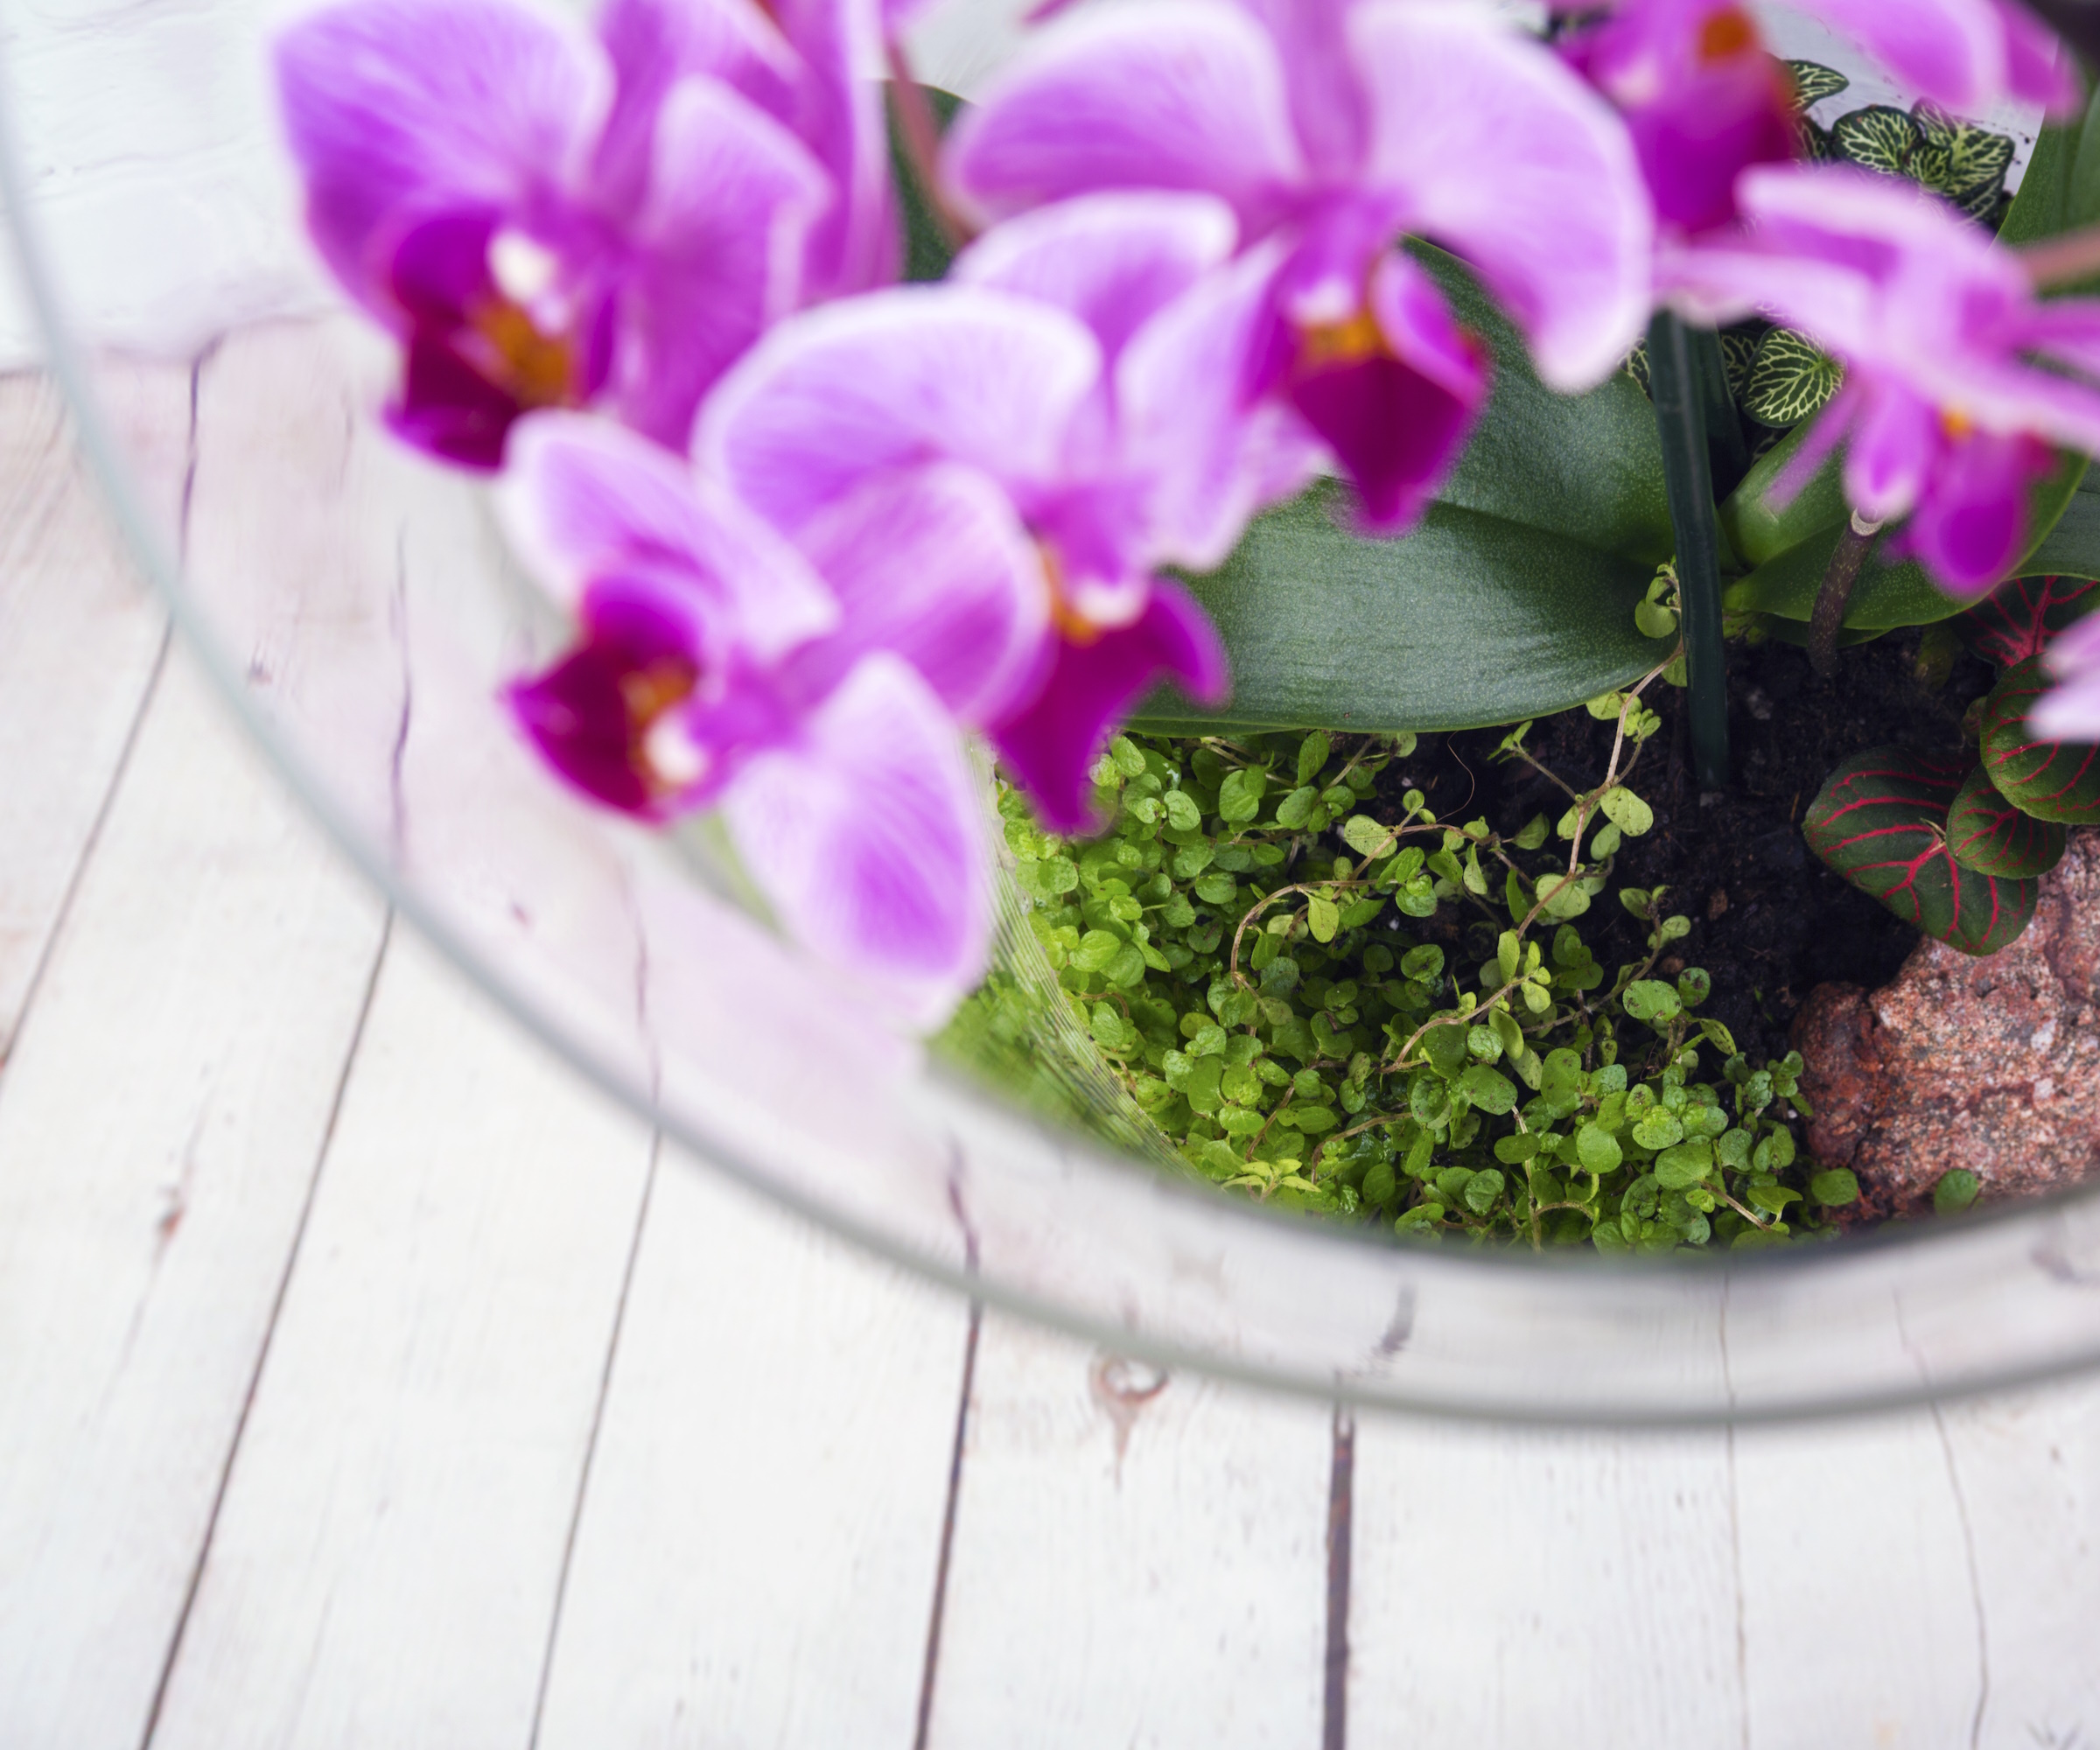
It’s important to choose a larger pot when repotting your orchid to allow room for the growing roots. Make sure it has drainage holes, like these transparent orchid pots from Amazon.
‘Clear plastic pots are excellent for orchids because you can easily assess the health of the root system,’ says Vladan.
Start to fill the new pot with your new potting medium. 'Hold the orchid at least an inch above the bottom of it while filling it up,' says Carmela de Castro. This will create a bottom layer of potting material for the orchid to sit on, while letting the bottom roots settle among the mix.
4. Guide the aerial roots
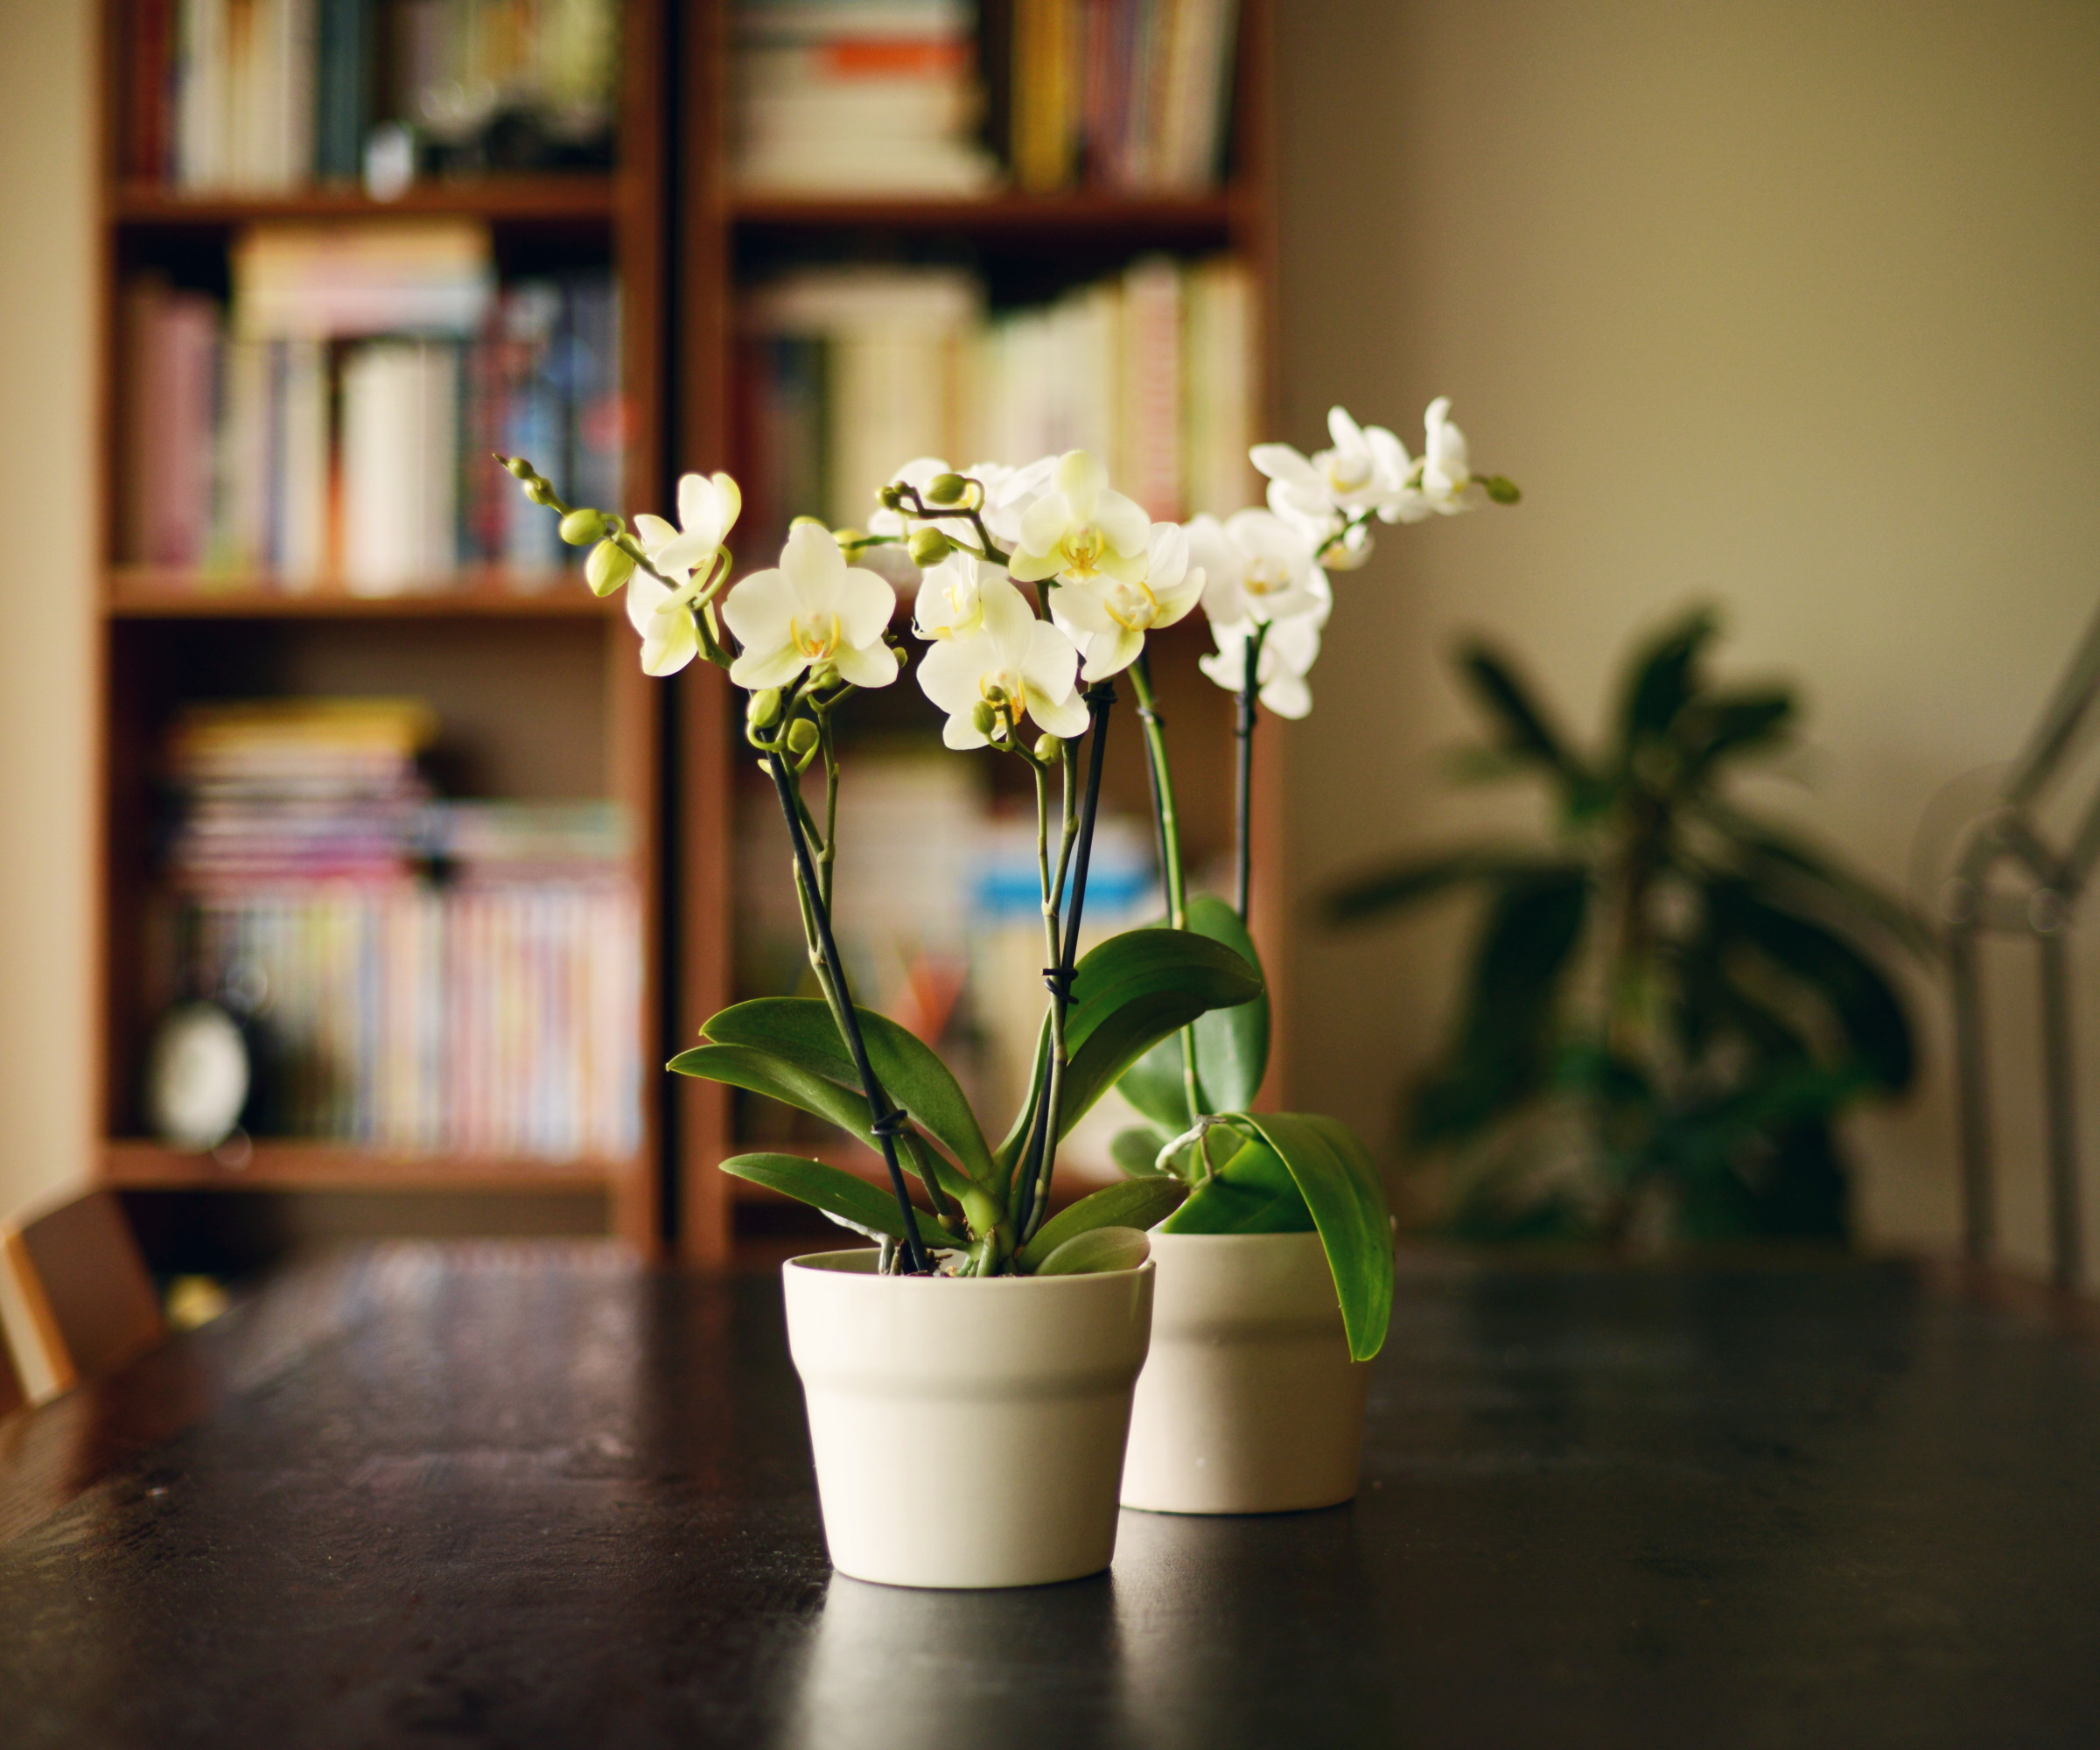
To neatly pack the aerial roots into the new pot, guide them gently with your hand taking care not to break them.
Fill the rest of the pot with your potting medium, making sure gaps between the roots are filled.
‘Make sure the roots are in contact with the bark or moss as much as possible. You can tap the mix lightly to secure the plant in place,’ says Vladan.
5. Water the orchid’s aerial roots well
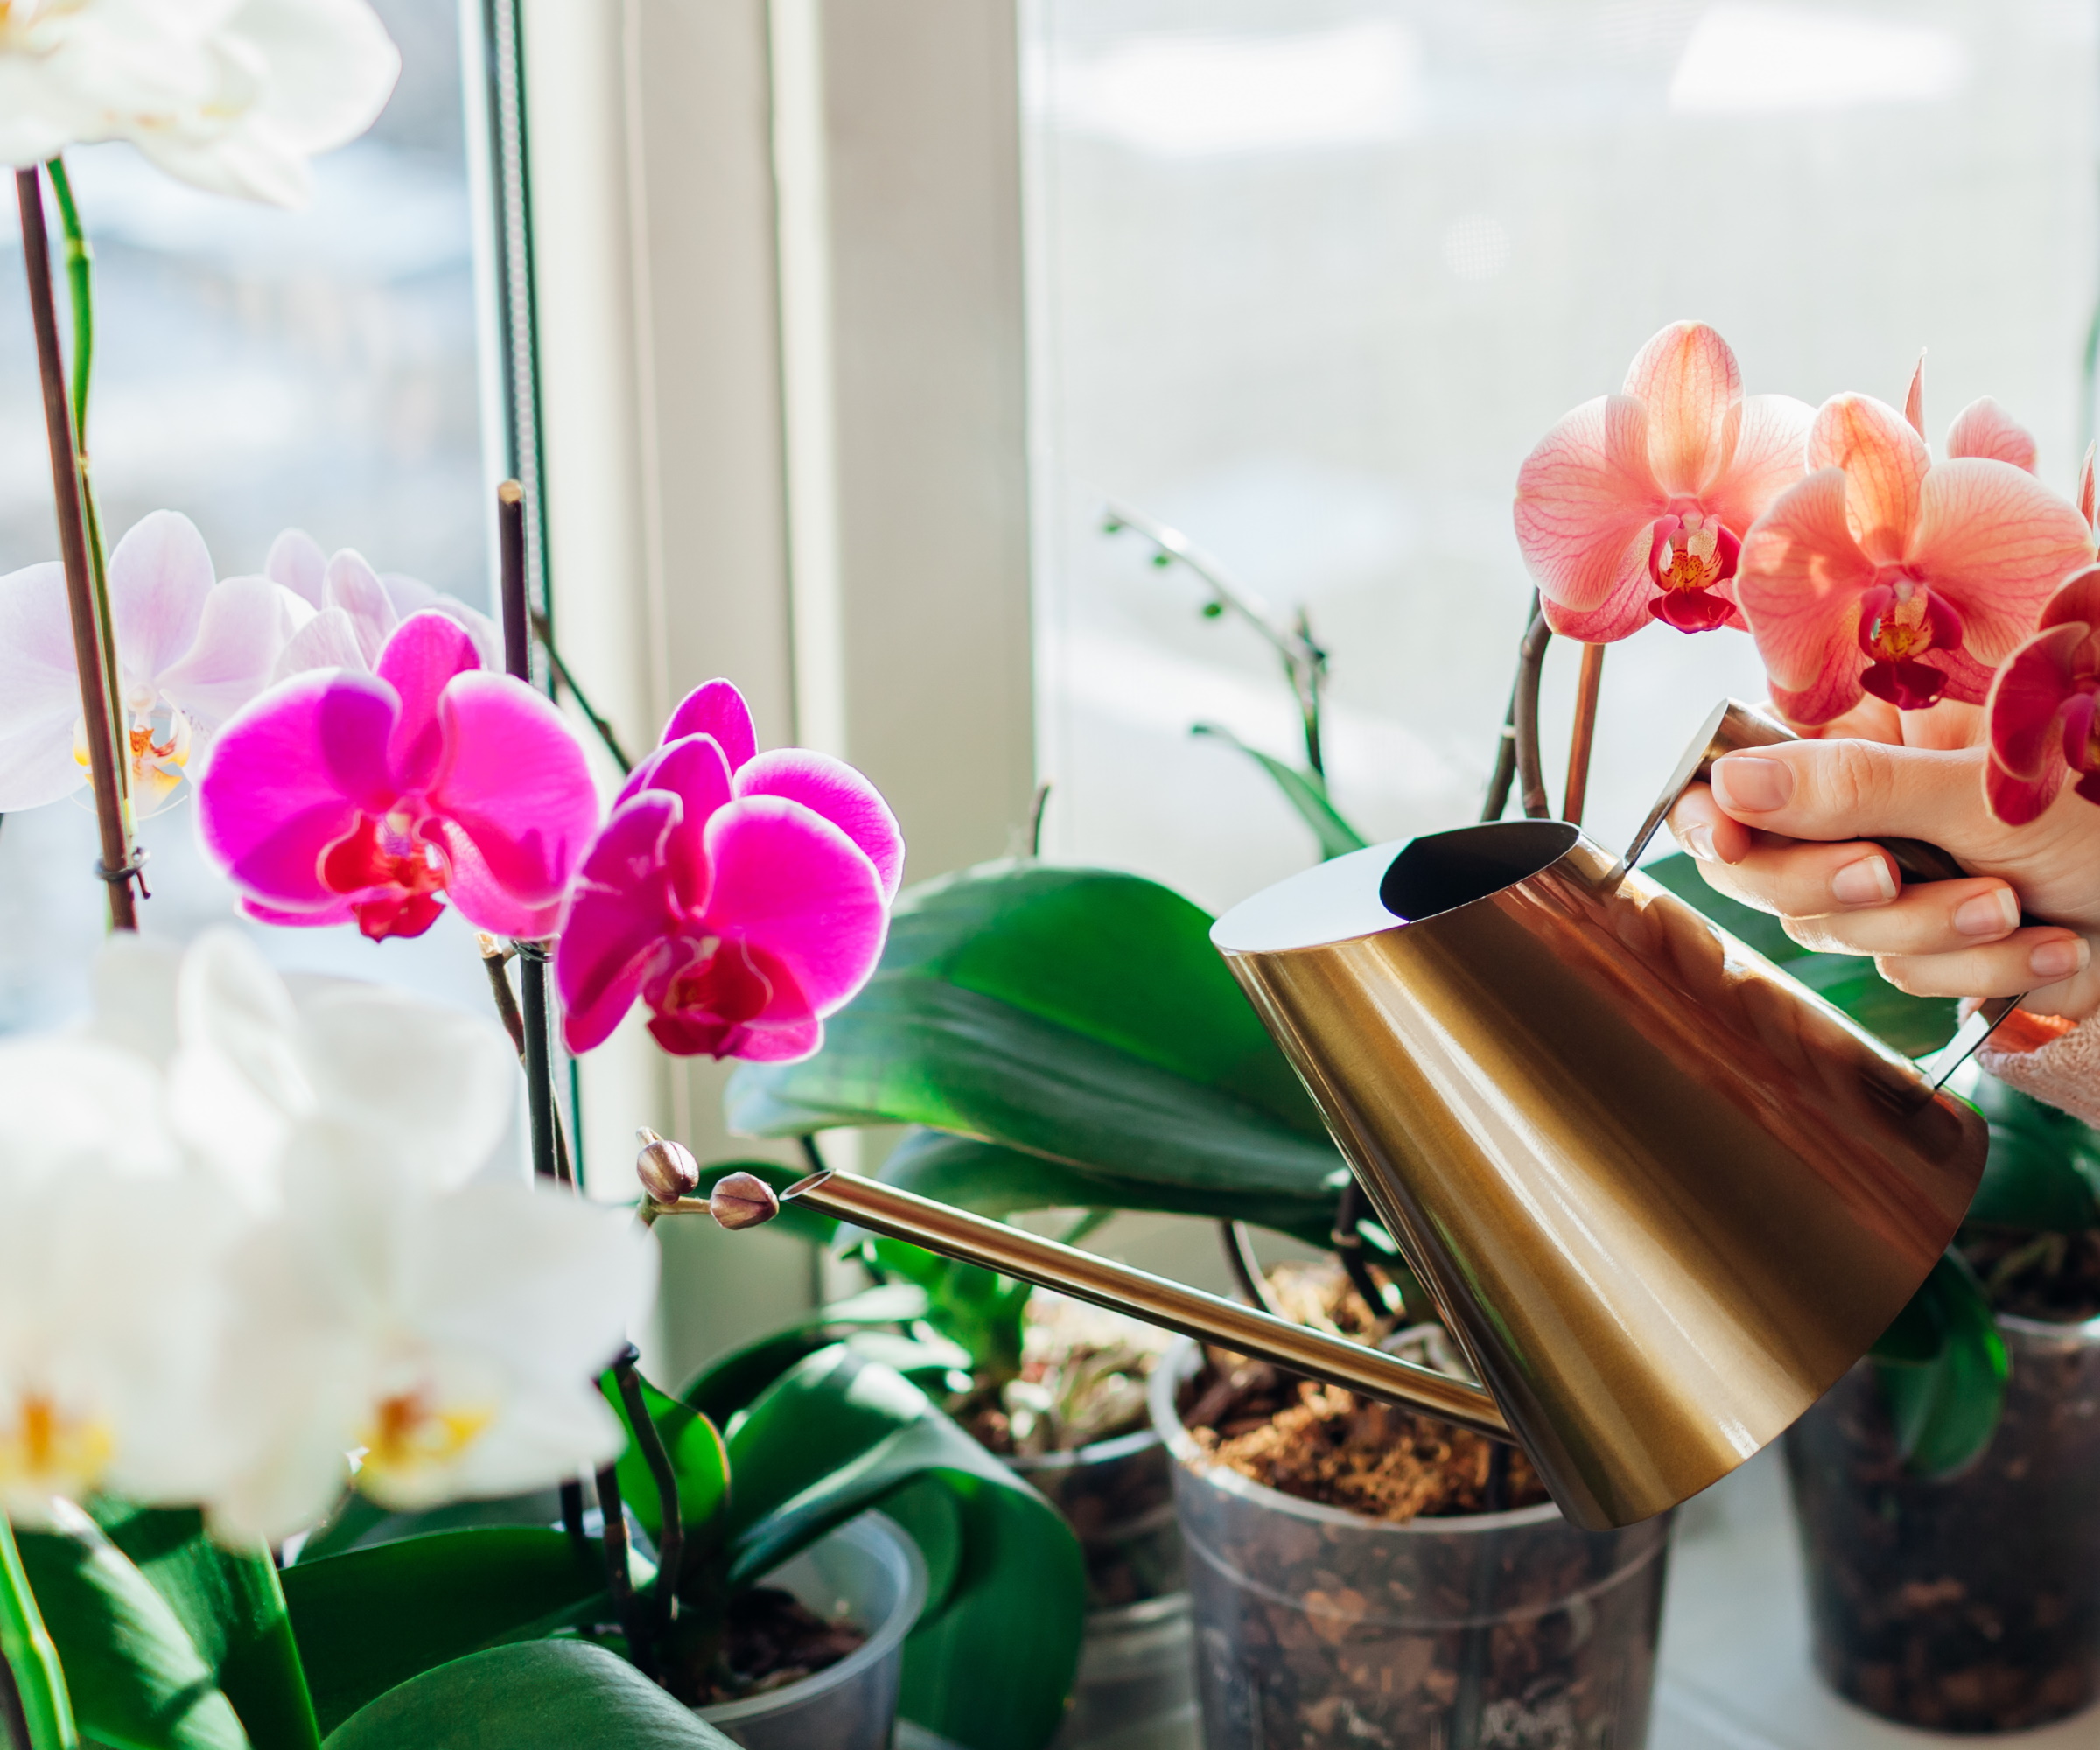
Now that your orchid is in its new container, it’s important to water it well to allow the roots to thrive in their new home.
Vladan recommends watering the orchid thoroughly under a faucet and filling the pot with water, ensuring there is proper drainage. ‘If you are using bark, let it soak in water for 30 minutes,' he says.
You can then place the newly repotted orchid in a bright spot, ideally out of direct sunlight. A bright window sill will keep the orchid happy and promote growth.
Be careful not to overwater your orchid going forward, however, because it could cause it to wilt. When it comes to how to water orchids, it's best to water them less often than you might think.
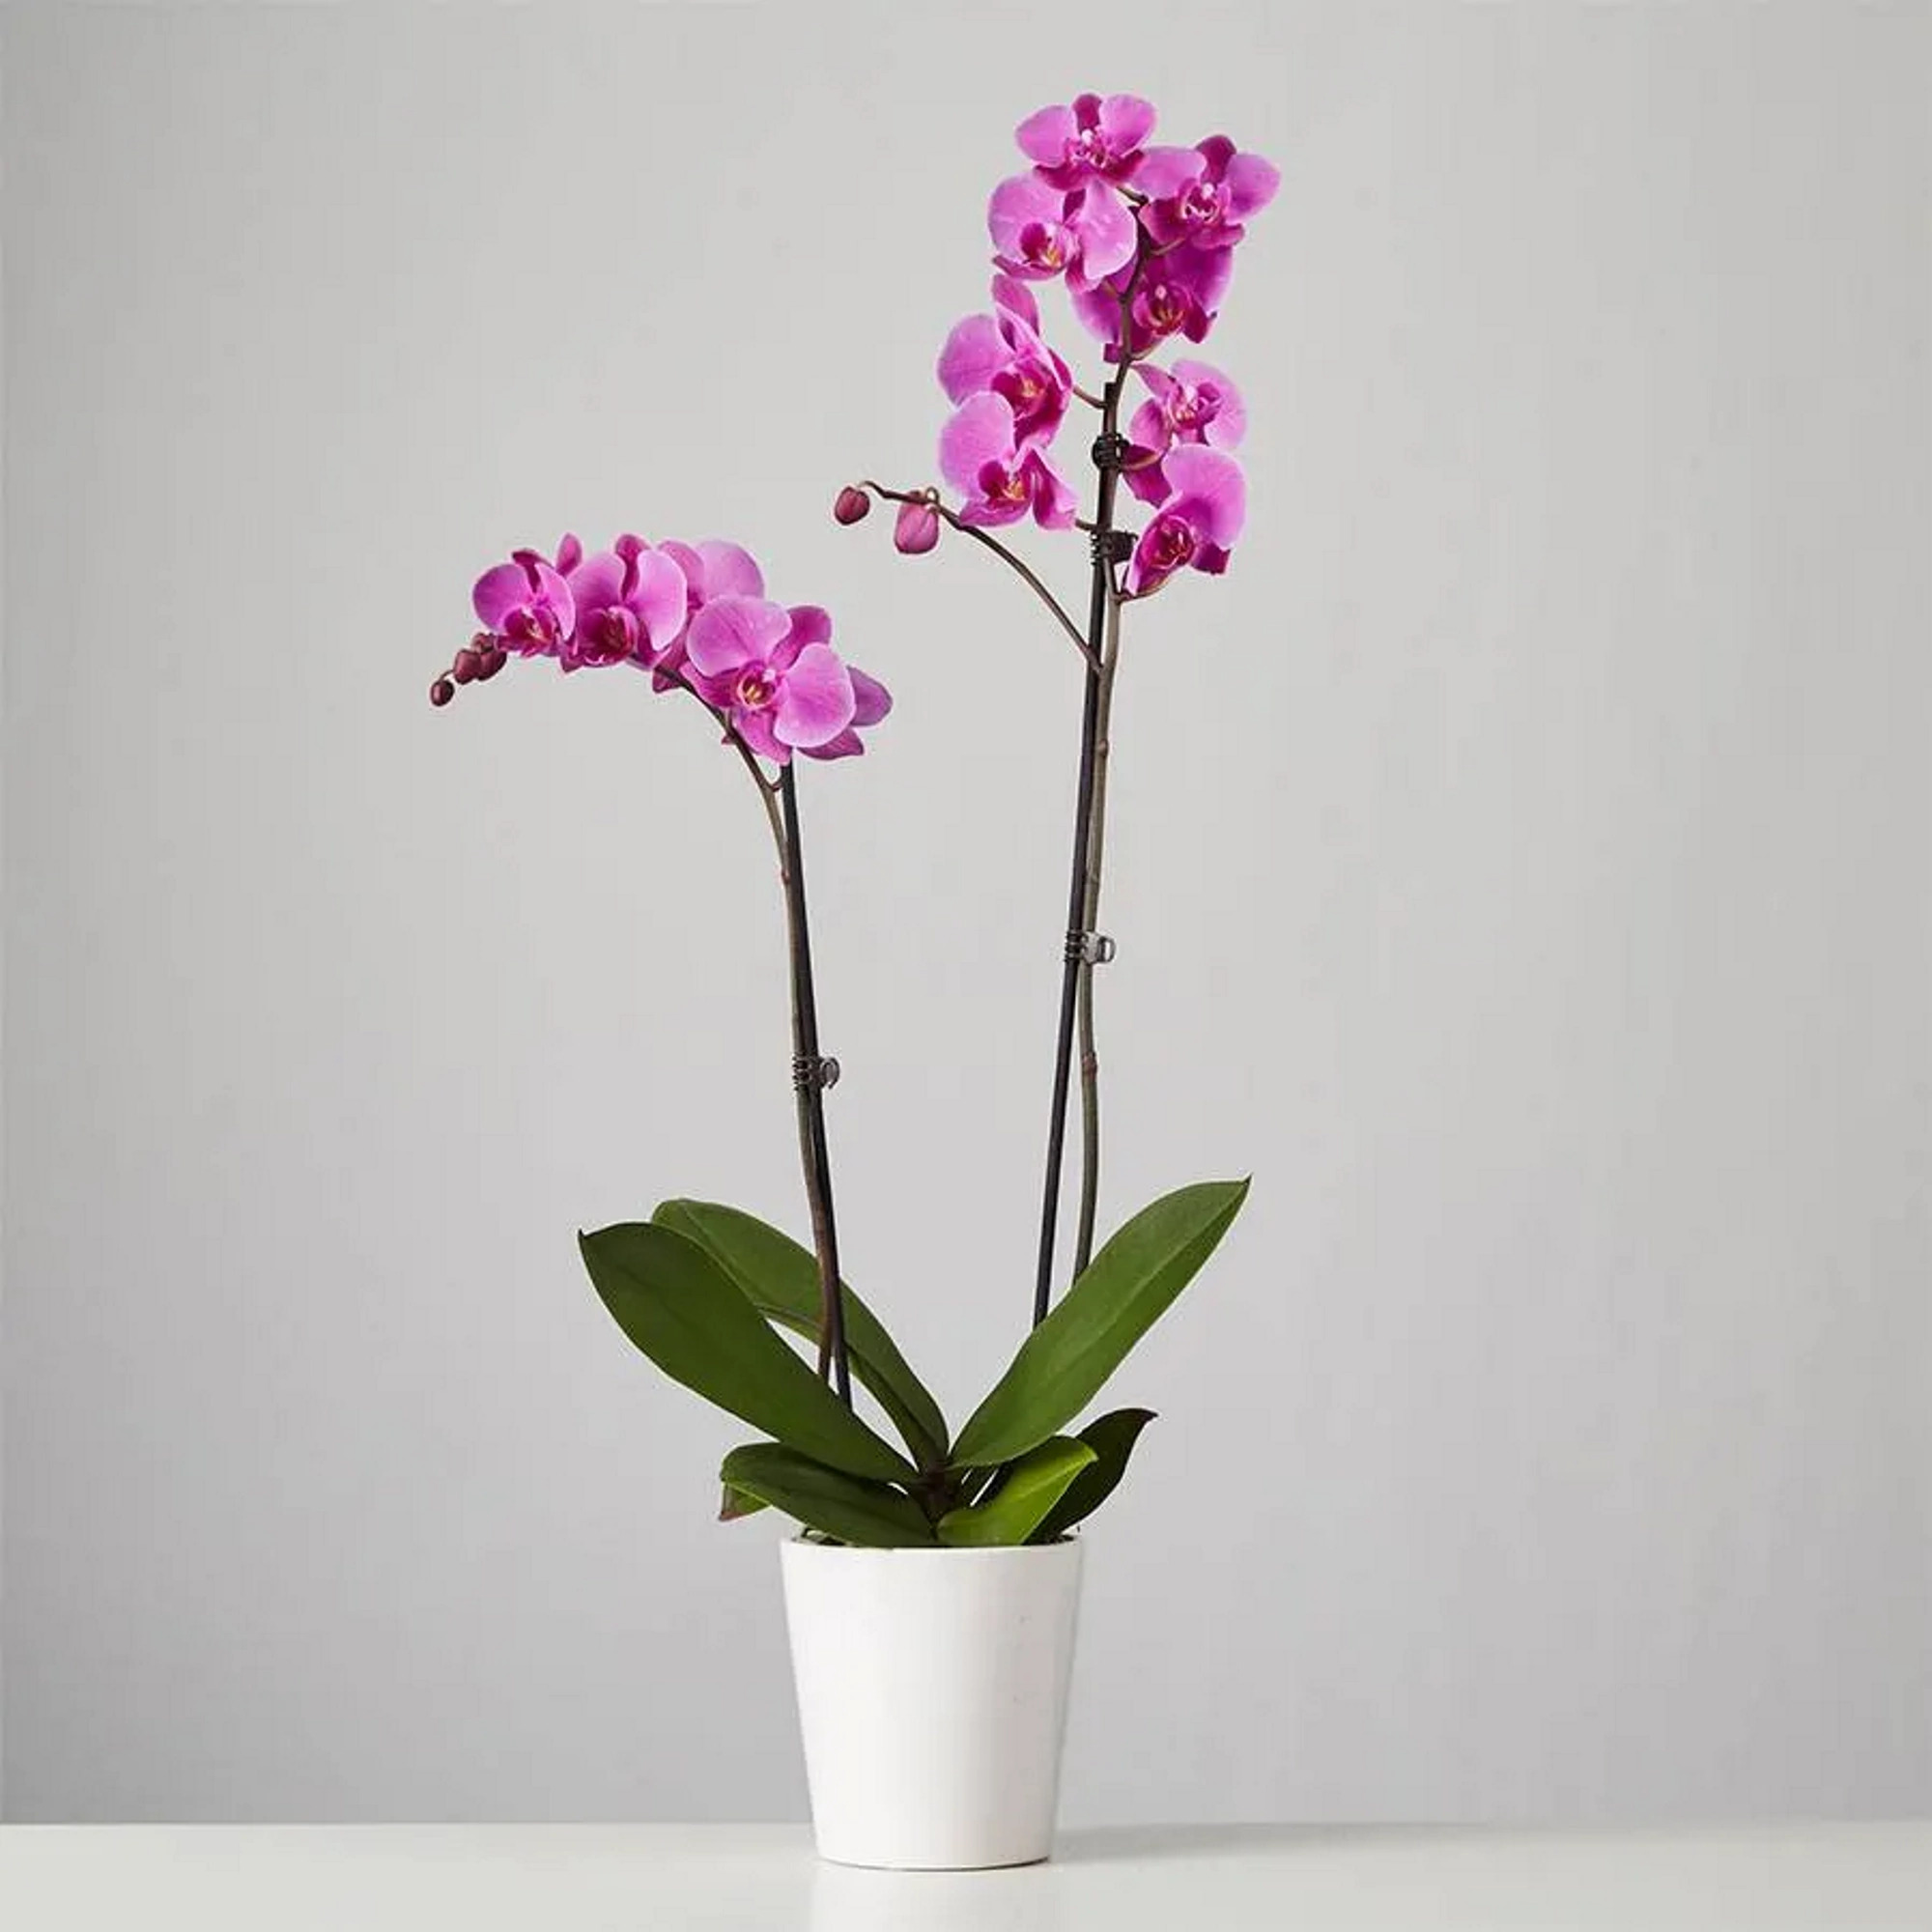
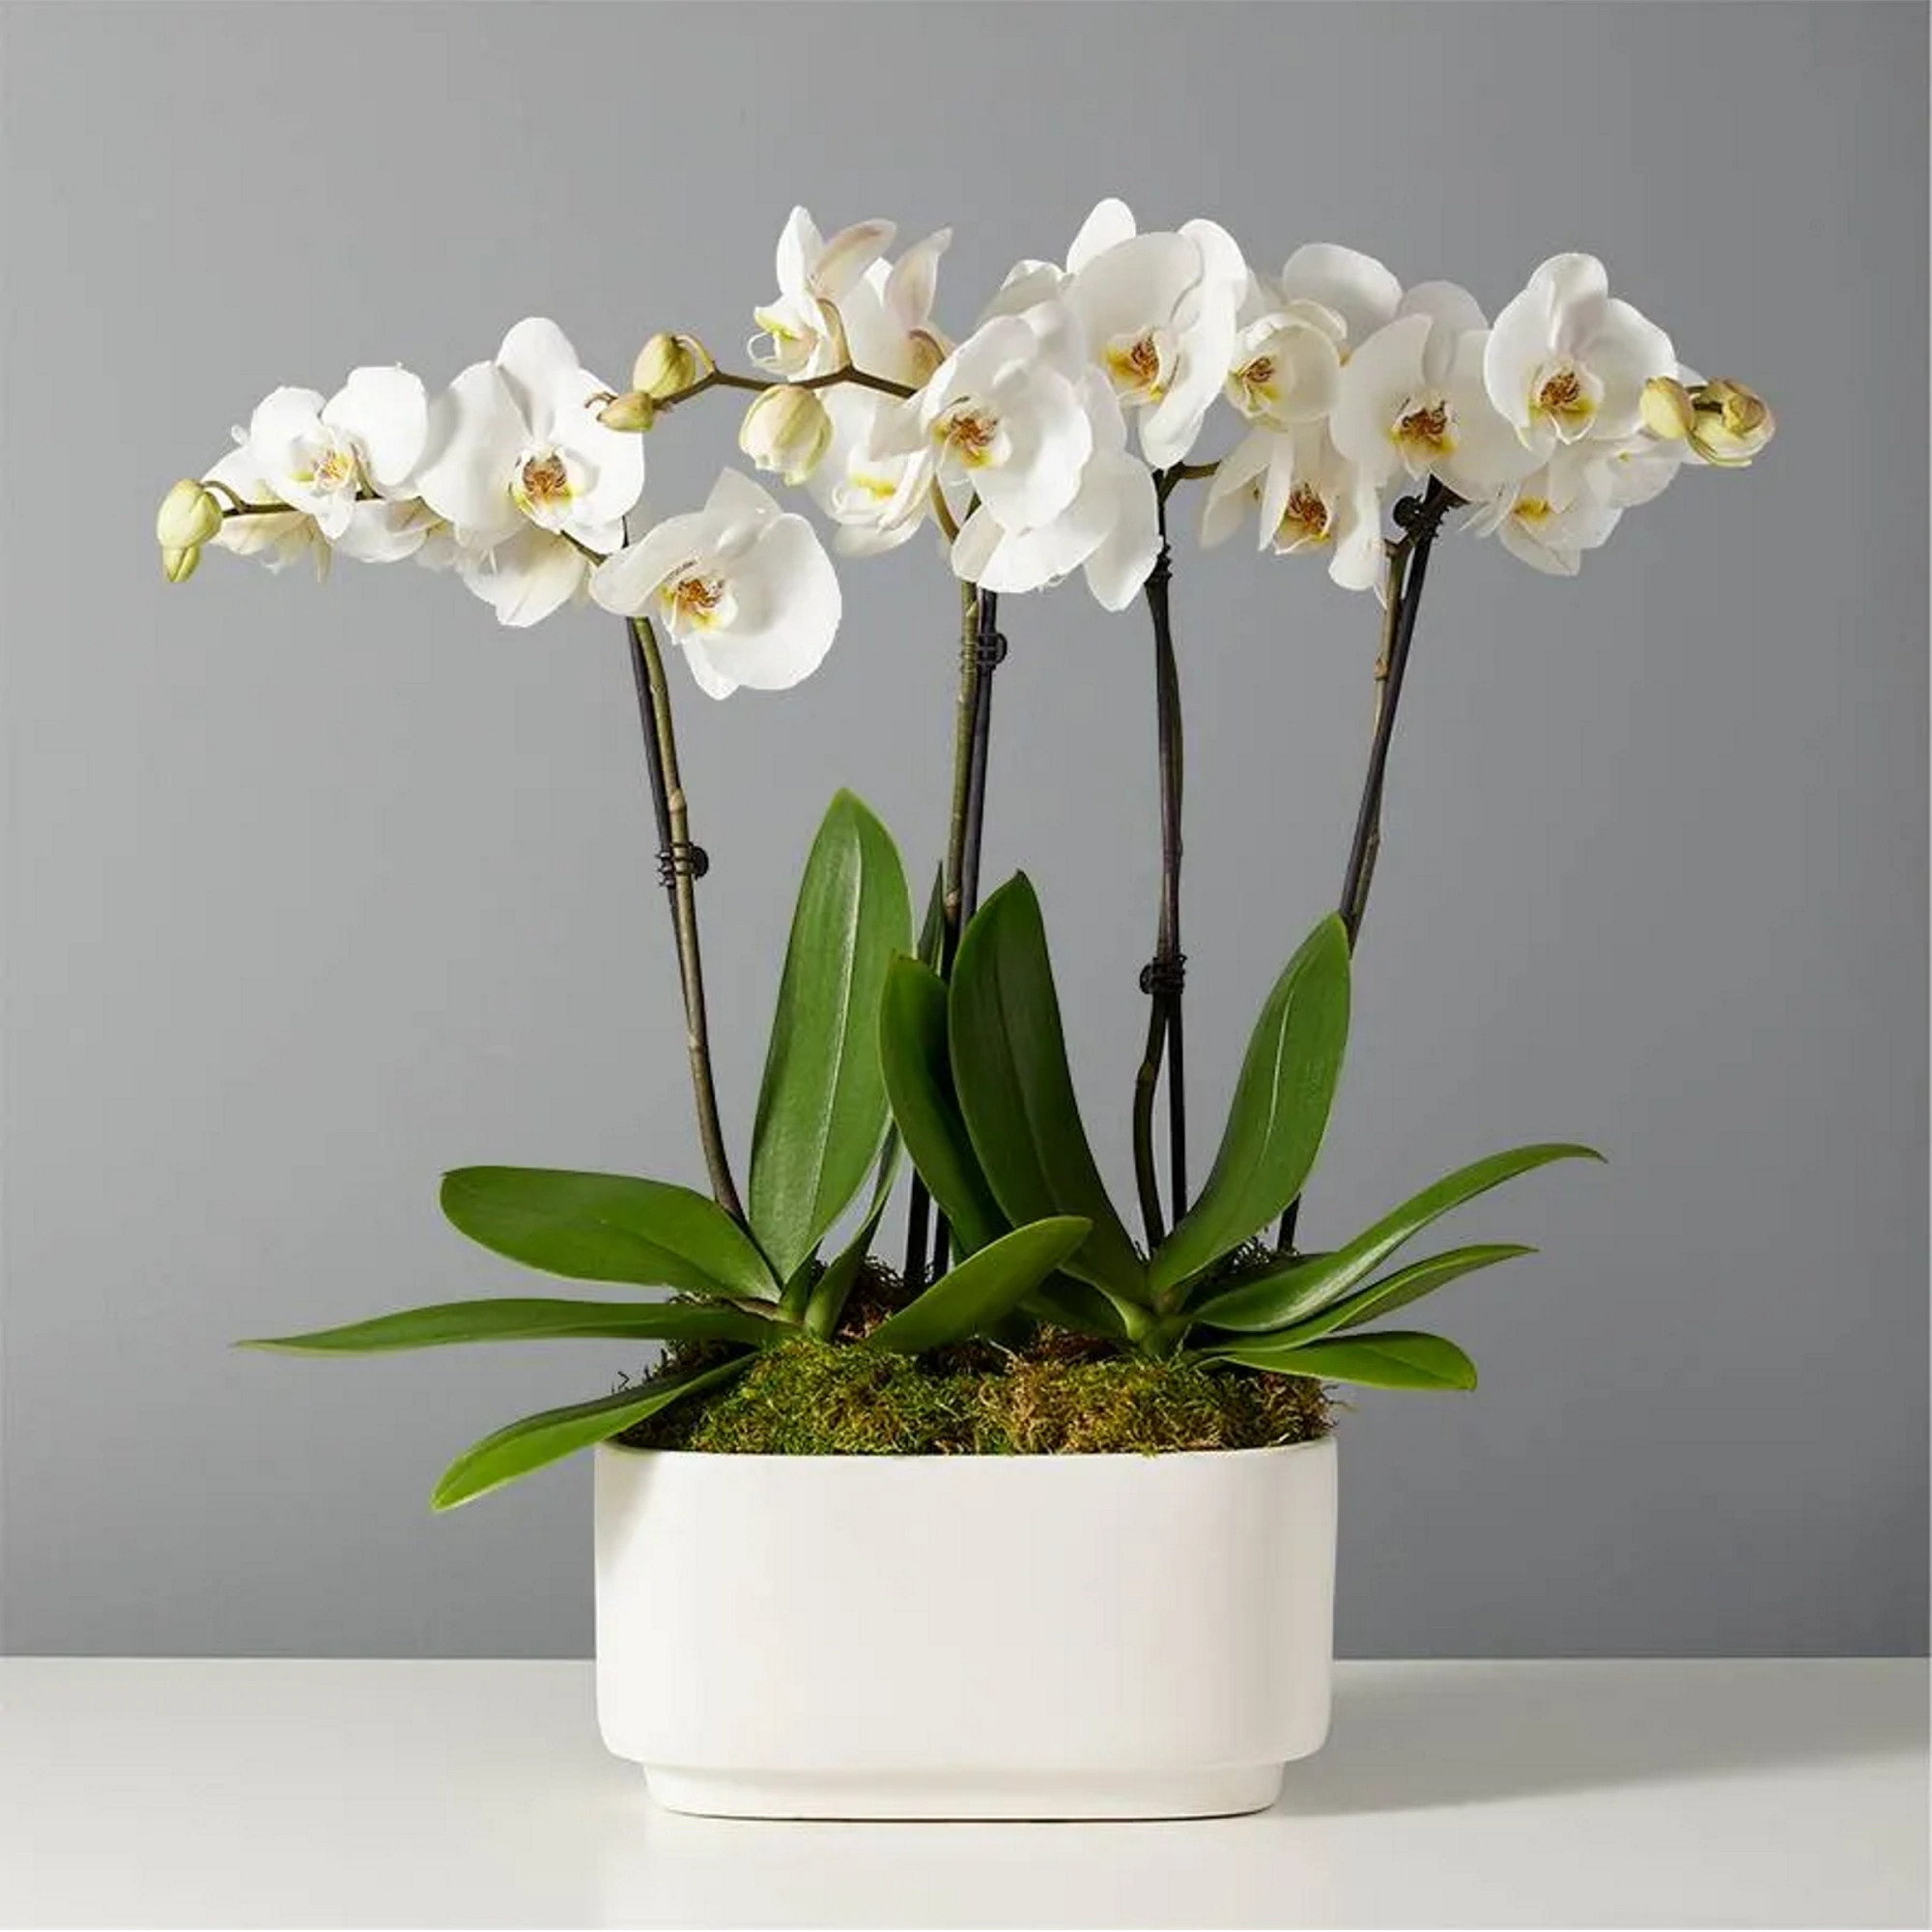
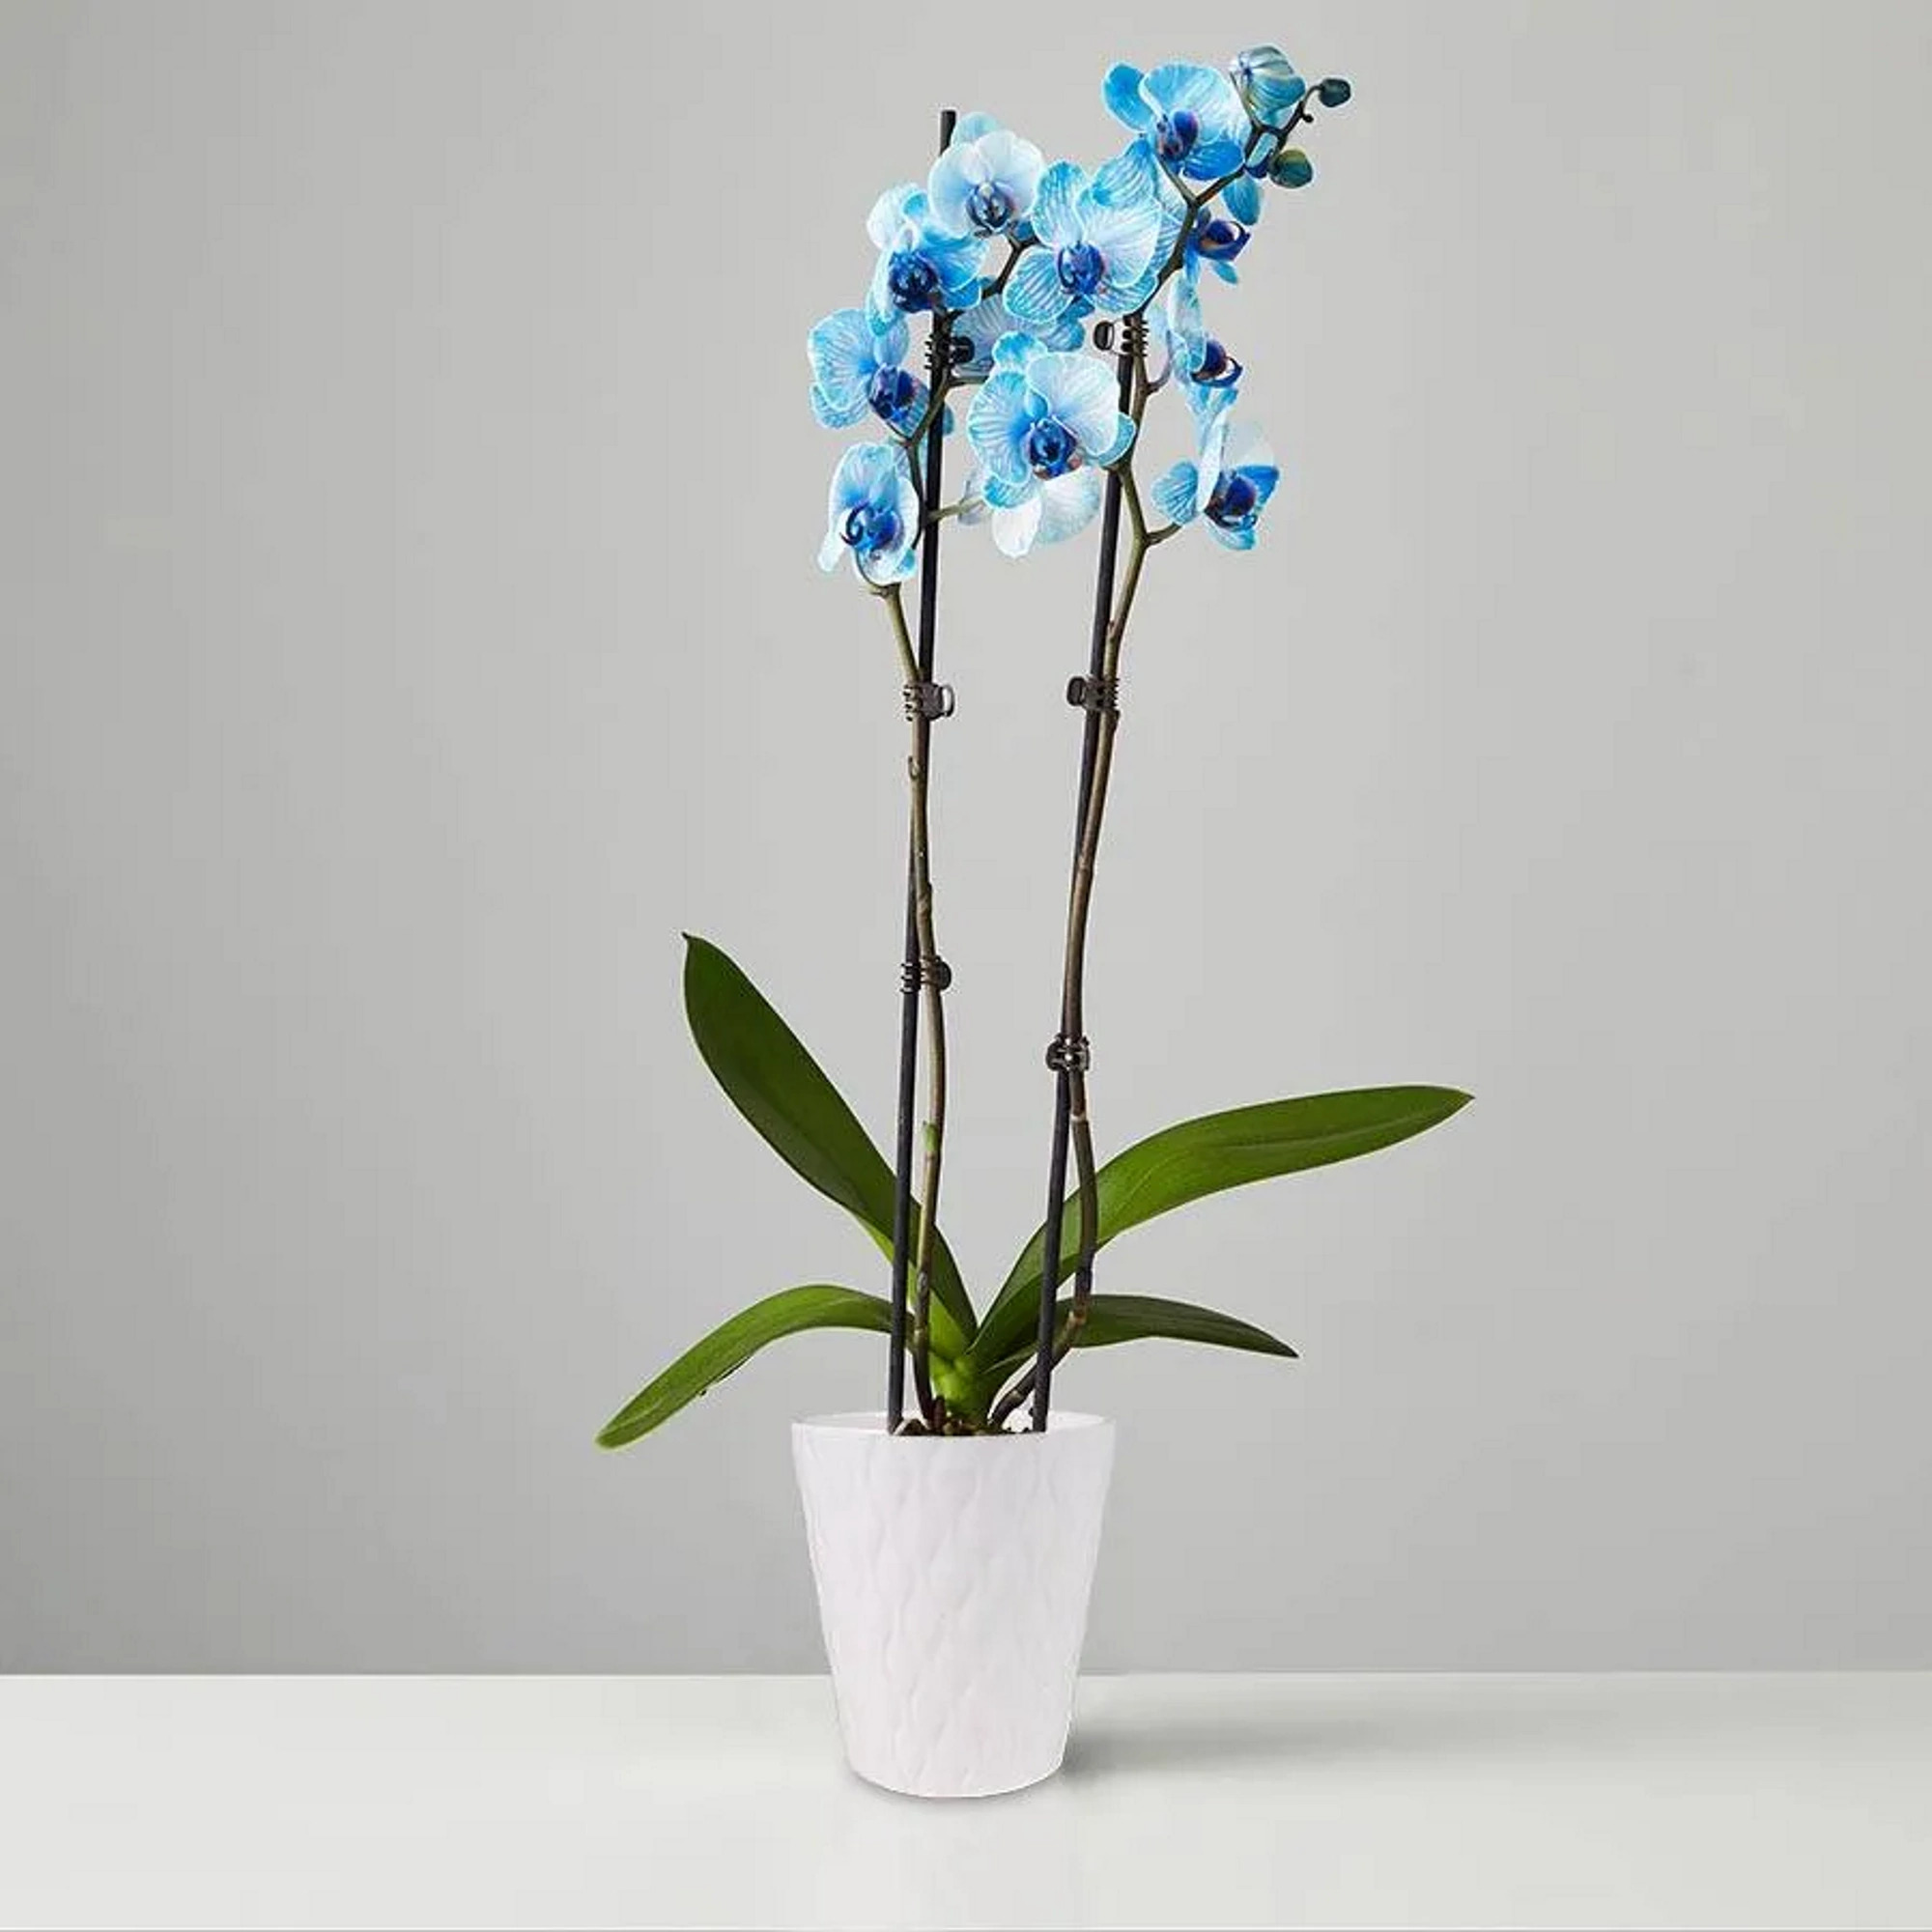
Shop orchids online
FAQs
When should you repot an orchid?
You may choose to repot your orchid if its roots are outgrowing the pot, but it's also a good idea to repot it routinely every couple of years. This can help prevent it from becoming pot-bound and encourage more growth.
‘Try not to repot your orchid while it’s blooming. It can stress out the plant and can lead to buds falling off,’ says Vladan Nikolic, a plant expert from Mr. Houseplant.
Can you leave aerial roots to grow?
'It's not mandatory to repot orchids just because they have aerial roots showing outside. If the plant looks healthy, it usually means it's doing great and is well-adjusted to its current setup,' says Carmela de Castro, owner of Orchid Republic Floral Boutique.
If you decide to leave aerial roots to grow outside the pot, they will likely dry out faster because they don't have moisture from the potting medium.
‘Make sure to water aerial roots every time you water the orchid. Ideally, water them more frequently than the potting mix,' says Vladan Nikolic, a plant expert from Mr. Houseplant.
What other indoor plants have aerial roots?
Aerial roots can be found on other houseplants that can naturally be found growing on other plants. For example, monsteras develop aerial roots because they are climbers found on trees in sub-tropical environments.
No matter the plant, it’s always a good idea to take care of aerial roots and ensure they receive the moisture they would otherwise get from soil.
Orchids have aerial roots that will grow in an unruly manner if you let them. If you wish to tidy them up by repotting into a larger container, take care to leave healthy roots while removing dead ones.

Tenielle is a Gardens Content Editor at Homes & Gardens. She holds a qualification in MA Magazine Journalism and has over six years of journalistic experience. Before coming to Homes & Gardens, Tenielle was in the editorial department at the Royal Horticultural Society and worked on The Garden magazine. As our in-house houseplant expert, Tenielle writes on a range of solutions to houseplant problems, as well as other 'how to' guides, inspiring garden projects, and the latest gardening news. When she isn't writing, Tenielle can be found propagating her ever-growing collection of indoor plants, helping others overcome common houseplant pests and diseases, volunteering at a local gardening club, and attending gardening workshops, like a composting masterclass.
