How to enclose a wild-ish patch – and transform a natural area of your yard
In this book excerpt, professional forager Tama Matsuoka Wong shows us how to style a wild area, and make it look intentional

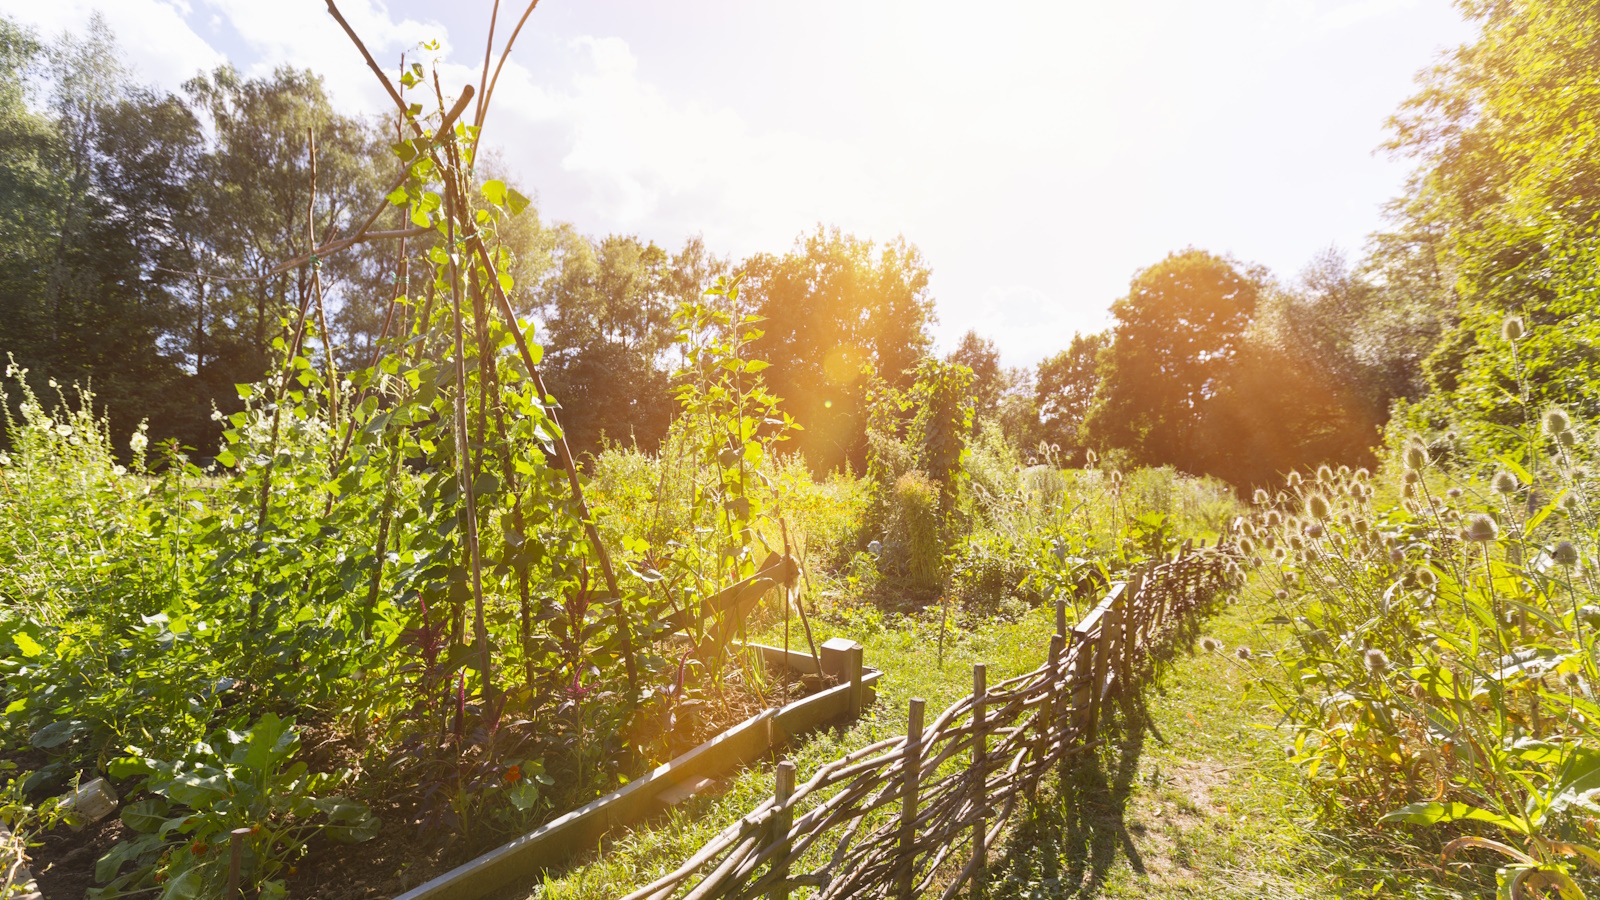
When it comes to designing a garden, most of us would agree that putting nature first would be a priority. But not everyone is agreeable to the idea of letting go completely, which is understandable.
A wildflower patch in your backyard might feel dreamy to look at when in bloom. In reality, however, when the flowers are over you might not want to be left with an area that simply looks neglected or messy.
In a recent interview with Homes & Gardens, professional forager and gardener Tama Matsuoka Wong gave us a very handy piece of advice, which is that provided you make a wild area look intentional, it will transform into the fabric of your outdoor space and look like it is meant to be there.
Here, Tama shares a project excerpt from her latest book where she shows us how to do it.
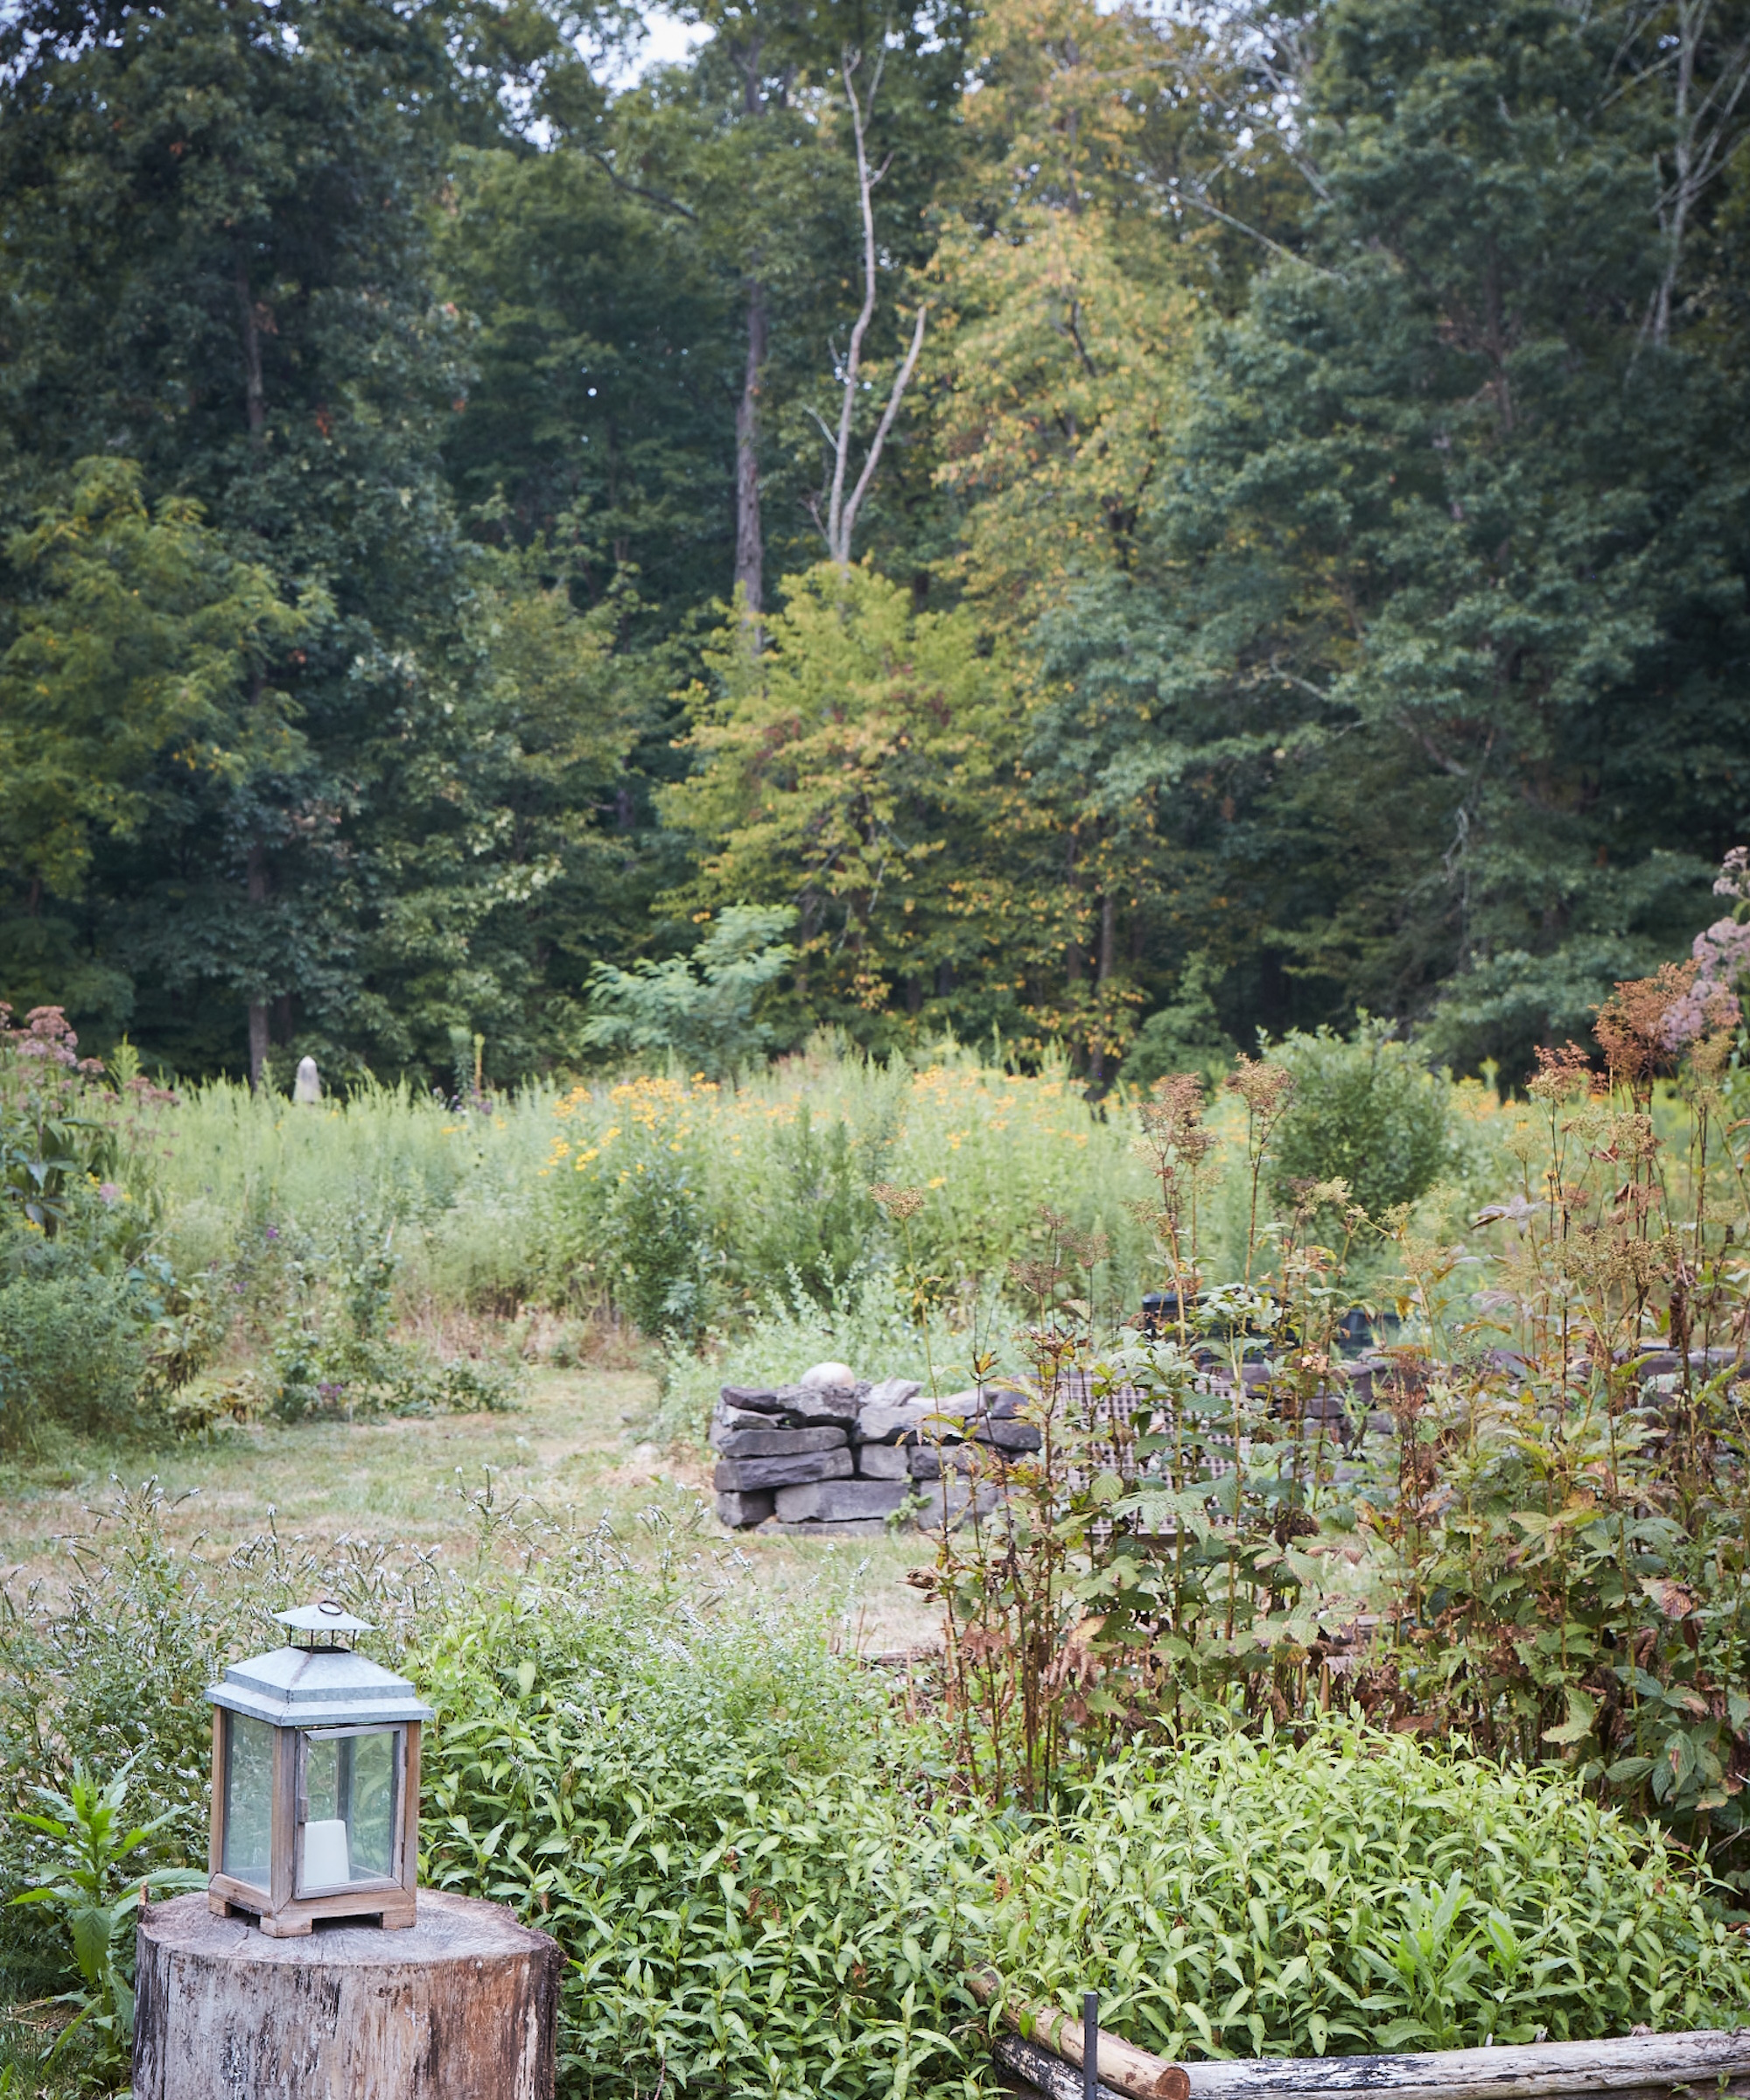
Expert advice on how to enclose a wild-ish patch of your yard
Her her new book, Into the Weeds: How to Garden Like a Forager, available to pre order on Amazon, Tama Matsuoka Wong shares how to transform a wild area of your yard.
Enclosing a wild-ish patch
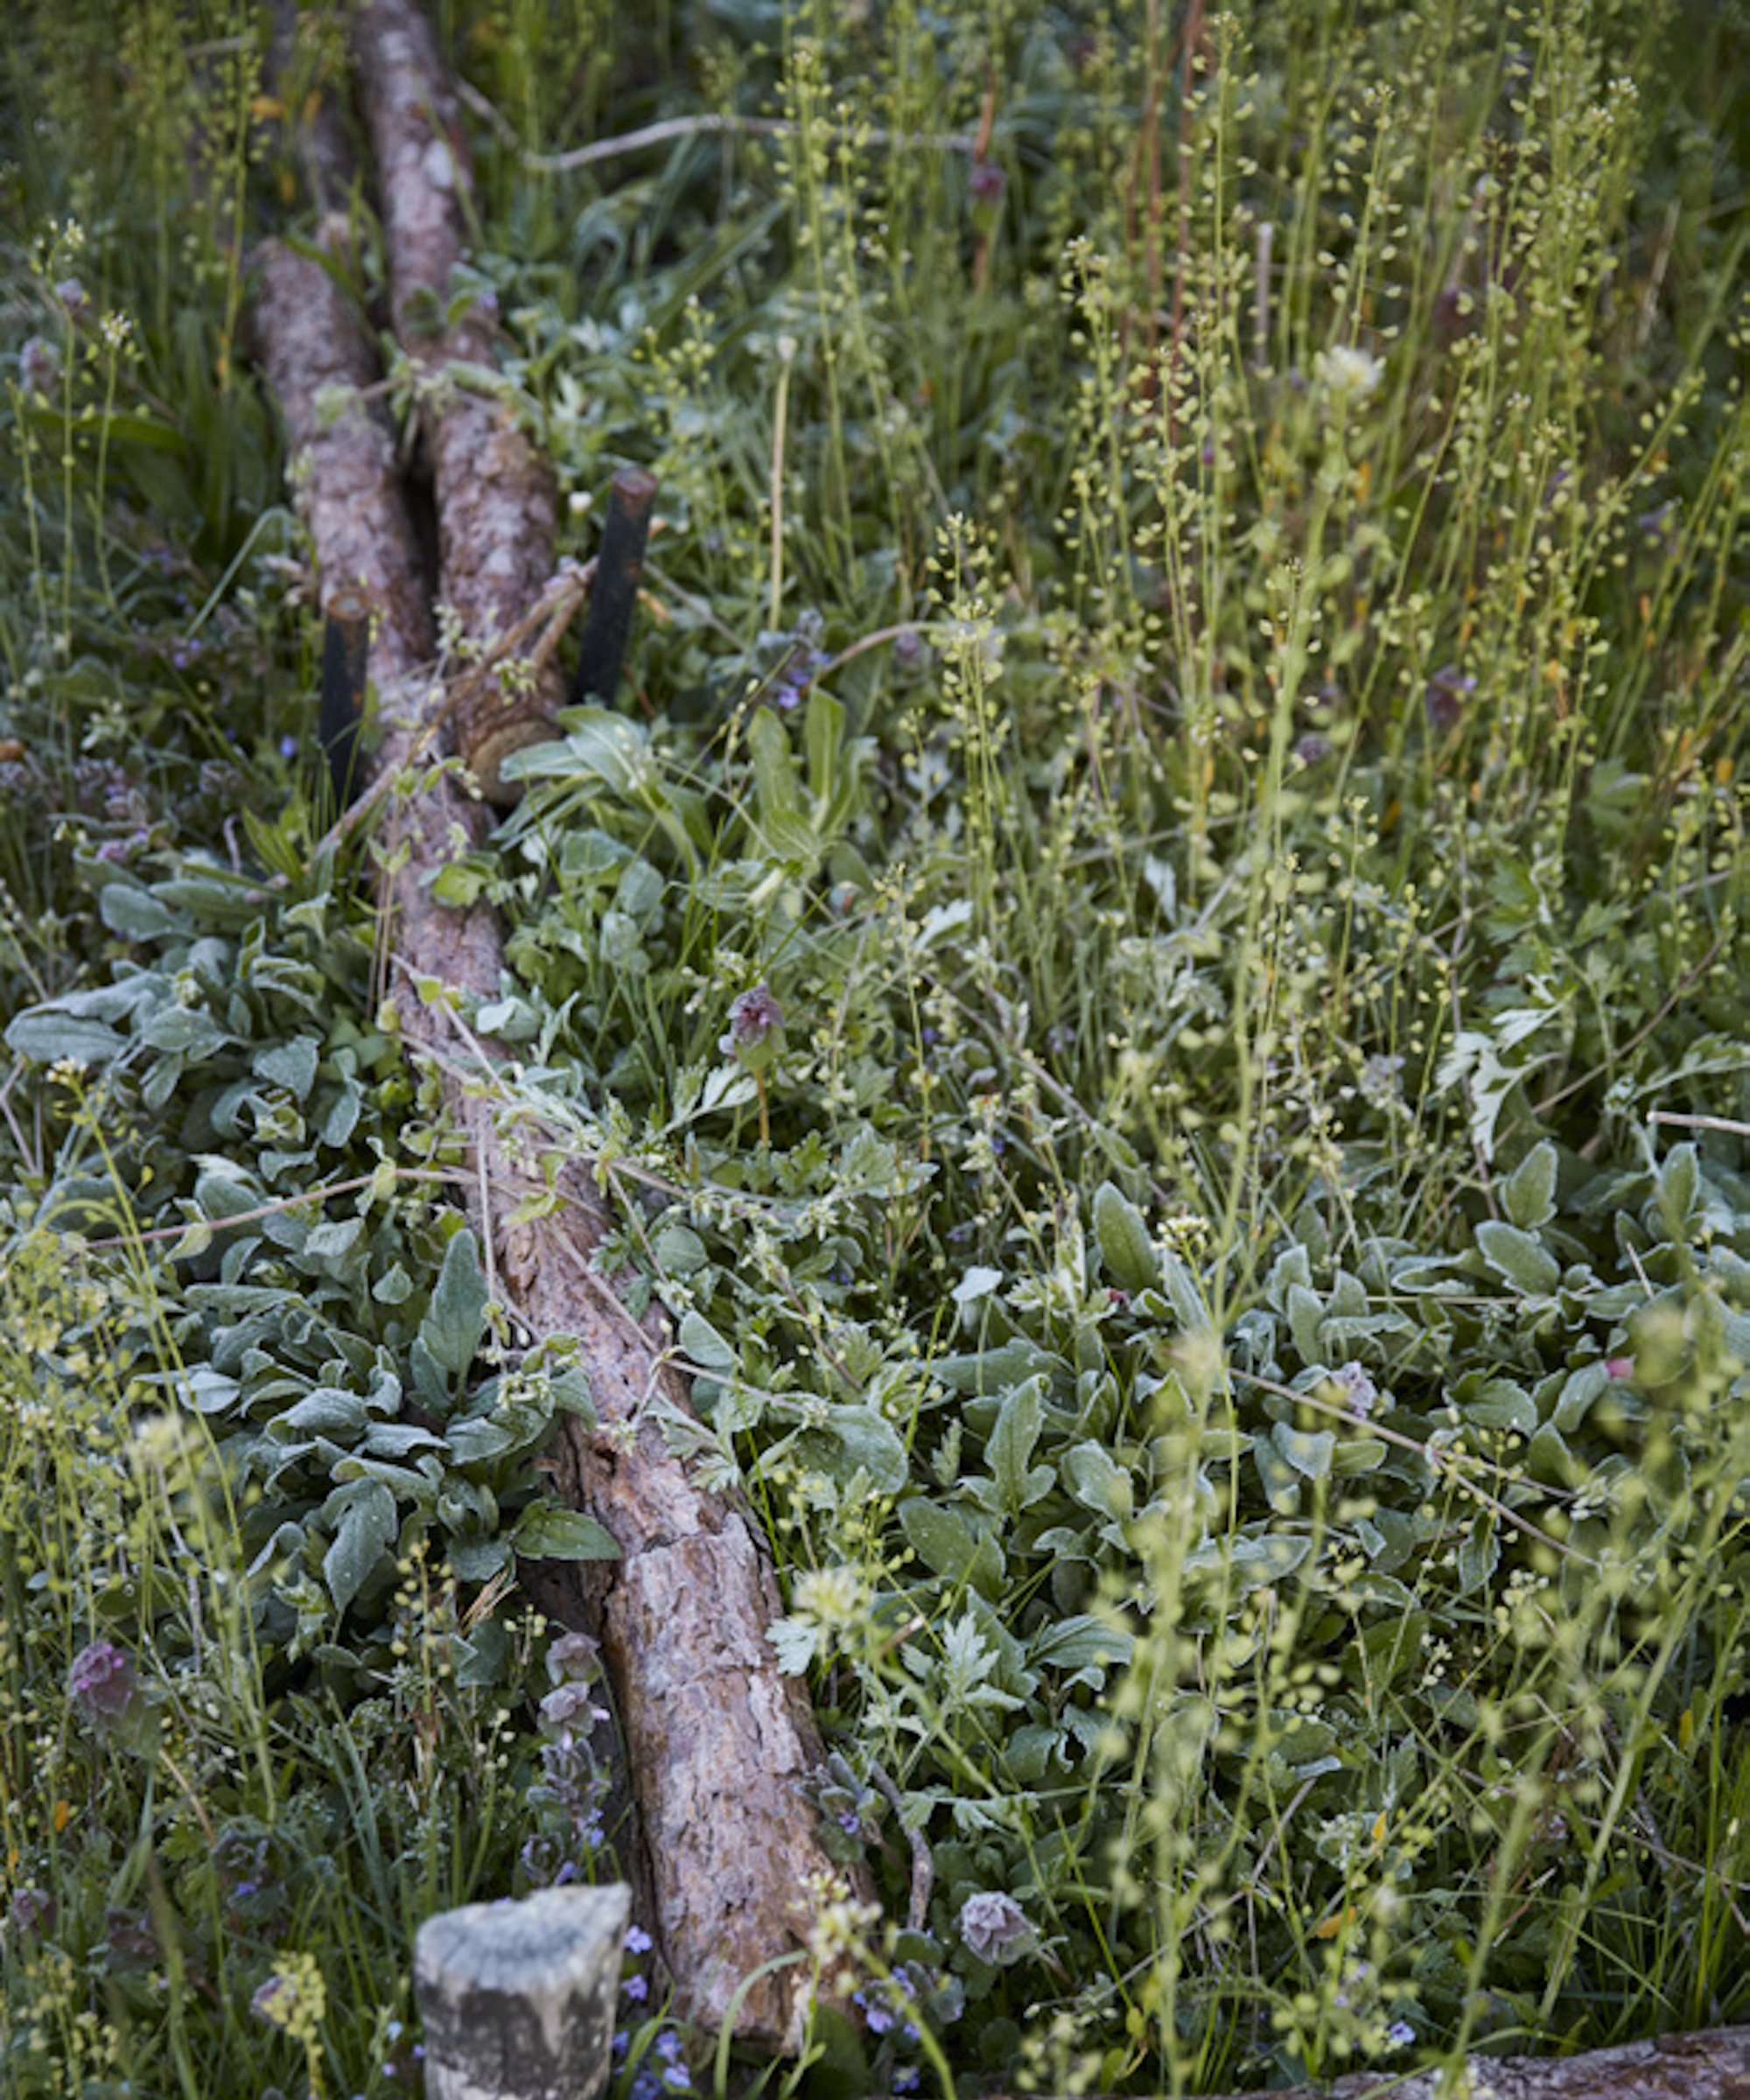
Take advantage of a certain 'weedy' patch that is already ripe for opportunity. Or a fallow area that is hard to 'maintain'. Some wild or semi-wild things already grow there: dandelions, chickweed, or even common milkweed.
My friend who lives in a suburb told me she wanted a wildish area, but her husband doesn’t like things that look unkempt, so she was nervous about having an area that looked 'out of control'. She settled on an area about fifteen square feet, tucked off to the side of the main yard. A portion of an existing vegetable raised bed or other ornamental garden bed would also easily work.
Design expertise in your inbox – from inspiring decorating ideas and beautiful celebrity homes to practical gardening advice and shopping round-ups.

Tama Matsuoka Wong is a wild food forager, author, and gardener based in New Jersey. She supplies some of New York City's most prestigious restaurants and has a deep knowledge of wild produce that informs her impeccable taste in their flavors and uses.
Starting small allows for adjustments
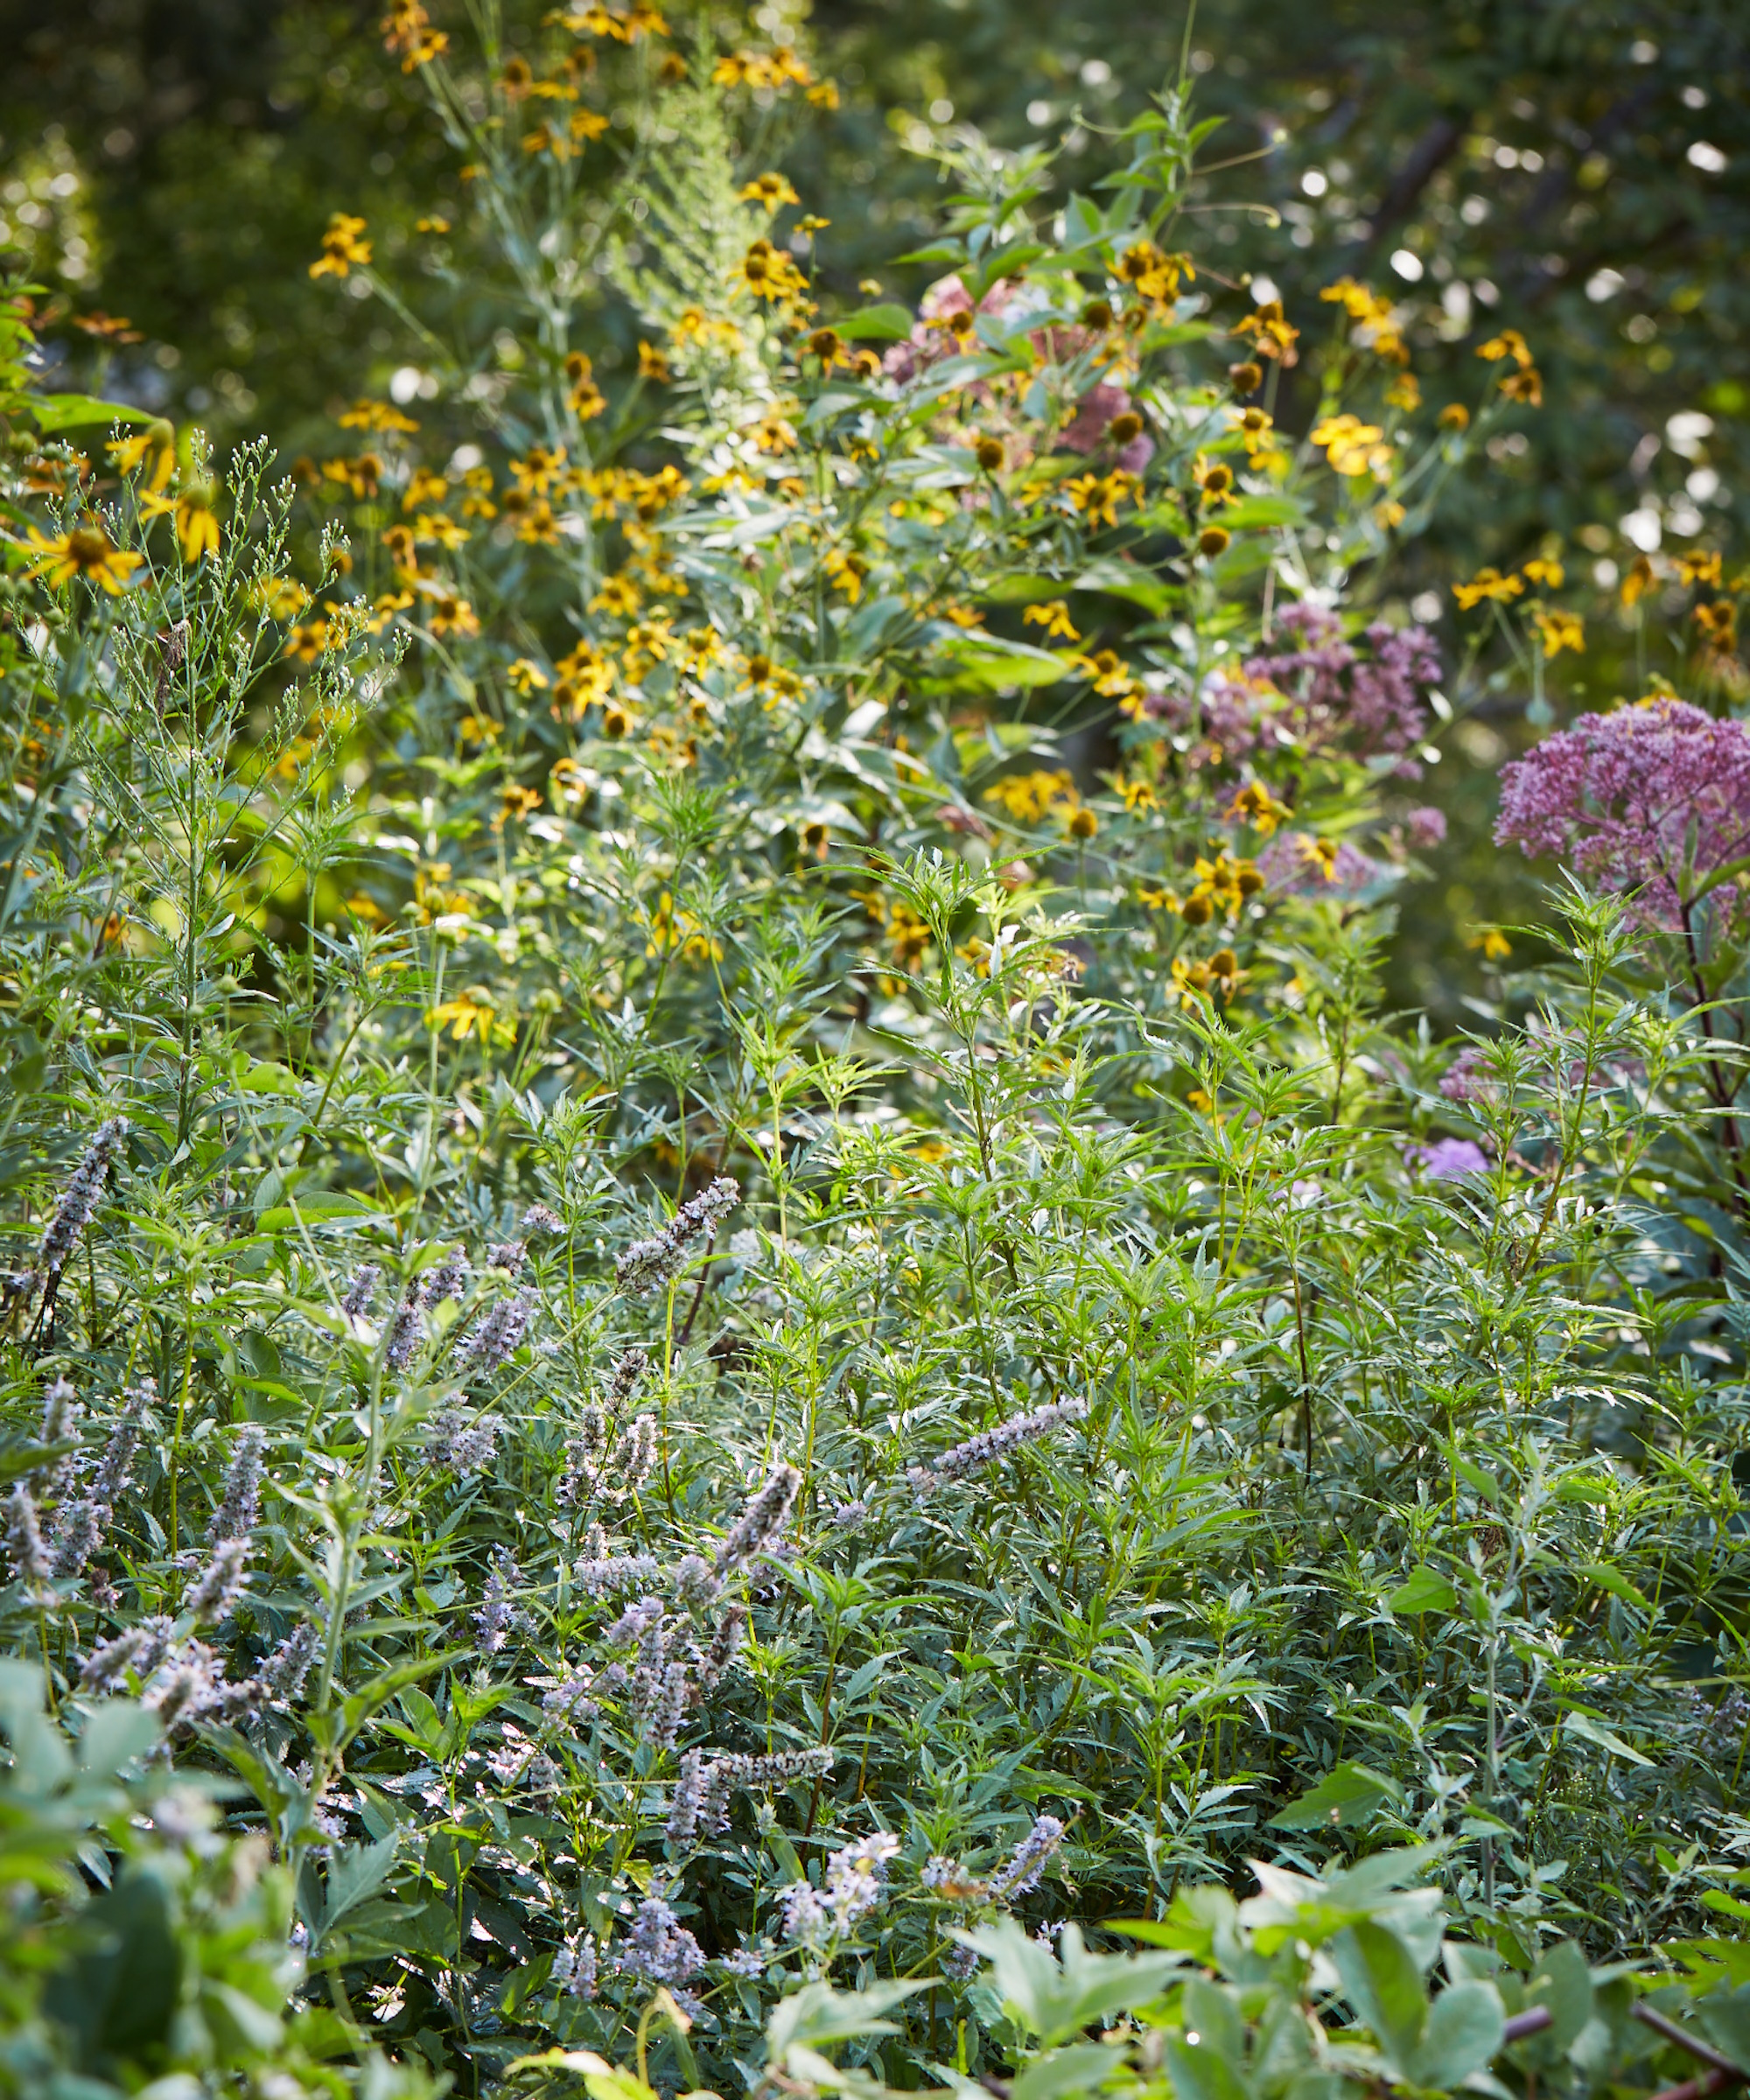
At this early stage the plot has every potential - or maybe no potential - so you don’t want to create something too permanent until you see how things shape up. I usually test things out first because plants will thrive where they want to be, with a little bit of nudging.
It’s a good idea to mark off the area because, if you are like me, one or more of the following may happen:
- Over the winter, I forget where it is and it ends up permanently lost.
- Unless I am always on weed patrol, other family members may trample all over it, or friends may take their dog for a walk through it.
- Whoever is doing the mowing or weed whacking cuts it down so that it is uniform with the surrounding area.
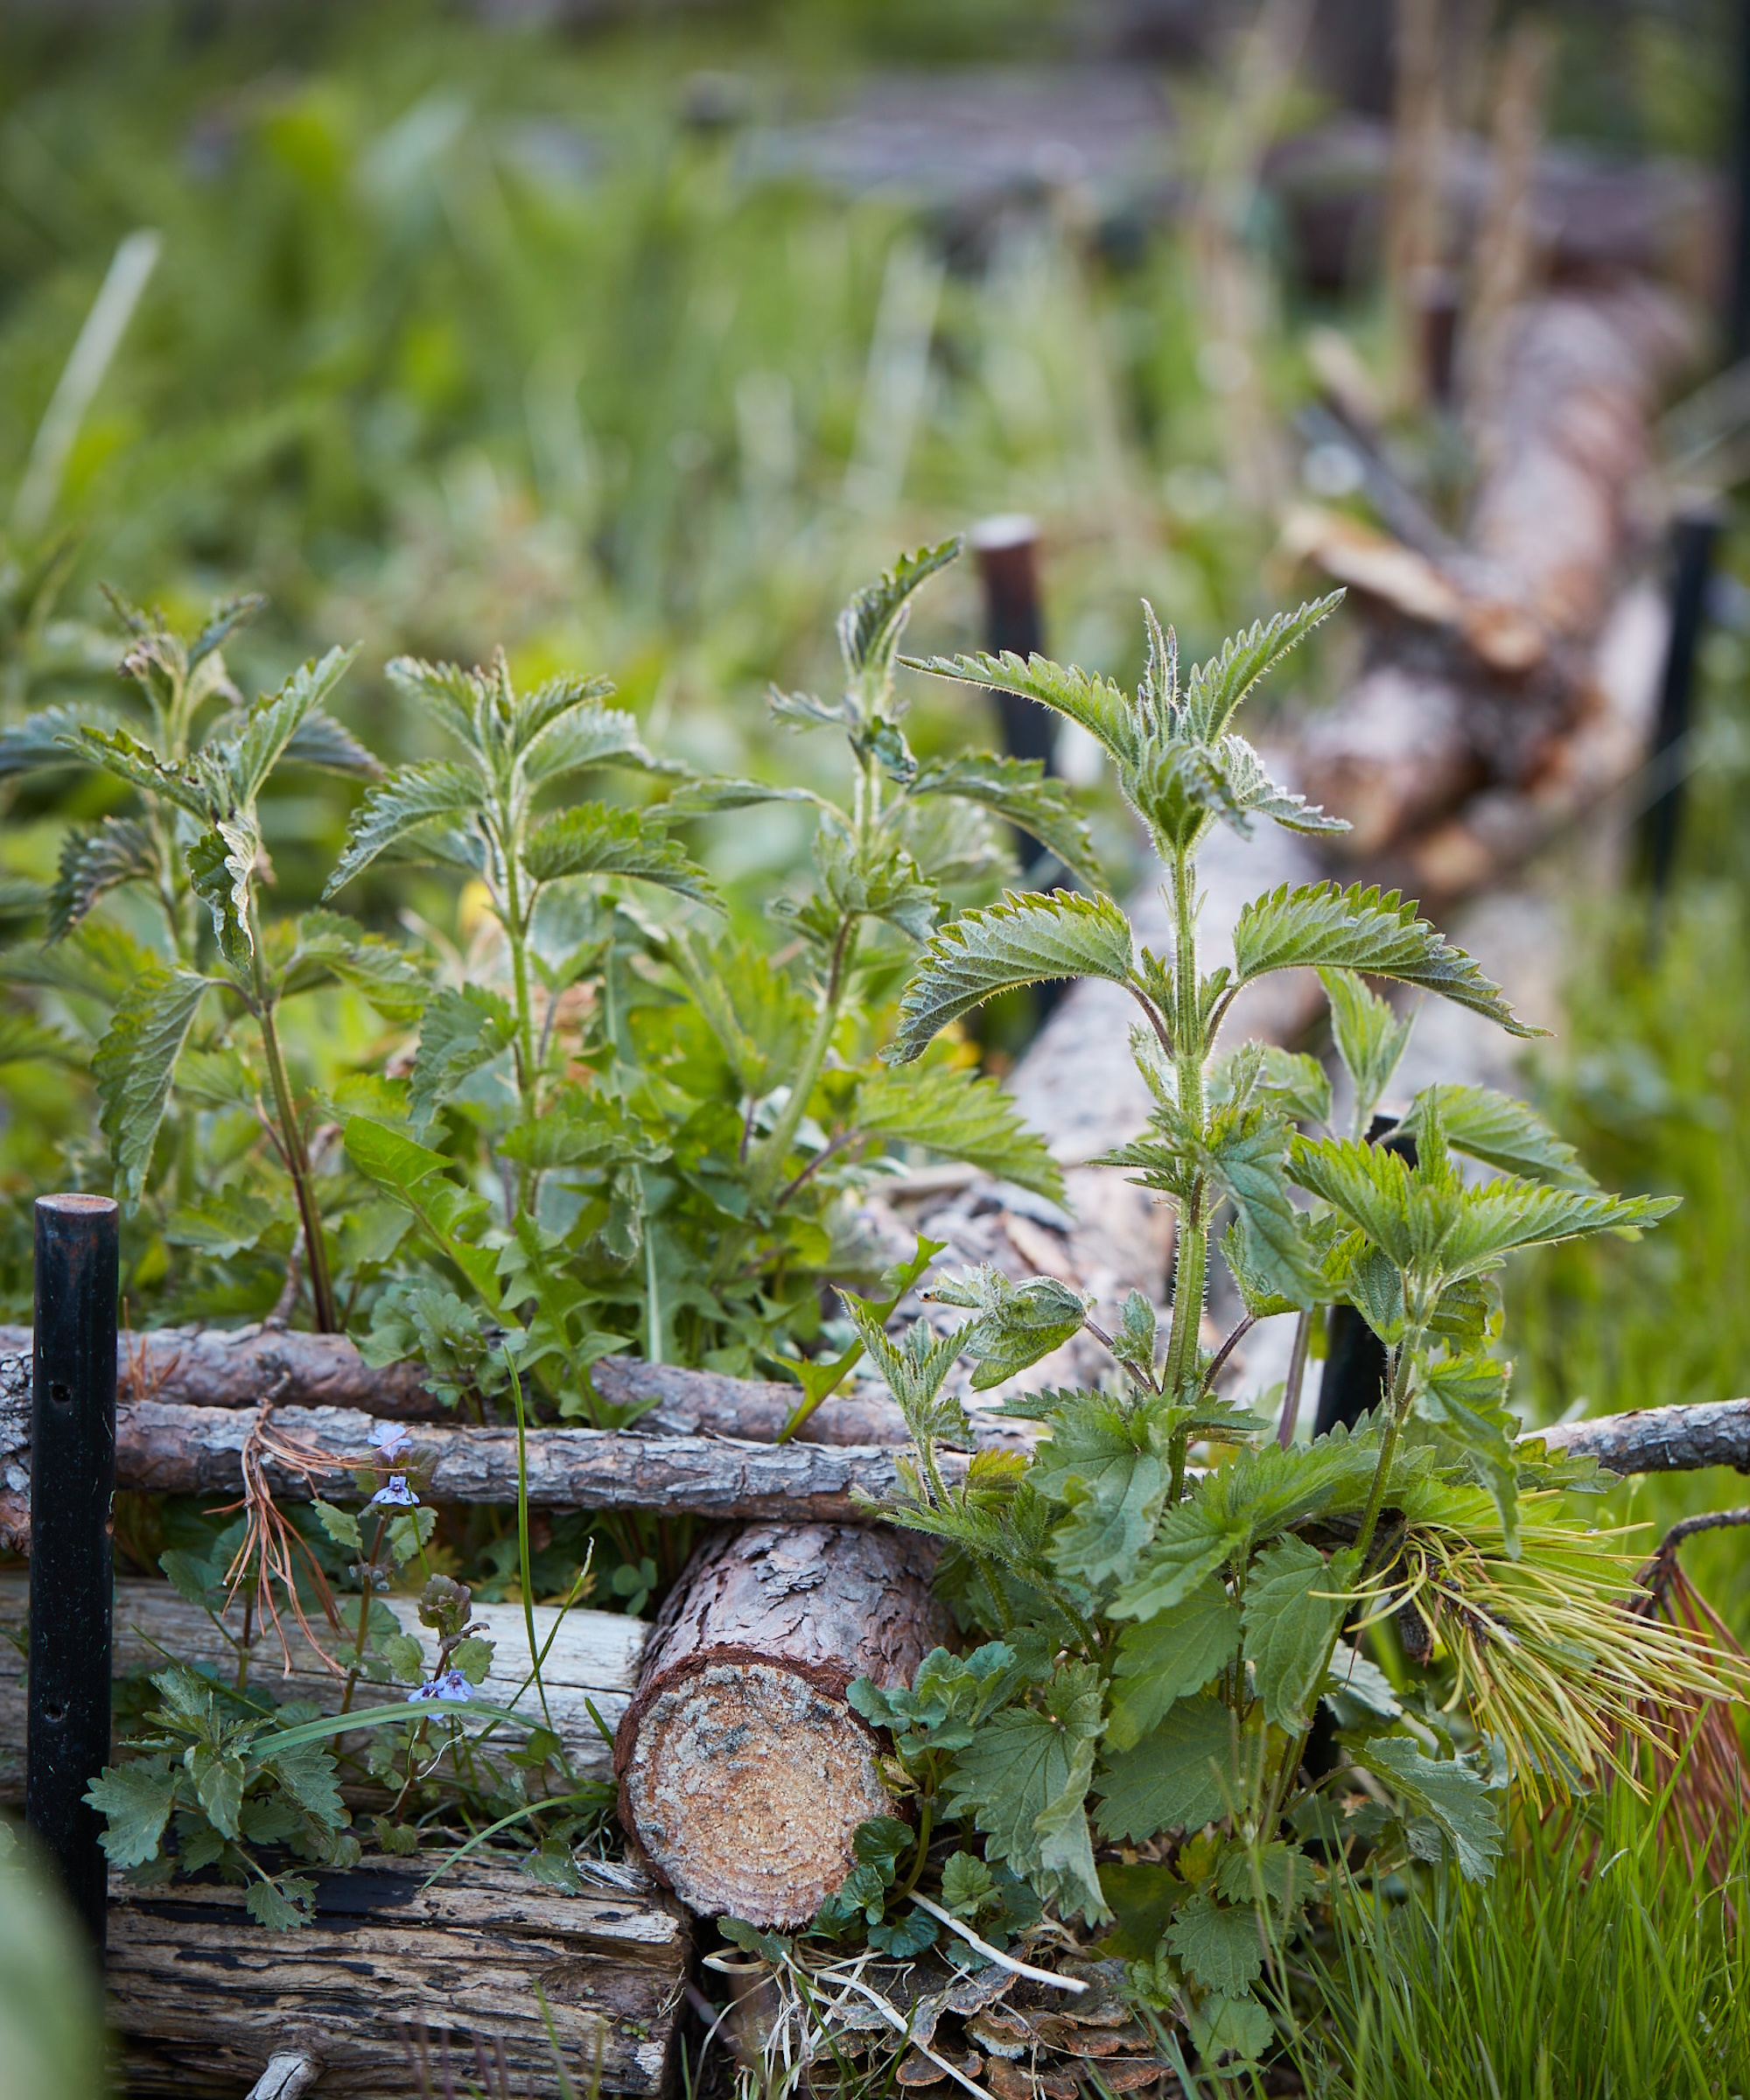
I try to mark off sections that have a cluster of interesting plants that I want more of: yarrow, wild spearmint, wild ginger. Mark off the chosen area with any visible barrier, like fallen branches, vines, bushes, even small tree trunks. I use young pitch pine and juniper saplings and branches to mark off an outline and create a barrier for this area.
When things start happening in the patch, I go one step further and create a sturdier enclosure as a boundary. I make these with materials I have on hand, and they can be as neat or messy as you like. I move the posts of the enclosure easily to reconfigure the shape or increase or decrease the area depending on how the 'test' patch is growing.
This project will yield one enclosure for a 9-foot / 2.74 m long by 11-foot / 3.35 m wide patch.
The materials you need:
- For the length: 2–4 branches or sapling trunks, 9 feet / 2.74 m long and at least 2 inches / 5.08 cm diameter
- For the width: 2–4 branches or sapling trunks, 11 feet / 3.35 m long and at least 2 inches / 5.08 cm diameter
- 24 steel rebar pins, 18 inches / 45.72 cm long and 3/4 inch / 1.9 cm diameter, with pointed ends
- Hammer or mallet
Lay four of the sapling trunks (two of each length) on the ground in a rectangular shape.
Position six pins diagonally opposite each other so there are three pins on each side of the first trunk, driving them into the ground with a mallet so that they hug the trunk in place.
Leave approximately 24 inches / 60.96 cm between pins. If a pin hits a rock or root, move the pin a little to the left or right. This method is extremely forgiving. Repeat with the remaining pins on the other three trunks.
Stack the second four saplings on top of the lower set of trunks, adjusting the pins if necessary to hold the stack in place and so that the saplings do not roll out.
Start with a minimum of two sapling trunks stacked on each side and then continue to stack over time or as you find more woody material.
Excerpted with permission from Into the Weeds by Tama Matsuoka Wong; published by Hardie Grant Publishing, March 2024; RRP $32.50 Hardcover.

Rachel is a gardening editor, floral designer, flower grower and gardener. Her journalism career began on Country Living magazine, sparking a love of container gardening and wild planting. After several years as editor of floral art magazine The Flower Arranger, Rachel became a floral designer and stylist, before joining Homes & Gardens in 2023. She writes and presents the brand's weekly gardening and floristry social series Petals & Roots. An expert in cut flowers, she is particularly interested in sustainable gardening methods and growing flowers and herbs for wellbeing. Last summer, she was invited to Singapore to learn about the nation state's ambitious plan to create a city in nature, discovering a world of tropical planting and visionary urban horticulture.