How to plan a kitchen garden – a step-by-step guide to choosing the ideal layout, selecting the best crops, and making it look utterly beautiful
Even if you're starting from scratch, we have made planning a kitchen garden simple with this expert advice

There is something so satisfying about planning a kitchen garden – laying down ways to provide your own homegrown vegetables, fruit and herbs for the kitchen table, all year round.
A kitchen garden is a small, compact space, located close to the house (ideally near the kitchen) where you can quickly nip out to get herbs, tomatoes, salad greens or other delicious produce when cooking. They often also incorporate a sitting area, and are more curated and aesthetically pleasing than large vegetable gardens.
Planning a kitchen garden begins with inspiration – provided by countless kitchen garden ideas – however, the next step transforms these ideas into a reality. From figuring out the right position and defining its size and shape through to picking your crops, here is our step-by-step guide to getting it right.
Step 1: Look at your space and divide it into sections
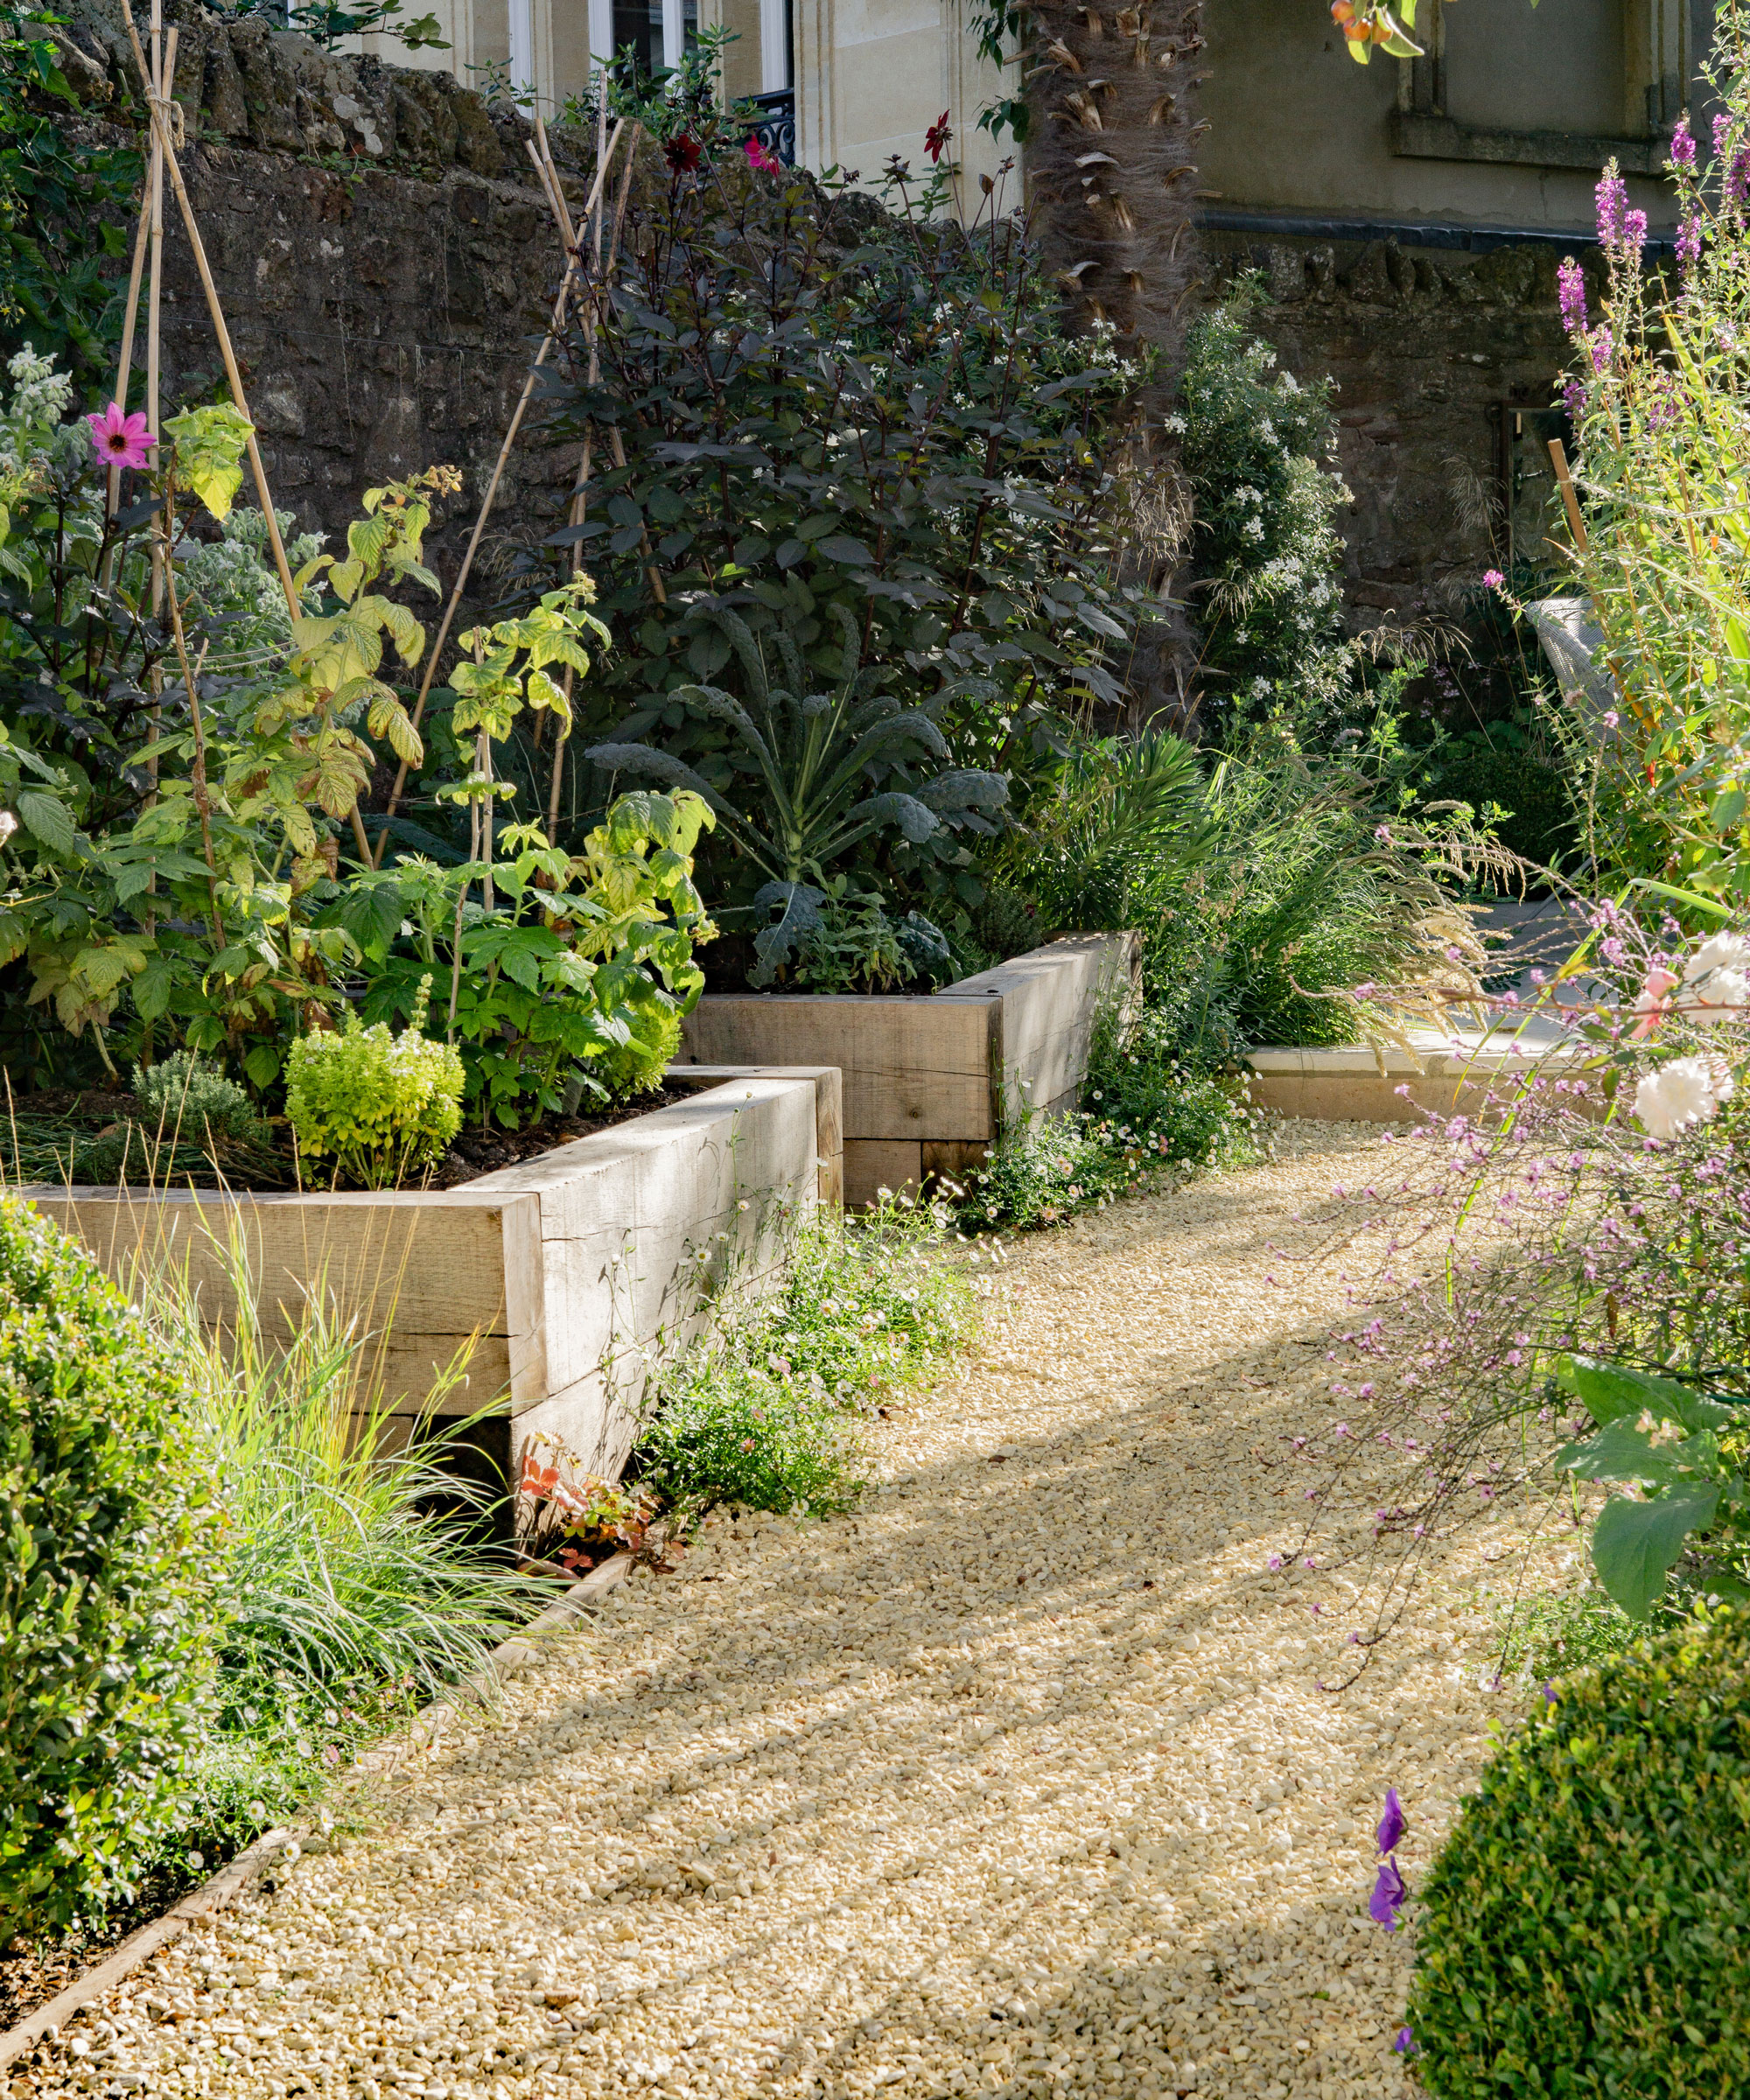
Kitchen gardens and the grow-your-own movement has seen a recent resurgence, and it's understandable. Growing the best fruit trees and planting the easiest vegetables will reward you with the freshest and tastiest crops to enjoy straight from the ground.
A kitchen garden should be planned according to the size of the available space. A good way to start is by drawing a sketch of the area and then dividing it into squares or rectangles. Each section can then be allotted a specific type of vegetable or herb.
This lovely gardener's journal from Amazon will get you off to a good start with your planning.
Positioning the kitchen garden close to the kitchen allows you to pop out quickly and grab a handful of herbs or a larger harvest as needed.
Design expertise in your inbox – from inspiring decorating ideas and beautiful celebrity homes to practical gardening advice and shopping round-ups.
‘Choose an area you can get to easily,’ says Sarah Mead, head gardener at Yeo Valley Organic Garden. ‘That way you can harvest and add successional plantings throughout the season. Don’t be afraid to mix edibles and ornamentals for a really interesting display.’
Below we have created a handy checklist to help with this first step:
- Work out how much space you have – take some time to consider what would suit your needs and where you may have space for beds or containers when considering how to plan a kitchen garden.
- Decide on the size of plot you would like to create and can manage.
- Draw up a plan of the beds needed. A large plot with room to grow a lot of crops will involve a lot of work, both in terms of preparation and maintenance, so be realistic.
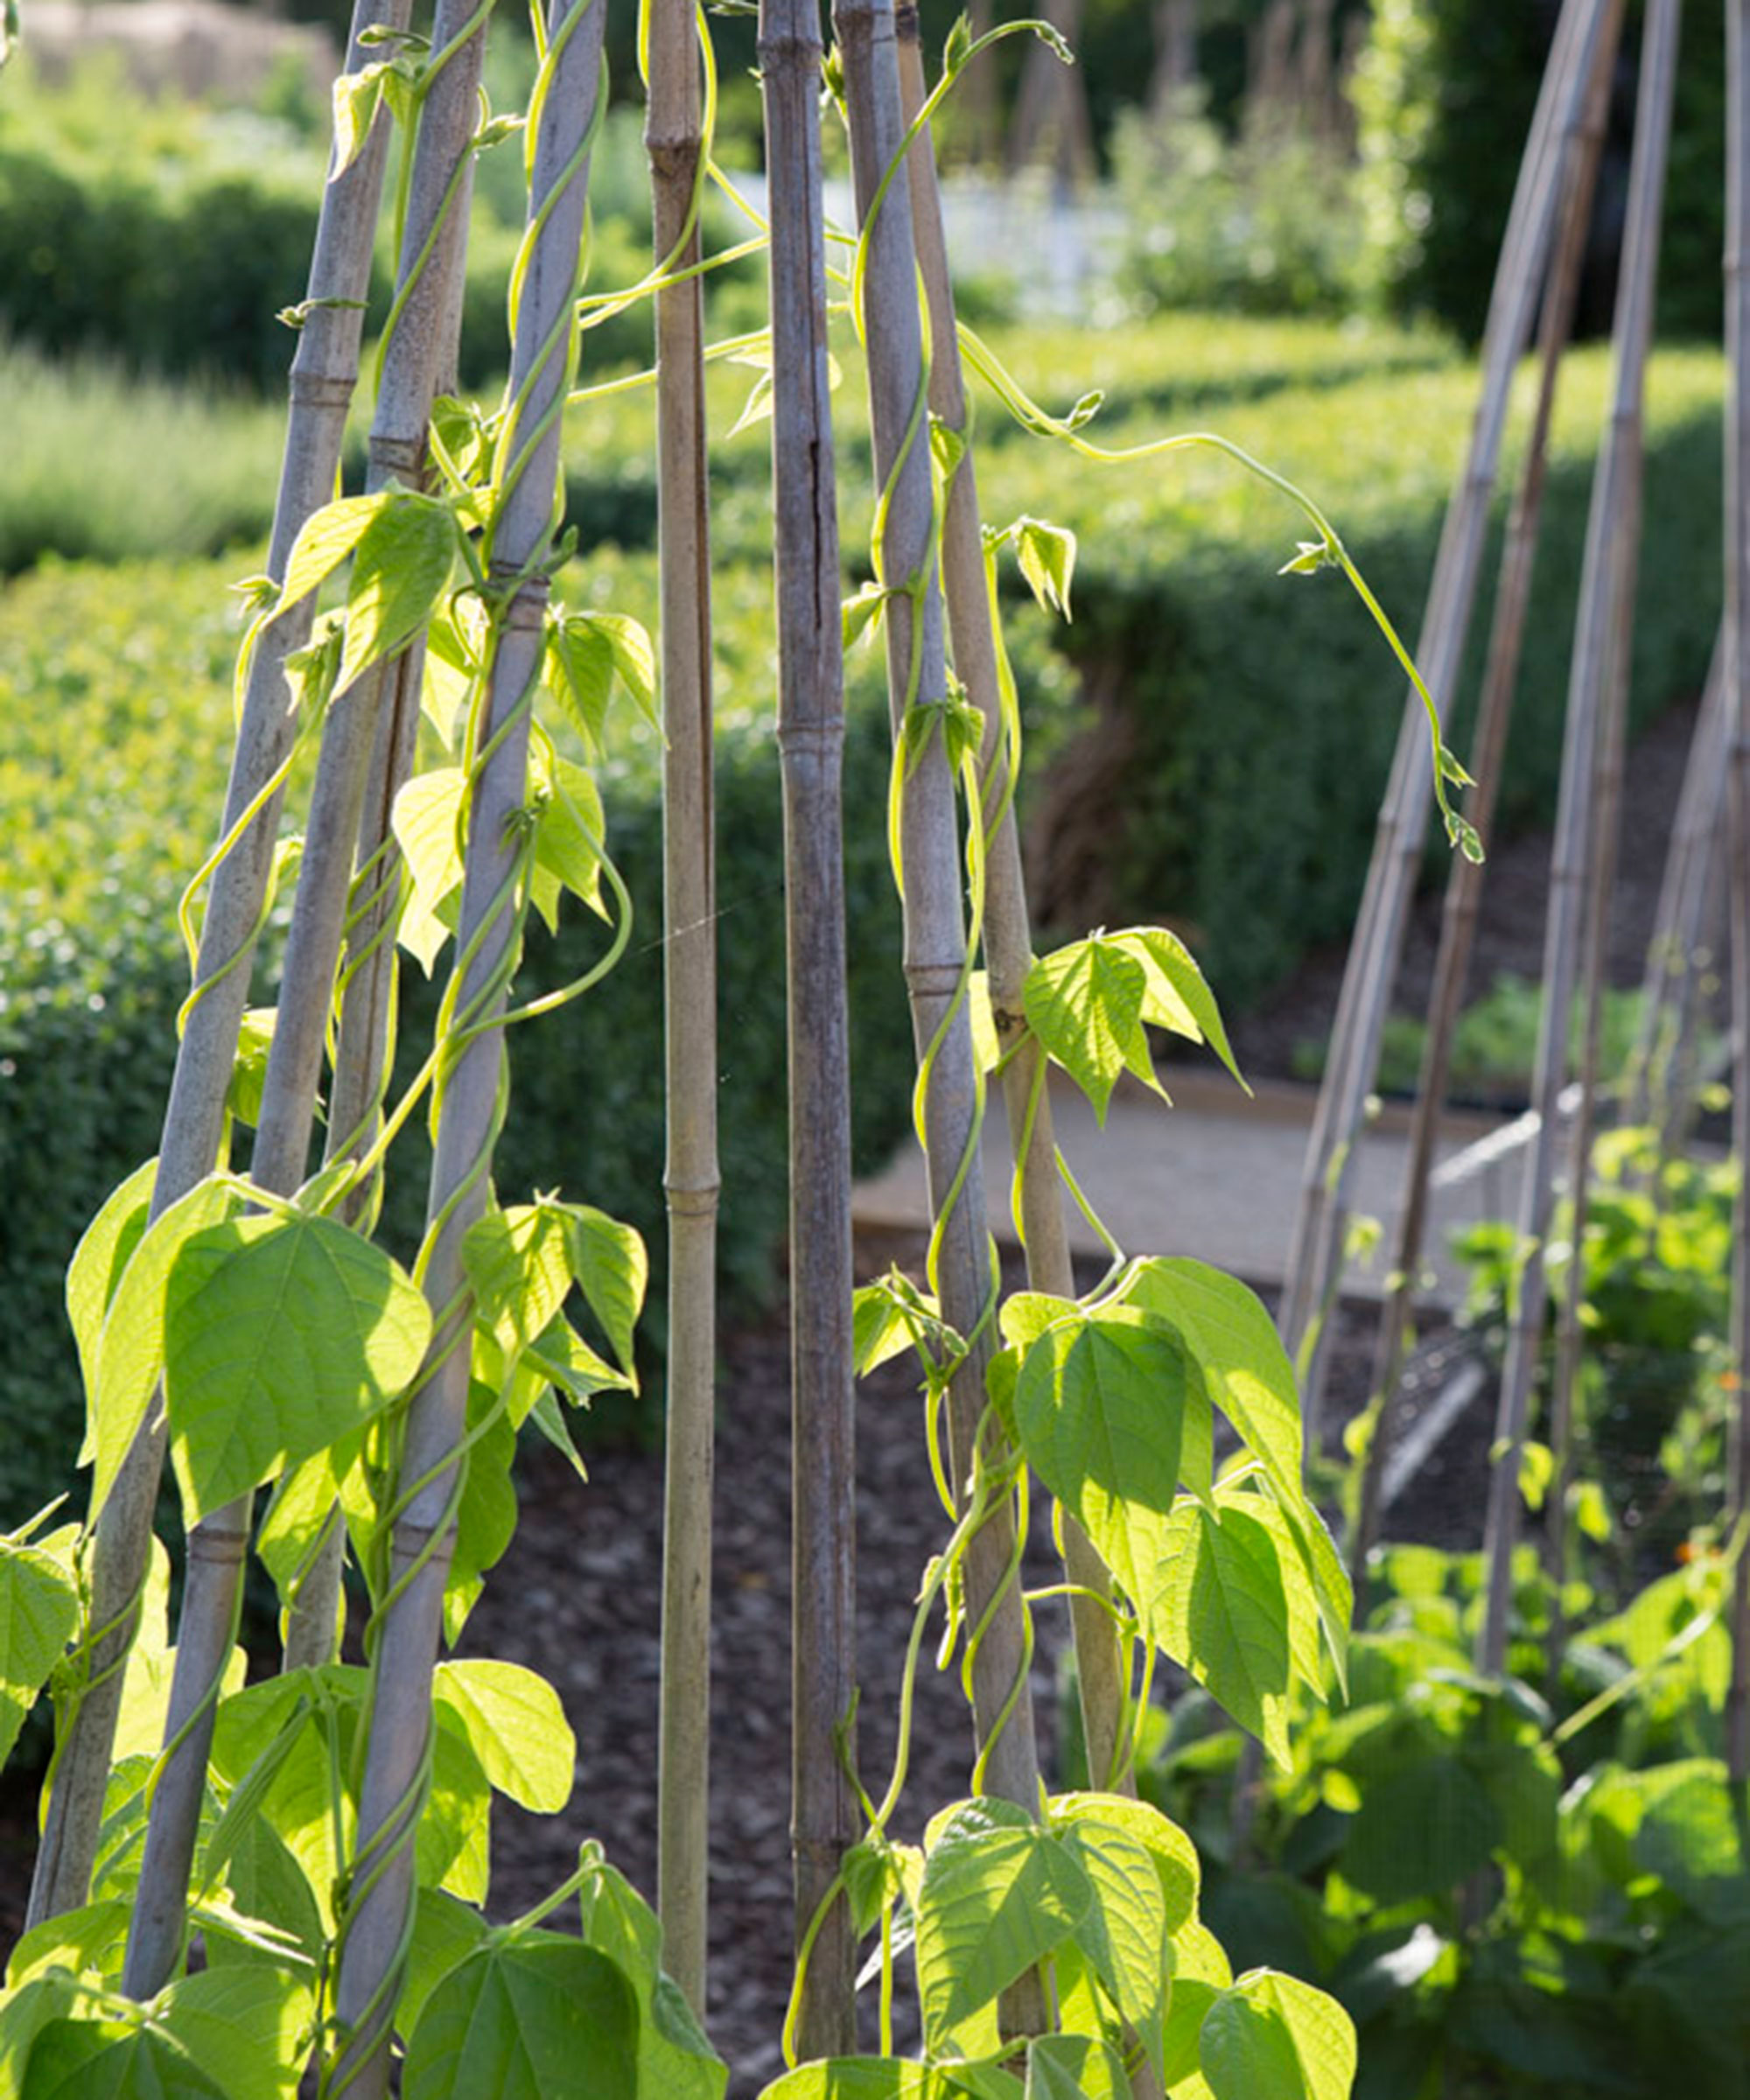
- Think vertically – vegetable garden trellis ideas allow you to grow crops upwards in the narrowest of spaces, against fences and walls. Can you incorporate any vertical growing into the space you have using containers or grow bags? Similarly, planters and shelves can be attached to a wall, and pots can be arranged on ladders or steps. You can easily double the growing space in a window box by hanging pots from it.
Step 2: Plan your kitchen garden layout
If you want a traditional plot, aim for a neat and structured layout with a system of raised beds and garden path ideas. This formal style is known as a ‘potager’. Divide into four areas, ideally with paths, with a small, round central bed if you have the space.
‘The four beds are then allocated to different plant groups,’ explains plant expert Sarah Raven. ‘Use the first one for roots, subdivided between new potatoes, beetroot and carrots. Use the second for crops like beans and peas (known as legumes). The next one should be for salad and herbs, and the final one a mix such as courgettes, sweetcorn and leafy greens like chard and spinach.’
Every plot is different, so work out the best design for your space and needs. There are no rules and you can mix fruit, herbs, vegetable and flowers together, in rows or in blocks. Draw the design on paper first to get the layout clear in your mind.
These modular raised beds from the Gardening Know How shop are perfect for kitchen gardens, and they come in a range of colors.
Symmetry and balance are key elements in designing a kitchen garden with a formal layout, but they also work to add drama and focus to an informal look. For the highest yield, though, stagger the plants in triangles.
It can be helpful to mix plantings as a large area with a single crop can attract more pests.
Don't forget to include access pathways so that you can get between crops for weeding, planting and harvesting.
Step 3: Get sun, water and wind protection right
For success in planning a kitchen garden you need to get right the principles of sun, water, soil and wind protection
SUN – for crops to grow well they ideally need morning sun and around six to eight hours of direct sunlight every day.
If you don't have the right sunny conditions in your backyard, though, don't despair as there are some fruit and veg that still grow well in a part shady spot – these include lettuce, greens, some herbs, cherries, rhubarb, raspberries, blackberries and blackcurrants.
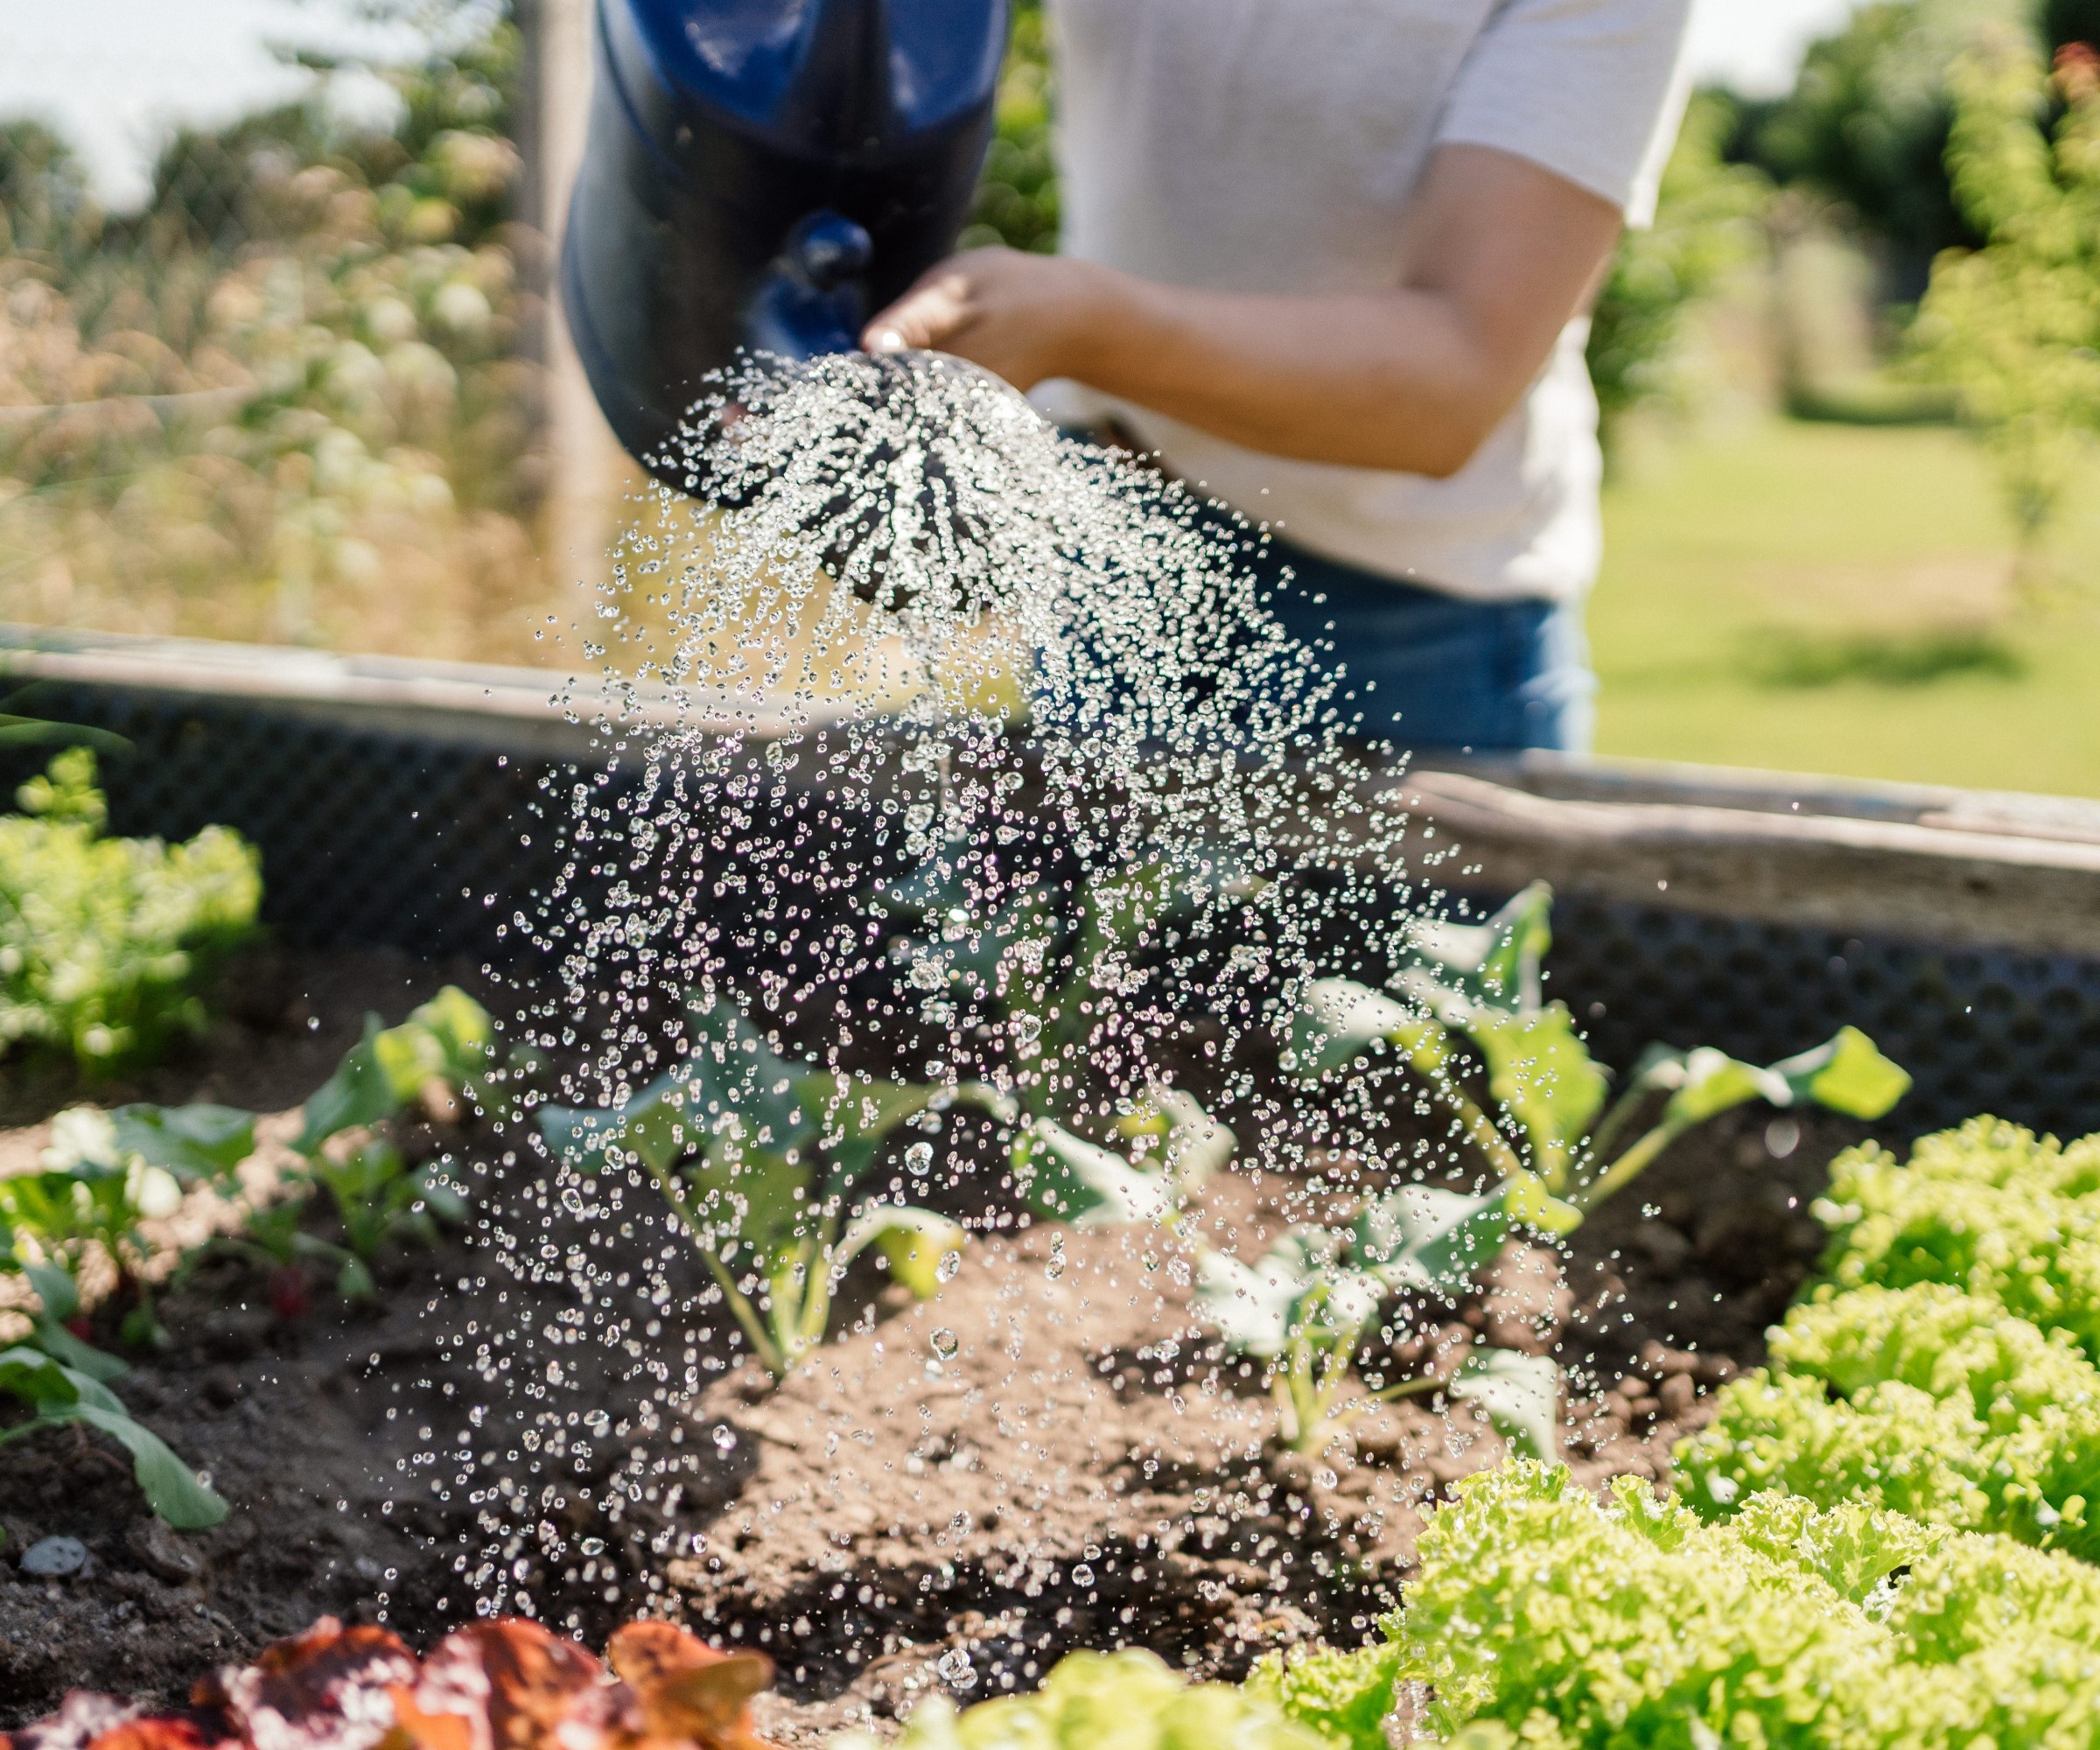
WATER – position your kitchen garden in a spot where you have easy access to water, or where the hosepipe will extend to. Crops can get very thirsty during summer months, so you don't want to be lugging water up and down the yard all day.
We love this expandable pocket hose with a spray nozzle, available from Amazon. Ideal for making light work of your kitchen garden watering on summer days.
SOIL – the ideal soil is rich in nutrients, has an open texture to allow water and roots to penetrate, while holding moisture well. The less you do to the soil the better; single digging is sufficient and many gardeners advocate a no-dig method, which uses thick mulches to suppress any weeds.
WIND PROTECTION – is also important when planning a kitchen garden, so hedging, fencing or hurdles can be used to shelter plants from the wind. Added to which, these can help you to maximize every space by growing crops up the vertical surfaces, such as espaliered vegetables or fruit, or peas, beans and cucumbers up climbing frames. This pack of two obelisk trellis frames from Amazon are perfect for smaller spaces.
Mixed native hedging, such as hawthorn intermingling with dog roses, around the plot can provide attractive shelter and protection.
Step 4: Decide what to plant in your kitchen garden
Take note of your hardiness zone to make sure what you want to grow is possible in your region. It's also a good idea to take some time to chart out the weather patterns for the year.
There are crops that can be started each month of the growing season that will give you a succession of crops.
Aim for small, successional sowings and plantings every couple of weeks for a year-long harvest.
Starting in summer with your kitchen garden gives you a varied selection to sow for harvesting through fall and winter, including beans, beetroot, spring cabbage, sprouting broccoli, cauliflower, carrots, chard, cut-and-come-again leafy salads, peas, pumpkin and pak choi.
Aromatic herbs, such as mint, thyme, parsley and sage, are expensive to buy but easy to grow, and many are perennial so will keep supplying your kitchen year after year.
There are many crops that can be sown directly into the warm soil. You can also buy small vegetable plants from nurseries to add directly into beds or containers.
These are some of our favourite vegetables that can be planted at various times throughout the year:
- Tomatoes, peppers and eggplants should be planted in May or June.
- Zucchini, yellow squash and cucumbers can be planted in June.
- Beans, corn and okra can be planted in late June or early July.
- Lettuce, spinach and other greens can be planted in early spring, late fall or even during the summertime.
- Potatoes can be planted in early spring or late fall.
- Herbs can be planted at any time of year.
You also can't beat Swiss chard and perpetual spinach that will crop for a whole year and throughout the winter.
Other crops that are ideal for kitchen gardens include:
ONIONS are easy to grow. Plant in spring and they will be ready for lifting by early midsummer and store until early winter. And don't forget, onion companion planting can improve your crop.
SQUASH comes in many varieties, some summer, some winter so when looking at planning a kitchen garden they are a good choice for a succession of crops. Sow in spring outside where they are to grow. They are also good for growing in large containers.
EGGPLANT/AUBERGINES can be treated much as you would treat tomatoes. Sow seeds in spring and place in a propagator or on a warm window sill. Ideally grow in a greenhouse or cold frame as they need plenty of warmth.
PLUMS are not difficult to grow but need a warm, frost free spot in well-drained, moisture retentive soil. Mulch in mid spring and thin out young fruit to avoid over laden branches breaking.
RADISHES are easy to look after and you will see quick results. Enrich the soil with good compost and sow seeds about 1cm deep and at least 2.5cm apart between March and August. Radishes will be ready to harvest after about a month.
LETTUCES are easy to grow and cut-and-come-again leaves will give you a selection for weeks. Sow every few weeks so that you can enjoy them through the year. They like fertile, moisture-retentive soil.
CARROTS can be sown in March or April in the open. For sweet, small carrots, sow every few weeks from early spring to late summer for a harvest from June to November. Plant in full sun for earlies, or part shade for main crop varieties, with plenty of organic matter dug in.
BEANS are among the easiest vegetables to grow when considering how to plan a kitchen garden, particularly for beginners. Plant once frosts have passed, in a sunny spot, in well-drained soil.
POTATOES are truly delicious when homegrown. If growing potatoes, plant them out from early spring, they grow best in fertile, slightly acidic, loose soil, and need watering regularly.
STRAWBERRIES can be planted in April for a summer harvest. Feed from flowering to harvest time with a product high in potassium.
ZUCCHINI/COURGETTES can produce up to 4kg of vegetables in a growing season, with two plants ample for most families, plus it's easy to grow zucchini vertically.
Step 5: Prepare the soil for your kitchen garden
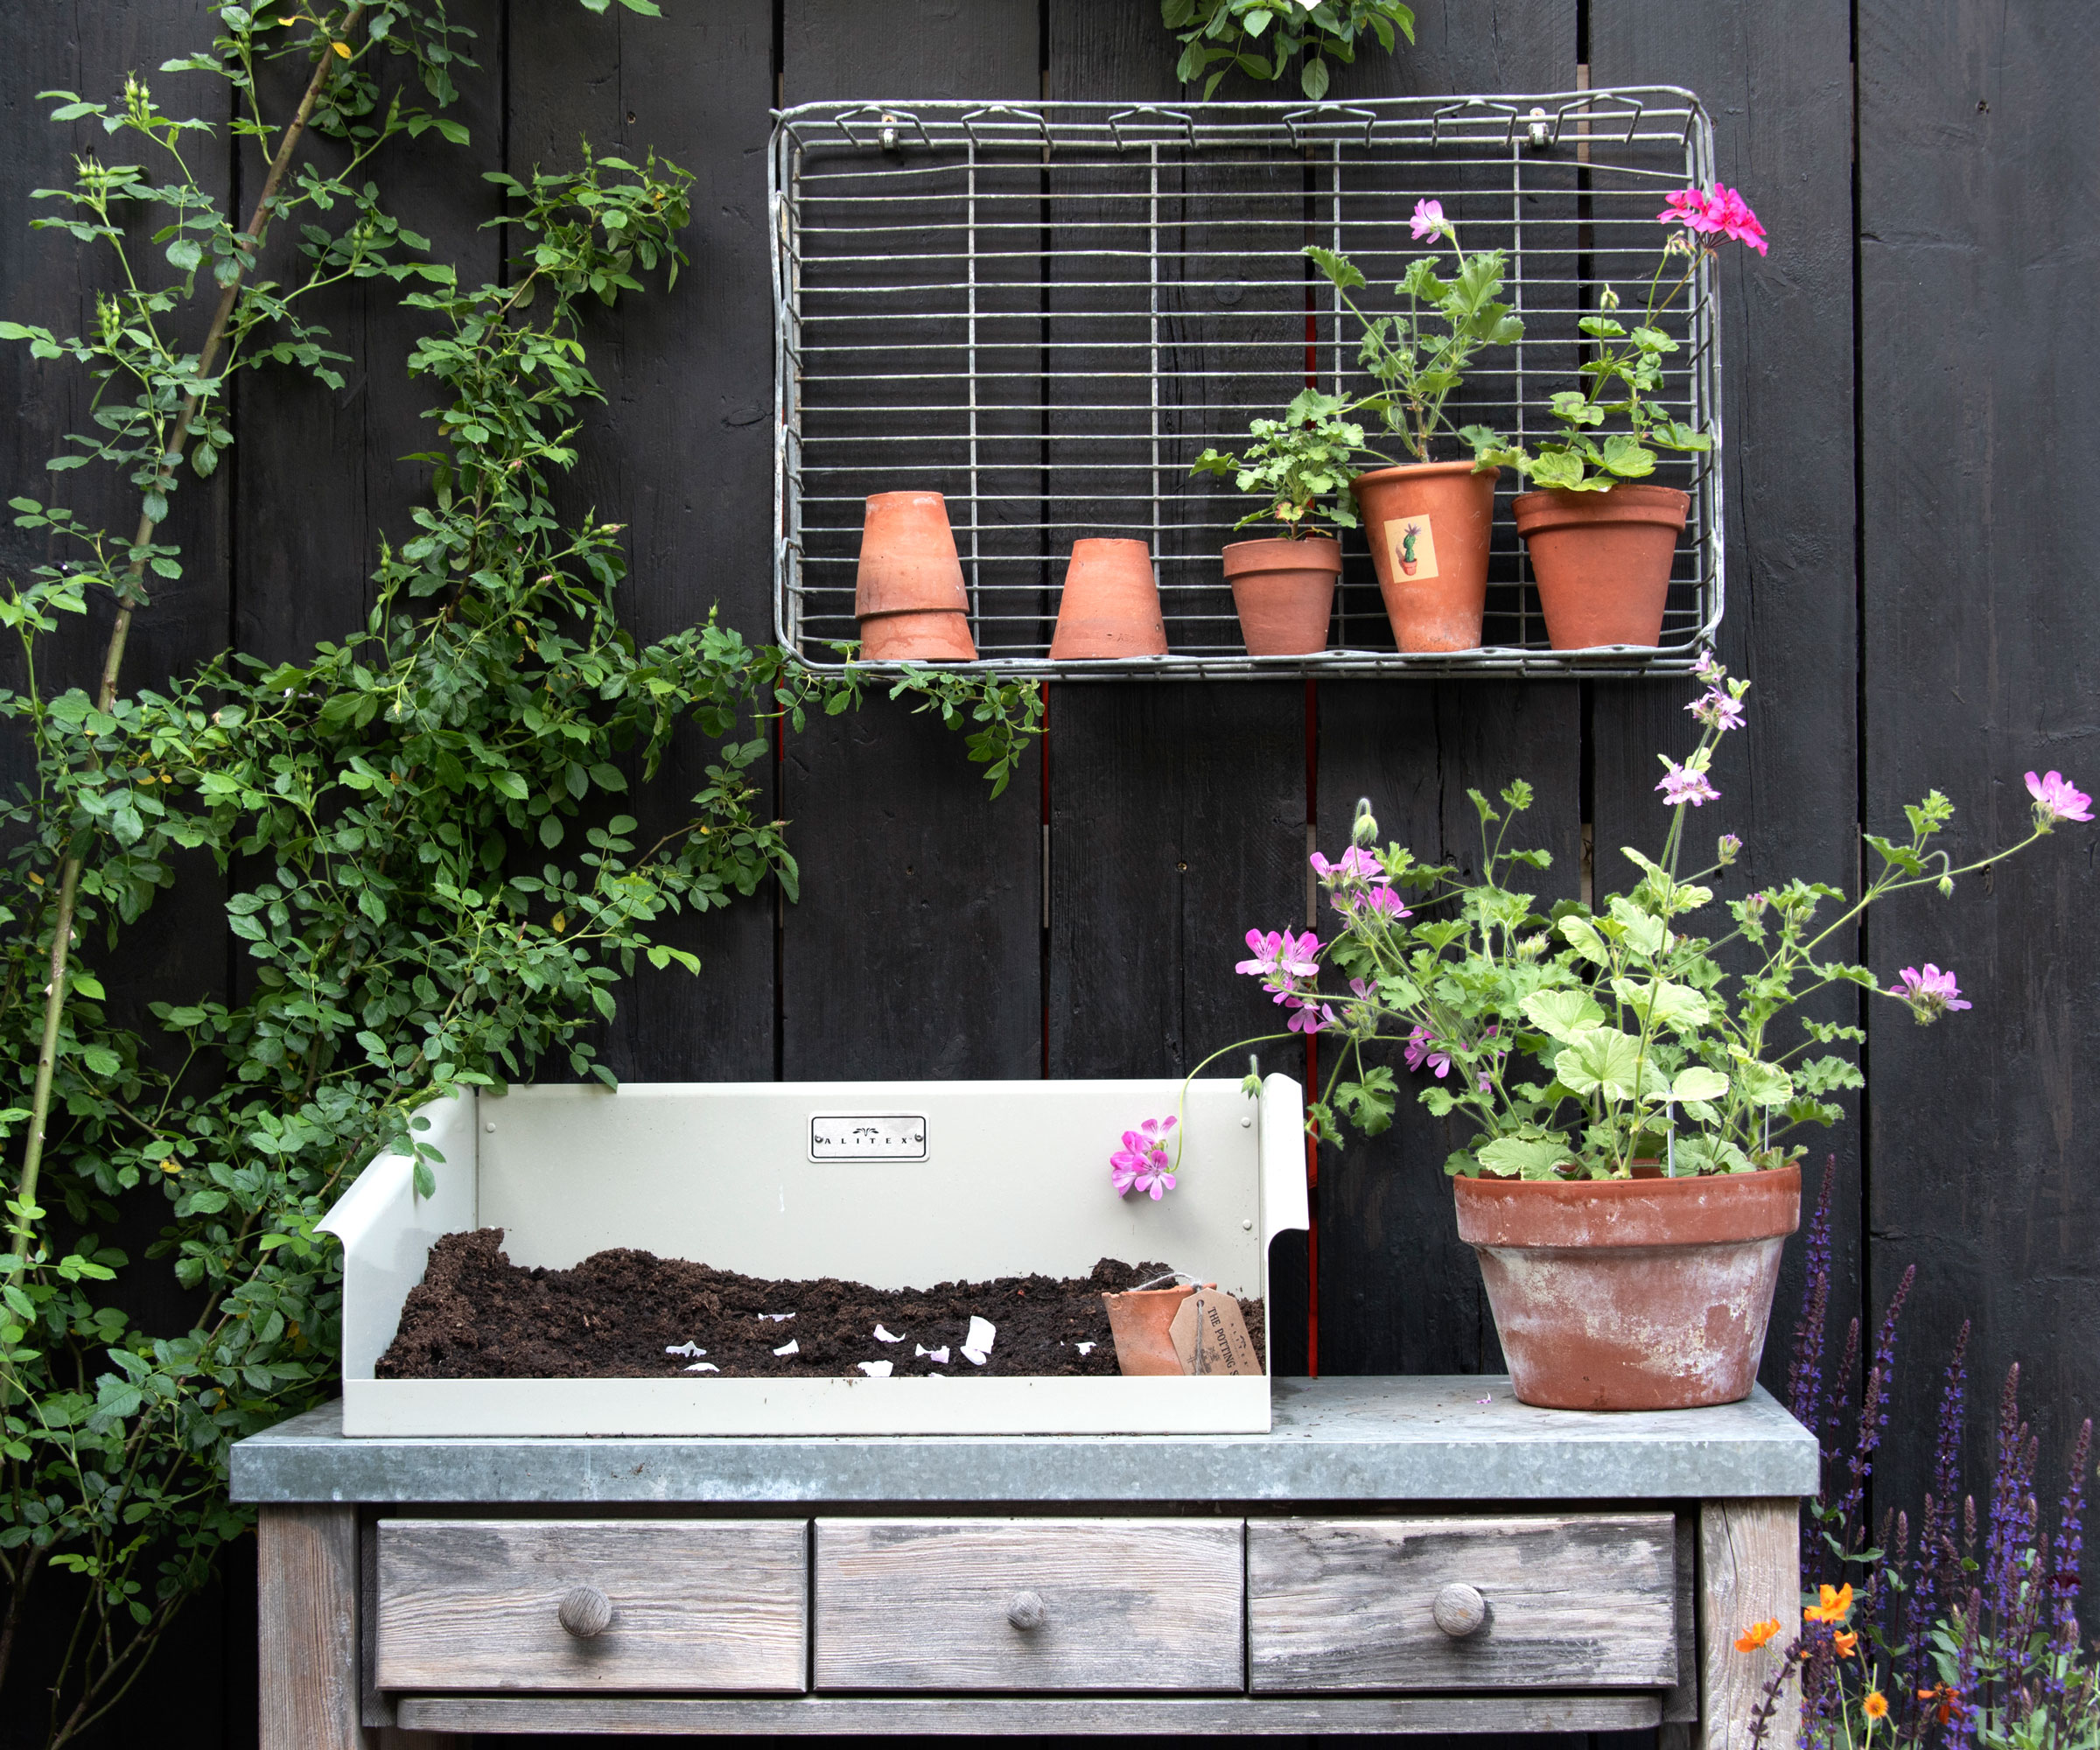
Soil health is vital when planning a kitchen garden. Healthy, fertile soil, with good structure encourages good growth in the fruit and vegetable plants by helping them to absorb water and nutrients.
Test the PH levels of your soil to see if it is more acid or alkaline as this will help you choose the best crops to grow. This digital pH and moisture meter from Amazon is such an essential piece of gardening kit, especially when starting a kitchen garden.
Clay soil types will need breaking up and takes longer to warm up so is better for later crops. Light, sandy soils are better for early vegetables but will need plenty of compost and manure adding. These bulky materials release nutrients slowly, improve soil condition and to help retain water.
Penny Hemming, head gardener at Riverford Organic, offers this basic recipe for a nice, crumbly, rich-smelling and loose textured compost that makes a fantastic soil conditioner within six months:
- Add one third green materials, such as stems, lawn clippings, kitchen waste and teabags - not cooked food, diseased waste or weeds, to...
- Two thirds brown materials, such as twigs, roots, straw, ashes or wood chippings.
- Air is important for decomposition so start the heap with a load of broken branches.
- Add the ingredients in layers.
- Water occasionally.
- Cover to encourage the build up of heat.
- Turn every few weeks.
Step 6: Make it look pretty

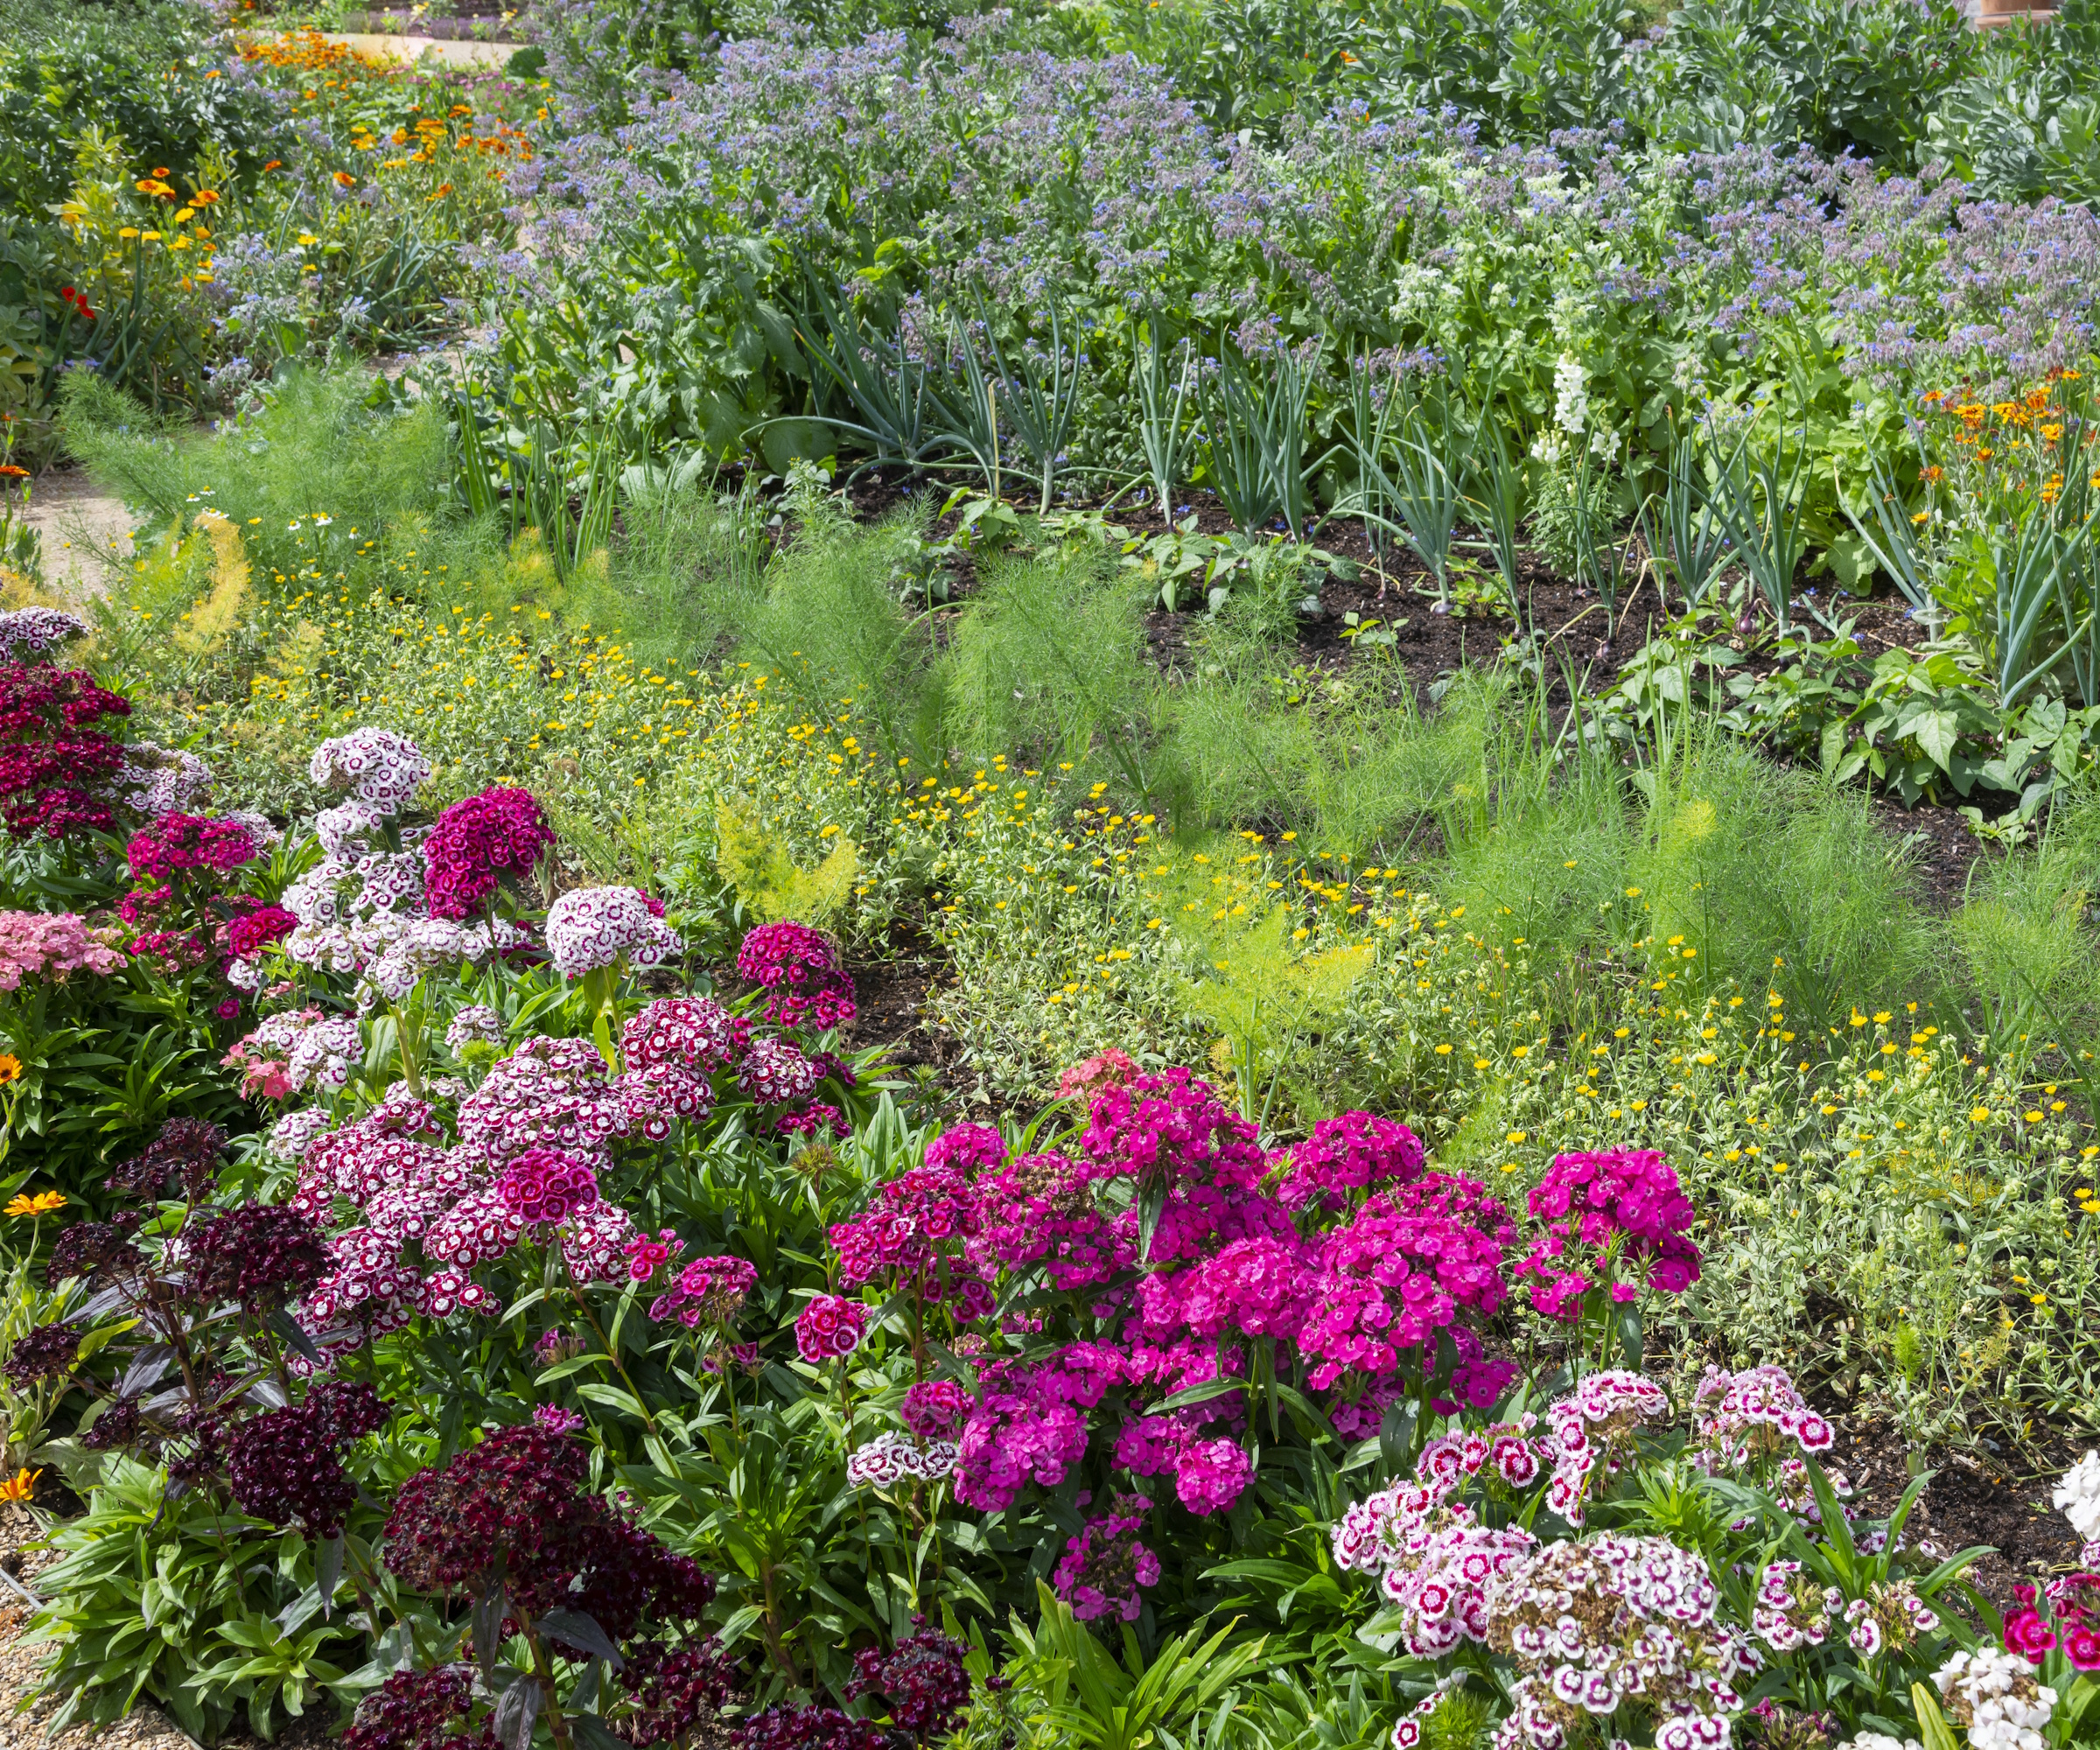
Growing crops among flowers is a way to introduce edibles if you don’t have the room or time for a separate kitchen garden area. By having produce interwoven with companion plants and cut flowers, also known as edimentals, you can create an attractive feature that is too lovely to have hidden away at the bottom of your backyard.
Remember that many fruit and vegetable plants are also quite beautiful to look at – such as the vibrant stems of chard against the deep green crinkle of the leaves, or deep purple veins on cabbages – so they can be a decorative addition to your garden planting, too, and needn't be hidden away.
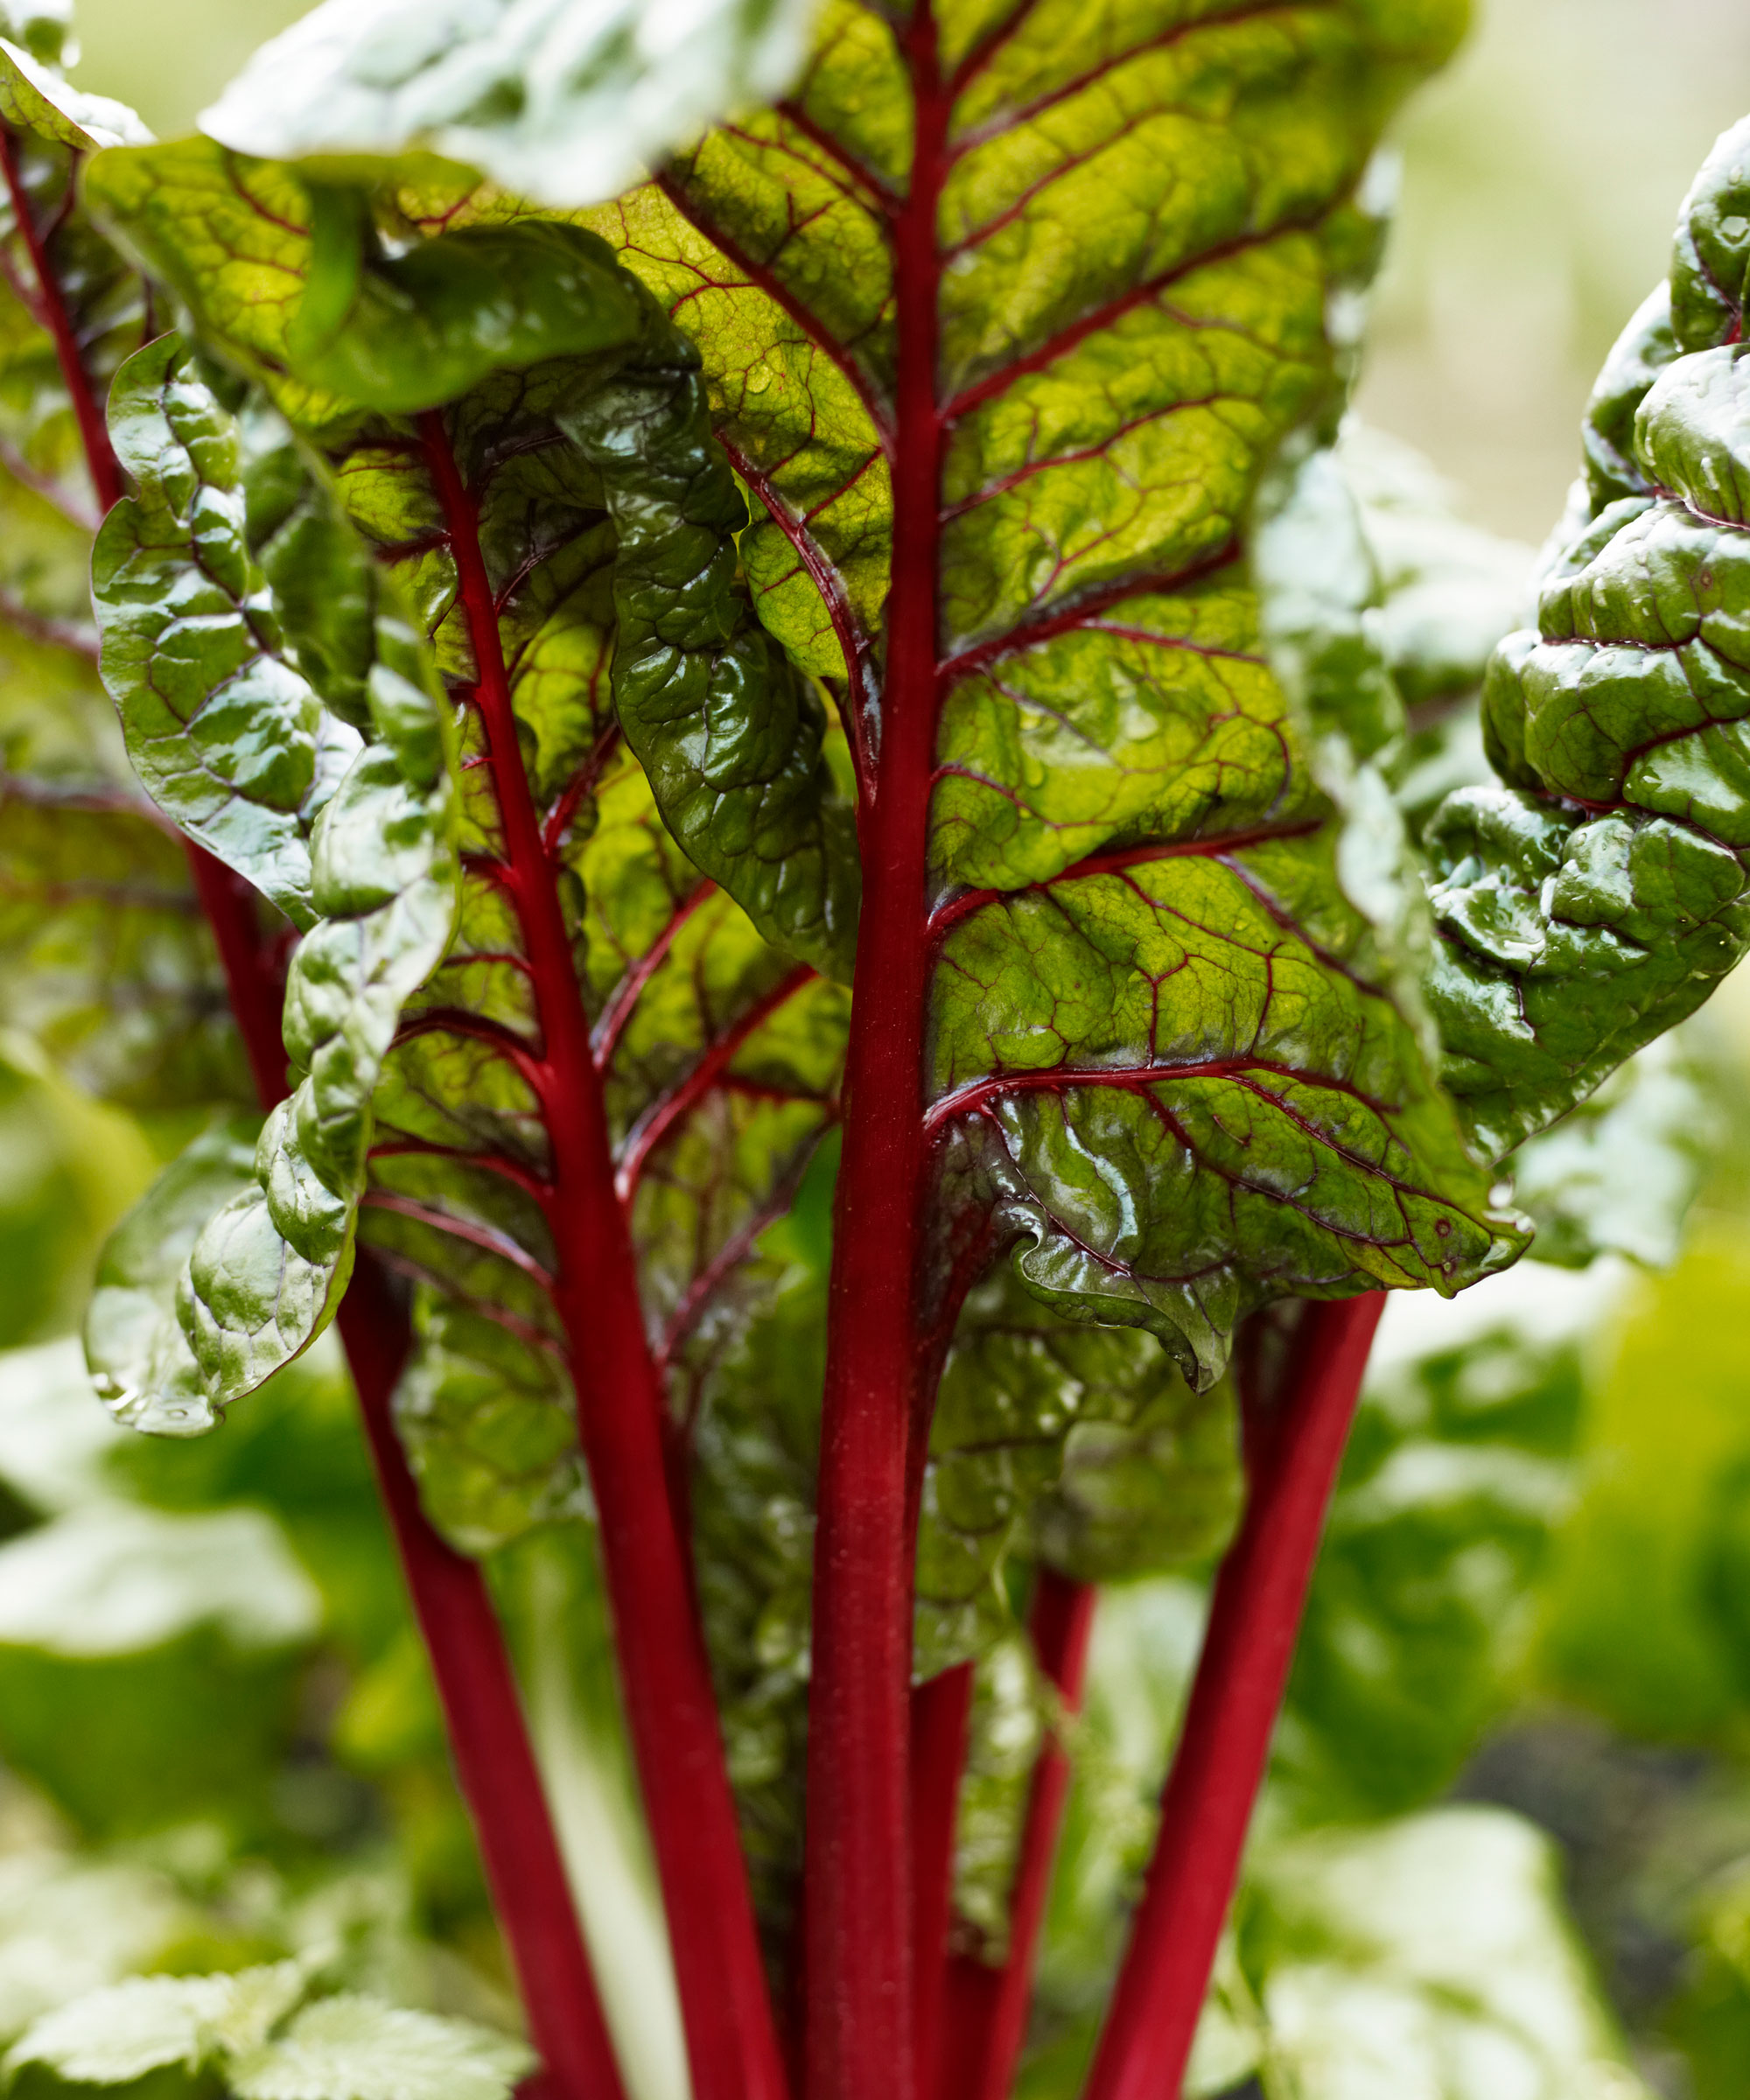
‘Swiss chard has lovely ornamental value,’ says Jamie Innes of Artisan Landscapes. ‘It can also be allowed to bolt, which can have a really interesting effect on a mixed border. The leaf formation makes them look like a type of tropical Verbascum.’
Kale can be worked into naturalistic plantings. ‘I especially like the glaucous blue-tinged forms. They seem to work really well against the backdrop of a golden haze of ornamental grasses,’ says Jamie.
Here are more ways to create a kitchen garden that is pretty as well as productive:
- Look for color: When choosing varieties to grow, look for ones with particularly attractive features, such as colorful leaves and stems, including Beetroot ‘Bull’s Blood’, or unusual leaves like curly kales that come in a fantastic array of colors, such as kale ‘Candy Floss’. Make use of vegetables with unusual flower colors, such as broad bean ‘Crimson Flowered’ and runner bean ‘Celebration’ or ‘Painted Lady’ .
- Build layers up in your kitchen garden; it adds depth and height, which are important, too.
- Don’t always grow lots of one thing: dotting the odd unusual vegetable or fruit among the mix helps to capture the eye.
- Let plants such as dill and poppies go to seed – their seed heads are beautiful and as they self seed it will help naturalize your kitchen garden in years to come, as they germinate and fill gaps naturally.
Try using companion planting when you grow your own veg, as a natural and organic way to reduce pests attacking your crops, increase yields and to attract beneficial insects – such as edging with chives or marigolds. Aim to be as organic as possible for the most nutritious kitchen garden produce.

Leigh Clapp is a professional photographer with over 25 years experience, primarily as a garden specialist photojournalist but also with food and travel. She delights in exploring gardens, discovering the tiny elements to their overall essence and meeting lots of enthusiastic gardeners along the way. Leigh’s work appears in magazines, newspapers and books, both in the UK and abroad, including Period Living, Country Life, and Gardens Illustrated; as well as being sole photographer for a number of books, including Garden Details, Feng Shui in the Garden, Vertical Gardens and From the Garden – fresh seasonal cooking.
- Holly ReaneyContent Editor and Sub-editor
- Rachel BullHead of Gardens

