How to deadhead marigolds – in 3 easy steps
Tidy up your summer pots and flower beds with this expert advice

Q: This summer, I have planted lots of marigolds in my backyard – both in containers and in a cut flower bed. Is it a good idea to deadhead them as the flowers fade?
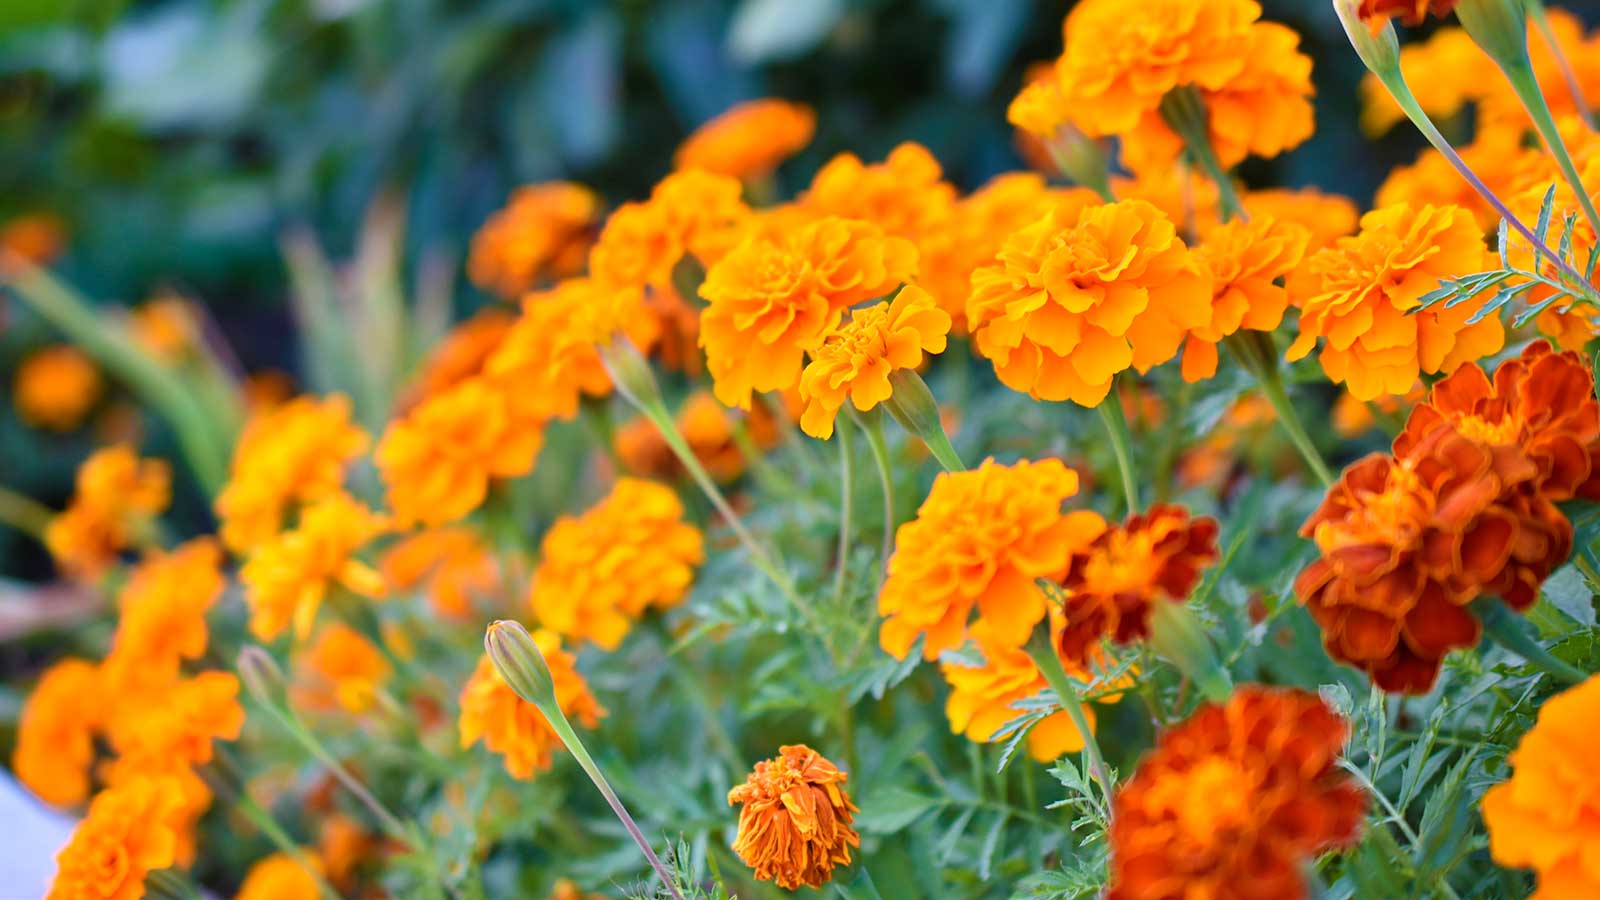
A: Marigolds bring a splash of sunshine to a garden with their yellow and orange blooms. Although it's not totally necessary, snipping these flowers off once they've wilted is worth the effort for a number of reasons.
Firstly, deadheading marigolds encourages a continuous display throughout the season, highlights gardening expert Tony O'Neill. This is because it channels the plants' energy into making new blooms. It also stops them from self-sowing, which means that they are less likely to spread uncontrollably around your yard.
As well as this, deadheading marigolds keeps the plants looking their best. Without it, marigolds risk becoming leggy, floppy, and bedraggled-looking, says plant expert Autumn Hilliard-Knapp.

Tony O'Neill is an accomplished gardening expert, author, and educator. With a passion for simplifying gardening practices, he has inspired a wide audience through his popular YouTube channel and website SimplifyGardening.com. Tony's expertise empowers individuals to cultivate thriving gardens and connect with nature.

Autumn is a horticulture specialist and marketing professional at Perfect Plants Nursery. With four years of experience in the horticulture industry, she has developed a passion for helping people create beautiful indoor and outdoor spaces to enjoy. Her expertise in horticulture encompasses a broad range of activities, including plant care and selection, landscape design, and maintenance.
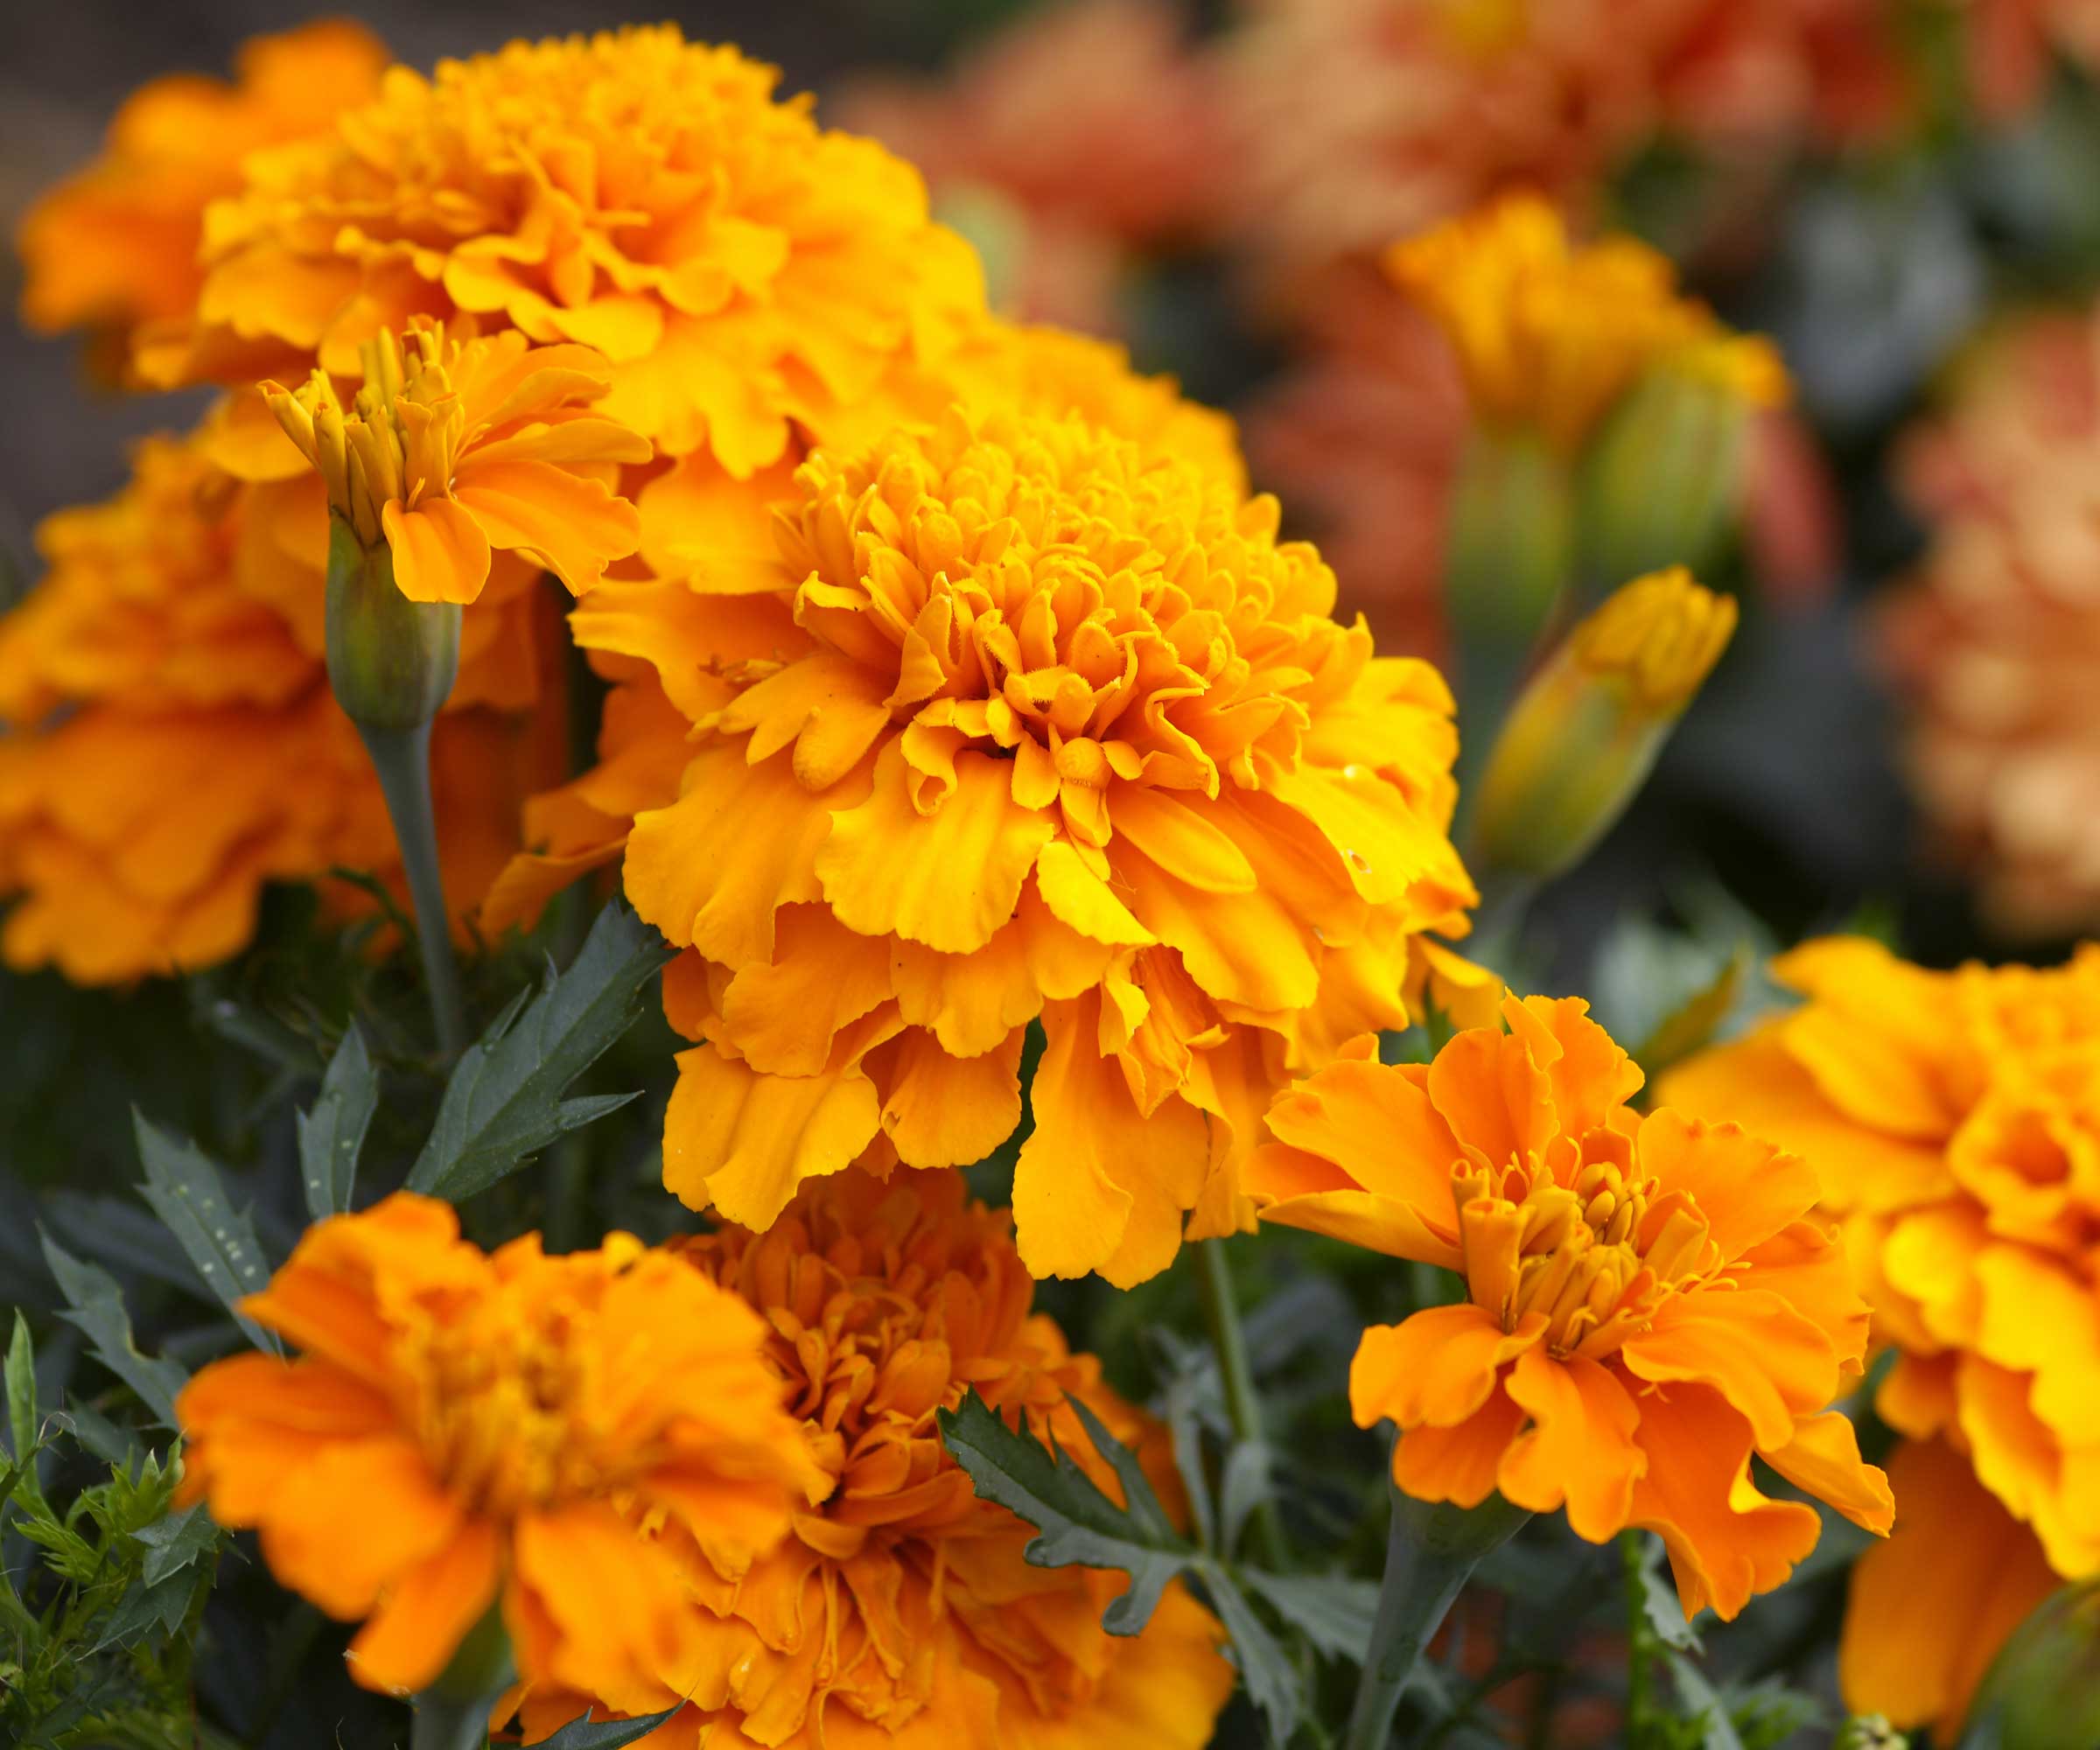
Marigolds add a pop of color to planting schemes
How to deadhead marigolds
The process for deadheading marigolds is super simple and is similar to deadheading coneflowers or zinnias – other summer-flowering favorites. Remember to stay away from the common deadheading mistakes for the best results.
- First, ensure your pruning shears or scissors are sharp and clean, says Tony. 'Sterilizing with rubbing alcohol helps prevent the spread of plant diseases.'
- Then, locate and snip off each expired bloom – it will have lost its vibrant color and the petals will be wilting. 'Make these cuts directly above a healthy set of leaves or buds,' instructs Anna Ohler, the Owner of Bright Lane Gardens nursery. 'Make sure you cut on an angle so water can't collect on the cut stem, which can sometimes lead to infection.'
- The removed blooms can be disposed of in a compost pile, Anna says. If they're dry and crispy, they can also be set aside to collect seeds from.
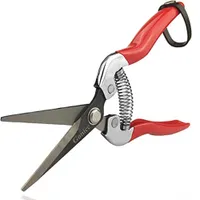
Gonicc Professional Micro-Tip Pruning Snips | $17.95 from Amazon
These pruners, made from durable stainless steel, are the perfect tool for effortlessly deadheading your marigolds and other garden plants.

Anna is an avid plant hobbyist and the Owner and Operator of Bright Lane Gardens, a boutique plant nursery in Northern Michigan. With over a decade of experience in gardening and landscaping, she takes every opportunity to share her knowledge on all things plant related.
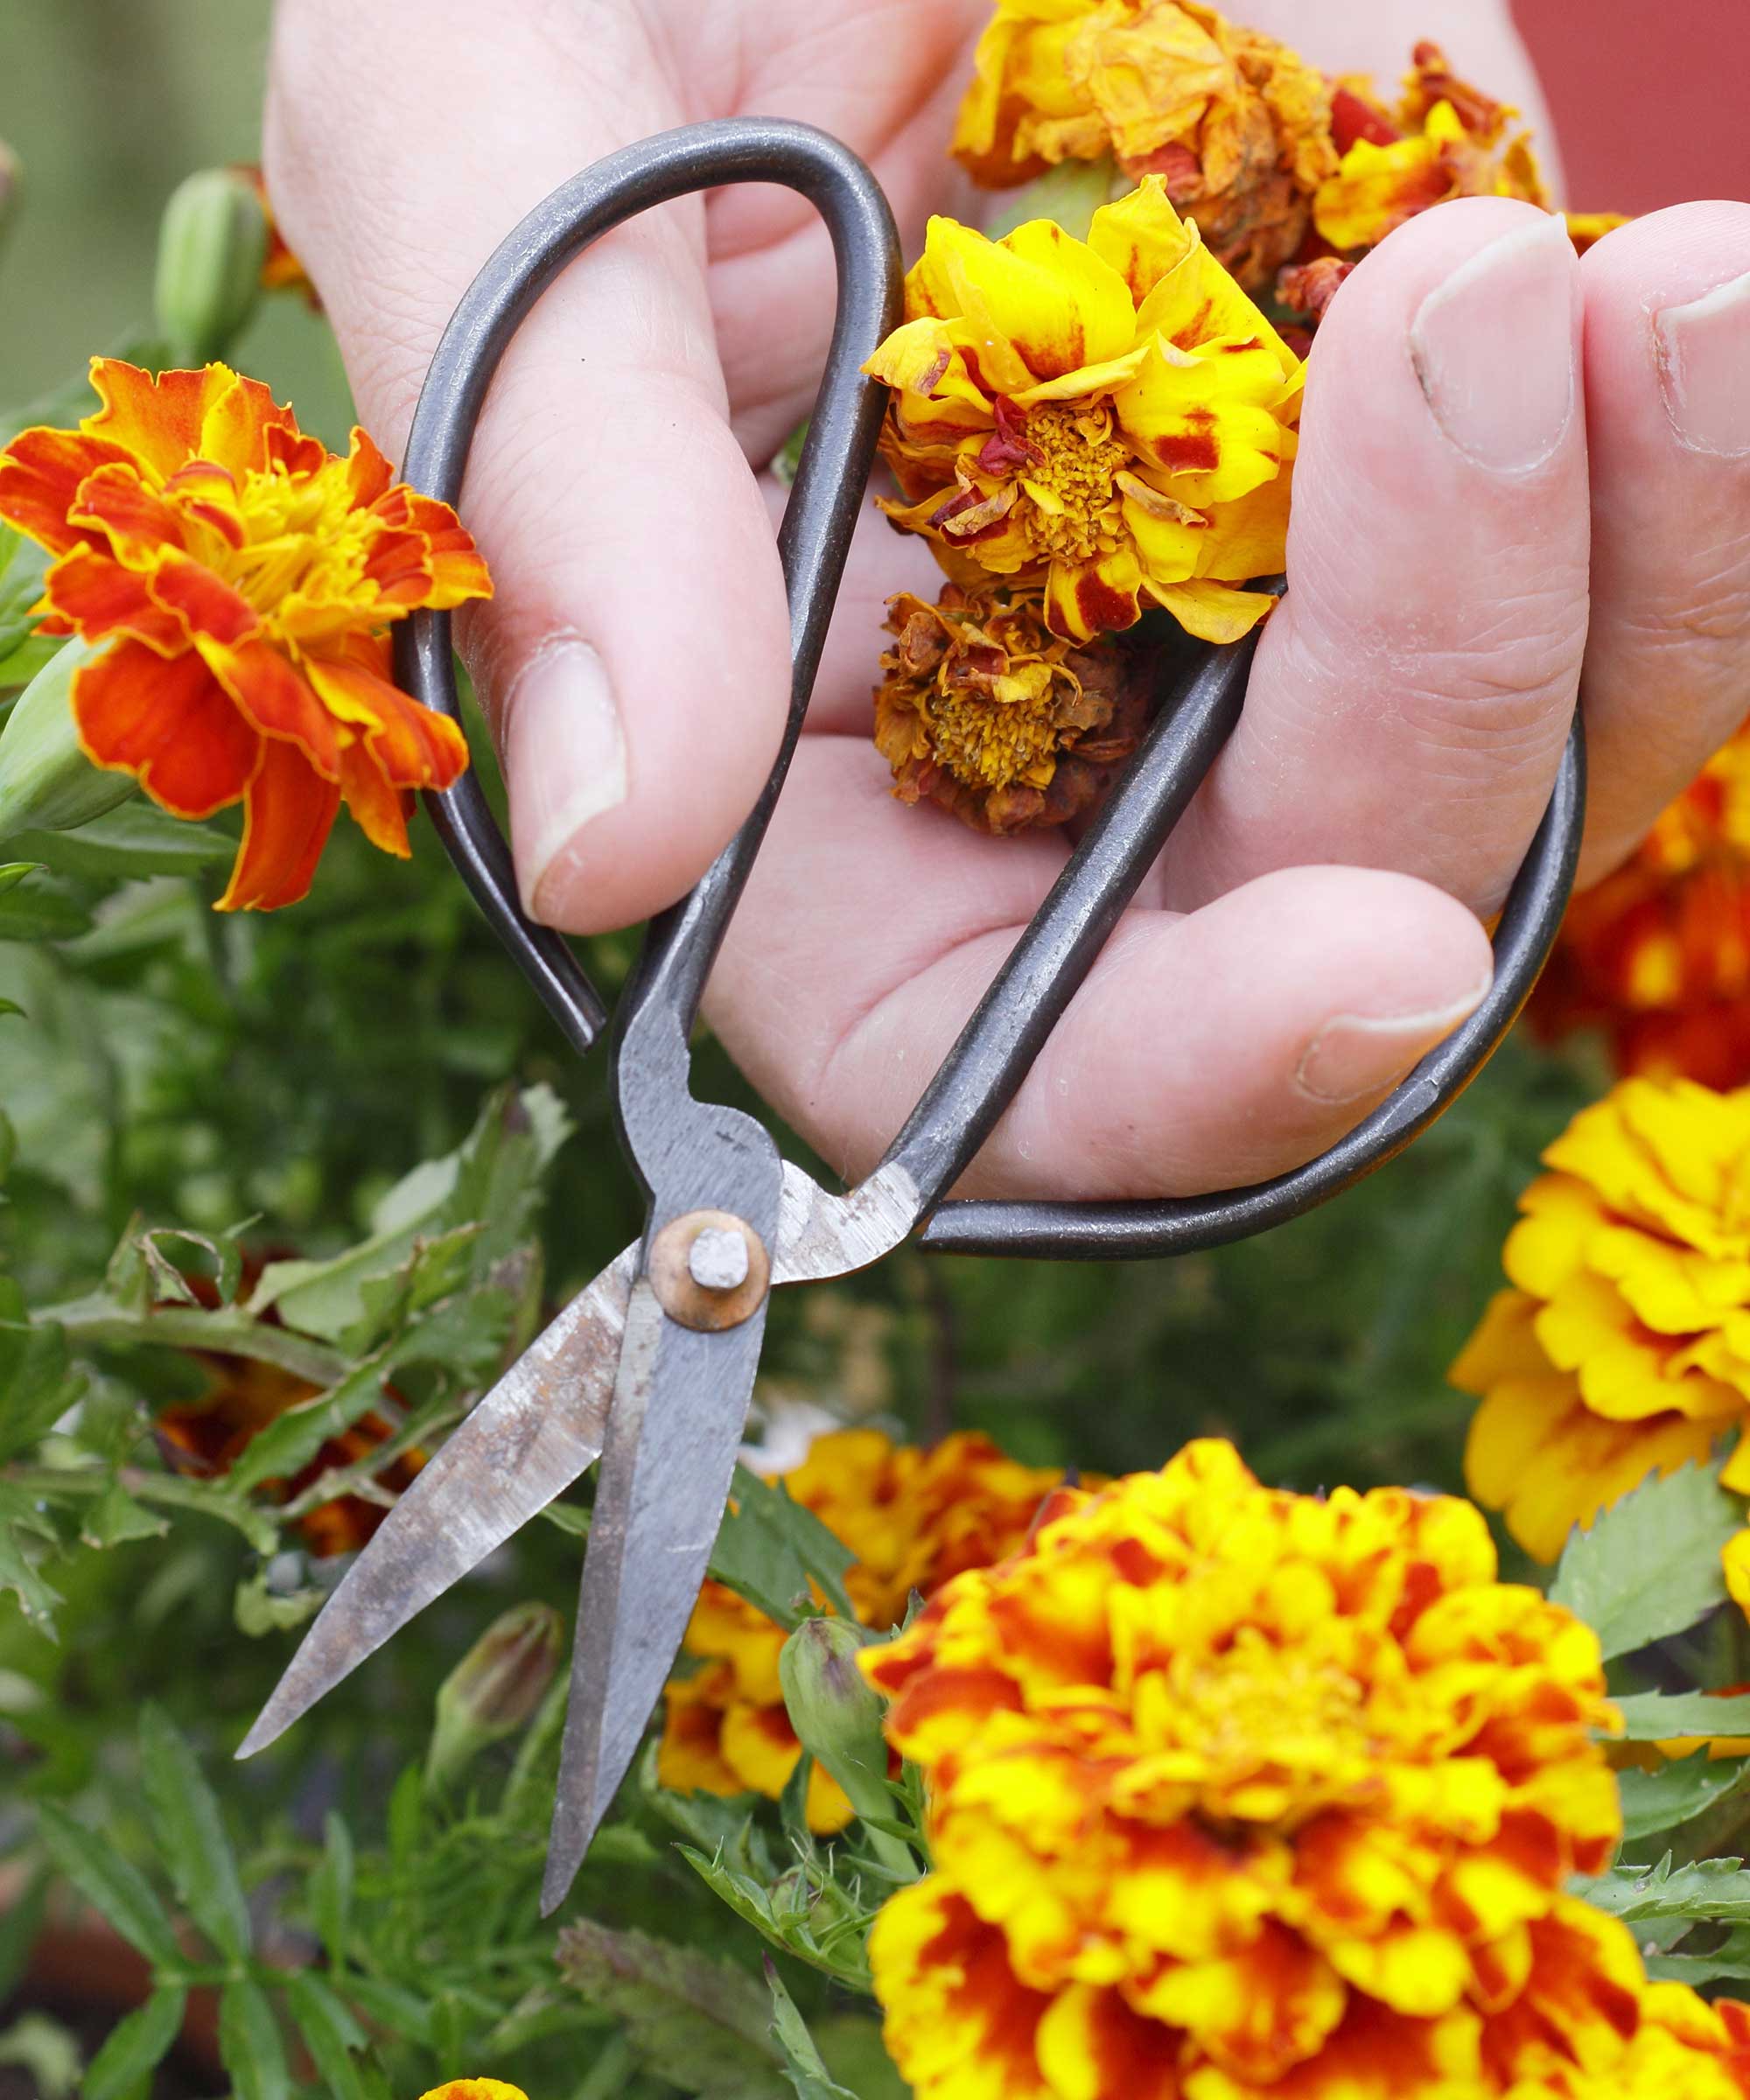
Use a clean pair of snips or pruners to deadhead your marigolds
When to deadhead marigolds
'Continue to deadhead marigolds through the entire blooming season,' says Anna. You can deadhead at any time of the day, Autumn adds.
The trick for tidy-looking plants is to do it often. Autumn points out that some gardeners choose to dedicate part of their weekends to deadheading their marigolds. However, she simply removes the spent blooms anytime she passes by the plants and notices them.
Design expertise in your inbox – from inspiring decorating ideas and beautiful celebrity homes to practical gardening advice and shopping round-ups.
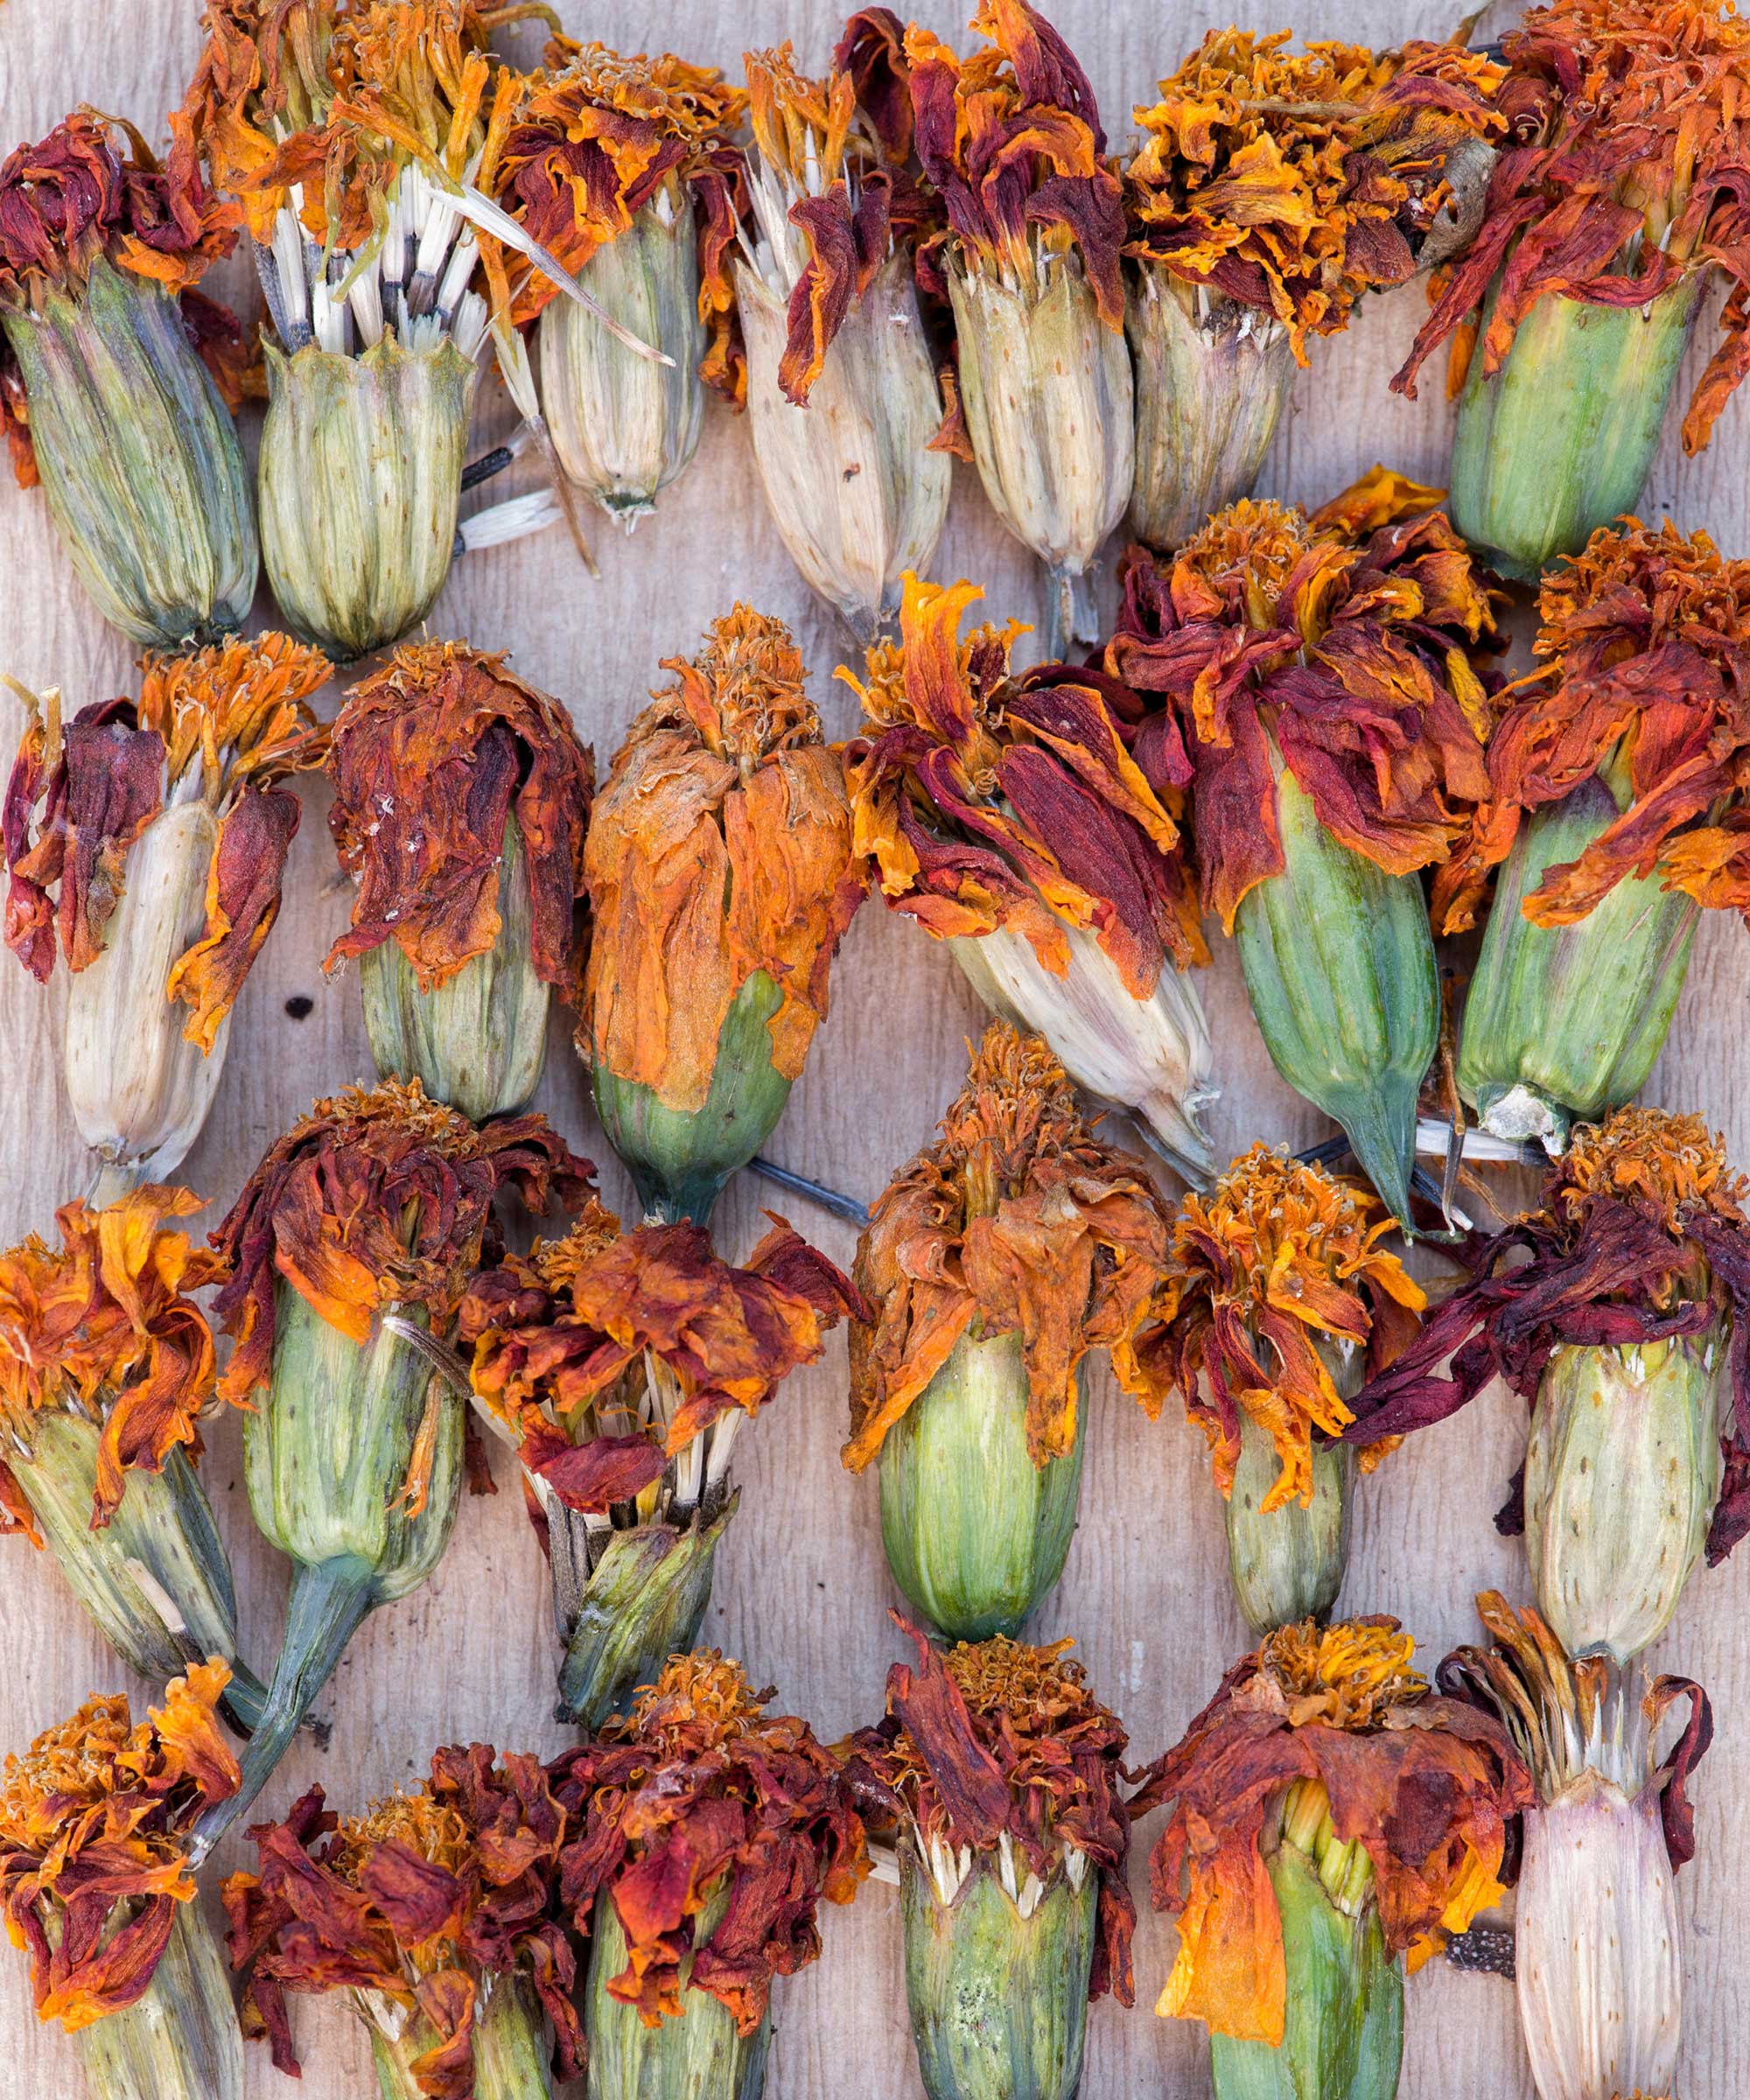
Dried flowerheads can be set aside ready for collecting up the seeds
Whether you're growing marigolds in pots in full sun, as companion plants in a vegetable garden, or at the front of a border, deadheading them can reward you with a beautiful display from summer all the way into late fall. Just remember to water them when necessary, too, to ensure they stay happy and healthy.

Holly started writing about gardening five years ago, and she is a regular contributor to Homes & Gardens. She has also written many gardening features for Woman & Home and Real Homes, too. She has previous experience as a professional gardener, where she helped to plant and maintain private gardens. Holly has also looked after allotment plots over the years and loves to grow her own flowers and veggies from seed. In her spare time, she enjoys visiting local gardens, botanical drawing, and tending to her ever-growing collection of houseplants.
