How to repot aloe – and avoid transplant shock by following our expert advice
Ensure a smooth transition when your aloe plant outgrows its pot

Design expertise in your inbox – from inspiring decorating ideas and beautiful celebrity homes to practical gardening advice and shopping round-ups.
You are now subscribed
Your newsletter sign-up was successful
Want to add more newsletters?

Twice a week
Homes&Gardens
The ultimate interior design resource from the world's leading experts - discover inspiring decorating ideas, color scheming know-how, garden inspiration and shopping expertise.

Once a week
In The Loop from Next In Design
Members of the Next in Design Circle will receive In the Loop, our weekly email filled with trade news, names to know and spotlight moments. Together we’re building a brighter design future.

Twice a week
Cucina
Whether you’re passionate about hosting exquisite dinners, experimenting with culinary trends, or perfecting your kitchen's design with timeless elegance and innovative functionality, this newsletter is here to inspire
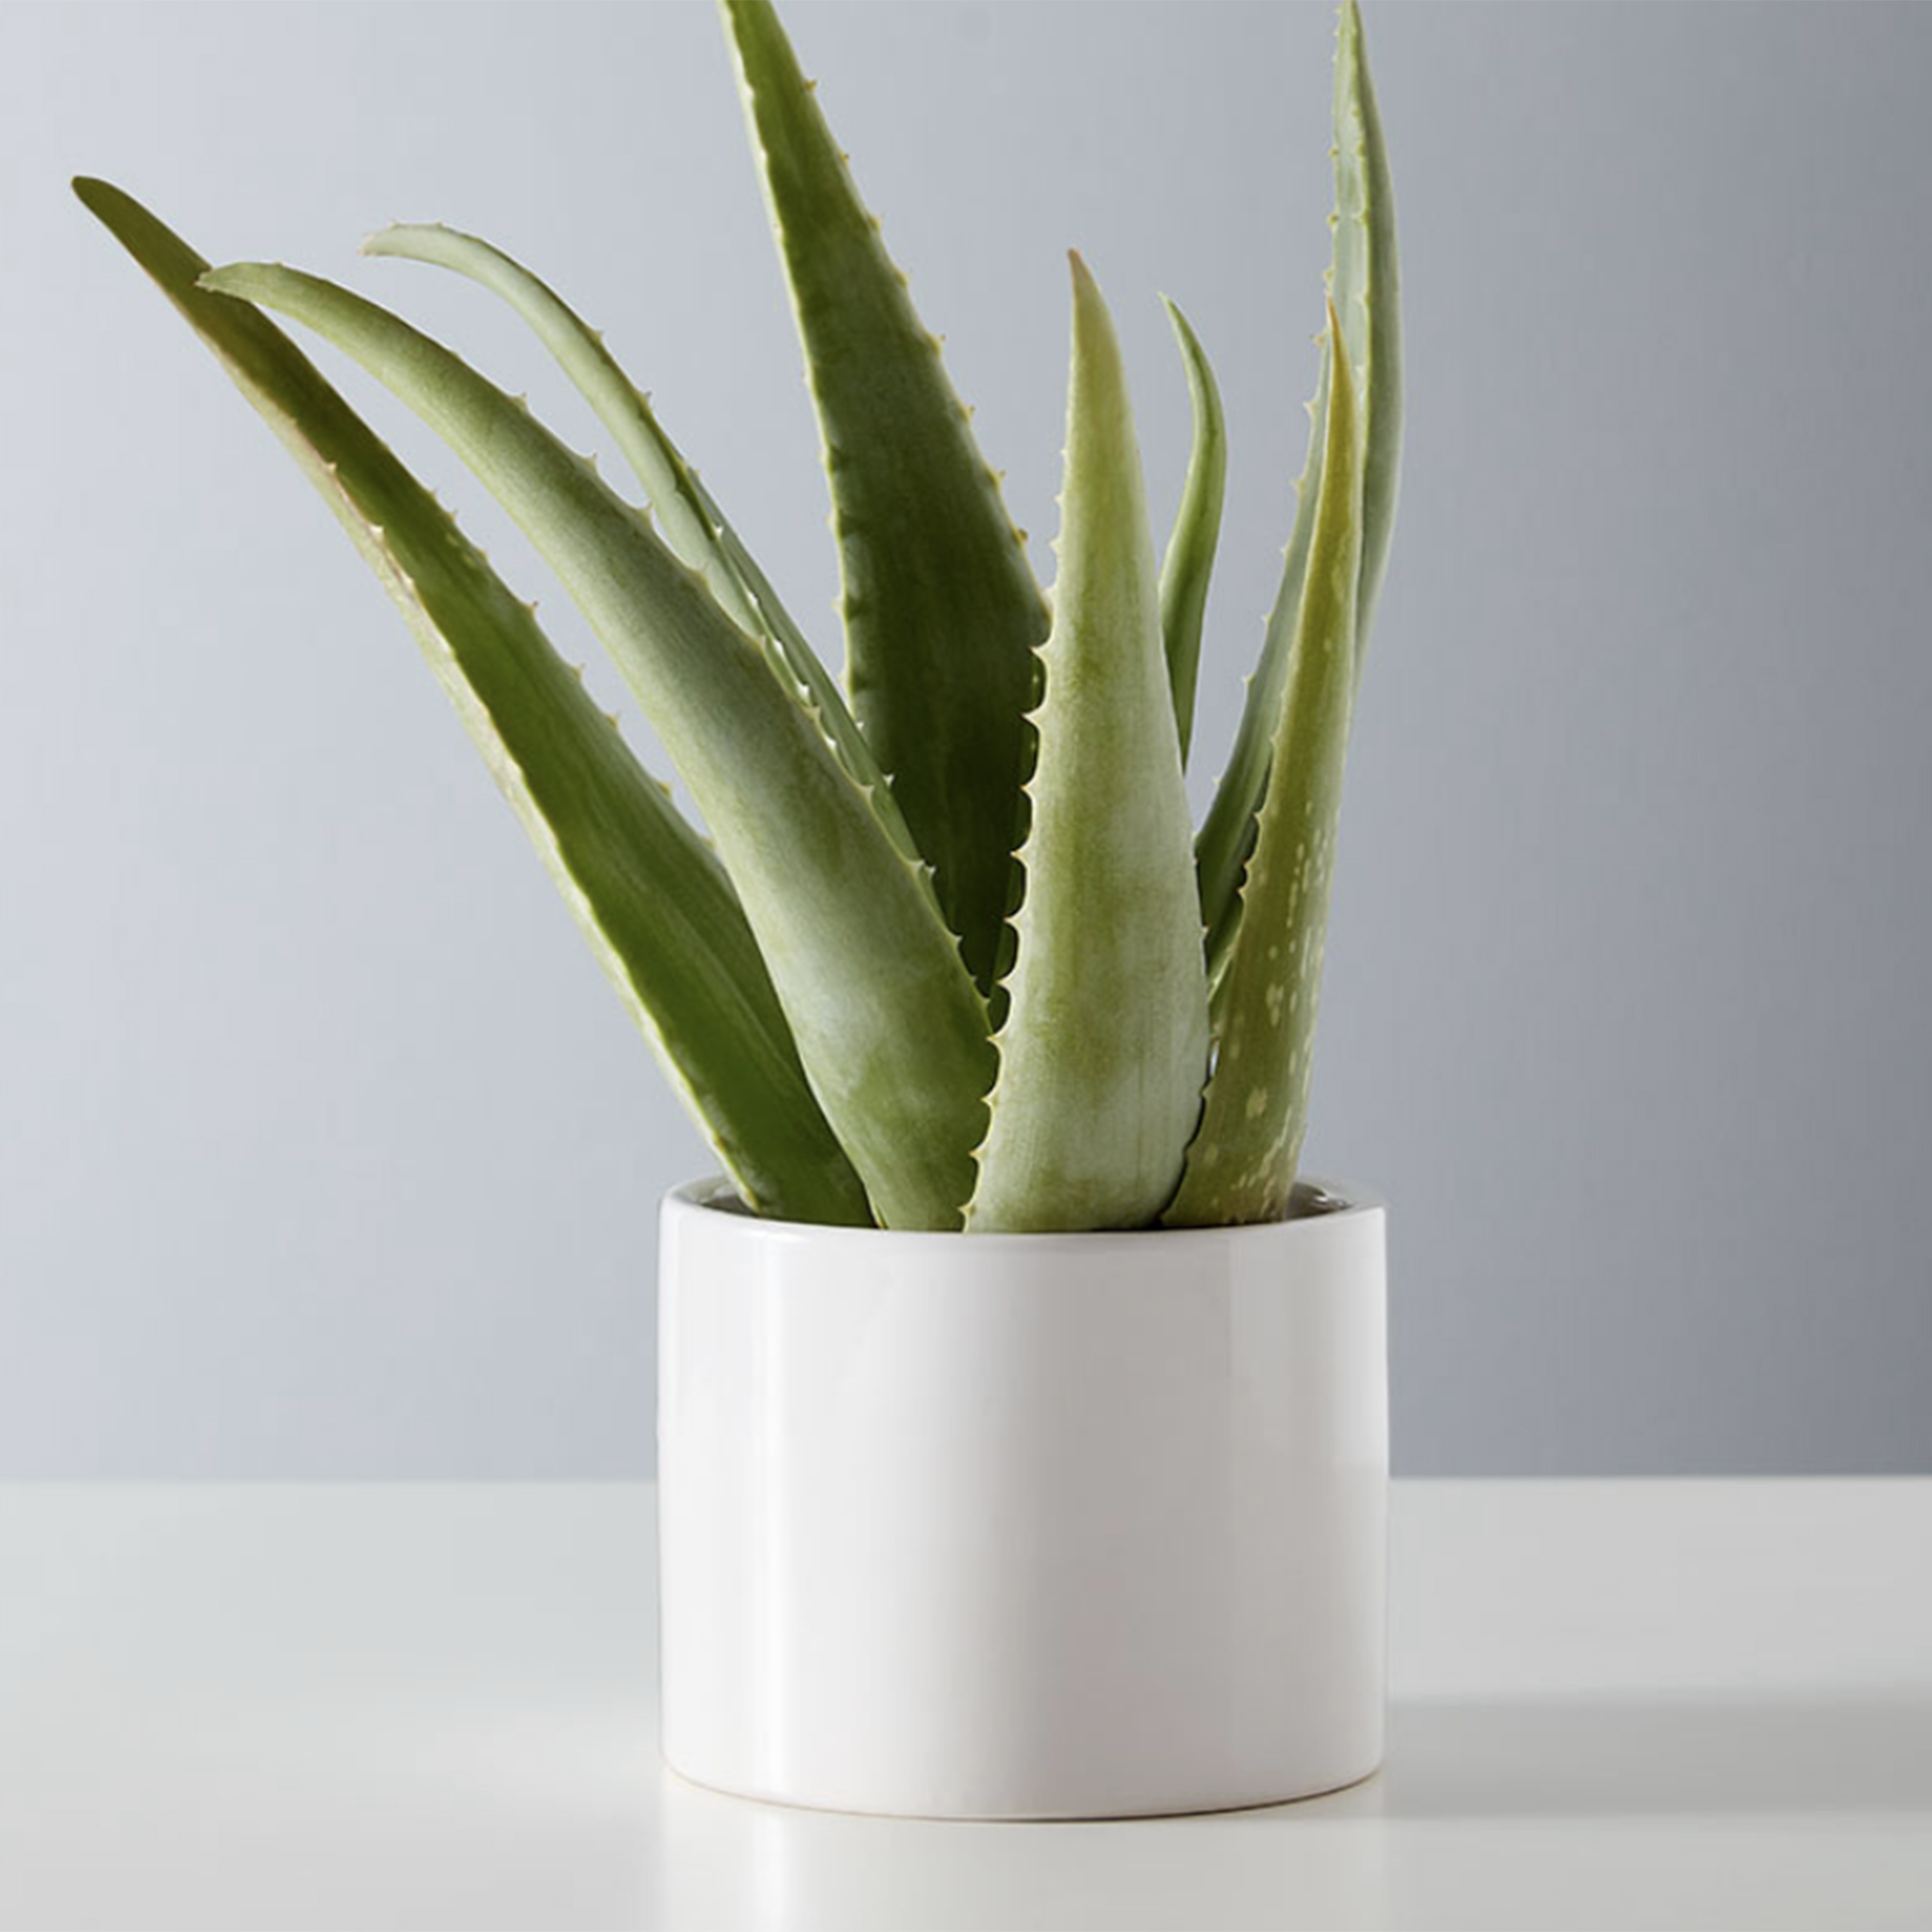
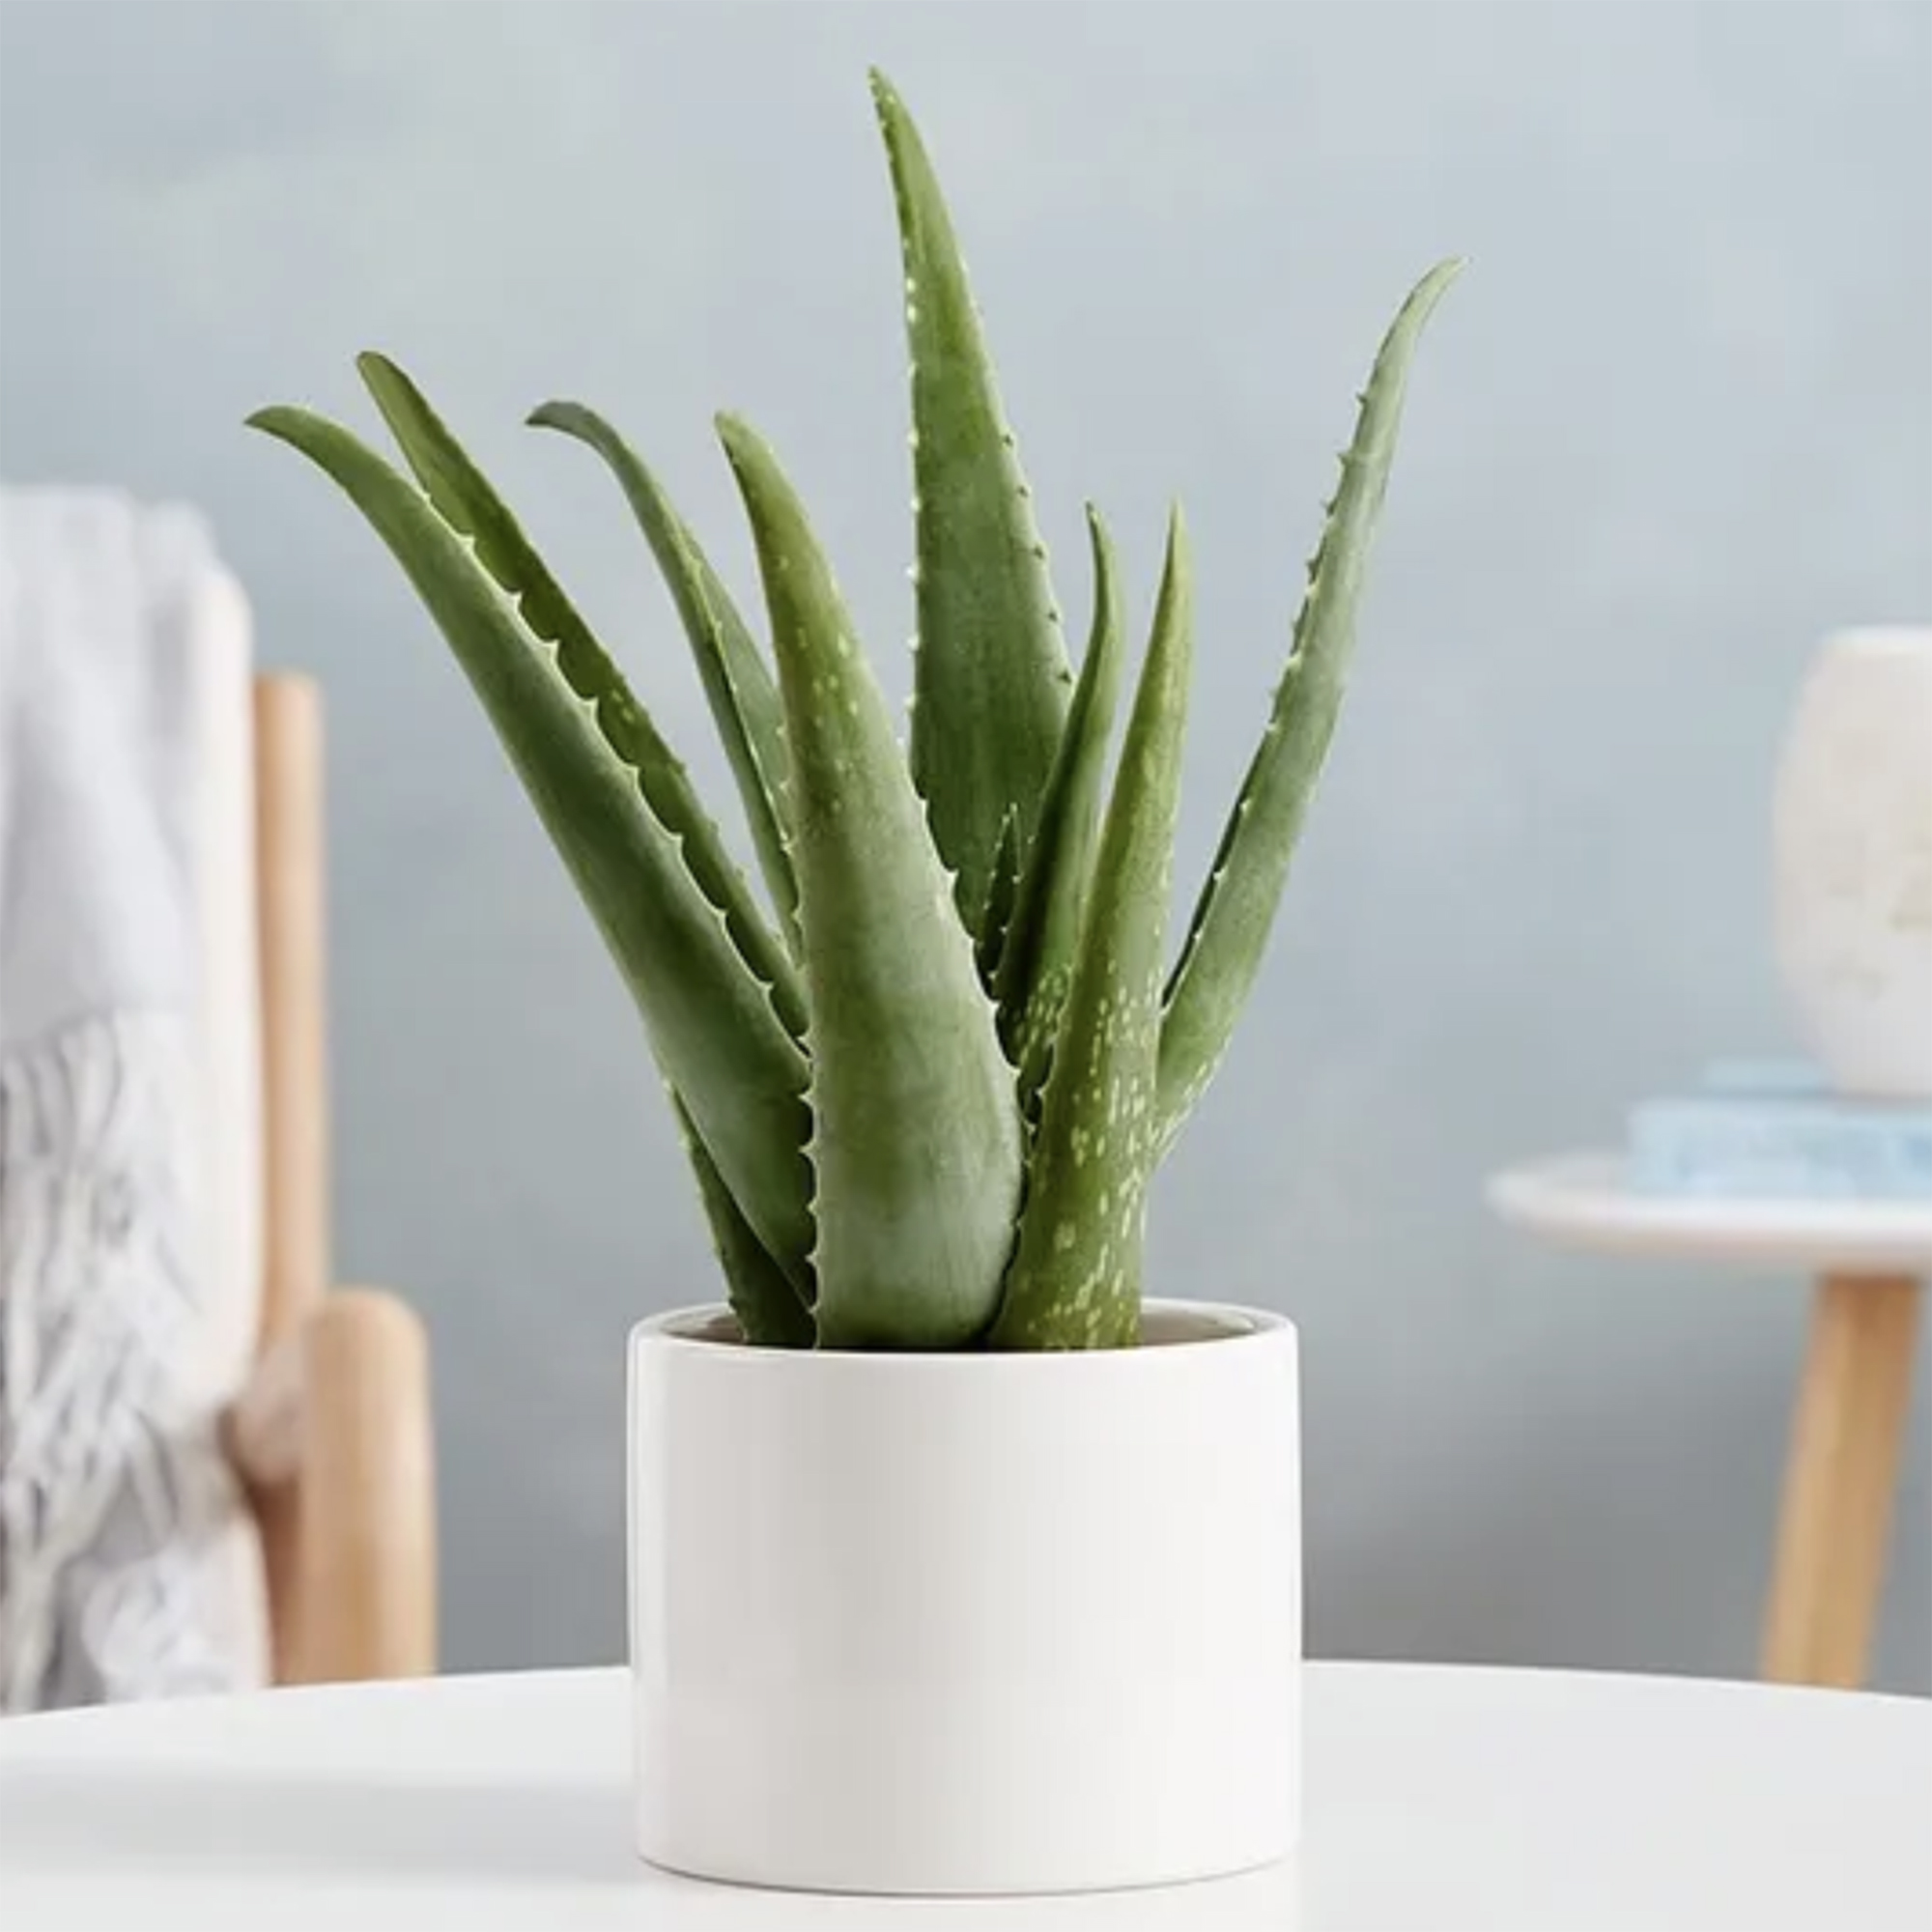
If you've noticed that your aloe plant has started to outgrow its current container, then it's time to repot it.
It's not just a question of placing it in a new container and hoping for the best, however. You may or may not have heard of the term 'transplant shock' but this can happen with many indoor plants when they're moved to a new home and not given adequate care.
Aloes are not only susceptible to this, but they can also develop root or stem rot after repotting. We've gone to the experts for advice on when and how to repot aloe to ensure a smooth transition for your precious plant.
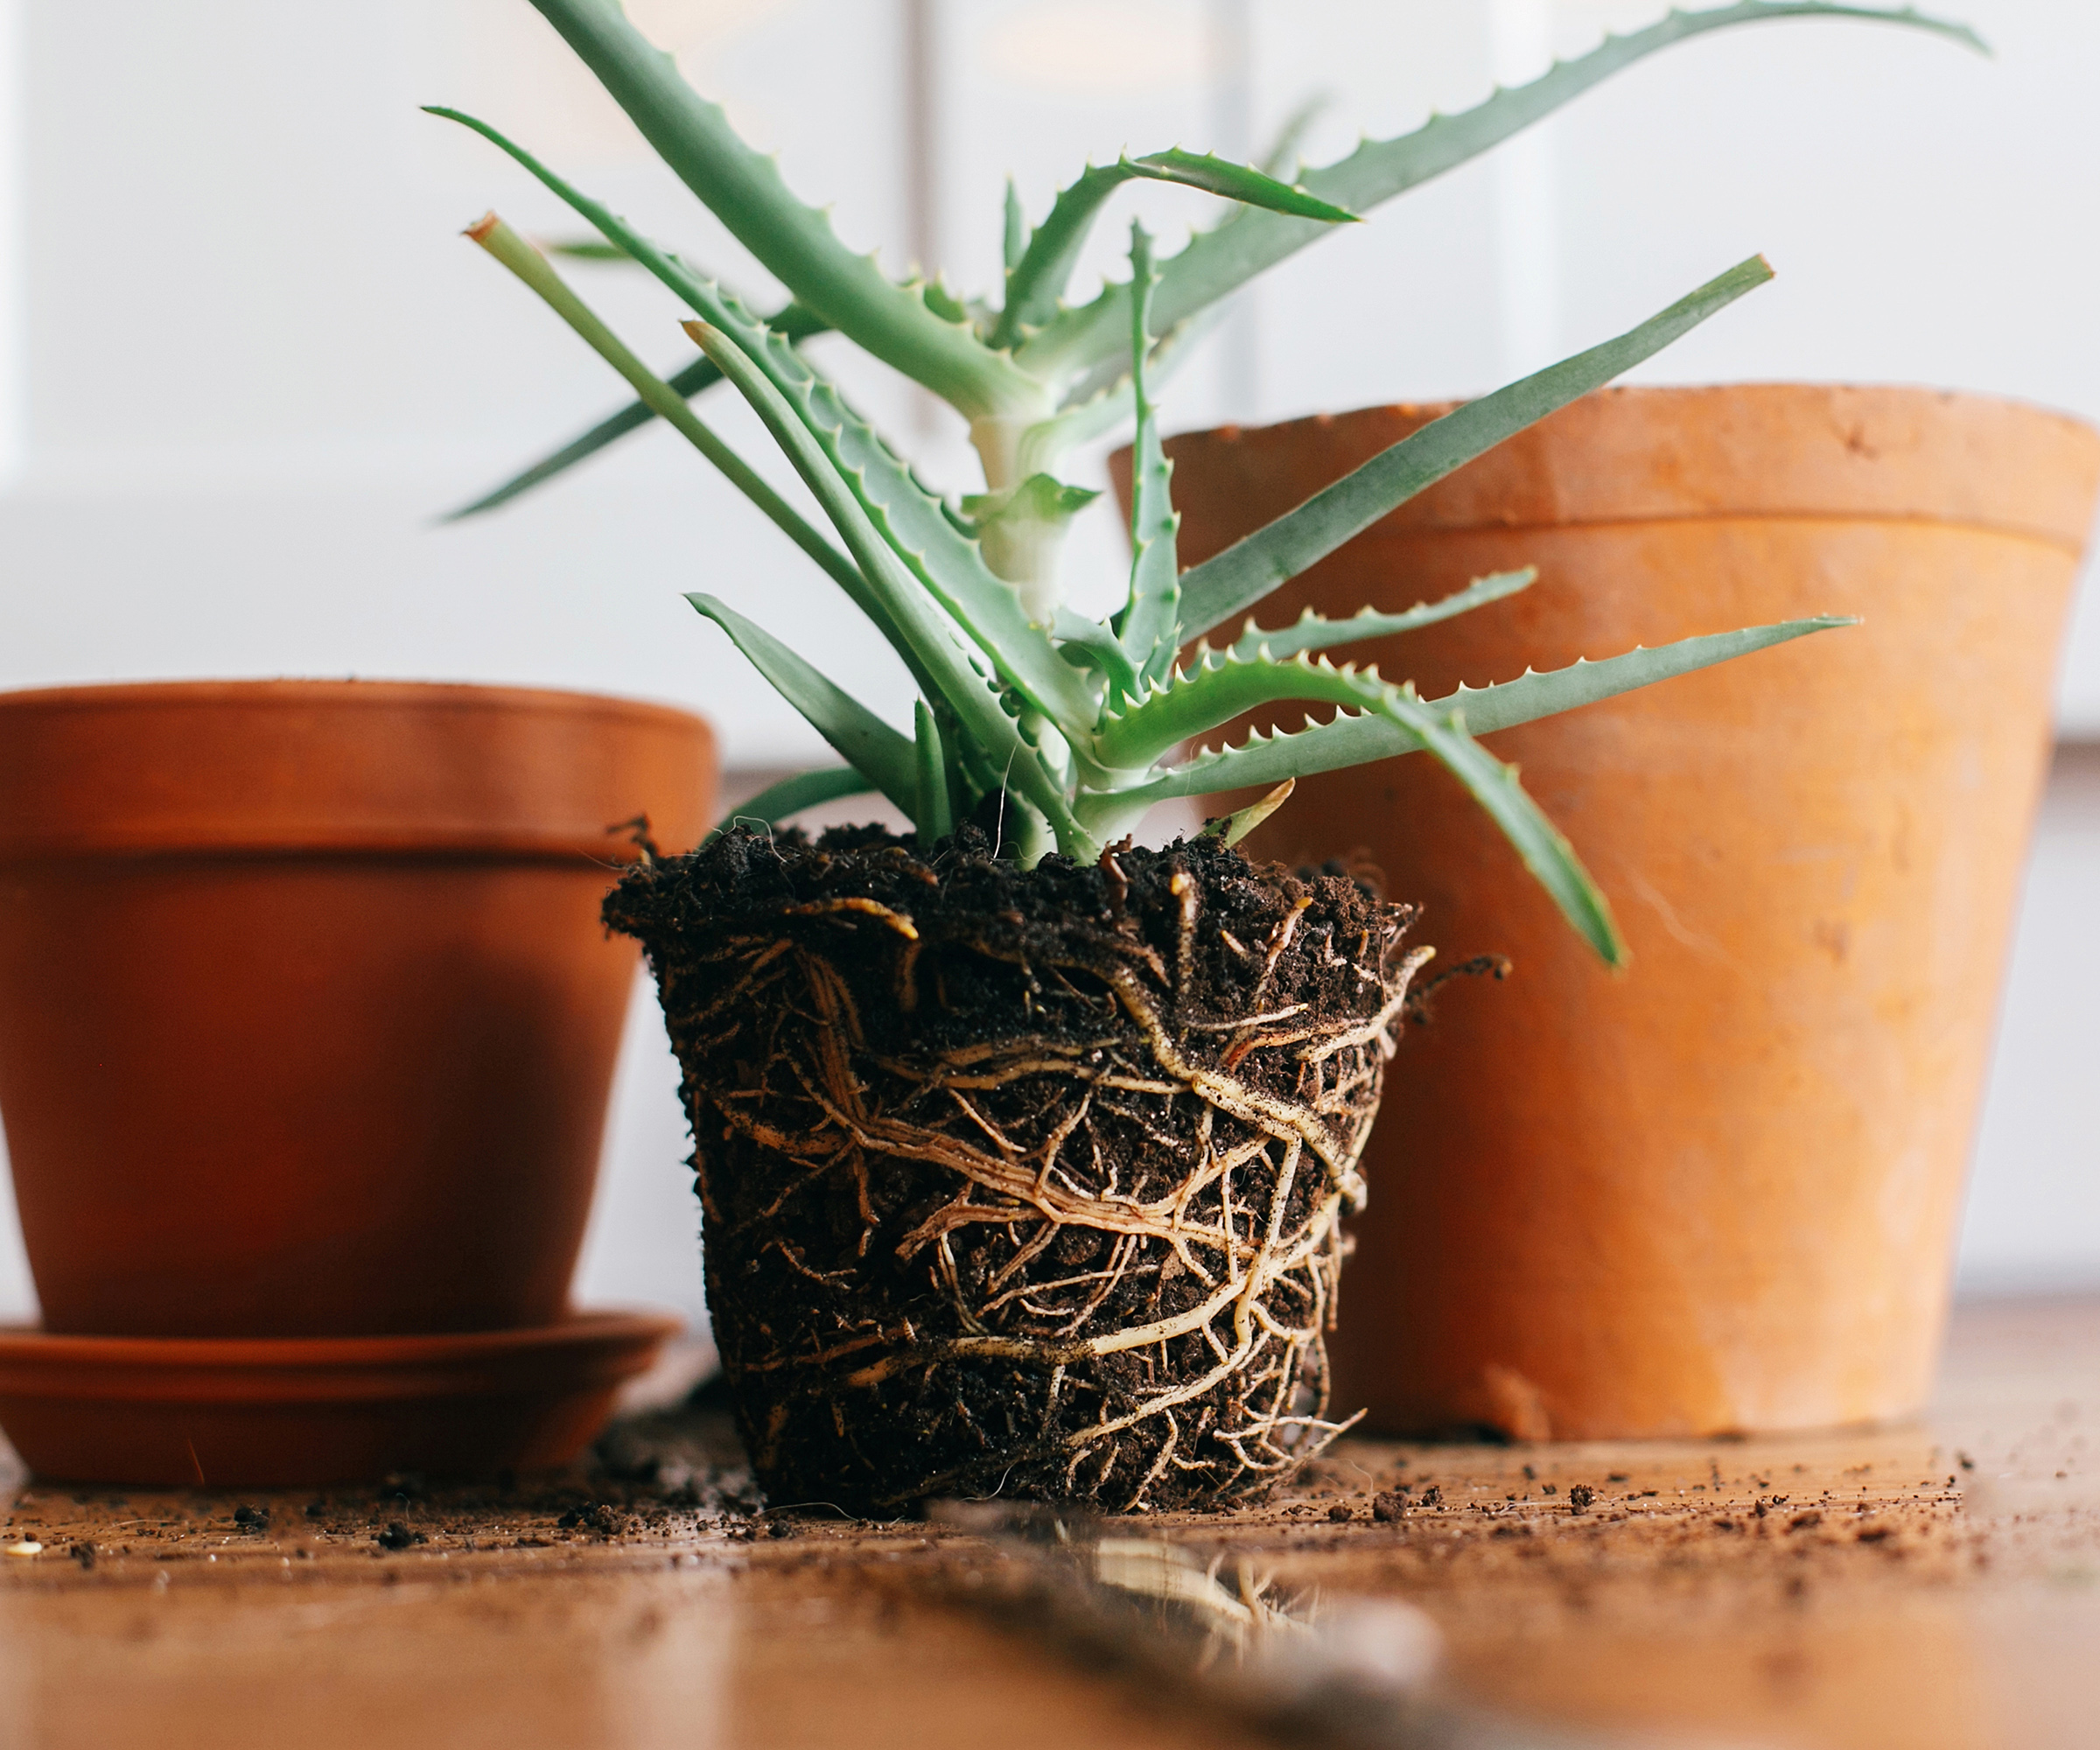
When is the best time to repot aloe?
'The best time to repot aloe is in the spring,' says Justine Kandra, horticulturist at the Missouri Botanical Garden. 'Aloes and other succulents do not need to be repotted often. A typical aloe plant will only need repotting every 2-5 years.'
'Depending on the species or variety, plants can get quite large even with pruning aloe vera. When potted aloes start to get top-heavy and at risk of falling over, they should be repotted. If the potting soil has completely broken down and no longer holds on to water properly, this is also a sign that it is time to repot,' says Justine.

Justine Kandra is horticulturist at the Missouri Botanical Garden in St. Louis, Missouri, where they are dedicated to plant health and conservation. They house a variety of aloes.
1. Pick your container carefully
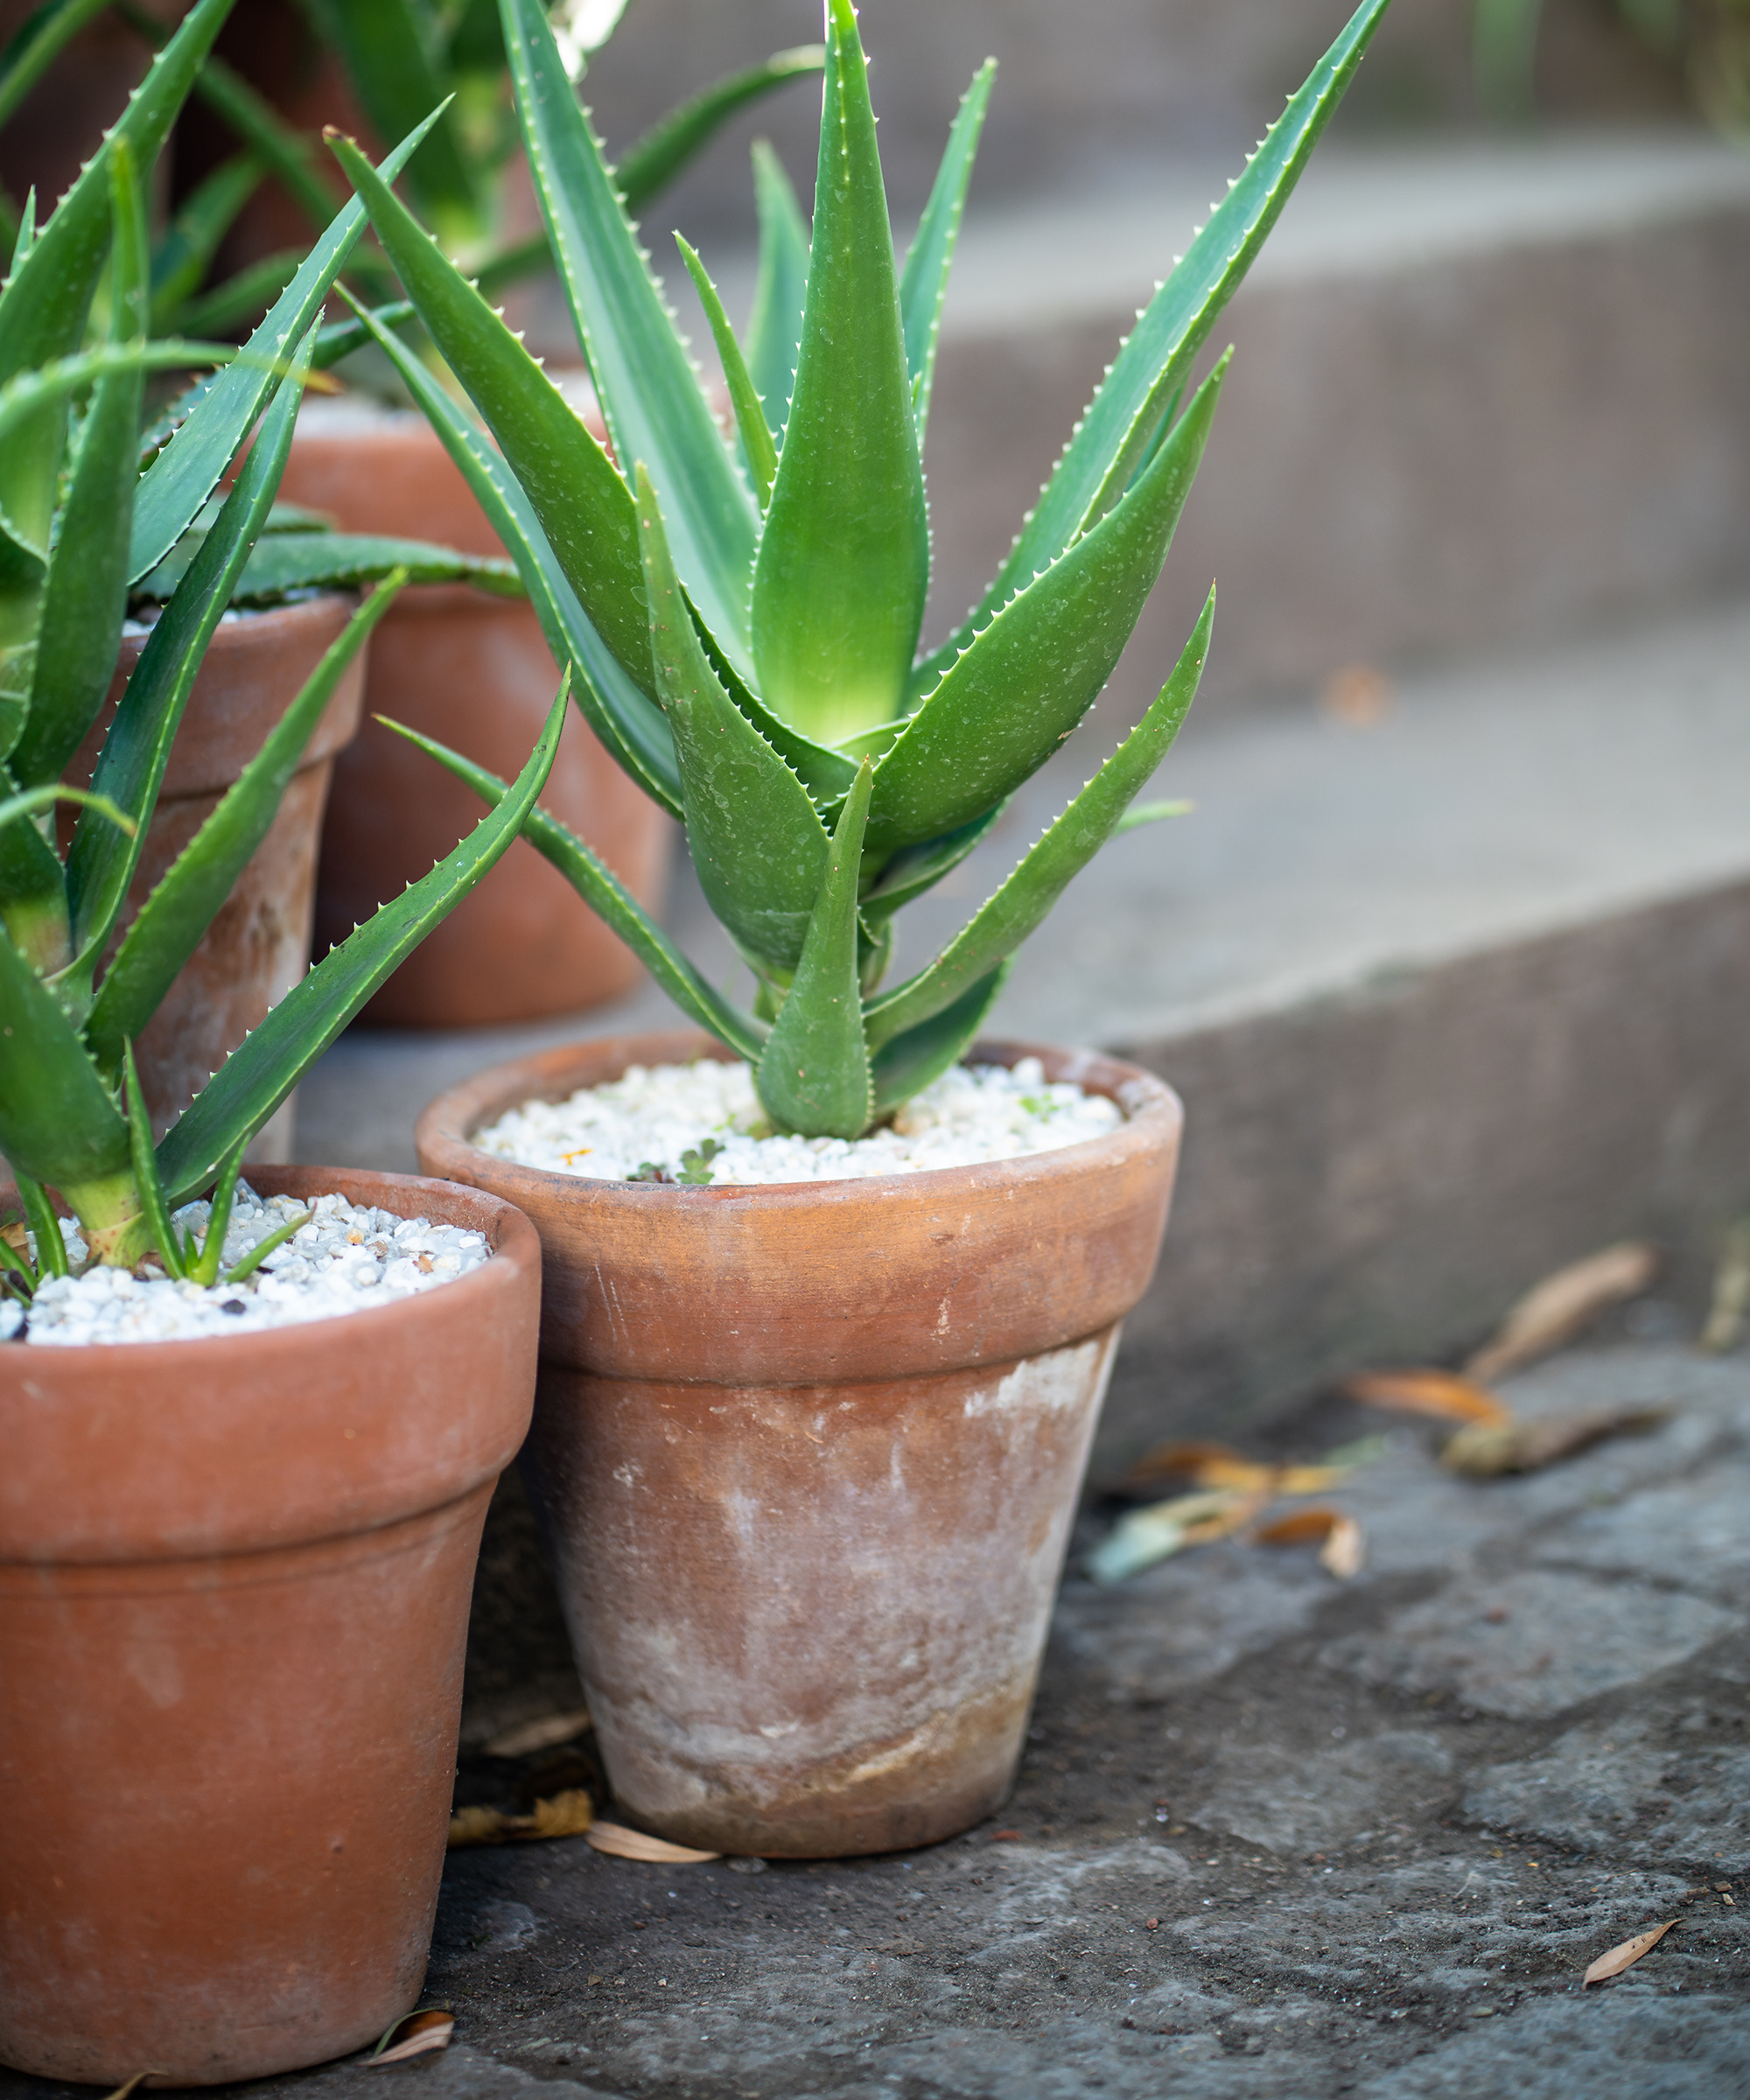
It's important that you choose a container which is going to be suitable. 'Pick containers with drainage holes in the bottom so that water can leave the pot and the soil can fully dry out between waterings,' says Annie Schreck, plant expert.
'Do not layer rocks in the bottom of the pot; it increases the risk of rot. If you've struggled at all with overwatering, humidity, or rot, or your aloe turning brown, unglazed terracotta pots are a great option; they're breathable, so they speed up the drying process. Generally, pots in the 4"-8" range for diameter and depth are suitable for aloes,' says Annie.
Design expertise in your inbox – from inspiring decorating ideas and beautiful celebrity homes to practical gardening advice and shopping round-ups.
Justine adds: 'A pot that is slightly wider than it is tall will help to reduce the risk of large aloe plants becoming top-heavy and falling over. When choosing a new pot for an aloe plant, choose a pot that is only around 1" wider in diameter than the original pot.'
Shop aloe vera plants
2. Get the soil just right
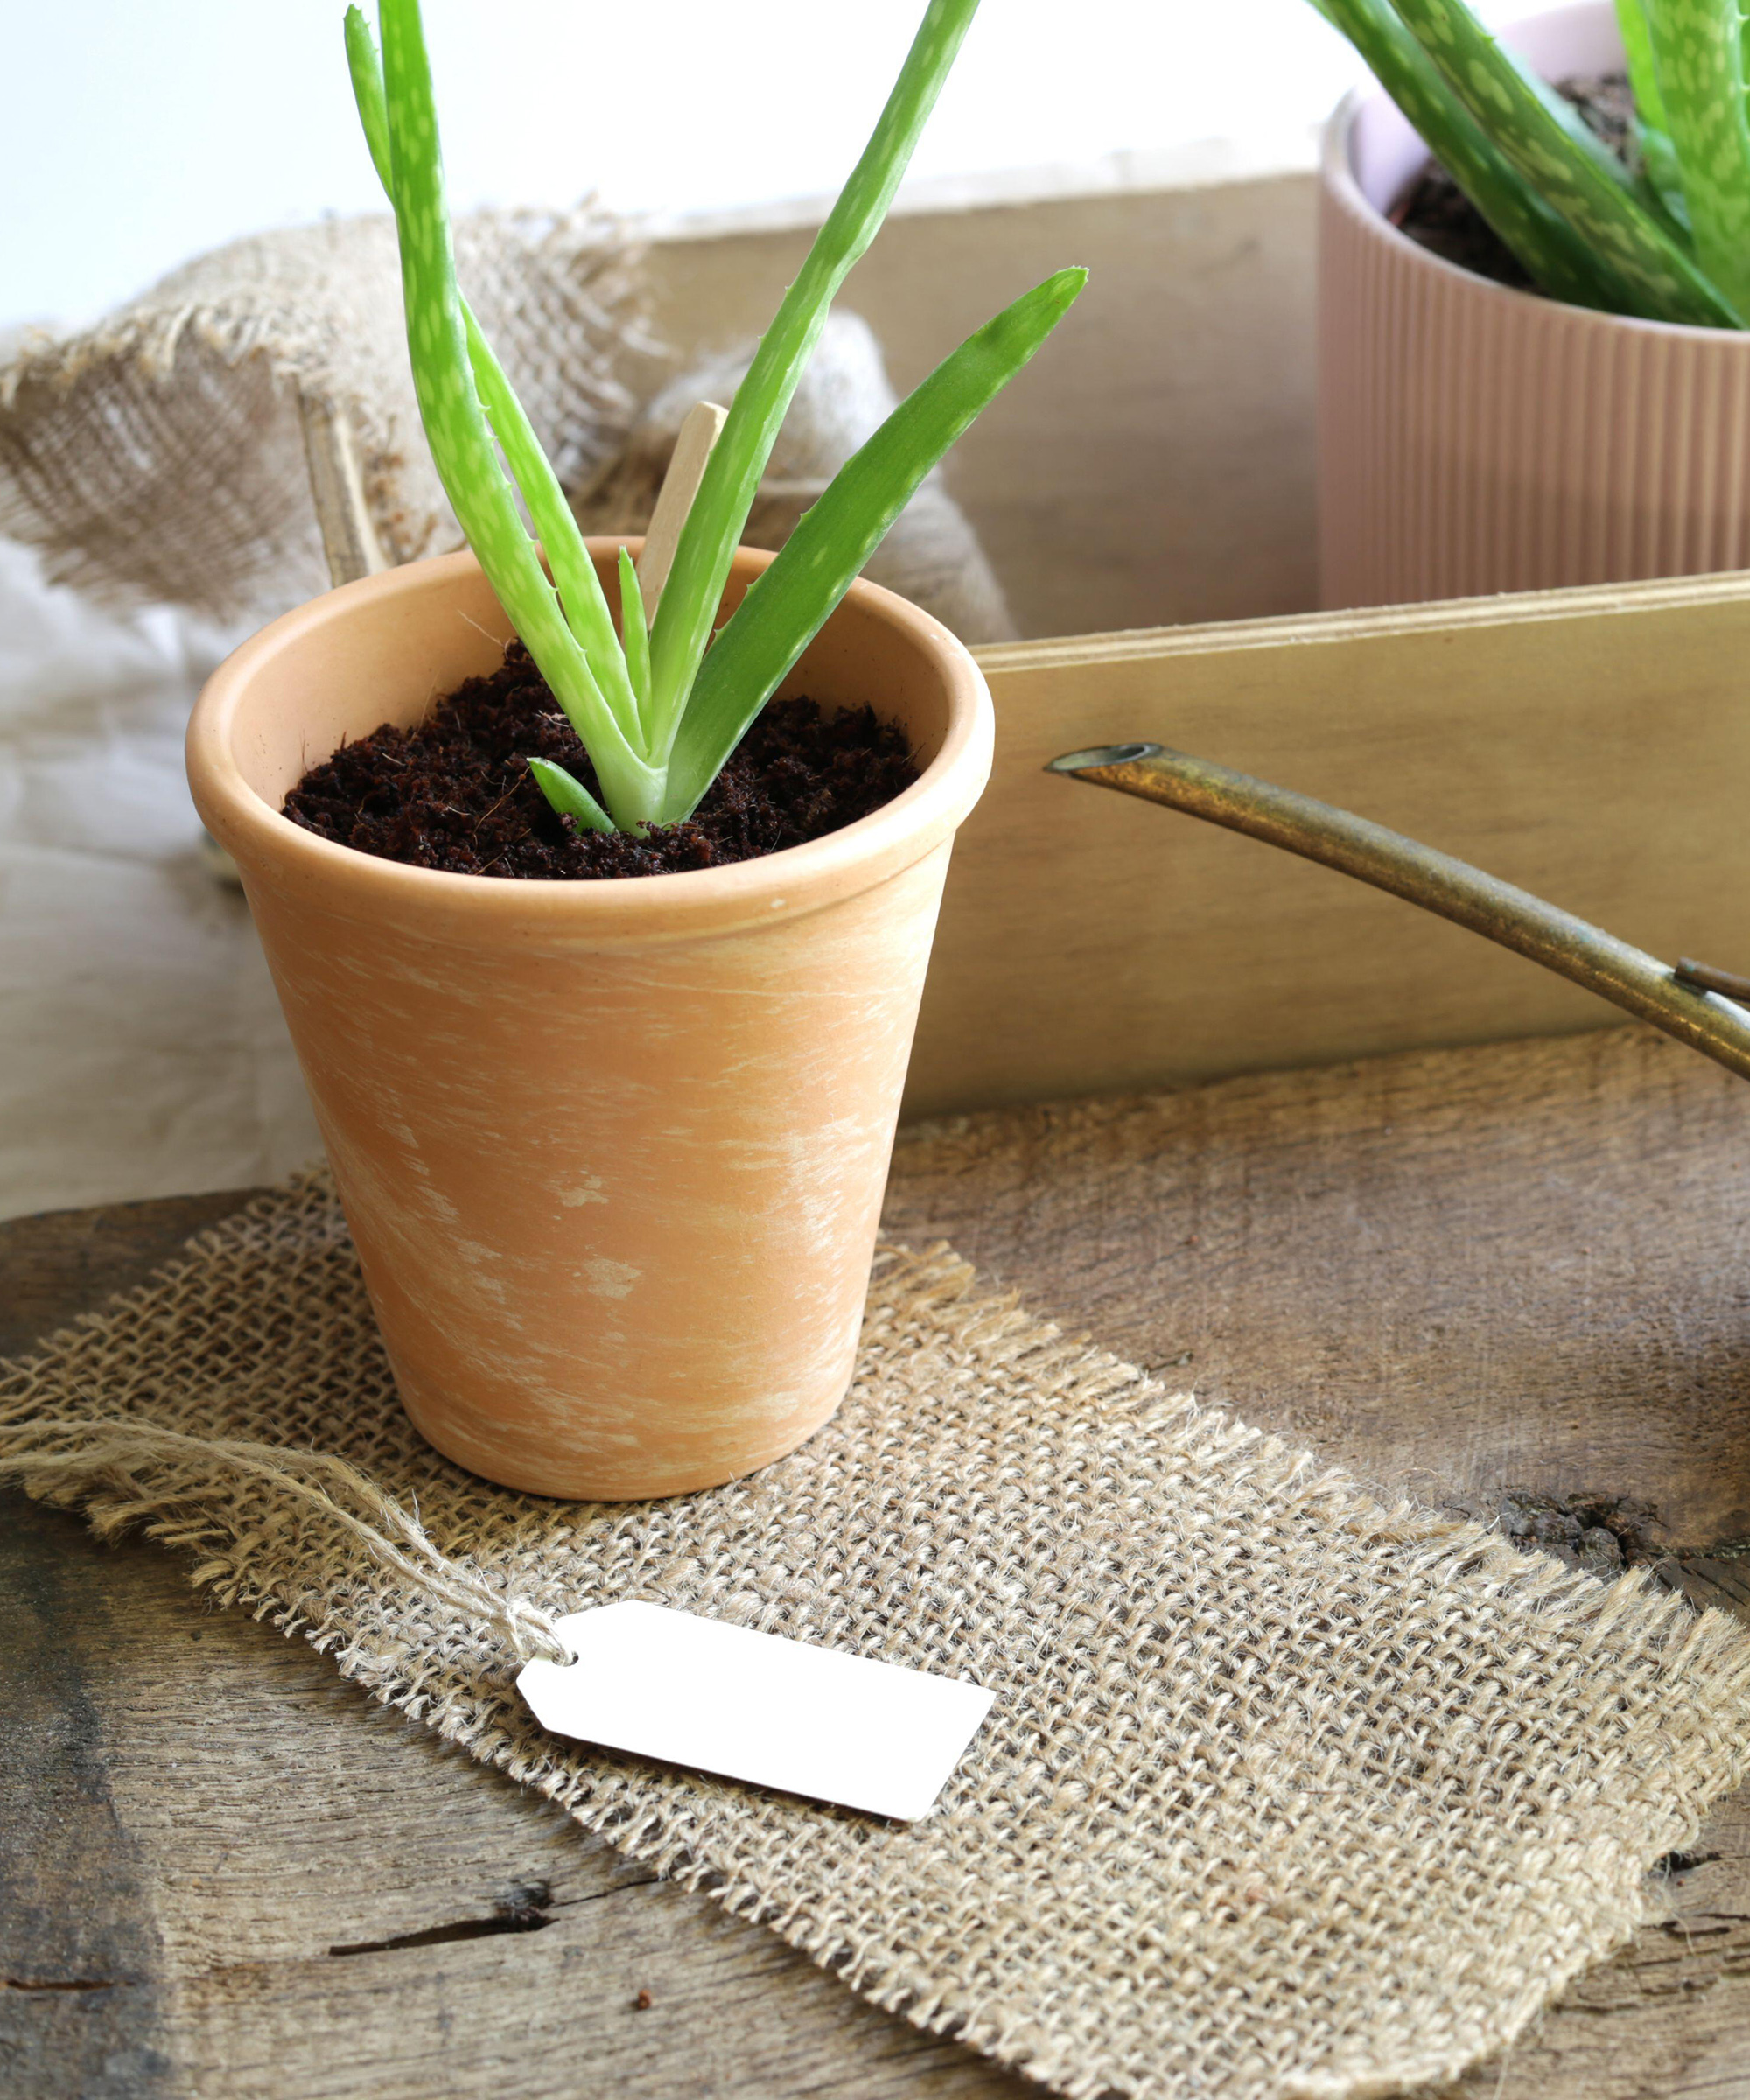
'Aloes need a very gritty, rapidly draining soil mix,' says Annie. 'Garden centers also carry bags of succulent soil, but they are almost always not well draining enough for these indoor plants.'
'Mix them with an equal volume of grit (pumice, perlite, or construction/pavers sand) to strike the right balance of organic and inorganic matter,' she suggests.
Annie Schreck has been the Research Director and Editor-in-chief for Mountain Crest Gardens since 2018. She has the great pleasure of researching and writing about succulents, sharing plant care tips through MCG's YouTube channel, and helping people cultivate water-wise plants at home and in the landscape.
3. Remove your aloe from its pot
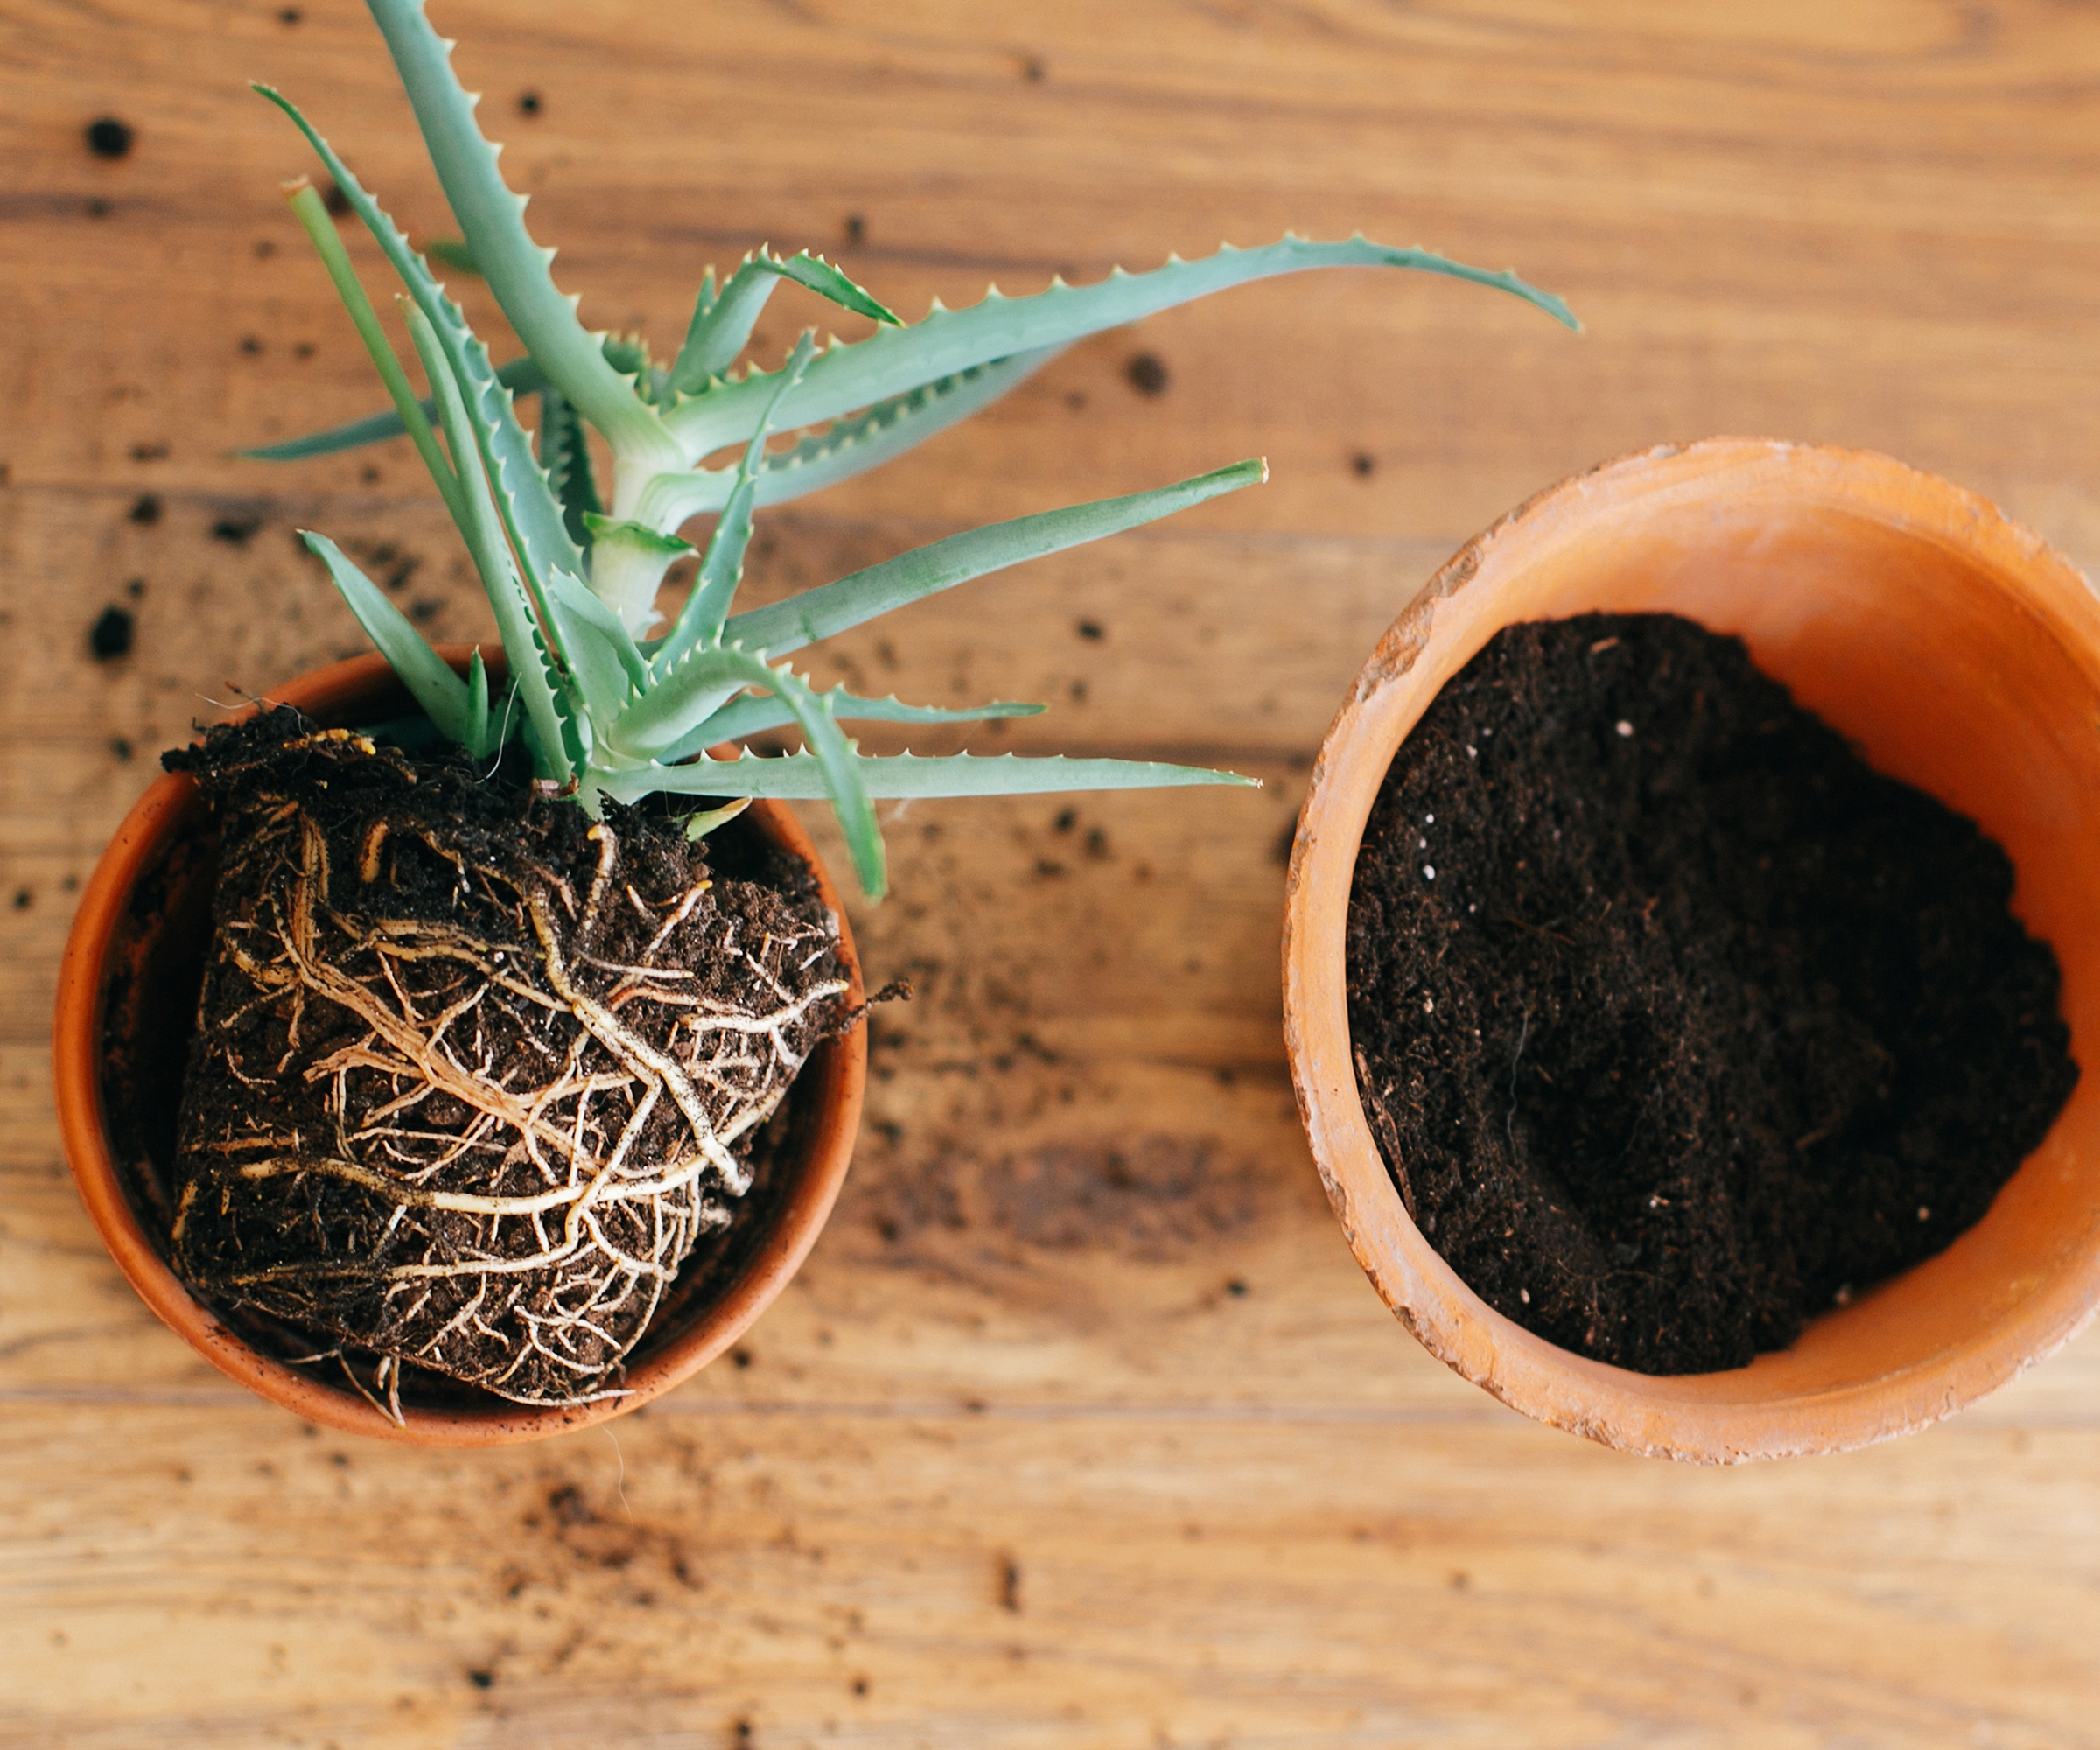
Gently remove the aloe from its pot. 'Remove any roots, stems, or leaves that are damaged or show signs of rotting. Pot the plant up into its new pot with new soil,' says Justine.
'Another option for repotting an aloe plant is to remove it from its pot, trim away about 1/3 of the roots using clean, sharp pruners, and then repot it in the same container with fresh soil. This is not necessary if you are planting your aloe into a larger container,' she says.
4. Remove pups if necessary
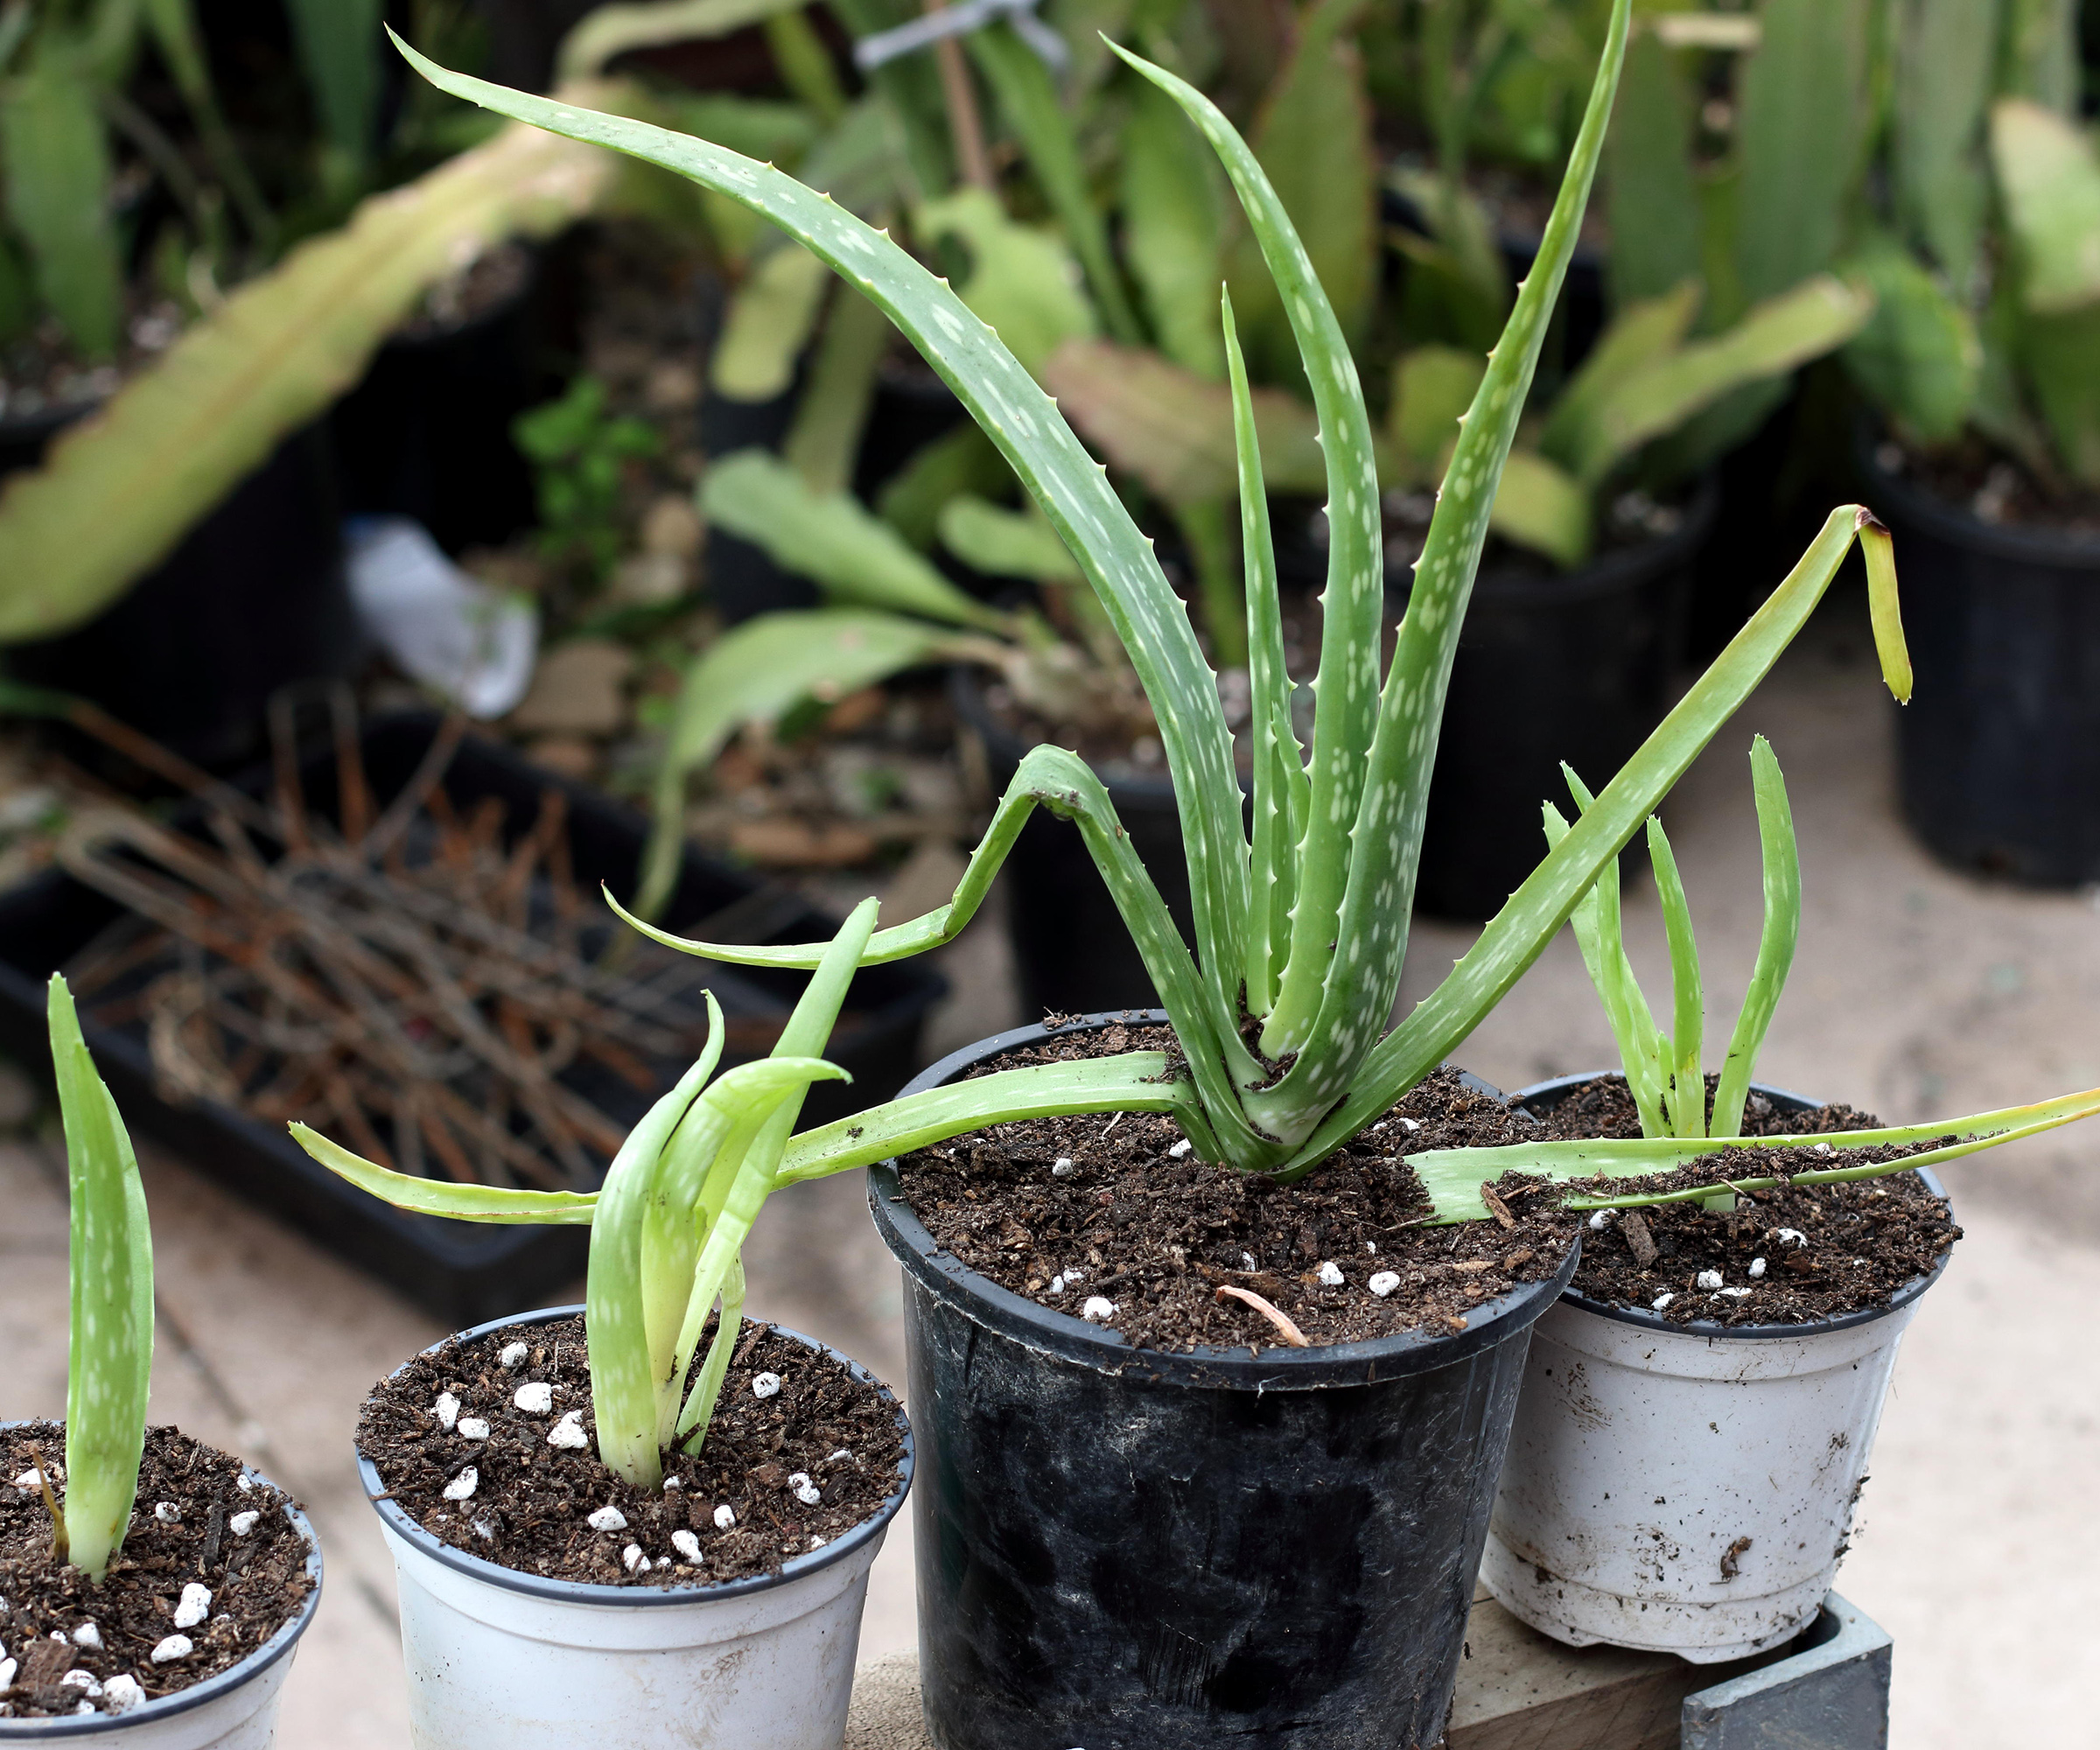
Removing pups is something that you can do whilst repotting, before you set your plant in a new pot, as this is a great way of propagating aloe vera.
'Gently tease the pup's roots away from the mother plant, retaining as many of the roots as possible,' says Annie.
'Repot them in smaller pots with gritty soil, just as you did for the mother plant,' says Justine.
5. Set your aloe in its new pot
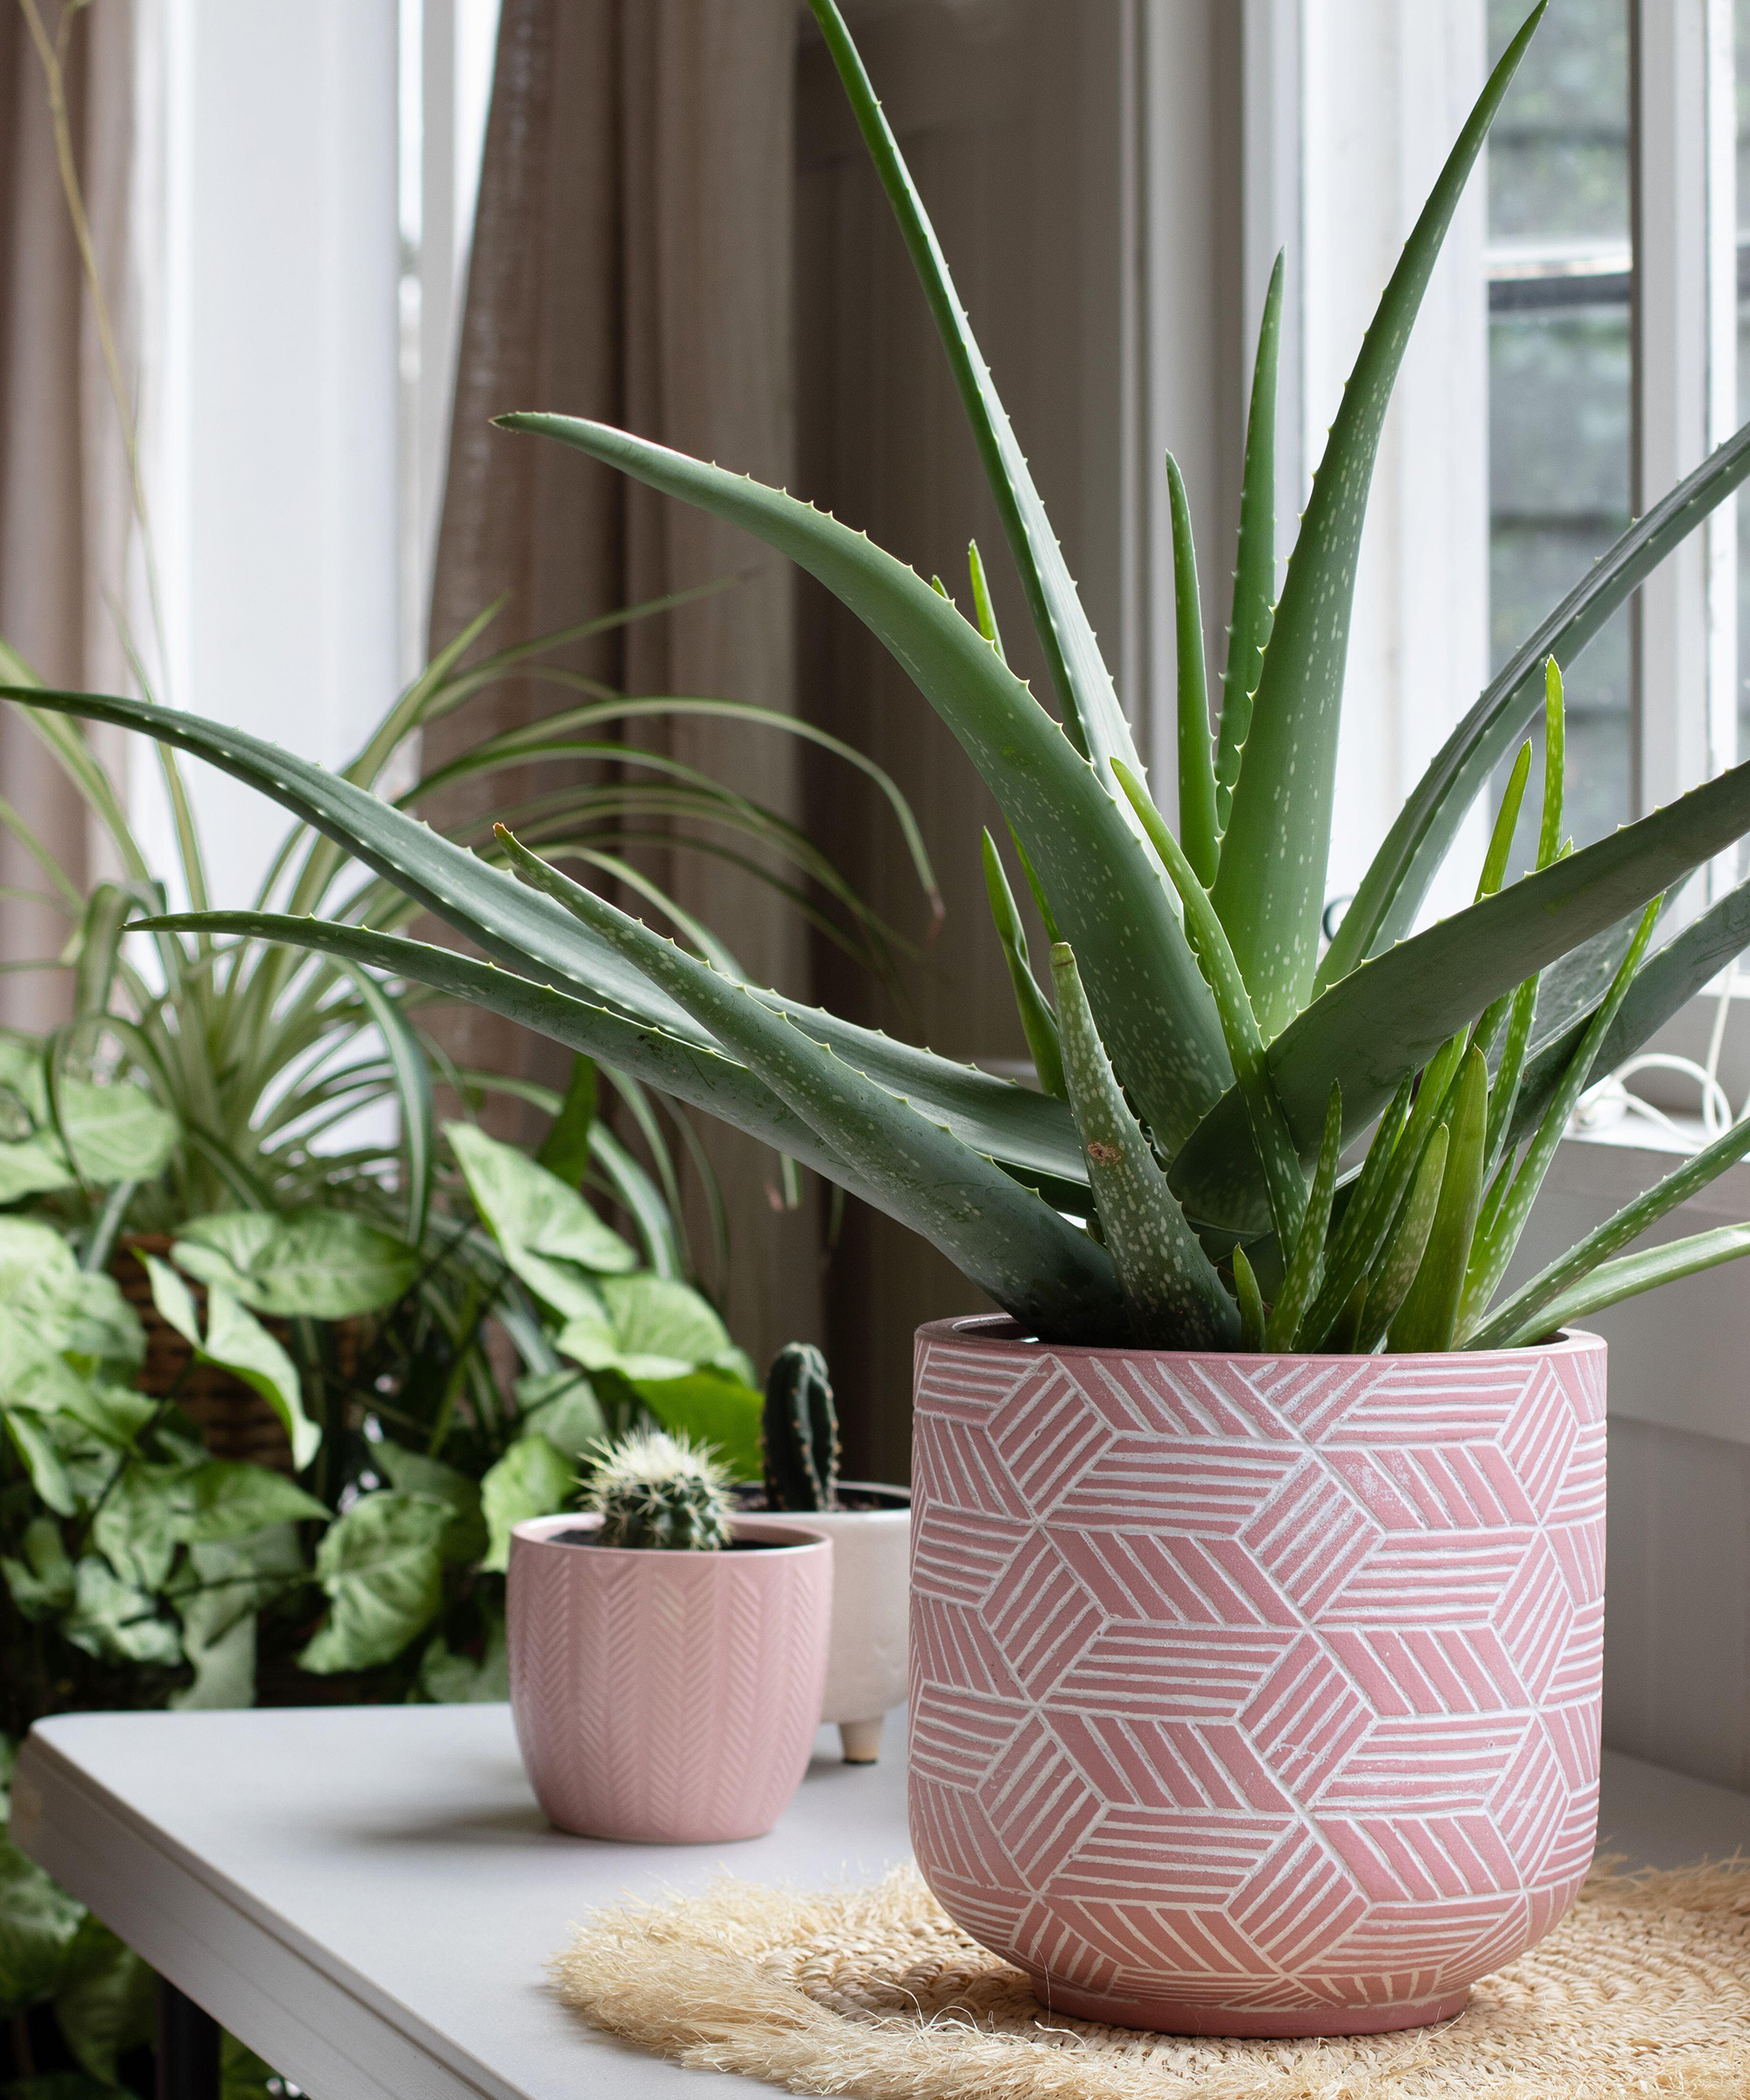
Once you're done teasing, pruning and separating pup plants, it's time to settle your aloe comfortably and securely in its newly prepared pot with appropriate soil mix.
'Knock off as much of the old soil as you can without breaking roots. Hold the aloe at planting depth in the new pot (or the original pot, if you're just refreshing the soil), and pour in your rocky soil,' says Annie Schreck.
To avoid transplant shock, compact the soil to fill any gaps and stabilize the plant. 'Wait three days before watering your aloe plant, as micro tears in the roots need to dry and callus before getting watered,' she advises.
FAQs
Why is my aloe plant turning brown after transplanting?
'Aloe leaves turning brown can be a symptom of several cultural problems, including overly moist soil or too much direct sun,' says Justine Kandra, horticulturist at the Missouri Botanical Garden.
'Make sure you are using a potting mix specifically formulated for succulents, and that your aloe is not getting too much direct sun, especially right after being repotted,' she says.
If you're transplanting aloe, then you could try potting it up alongside other indoor plants for sun.

Teresa was part of a team that launched Easy Gardens magazine two years ago and edited it for some time. Teresa has been a Gardens Editor at Homes & Gardens, Country Homes & Interiors and Living Etc magazine since 2020 and has developed close working relationships with top garden designers, and has been exposed to an array of rich garden content and expertise.
