How to propagate aloe – for more of these stunning succulents
Aloe vera can be propagated from leaf cuttings or by division – and both methods are easy to try at home


If you already have an aloe in your indoor plant collection, why not have a go at propagating it, to get more houseplants for free? It's easier than you might expect.
There are two approaches most commonly used for making more aloes. One is to divide the plants, and the other is to take and replant leaf cuttings. Both can be done in spring or summer, when the plants are in their growing season. And as they're so straightforward, they're suitable for beginner and experienced houseplant parents alike.

Aloe veras can develop lots of offshoots which can be detached and replanted
How to propagate aloe by division

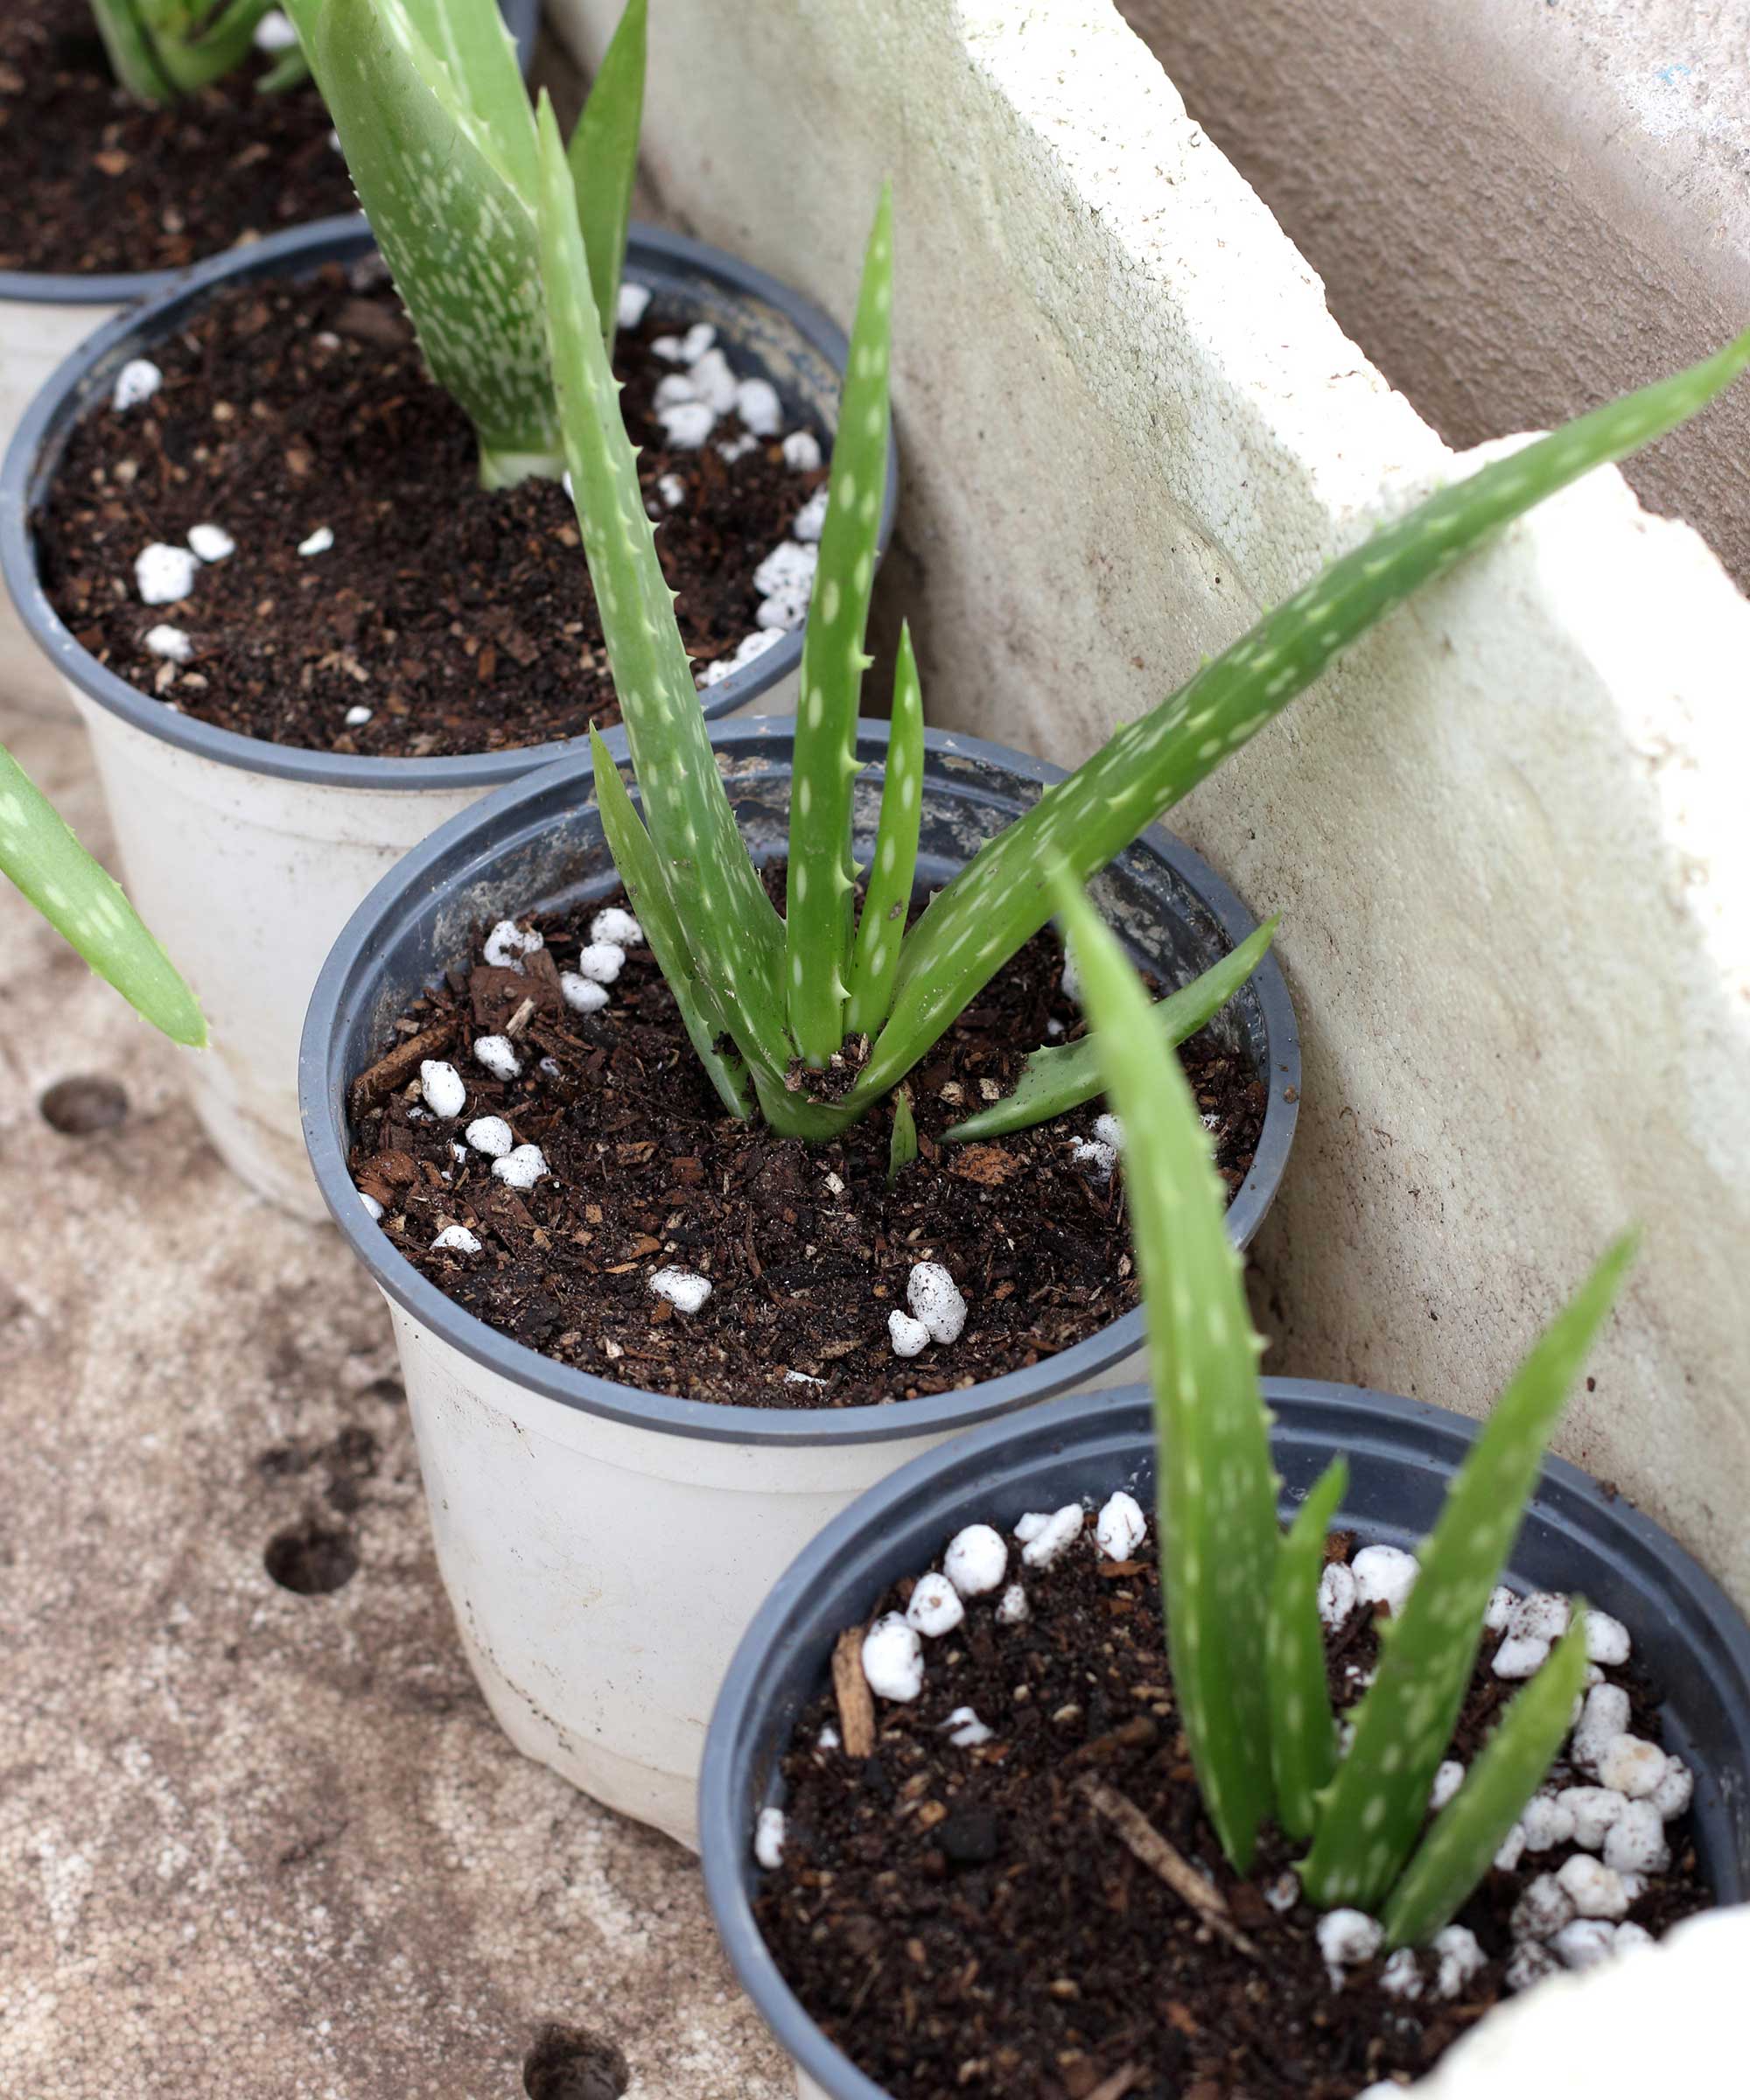
Place the newly-planted offshoots somewhere with good light, and keep the soil moist until they establish
Propagating by division is the easiest way to get more indoor plants (or, many outdoor perennial plants) for free.
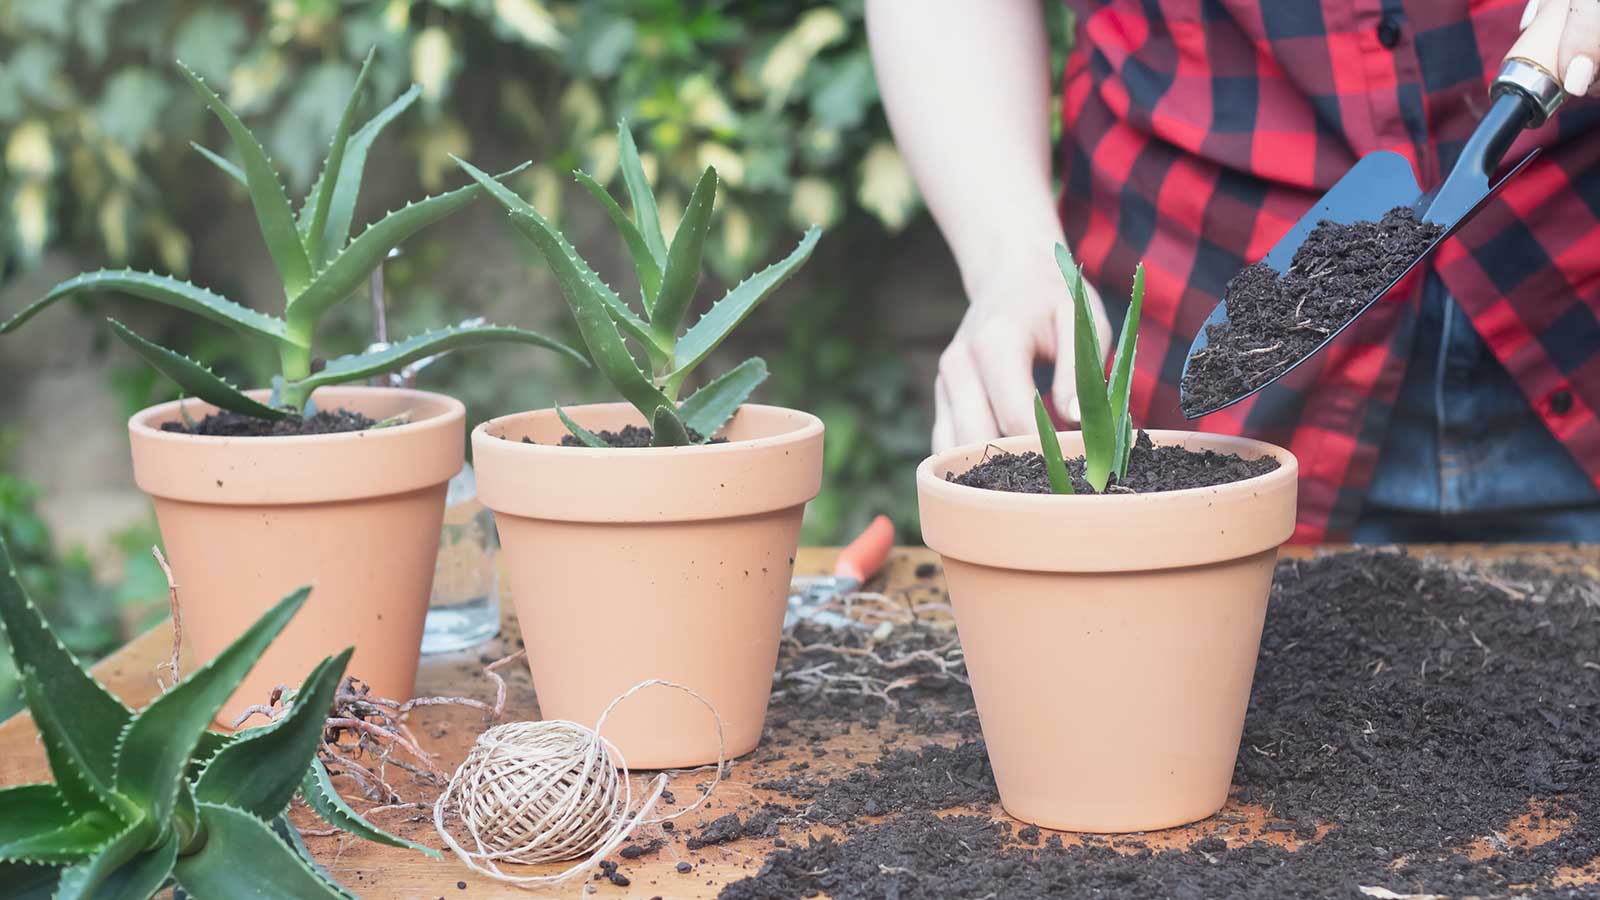
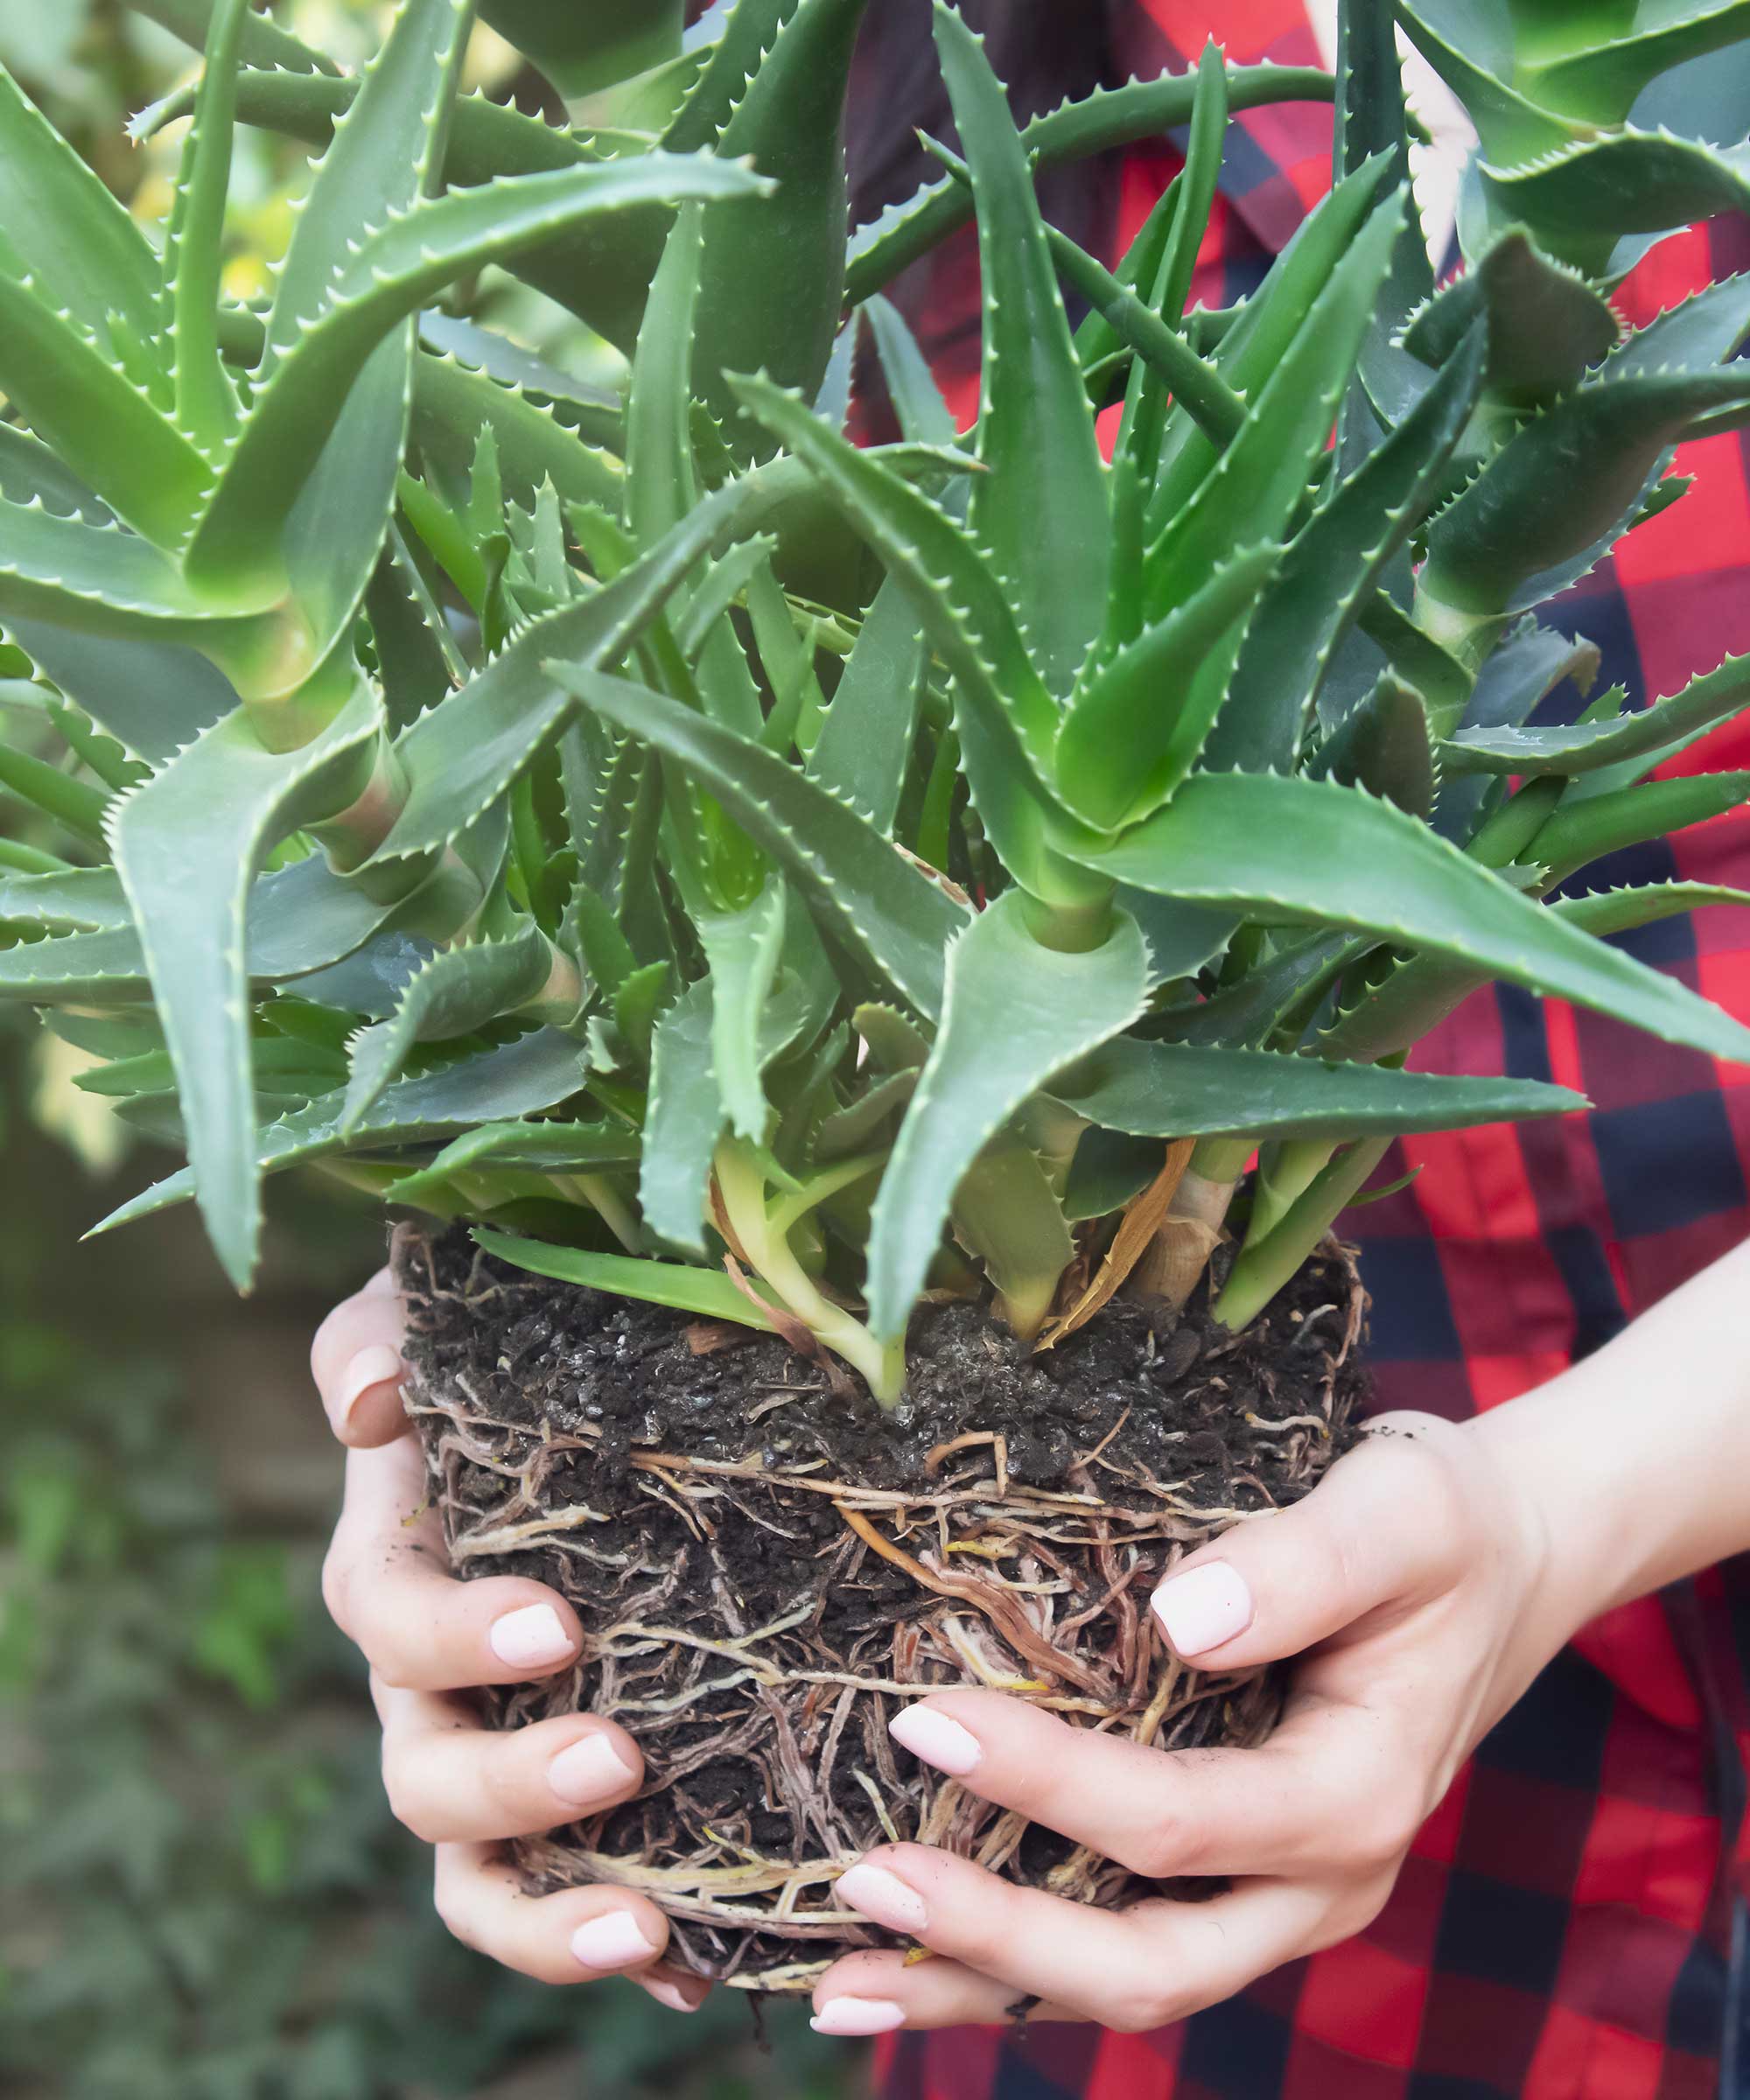
Well-established aloes produce smaller offshoots. All you need to do is remove the entire plant from its pot, then carefully prise away these offshoots, ensuring that each section has a healthy root system attached. You can use a sharp and clean garden knife, such as the Hori Hori garden knife from Attican, on Amazon), to do this, or simply use your hands.
The offshoots can then be replanted in the same way you would repot aloe, separately, into smaller pots of potting compost suitable for succulents (try The Valley Garden Store's organic cactus and succulent soil mix, also from Amazon). Lightly water them in.
Provide adequate care for them and they should thrive. Aloes like good light in a warm spot where the temperature does not fall below 59˚F, says gardening expert John Negus. Once established, feed them regularly with a houseplant fertilizer during the warmer months, and water when the compost feels dry, he adds. Sap-feeding pests, such as aphids, are rarely a problem.
You can try a similar technique for propagating spider plants and prayer plants, too.
Design expertise in your inbox – from inspiring decorating ideas and beautiful celebrity homes to practical gardening advice and shopping round-ups.

John has been a garden journalist for over 50 years and regularly answers readers' questions in Amateur Gardening magazine. He has also written four books and has delivered many talks over the years on horticulture.
How to propagate aloe by taking cuttings

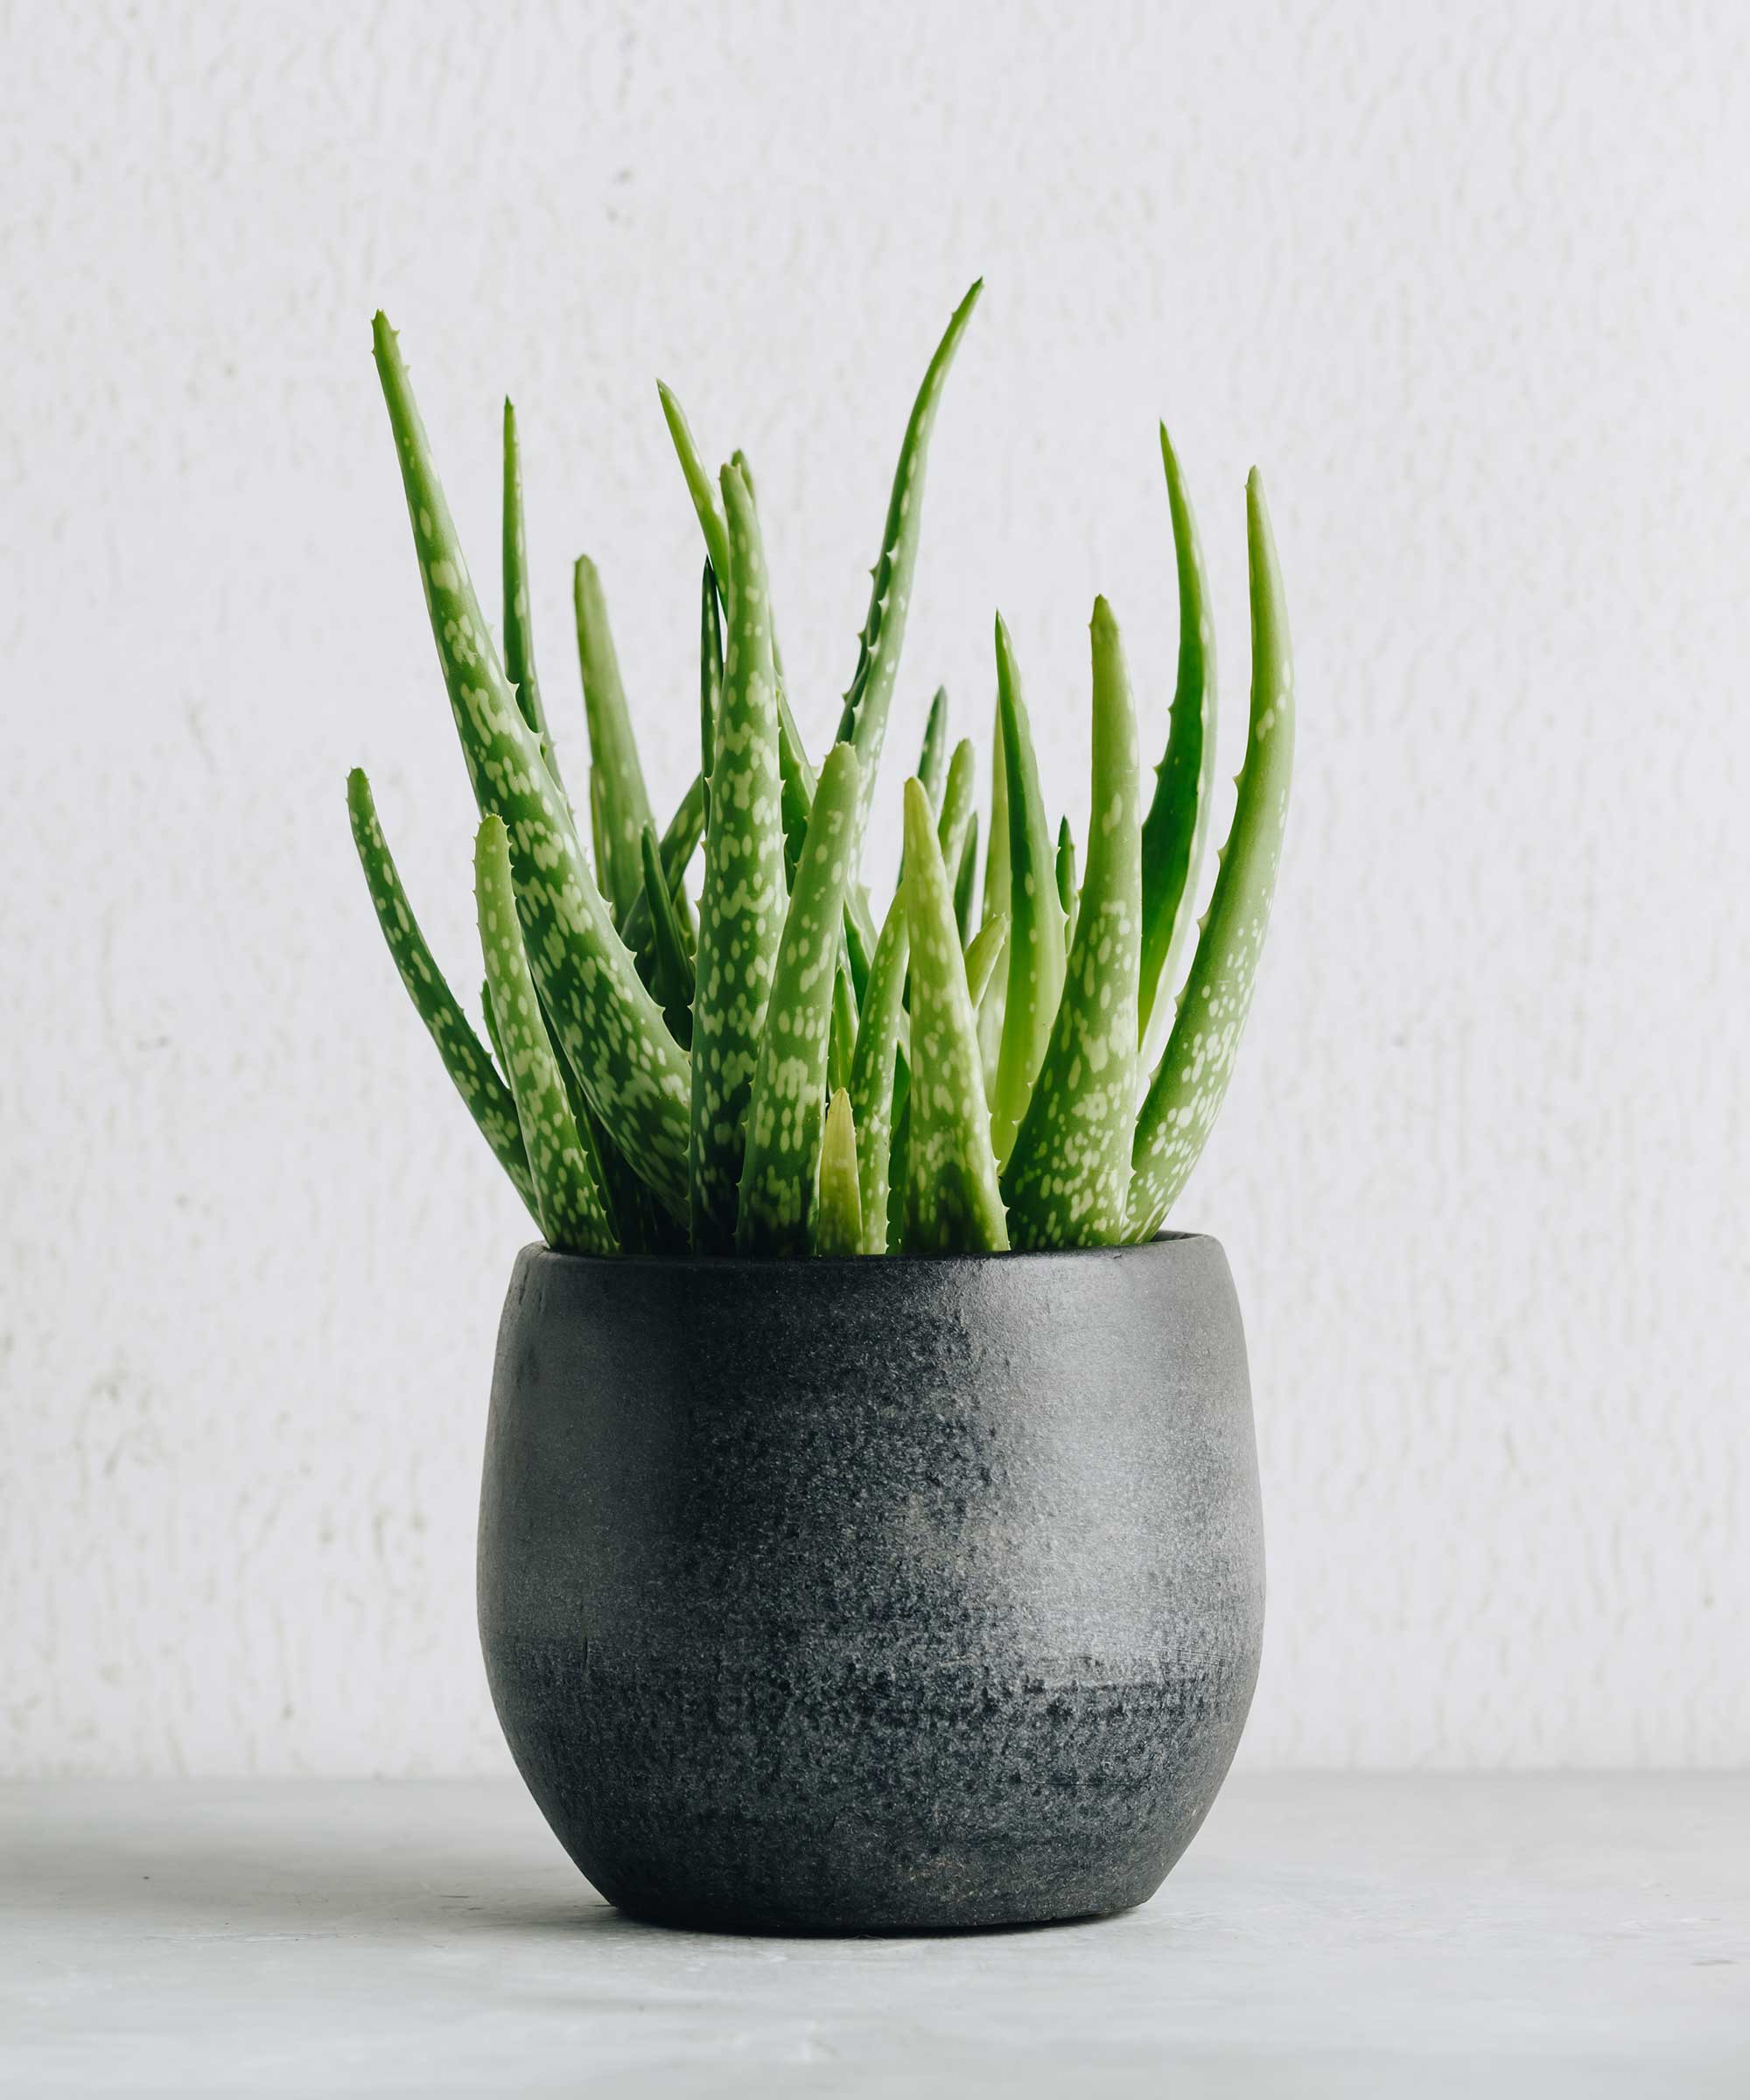
Aloe vera make striking houseplants
The other way to make more aloes is to take plant cuttings. Autumn Hilliard-Knapp of Perfect Plants Nursery shares her step-by-step guide below.
- Choose a three-inch long, healthy leaf from the base of the aloe plant. Ensure that the cutting tool you use is sharp to create a clean cut.
- Place the leaf-cutting in a warm spot, such as a windowsill, and wait for it to develop a callus. The callus is a protective film that forms over the cut area, which helps prevent rotting when the cutting is planted. It can take anywhere from a few days to two weeks for the callus to develop.
- Once the cutting has formed a callus, fill a pot with sandy loam soil, leaving enough space at the top to accommodate the aloe cutting. Having drainage holes in the pot is crucial to prevent waterlogged soil, which can harm the aloe.
- Gently place the cutting into the soil, leaving about an inch of it above the soil surface.
- Water the newly planted aloe cutting when the soil feels dry to the touch. Avoid overwatering, as aloes are adapted to thrive in arid conditions.
- Within a few weeks, you should start to see new growth from the cutting. This indicates that the propagation process has been successful.

Autumn is a horticulture specialist and marketing professional at Perfect Plants Nursery. With four years of experience in the horticulture industry, she has developed a passion for helping people create beautiful indoor and outdoor spaces to enjoy. Her expertise in horticulture encompasses a broad range of activities, including plant care and selection, landscape design, and maintenance.
FAQs
Can you root aloe vera cuttings in water?
It is unlikely that you will be successful in rooting aloe vera cuttings in water since the cutting's roots are likely to rot. Your best chance of rooting aloe vera cuttings is by doing so in potting soil.
You can propagate other succulents, too, to expand your houseplant collection further without extra cost. The methods are more or less the same. It's well worth it – after all, an interior scheme can never have enough greenery!

Holly started writing about gardening five years ago, and she is a regular contributor to Homes & Gardens. She has also written many gardening features for Woman & Home and Real Homes, too. She has previous experience as a professional gardener, where she helped to plant and maintain private gardens. Holly has also looked after allotment plots over the years and loves to grow her own flowers and veggies from seed. In her spare time, she enjoys visiting local gardens, botanical drawing, and tending to her ever-growing collection of houseplants.