How to divide plants – multiply your perennials, bulb flowers and succulents
Discover how to divide plants to keep them healthy, and fill the garden with more of your best-loved varieties


Learning how to divide plants is a wonderfully rewarding gardening activity. It's so easy to fill your borders and pots with more of the plants you already know and love, nurturing them from the smallest offshoots.
Propagating plants through division is a simple technique, but one of the most valuable garden ideas to keep it well stocked and in good shape.
It will also help to ensure your planting scheme looks cohesive and natural by repeating favorite plants. It is better to create a well-considered garden color scheme rather than a rainbow of different varieties.
‘You can increase your stock of clump-forming plants – including perennials, spreading shrubs, underground rhizomes, bulbs and tubers – by dividing them every two or three years,’ says Period Living’s gardening expert Leigh Clapp.
Dividing plants in this way also keeps many varieties in better health, as it reduces congestion, helping them to stay vigorous. Indeed, some plants become unproductive after a few years if you do not divide them.
This technique also improves the plants' appearance, as on many perennials the original center can die away as they grow outwards, leaving an unsightly gap.
‘It will take a little time for the new plants to establish, but you will cut costs and replicate the specific variety,’ adds Clapp.
Design expertise in your inbox – from inspiring decorating ideas and beautiful celebrity homes to practical gardening advice and shopping round-ups.
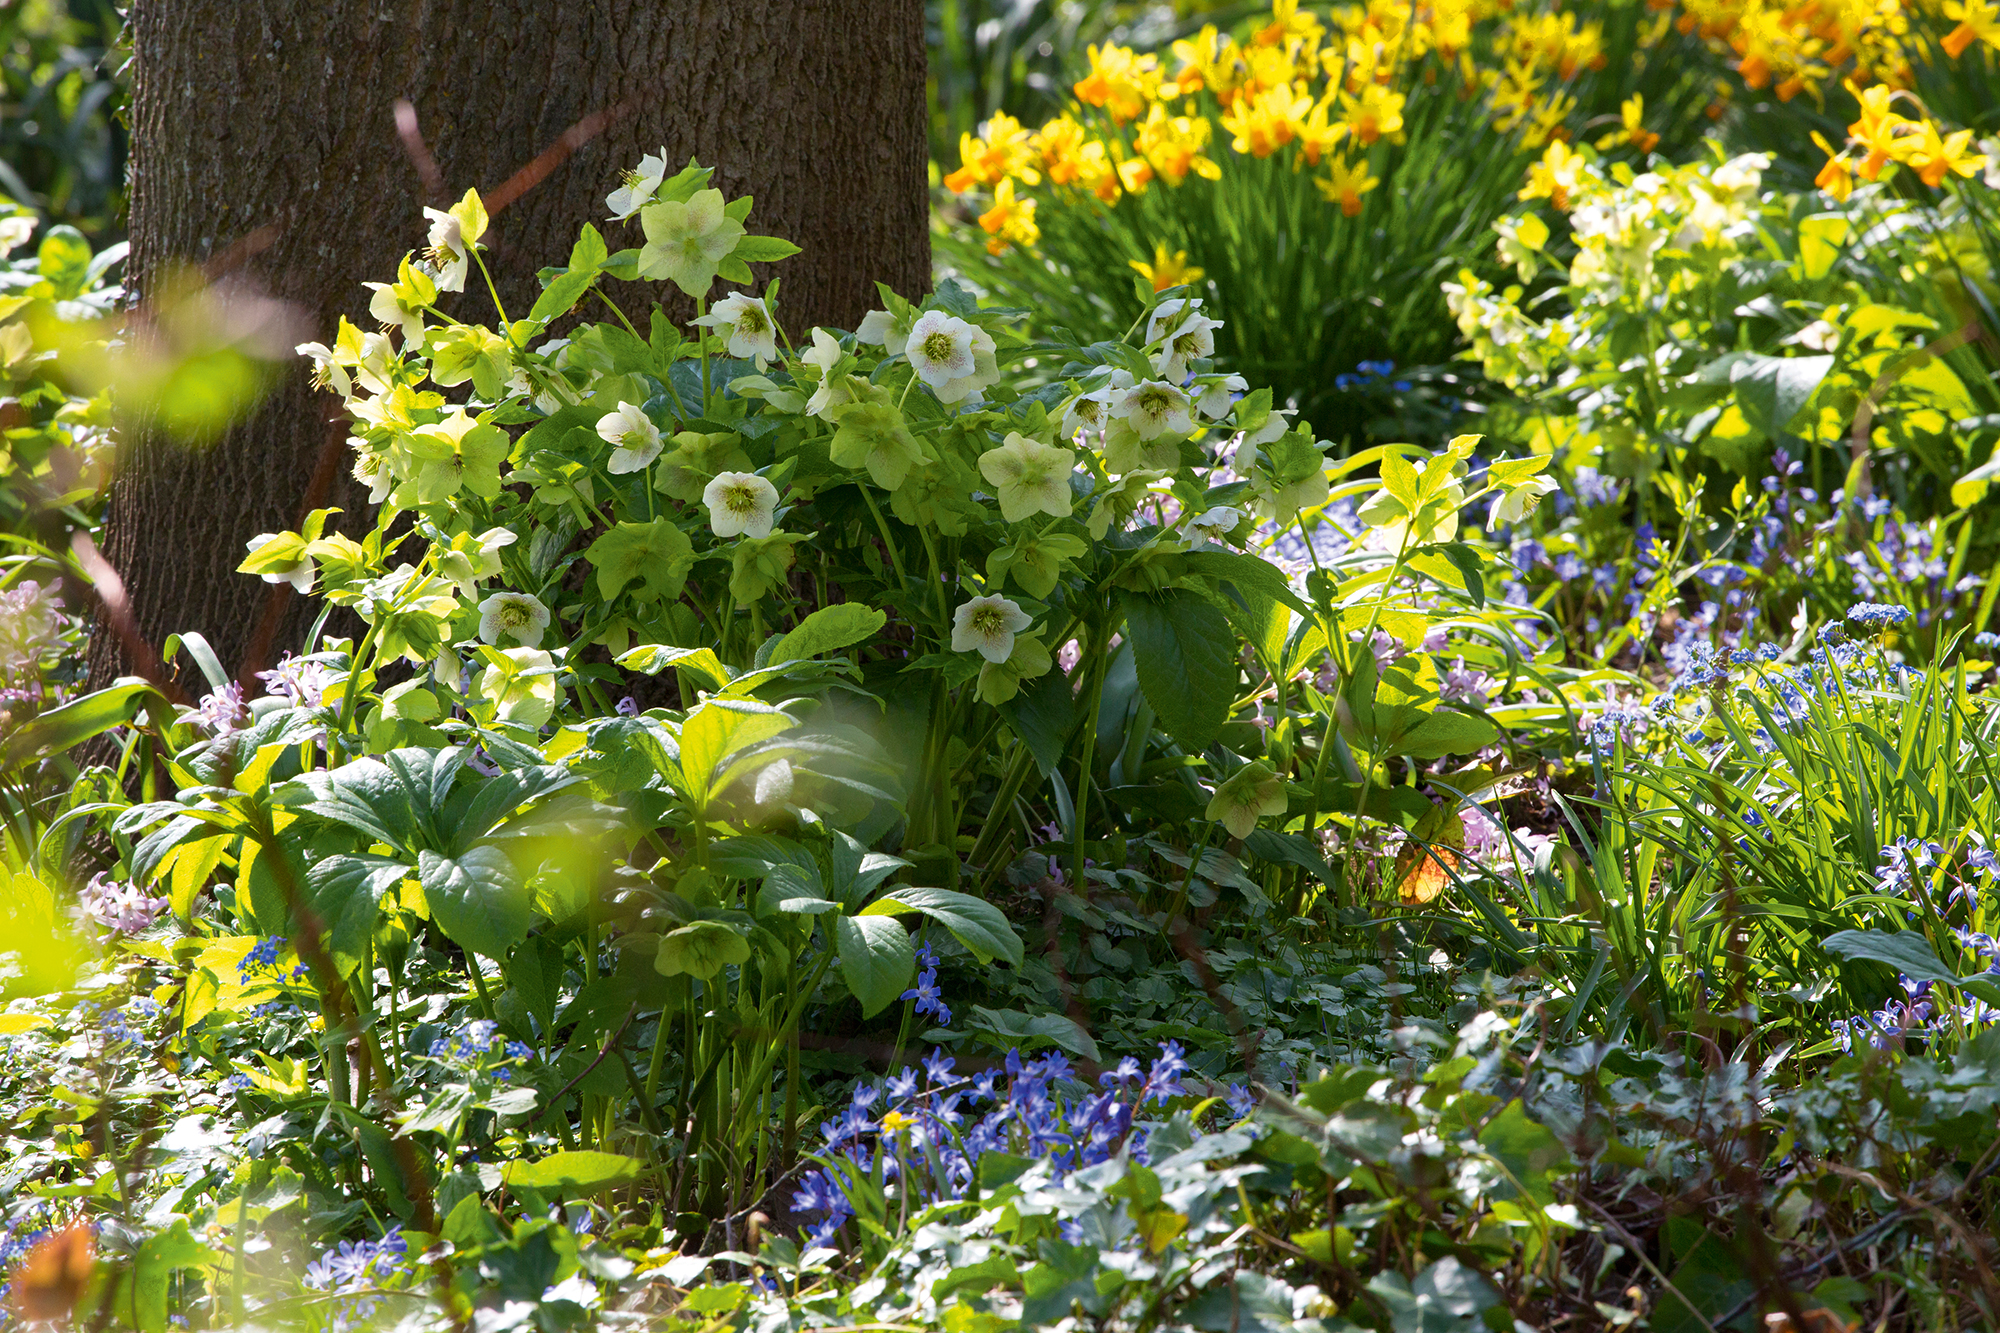
How to divide plants – the essentials
Dividing plants involves separating small rooted sections, or clumps, of the plant – or its miniature offshoots, bulbs or tubers. You then replant them, and most will successfully grow on to become strong individual plants.
Every plant has its own preferred methods of propagation. Certain plants, such as annual flowers, are best grown from seed – essential when planning a cut flower garden.
Others will root well from cuttings – for example, knowing how to take rose cuttings is an invaluable skill for every gardener.
However, propagating by dividing – or splitting – is an easy and effective way to multiply many clump-forming plants including:
- Herbaceous perennials – the staples of most gardens, these are the non-woody perennials that die away at the end of the season, but then come back each year, as their underground root system lies healthy and dormant below ground. Popular herbaceous perennials include geraniums, delphiniums, lupins, peonies, rudbeckias, Japanese anemones, salvias, hostas, and many ornamental grasses.
- Clump-forming evergreen perennials – many of these are still herbaceous, but don’t fully die back, retaining some or all of their leaves. This group includes hellebores and heucheras.
- Bulbs and tubers – this group includes spring bulbs that produce 'baby' offsets, such as tulips and daffodils, as well as summer bulbs, such as alliums, agapanthus and lilies. Dahlias are the most notable flowering plants with tubers, though there are a few others, such as certain orchids. Other 'bulb' plants with corms, such as freesias, and rhizomes, such as irises, can also be propagated through division.
- Many succulents – including aloe, sedums and sempervivum.
How to divide perennials

Perennials are some of the most populous plants, and will likely make up a significant proportion of your flower bed ideas.
According to the Royal Horticultural Society, perennials can be divided successfully at almost any time of year as long as they are kept well-watered afterwards. However, to ensure success, it’s best to do it when the plants are dormant.
When to divide plants: Summer-flowering perennials are best divided in the fall, before the harsh winter weather sets in, or from the beginning of spring, when the garden is showing signs of new life. But don't allow the new shoots to become too big.
Spring-flowering perennials, however, are best divided in the summer, once they have faded and begun to grow new roots.
Focus your attention on those that have spread out a lot and are becoming congested, rather than smaller, newer plants.
‘You can tell which ones you need to attend to by the large clumps that are pushing outwards from the ground with fresh young shoots at the edge of the clump,’ says plantswoman Sarah Raven.
- To divide clump-forming perennials that have spread out, you can use a garden fork to remove whole sections, without disturbing the rest of the plant – simply cut right down through the roots, and lever out the section.
- These sections may need to be further divided down into smaller plants – aim to create clumps that are roughly the size of your fist.
- For perennial plants centered around a closer-growing crown, such as hellebores, you will first need to carefully dig up the parent plant, then use a sharp knife to cut away new sections, going between the growth buds. You want clumps with 3-5 good shoots.
- Perennials with fibrous roots, such as hostas and heucheras, can usually be separated by hand – you will need to carefully remove them from the soil and then tease the sections apart.
- The newly divided plants can either be planted directly into their new positions, or into plant pots.
- Enrich the soil with blood, fish and bone, to help the new plants thrive.
- Water well until established.
How to divide bulbs
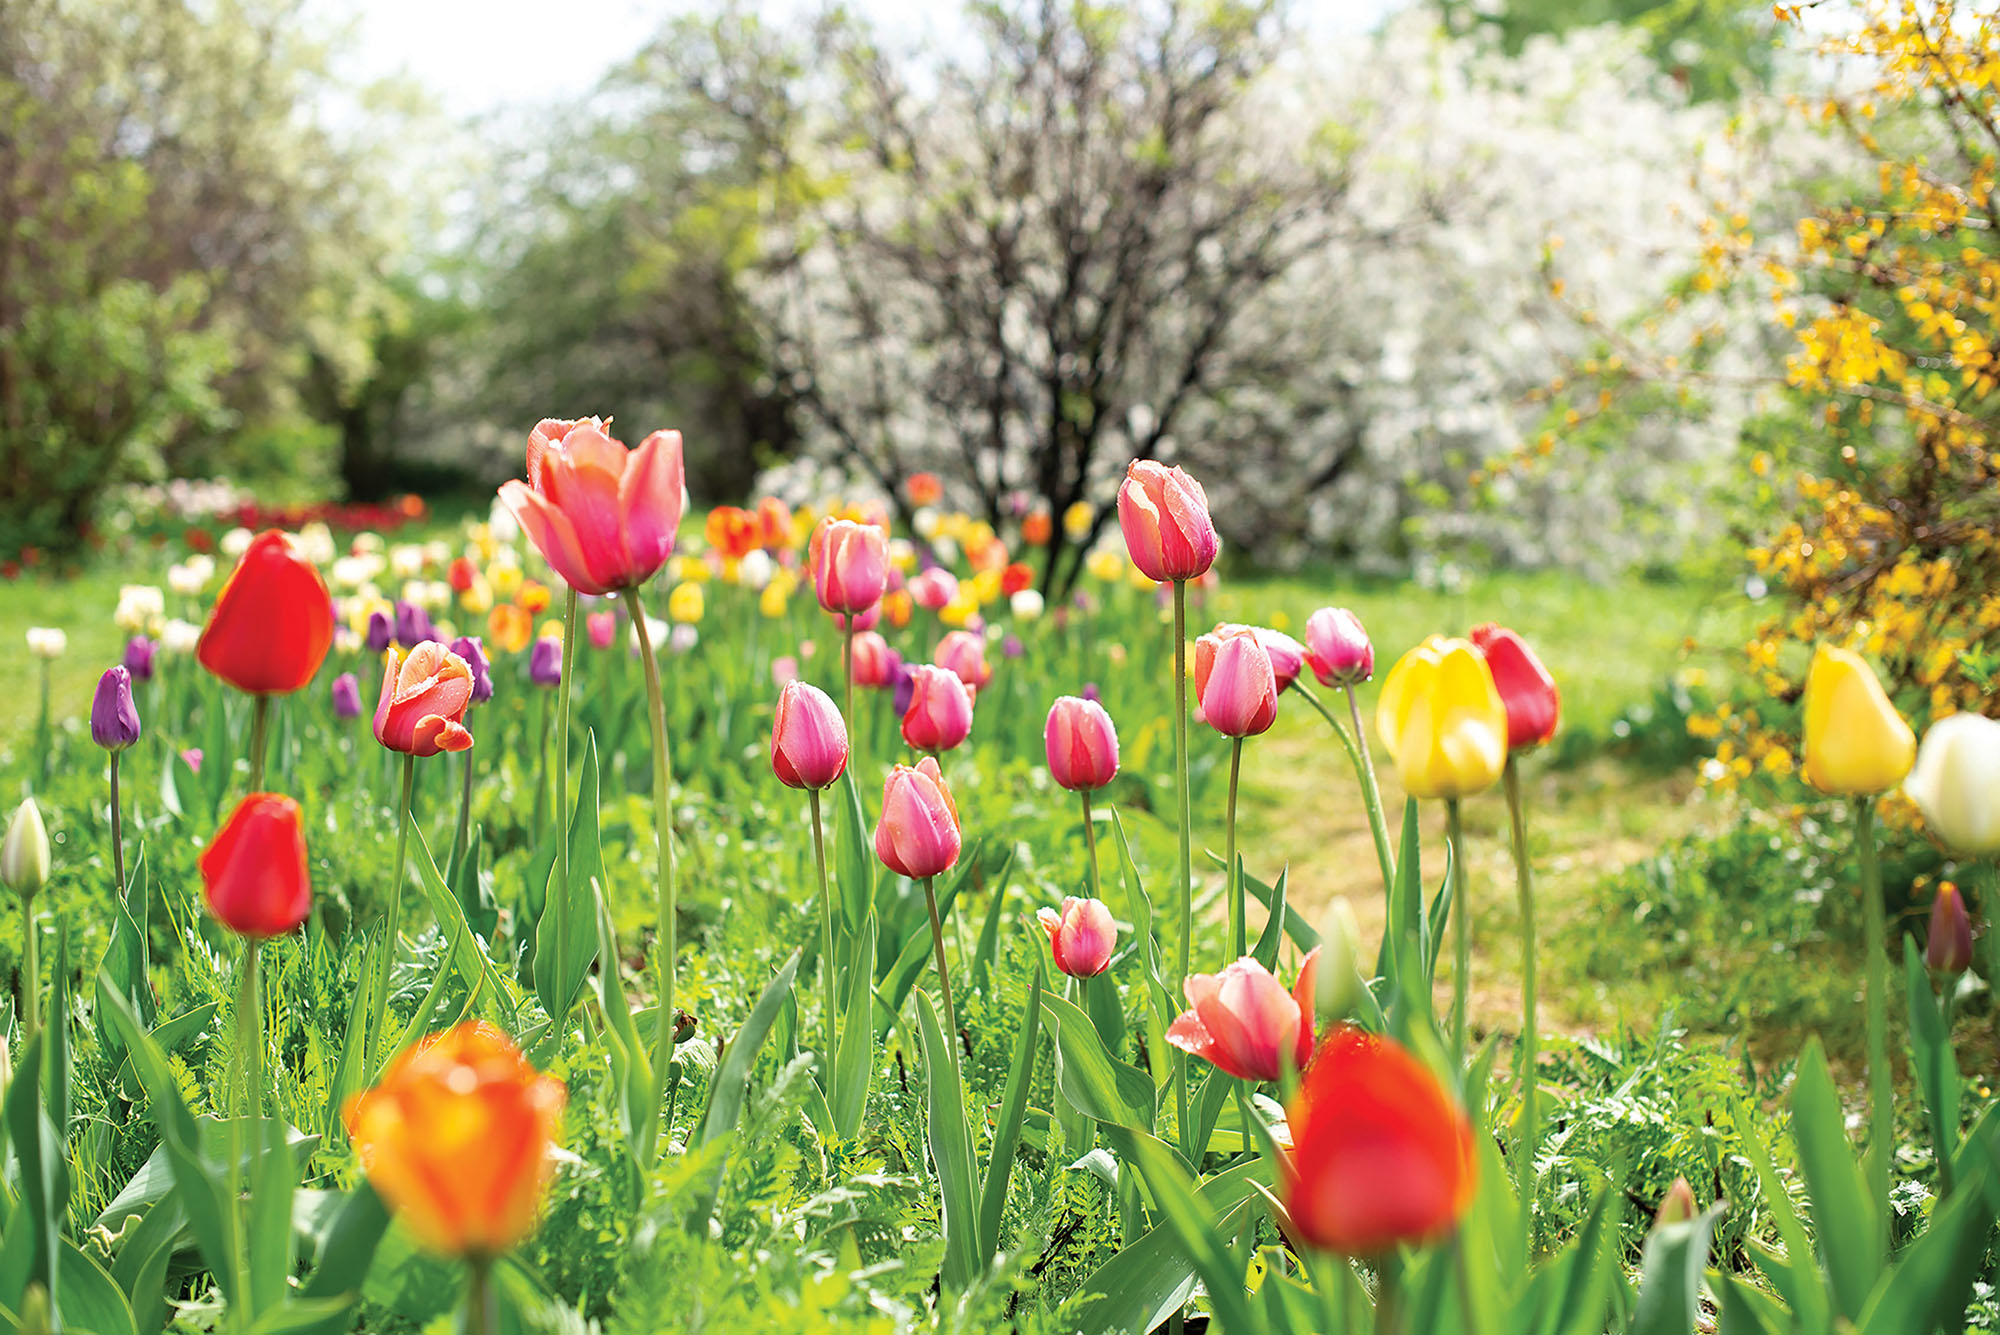
Many bulb flowers will multiply their numbers by growing new 'baby' bulbs off the parent bulbs. These can be easily separated and turned into new plants.
In fact, if you don’t divide bulbs, you may find that they will become congested and not flower as well after a few years – in particular tulips. So if you do notice them becoming less productive, think about dividing them.
- To divide spring bulbs, wait until they are finished flowering and the foliage has died back.
- Dig up the bulb, remove the small bulb offshoots, and replant them singly in new locations at the same depth.
- If the new bulbs are small, it might take a couple of years before they flower.
- Instead of planting them straight away, you can alternatively store bulbs such as tulips in a cool dry space, ready to plant in the fall.
- Some plants, such as snowdrops and bluebells, are best divided when ‘in the green’. 'Freshly lifted, while still in leaf, they establish more readily than stored, dried bulbs,' says Clapp. Ideally wait until the flowers have died, and just before the foliage begins to die back.
- Carefully remove the bulb clusters and gently tease them apart by hand. Replant them singly to the same depth.
Other 'bulb' plants that grow from corms or rhizomes can also be separated in a similar fashion.
‘You can divide rhizomes, such as iris and canna, after flowering,’ says Clapp. 'Trim back the foliage, lift, remove any dead pieces from the rhizome, divide, and replant.'
How to divide dahlia tubers
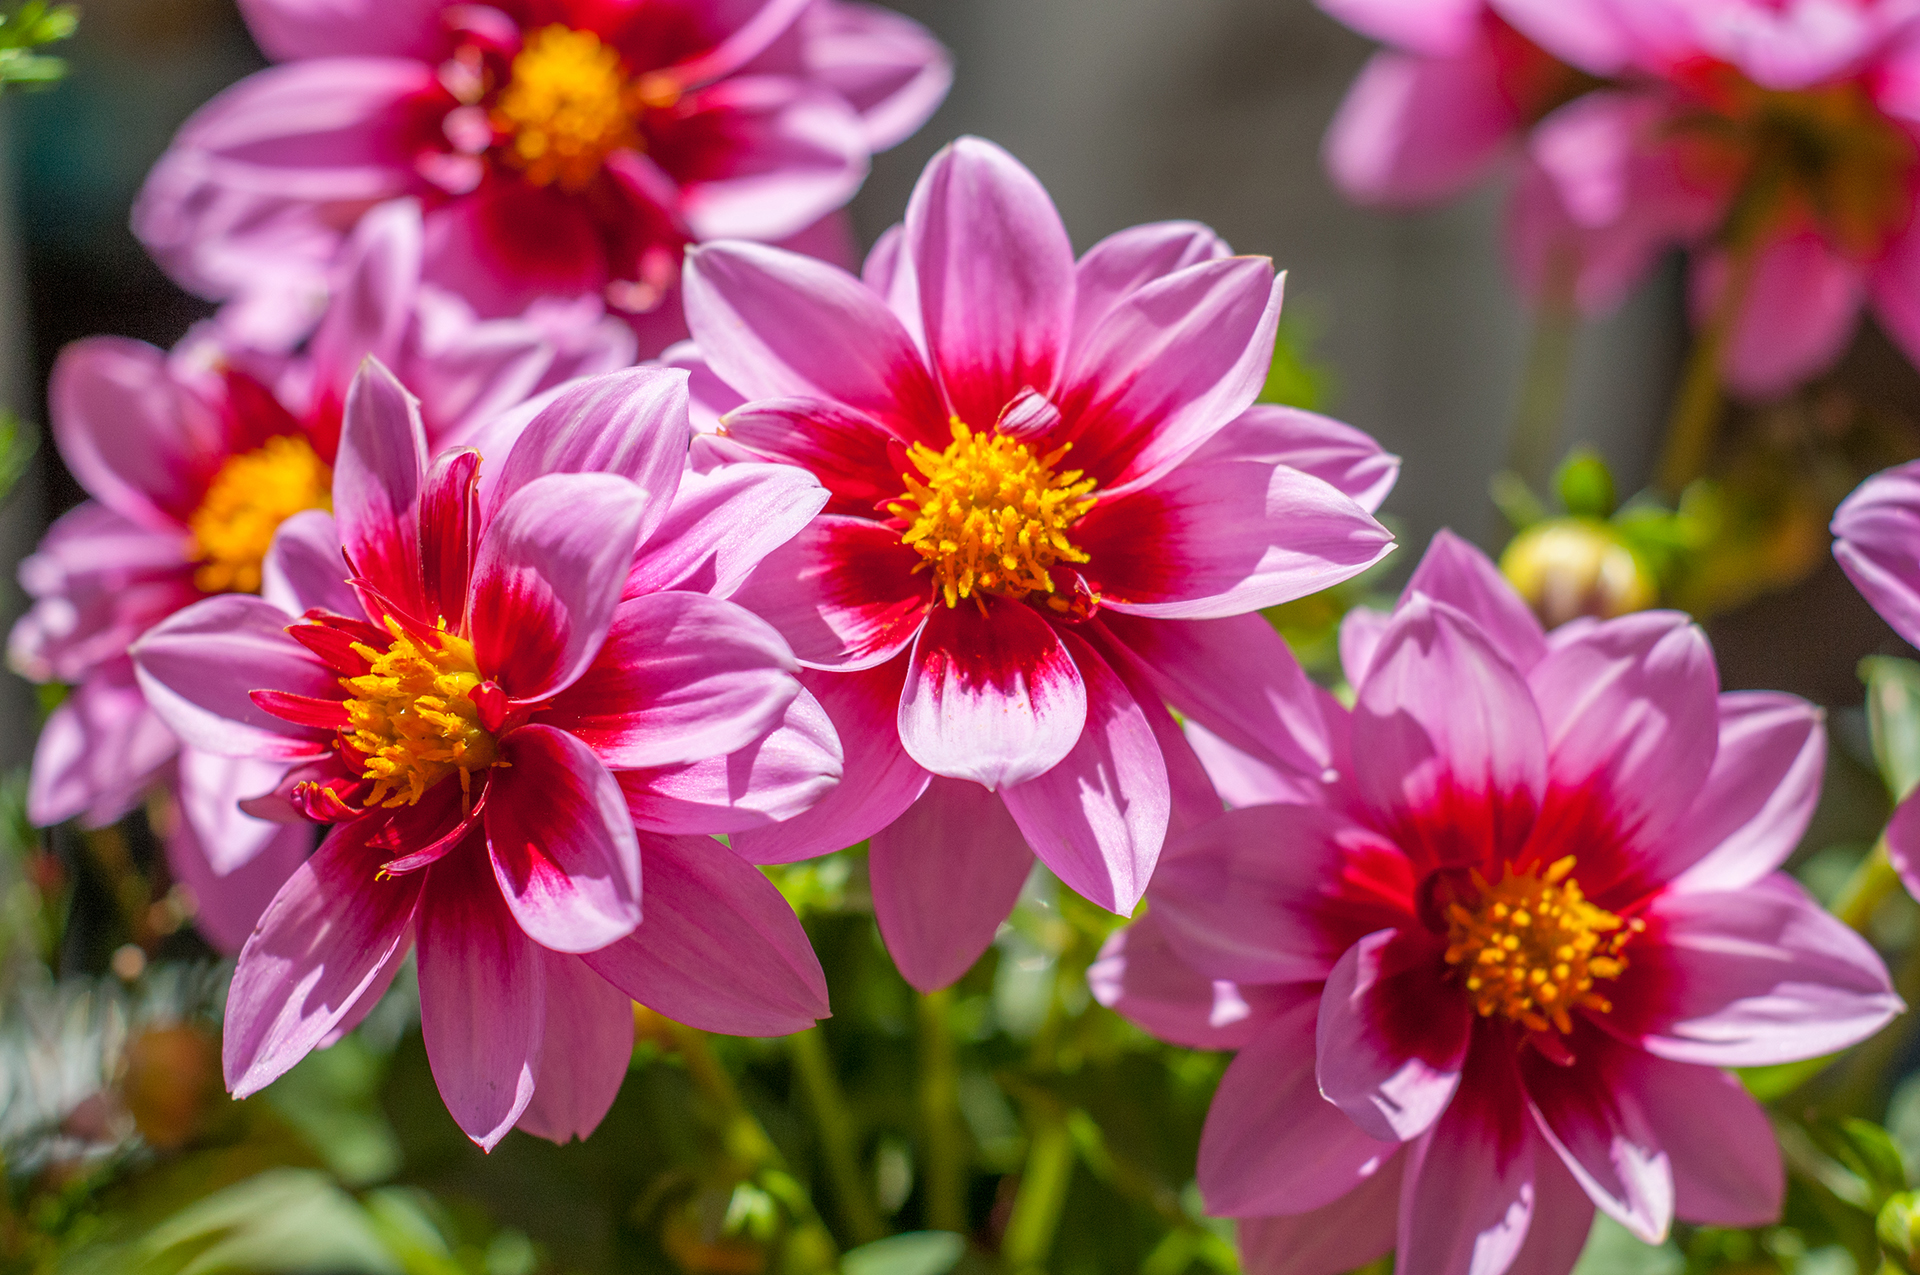
Dahlias require special consideration when it comes to dividing them, as they have tuberous roots.
An important aspect of learning how to grow dahlias is knowing how to overwinter the tubers. A popular method is to remove and store them, as the frost can be fatal, and this is the ideal time to divide them.
- Once the dahlia’s foliage has gone black, cut it back to around 6 inches. Then carefully dig out the soil and lift the tubers, taking care not to cut them.
- ‘You can either wash and divide the tubers right away or store them in a cool, frost-free place until you have time to tackle dividing,’ says Erin Benzakine, author of Floret Farm's Discovering Dahlias.
- ‘If you’ll be storing your clumps, be sure to leave a light layer of soil on the clumps rather than washing them right away, because the soil will help hold in enough moisture to prevent shriveling.’
- Before you divide your dahlia tubers, you’ll first need to give them a good wash, then put them somewhere dry and frost free to dry off for a couple of days.
- Once dry, you can split the tubers down into clusters, using sharp, clean pruners.
- ‘Throw away any tubers that have broken necks, rot, or major damage. This initial culling makes finding the good tubers a whole lot easier,’ says Benzakine.
- Make sure that each tuber has a strong neck and visible eye. ‘Eyes can be tricky to spot, especially if you’re dividing right after digging, because plants will be more dormant. Some varieties have very obvious eyes, and others are nearly impossible to detect.’
- Let the divided tubers dry out for a day before storing them in a dry environment, ideally in a plastic box or bag.
How to divide succulents
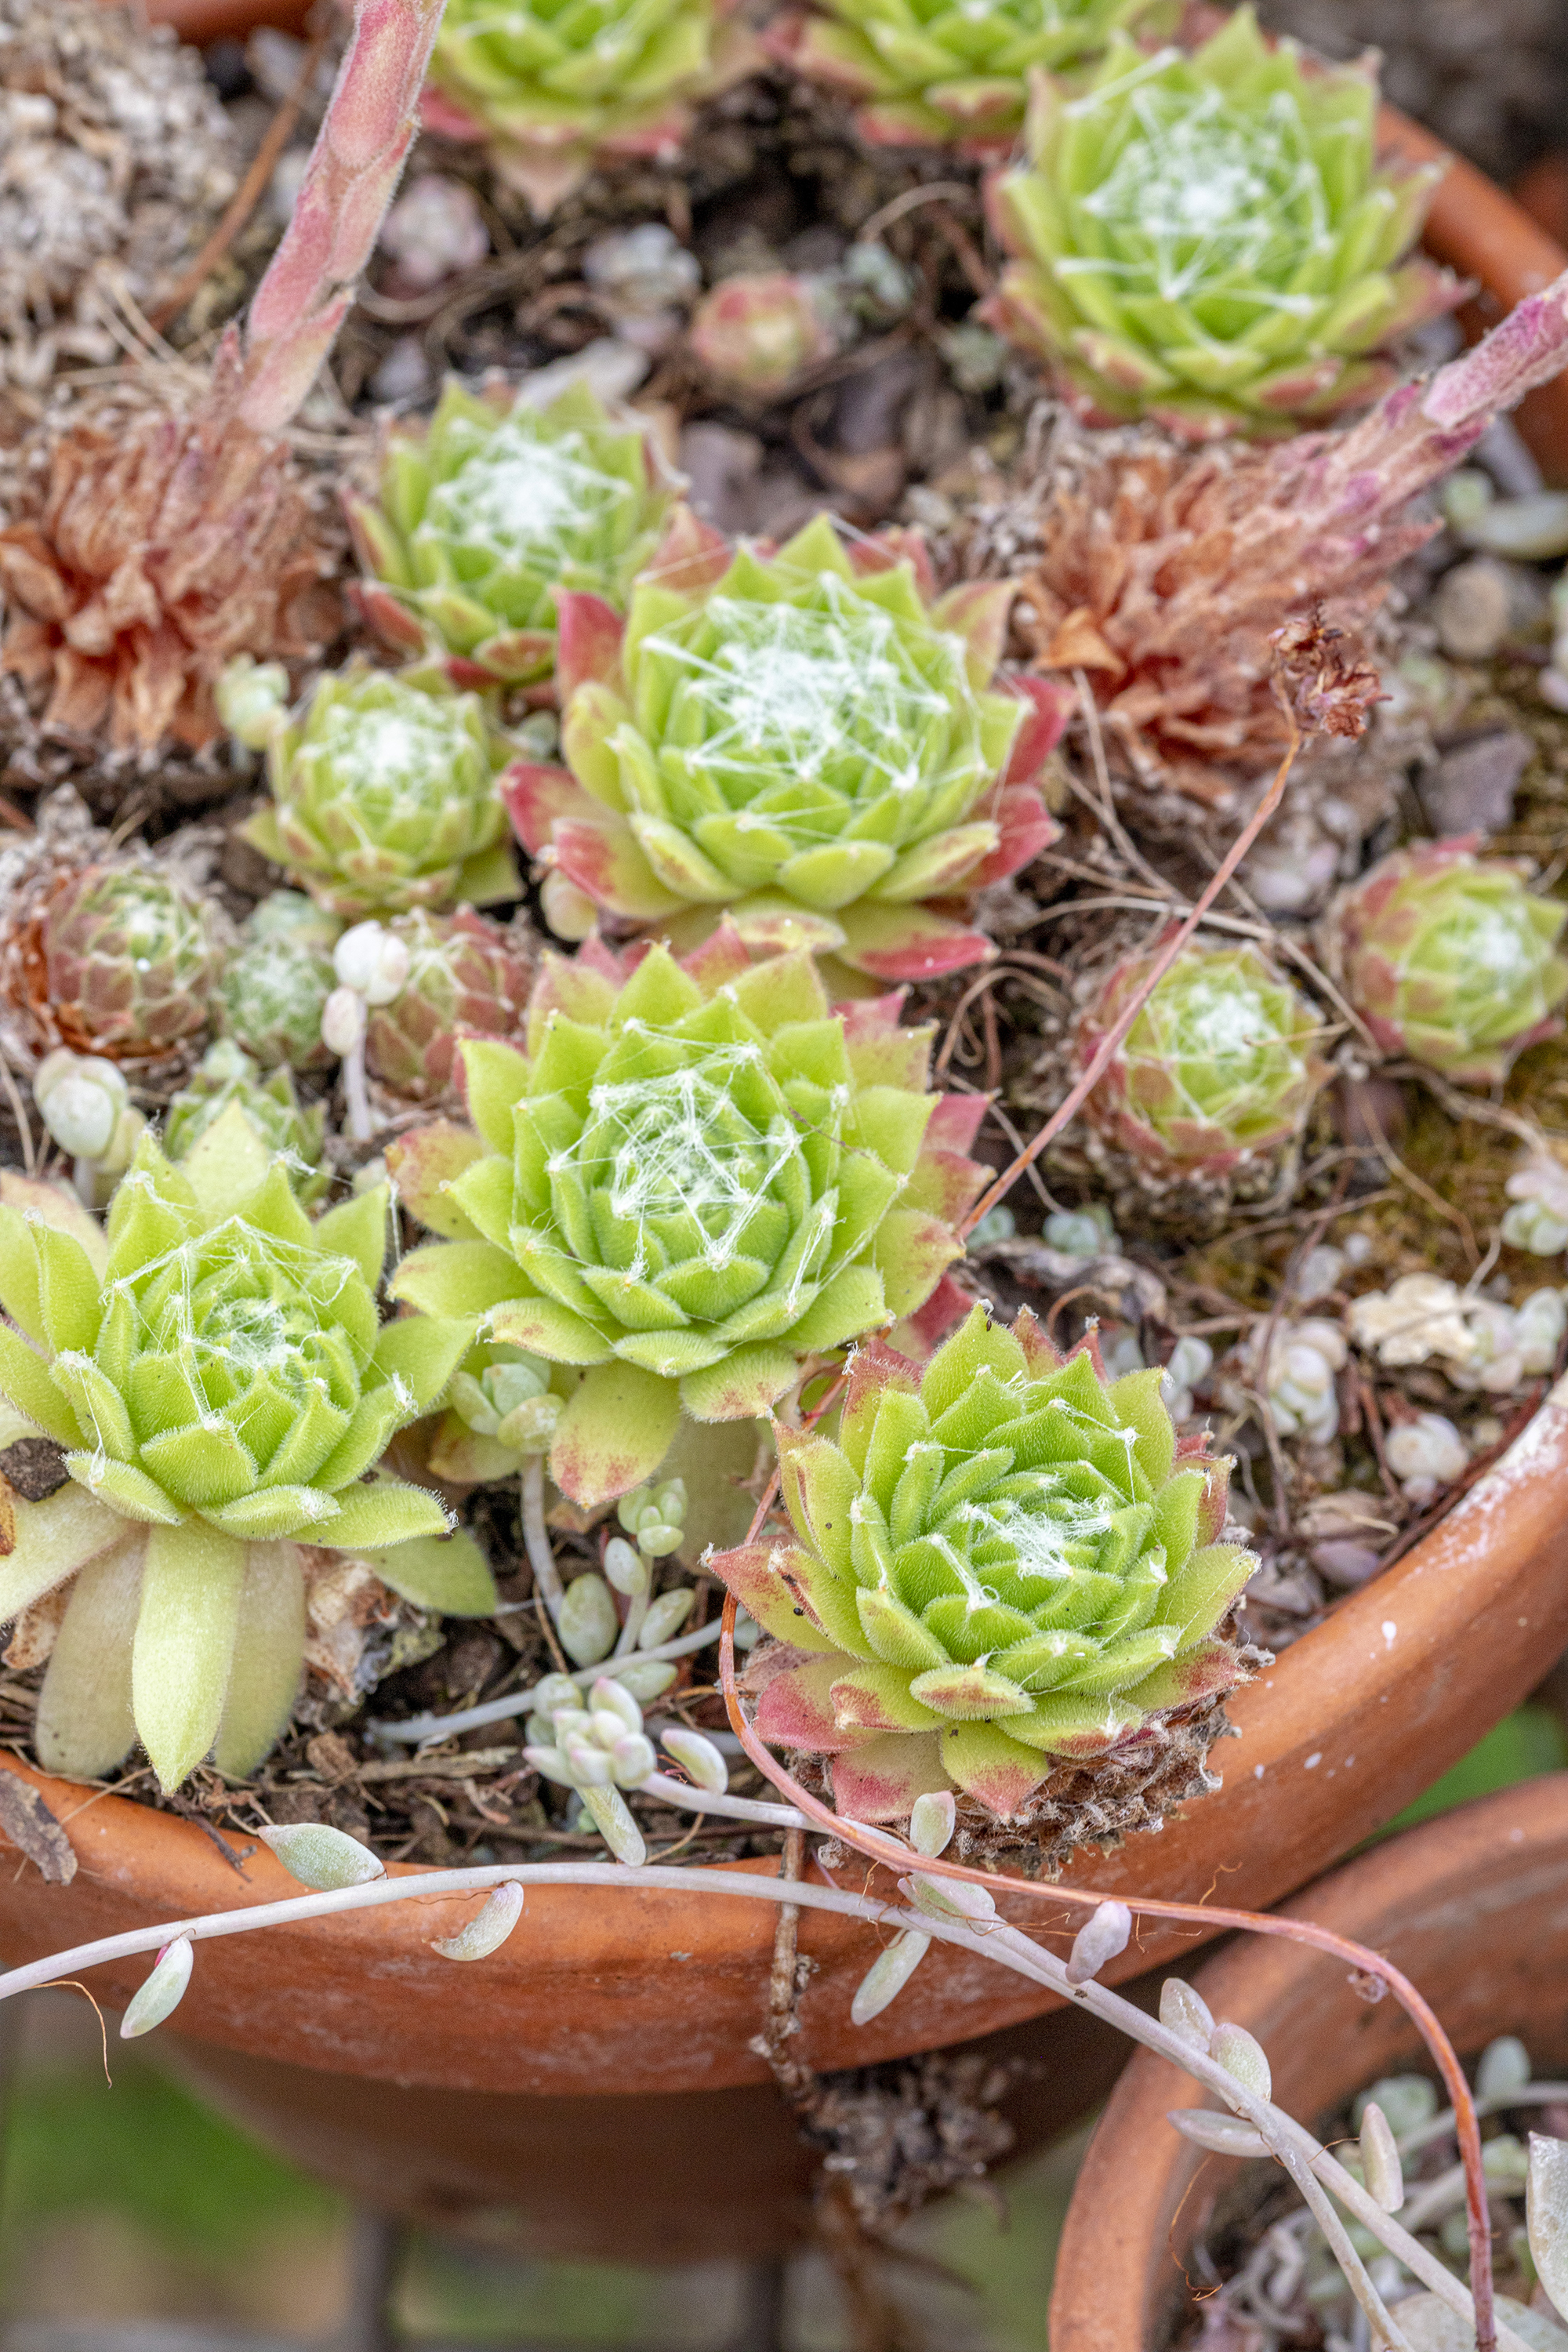
‘Succulents are particularly easy to propagate through division, as clump-forming varieties produce offsets,’ says Clapp.
There are many different types of succulents, so if you find you are unable to easily divide sections from your plant, the good news is that many varieties also propagate very well from cuttings.
- On many succulents, you can simply remove soil from around the base of the plant, then prise away sections, offshoots, or 'baby plants'.
- If the roots don’t separate easily, then you can cut through these, and they will recover.
- Plant the new succulents straight into the ground, or in a pot filled with well drained potting mix, ideally containing perlite.
- ‘You can also take leaf cuttings from fleshy leaves species, and stem cuttings from branching types,’ adds Clapp. Fleshy leaves can break away very easily and quickly grow their own roots.
Can you split most plants?
It's possible to split many plants, but not all. Some plants will need to be propagated through growing from seed or cuttings.
Generally, most herbaceous perennials and bulb flowers can be split – or divided – and grow on as new plants.

Melanie has worked in homes and gardens media for two decades. Having previously served as Editor on Period Living magazine, and worked on Homes & Gardens, Gardening Etc, Real Homes, and Homebuilding & Renovating, she is now focusing on her passion for gardening as a Senior Editor at Gardening Know How. As a keen home grower, Melanie has experimented with pretty much every type of vegetable at some point – with mixed results. Often it is the simplest things that elude you, which may explain why she just can't seem to master zucchinis.