How to propagate a spider plant – two easy methods to try
Boost your collection of spider plants by using one of these two simple propagation methods


Design expertise in your inbox – from inspiring decorating ideas and beautiful celebrity homes to practical gardening advice and shopping round-ups.
You are now subscribed
Your newsletter sign-up was successful
Want to add more newsletters?

Twice a week
Homes&Gardens
The ultimate interior design resource from the world's leading experts - discover inspiring decorating ideas, color scheming know-how, garden inspiration and shopping expertise.

Once a week
In The Loop from Next In Design
Members of the Next in Design Circle will receive In the Loop, our weekly email filled with trade news, names to know and spotlight moments. Together we’re building a brighter design future.

Twice a week
Cucina
Whether you’re passionate about hosting exquisite dinners, experimenting with culinary trends, or perfecting your kitchen's design with timeless elegance and innovative functionality, this newsletter is here to inspire
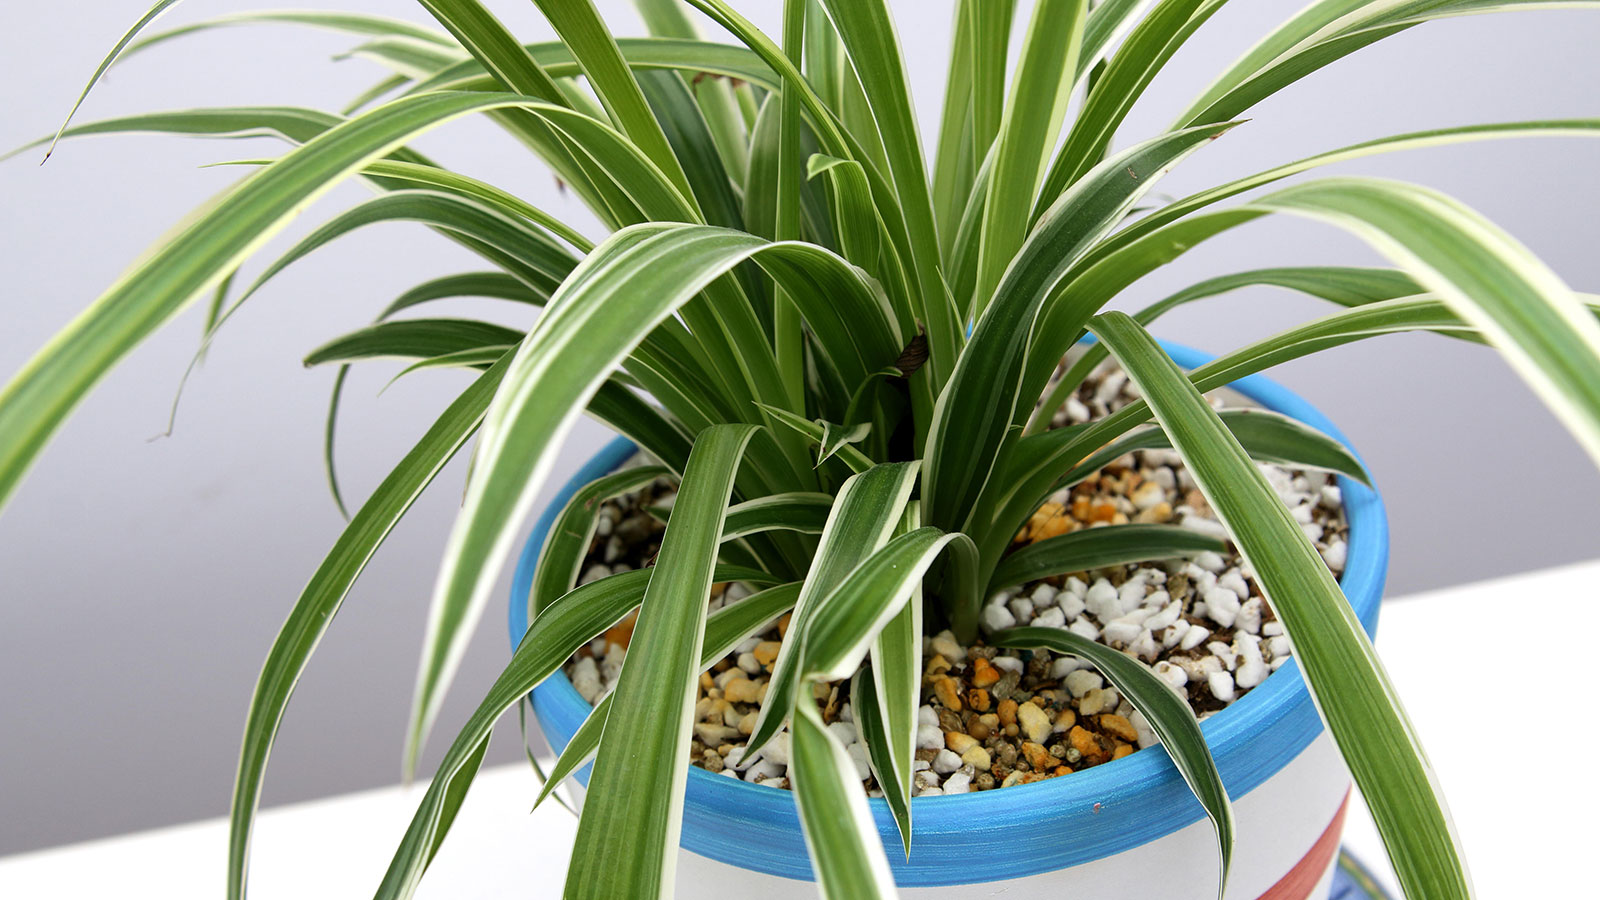
One of the best parts about growing spider plants is that they are incredibly easy to propagate. The plant does most of the hard work for you by producing tiny versions of the main plant, called plantlets.
You can simply trim these plantlets off, root them, and you’ll have a brand-new spider plant to care for. If your spider plant doesn’t have any plantlets, you can also propagate by division to double your stock in minutes.
So if you’re looking for a low-maintenance, low-light tolerant houseplant that looks good year-round and can easily be propagated to create more plants, spider plants are the answer. Scientifically known as Chlorophytum comosum, these houseplants were popular in the 1970s and have remained favorites throughout the decades.
Spider plant propagation methods
There are two main propagation methods home gardeners can use to expand their spider plant collection.
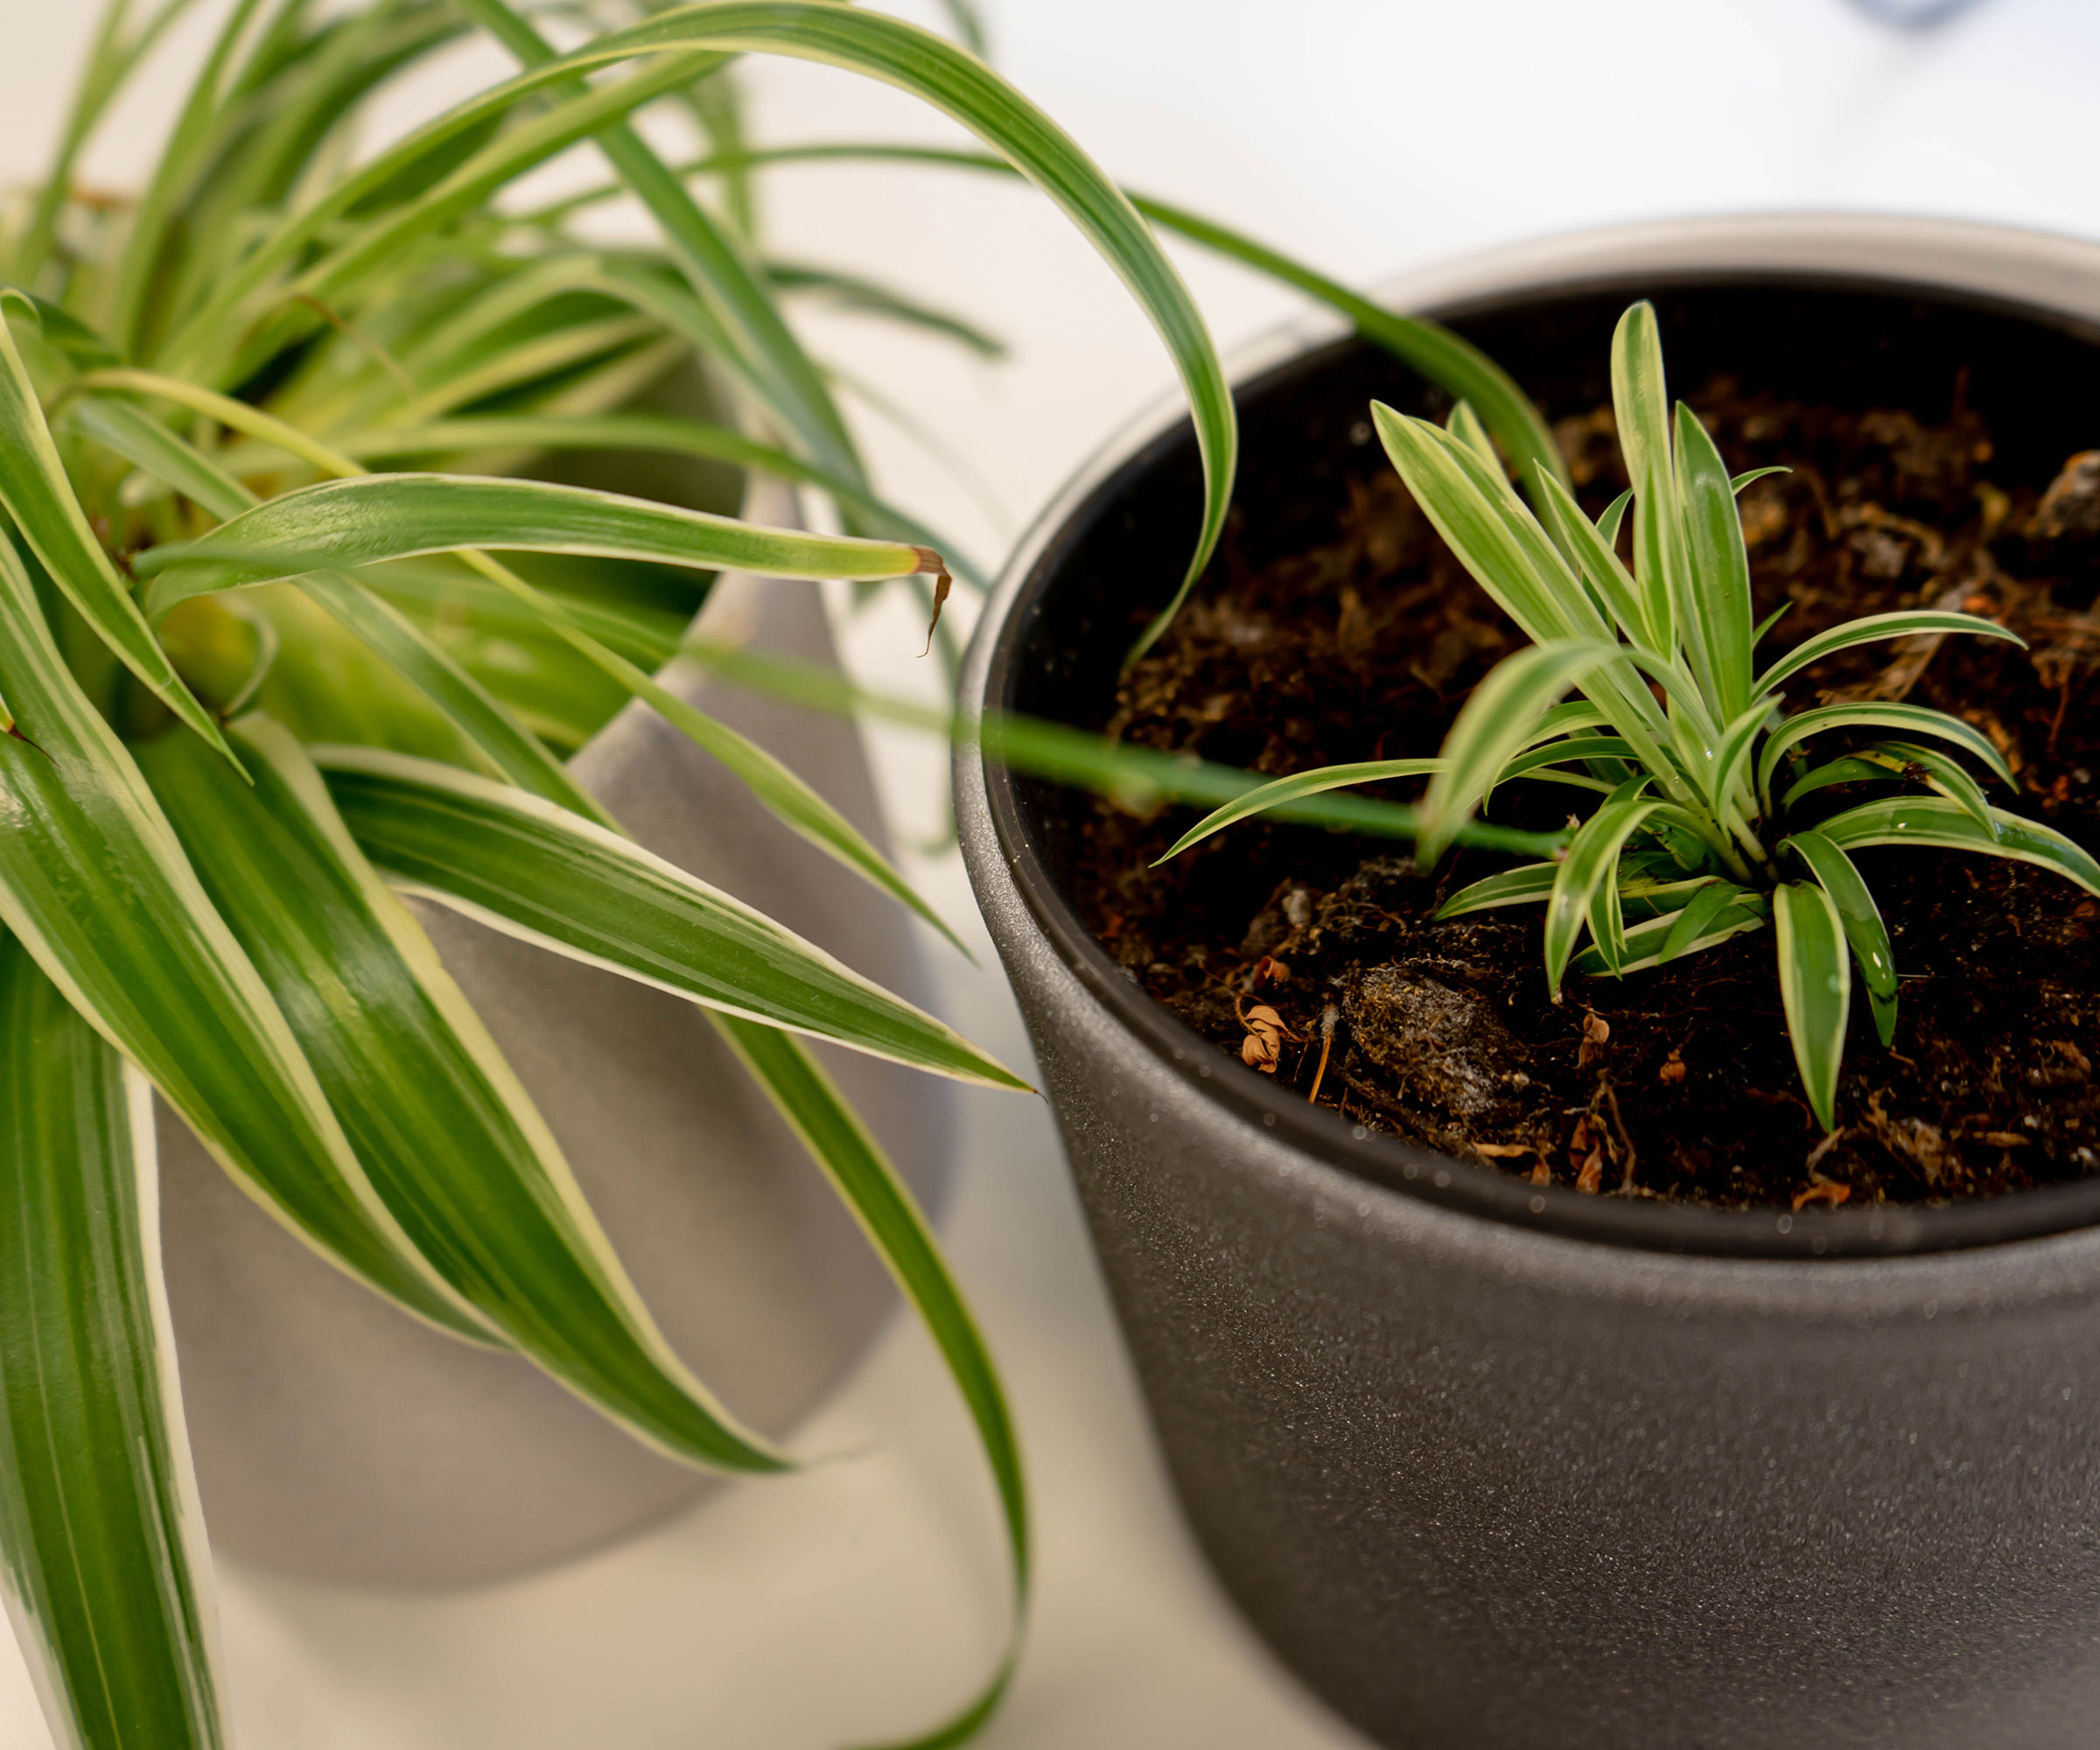
The first is one of the most common for indoor plants – propagating from plantlets. In the right environment, spider plants produce small plantlets (also known as babies or pups) along long arching stems. These are used to spread naturally along the ground in their native environments. But, you can snip these small versions of the parent plant off to root and grow on their own indoors.
If your spider plant doesn’t have any pups, you can also propagate by division. This involves splitting your existing plant into two or more sections and replanting to grow on their own. Although this method doesn’t quite give you brand-new plants, it is the fastest way to double your stock. This method of dividing plants can be used for a wide range of indoor and outdoor plants, including when propagating herbs.

Propagating can give you lots of mini spider plants for your houseplant collection
How to propagate a spider plant by division
The simplest propagation method is by division. And as a bonus, you can divide when your plant needs repotting to complete two tasks in one. All you need to get started is a new container (or containers, depending on how many divisions you have) and new soil mix.
Design expertise in your inbox – from inspiring decorating ideas and beautiful celebrity homes to practical gardening advice and shopping round-ups.
Follow these easy steps to get it right:
- Remove the spider plant from its current container. If the plant gets stuck, squeeze the sides of the pot or run a knife along the edge to release it.
- Gently tease the roots, removing some of the old soil.
- Identify divisions that have a strong root system, indicating the section will be able to survive on its own.
- Gently pull the sections apart. If they are difficult to remove, trim tangled roots with a sharp and clean pair of shears.
- Repot each section into its own container with a light and airy houseplant soil mix.
- Water after planting and care for each division as you would a mature spider plant.

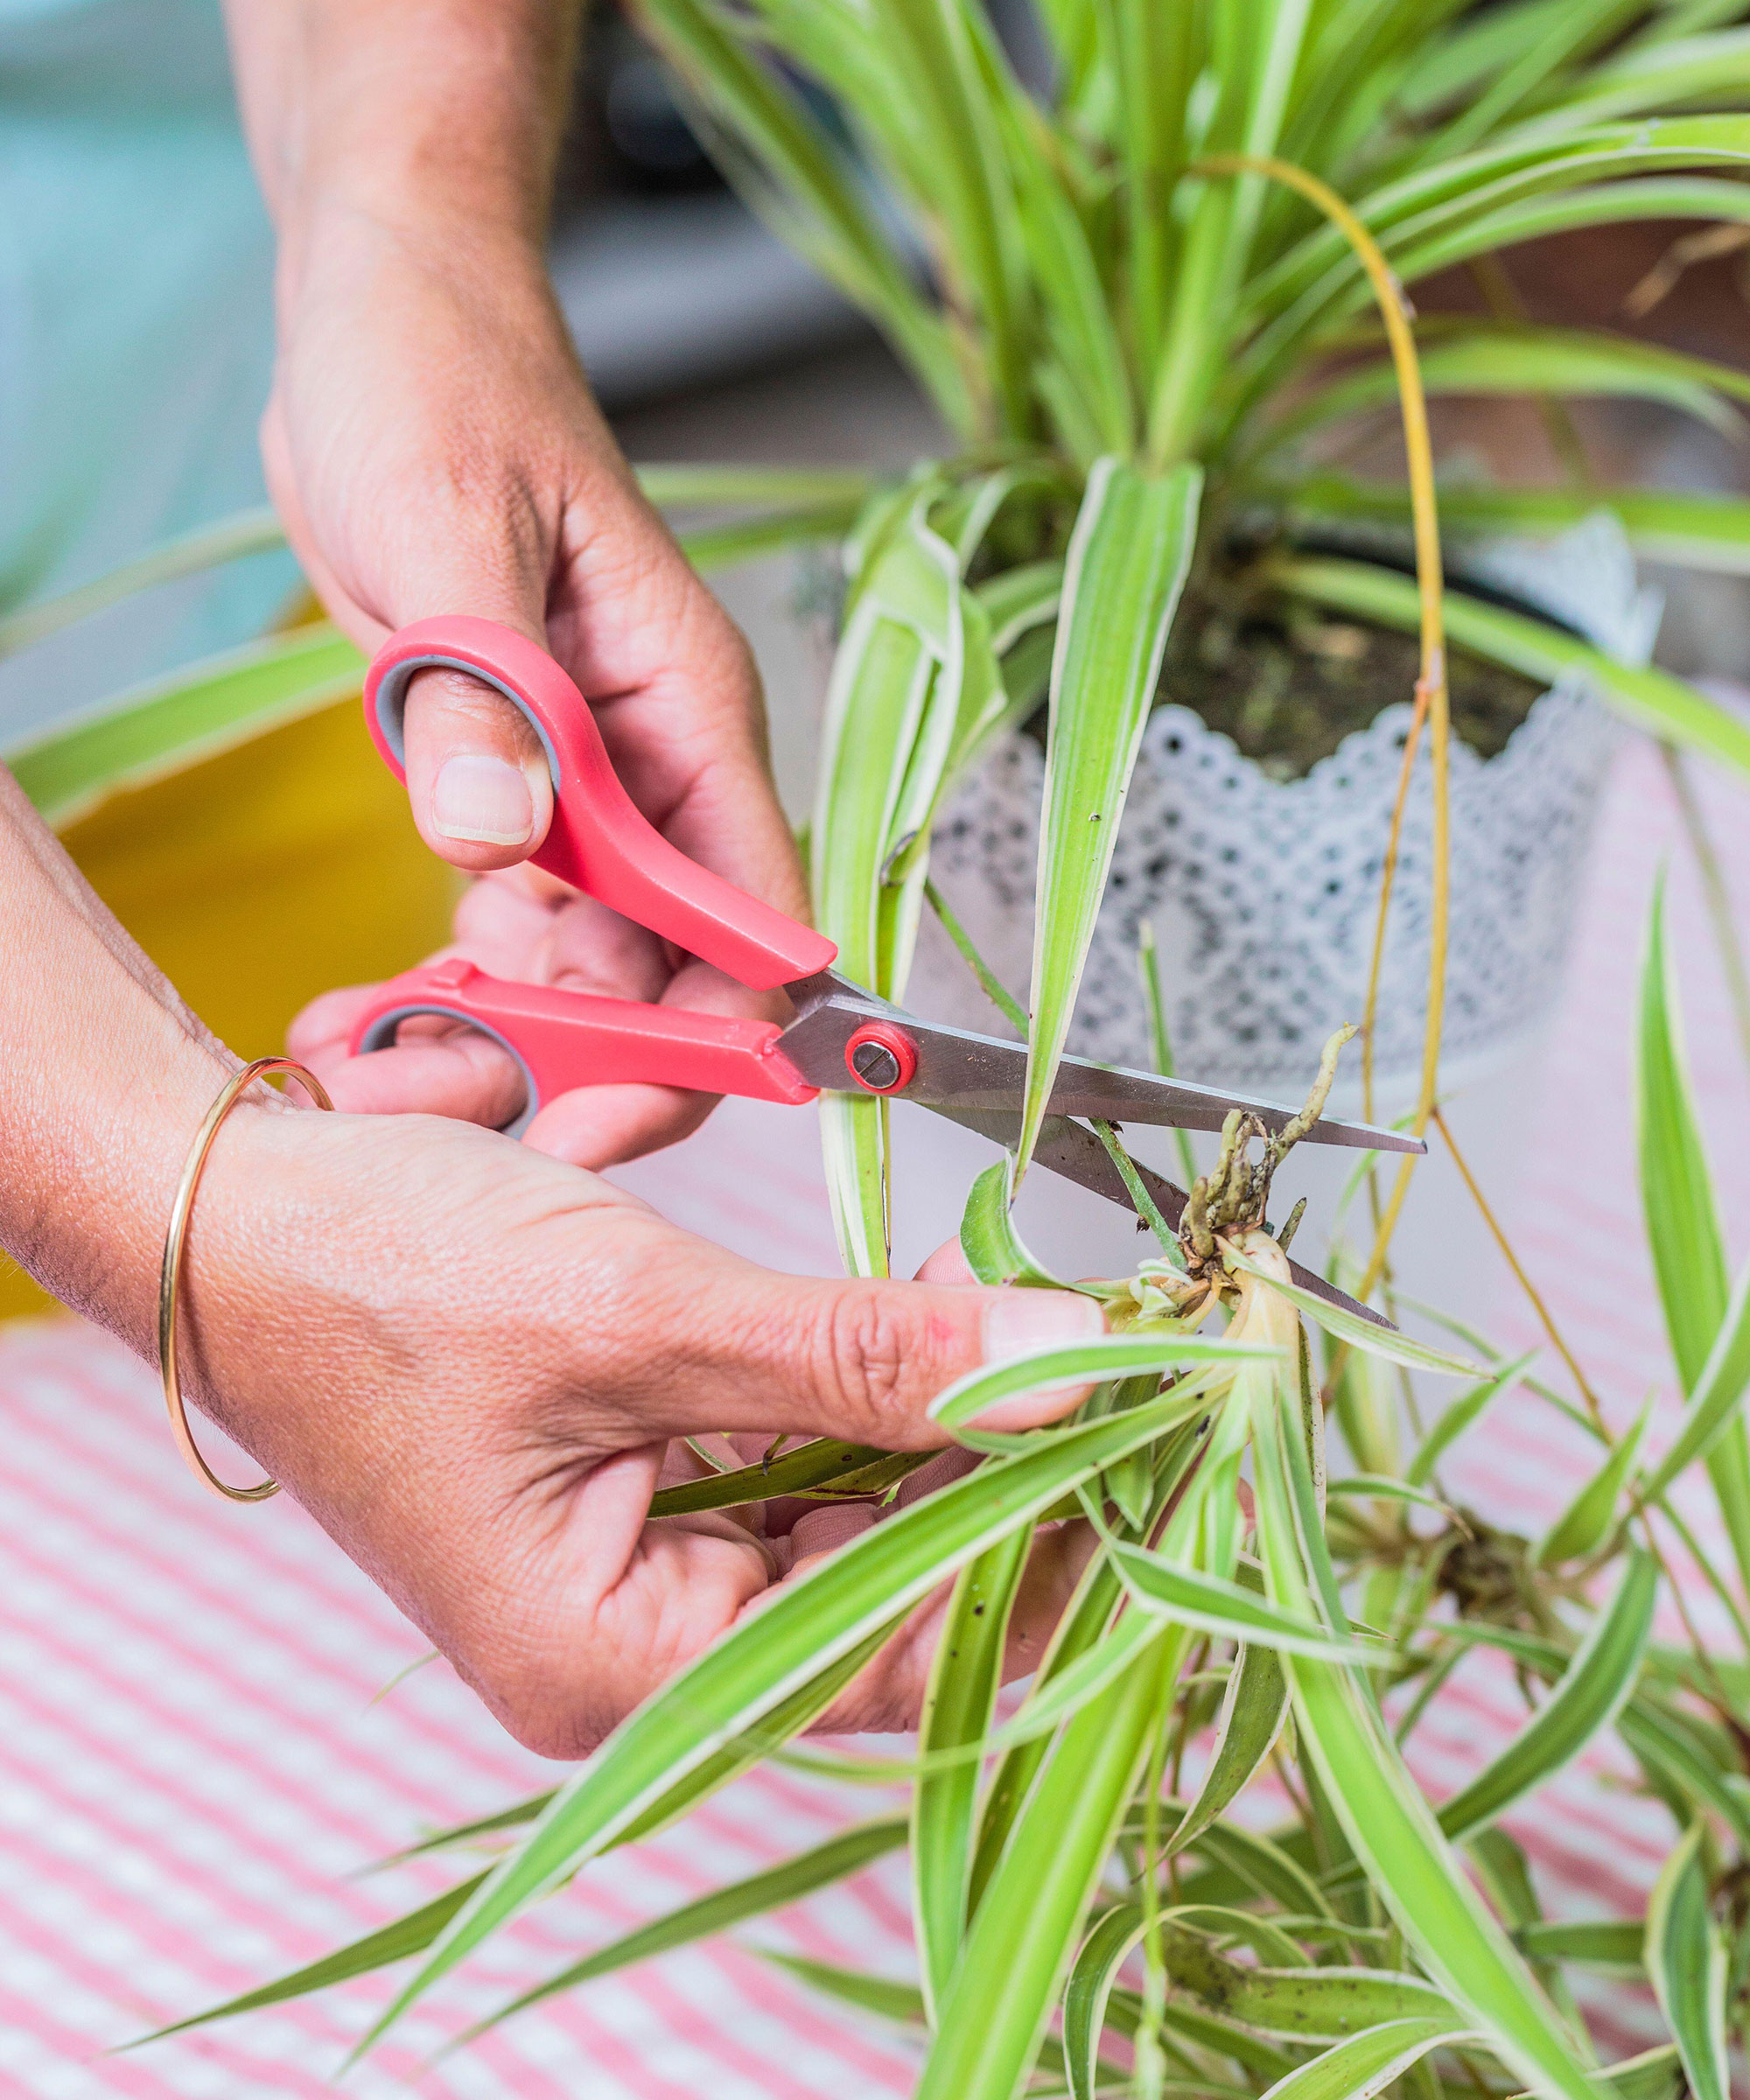
You can trim tangled roots when dividing or taking cuttings
How to propagate a spider plant from plantlets
If your spider plant has a few plantlets, removing them to propagate is the best way to increase your stock. This method takes a little longer than propagating by division, but still has high success rates as long as you avoid the most common houseplant propagation mistakes.
1. Remove a plantlet
To get started, grab a sharp pair of pruning shears. It’s best to clean your pruning shears before you start to avoid transferring any harmful bacteria.
Then you’ll need to identify any arching stems with plantlets. These plantlets need to be large enough to grow on their own without support from the parent plant. In fact, the larger the plantlet, the better. Some may even have small starter roots at the base that make them prime for propagating.
You can remove one plantlet at a time or cut the entire stem off and snip individual sections. The benefit of keeping these stems on the plants is that they have the potential to produce more plantlets throughout the season. You should cut as close to the base of the plantlet as possible without damaging the structure as this can prevent rooting.
2. Root in water
To encourage root growth, all you need is a glass of water and a bright spot. Spider plantlets root quickly in water or soil, but are easier to root in water. Only the base of the plantlets should be exposed to moisture, making them tricky to anchor in soil without falling over. Rooting in water also allows you to keep a close eye on root growth. You can also propagate a monstera by rooting a cutting a water.
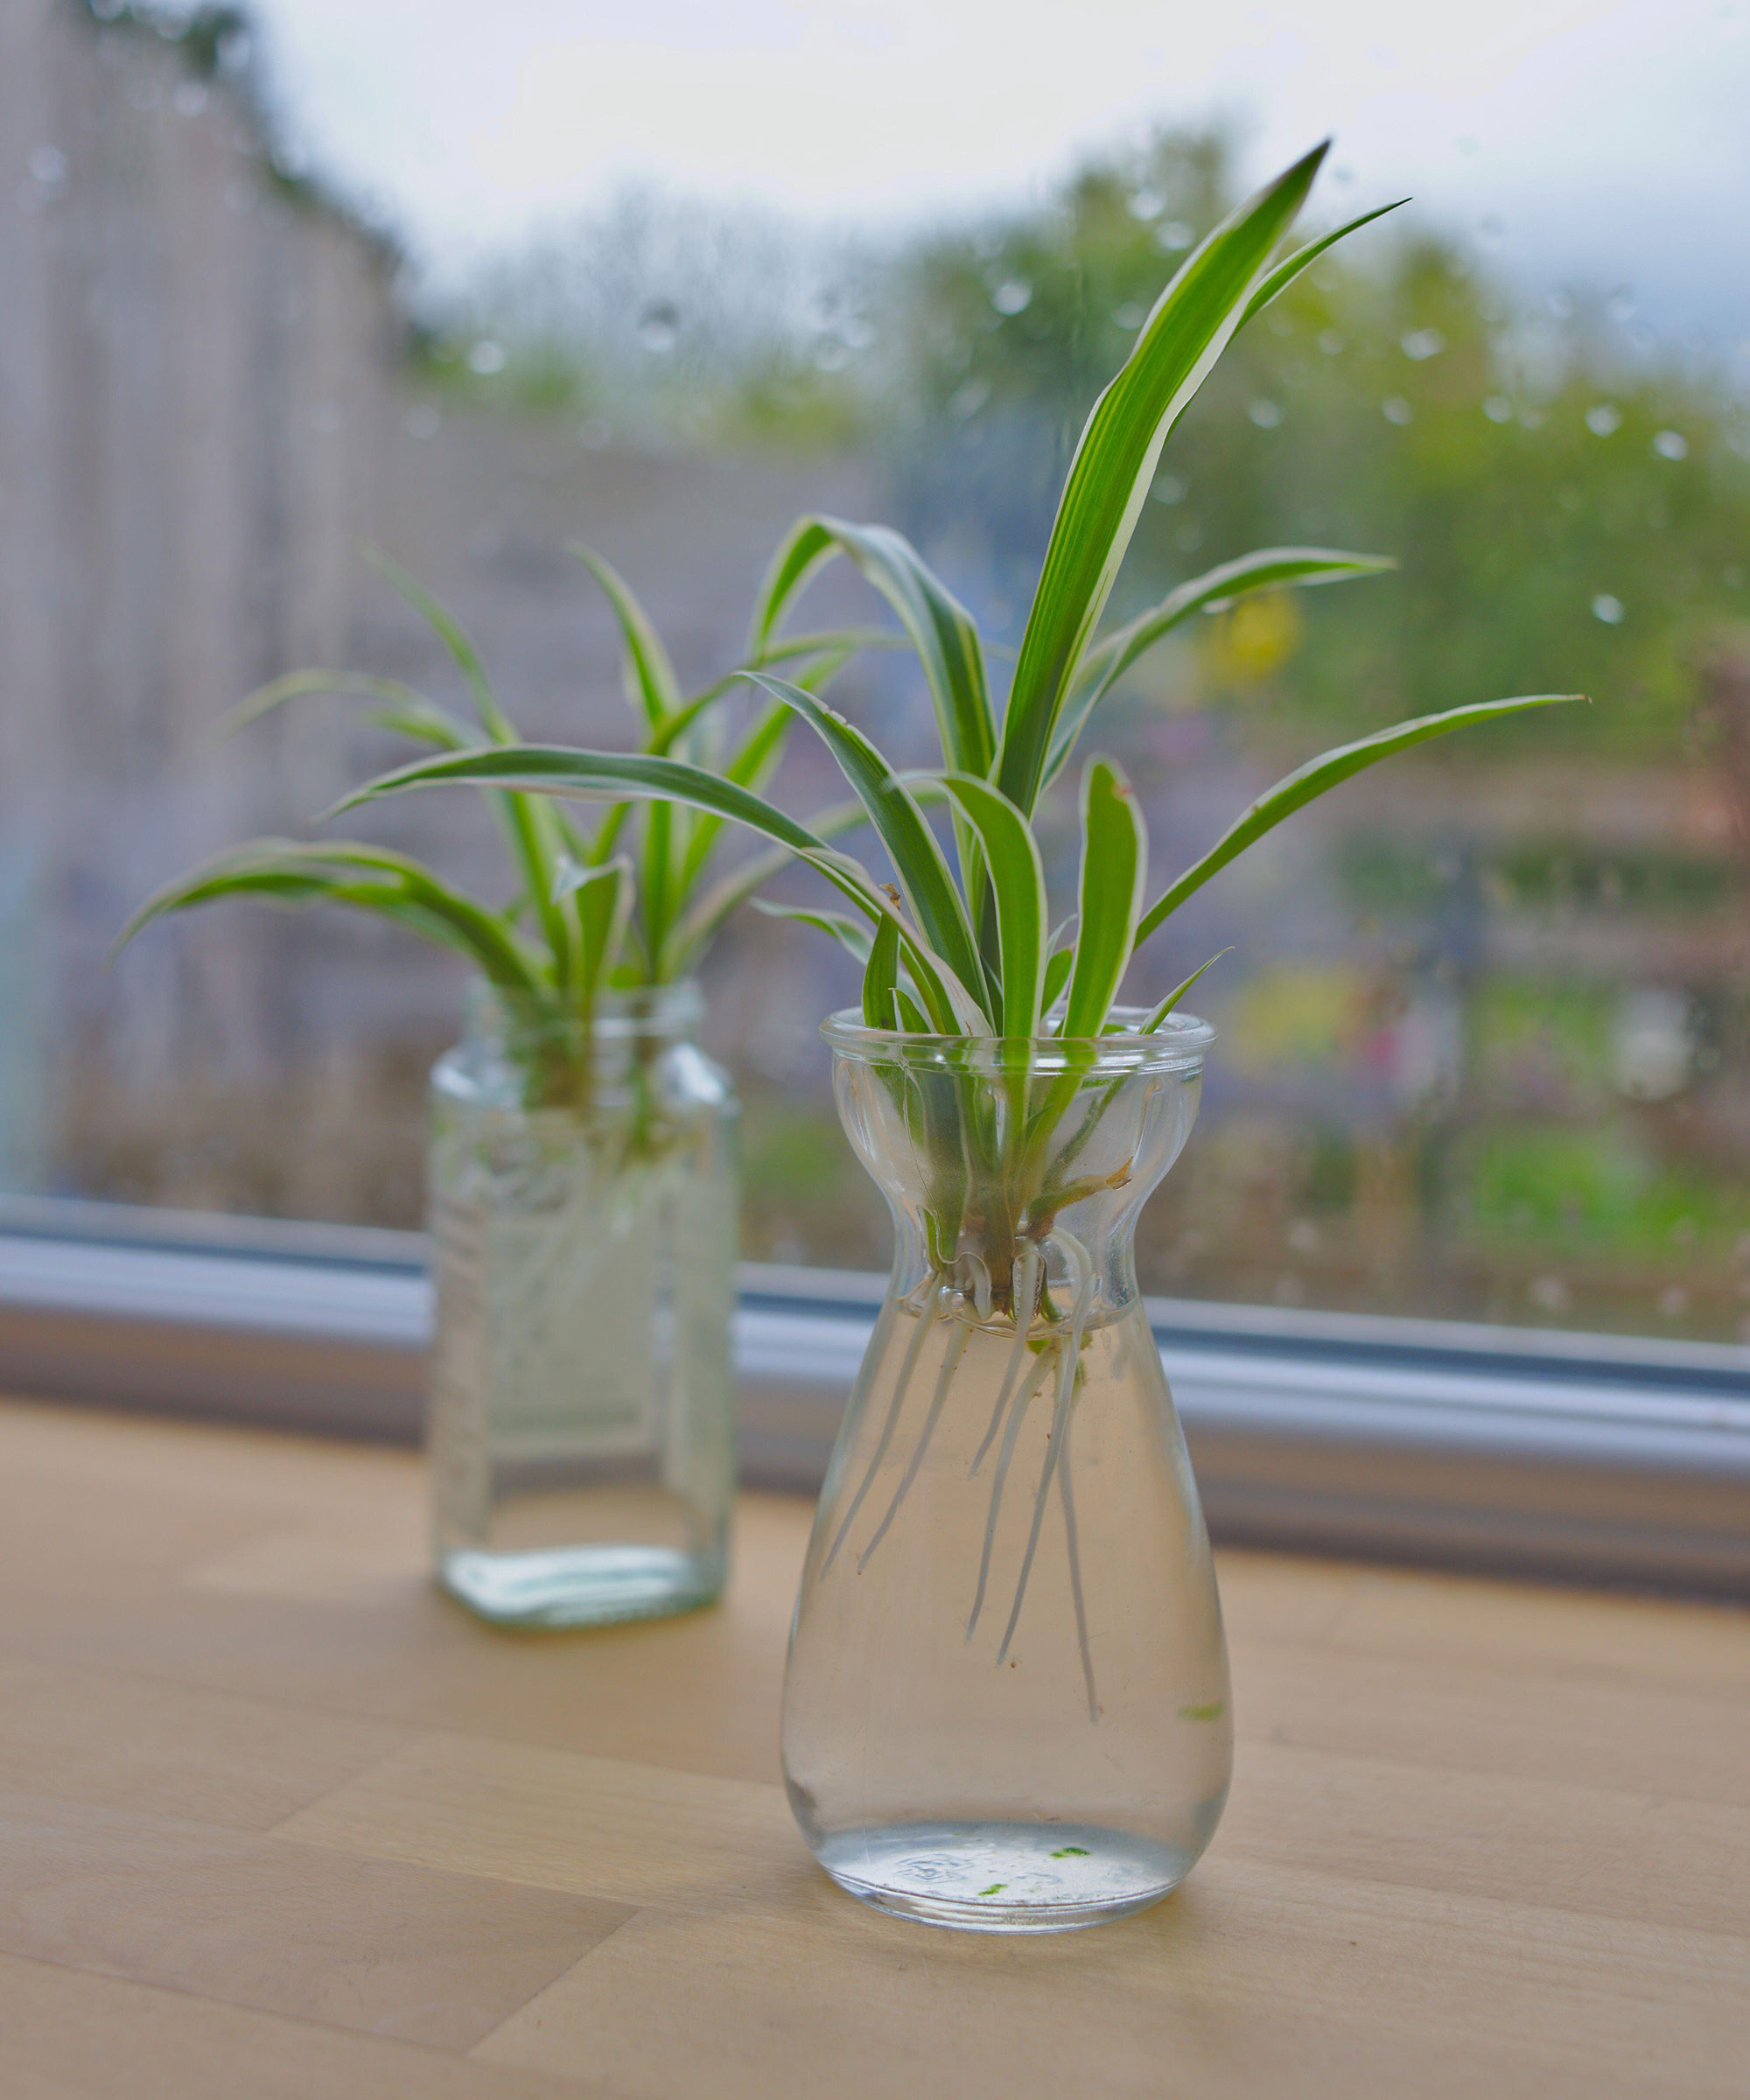
To root your spider plantlet in water, you have two options. The first is to use a narrow glass and a small amount of water at the base. Simply pop the plantlet in the glass, keeping the leaves away from the water to prevent rotting.
If you don’t have a glass narrow enough to keep the plantlet upright, the second option is to use plastic wrap. Fill the glass with water and cover it with plastic wrap, making a small hole to fit the base of the plantlet into. This keeps the leaves dry, but does come with more maintenance as you’ll need to remove the wrap to top up the water.
No matter which option you choose, only the very bottom of the plantlet should be covered in water. If the leaves are submerged for long periods, they will likely rot before the plant has the chance to produce roots.

Plantlets should be rooted in water before being planted in soil
3. Care for your plantlet
Move the glass to a bright and warm area to promote root growth. Although they will benefit from some gentle morning sun, avoid direct sunlight during the hottest parts of the day as this can scorch the leaves.
Continue to top up the water throughout the week so the water line remains level, just above the base of the plantlet. Around once a week, replace the water and clean the glass to prevent bacterial build-up.
Within a few weeks, you should see root growth stretching into the water. For strong plantlets with aerial roots, I’ve seen root growth in as little as seven days. Once the roots are a few inches long, you’re ready for transplanting.
4. Transplant the plantlet
Due to the lack of nutrients in the water, spider plants can't live like this forever. They will eventually need to move to soil for long-term growth. The longer you wait to transplant, the harder it will be for the roots to adapt to soil conditions. As soon as the roots are long enough to anchor into the soil and support the plant, it’s time to transplant.
Grab a small container and fill with houseplant potting mix, such as this Miracle Gro indoor potting mix from Amazon. If you can’t find any at your local nursery or online, I use a combination of two parts potting soil, one part coconut coir or peat moss and one part perlite for most houseplants.
Make a small hole in the soil and plant the plantlet, burying only the base and the roots. Water immediately to encourage the roots to spread downwards into the soil. Make sure the container has a few drainage holes for the excess moisture to drain away.
After transplanting, you may notice a week or two of wilting or yellowing while your spider plant adjusts to its new home. Afterward, you can care for your baby spider plant as you did the parent plant.
Which propagation method is best for spider plants?
Both propagation methods are easy to complete and have high success rates. The best method for you will depend on what your existing plant looks like and your goals for propagation.
Propagation from plantlets is only possible if your spider plant has plantlets that are large enough to grow on their own. These are only produced in the right environments when your plant receives enough light, water and nutrients to grow successfully.
Without plantlets, your only option is to propagate by division. As long as your spider plant is large enough to split into two sections with enough roots to survive separately, you should have no problems. But this does limit how many individual plants you can produce, compared to plantlets that appear in larger numbers.
FAQs
When is the best time to propagate spider plants?
Spider plants will develop roots the fastest during their active growing season of spring and summer. The best time to propagate a spider plant is in early spring once temperatures are warm, but any time during the growing season will deliver results. If you can keep the glass or pot warm, you can propagate during the cooler months but root growth will be slower, increasing your chances of rotting.
There are many benefits to spider plants, but the fact that you can use two different methods to get extra plants for free means they can be a valuable addition to your houseplant collection. Whether you divide the original plant or propagate the plantlets, you'll soon have lots of mini spider plants to nurture and enjoy in your home. Alternatively, you can leave some offshoots attached to grow a hanging spider plant.

Madison is a garden writer and editor, covering all things outdoors and lifestyle. After completing a BA in History and Political Science, she transformed her years-long passion for plants into a career writing for both digital and print publications. As garden editor of several print titles, Madison focuses on trends and developments in the continuously expanding gardening industry. When not typing away at her desk, she tends to her ever-growing houseplant collection and travels frequently, photographing and reporting on gardens around the world.