5 common rhubarb mistakes – and how to avoid them
Avoid these rhubarb growing pitfalls to ensure healthy plants and strong yields
Rachel Bull
Design expertise in your inbox – from inspiring decorating ideas and beautiful celebrity homes to practical gardening advice and shopping round-ups.
You are now subscribed
Your newsletter sign-up was successful
Want to add more newsletters?

Twice a week
Homes&Gardens
The ultimate interior design resource from the world's leading experts - discover inspiring decorating ideas, color scheming know-how, garden inspiration and shopping expertise.

Once a week
In The Loop from Next In Design
Members of the Next in Design Circle will receive In the Loop, our weekly email filled with trade news, names to know and spotlight moments. Together we’re building a brighter design future.

Twice a week
Cucina
Whether you’re passionate about hosting exquisite dinners, experimenting with culinary trends, or perfecting your kitchen's design with timeless elegance and innovative functionality, this newsletter is here to inspire
The great thing about learning how to grow rhubarb is that it's mostly very easy. Rhubarb doesn't care if the weather is wet or dry, it thrives in sun or semi-shade. And once your plant is established, you can harvest it multiple times per year. That's a lot of rhubarb crumble.
I've had rhubarb growing in my backyard for years - it was one of the many perennials that was already here when we moved in, so it's been in the ground for a while. And no matter what it always comes up in the spring.
However, there are a few mistakes all rhubarb growers need to be aware of to really guarantee healthy yields and strong plants - even established ones. We take a look at the most common mistakes, and the simple ways you can avoid them.
5 common rhubarb mistakes and how to avoid them
Rhubarb plants are not easy to kill, however, there are certain things to avoid if you want to maximise your fruit crop.
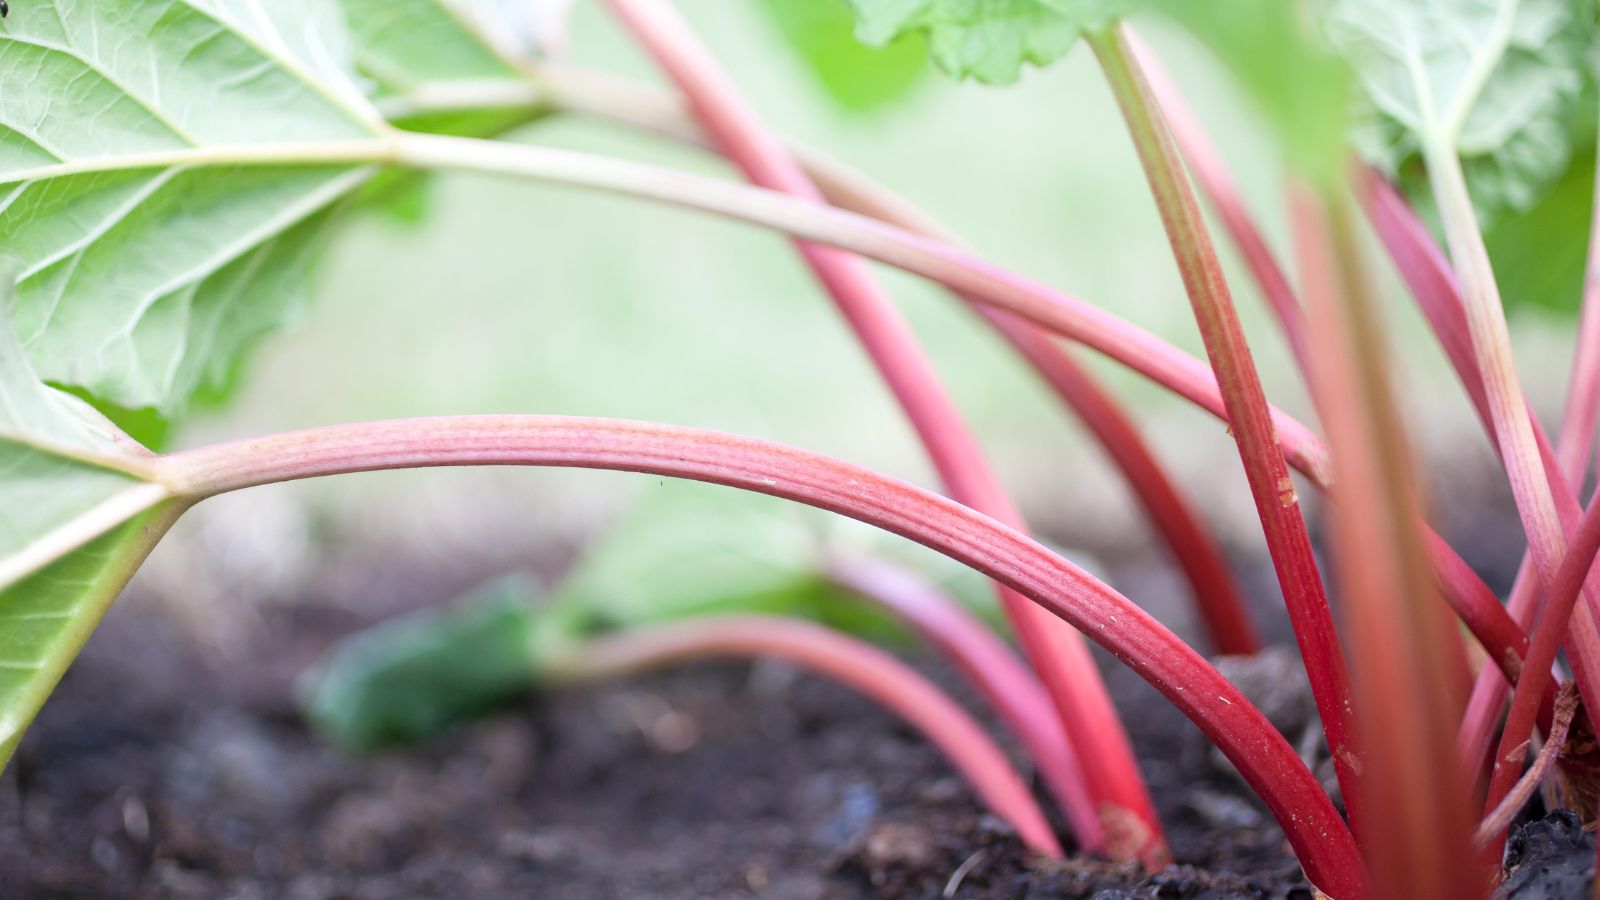
1. Forgetting to fertilize rhubarb twice a year
Rhubarb is a perennial plant, and it needs to be fertilized twice a year – once in spring and once in the fall.
Luke Marion, founder of MI Gardener says that not remembering to fertilize rhubarb is the mistake a lot of people make.
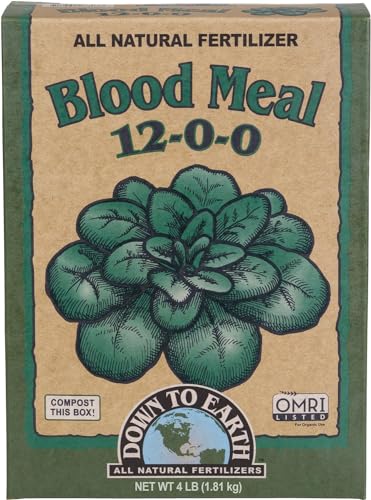
Rhubarb needs a nitrogen-rich fertilizer in spring, and phosphorus-rich fertilizer in fall, such as fertilizer this by Garden Rich from Amazon. 'The phosphorus helps establish the root base so the rhubarb can get through the winter,' says Luke.
Design expertise in your inbox – from inspiring decorating ideas and beautiful celebrity homes to practical gardening advice and shopping round-ups.
Get these two the wrong way around, and you're in trouble, because you'll be giving wrong nutrients for the growth stage the plant is in. Don't fertilize at all and you'll start getting less of a yield and thin, spindly stalks even on mature plants.
You may even choose to fertilize your rhubarb three times, especially when growing in raised garden beds, applying more of the spring fertilizer during the active growth in the summer.
Luke Marion started seed and garden care products retailer MIgardener in 2011, because he wanted to inspire others to grow a garden, live healthier lives, and have fun doing it. In 2015 he opened his a bricks and mortar store.
2. Harvesting rhubarb in its first year
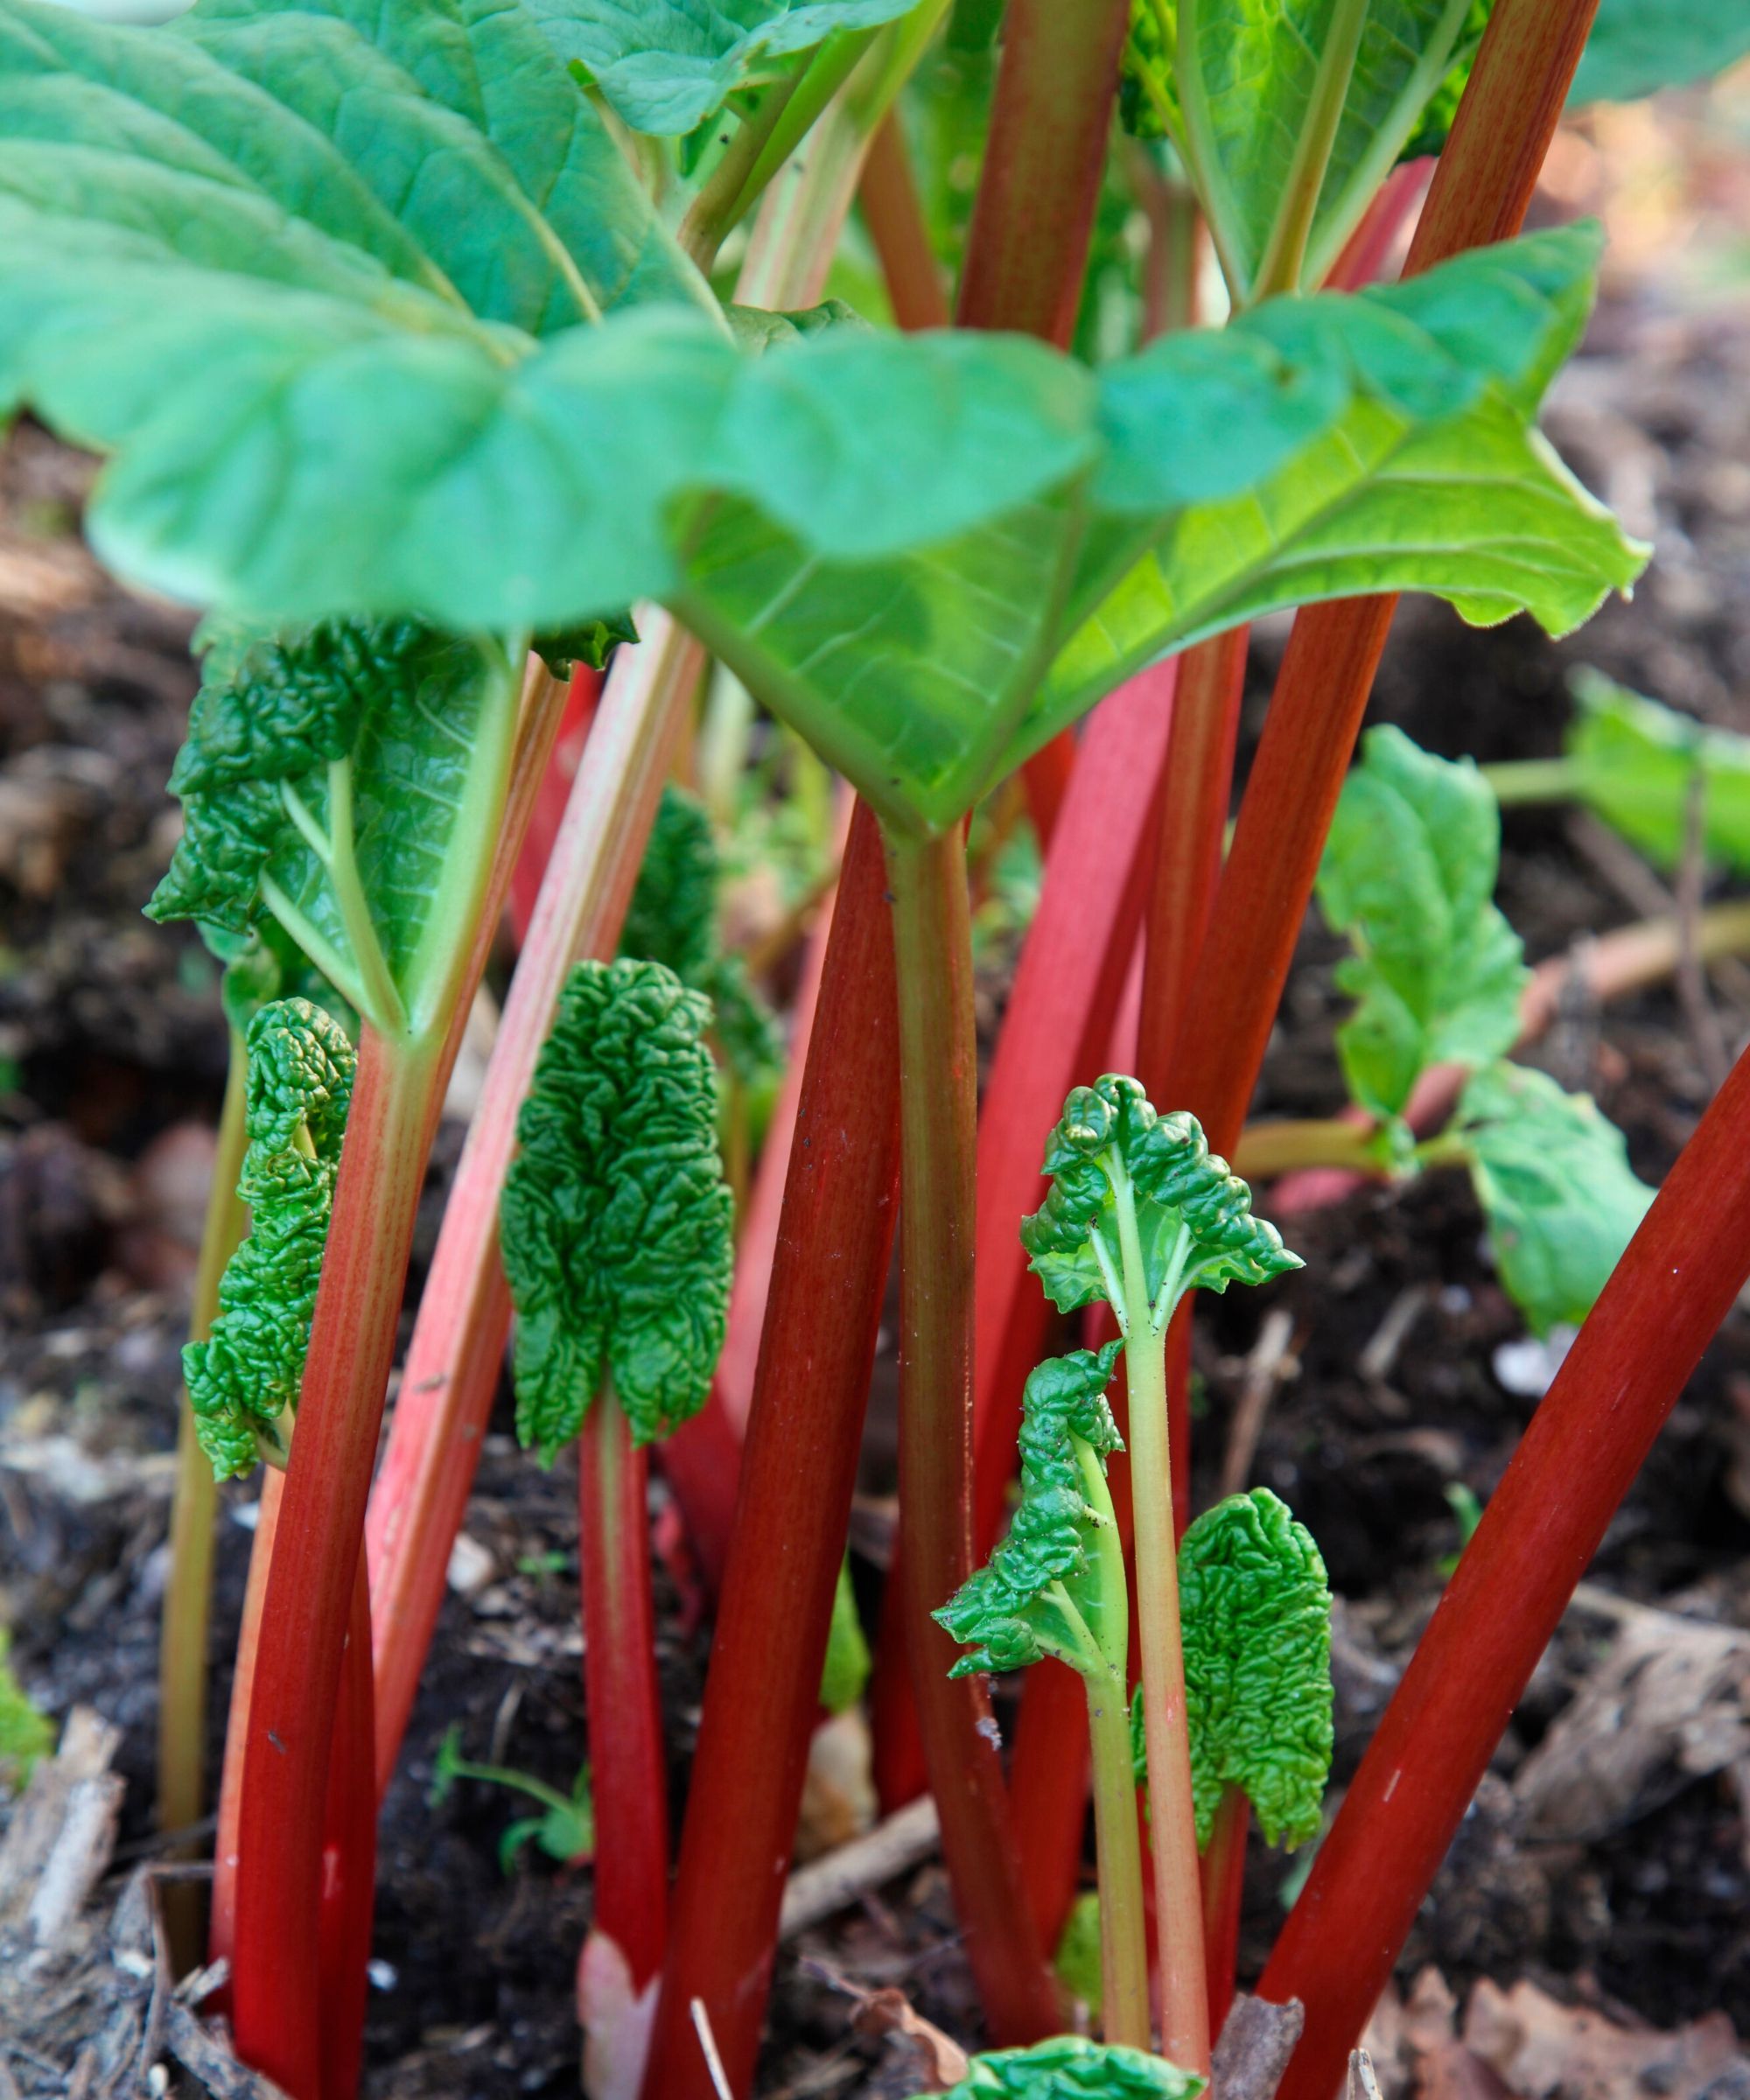
Another common mistake is harvesting rhubarb during its first year, or over-harvesting during the second. You can buy rhubarb starter plants at Walmart.
Rhubarb plants needs two years to fully develop, and if you want a reliable harvest from your plants for years to come, you shouldn't touch it at all in its first season and only take a couple of stalks off each plant in the second.
From the third season onwards, you can harvest your rhubarb fully. You can discover more tips on how to harvest rhubarb in our guide.
3. Not dividing rhubarb plants after five years
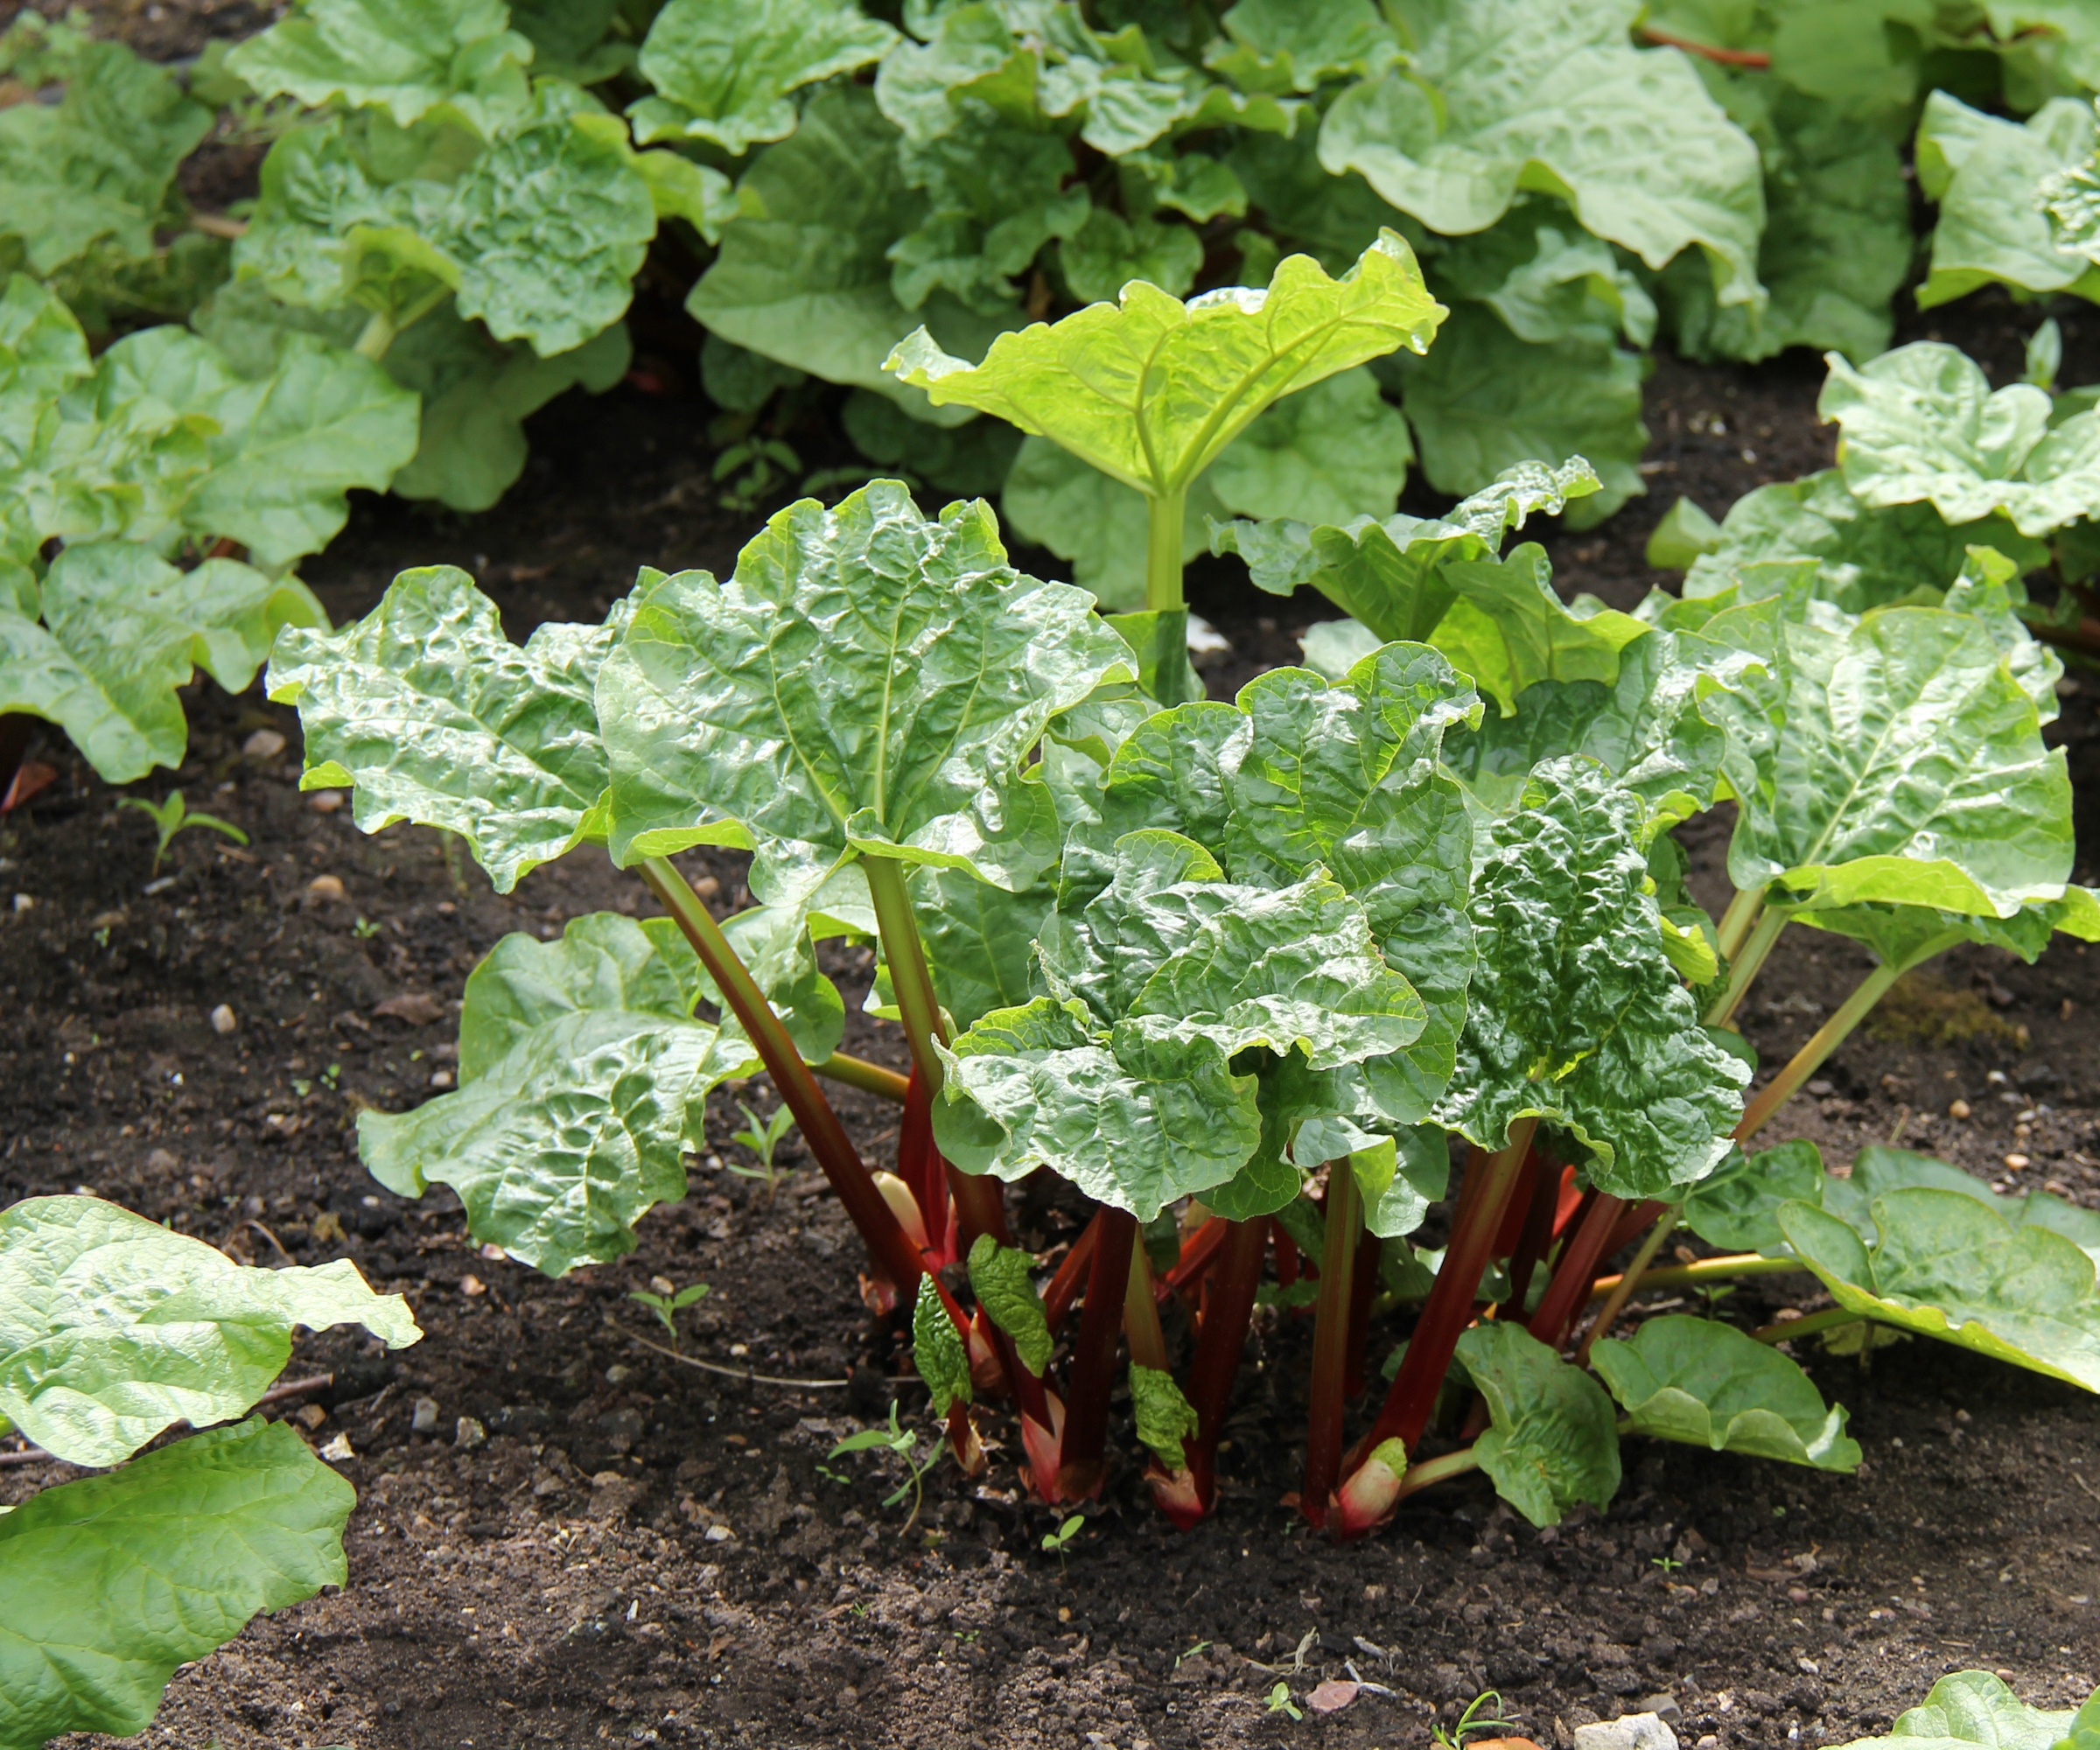
If your rhubarb plant is five years old or more and producing weaker and thinner stems than before, it's probably time to divide these perennials up.
Clumps should be divided every five or six years when the plant is dormant in late winter or early spring and transplanted to invigorate the plant.
To do this, use a strong, sharp knife, such as this Fiskars multi-purpose gardening knife from Amazon, or spade to split the clump into well-budded portions, replanting them at the same depth at which they were previously growing. Space the plants about 3ft (90cm) apart, with the crowns exposed, and make sure they're in a sunny, open spot then water well.
4. Covering the crown when mulching
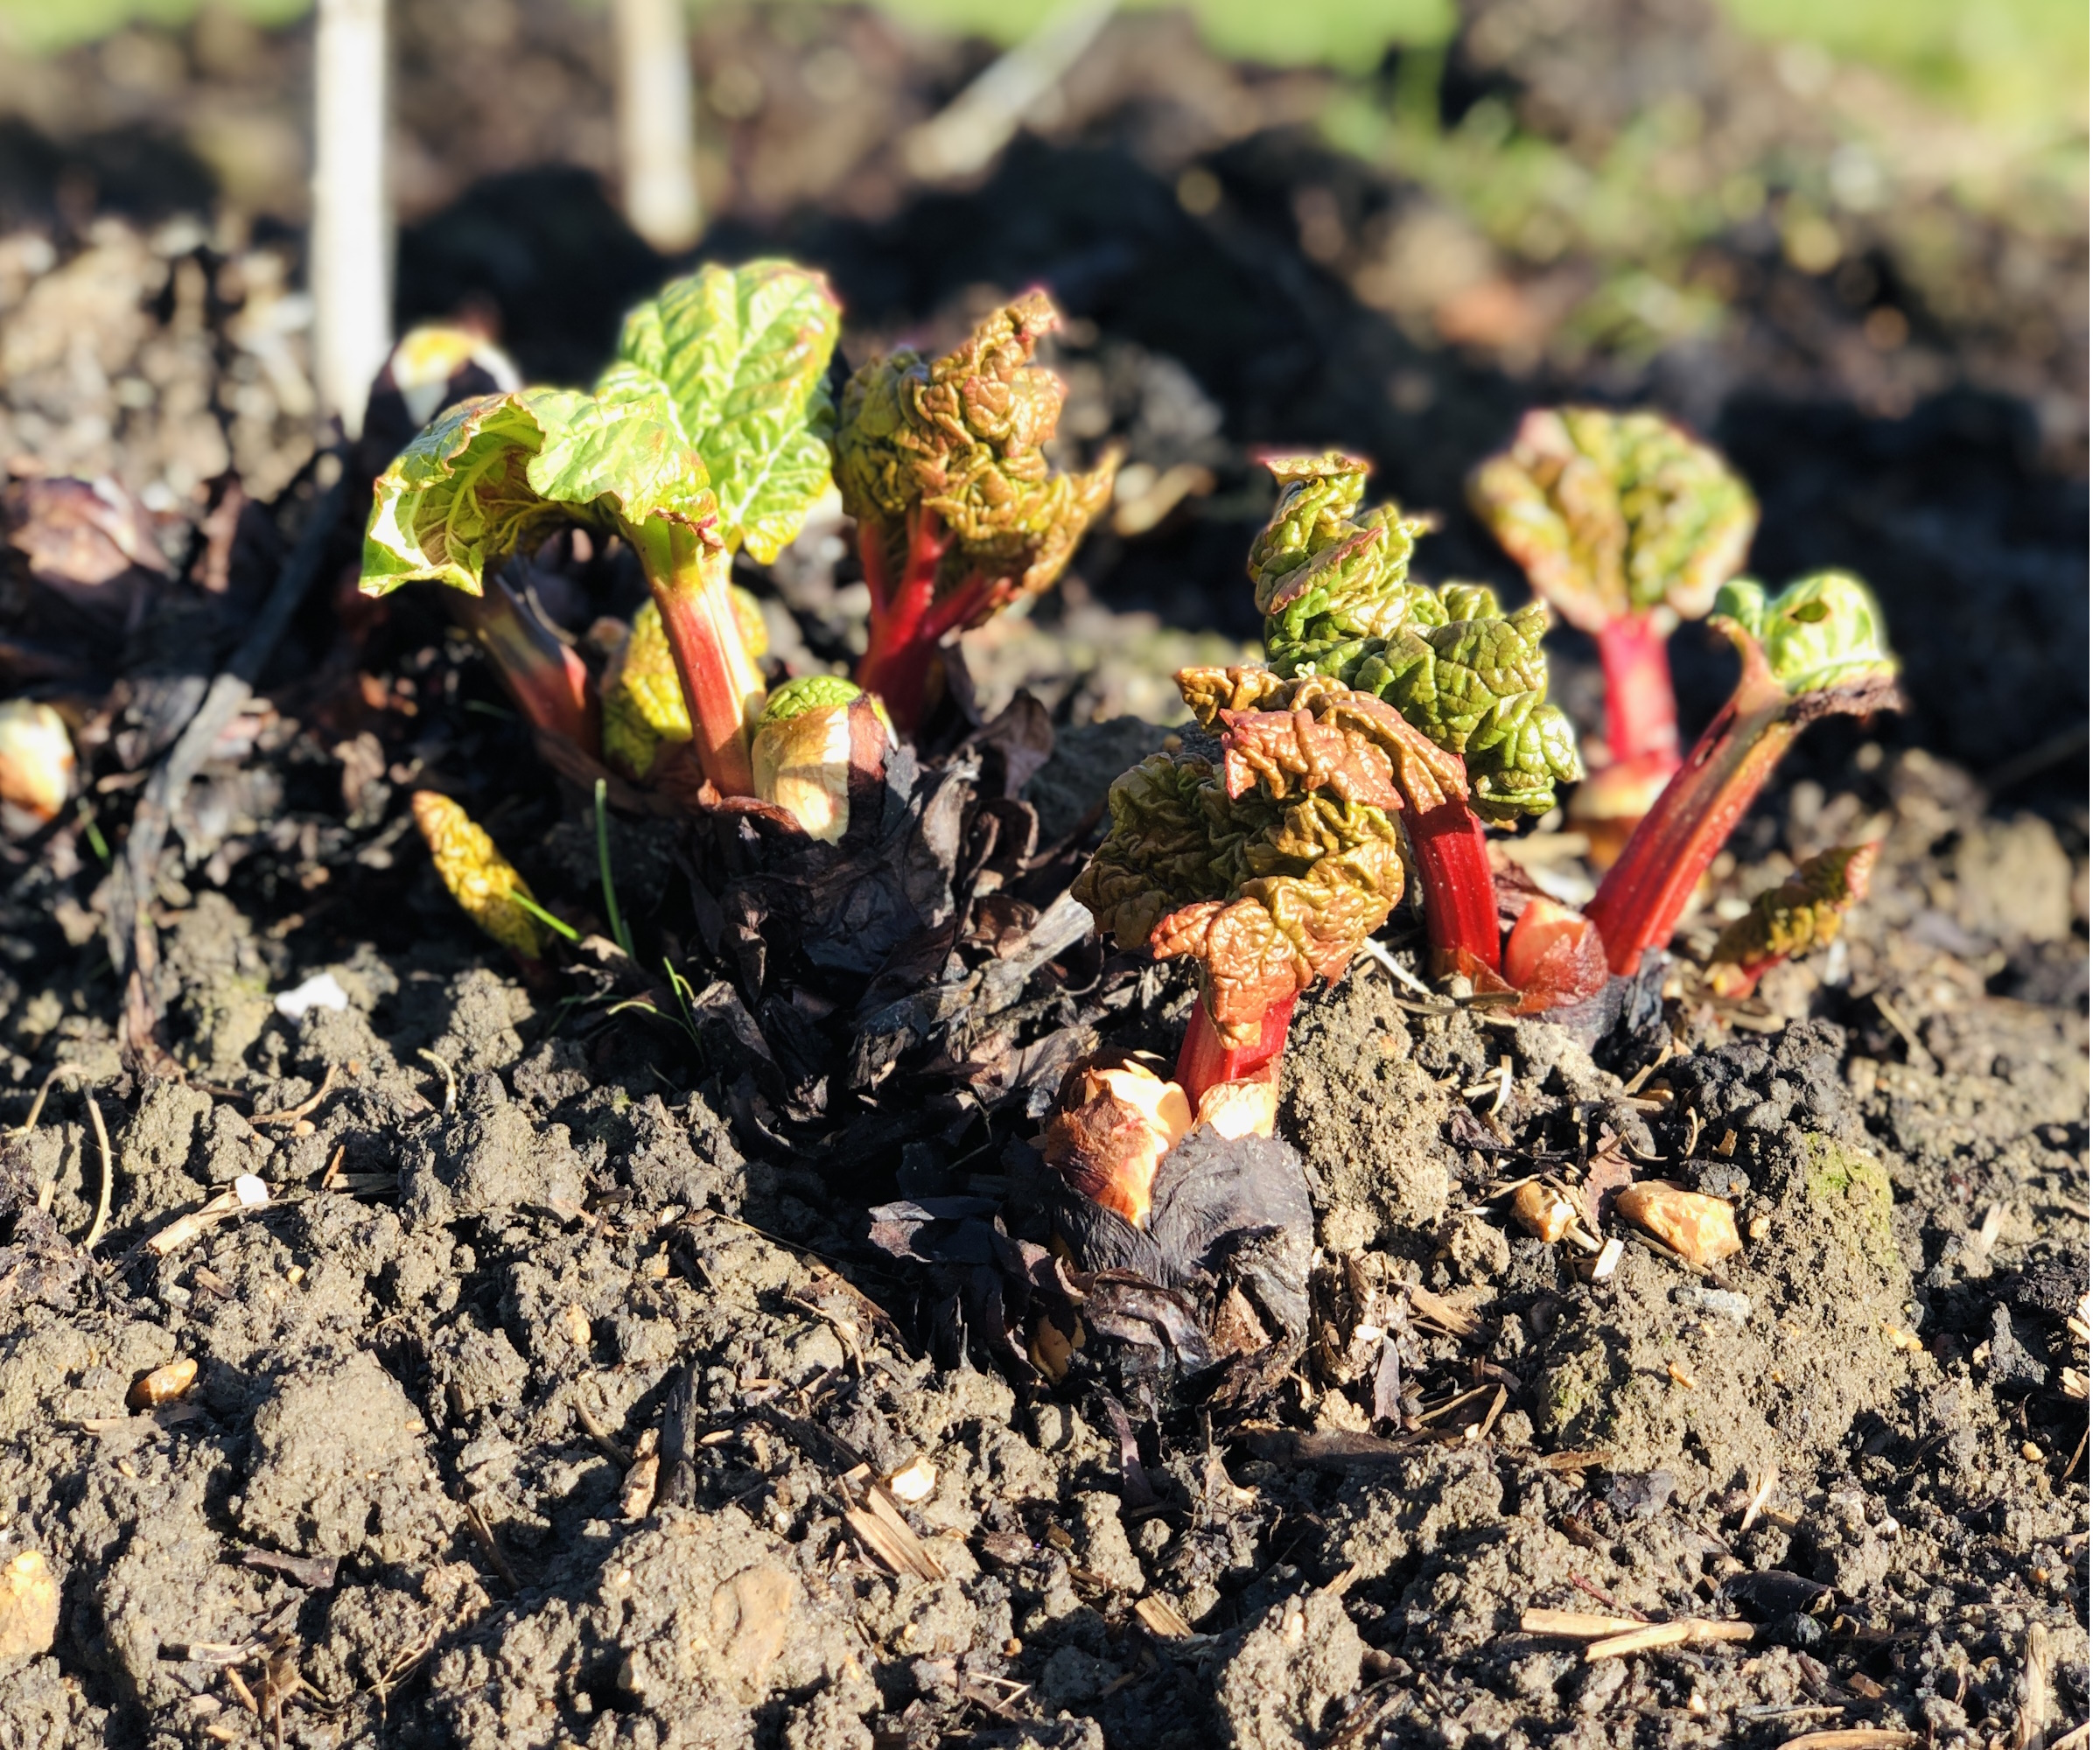
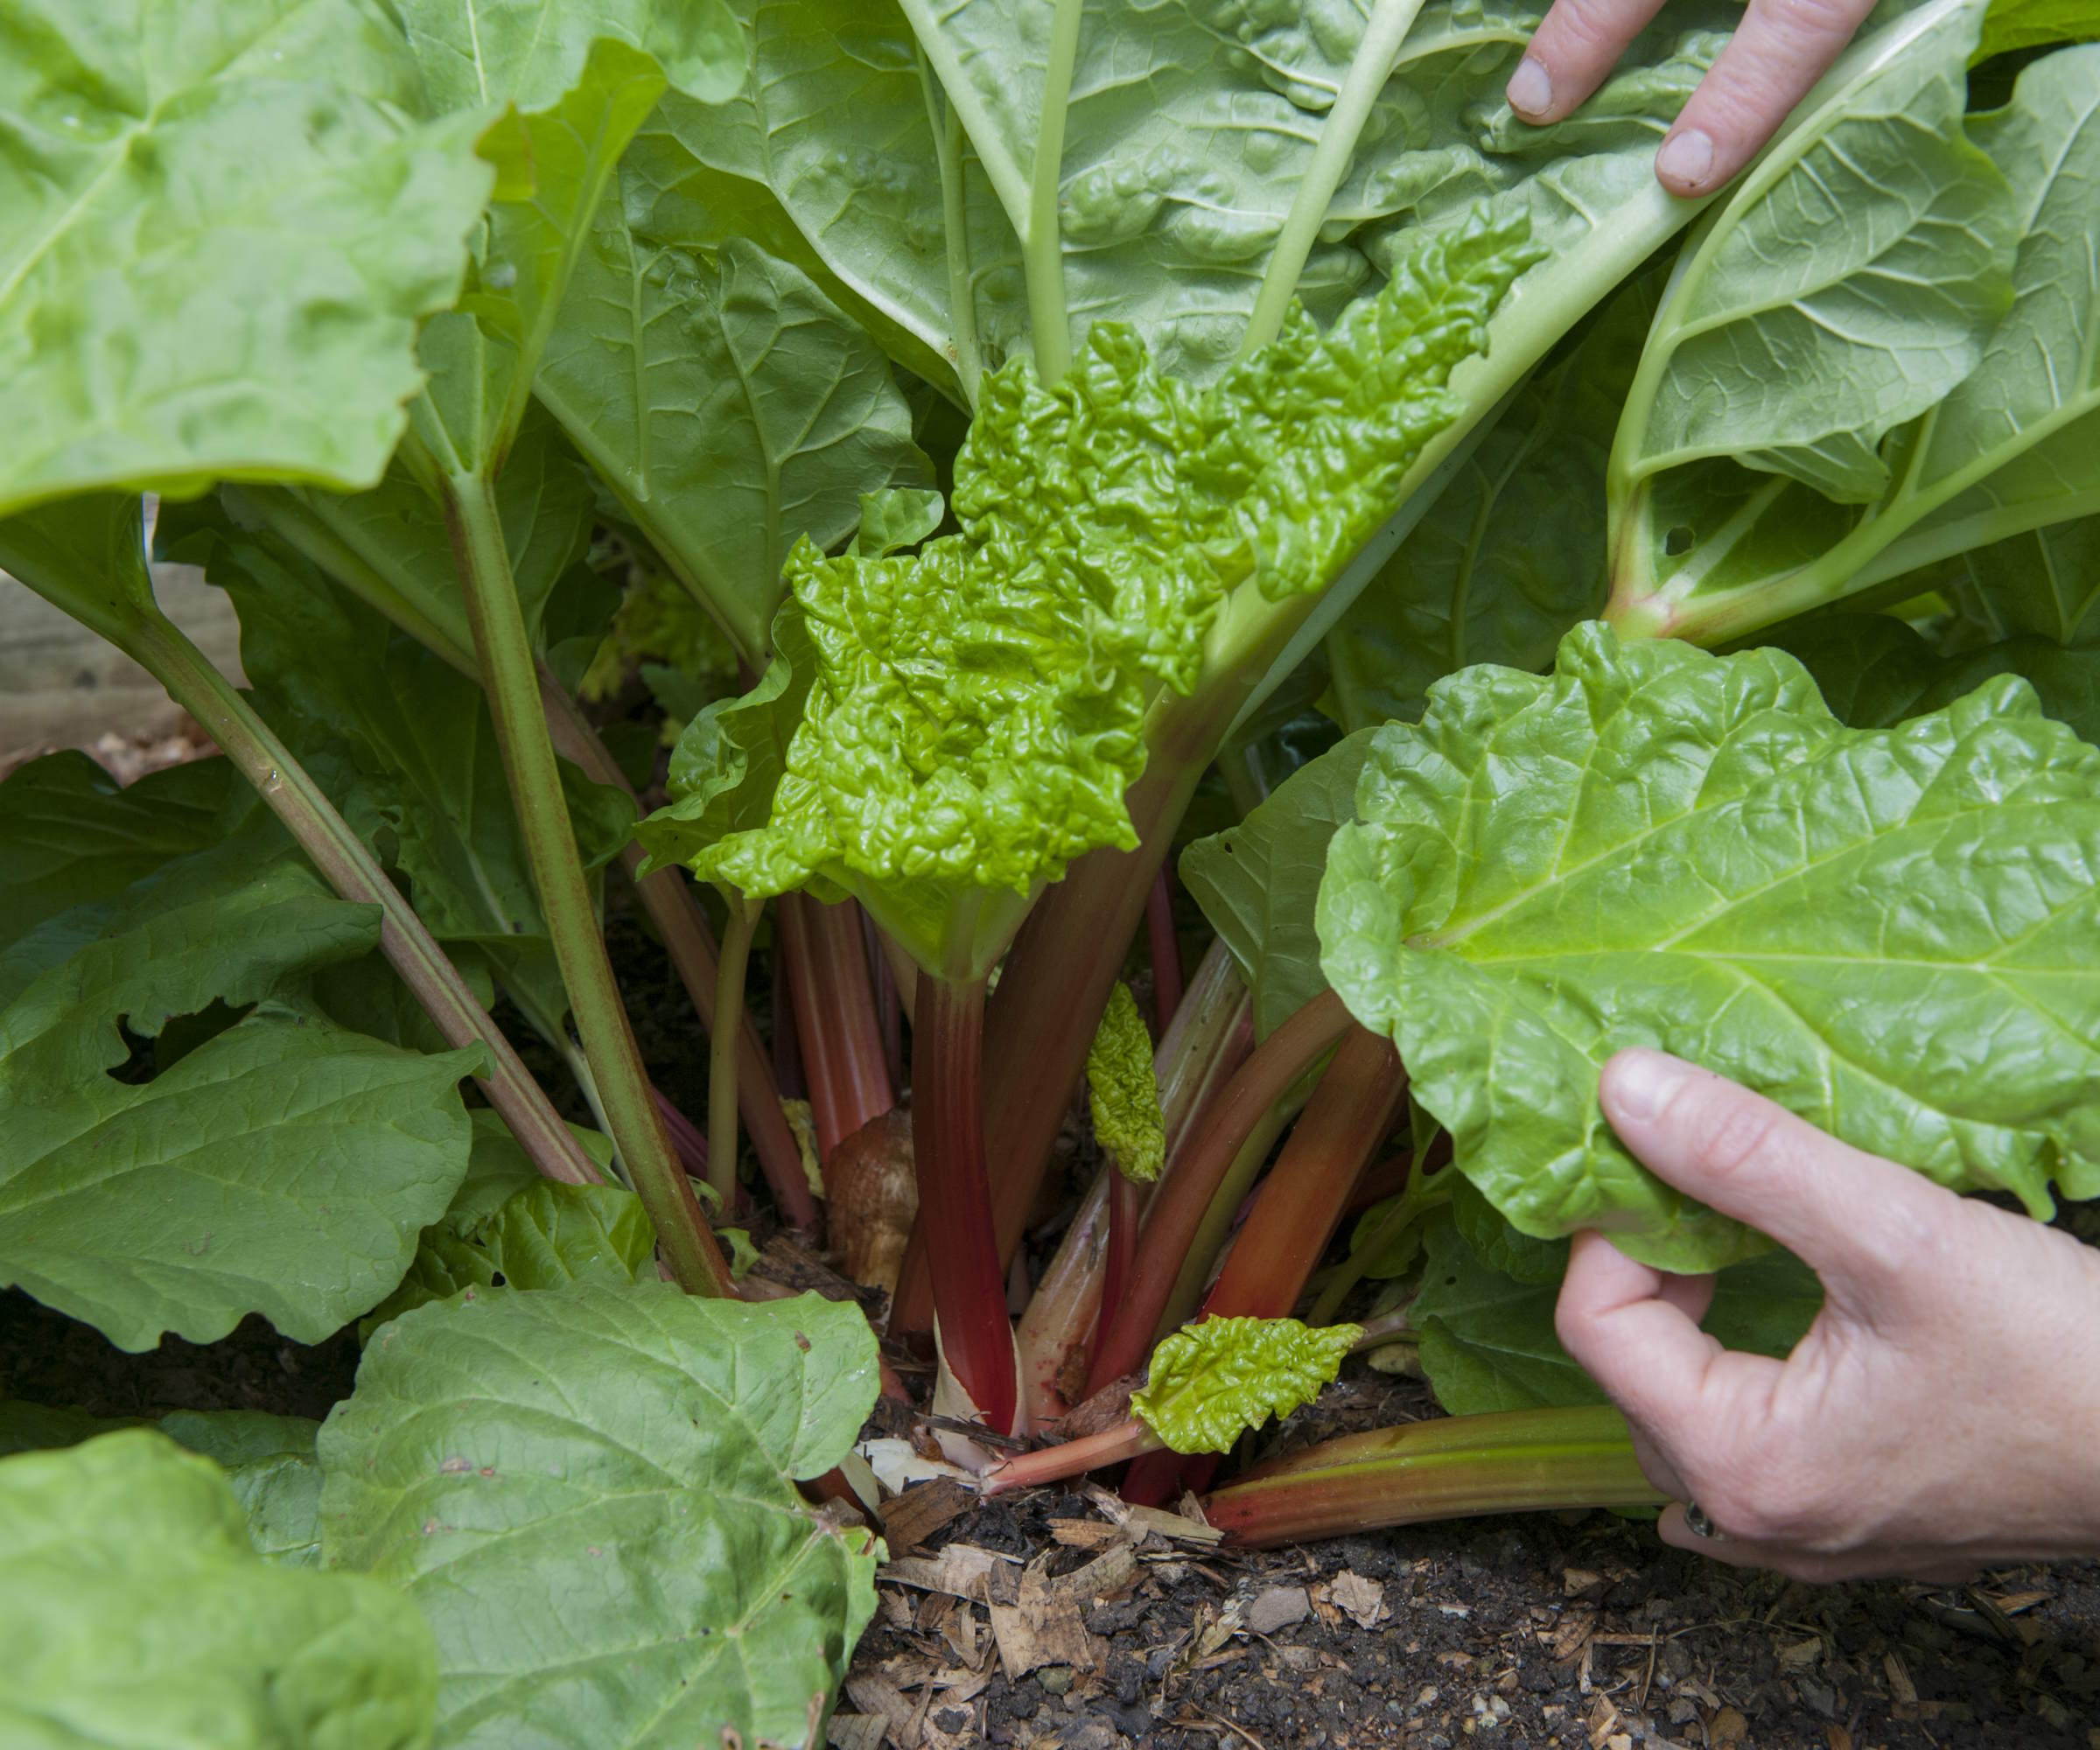
Mulching rhubarb, usually done in spring, helps to keep weeds down and retain moisture in the soil. However, avoid covering the crown – the visible buds at the surface of the soil.
If you don't, your plants can succumb to crown rot, where the crown literally rots and the surrounding leaves and stems die. If you spot any affected areas, cut them off immediately for disposal.
Leaving the crown exposed to frost is also important for getting a good crop of stems the following year.
5. Not spotting pests and diseases
Rhubarb is a robust plant, but is can still be susceptible to pests and diesases.
If new holes in your rhubarb plants are accompanied by blister-like growths that start off sticky, then your crop may have caught the common fungal disease Ascochyta leaf spot.
Hygiene is your best approach. Remove infected leaves during the growing season to help to reduce the source of disease. Stems with infected leaves should be harvested first, as these are still safe to eat. At the end of the growing season, after the leaves have died down, remove and dispose of all remaining plant material safely.
FAQs
Can I plant rhubarb in the summer?
The best times to plant rhubarb are in fall or early spring, as this will allow the plant enough time to establish a root system before the growing season begins. You can still get starter plants in the ground in early summer, but they might not grow as well for the first year, and will need watering well.
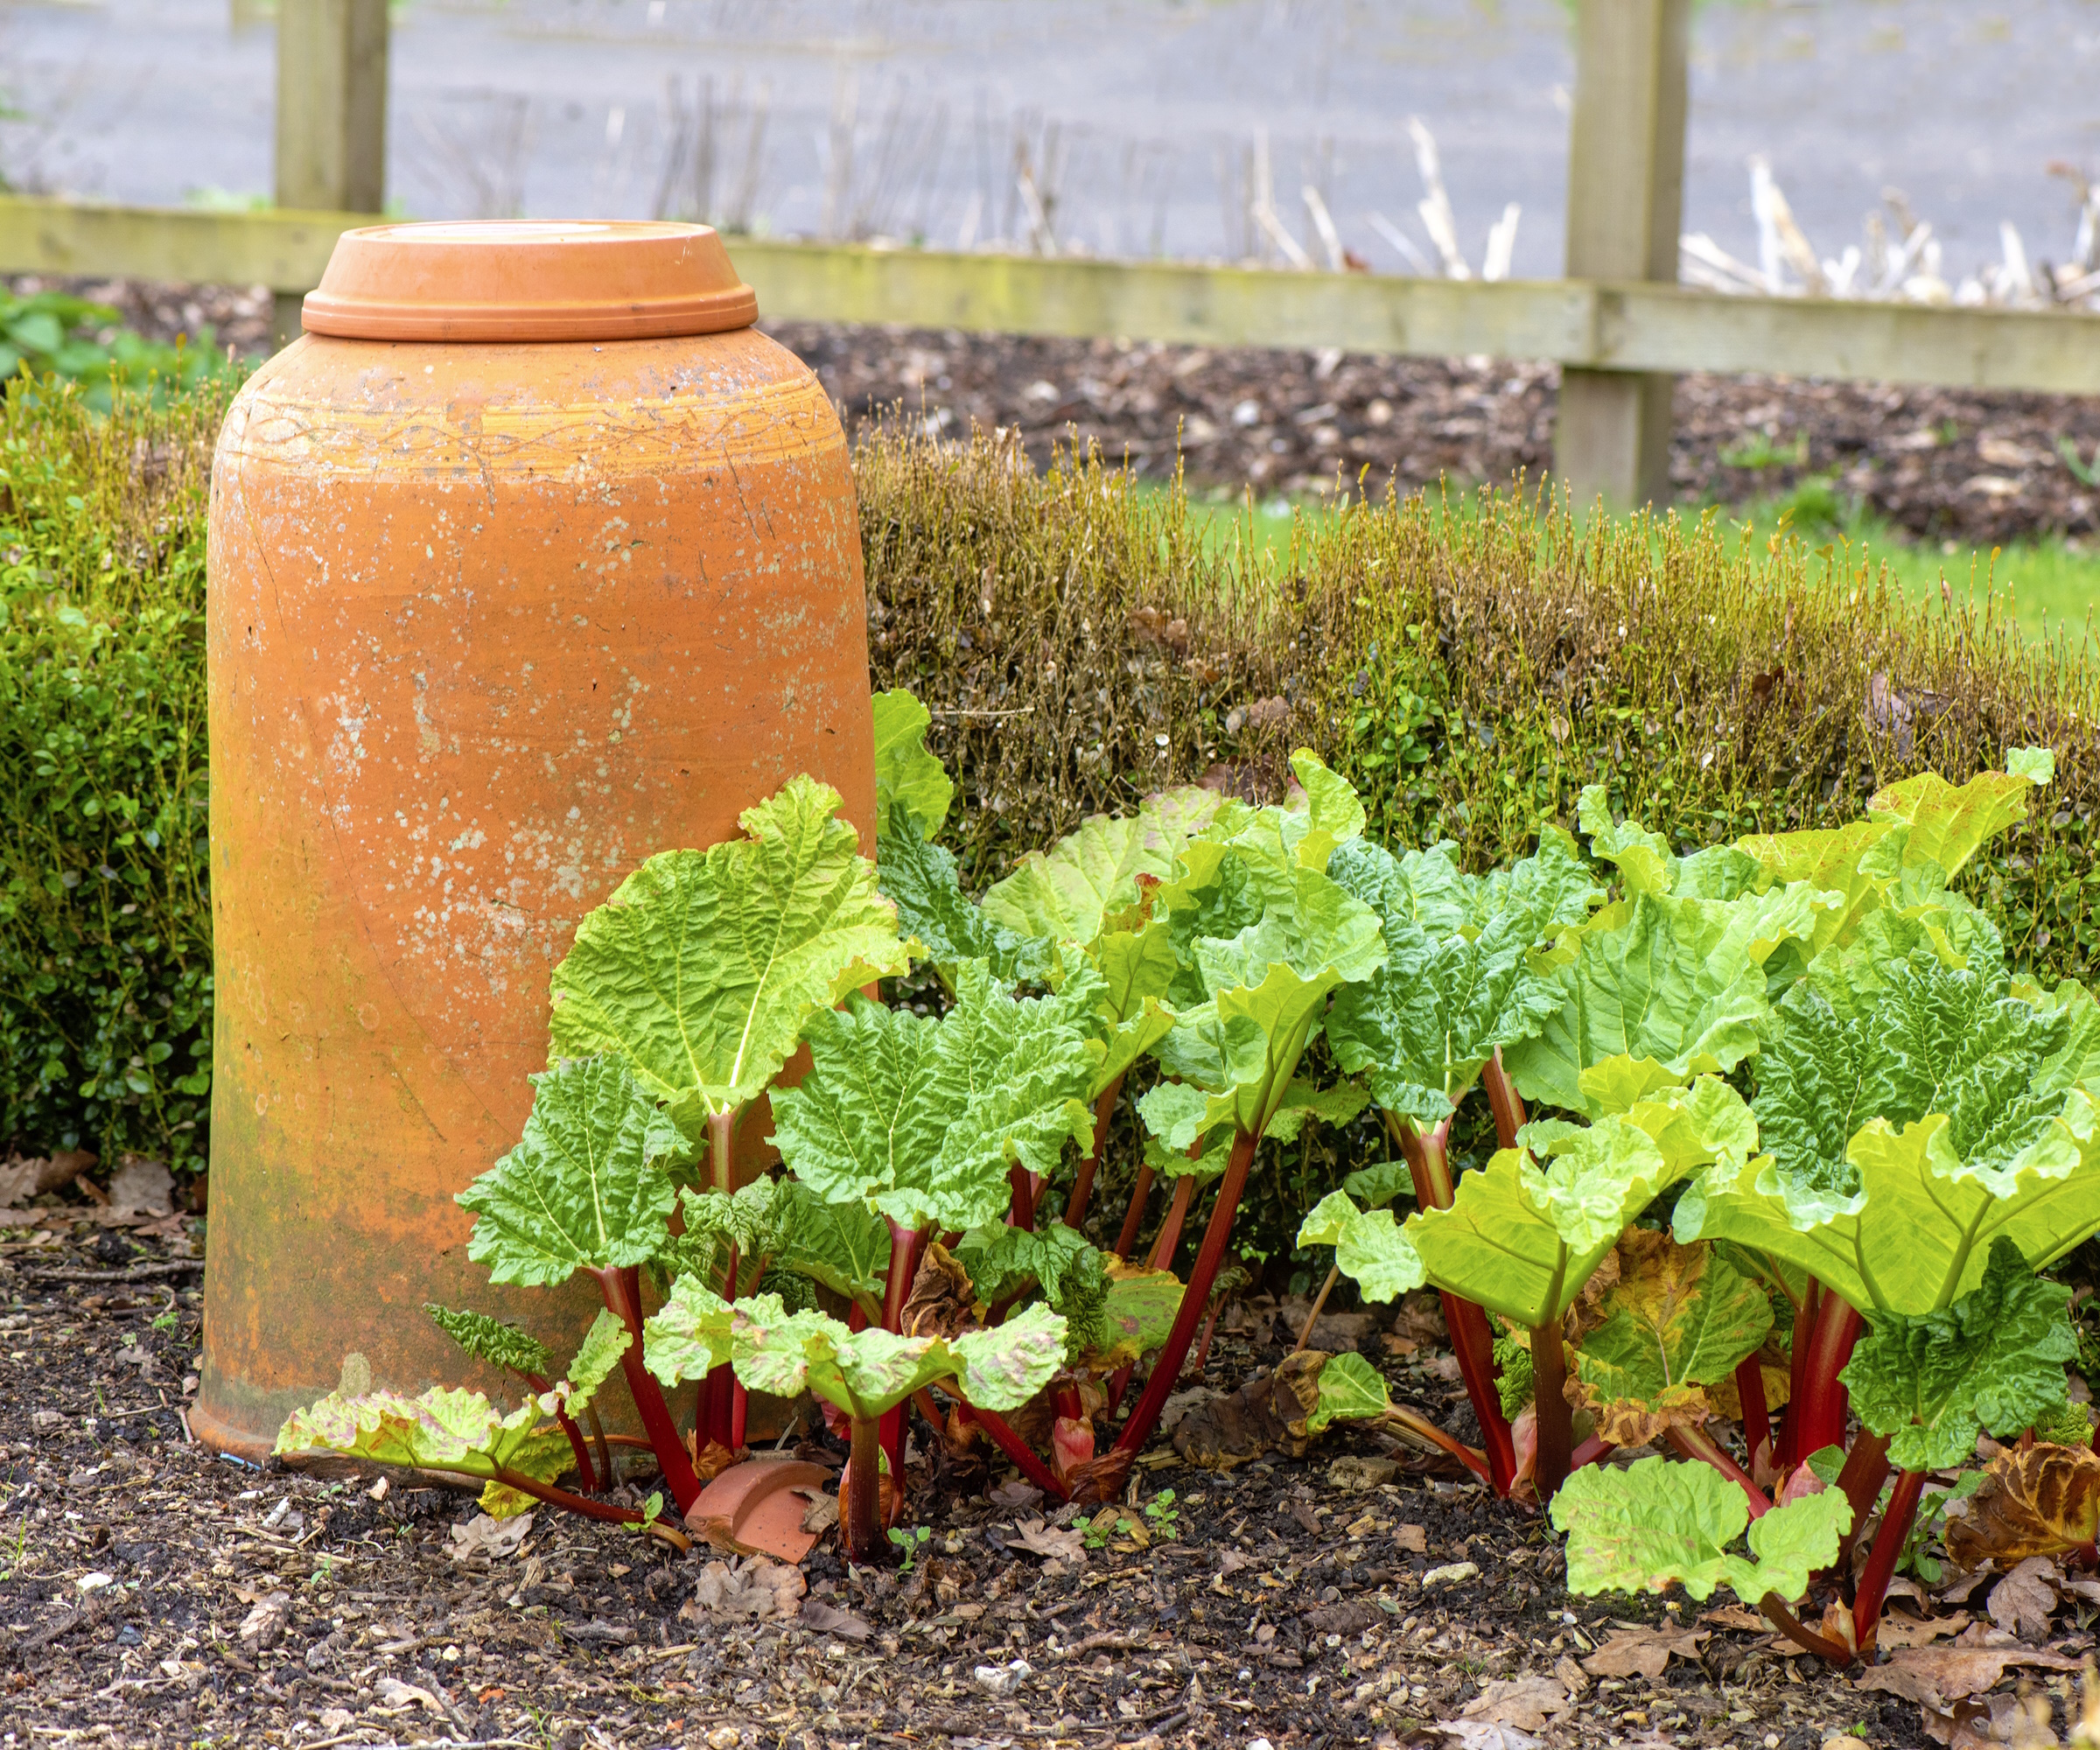
If you want to get an early crop of this fruit next year, you can discover how by reading our guide on how to grow forced rhubarb - and keep your supplies going for longer.

Holly started writing about gardening five years ago, and she is a regular contributor to Homes & Gardens. She has also written many gardening features for Woman & Home and Real Homes, too. She has previous experience as a professional gardener, where she helped to plant and maintain private gardens. Holly has also looked after allotment plots over the years and loves to grow her own flowers and veggies from seed. In her spare time, she enjoys visiting local gardens, botanical drawing, and tending to her ever-growing collection of houseplants.
- Rachel BullHead of Gardens


