How to grow rhubarb – the best way to plant this tart fruit
How to grow rhubarb for sweet tart fruit perfect in pies and crumbles

Design expertise in your inbox – from inspiring decorating ideas and beautiful celebrity homes to practical gardening advice and shopping round-ups.
You are now subscribed
Your newsletter sign-up was successful
Want to add more newsletters?

Twice a week
Homes&Gardens
The ultimate interior design resource from the world's leading experts - discover inspiring decorating ideas, color scheming know-how, garden inspiration and shopping expertise.

Once a week
In The Loop from Next In Design
Members of the Next in Design Circle will receive In the Loop, our weekly email filled with trade news, names to know and spotlight moments. Together we’re building a brighter design future.

Twice a week
Cucina
Whether you’re passionate about hosting exquisite dinners, experimenting with culinary trends, or perfecting your kitchen's design with timeless elegance and innovative functionality, this newsletter is here to inspire
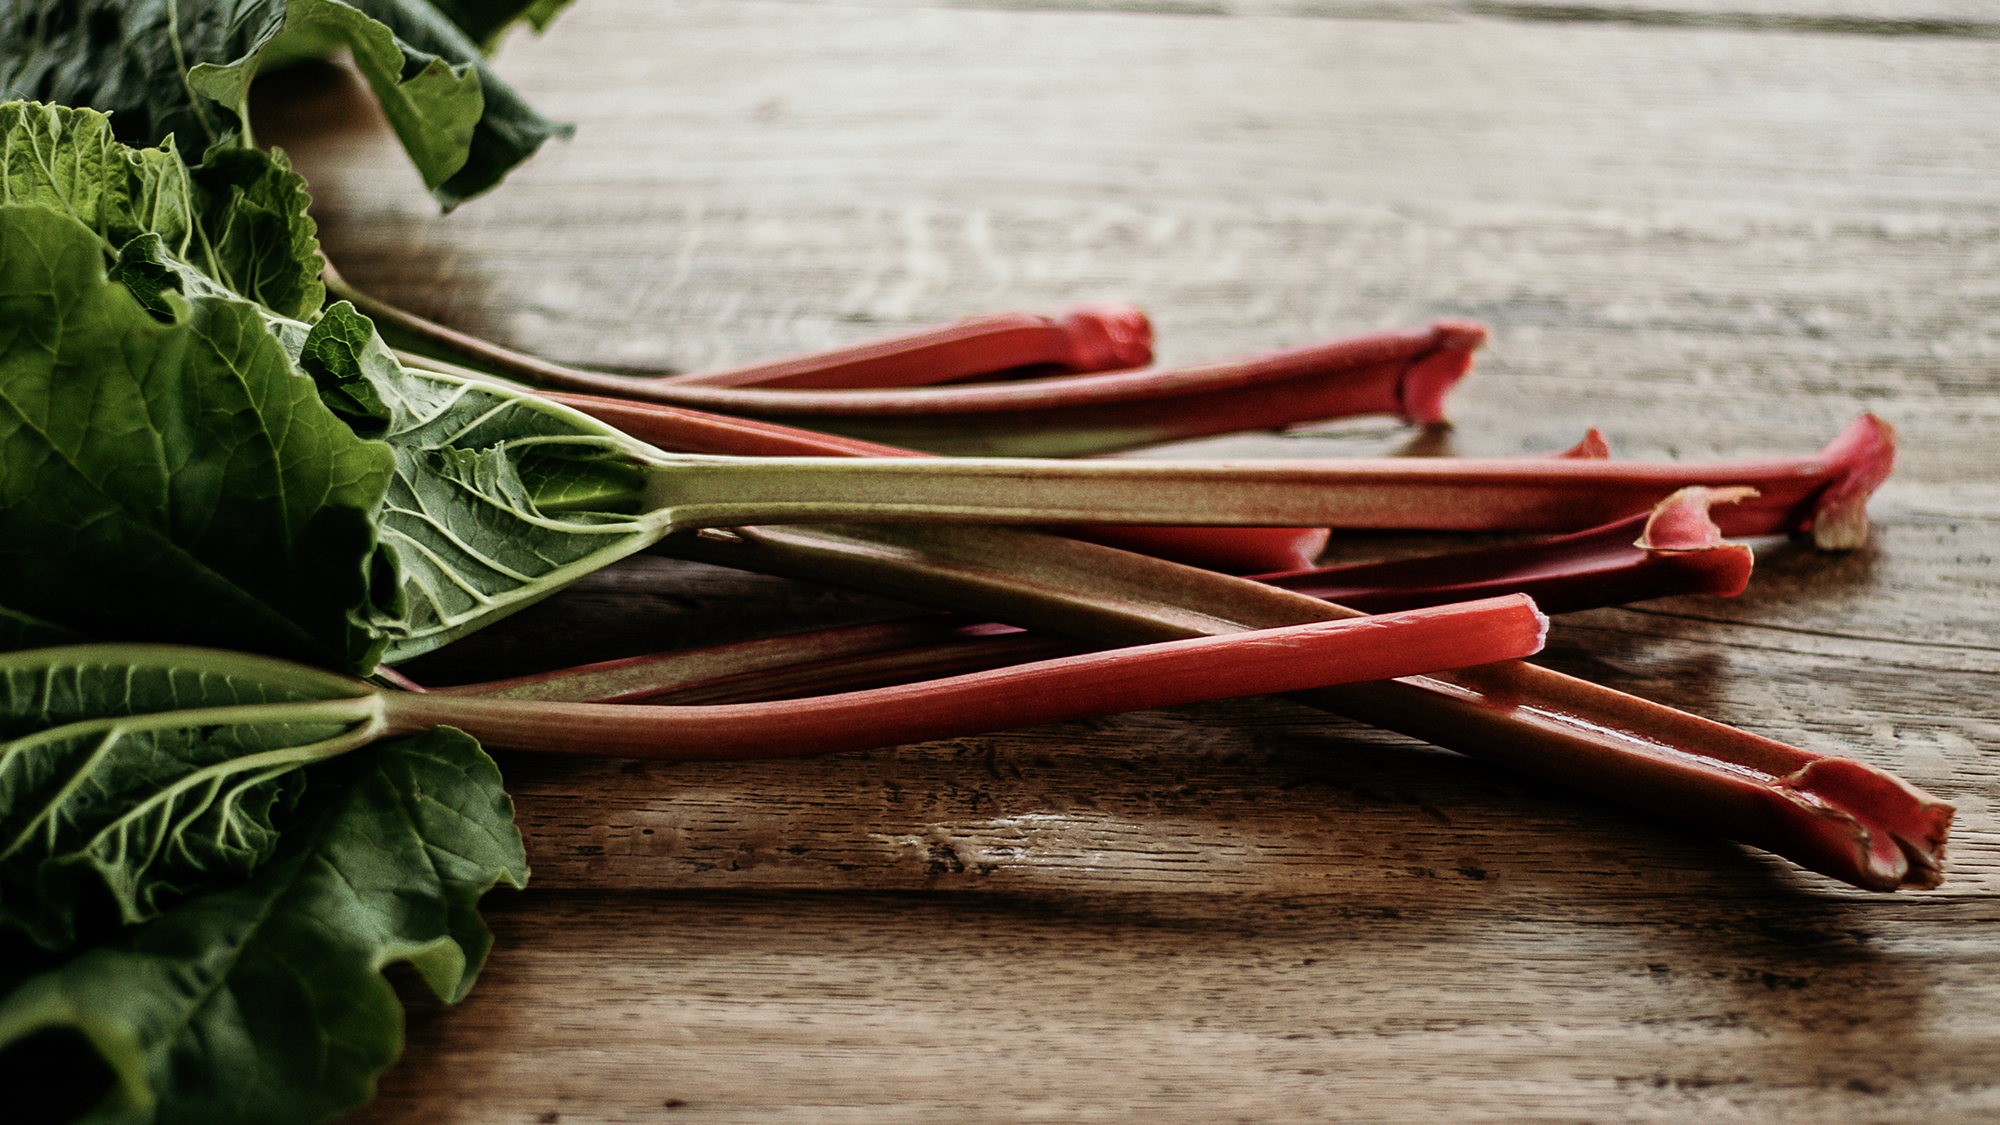
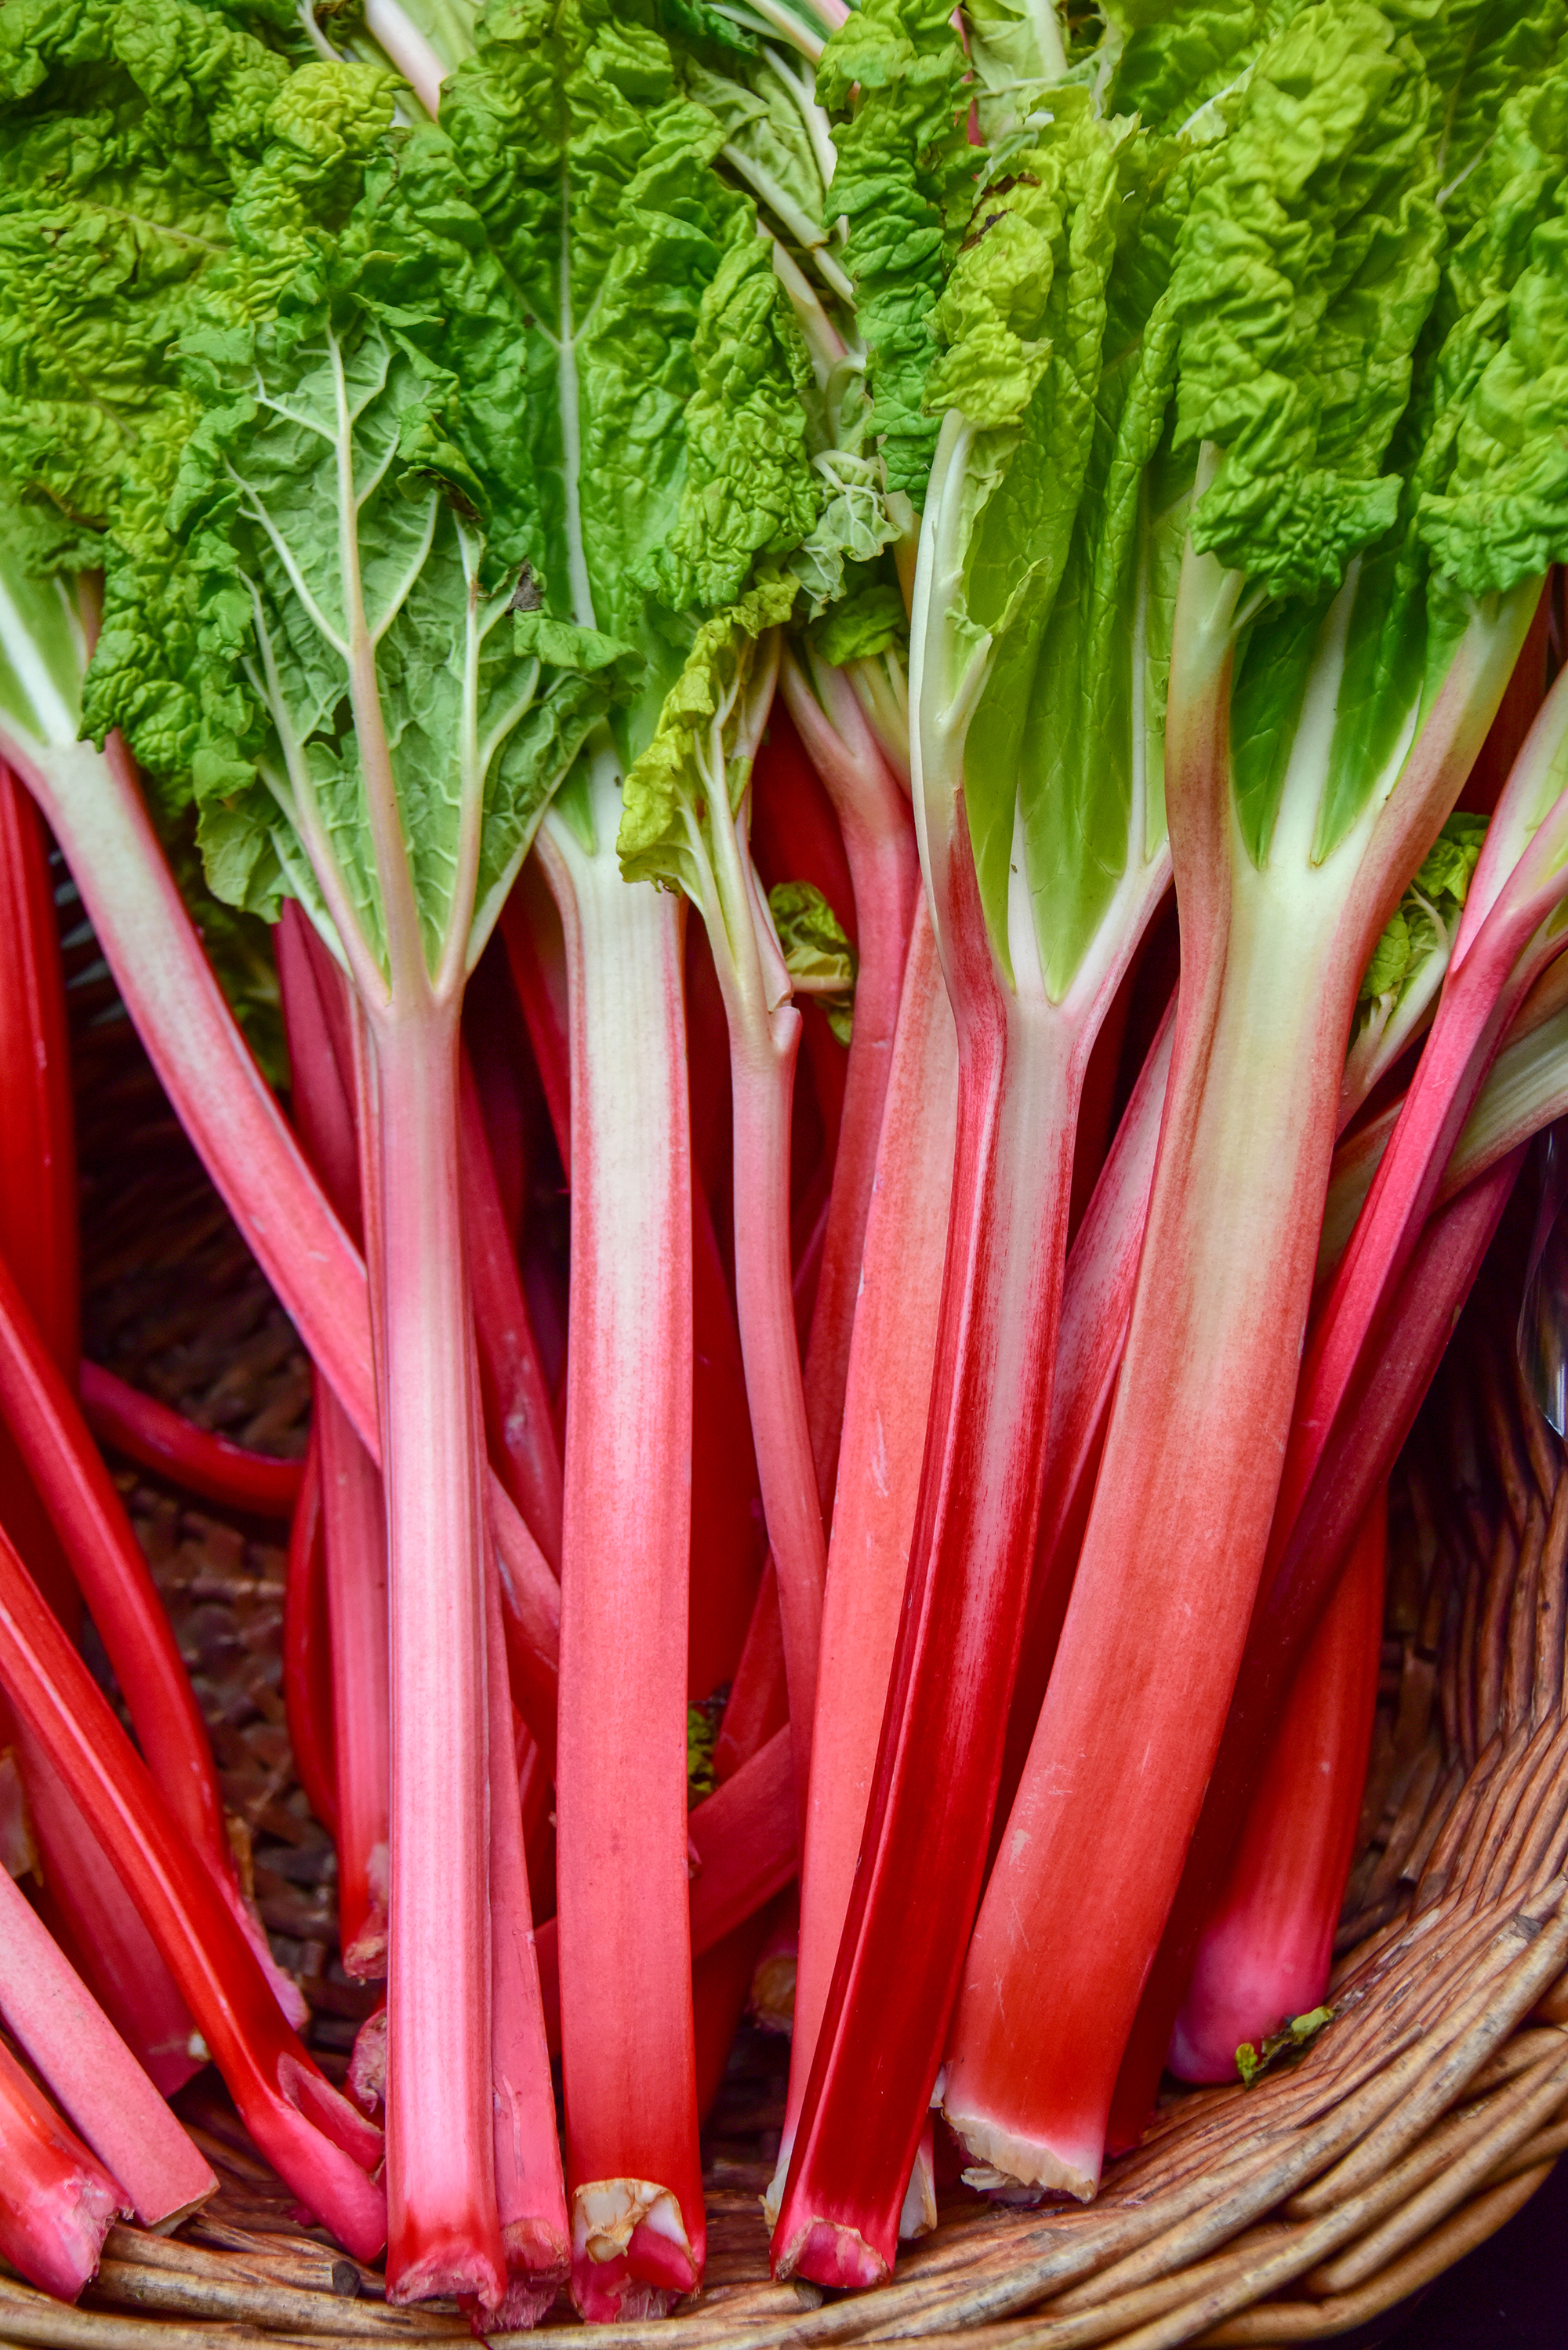
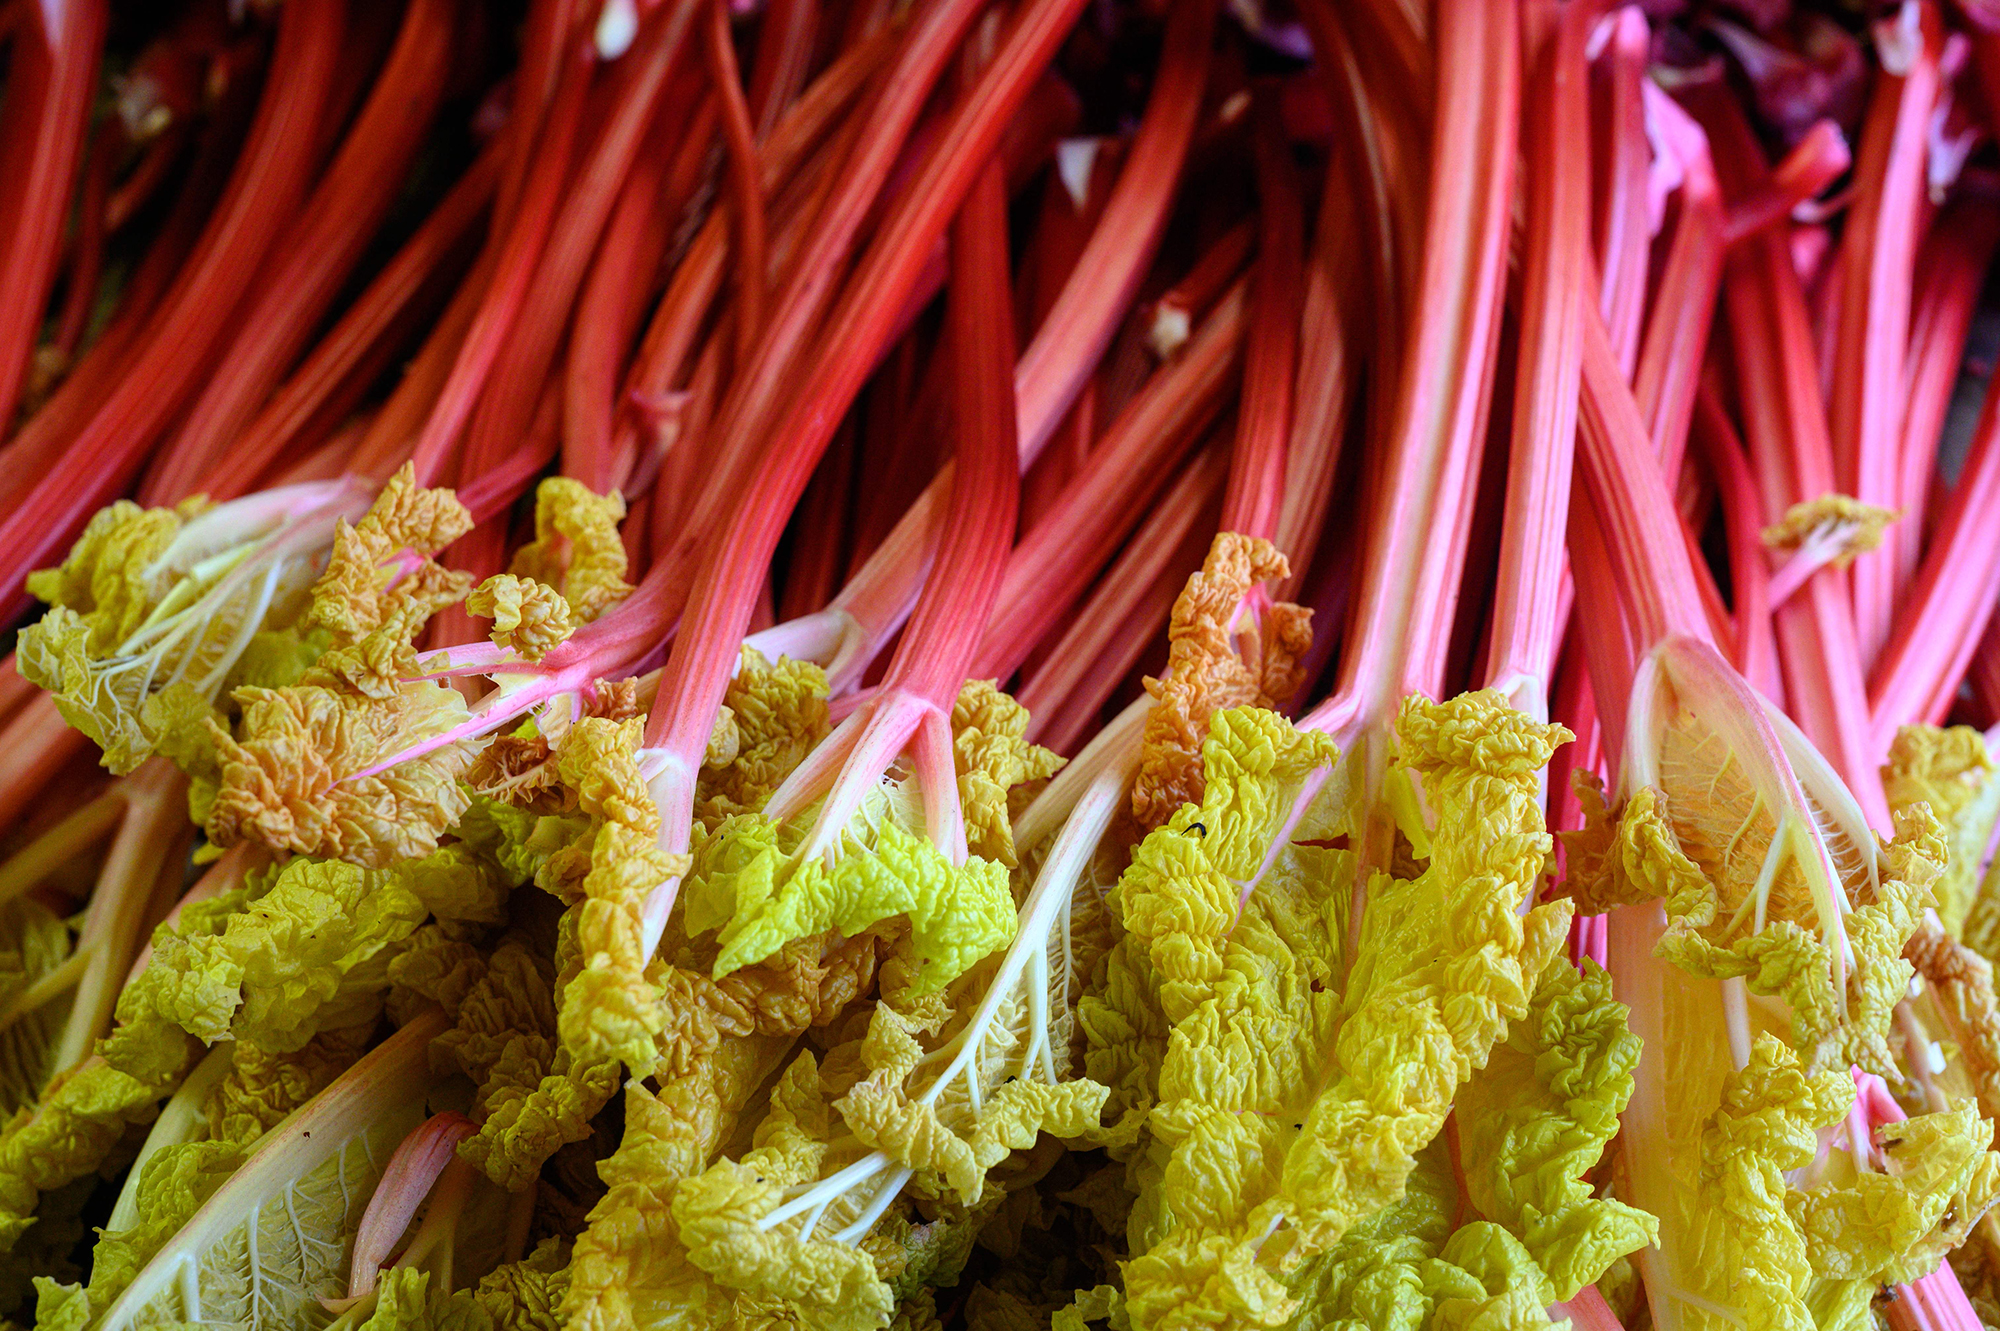
Are you wondering how to grow rhubarb? When cooked the light green pinky stems of rhubarb have long been used for adding a sweet tart flavor to desserts and are brilliant stewed with sugar, in preserves or cordials and who could forget the famous traditional crumble. This makes them a great addition to your kitchen garden ideas. So, if you haven’t grown Rhubarb before it’s well worth giving a go.
The hardy perennial is easy to grow and maintain and will give high yields from just a single plant. Plants can last up to 20 years in good conditions, plus if they are split regularly you can create lots more rhubarb plants.
Rhubarb will thrive in a sunny, open spot with free-draining rich soil however it will not do well in the heat. It can grow over 24 inches (60cm) high and up to (6ft) 2m across. While it can be grown in containers it will be far more productive in the ground. The leaves should never be eaten as they are highly toxic.
How to grow rhubarb
While rhubarb can be grown from seed, results are variable. The most popular way to grow rhubarb is to plant rhubarb crowns – sections of fleshy root stock – which have been divided from an established parent plant; this needs to be done whilst the plant is in its dormant state between fall and spring.
You can buy crowns from garden centres, however, rhubarb plants benefit from regular splitting, so it may be worth seeing if a friend or neighbor has an established plant that needs dividing up.
First prepare the ground by digging in plenty of well-rotted manure or compost. Dig a hole and plant your crown so that the shoot sits above the soil. Water well.
If you are planning to divide a plant here’s what to do:
Design expertise in your inbox – from inspiring decorating ideas and beautiful celebrity homes to practical gardening advice and shopping round-ups.
When the plant is dormant, use a spade to lift the root stock – and cut through it with the spade – making sure that the new sections created have at least one bud.
Replant the sections at around 2.5-3ft (75-90cm) apart making sure that the bud sits just above the soil and water in well.
If you are planting rhubarb Monty Don has some key advice for a good, vigorous crop.
‘Don’t harvest it the next year. Let the divided crowns establish and in two years time, or the following three or four they will be ultra productive,’ he says on his Gardener’s World programme.
Harvesting rhubarb
When to harvest rhubarb? Once your rhubarb plant is established the stems can then be picked from March for early cultivators, or from April, for later ones, up until June.
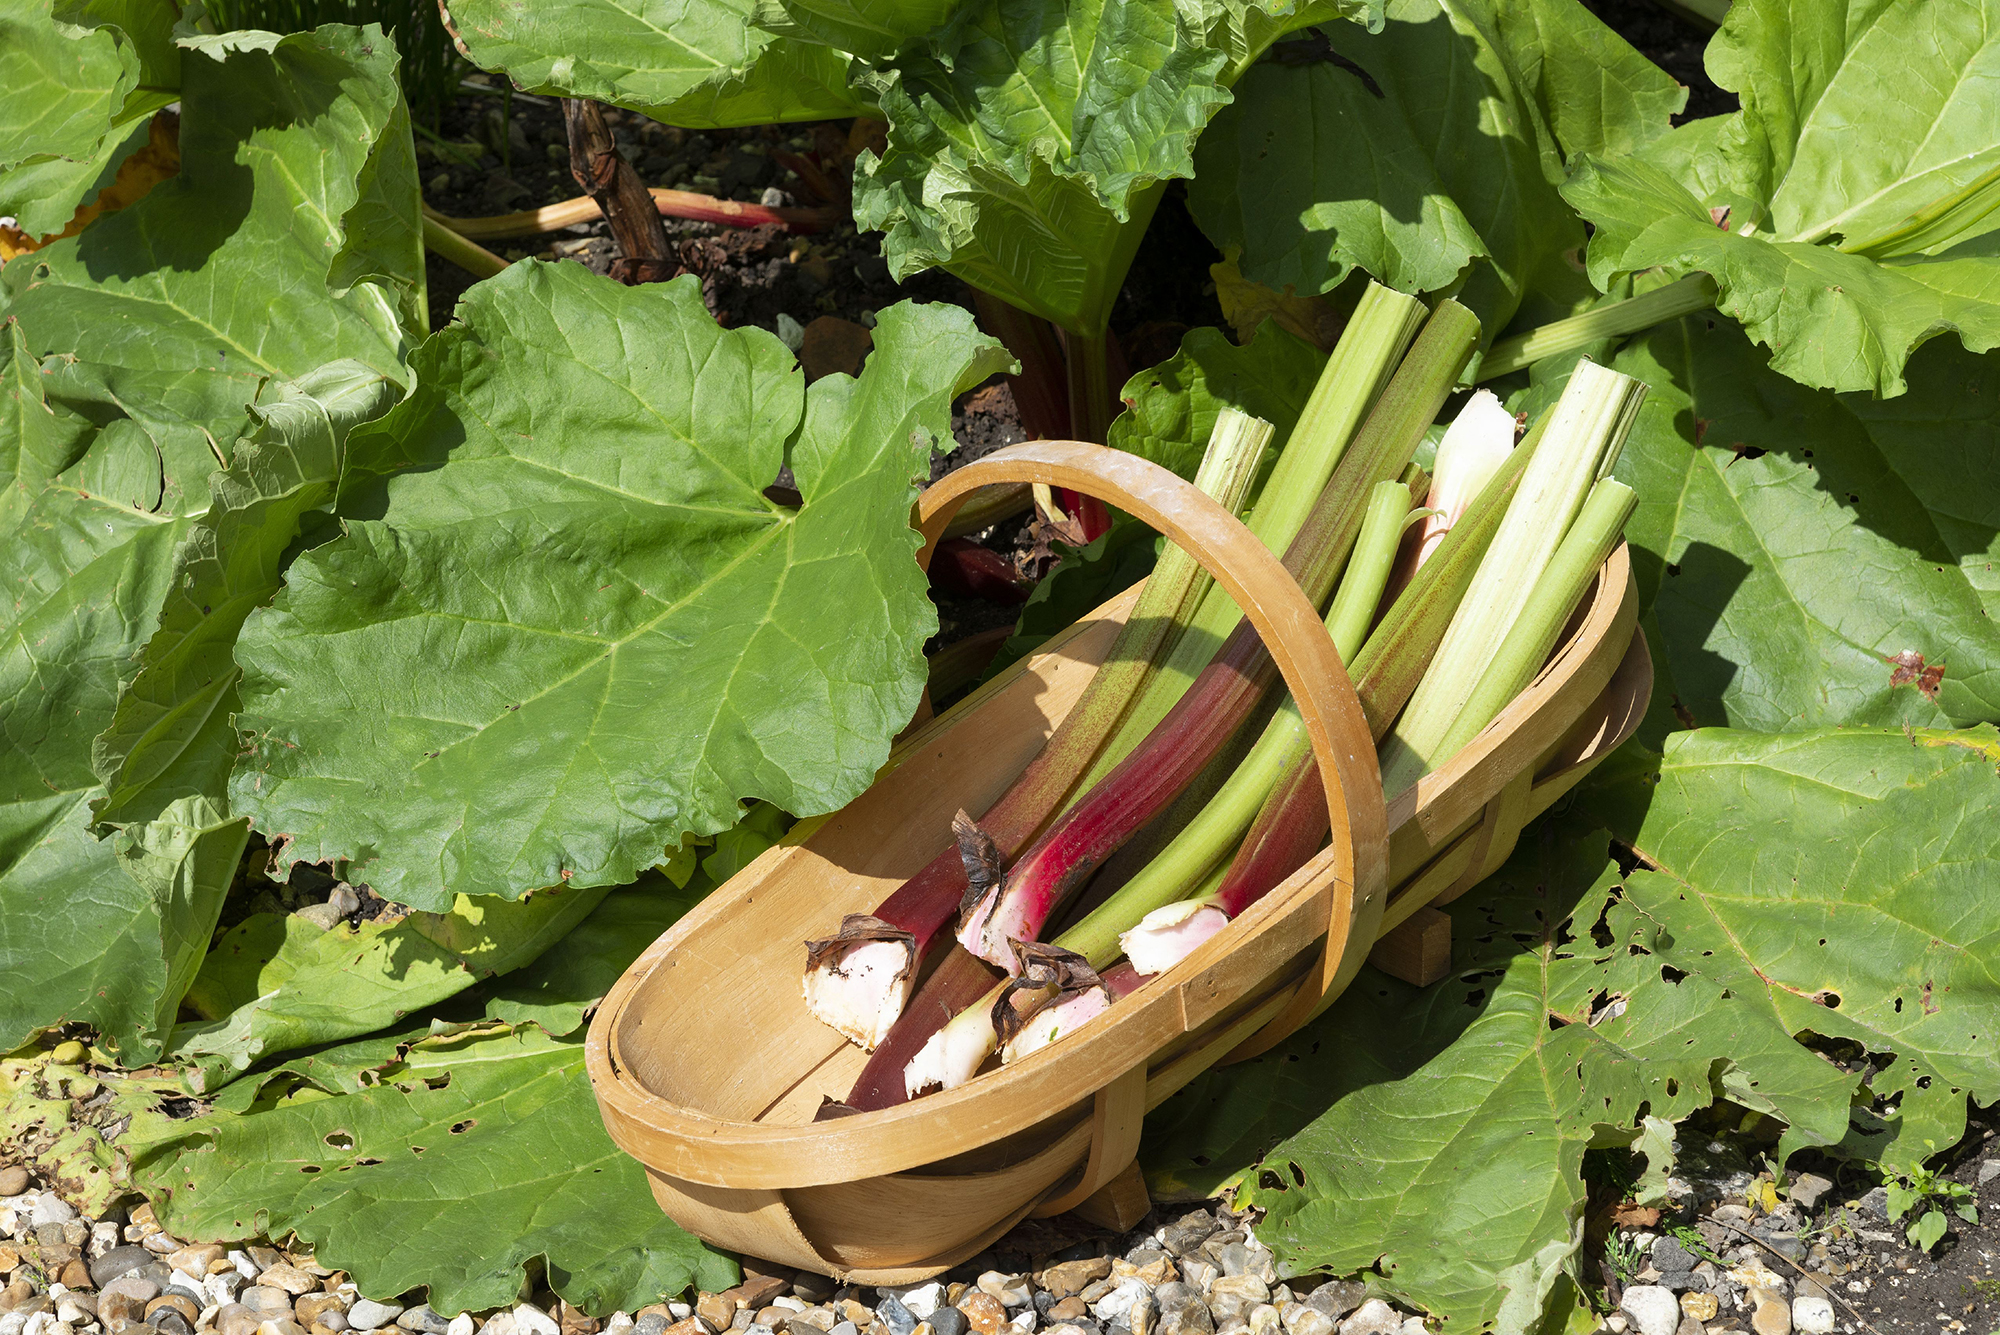
To harvest rhubarb, the stalks are best picked when they are around 10 inches (25cm). When harvesting rhubarb do not cut the stems, if you gently twist and pull them they should come out without snapping.
‘It is important to stop harvesting around midsummer to give the plant a chance to recharge its roots via the great floppy leaves that the stems carry ready for next year’s crop,’ advises Monty Don in his book The Complete Gardener.
When harvesting rhubarb do not cut the stems, if you gently twist and pull them they should come out easily.
How to care for rhubarb
Rhubarb is fairly low maintenance but will benefit from a heavy mulch – every fall or spring – and, while being one of the best drought-tolerant vegetables, will need to be watered well in dry weather. In spring, apply a nitrogenous dressing or organic liquid feed. Removing flowering stems will help direct energy into the plant.
To stop rhubarb plants from getting congested and to rejuvenate them you should consider transplanting your rhubarb. They should be split lifted and divided every five years.
Fertilizing the ground is particularly important to give your plants a good start as Shelby DeVore, gardening expert and founder of Farminene explains.
'The hardest part will be getting established plants going. To give your crowns and young rhubarb plants the best start, make sure that you plant into moist, rich soil. Add copious amounts of compost to the soil around your rhubarb plants. Make a plan to add compost around them 1-2 times per year to keep the soil fertile.
You may see rhubarb bolting in spring, where it puts out a flowering stem from the centre of the clump. Always remove these stems when you see them; otherwise, your potential harvest will be affected as the plant puts its energy into flowering.
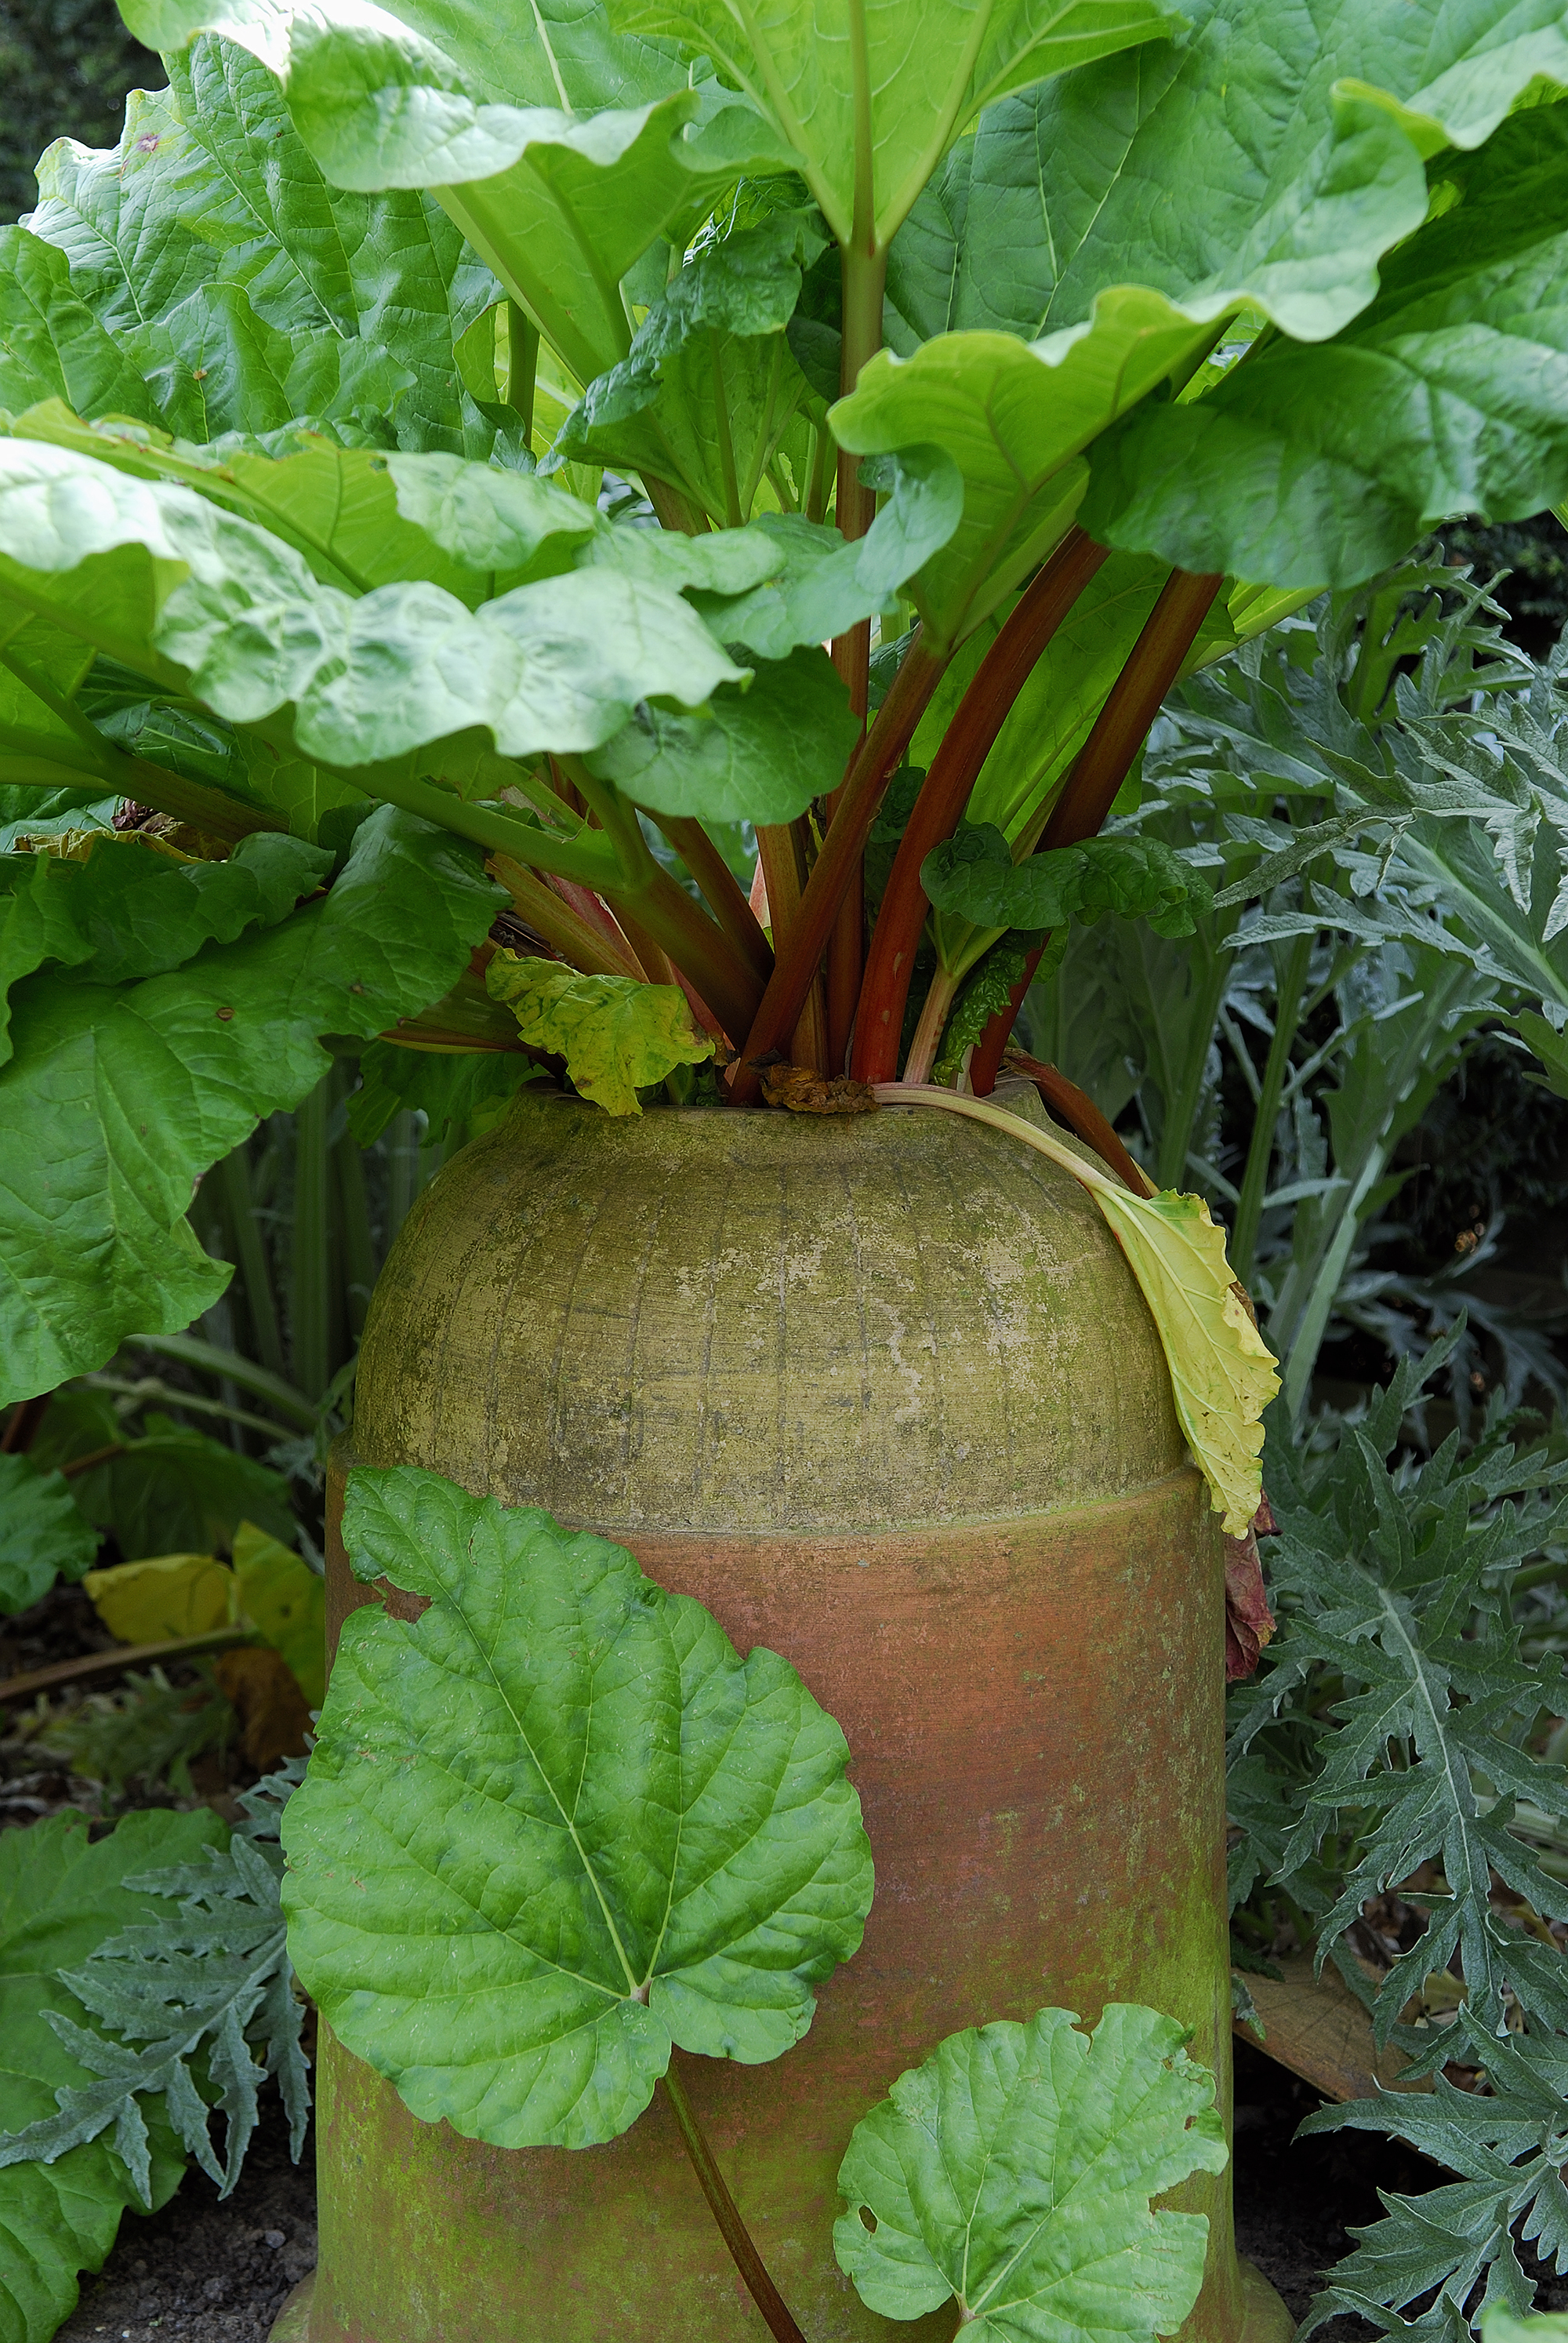
How to force rhubarb
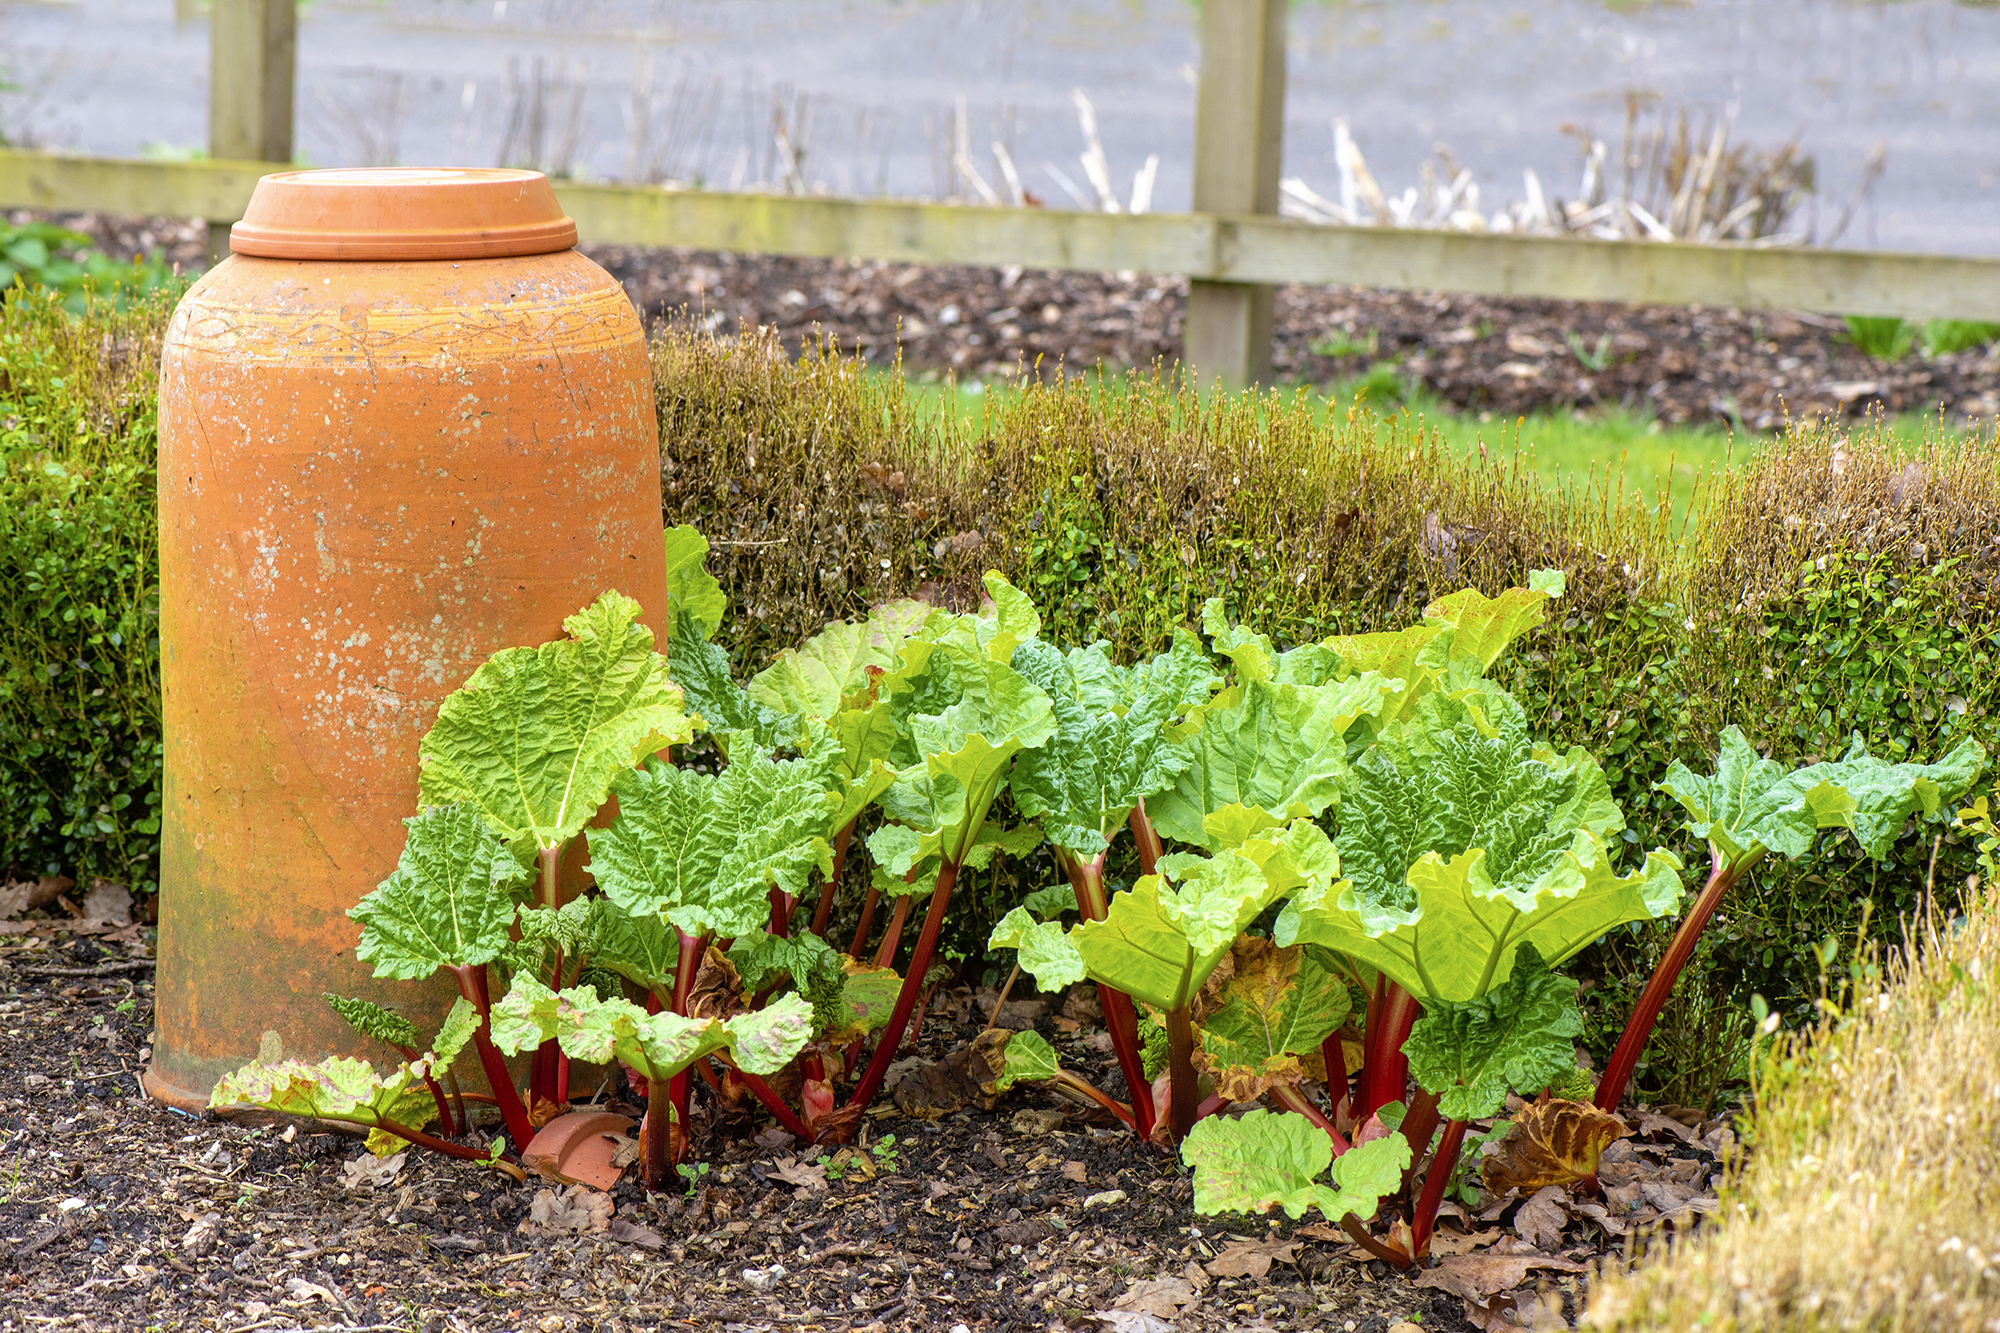
Rhubarb can be forced to give an earlier crop – and provide stems that are more tender and sweet. Forcing rhubarb is where the plant is grown in darkness under a terracotta forcing pot, however you can also use old chimney pots, buckets or bins. Forced rhubarb will have a paler appearance and smaller leaves due to its restricted sunlight.
‘Forced rhubarb has a delicate, less sharp taste and is well worth the extra effort,’ says Lucy Chamberlain, Fruit and Veg expert of Amateur Gardening. ‘Tiperley Early’ is a good variety for forcing.
To do this cover the dormant crowns in late winter with 4 inches (10cm) of straw or leaves followed by your forcing pot. After 4-5 weeks tender stems should have appeared.
When it comes to caring for forced Rhubarb Lucy Chamberlain of Amateur Gardening has some important tips:
‘Pull stems of forced rhubarb at 12-14in (30-40cm) tall. Run thumb or index finger down to the base, then gently twist and pull. Pick unforced clumps every 7-10 days.
‘Heavy picking weakens crowns. Remove forcing pots two weeks after harvest begins. Stop pulling and don’t force the same crown next year. Pick unforced rhubarb to end of June.’
Pippa is a contributor to Homes & Gardens. A graduate of Art History and formerly Style Editor at Period Living, she is passionate about architecture, creating decorating content, interior styling and writing about craft and historic homes. She enjoys searching out beautiful images and the latest trends to share with the Homes & Gardens audience. A keen gardener, when she’s not writing, you’ll find her growing flowers on her yard for styling projects.