How to paint a popcorn ceiling – 6 steps for a beautiful finish
Painting a popcorn ceiling isn’t as straightforward as a smooth one, but our expert advice on paint, rollers and technique should help ease the job
Design expertise in your inbox – from inspiring decorating ideas and beautiful celebrity homes to practical gardening advice and shopping round-ups.
You are now subscribed
Your newsletter sign-up was successful
Want to add more newsletters?

Twice a week
Homes&Gardens
The ultimate interior design resource from the world's leading experts - discover inspiring decorating ideas, color scheming know-how, garden inspiration and shopping expertise.

Once a week
In The Loop from Next In Design
Members of the Next in Design Circle will receive In the Loop, our weekly email filled with trade news, names to know and spotlight moments. Together we’re building a brighter design future.

Twice a week
Cucina
Whether you’re passionate about hosting exquisite dinners, experimenting with culinary trends, or perfecting your kitchen's design with timeless elegance and innovative functionality, this newsletter is here to inspire
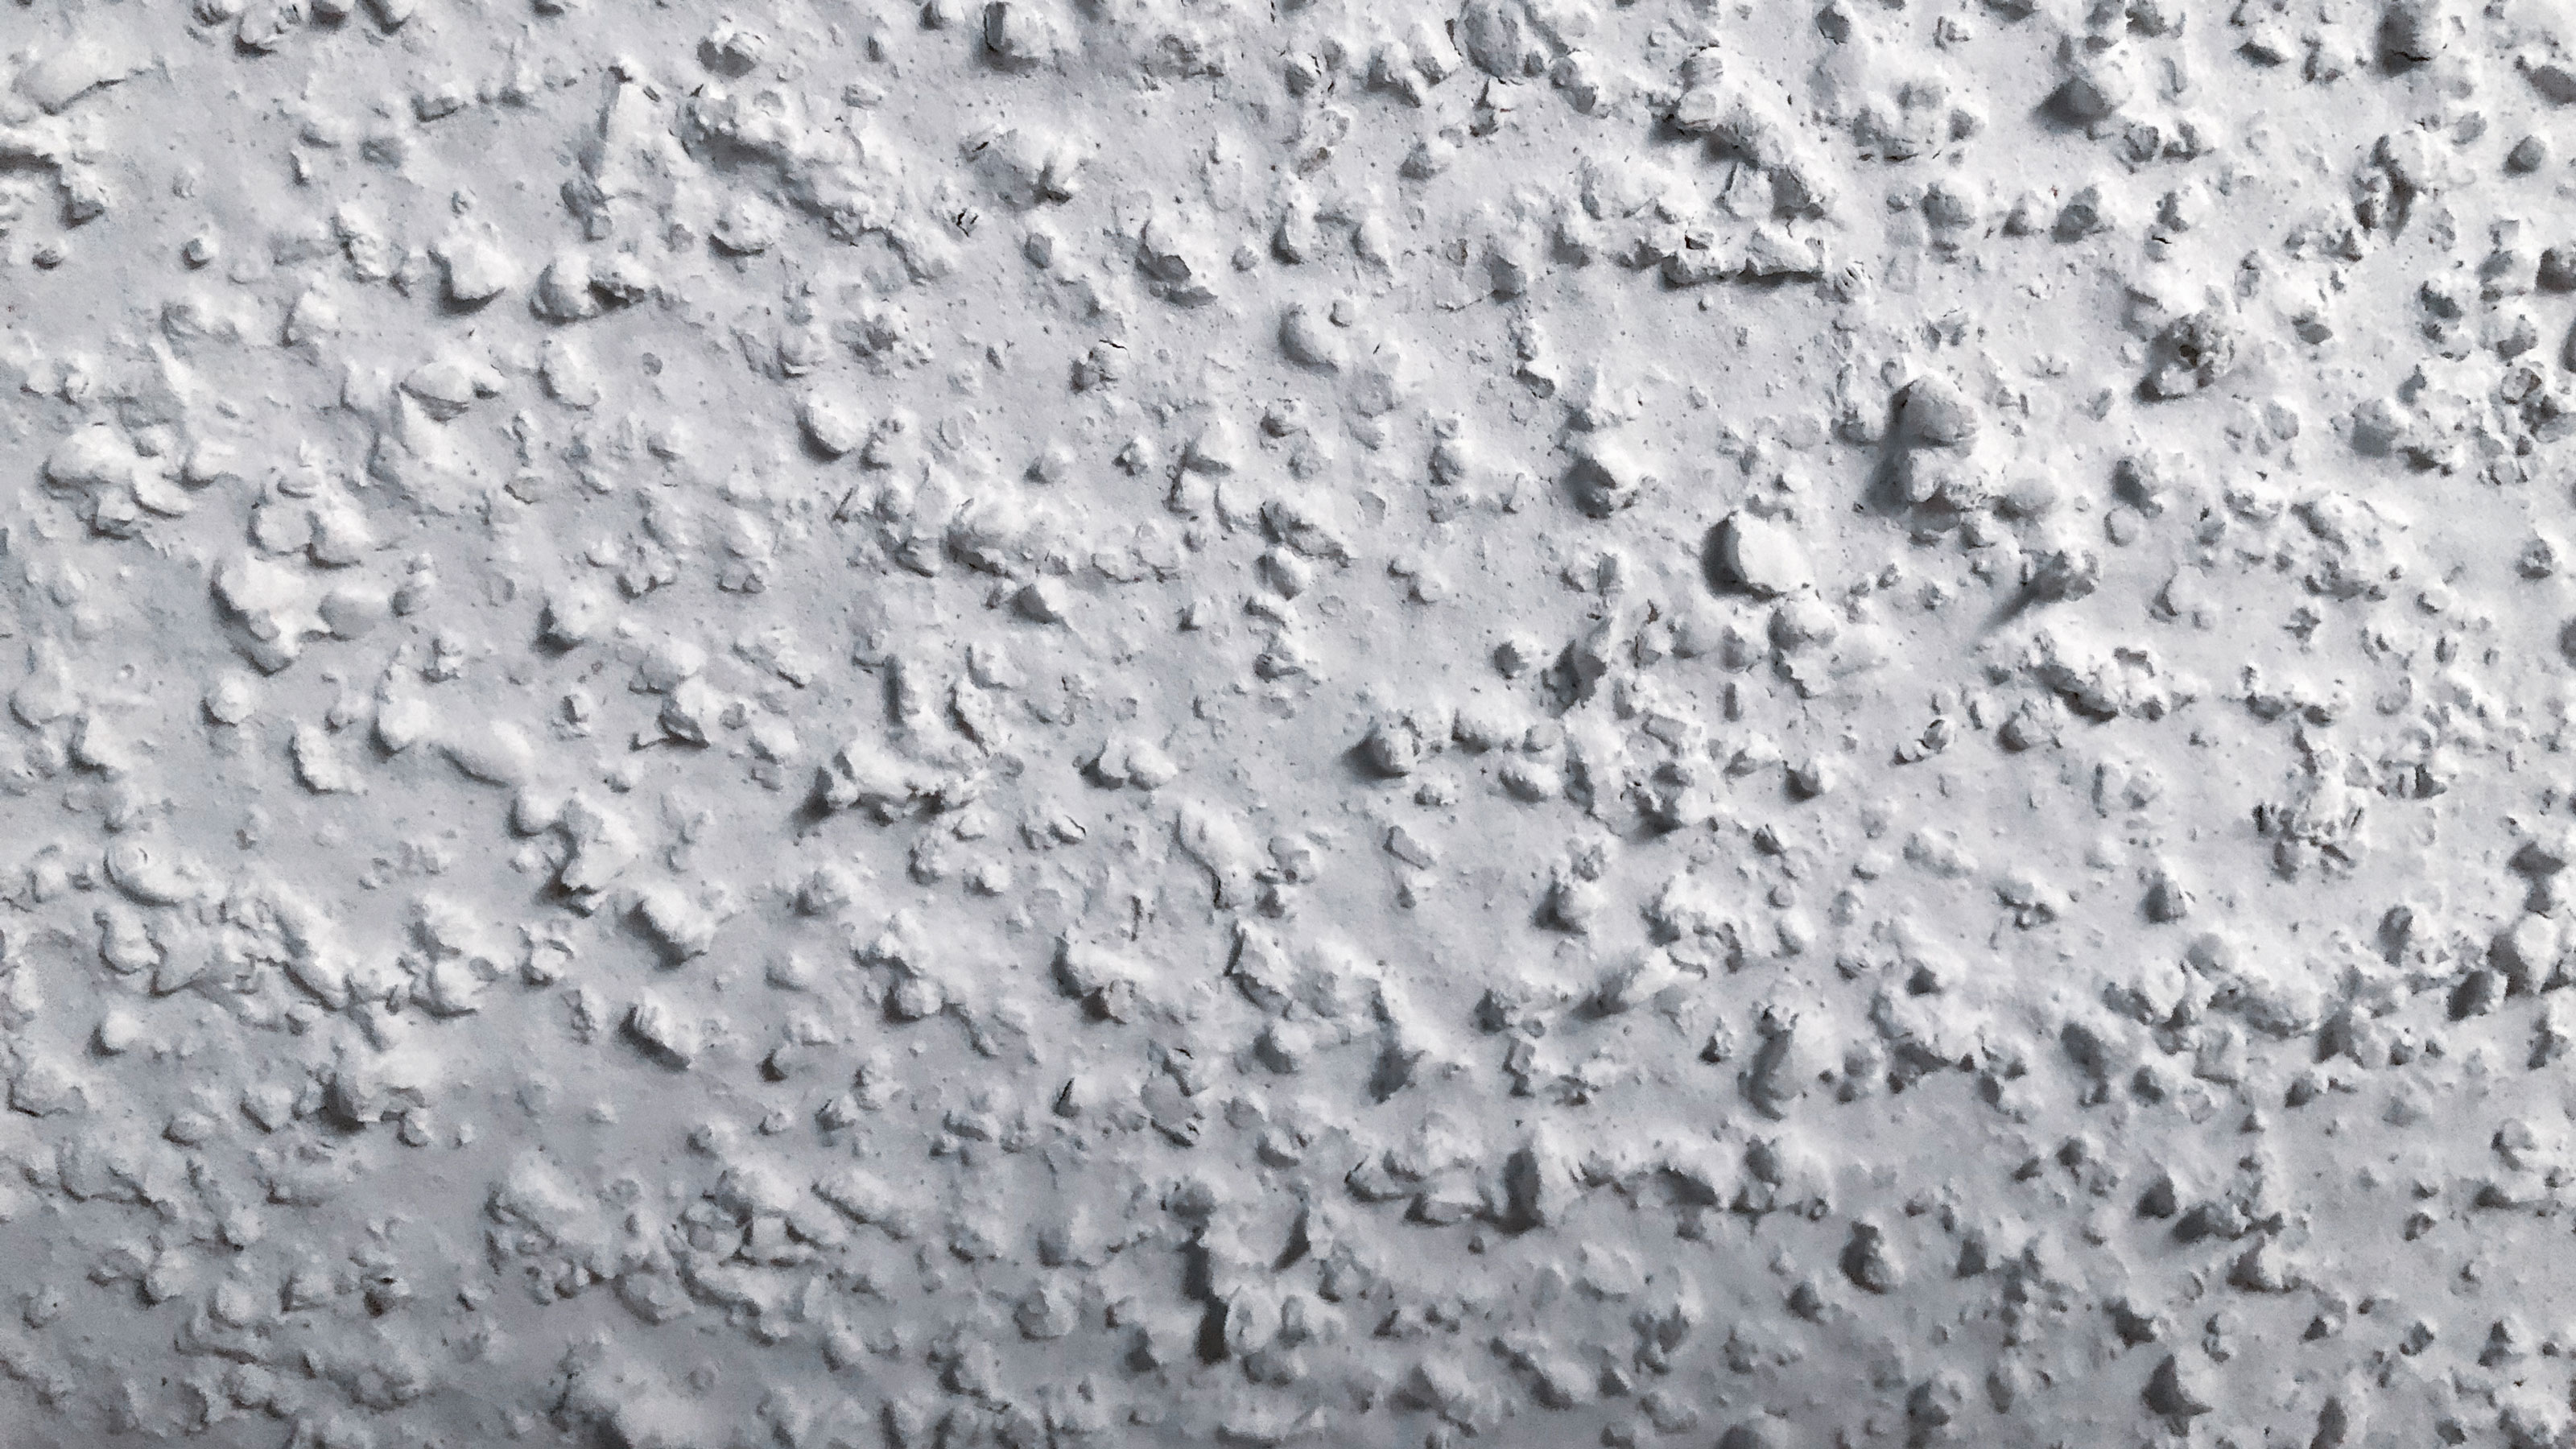
If you're fed up with looking at your dated popcorn ceiling and want to give it a new lease of life, painting it is a cheap and straight-forward and can be done well despite its tricky texture.
Often found in mid-century homes, the contours and grooves of a popcorn ceiling might look difficult to paint evenly, but our painting experts have shared the correct step-by-step process to follow, including how to prep your ceiling and choose the right paint, to give you a brilliant finish.
Painting your ceiling is a great stop gap if removing your popcorn ceiling altogether is the end goal, but you need some time to save up for what is often a costly job.
How to paint a popcorn ceiling
Step 1: Prep the room
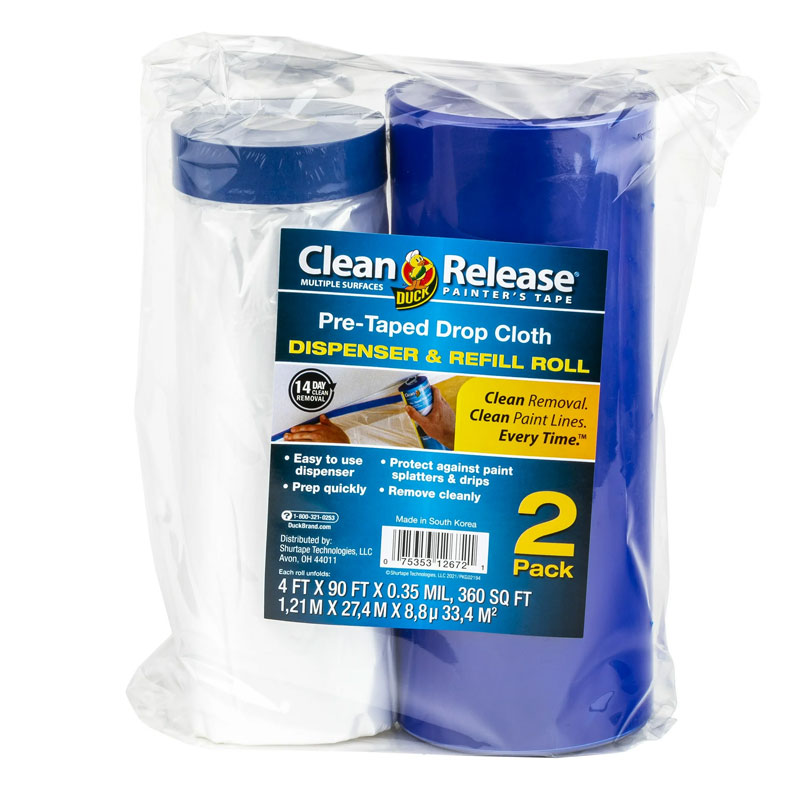
'Cover anything exposed with drop cloths, masking off walls if need be, shares Anthony Kulikowski of Five Star Painting. 'Also be sure to tape/mask off fixtures and fans, which can also become a target for splatters.' You can find drop cloths of all shapes and sizes at Home Depot.
If you are spray painting your popcorn ceiling it's even more important that you mask the entire room. 'Everything must be covered,' adds Anthony.
Brandon Walker from ASAP Restoration suggests 'laying down plastic wrap, tarps, or canvases over the flooring, then tape and mask off the walls with more protection.' When finished painting simply 'pull down the corners of the protectant into the middle from all sides, and then wrap up everything into itself to avoid creating a mess.'
But it's not just protecting the surfaces that can lead to less mess. Your chosen application method and what type of roller can make a difference as well.
Design expertise in your inbox – from inspiring decorating ideas and beautiful celebrity homes to practical gardening advice and shopping round-ups.
And always consider ventilation. Try to open as many windows as possible so the room has plenty of air. This will help speed up the drying time too.
Step 2: Gather your tools
If you have access to a paint sprayer (like the affordable HomeRight Quick Finish HVLP from Home Depot with an easy handheld design) it will make painting your popcorn ceiling much easier and less messy.
But if you don't, a roller is your best bet. Alex Glover, Lick’s DIY Specialist recommends a ‘roller with a thick pile’. He advises that ‘an exterior roller is best as you can load more paint onto it and get between the grooves.’
If your ceiling has particularly deep pits and grooves, Alex suggests you consider your options. ‘Most textured ceilings are usually still flat enough to use a roller, if it isn’t, a brush is preferable,’ he confirms.
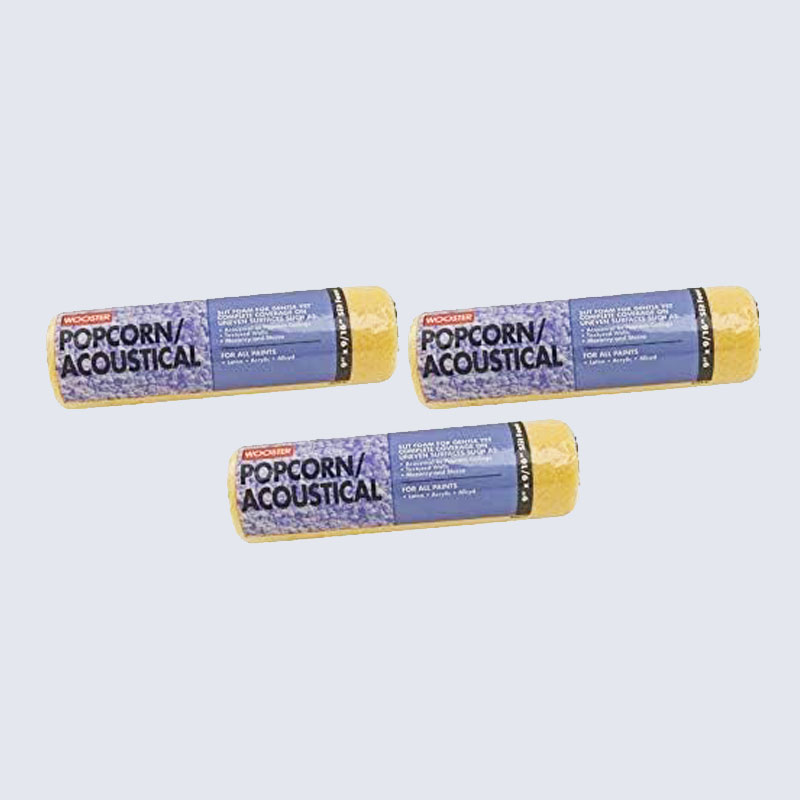
'Use a segmented foam roller (also known as a 'slit foam' roller) when painting textured surfaces. These will often be marked specifically for painting popcorn ceilings, and feature a long nap,' shares Anthony.
These are the tools you need to have close at hand before you embark on your project.
- Drop cloths and protective sheeting
- Vacuum cleaner (one of the best cordless vacuums will be easy for upwards reach)
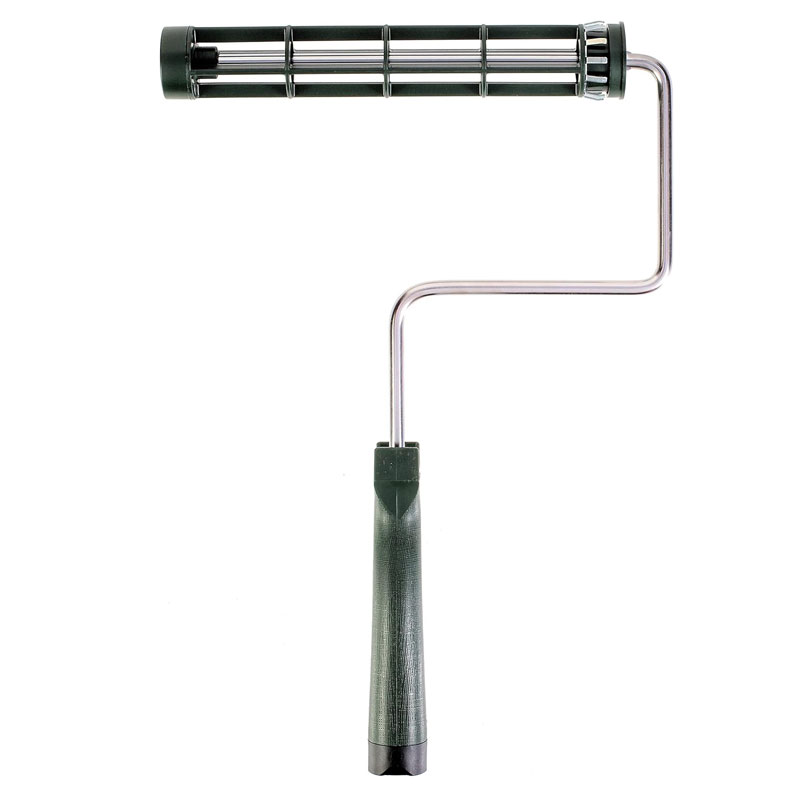
- Roller and extension pole (such as this five-foot roller pole from Home Depot)
- Thick pile nap cover for your roller
- Paint tray
- Thick ceiling paint such as the (affordable options available at Walmart)
- Angled brush for cutting in (like this set of Angular Brushes at Amazon)
'Like the surrounding environment, you can (and will) be splattered with paint if you don’t cover up,' explains Kulikowski. 'So make sure to wear coveralls (or old clothes), safety goggles, a dust mask, and a hat or other hair covering when painting popcorn ceilings. Grabbing a step ladder is also a good idea.'
Step 3: Dust and prepare the ceiling
'Popcorn ceilings are known as dust magnets,' reveals Kulikowski. 'Remove dust from the ceiling using a feather duster, microfiber duster, or vacuum with a soft-bristled dusting brush.' Anthony warns, 'Don’t skip this step, or you’ll end up with dust and debris speckling your paint.'
Be very gentle when cleaning the popcorn ceiling with the vacuum, you don’t want to chip off any sections of texture.
'Check the ceiling for cracks or loose popcorn that may potentially fall off if any pressure is applied from a brush or roller,' recommends Kulikowski. 'Once identified make the necessary repairs before painting, and be sure to spot prime the repairs after they've dried, but before you paint.'
Step 4: Cut in the ceiling edge
Start your project by loading your angled brush with paint and gently cut in and paint along the edges of the ceiling.
'Using an angled brush, cut in the perimeter. Make sure to load the brush with ample paint, but use a light touch and avoid overworking the area,' shares Kulikowski. Cover the areas you want to protect with masking tape (like walls, sockets, switches and fans) then brush paint into the edges.
'If the popcorn gets too wet, it will peel off,; He warns. 'A second coat after the paint dries is safer if you need additional coverage.'
Step 5: Paint the ceiling
Helen Shaw from Benjamin Moore suggests ‘wetting the roller a little with clean water to help the paint load onto the roller more easily.'
Dip the roller into the paint and use the raised area of the roller tray to work off the excess, this will help prevent drips. Apply the paint to the ceiling in a W action, moving slowly across the wall and blending adjacent areas together as you work.
Don't press too hard on the roller as this will spread the paint too thinly and may result in needing to apply extra coats. Roll as close to the cut in edges as you can.
'[When] painting the perimeter, make just one pass, painting in a single direction only, not back-and-forth, to avoid popcorn peeling,' advises Anthony.
Be sure to regulate the amount of paint you load on the roller sleeve. Whilst popcorn texture needs a thick coat of paint, applying too much can soak into the texture of the ceiling, weakening it and causing it to fall.
Step 6: Apply second coat
'Wait for the paint to dry per the manufacturer’s instructions,' says Anthony. 'Then apply a second coat if necessary. Apply this perpendicular to the first coat to ensure uniform coverage.'
Most ceilings require two coats of paint, but due to the thick, bumpy texture of a popcorn ceiling, you may need a third coat. The best thing to do is wait for each coat to dry and make a judgment then.
Once you are happy with the result, be sure to clean your brush and roller sleeve with warm soapy water to remove all the paint. Let them dry thoroughly before you store away.
FAQs: How to paint a popcorn ceiling
What type of paint should I use?
The choice is yours, but high sheen paints are rarely used on ceilings. The popular choice sits at the other end of the sheen scale. So, what paint do you need for a popcorn ceiling? Anthony Kulikowski of Five Star Painting shares, 'I would only use a flat finish, no matte finishes for popcorn ceilings as some matte finishes do have a slight sheen.'
He recommends Sherwin Williams Premium Ceiling Paint (available from Sherwin-Williams) or Benjamin Moore's Ceiling Paint. He adds, 'Textured surfaces require more paint than flat surfaces for full coverage, so plan to purchase twice as much.'
What type of roller should I use?
If you are going to use a roller and brush to paint a popcorn ceiling you need to choose the right roller. Kulikowski recommends that you don’t use a standard foam roller as they usually do not hold much paint.
He suggests 'a 50/50 3/4 inch nap roller, (like this two-piece Linzer set from Walmart) it will hold more paint, but it will also be more messy. It's a toss-up because a foam roller which will increase your time to do the job by at least 100%, and a good thick nap roller which will decrease time but make more of a mess.'
Should I spray paint or roller a popcorn ceiling?
The alternative to rolling is spraying, but it's not as easy to spray paint a ceiling, but if you are confident with a paint sprayer go for it. 'Spraying is less messy,' suggests Anthony. 'A roller will pull little pieces off of the ceiling and they get stuck in your roller, fall all over, and make a mess, spraying eliminates all of that.'
If you do decide to spray paint a popcorn ceiling, how do you do it? The first thing you need to do is set up your sprayer. If new to the world of paint sprayers, make sure to read the manufacturer's instructions and their recommendation for thinning the paint you are going to use. Typically, you add 20-30% of the thinner – this will be water if using a water-based paint. Then check any masking is firmly in place.
When ready to go, 'Spray from one side of the room to the other side overlapping by 50% every time you make a new pass.' shares Kulikowski. 'Once the ceiling is dry, repeat this process spraying in the opposite direction than the first time. This is called cross-hatching and will provide the most even application to your ceiling.'
Do I need to prime a popcorn ceiling before painting?
Yes and no. If you have a popcorn ceiling that hasn’t been painted before then you should use a suitable primer to help seal the ceiling before adding a top coat. If the ceiling has been painted previously and it has water stains or similar, you should use a stain blocking primer before painting such as the KILZ 2 all-purpose tub from Home Depot. If the ceiling has been painted and is in good condition, simply add a new top coat.
However, Brandon Walker from ASAP Restoration has a word of warning about painting a natural popcorn ceiling. 'Once you paint the popcorn texture, it cannot be removed as easily and will be 4x more expensive to remove in the future if this is ever desired.'
He adds that it is much easier to remove a popcorn ceiling in its natural state, 'By simply spraying it with warm water.'
If you're tackling a popcorn ceiling its the perfect to time to consider the rest of the room. Check out our how to paint a wall like a pro guide and how to touch up paint on walls if you don't fancy doing the whole wall.

Steph Hendries is a freelance journalist who has contributed to many different interiors websites including Homes & Gardens, Ideal Home and Livingetc. She has also worked on a range of social content for property brands such as Zoopla and Boomin. Steph writes for Homes & Gardens Solved section, concentrating on DIY, how to, cleaning and organizing content.


