How to build a lasagna garden bed in 5 simple steps – an organic gardening expert offers tips
Building lasagna garden beds involves the simple layering of green and brown material to create a rich organic growing system
Design expertise in your inbox – from inspiring decorating ideas and beautiful celebrity homes to practical gardening advice and shopping round-ups.
You are now subscribed
Your newsletter sign-up was successful
Want to add more newsletters?

Twice a week
Homes&Gardens
The ultimate interior design resource from the world's leading experts - discover inspiring decorating ideas, color scheming know-how, garden inspiration and shopping expertise.

Once a week
In The Loop from Next In Design
Members of the Next in Design Circle will receive In the Loop, our weekly email filled with trade news, names to know and spotlight moments. Together we’re building a brighter design future.

Twice a week
Cucina
Whether you’re passionate about hosting exquisite dinners, experimenting with culinary trends, or perfecting your kitchen's design with timeless elegance and innovative functionality, this newsletter is here to inspire
Learning how to build a lasagne garden is a simple and practical way to make new beds through a system of layering, and it is the decomposition that takes place in the bed that results in rich soil that plants will absolutely love.
Lasagna gardening is an organic no dig gardening method that allows you to get fertile beds from everyday materials such as grass cuttings, kitchen scraps, and garden waste.
Also known as sheet composting or sheet mulching, it is a really environmentally friendly method of gardening, as much of the materials that go into making the beds are often seen as waste. But rather than throwing them into landfill, you are turning them into compost-rich garden beds.
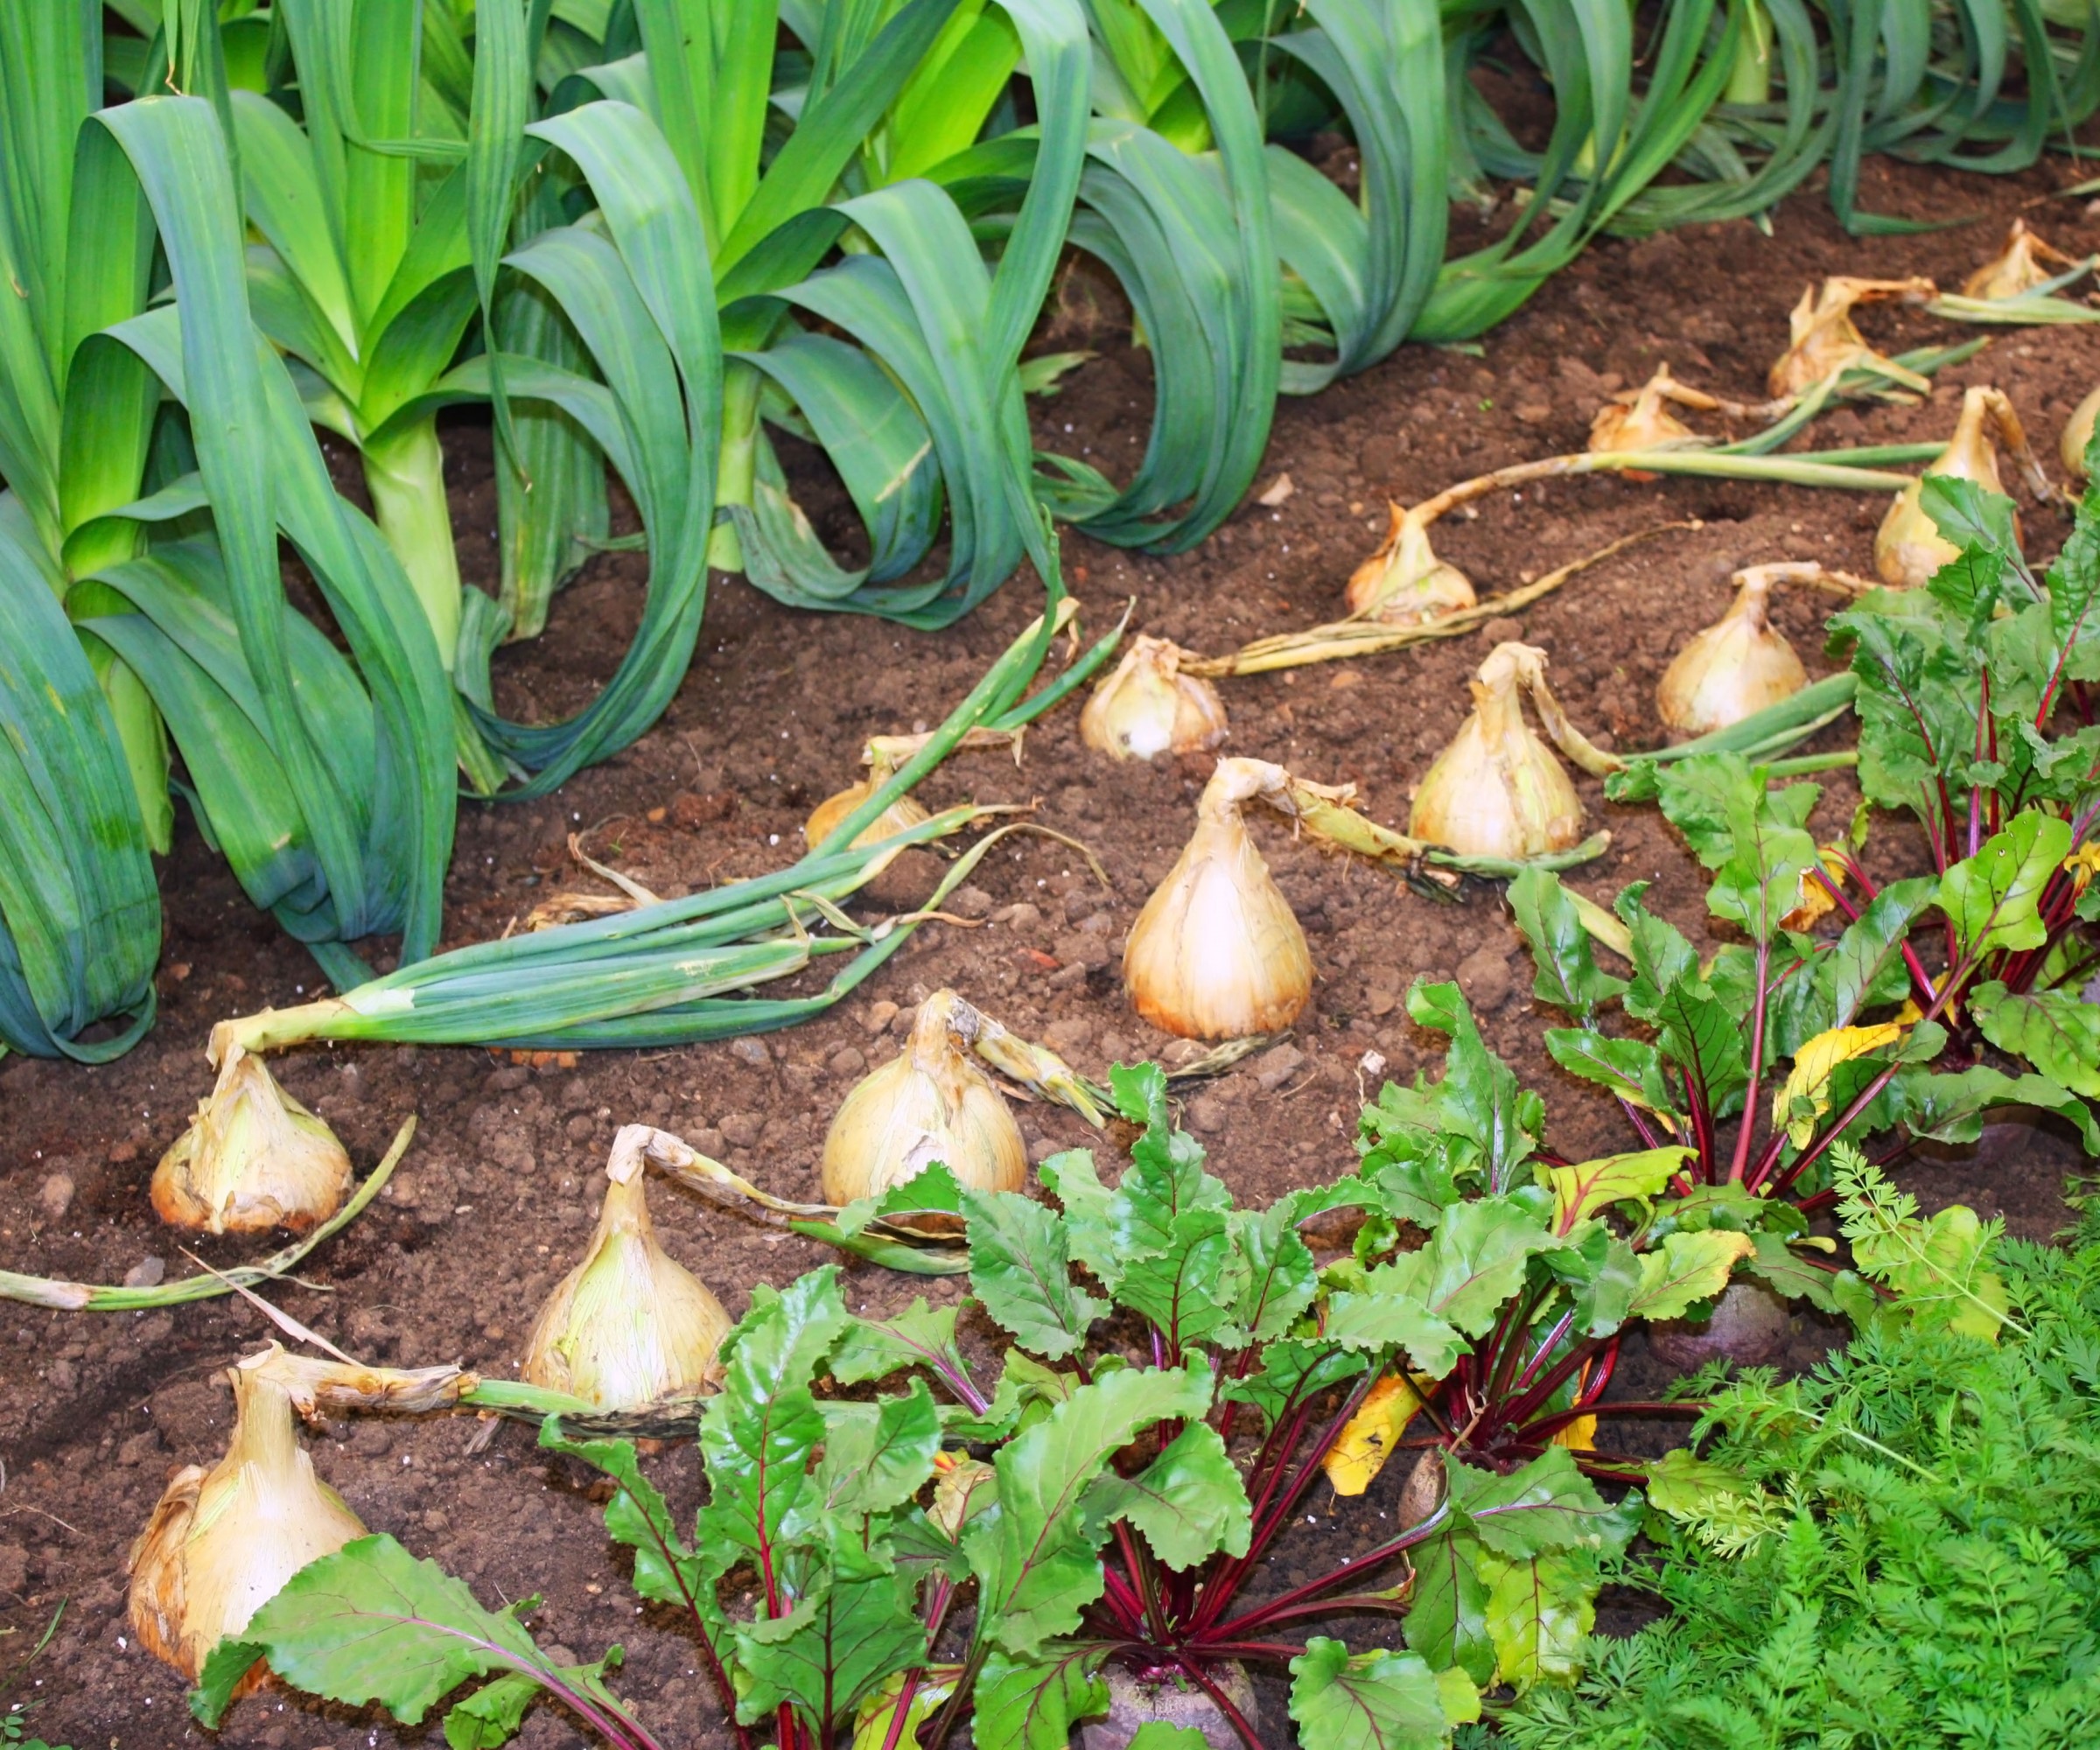
Lasagna garden beds are ideal to grow vegetables in
How to build a lasagna garden in 5 steps
Allison Vallin Kostovick is the creator of Finch + Folly and has made many garden beds using the lasagna gardening method in her 25 years of gardening. The organic gardening expert claims such layered beds – similar to those seen in no dig gardening where compost is mounded on top of cardboard – are ‘easy to create’.
She says: ‘Over three-quarters of my garden has been built via lasagna methods. Creating beds like this is a win-win approach to building a happy, healthy, drought-resistant garden.’

Allison Vallin Kostovick is a long-time organic gardener with over 25 years of experience and the author of 'The Garden Maker's Book of Wonder', due to be published in August 2023 by Storey Publishing. She is also the creator of Finch + Folly, an educational website filled with advice and articles for gardeners. Here's she offers her five-step method for building a lasagna garden bed.
- Select a patch of lawn in a sunny spot and lay down either newspaper or cardboard to create the base of your bed. Make sure to overlap the newspaper/cardboard so that no grass below is poking through. Give your base material a good soaking with water. An alternative to making beds on an existing lawn is to use the same method to fill a frame to make a raised bed.
- Your next layer will be a mixture of twigs and small branches. Build this layer so it’s around 8 inches high. You’ll want your twigs and branches to be layered loosely on top of each other, don’t pack them down, as this layer will provide needed air flow for your bed.
- The third layer should be a 3-5 inch layer of ‘brown’ ingredients such as dried leaves, shredded newspaper, wood ash, straw and non-treated wood chips.
- On top of that layer, you’ll want to add a 3-5 inch layer of ‘green’ ingredients such as grass clippings, kitchen scraps (only compostable items), and weed-free and disease-free garden waste. You can also add in a helping of aged manure.
- Next up is to repeat with another 3-5 inch layer of brown ingredients, then another layer of the green ingredients and top with one more layer of brown.
The built-up layers will settle and reduce in height as they break down over the coming months. Lasagna garden beds usually need to be left for between six to 12 months before planting, as this gives it the time to fully decompose and release all the nutrients in the material. However, you can top the bed with around 10-14 inches of compost if you want to start planting into the bed straight away.
In the fall, you start the process again – without needing the initial cardboard base – of layering green and brown ingredients to top up the beds. Or, alternatively, you can cover them with 6-8 inches of compost in either the fall or spring.
Design expertise in your inbox – from inspiring decorating ideas and beautiful celebrity homes to practical gardening advice and shopping round-ups.
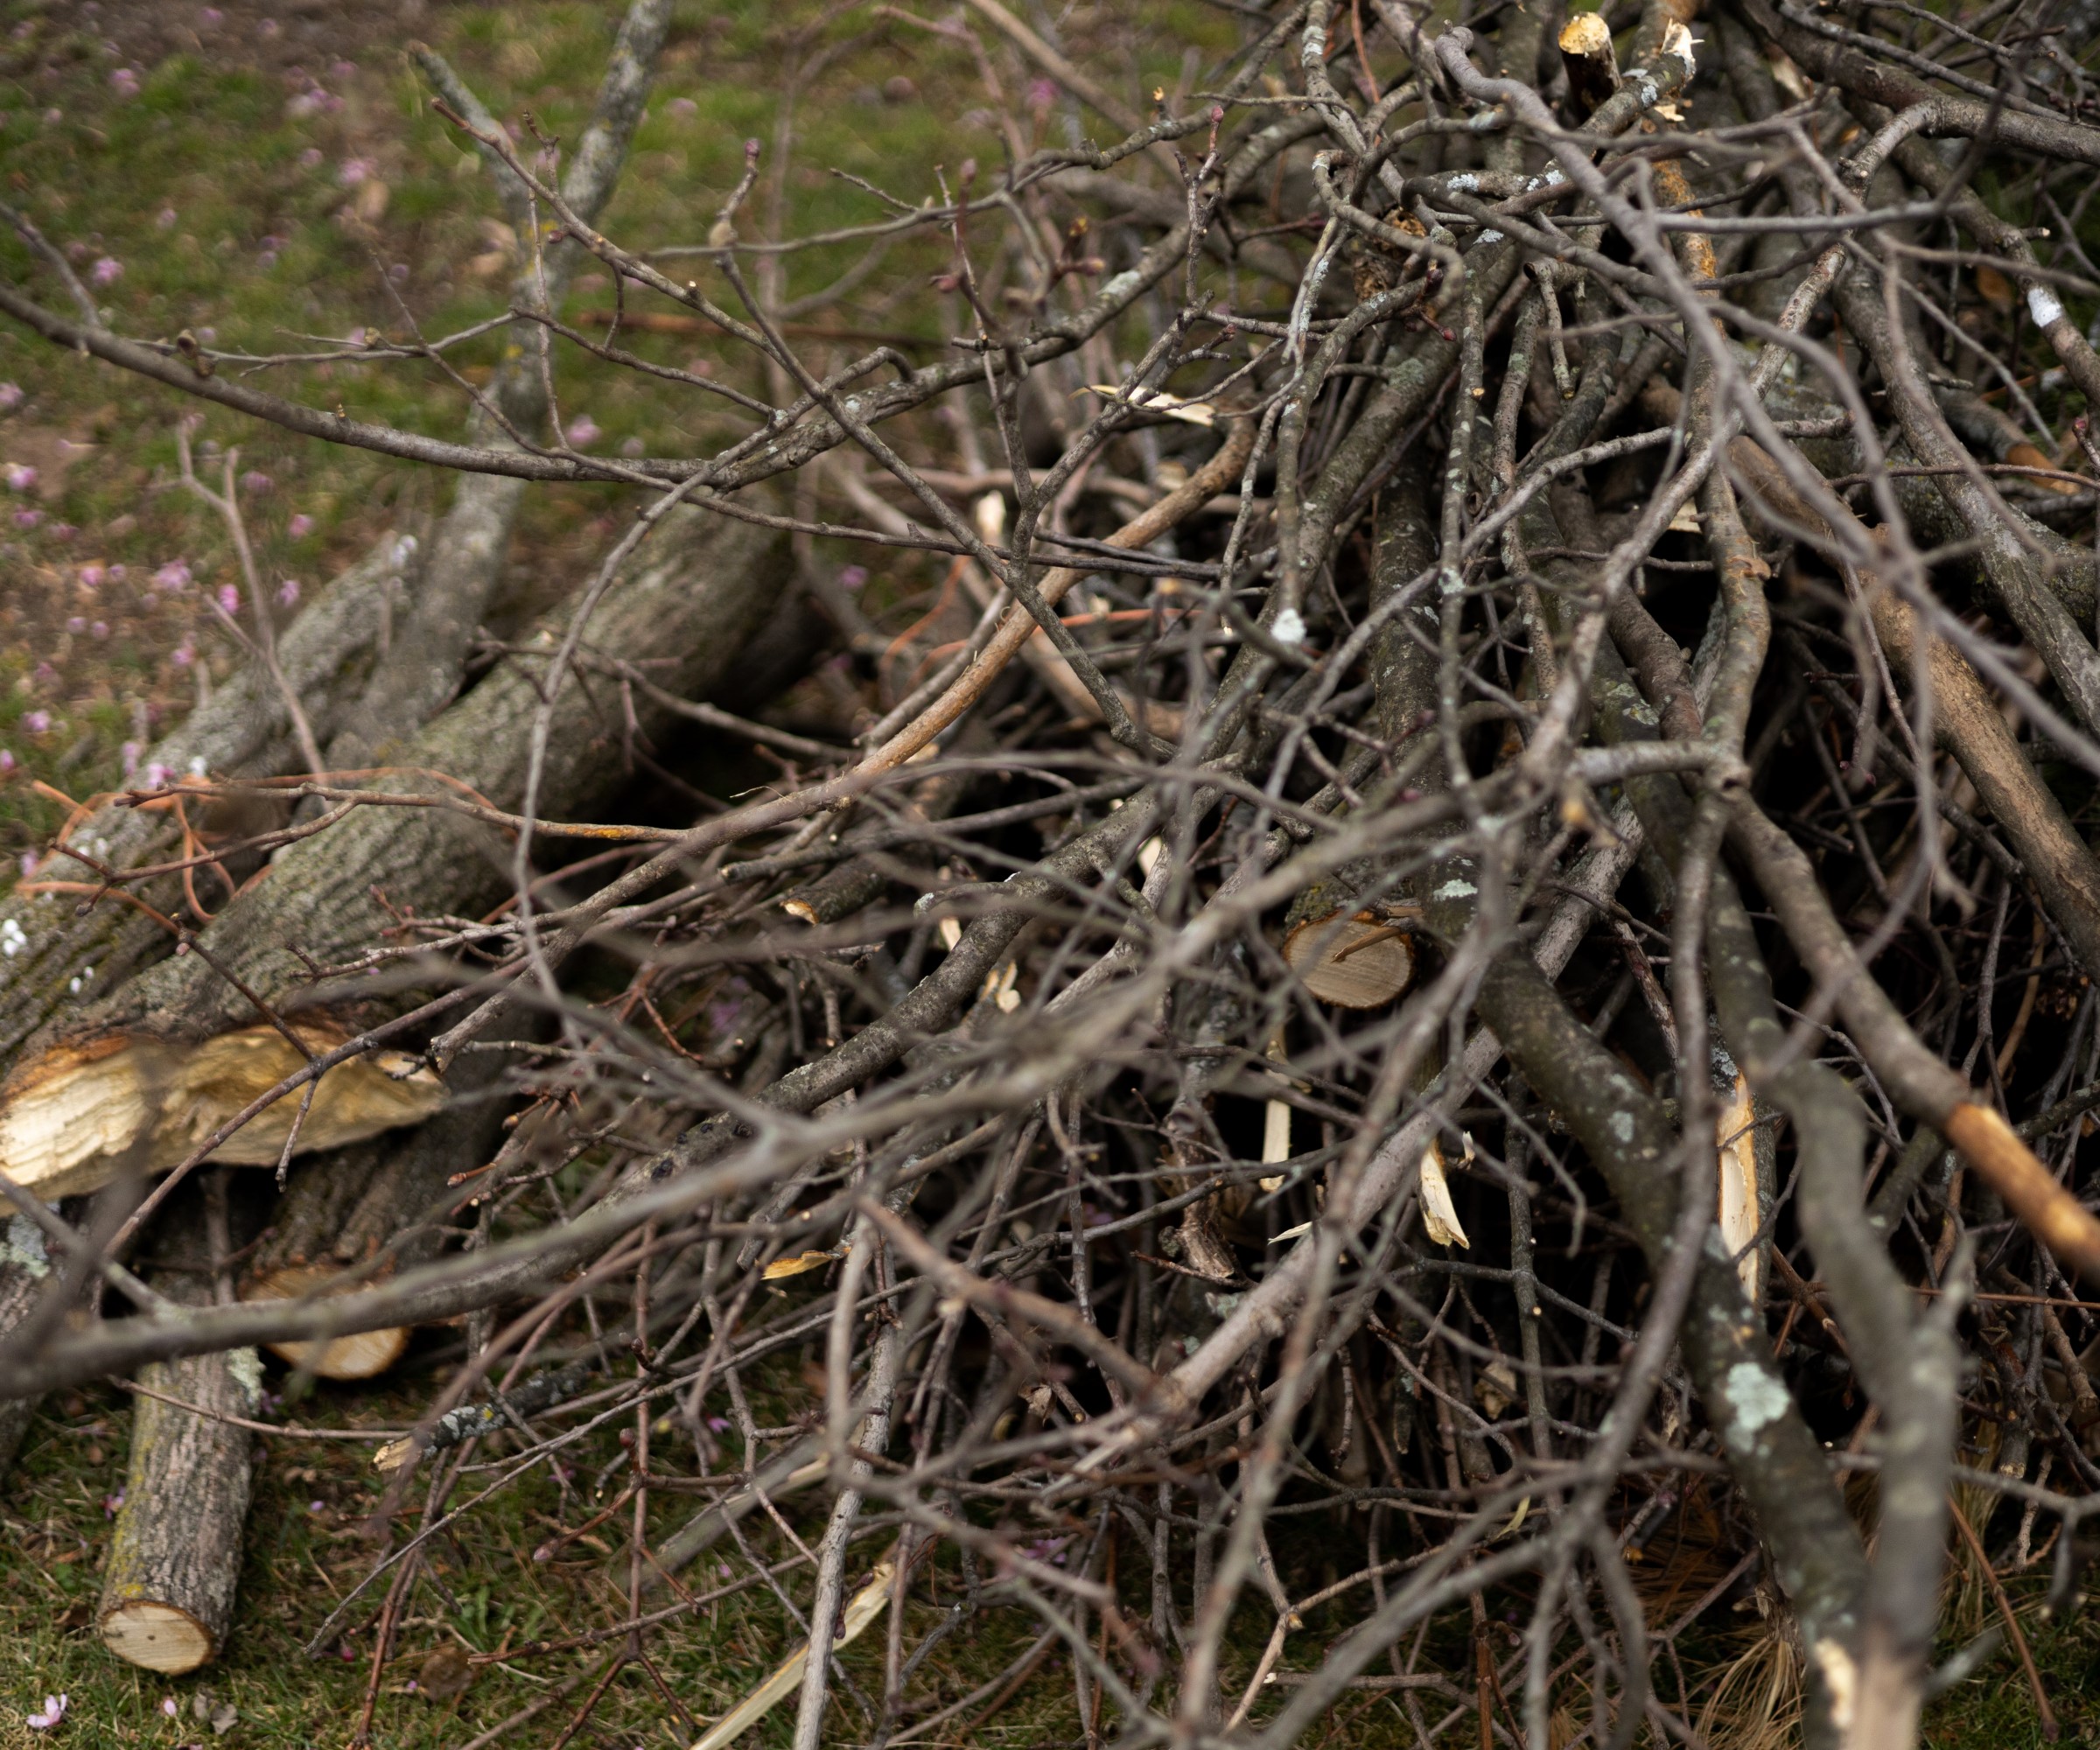
Twigs and small branches form the second layer of a lasagna bed
When is the best time to build a lasagna garden bed?
Lasagna beds are suitable for starting in gardens of any size, so are perfect for small vegetable garden ideas as well as larger backyard spaces. As mentioned prior, lasagna beds should be given 6-12 months to break down before starting to actually plant up the garden. That traditional period of decomposition helps dictate what is actually the best time to make a lasagna bed.
Allison Vallin Kostovick says: ‘While they can be built any time of the year, the most ideal time to build a lasagna garden bed is in the fall. This not only allows you plenty of available material to work with, but it also allows the bed several months to settle and begin to break down prior to spring sowing time.’
Fall is typically a time where gardens are tidied and cleared for the winter and it can mean there are lots of leaves, trimmings, and other waste readily available to go into the bed.
Fall and winter also usually brings with it lots or rain or snow that can keep the layers moist, which in turn can speed up the process of breaking down, and starting the process in fall means the lasagne bed can break down over up to six months and be ready for planting come spring.
FAQs
How many layers of cardboard do I need for a lasagna garden bed?
You only need the one base layer of cardboard at the bottom of the lasagna garden bed. That one layer is thick enough to prevent any light getting through and ultimately smothering the weeds underneath. If you cannot source any cardboard, then newspapers can be used as an alternative. In that situation, it would require a minimum of four sheets of newspaper to be thick enough to suppress light in the way the cardboard does.
If you are thinking of new potential vegetable garden ideas or more environmentally-friendly ways of starting a vegetable garden, then building a lasagna garden is a really interesting approach to consider. No dig, also called no till, gardening is a very popular organic growing technique around the world and lasagna gardening ticks all those same boxes.
A bonus of learning how to build a lasagna garden bed is it reuses all those items that so many people throw away, including those kitchen scraps, grass clippings from mowing a lawn, and other garden waste.
Drew has worked as a writer since 2008 and was also a professional gardener for many years. As a trained horticulturist, he worked in prestigious historic gardens, including Hanbury Hall and the world-famous Hidcote Manor Garden. He also spent time as a specialist kitchen gardener at Soho Farmhouse and Netherby Hall, where he grew vegetables, fruit, herbs, and cut flowers for restaurants. Drew has written for numerous print and online publications and is an allotment holder and garden blogger. He is shortlisted for the Digital Gardening Writer of the Year at the 2025 Garden Media Guild Awards.