How to harvest tomato seeds – grow more delicious varieties
Learn how to harvest tomato seeds and you’ll always have a fresh supply of the best crops for your home veg patch


Discover how to harvest tomato seeds to grow limitless crops of your favorite varieties every year.
Growing tomatoes is one of the most popular kitchen garden ideas as they taste far superior to shop-bought produce, and can be enjoyed at their freshest.
‘Tomatoes are one of easiest vegetables to grow because they are relatively low maintenance, grow quickly, and can produce a lot of fruit throughout the season,’ says Lindsay Pangborn, gardening expert at Bloomscape.
‘Healthy tomato plants will produce lots of juicy, ripe tomatoes. Enjoy most of them in your favorite recipes, but save a few for seed so that you can start new plants next year.’
Make sure you know when to plant tomatoes in your area to maximize your chances of success.
How to harvest tomato seeds – step-by-step guide
Learning how to harvest tomato seeds is fun and easy, and means you will never have to buy more of your favorite seeds again.
Once properly dried and stored, the seeds will keep for several years before planting, so you won’t need to do it every year.
Design expertise in your inbox – from inspiring decorating ideas and beautiful celebrity homes to practical gardening advice and shopping round-ups.
Follow this simple step-by-step guide and you will soon have a self-sustaining tomato patch.
1. Choose the best tomato varieties
Bear in mind you will not have success harvesting seeds from all types of tomatoes.
‘Only heirloom seeds can be harvested year after year. Most tomatoes found in grocery stores are hybrid tomatoes bred for disease resistance and color,’ says John Thomas, gardening expert and owner of Backyard Garden Geek.
‘You can technically harvest hybrid tomato seeds, but the plants you grow next season will be unlike the tomatoes you purchased at the store. You might get lucky and produce a plant that yields perfectly fine tomatoes. Or you might cultivate a plant that produces ugly, bland-tasting fruit.’
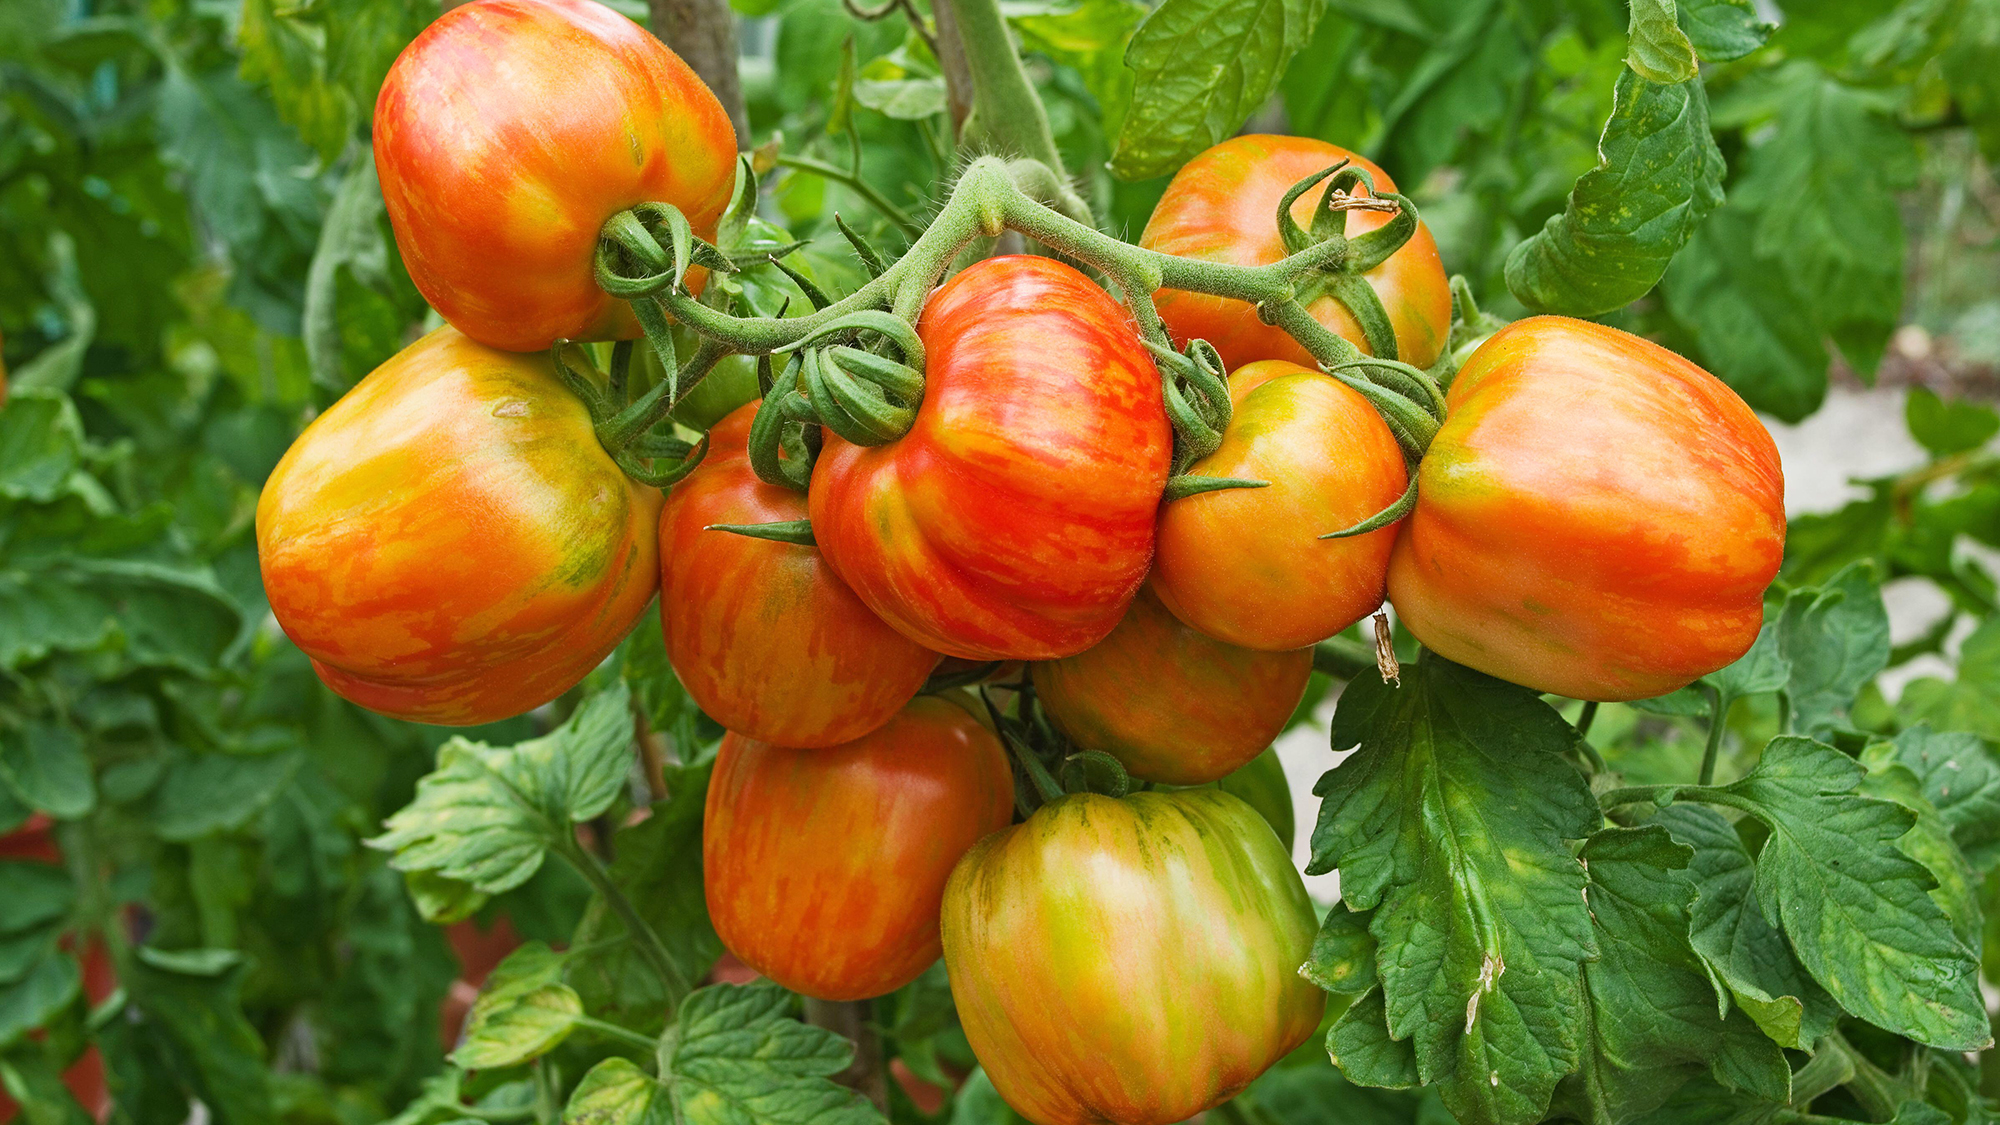
So, unless you enjoy experimenting, stick to heirloom tomatoes for the best chance of success.

2. Nurture your tomato plants
There is no point in learning how to harvest tomato seeds unless you are able to grow strong, healthy plants and nurture them to fruition.
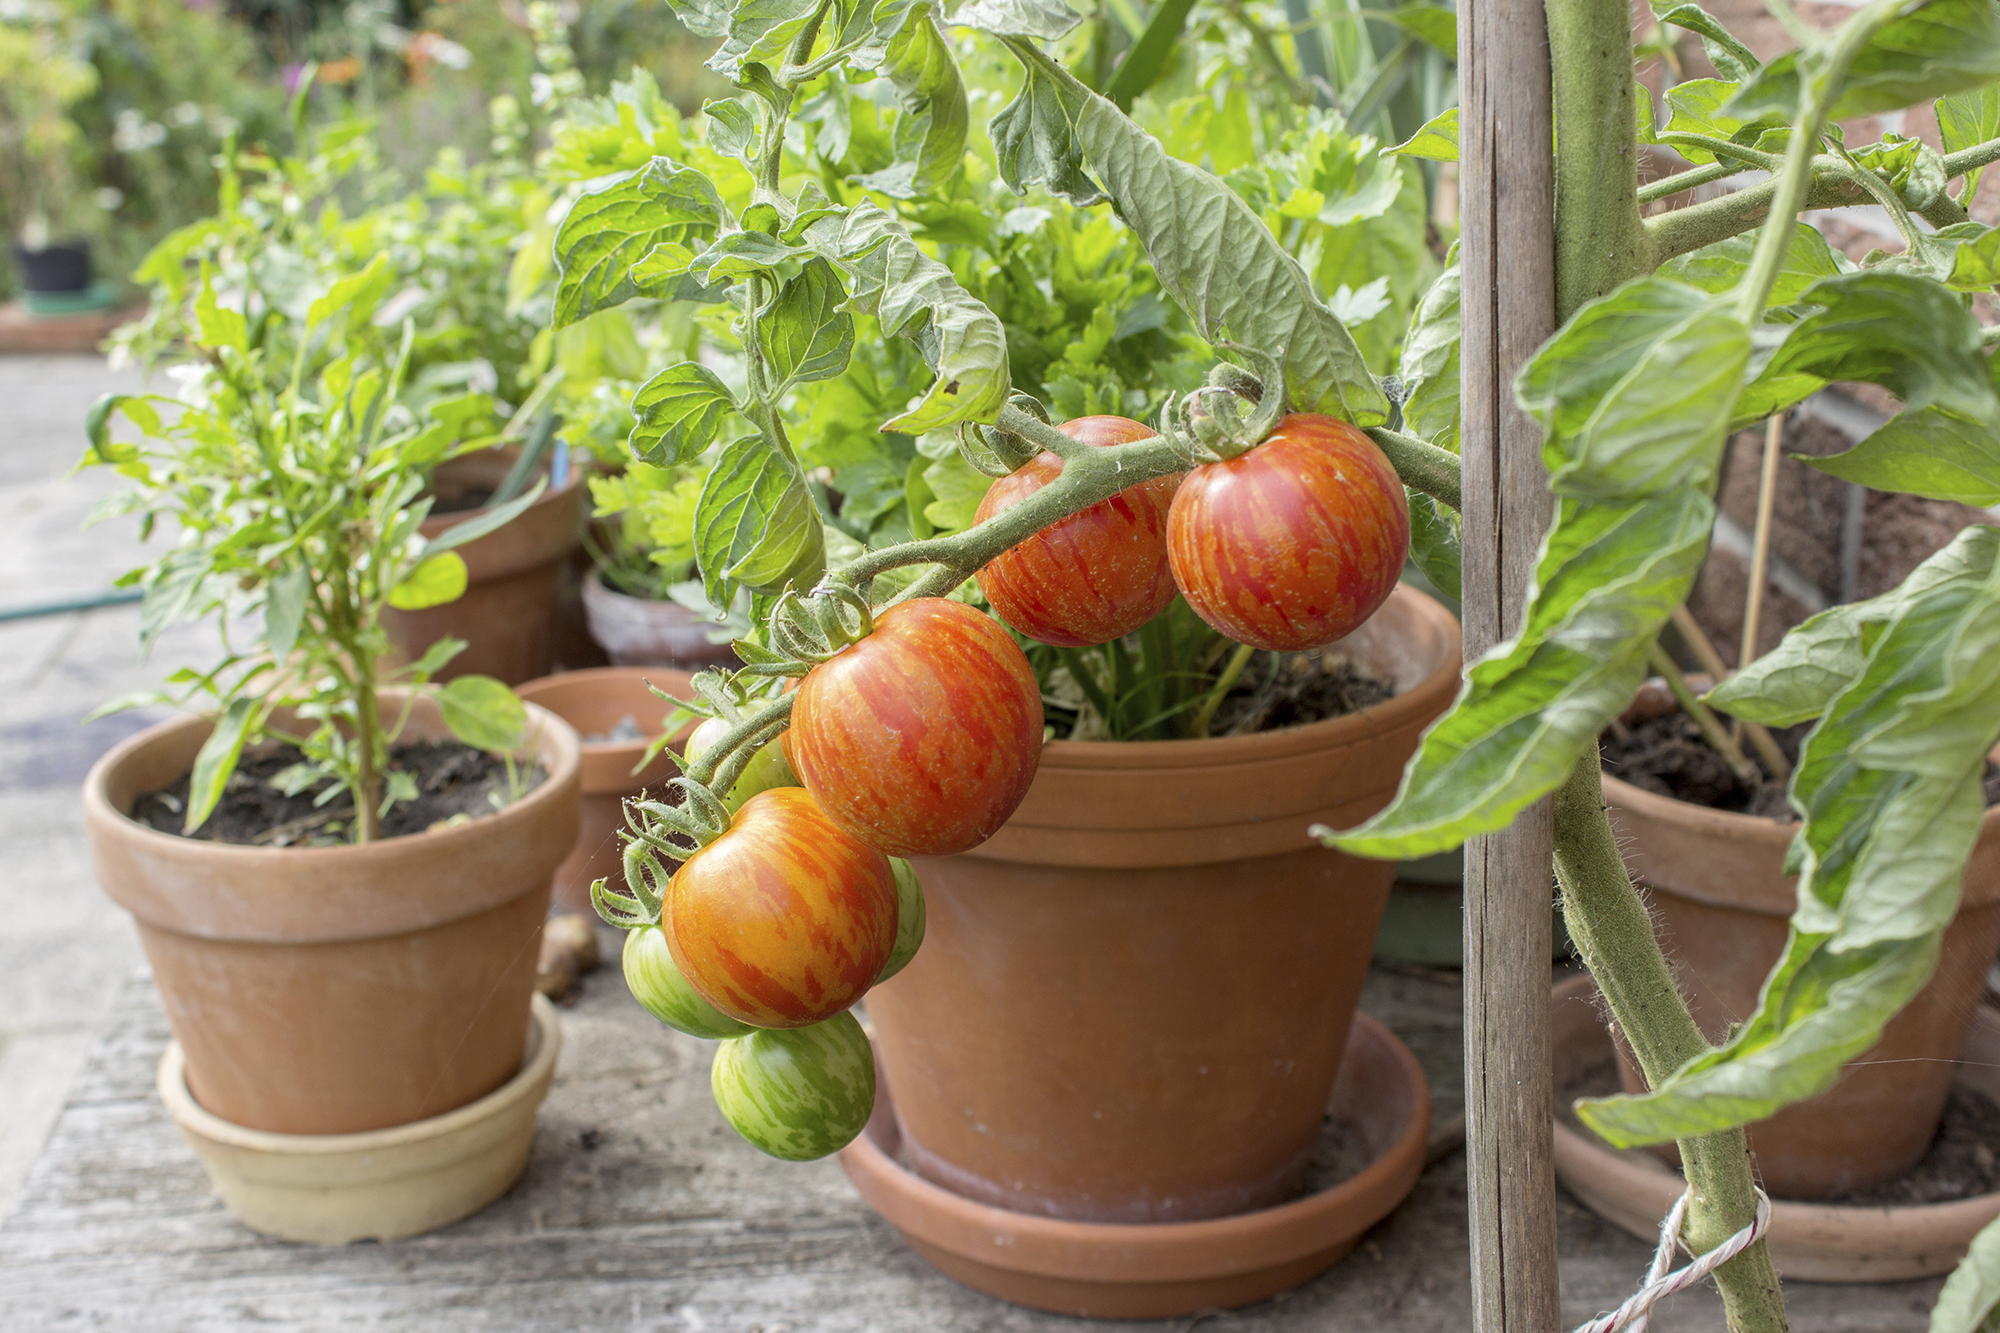
‘To set up tomato plants for success, it is important to plant them in the sunniest area of your garden, allowing them to receive at least 8-10 hours a day of direct sunlight,’ says Pangborn. ‘They can grow with less sunlight, but the amount of fruit produced will be reduced.’
Investigate the options for tomato companion planting, which can help to produce a healthier, tastier crop.
‘Support the plants as they grow to prevent them from falling over and feed regularly with a fertilizer slightly higher in phosphorus and potassium (the second and third number listed in the N-P-K ratio), and one that includes micronutrients.’
Learning how to prune tomato plants will also help them to maximize their energy towards producing an abundance of fruit.
Look out for potential pests and diseases that could harm your plants. Tomato blight is the most dreaded issue when growing tomatoes. It is spread by airborne spores carried on the wind and can quickly ravage a crop. Remove any infected plants immediately.
3. How do I know when tomato seeds are ready to harvest?
If the tomato is ripe, then the seeds are ready to harvest.
‘You can harvest seed from any tomatoes the plant produces, but I like to wait to do this until the end of the season,’ says Pangborn. ‘In the midwest, I’m typically thinking about harvesting seed in mid-September.
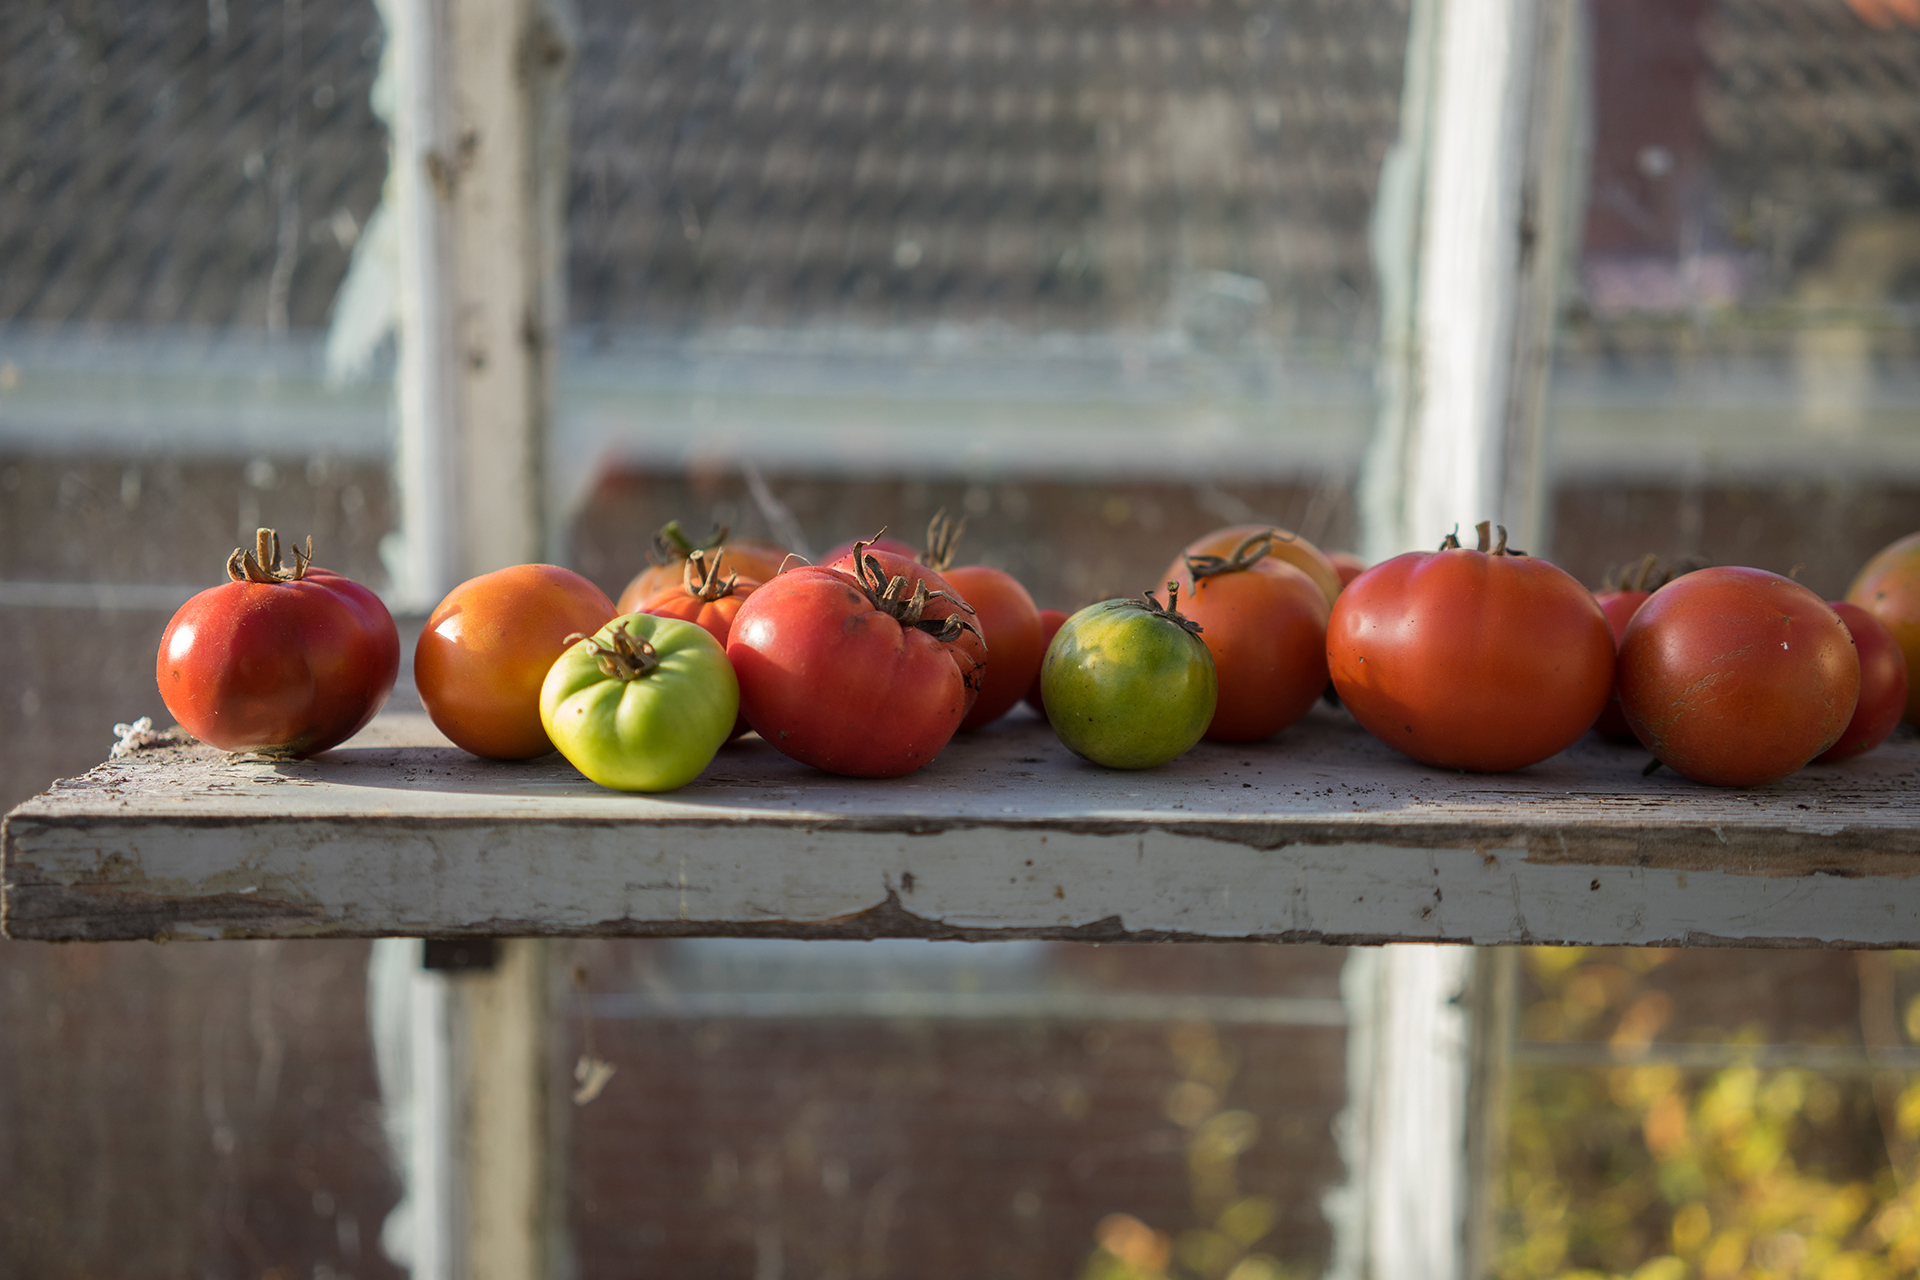
‘Allow the fruit to fully ripen on the plant – fully ripe fruit means that the seed is also fully developed. I like to leave them on the plant until the skin turns slightly wrinkly.’
If you have over-ripe tomatoes that you don’t want to eat, then harvesting their seeds is a great way to ensure they do not go to waste.

4. How to collect tomato seeds
Harvesting tomato seeds is as simple as cutting open the tomato and scooping out the seeds. However, fresh seeds will be covered in a gelatinous liquid, so you need to clean and dry them.
‘The liquid the seeds are encased in is a bit difficult to remove, and can actually prevent the seeds from germinating,’ says Pangborn. ‘You can scoop the seeds into a sieve and gently work them free from the liquid under running water.’
It’s a good idea to soak the seeds for a day or two in a jar of water before rinsing them off, to make sure the film is removed.
You can also ferment the seeds in their own juice. ‘To do this, scoop the seeds, surrounding liquid, and some tomato juice into a jar with a tight-fitting lid,’ says Pangborn.
‘Keep the jar in a warm spot, shaking the contents a few times a day to help loosen the liquid from the seeds. You’ll want to briefly open it once a day to release any gasses. Do this for 5-7 days, then scoop out the seeds and dump everything into a sieve to rinse the seeds.’
5. How do you dry tomato seeds for planting?
To save and store your tomato seeds to plant next year, you will need to dry them out so that they don’t go moldy.
‘My preferred method is to place the seeds on a plate and let them sit out for 4-5 days until they're completely dry,’ says Thomas.
‘You can put them on a paper towel to dry, but be warned: once dry, they generally stick to paper towels and napkins, making it difficult to get them off. This is why I prefer to dry them out using only a dinner plate.’
Once the seeds are dry, transfer them to labeled paper packets, and store them in a cool, dark spot.
‘Ideally you should store tomato seeds in a dark, climate-controlled place so that they'll maintain their viability for as long as possible – this is typically 4-5 years but I've had some seeds last as long as 8-10 years,’ adds Thomas.
6. Do tomato seeds need to dry before planting?
Usually it is advisable to dry tomato seeds before planting; however, Sandra Nanka, gardening expert and owner of Mudbrick Herb Cottage , has a fun way to harvest the seeds for growing new plants that avoids this step.
‘Fill a garden pot with potting mix and slice a tomato. Lay the pieces on top so the seeds are exposed,’ she says. ‘Store the pot in a dark and cool place in the basement over winter – you may wish to cover it with some fine mesh or covering to protect from critters and rodents.
‘Come spring time, they will look a little bit icky but you can simply place the pot in a sunny area and water in order to sprout the seeds and produce seedlings. When the seedlings have established themselves enough, gently pluck them out and transplant into your garden bed.'

Melanie has worked in homes and gardens media for two decades. Having previously served as Editor on Period Living magazine, and worked on Homes & Gardens, Gardening Etc, Real Homes, and Homebuilding & Renovating, she is now focusing on her passion for gardening as a Senior Editor at Gardening Know How. As a keen home grower, Melanie has experimented with pretty much every type of vegetable at some point – with mixed results. Often it is the simplest things that elude you, which may explain why she just can't seem to master zucchinis.