How to make comfrey fertilizer – discover a natural way to boost your plants
Our expert explains why comfrey is an excellent natural fertilizer, plus tips on how to use it on your plants

Comfrey is an amazing plant and making nutrient-rich fertilizer from its leaves is one of the many ways it can help you grow strong and healthy plants. It is an attractive plant in its own right, with large spreading leaves and bunches of bell-shaped flowers in white and shades of blue and pink that appear in late spring and early summer.
In the wild it favors damp ground and it is an essential plant in cottage gardens and wildlife gardens as its flowers are nectar-rich magnets for bees and butterflies. As far as the gardener is concerned, comfrey is also of benefit to other plants, because its leaves contain high levels of the essential nutrients nitrogen, phosphorus and potassium as well as other valuable trace elements.
Comfrey and comfrey derivatives can be used as fertilizers, for mulching or even added to the compost heap. It is especially good for feeding tomatoes and other hungry crops grown in planters and growbags.
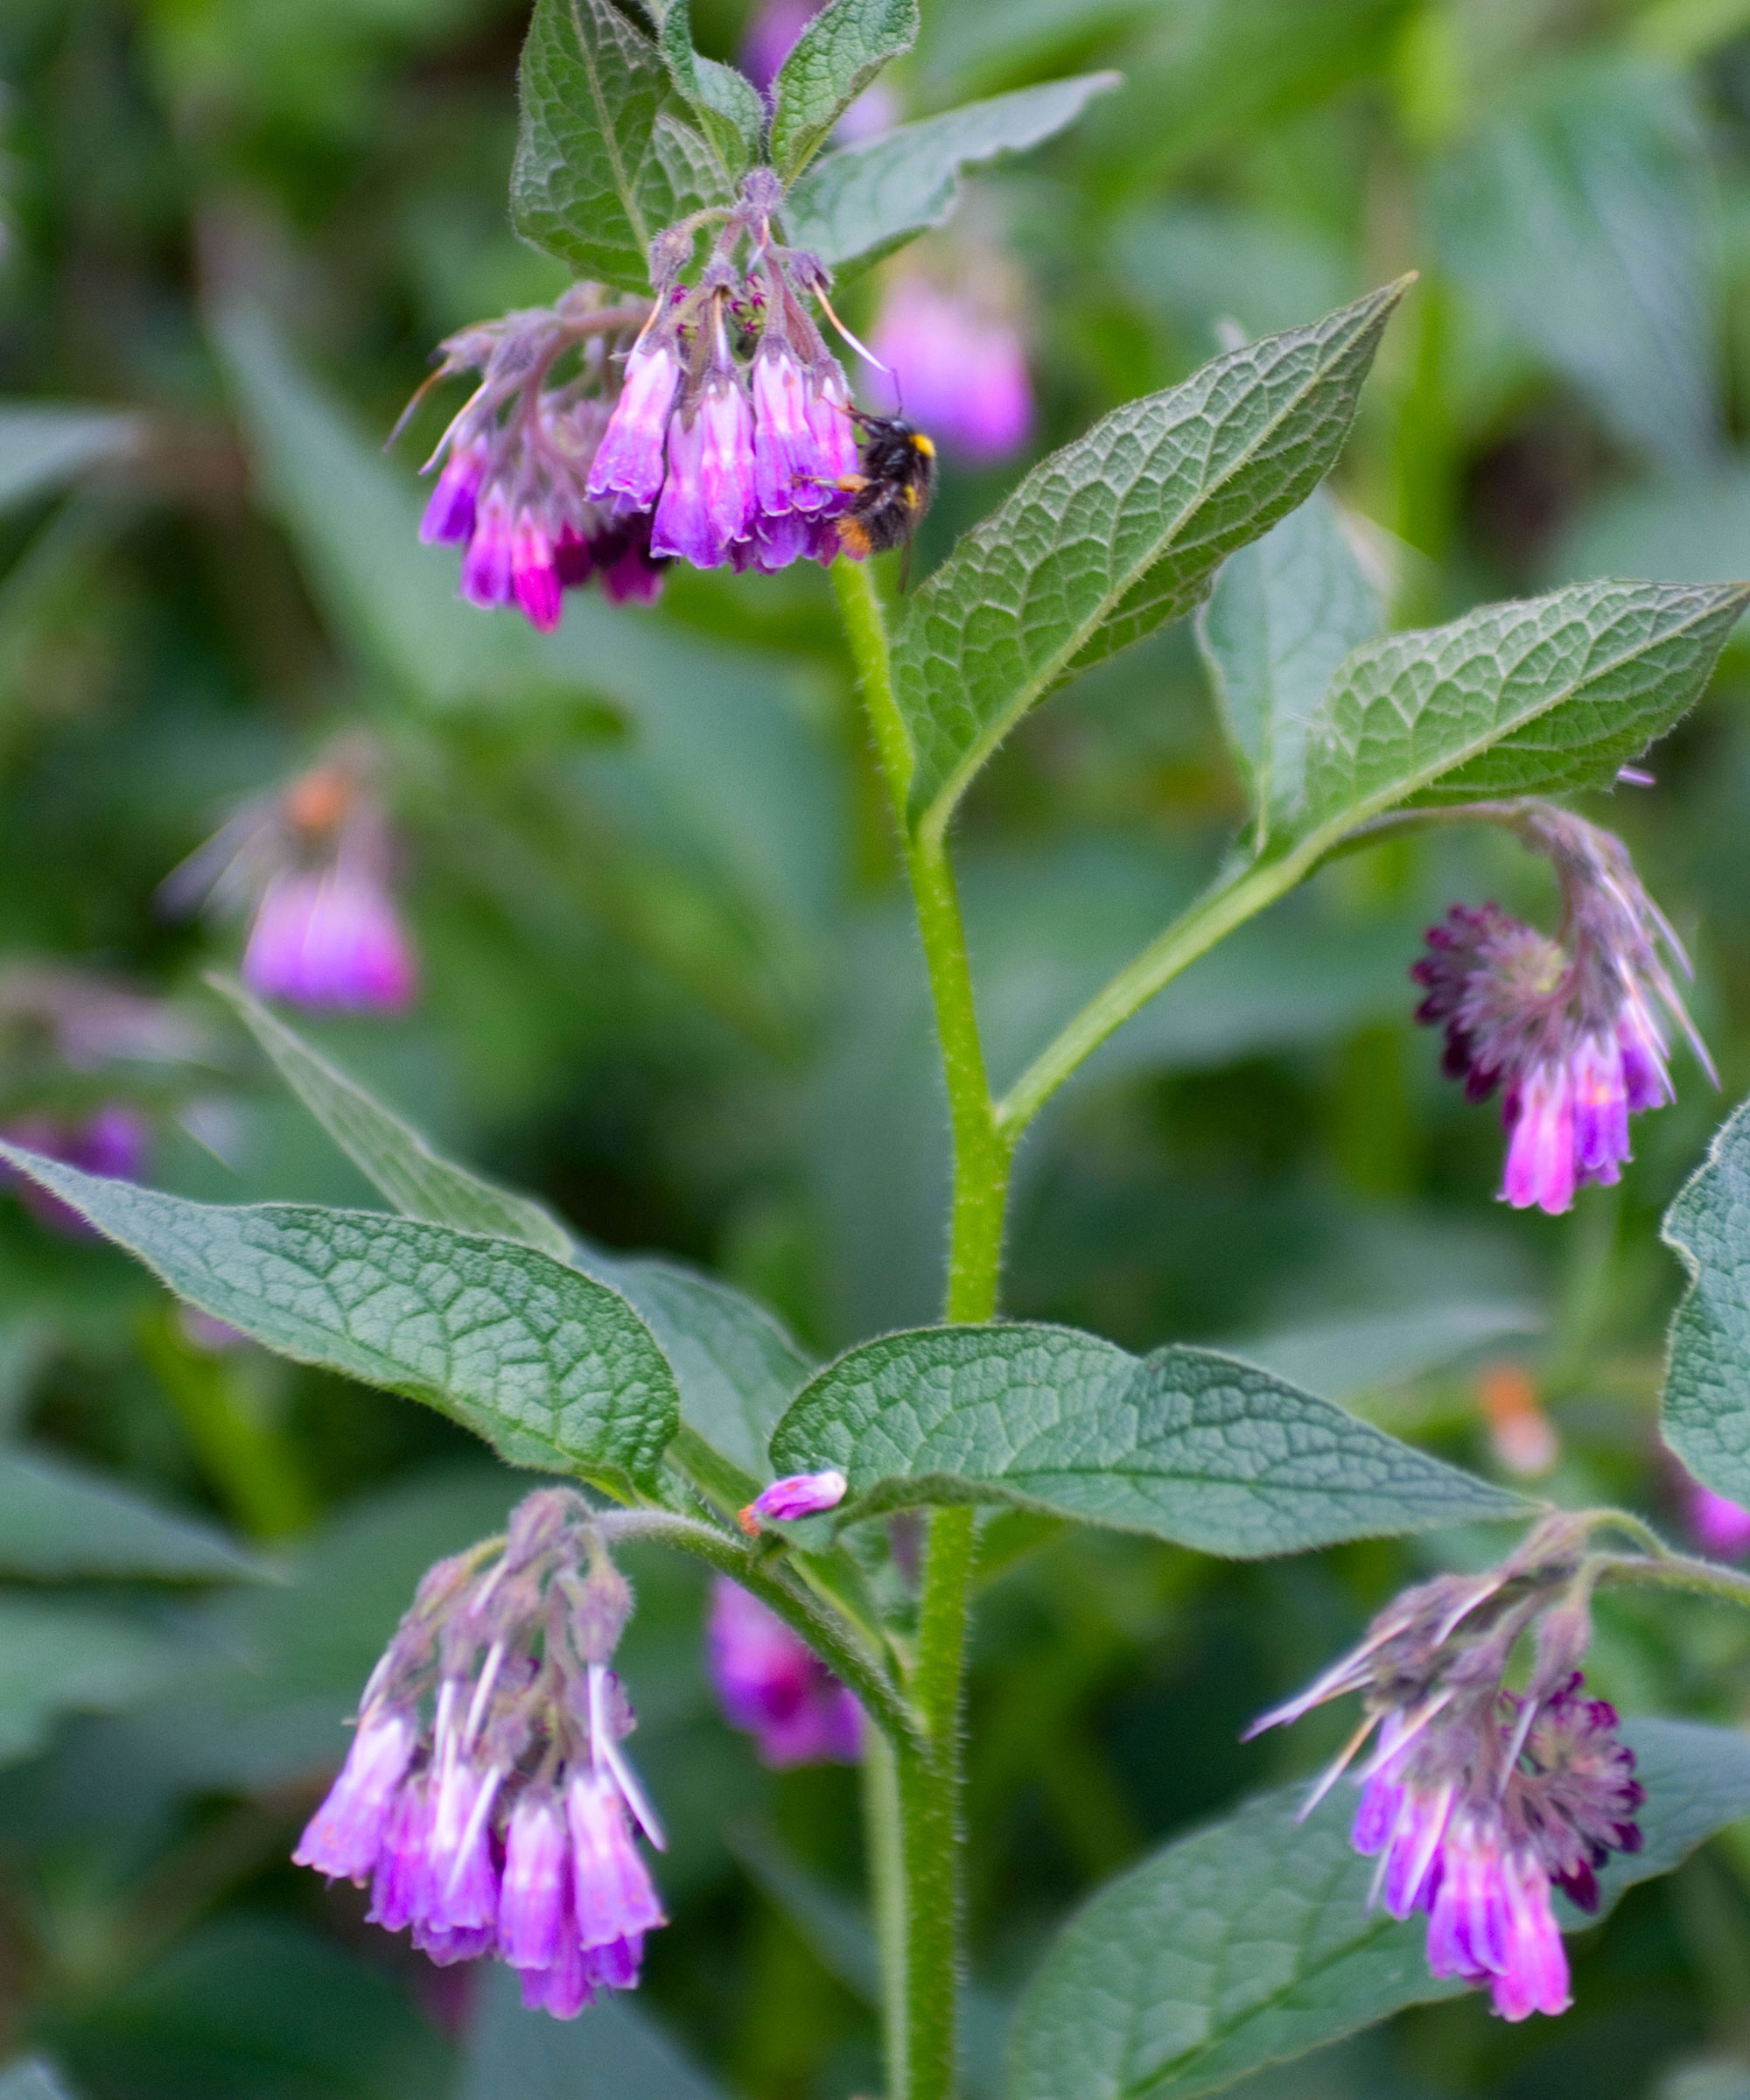
Comfrey is an attractive plant that is great for a wildlife garden
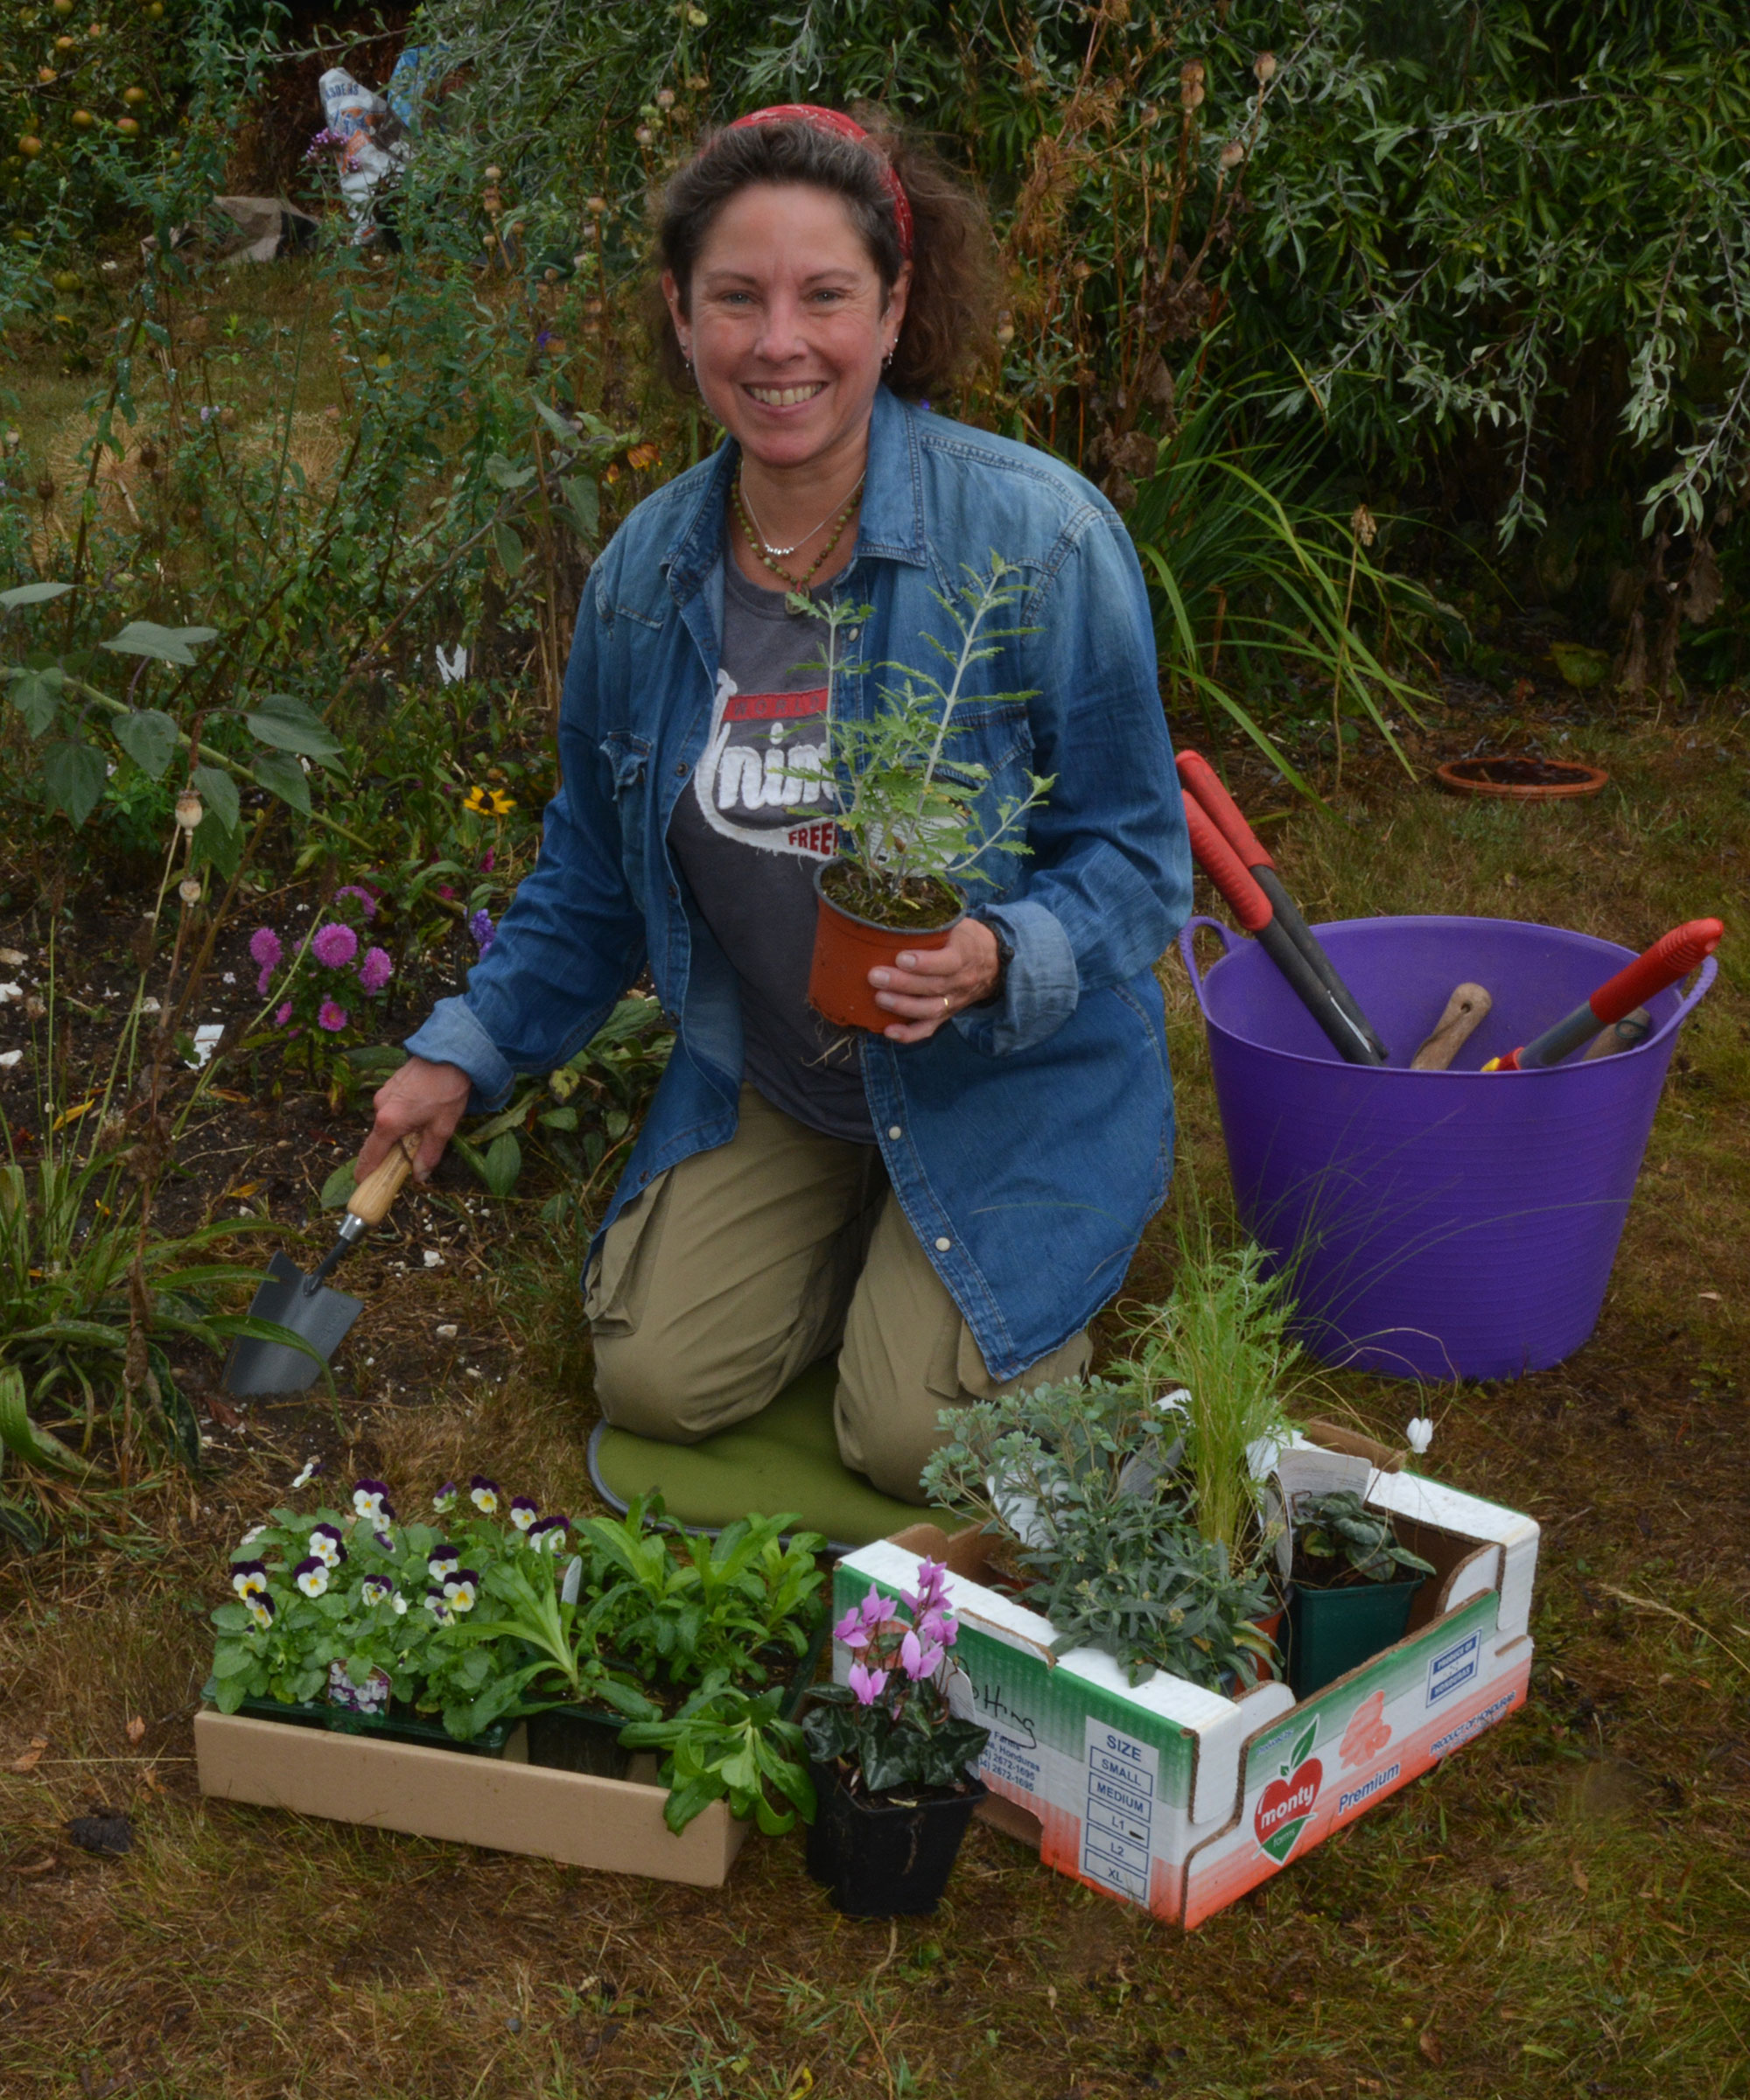
Ruth is the gardening editor of Amateur Gardening magazine, the UK's oldest weekly magazine. She is horticulturally trained and has qualifications from the Royal Horticultural Society. Ruth spends her working days writing about and photographing the gardening jobs that our readers should be carrying out each week and month, and tests many new products that arrive on the gardening market. She favors organic gardening methods, so often makes her own comfrey fertilizer as a natural way of boosting the growth of her plants and crops.
What is comfrey and why does it make a good fertilizer?
Originally found in Europe, the value of comfrey (Latin name Symphytum) has been known for centuries. It is a perennial, so the leaves appear in spring and the plant dies back and disappears in the fall.
In the past the plant was widely used by healers to staunch wounds, reduce inflammation, ease muscle pain, set broken bones and speed up healing – for this reason its folk names include knitbone, bone set, bruisewort and the healing herb.
Comfrey sends out thick tap roots that forge deep into the soil and draw up minerals usually out of reach of more shallow-rooted plants, before storing them in the leaves. The nutrients are released when the leaves are harvested, bruised and soaked in water, which is why comfrey fertilizer, or ‘tea’, is an important plant food, especially if you are an organic gardener and want to create a sustainable garden.
Comfrey can be invasive, though not one of the worst invasive plants, but a sterile variety called Bocking 14 is widely available to buy, even on Amazon and will not take over your yard. It is as rich in goodness as other varieties of the plant.
Design expertise in your inbox – from inspiring decorating ideas and beautiful celebrity homes to practical gardening advice and shopping round-ups.
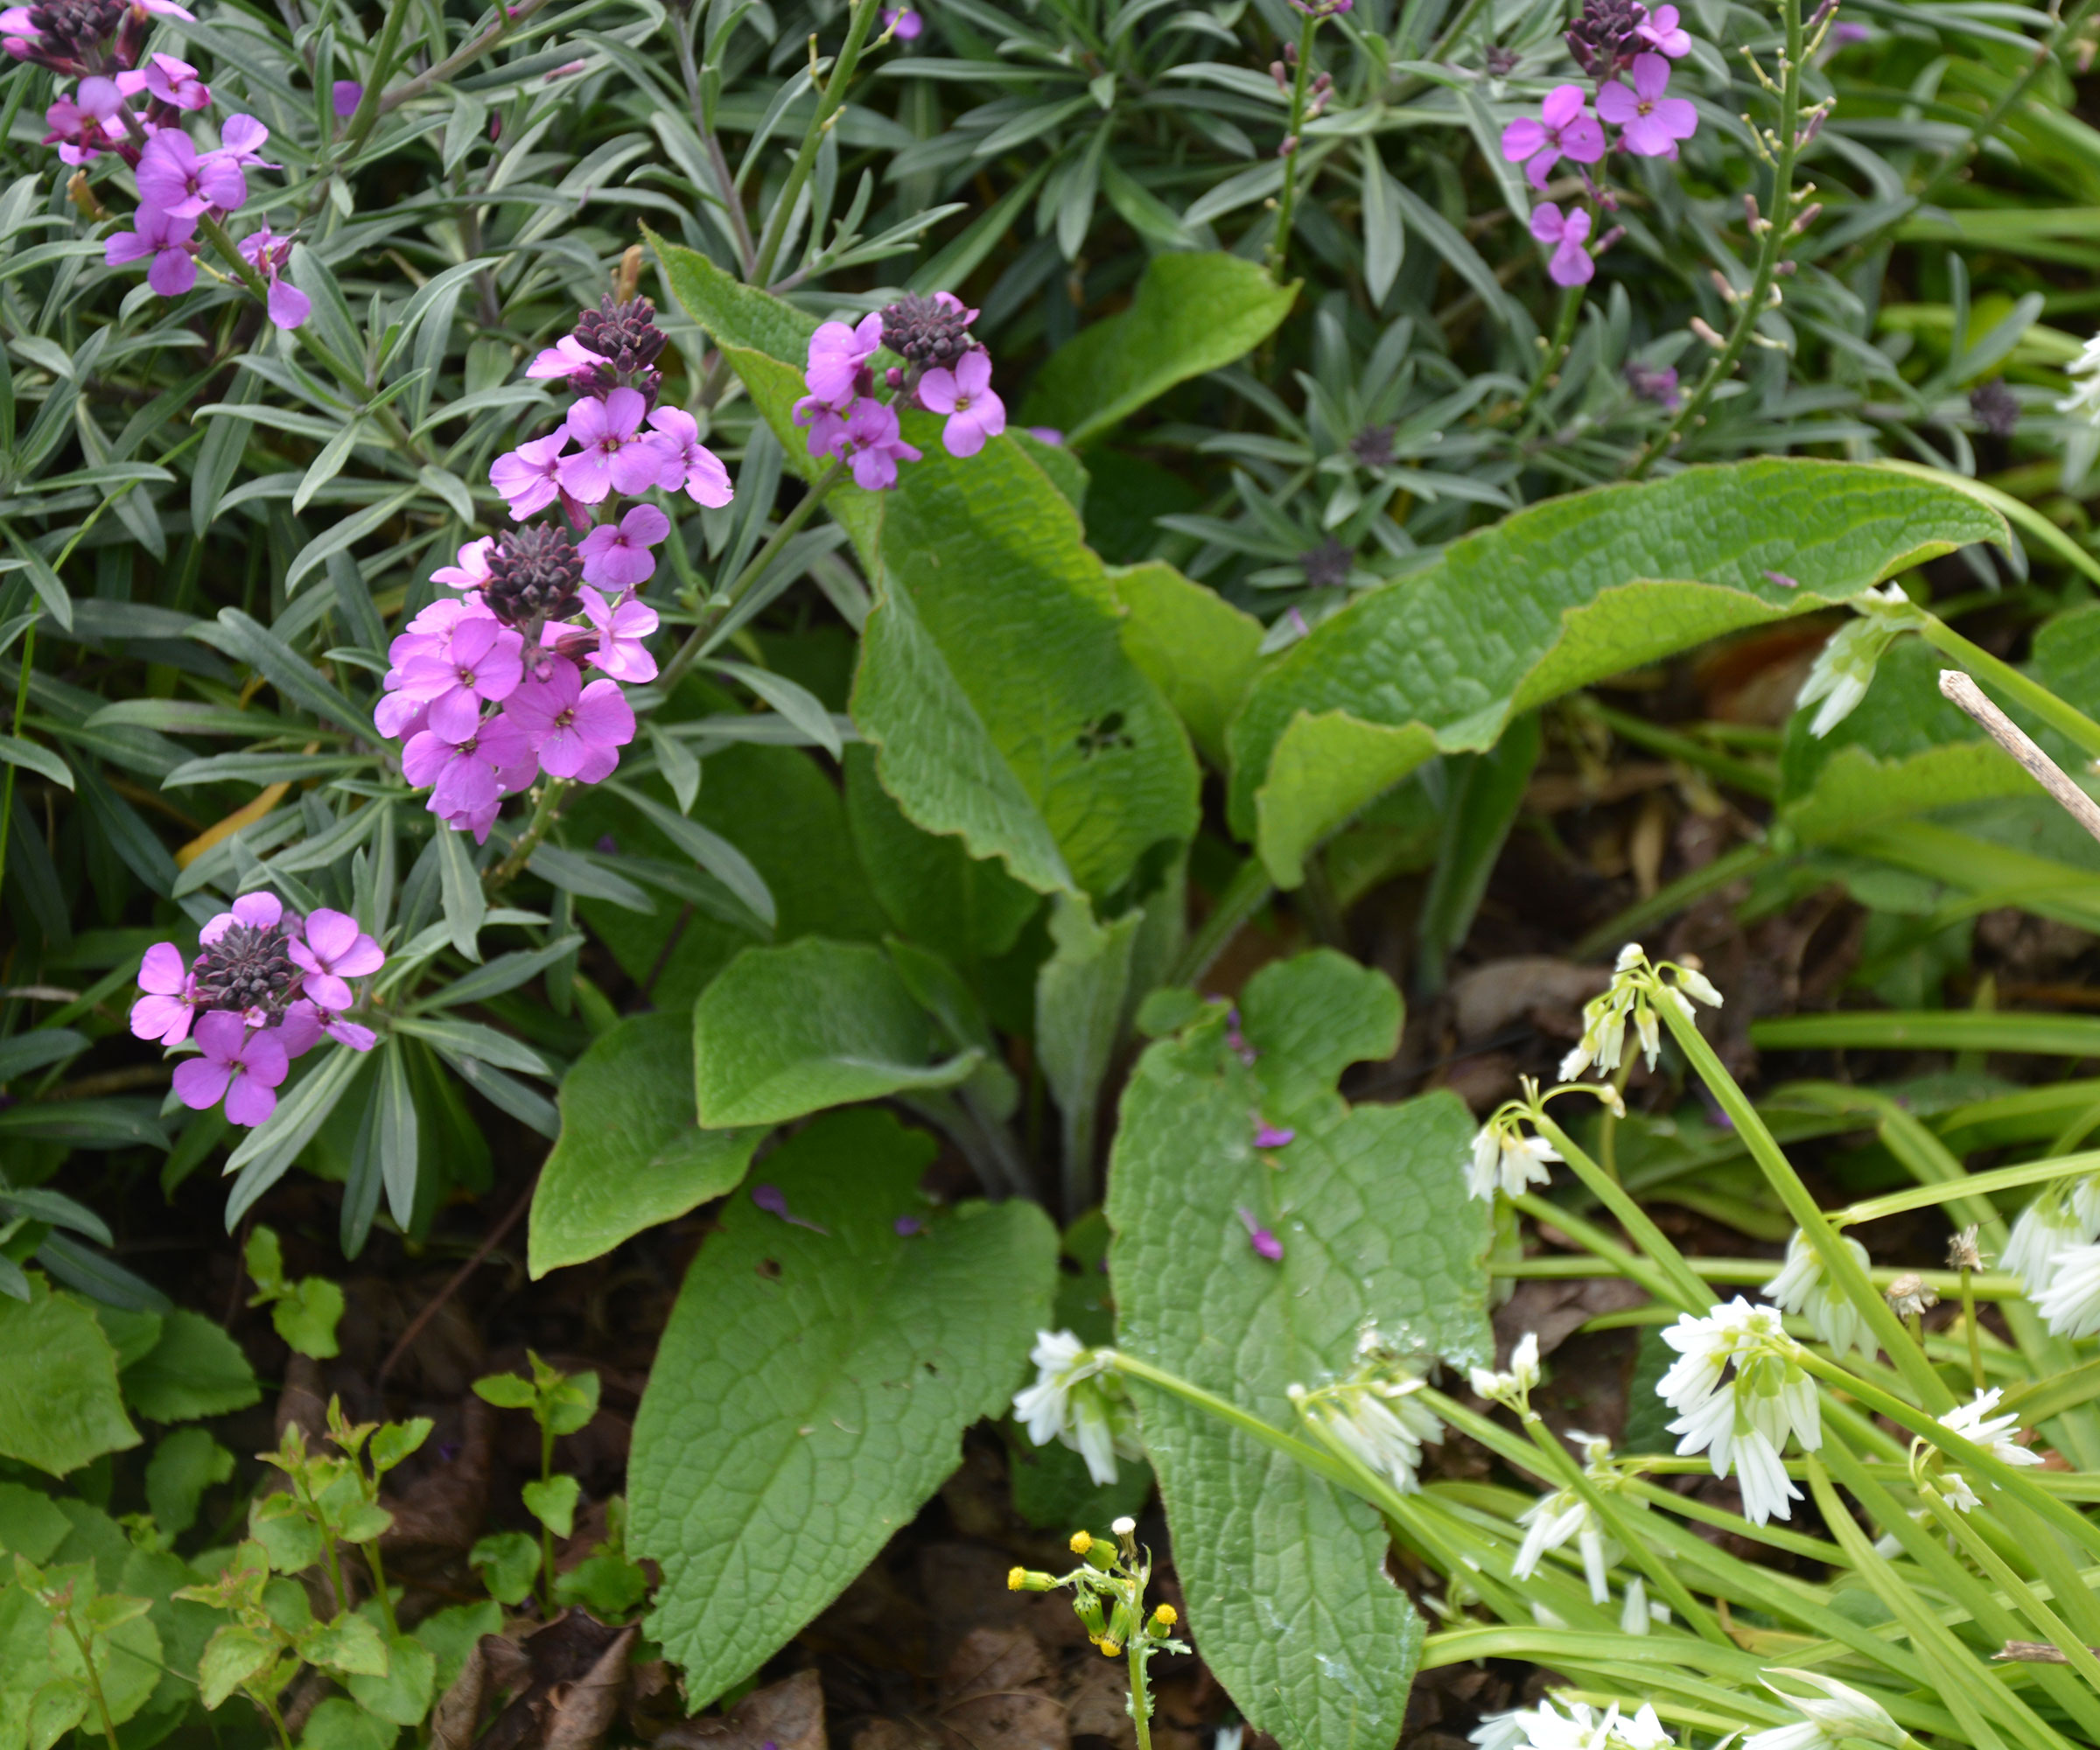
Comfrey can be invasive and might spread anywhere in the garden unless you buy the sterile Bocking 14 variety
How to make comfrey fertilizer in 4 steps
You will need:
- Long-sleeved shirt
- Gauntlet-style gardening gloves
- A large container or bucket with a lid
- Pruners
- Storage container for liquids
1. Harvest the leaves
Comfrey is best harvested in spring when the leaves are fresh and full of nutrients. Don’t take too many as this will weaken the plant.
Cut the leaves from the base using sharp pruning shears, such as these Fiskars bypass ones from Amazon. Make sure you do it carefully, wearing a long-sleeved shirt and long gardening gloves like these leather gloves on Amazon, as the leaves are covered with coarse hairs that will irritate bare skin.
Once harvested, pull apart or cut up the leaves and place them in a lidded five gallon bucket or container. I recommend a lid because comfrey produces a strong smell as it rots down.

Cut up comfrey leaves, or pull them apart, and place them in a bucket or container that comes with a lid
2. Add water to the leaves
Once the leaves are in your container, weigh them down with a brick or stone and either leave them like that, or fill the pot with water.
Add the lid and leave the container alone for three to six weeks to let the leaves start to rot down. You can start checking the process after around three weeks.
I prefer to leave my brewing fertilizer around the back of the shed and away from the house as I have quite a sensitive nose!
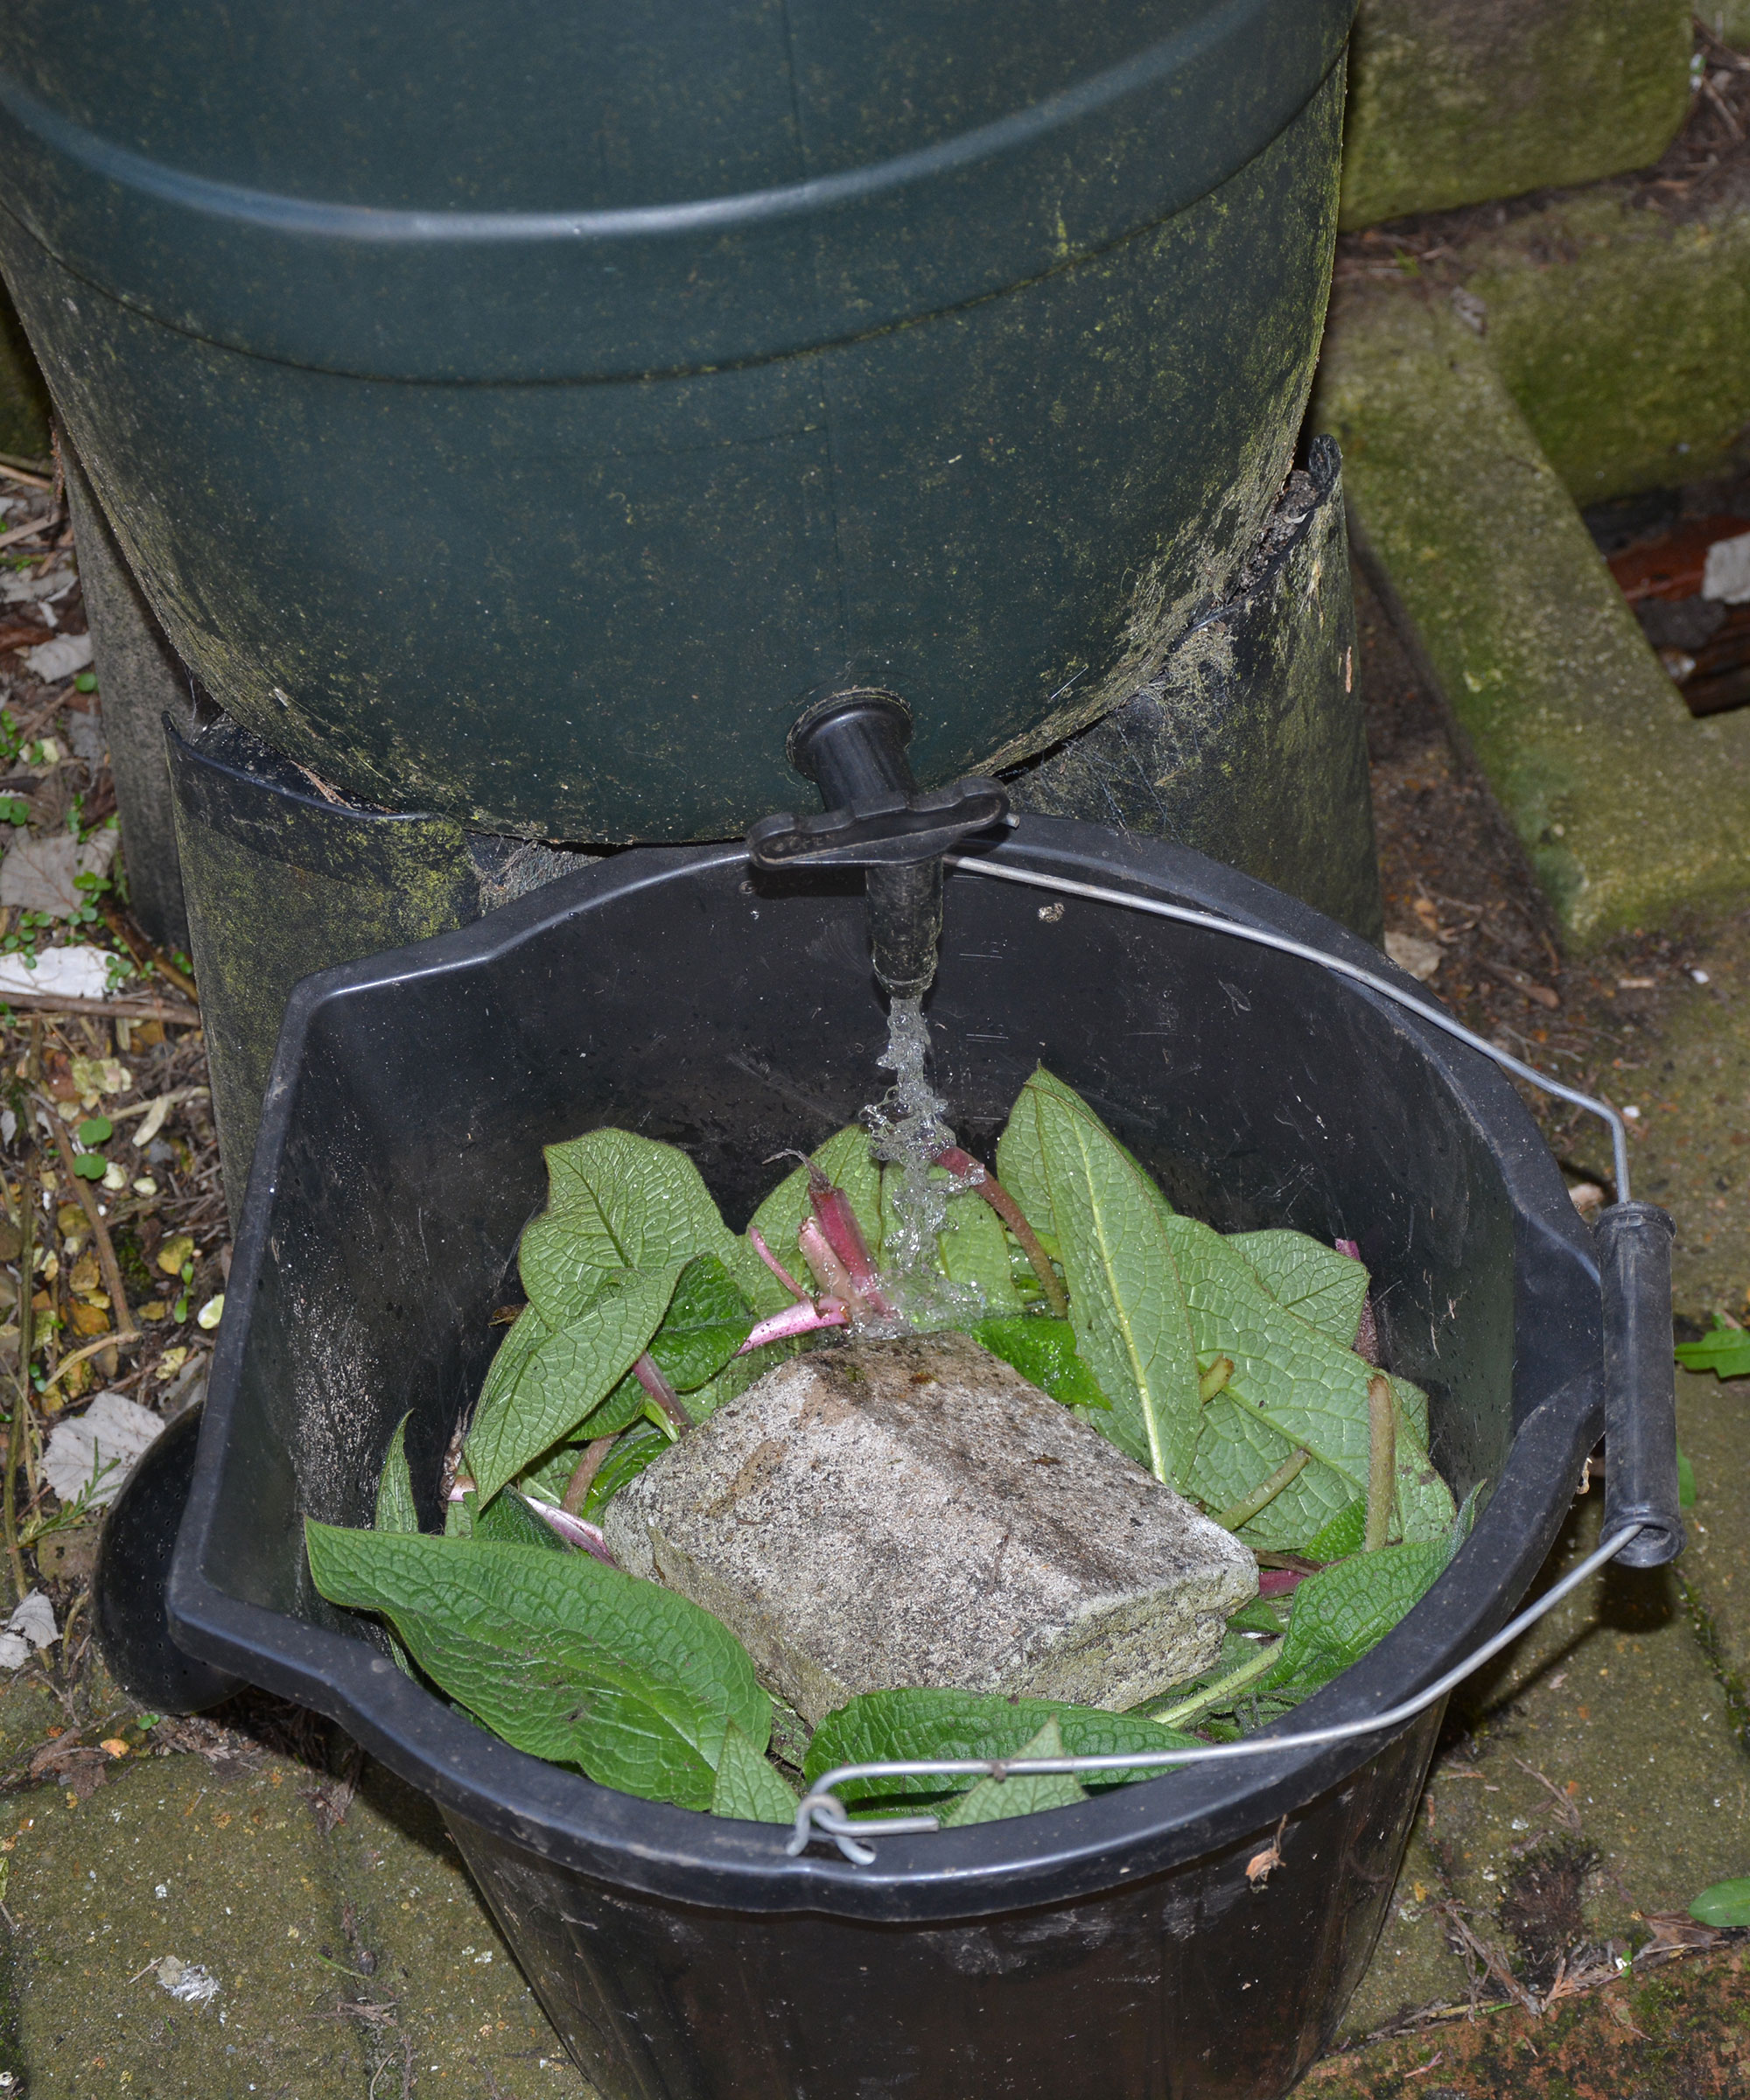
You can add water to your comfrey leaves but this isn't essential
3. Harvest your fertilizer
Start checking how quickly the leaves are decomposing after around three weeks. The fertilizer will be ready to use once the leaves have completely decomposed and are lying in a container of brown fluid.
This is your fertilizer and it needs to be diluted before it can be safely used on plants. If you didn’t initially add water, the concentrated run-off should be let down in 10 parts water. If you did add water at the start, you only need to dilute it in three parts water.
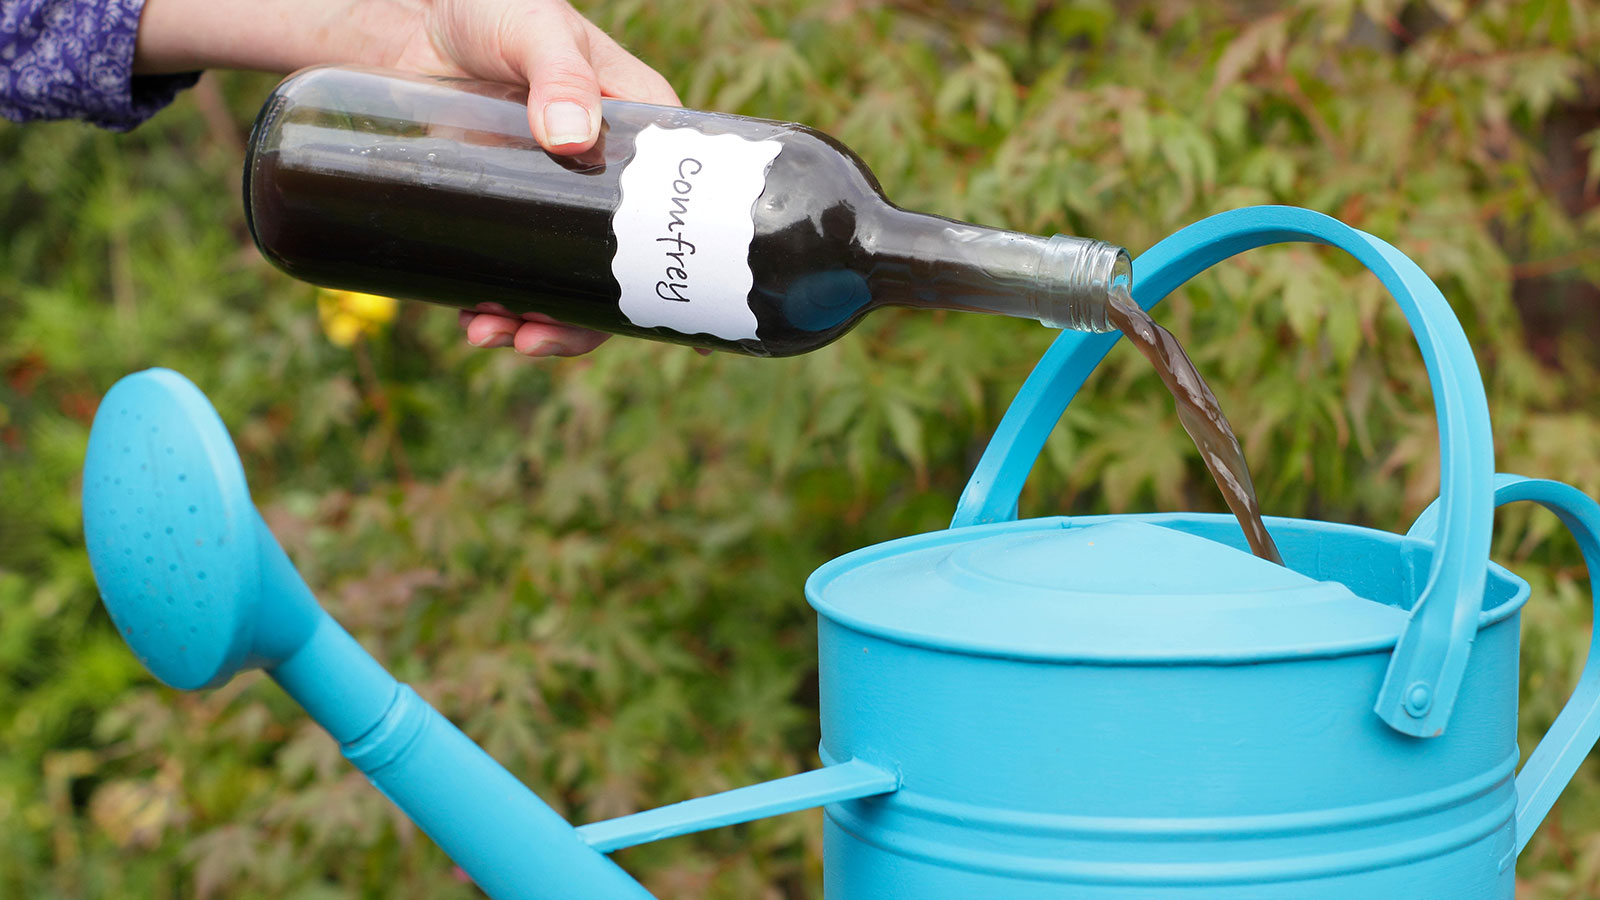
Store your comfrey fertilizer in a plastic, labelled bottle with a lid somewhere dark and cool and add it to your watering can when you feed your plants. Make sure your fertilizer is stored safely and out of the reach of inquisitive children.
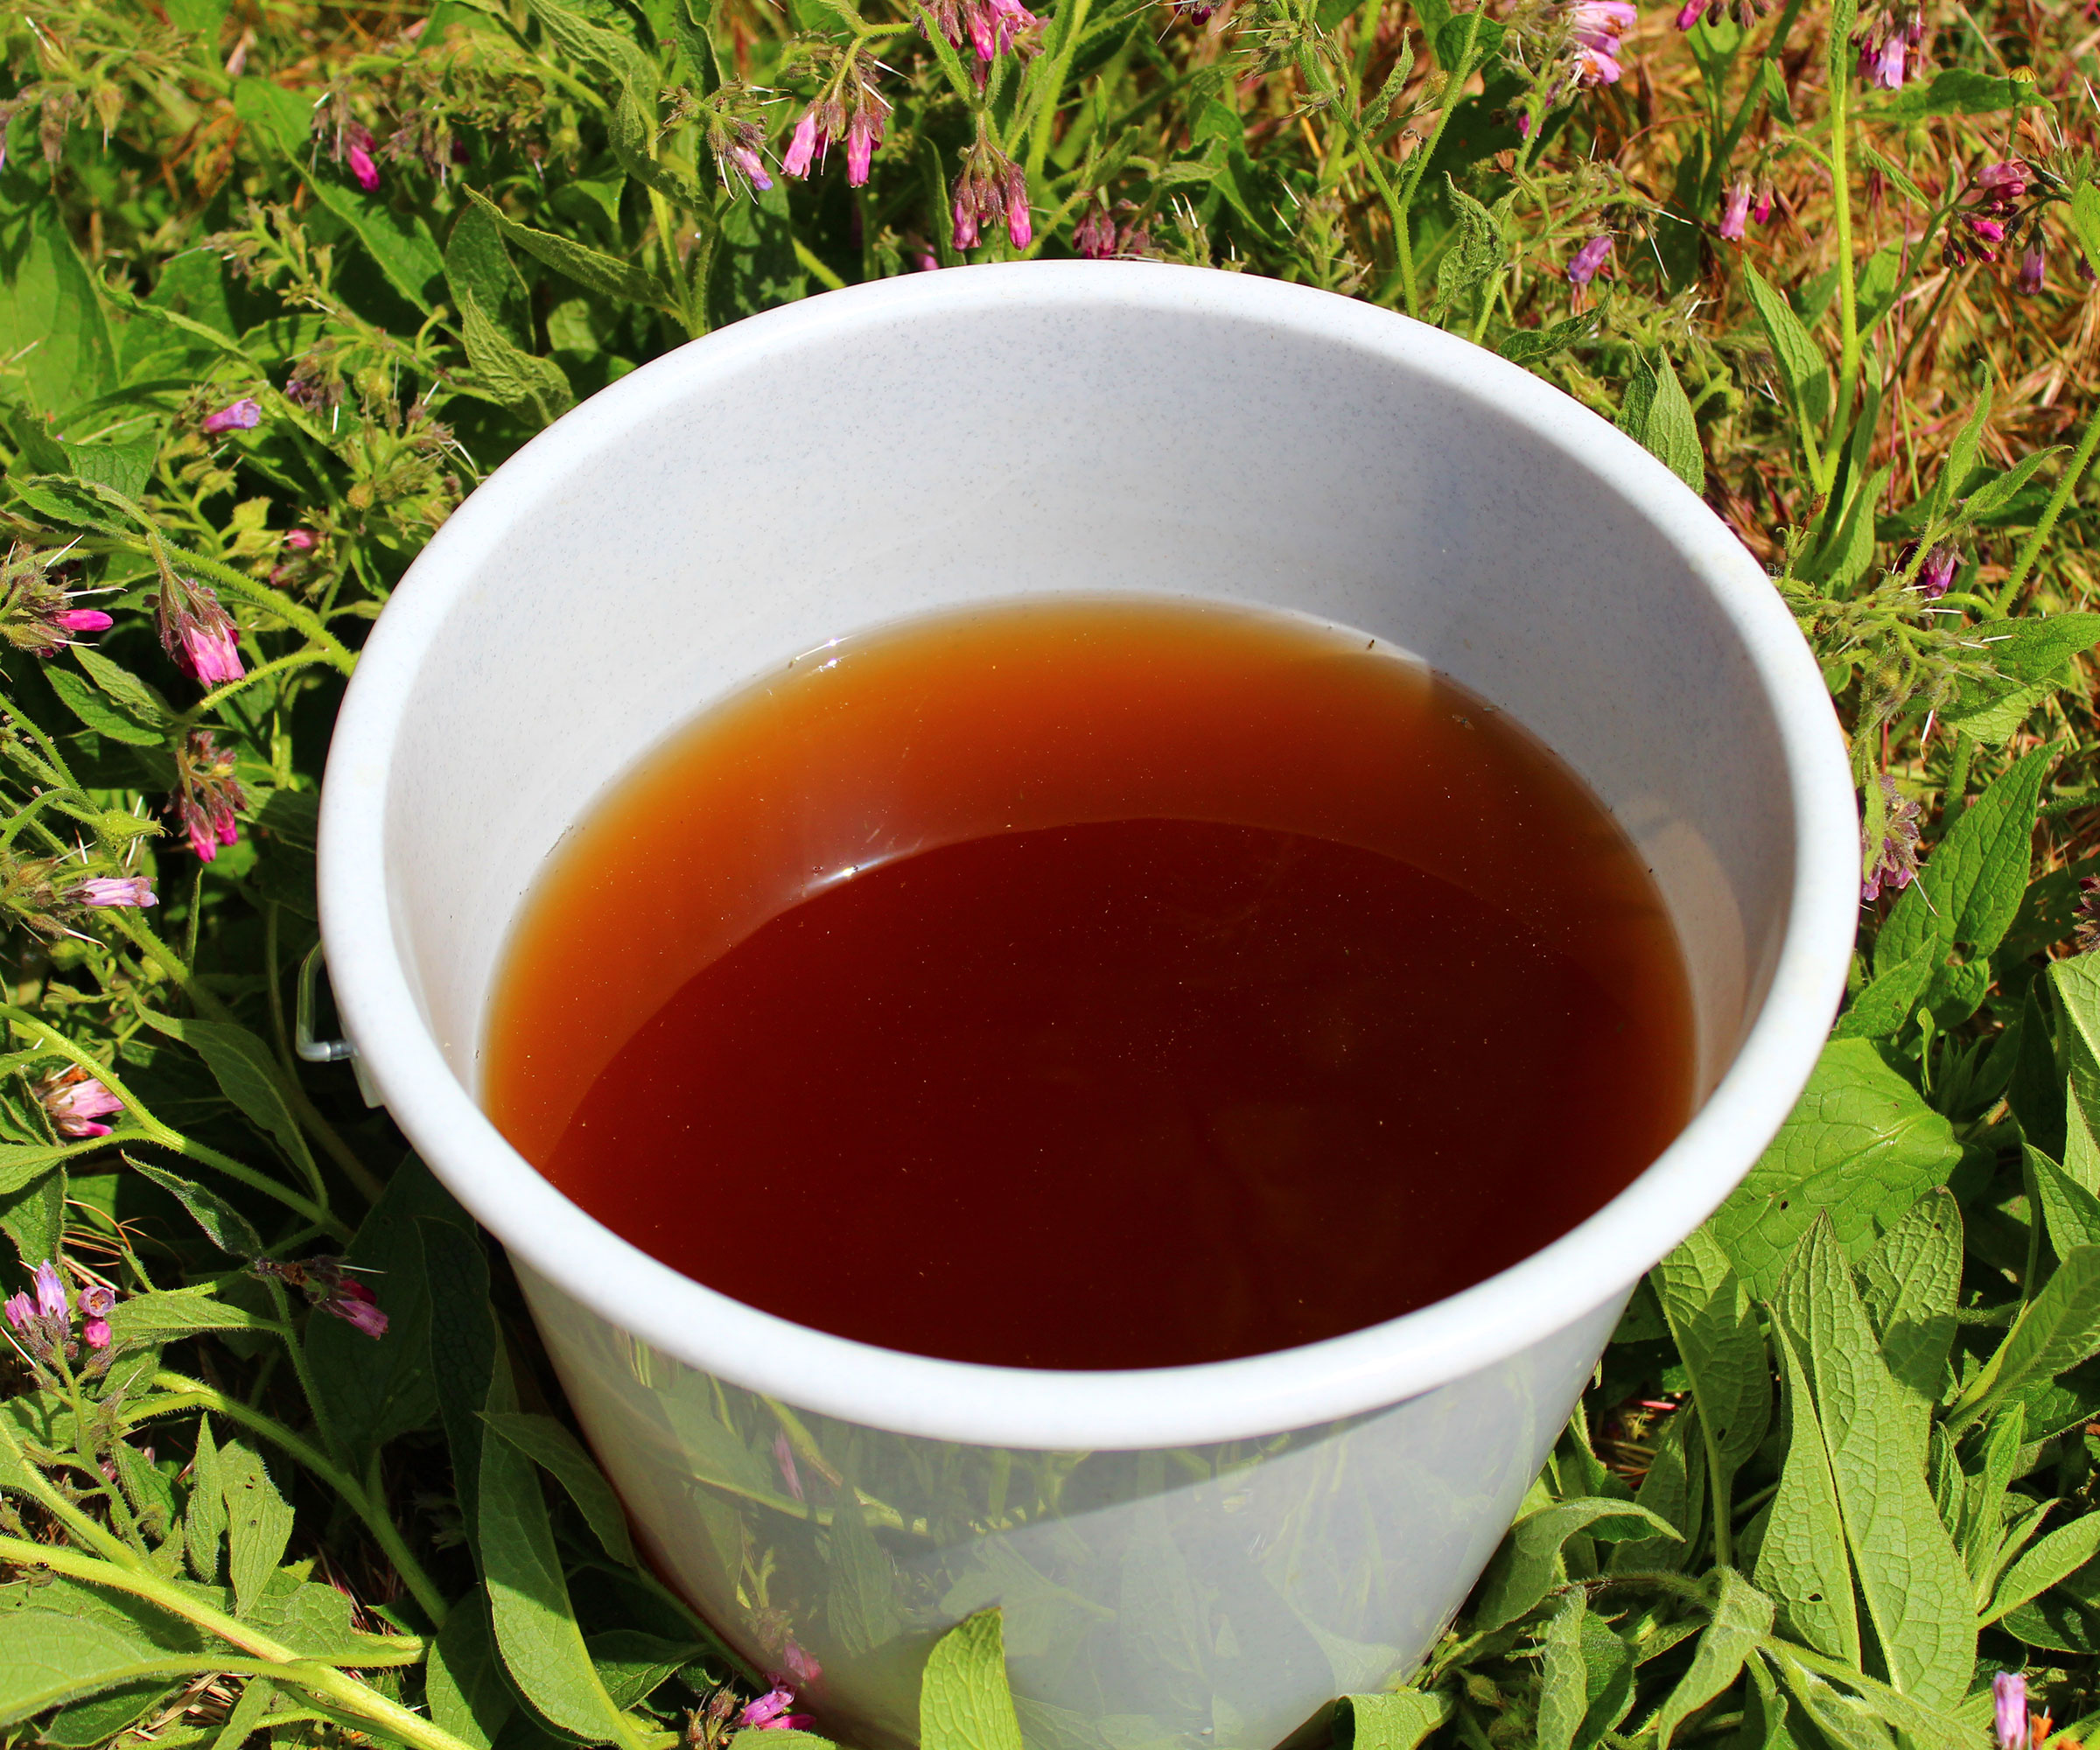
Your comfrey fertilizer needs to be diluted before it can be used
4. Make use of the leftover comfrey leaves
Once you have strained off the liquid you can either add the leaves to your compost heap, where they will help accelerate the composting process and add extra goodness to the mix.
You can also use them as a type of mulch around your plants. They will continue to break down and release nutrients and minerals into the soil, benefiting the rest of the yard.
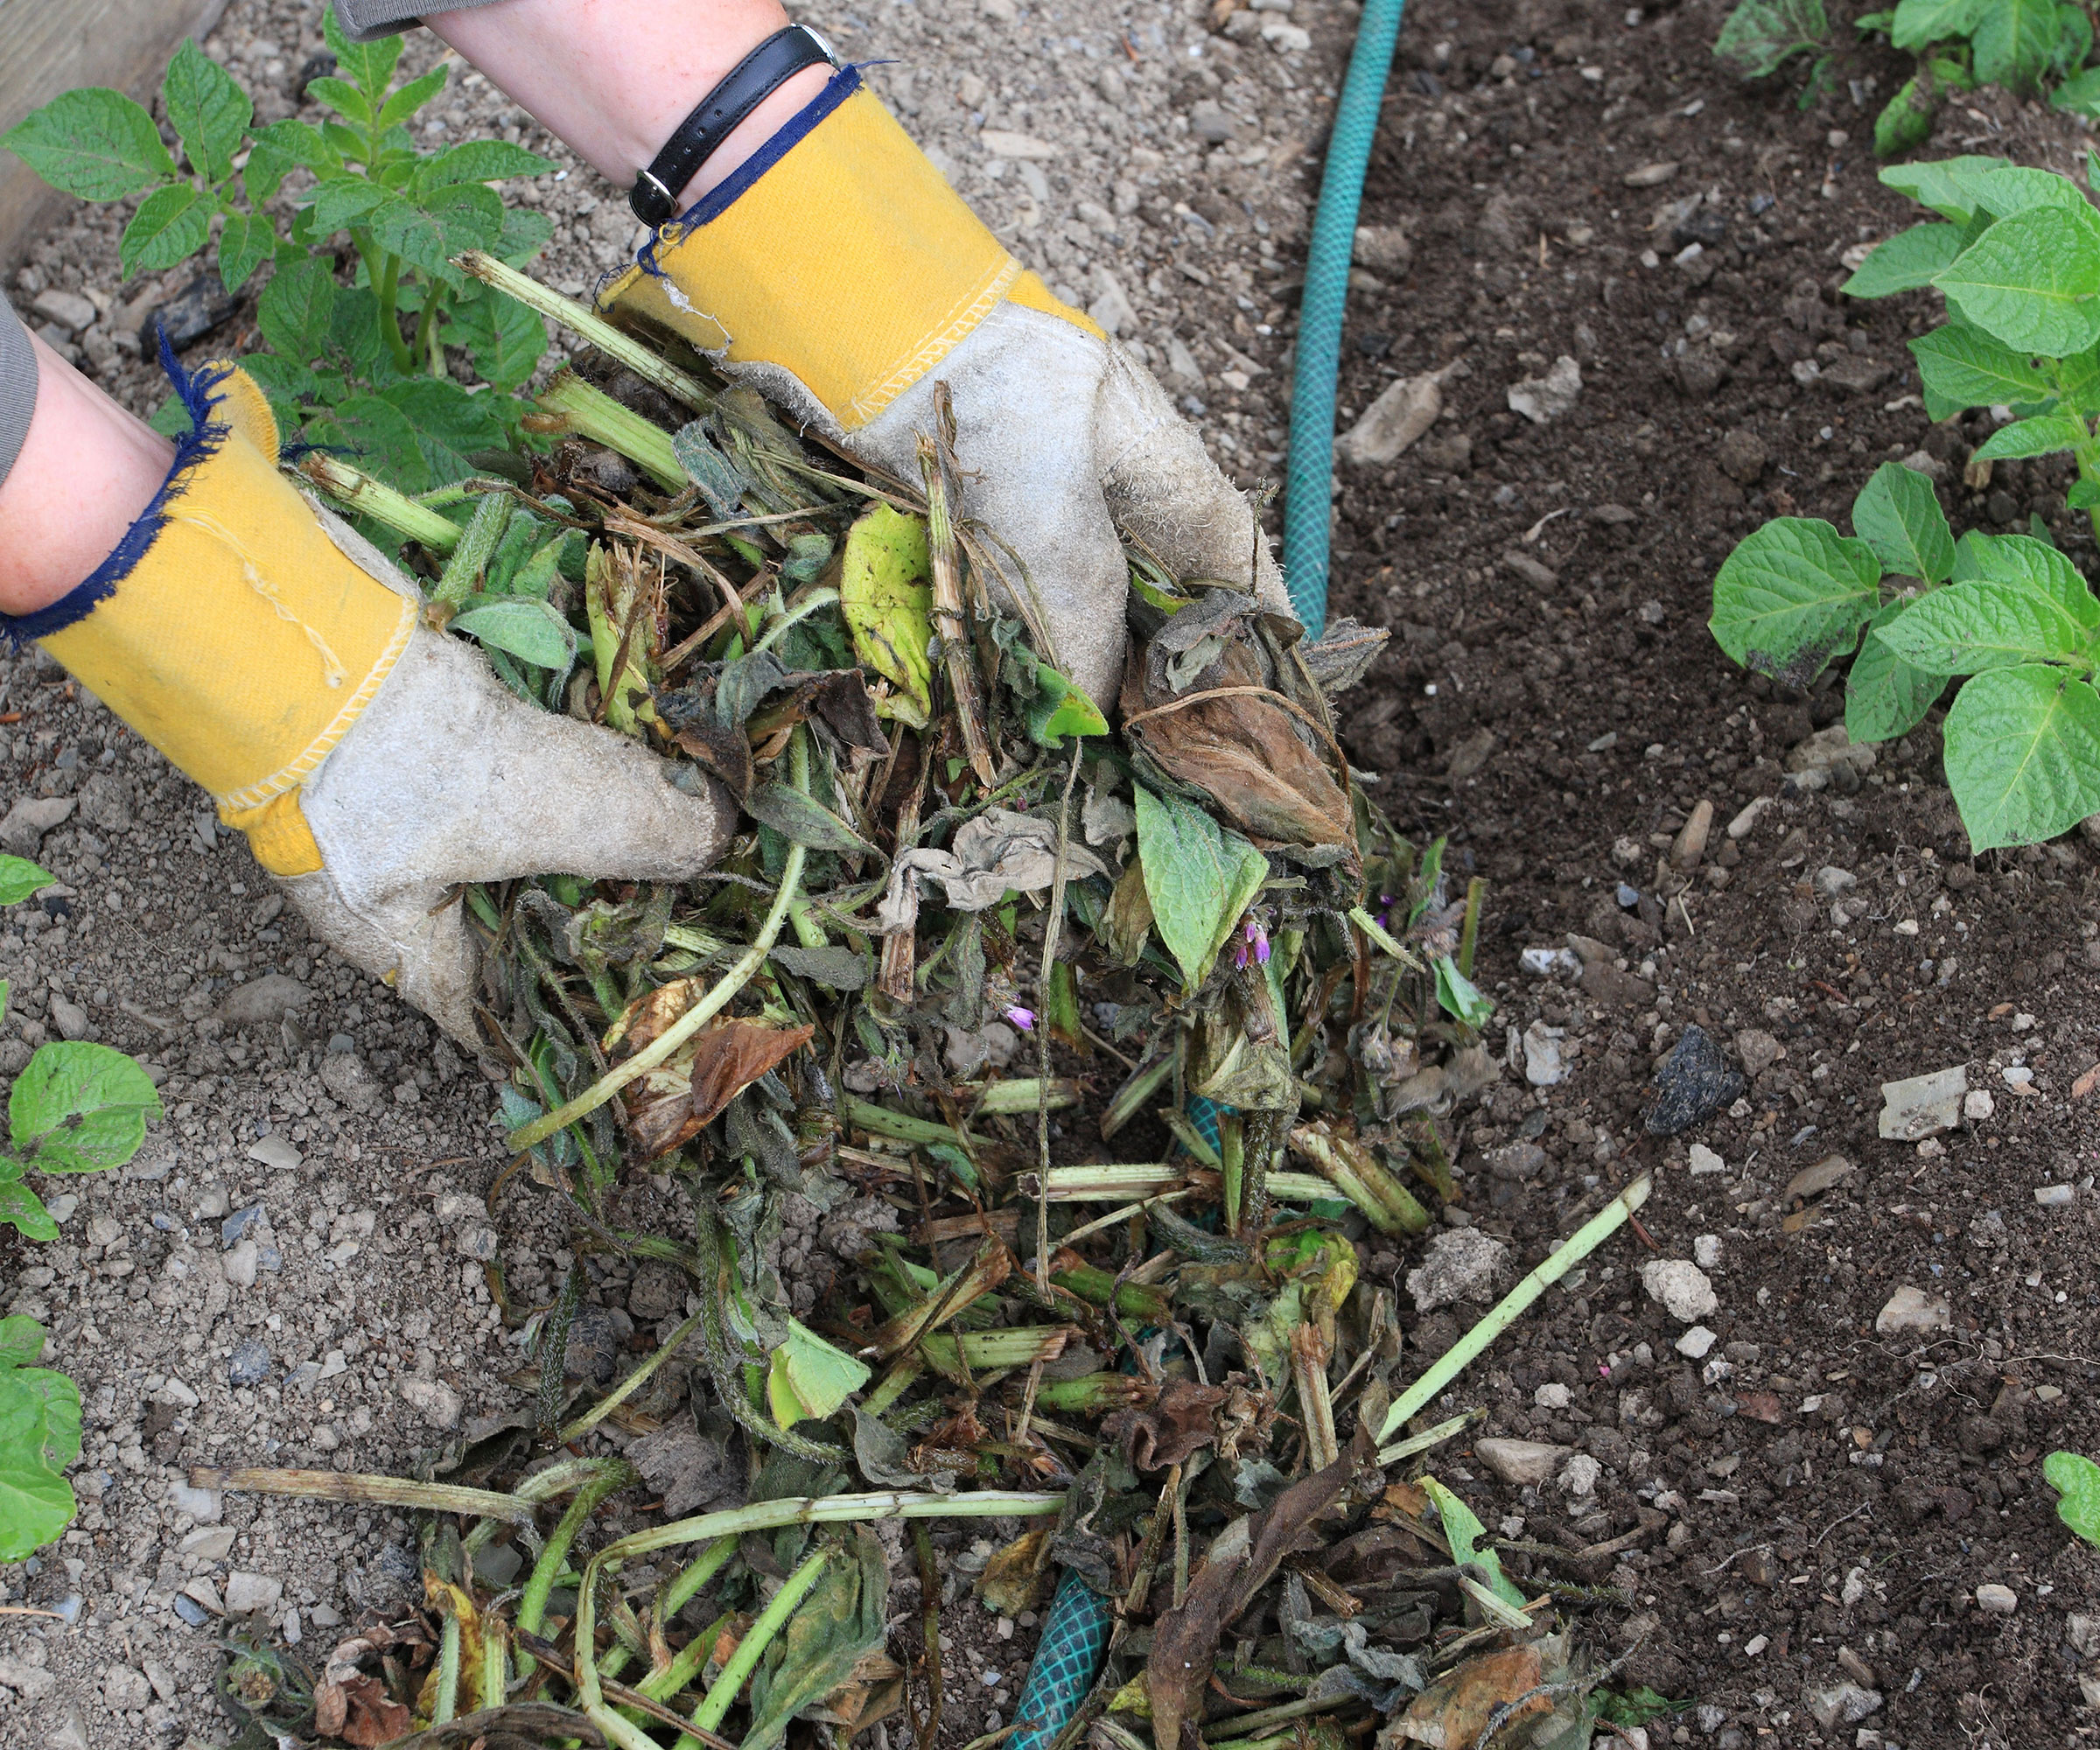
Comfrey can be used as a mulch around your plants
Other uses for comfrey leaves
- Dig in: Dig the wilted leaves into the ground where you want to grow new crops – they will break down and enrich the soil.
- Shred leaves: Once shredded, add them to potting compost or vigorous container plants. They may be too strong for young seedlings, so keep it for more developed plants.
- Line growing trenches: When planting crops, which are hungry feeders, line their growing trenches with chopped up comfrey leaves. They will rot down and feed the plants as they grow.
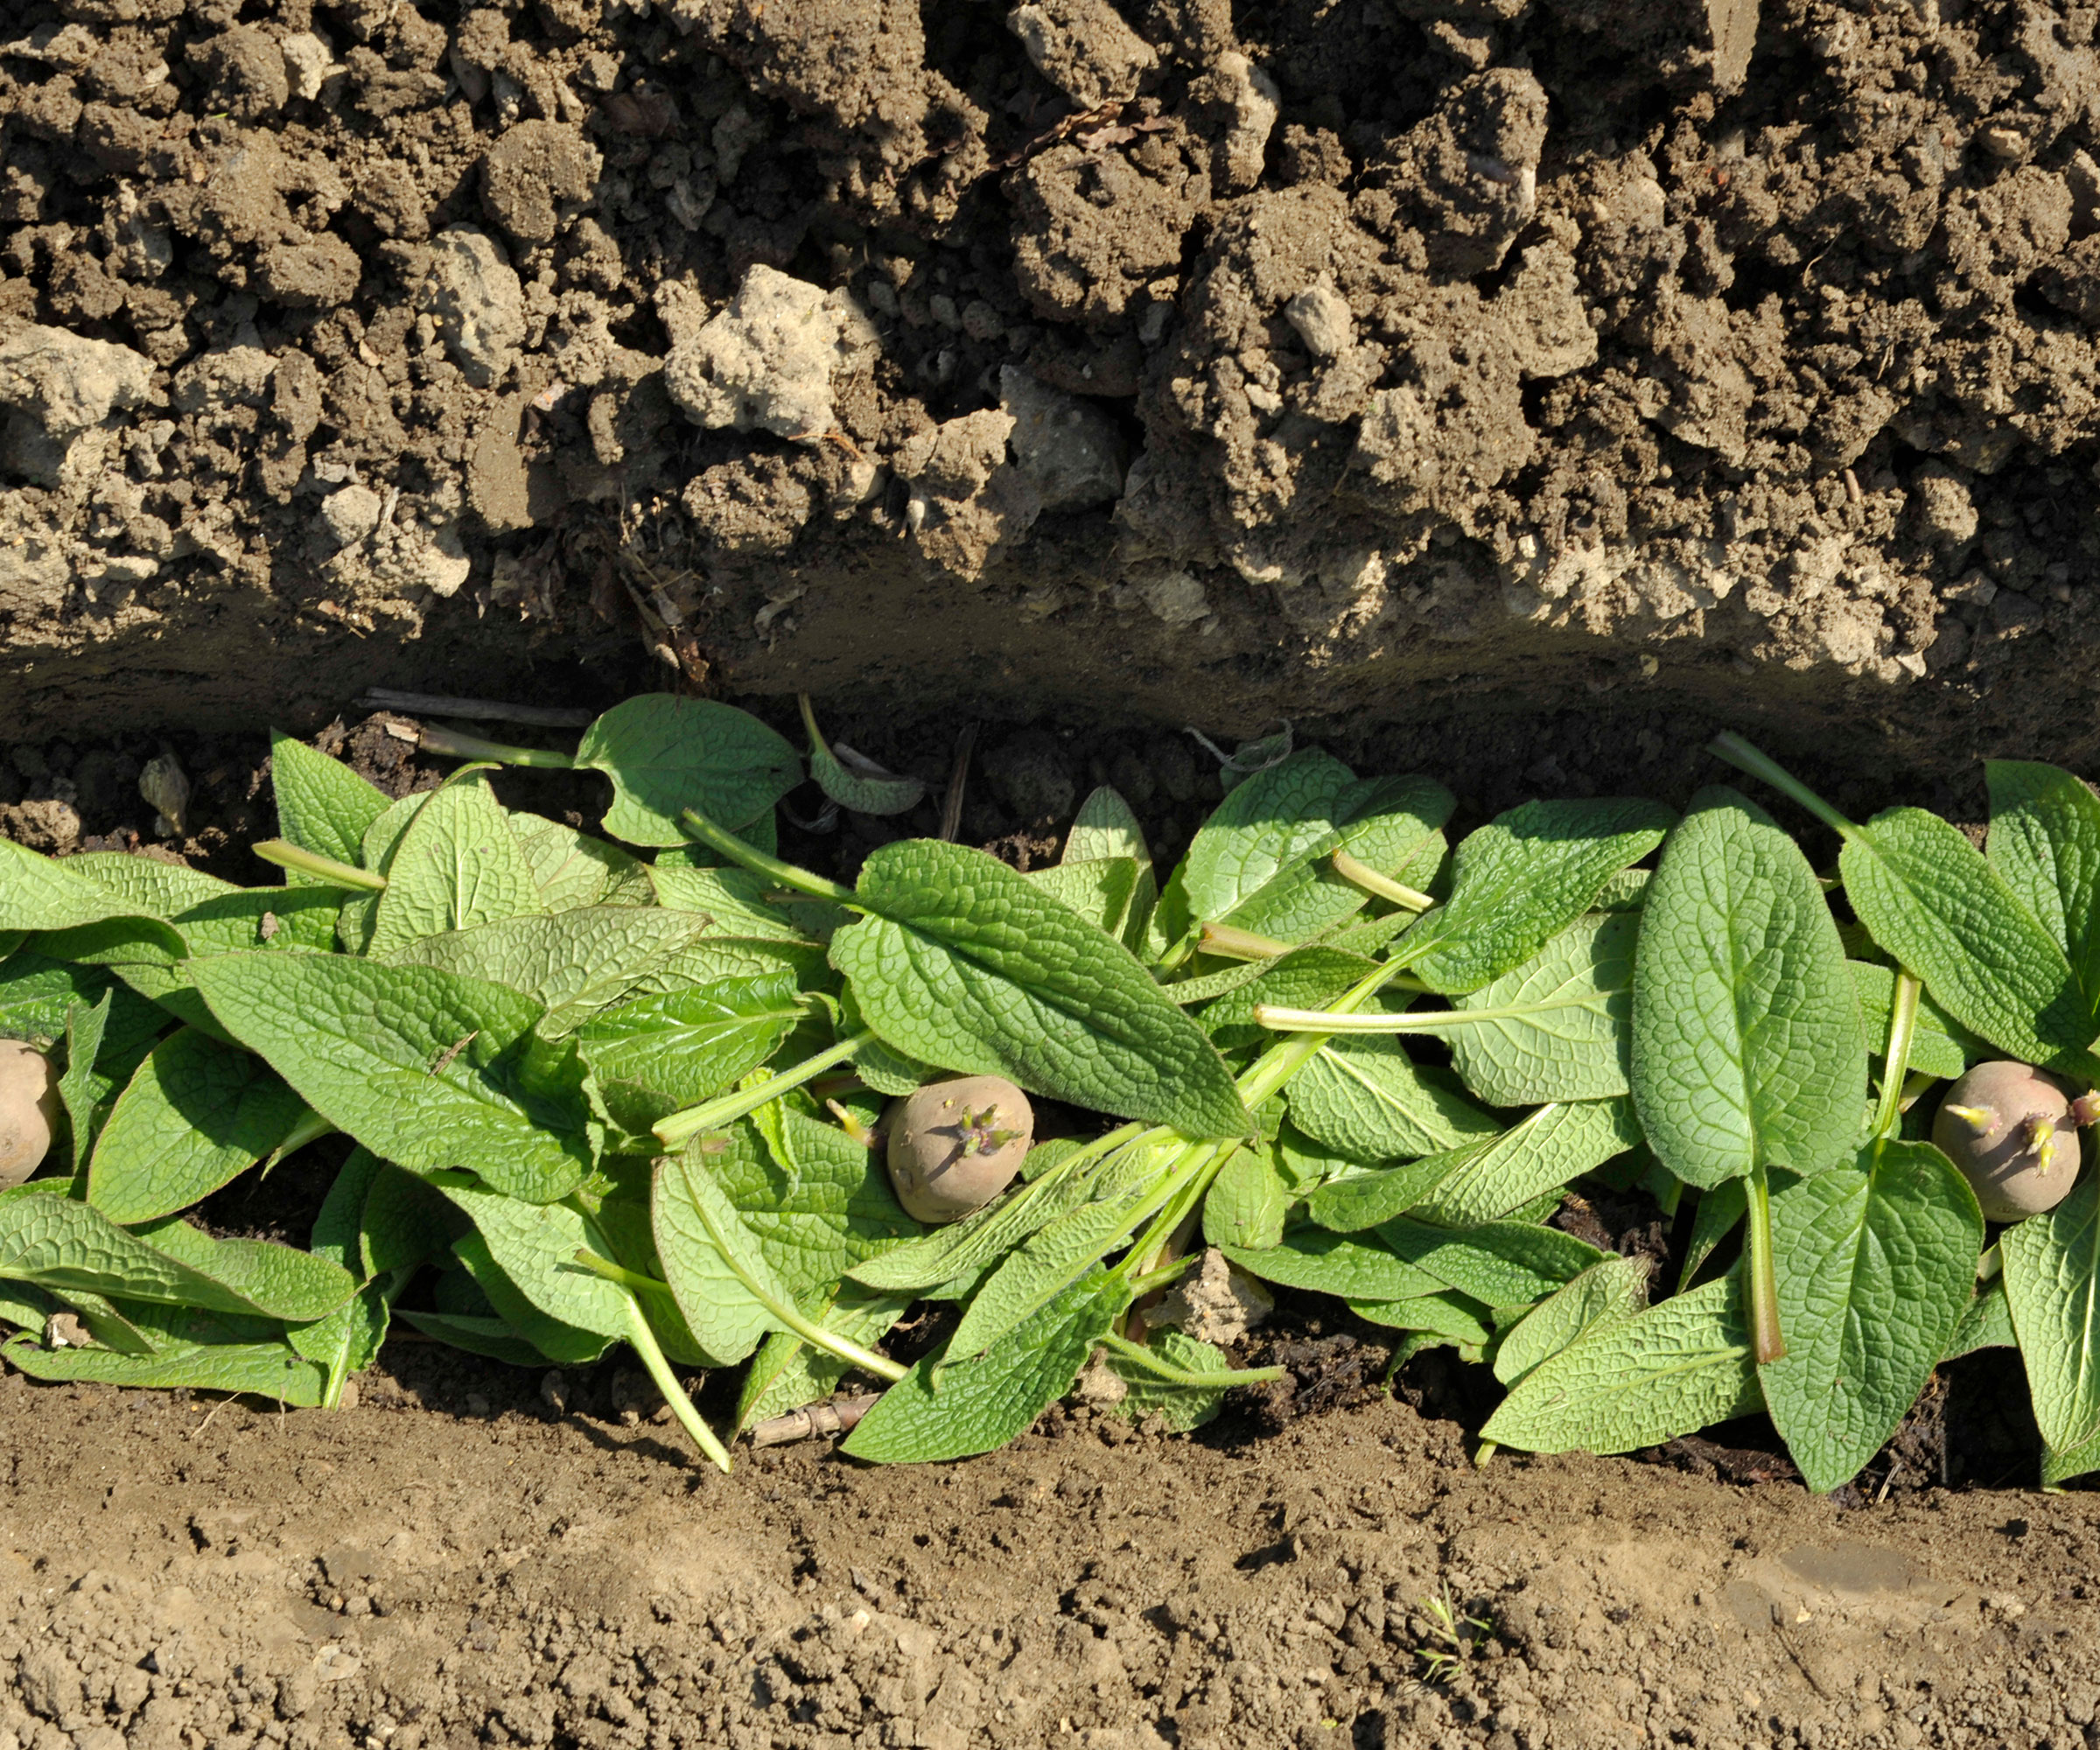
Line planting trenches with comfrey leaves so they feed the growing crops, like these potatoes
FAQs
How long does comfrey fertilizer last?
If you don’t get chance to use up all of your homemade comfrey fertilizer this year, store it somewhere cool and dark (such as a garage or backyard building), and it should still be perfectly good to use next year.
What type of plants is comfrey fertilizer good for?
Comfrey fertilizer will give a real boost to hungry crop plants such as tomatoes, peppers, cucumbers and squash. It is also good for young fruit bushes.
Using it to feed ornamentals in your flower beds will also encourage stronger plants and improved blooming.
If you've ever considered using coffee grounds on plants or even banana peels as a fertilizer, making your own comfrey fertilizer is another one to add to your list. It's a fantastic way to boost the growth of your plants using natural methods, making it the ideal choice for an eco-friendly garden.

Ruth is a Contributing Editor for Homes & Gardens, and formerly Gardening Editor of Amateur Gardening magazine. She is horticulturally trained, with a qualification from the Royal Horticultural Society. Her work for Amateur Gardening, the world's oldest weekly gardening publication, involved matching gardening tasks with each season, covering everything from sowing and planting, to pruning, taking cuttings, dealing with pests and diseases and keeping houseplants healthy. She is an expert in ornamental plants and edible crops, and everything she writes about and photographs is in her own garden, that has been a work in progress since her family moved there in 2012.