How to repot a peace lily – a step-by-step guide to success
Has your peace lily outgrown its pot? These tips will help you to give it a happy new home


Q: I have a peace lily that I keep on my desk. It's grown quite substantially over the last couple of years and is now starting to look crowded in its pot. Should I move it into a larger container? And if so, is there anything I need to bear in mind to ensure it continues to flourish?
A: Healthy houseplants need repotting from time to time, with peace lilies being no exception. This gives them the extra space they need to continue to grow, plus they'll benefit from the nutrients in fresh soil. What's more, repotting prevents the roots from becoming overly congested, which can impact water and nutrient uptake.
Peace lilies aren't particularly fast-growing plants, so you'll only need to repot them every two years or so. The process is quick and easy with the right know-how.

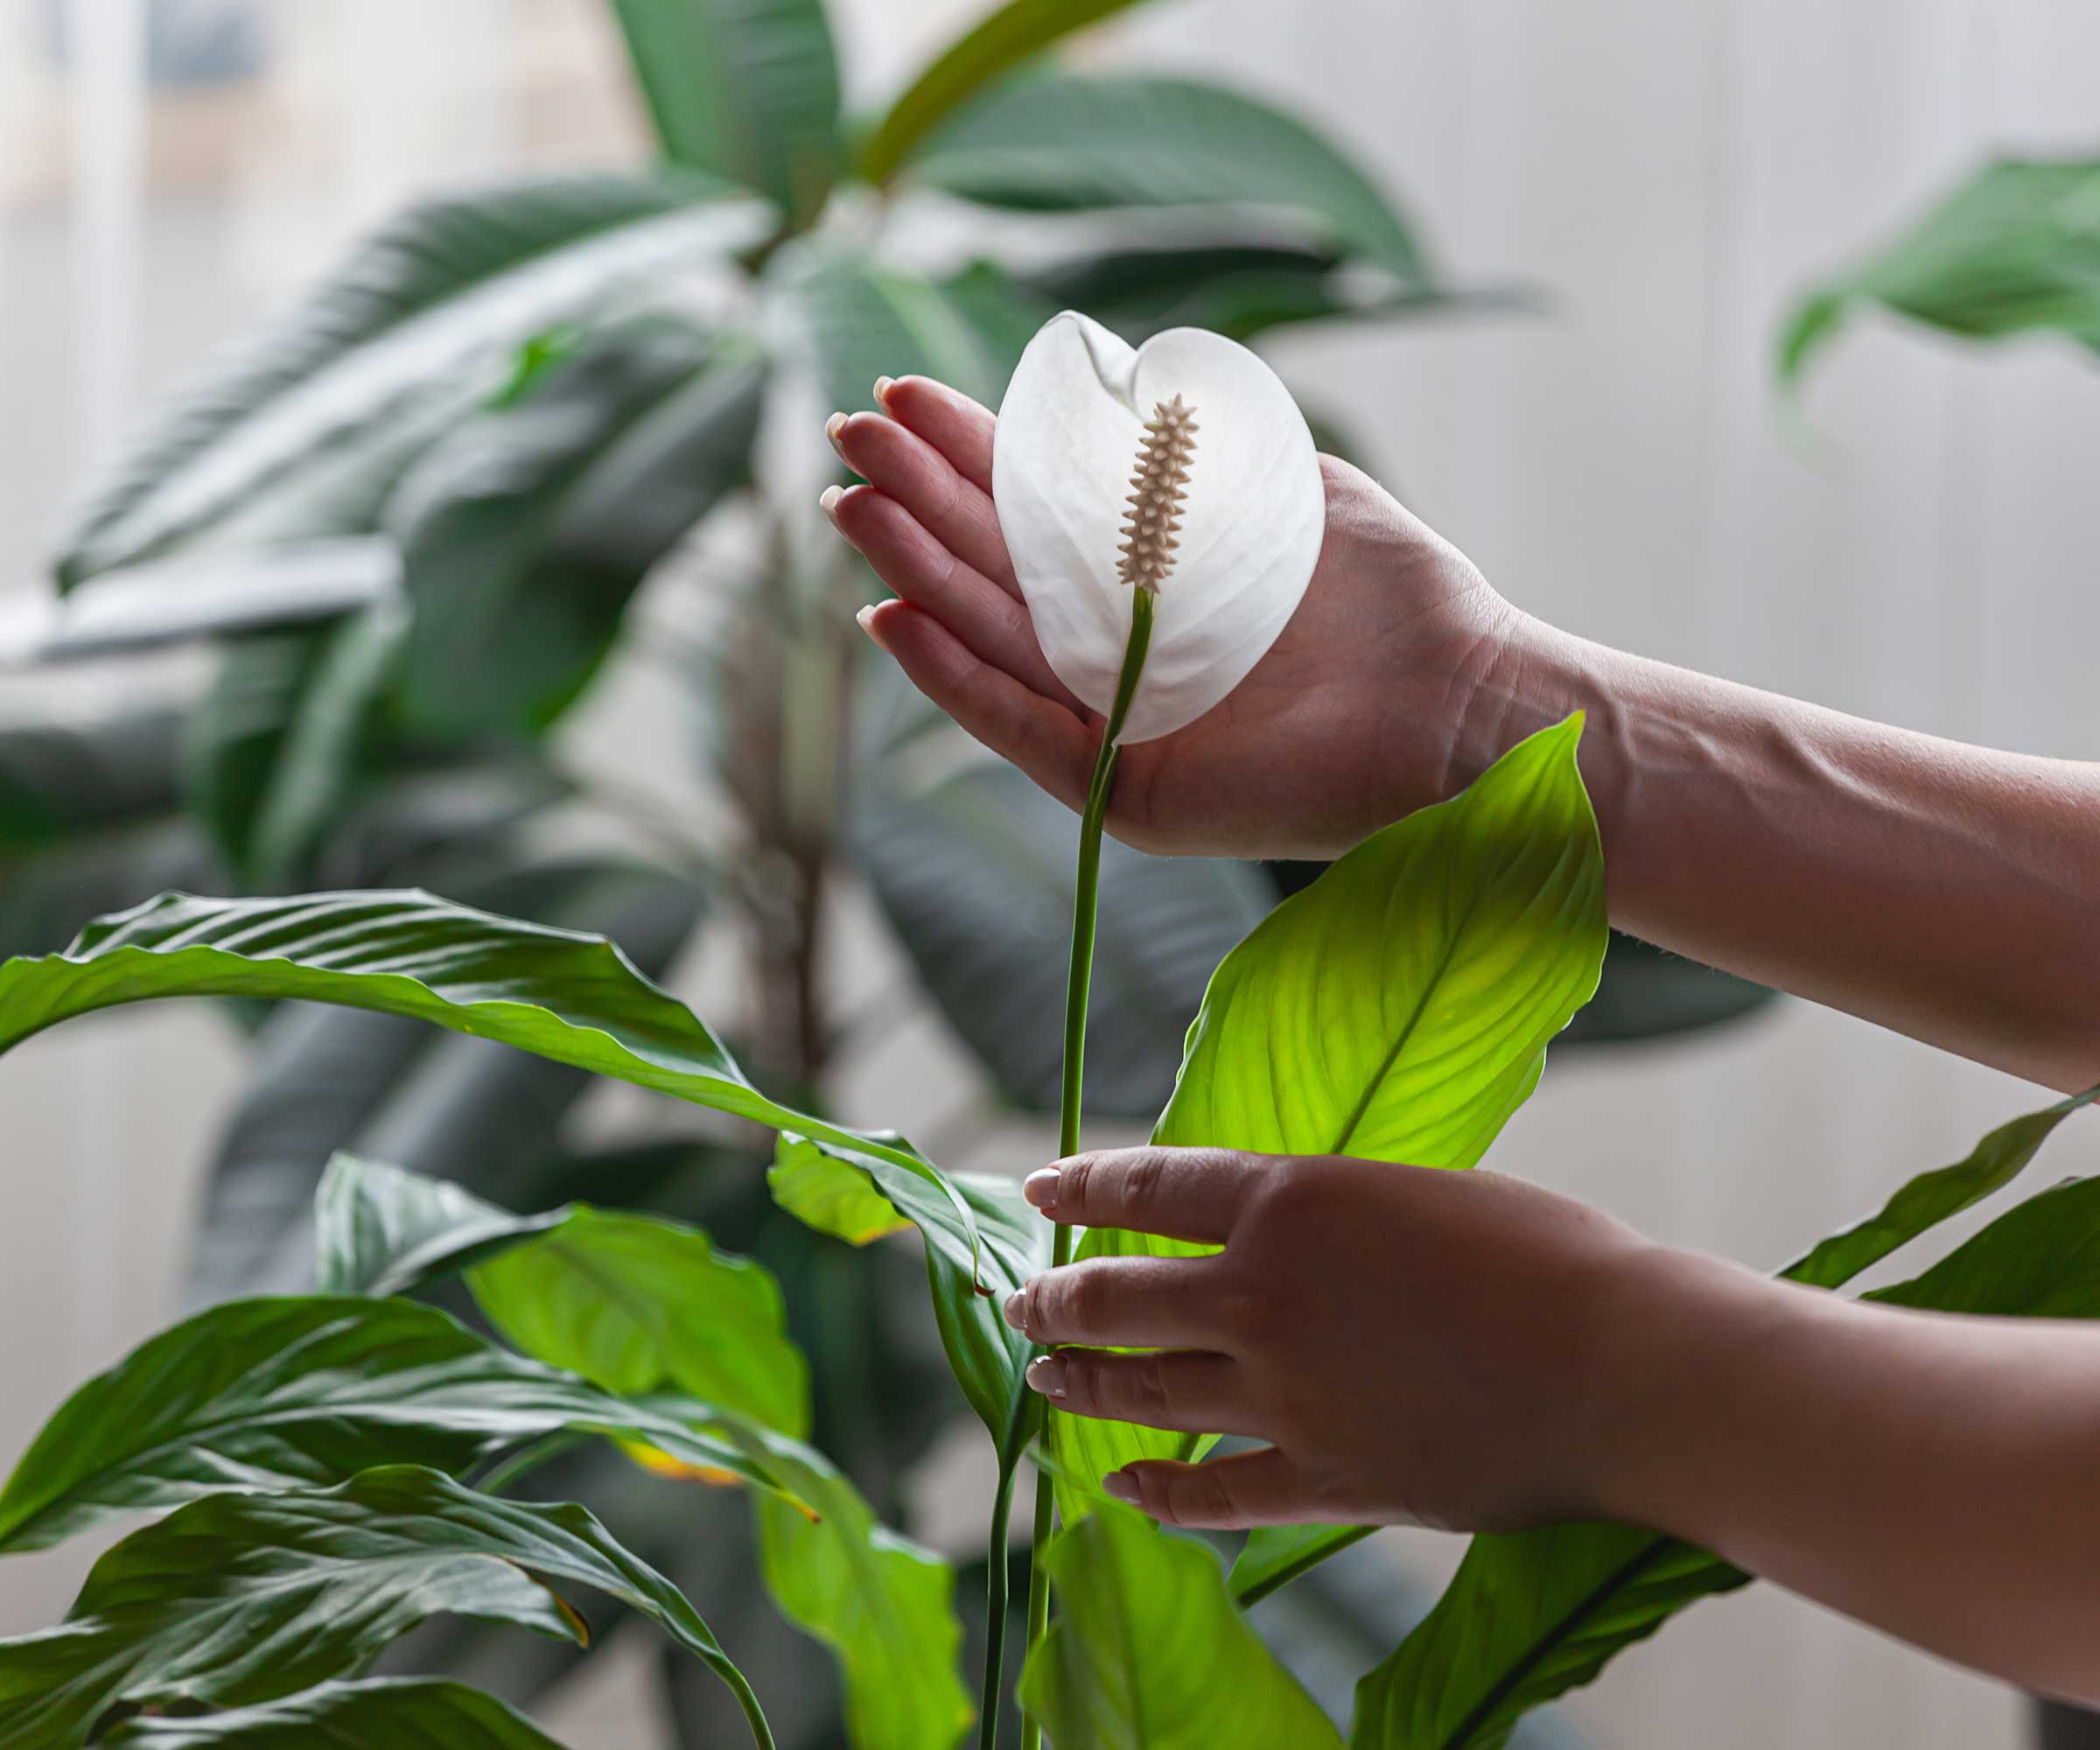
Peace lilies are a popular houseplant with attractive spathes
How to repot a peace lily in 5 steps
Simply follow these steps for happier houseplants:
- Find a pot that is around two inches larger in diameter than the pot your peace lily is currently in. Ensure it has drainage holes in the bottom.
- 'Use a well-draining potting mix, such as a blend of peat moss, perlite, and compost,' advises plant expert Autumn Hilliard-Knapp. You can buy organic perlite from Perfect Plants Nursery. 'Mix in some slow-release fertilizer for added nutrients,' she adds. Put a layer of this mix at the bottom of the new container.
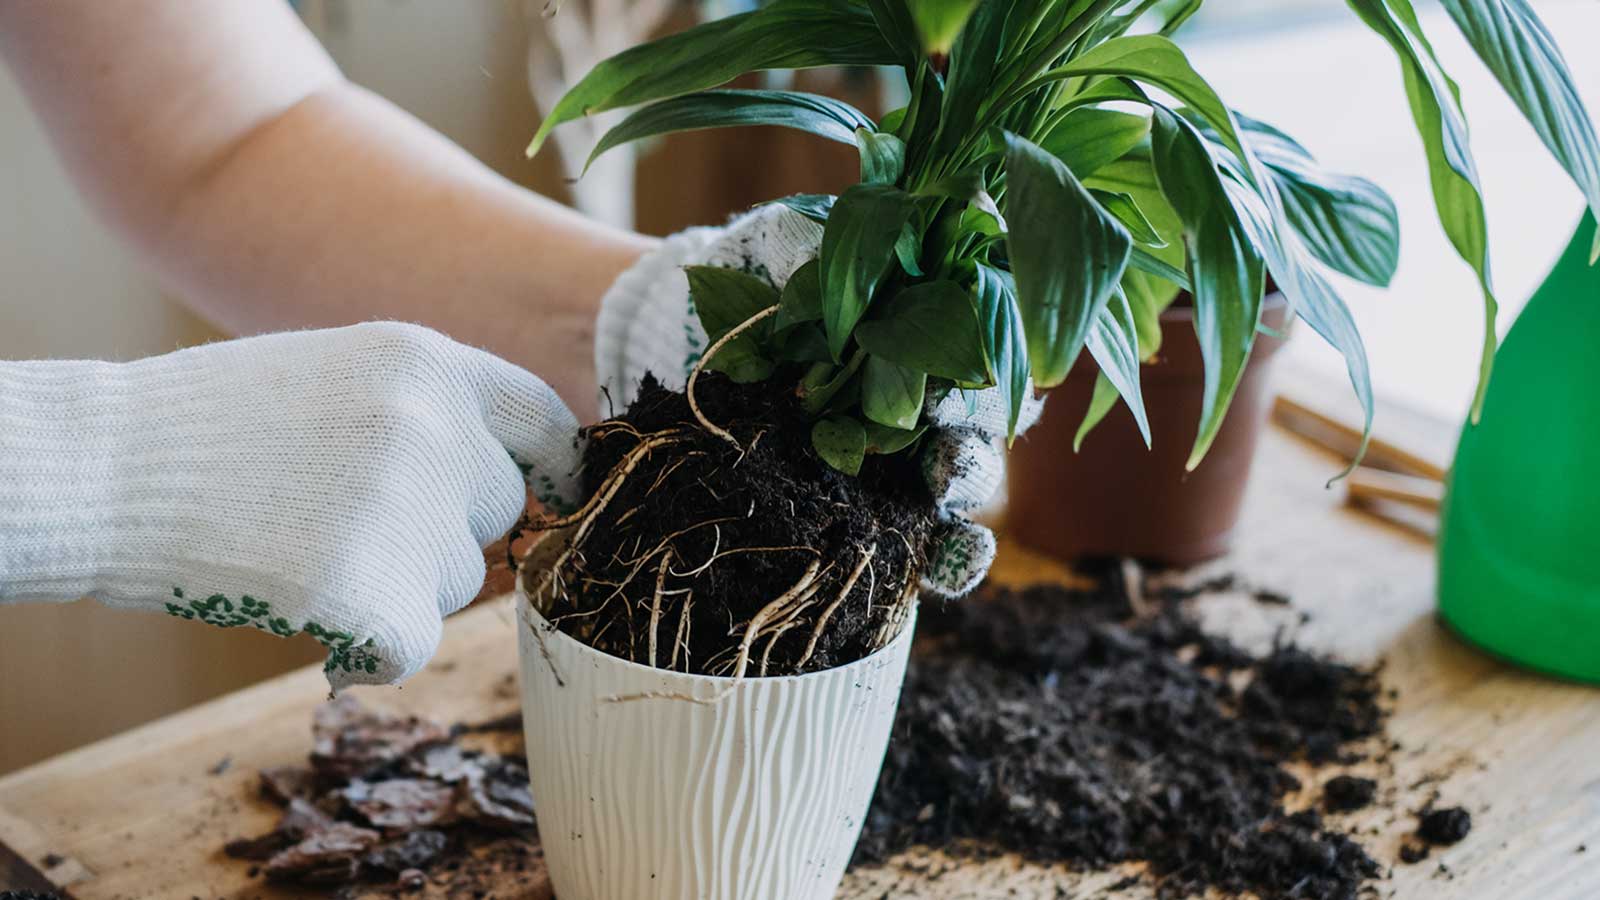
- Carefully remove your peace lily from its current pot. Wear gardening gloves while doing so, as these plants can irritate the skin. Tightly pot-bound roots can be carefully loosened by hand. 'If you notice any damaged or unhealthy roots, trim them with clean shears,' Autumn says.
- Plant the peace lily into the center of the new pot, at the same depth as it was originally planted. Fill in the surrounding gaps with the soil mix and gently firm it down.
- 'After repotting, give the plant a good watering to settle the new soil and hydrate the roots,' says Autumn. 'Ensure any excess water drains out of the pot.'
Prune your peace lily when necessary, and remember to avoid overwatering it – a common houseplant mistake. Regular misting to increase the humidity is beneficial. 'Strong light may damage the leaves, and the room temperature around it should not drop to below 55ºF,' adds gardening expert John Negus.

Autumn is a horticulture specialist and marketing professional at Perfect Plants Nursery. With four years of experience in the horticulture industry, she has developed a passion for helping people create beautiful indoor and outdoor spaces to enjoy. Her expertise in horticulture encompasses a broad range of activities, including plant care and selection, landscape design, and maintenance.

John has been a garden journalist for over 50 years and regularly answers readers' questions in Amateur Gardening magazine. He has also written four books and has delivered many talks over the years on horticulture.

Repotting a peace lily is a quick and simple job
The best time of year to repot a peace lily
Just as when propagating peace lilies, it's best to repot them once the temperatures have warmed in spring and they are no longer dormant. This will encourage them to recover and put on new growth quickly.
Repotting can also be an effective solution for overwatered plants that are suffering from root rot (they'll often turn yellow as a result). If this is the case, repot them when you spot the problem, regardless of the time of year. Cut away any rotted or damaged areas from the root ball before you plant it into fresh soil, and avoid watering them straight away.
Design expertise in your inbox – from inspiring decorating ideas and beautiful celebrity homes to practical gardening advice and shopping round-ups.

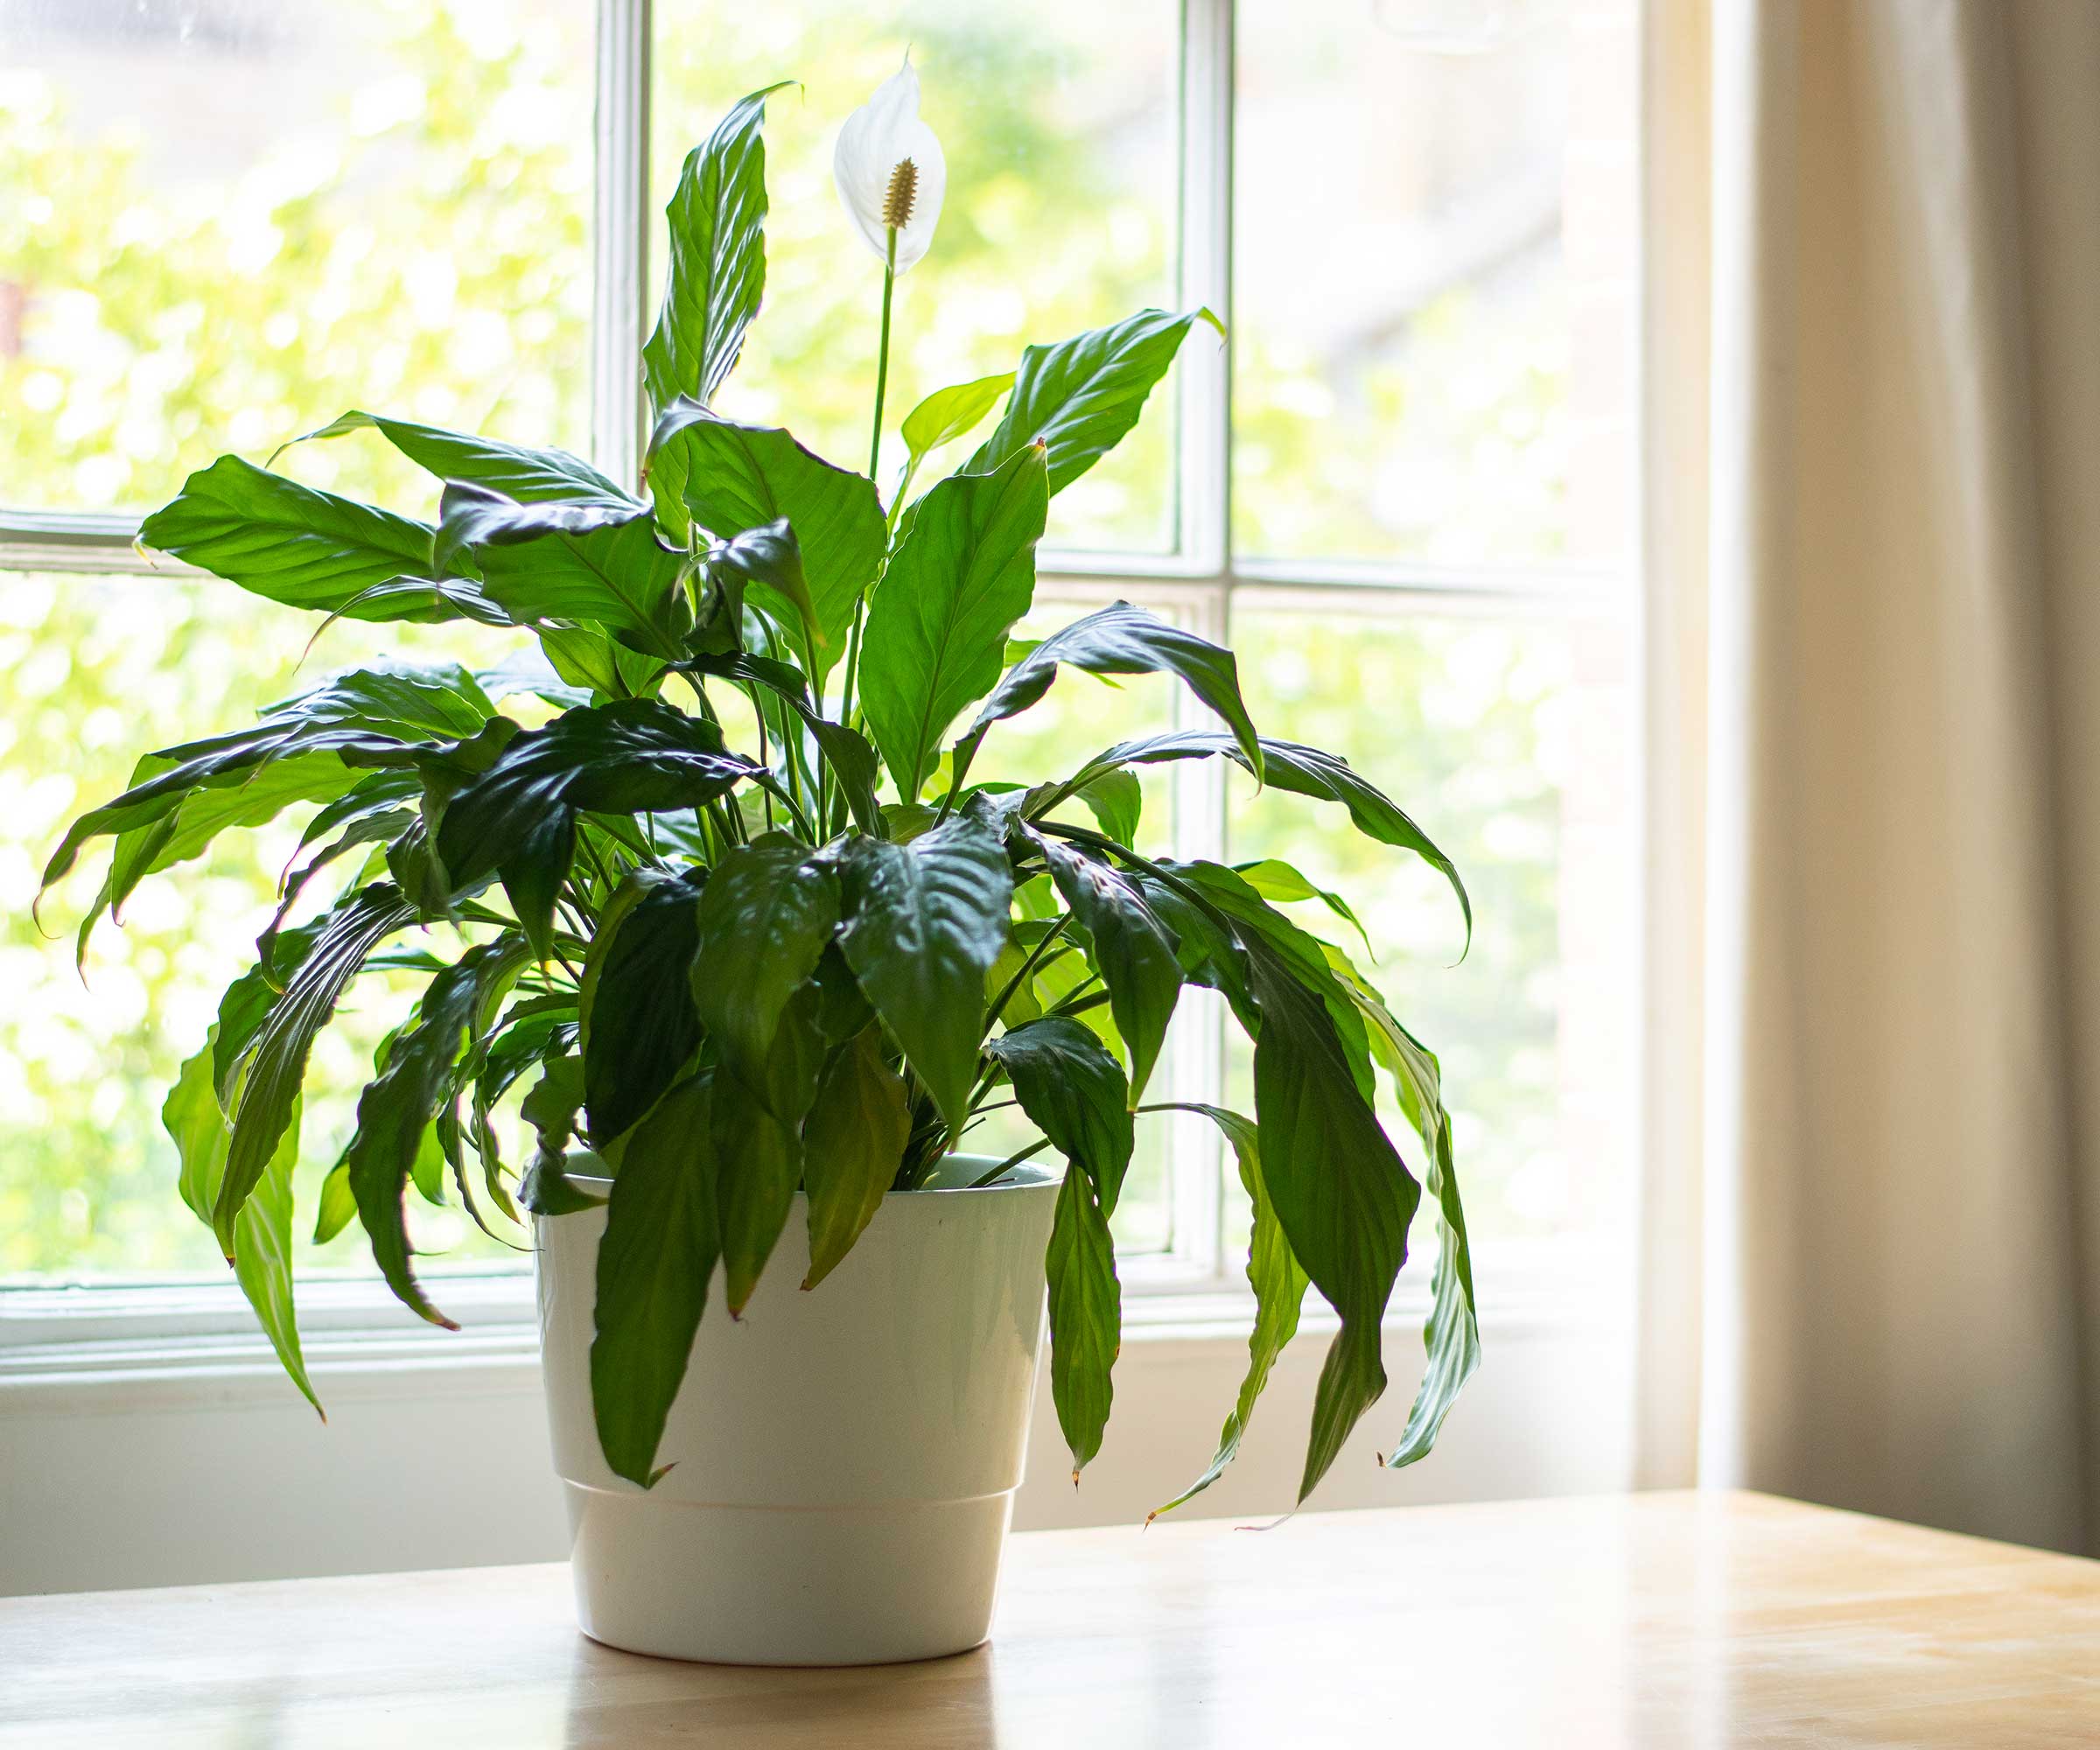
Peace lilies thrive in bright, indirect light
FAQs
Can you divide a peace lily at the same time as you repot it?
Splitting up peace lilies can give them a new lease of life, and it's simple to do. Plus, it's a great way of getting new plants for free.
Once you've removed the plant from its pot, gently prise it into sections using your hands or a sharp, clean knife. Make sure there are plenty of roots attached to each division. Repot the sections into smaller pots filled with a well-draining soil mix as soon as possible.
How can you tell if a peace lily has congested roots?
There are a few telltale signs of a root-bound peace lily that needs repotting. First, check for roots pushing through the drainage holes of the pot. A generally unhealthy-looking plant can also signal that it's time to repot, especially if all other conditions are optimum. Also, the soil will start to dry out much quicker than it used to (for instance, in three days compared to seven or eight days), points out Vladan Nikolic of the Mr. Houseplant website.
As well as these signs, a root-bound plant will be trickier to remove from its pot – you may need to water it first, or use a knife to carefully ease it from the sides. And once it's removed, the roots will be tightly coiled.
Don't forget to repot your other houseplants, too, to keep your indoor display looking its best. Whether you have a fiddle leaf fig, monstera, succulent, orchid, or something else, they will all benefit from a fresh environment when the time is right.

Holly started writing about gardening five years ago, and she is a regular contributor to Homes & Gardens. She has also written many gardening features for Woman & Home and Real Homes, too. She has previous experience as a professional gardener, where she helped to plant and maintain private gardens. Holly has also looked after allotment plots over the years and loves to grow her own flowers and veggies from seed. In her spare time, she enjoys visiting local gardens, botanical drawing, and tending to her ever-growing collection of houseplants.