How to propagate a peace lily – follow these 5 easy steps and create new plants for free
This method for dividing a peace lily is quick, easy and super effective


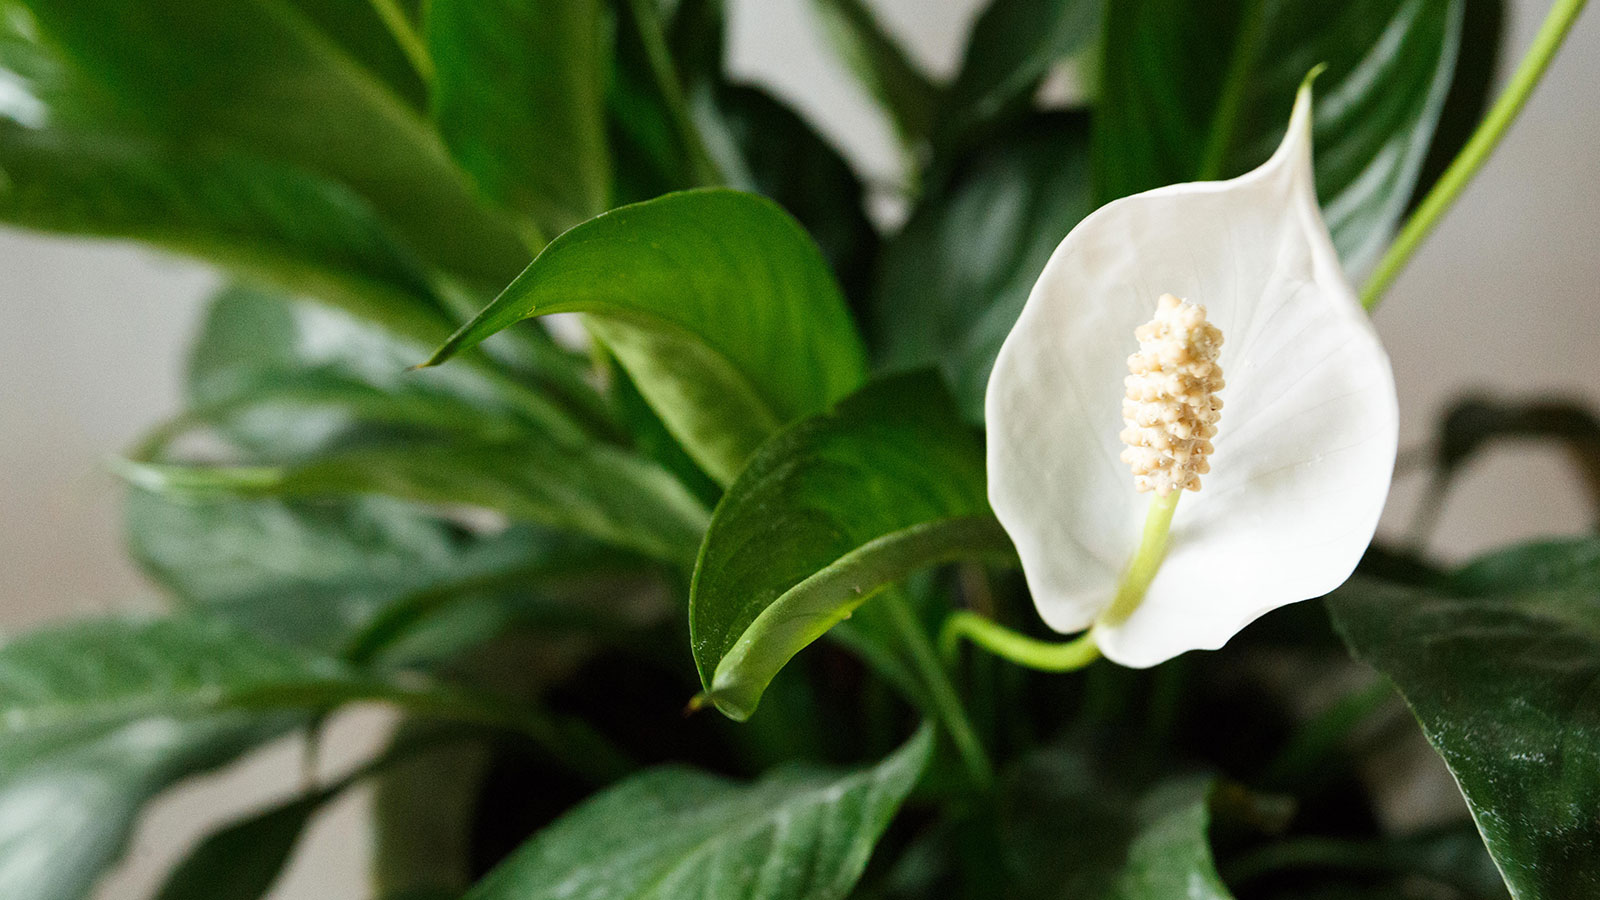
Peace lilies are traditional houseplant staples. Whether you were given one as a gift or grow them for their spadix inflorescence, there is little not to love about these houseplants.
As peace lilies are so easy to grow and adapt well to indoor conditions, you’ll likely find yourself wanting more once you've got one. Rather than dipping into your houseplant budget, however, you can simply double your stock through propagation.
Peace lilies are best propagated by division – splitting existing plants into two or more sections and replanting them.
Propagating a peace lily in 5 simple steps
Dividing a peace lily doesn’t require many tools and can be combined with repotting to complete two essential indoor plant tasks in one. Here’s how to get it right.
1. Remove the plant from its pot
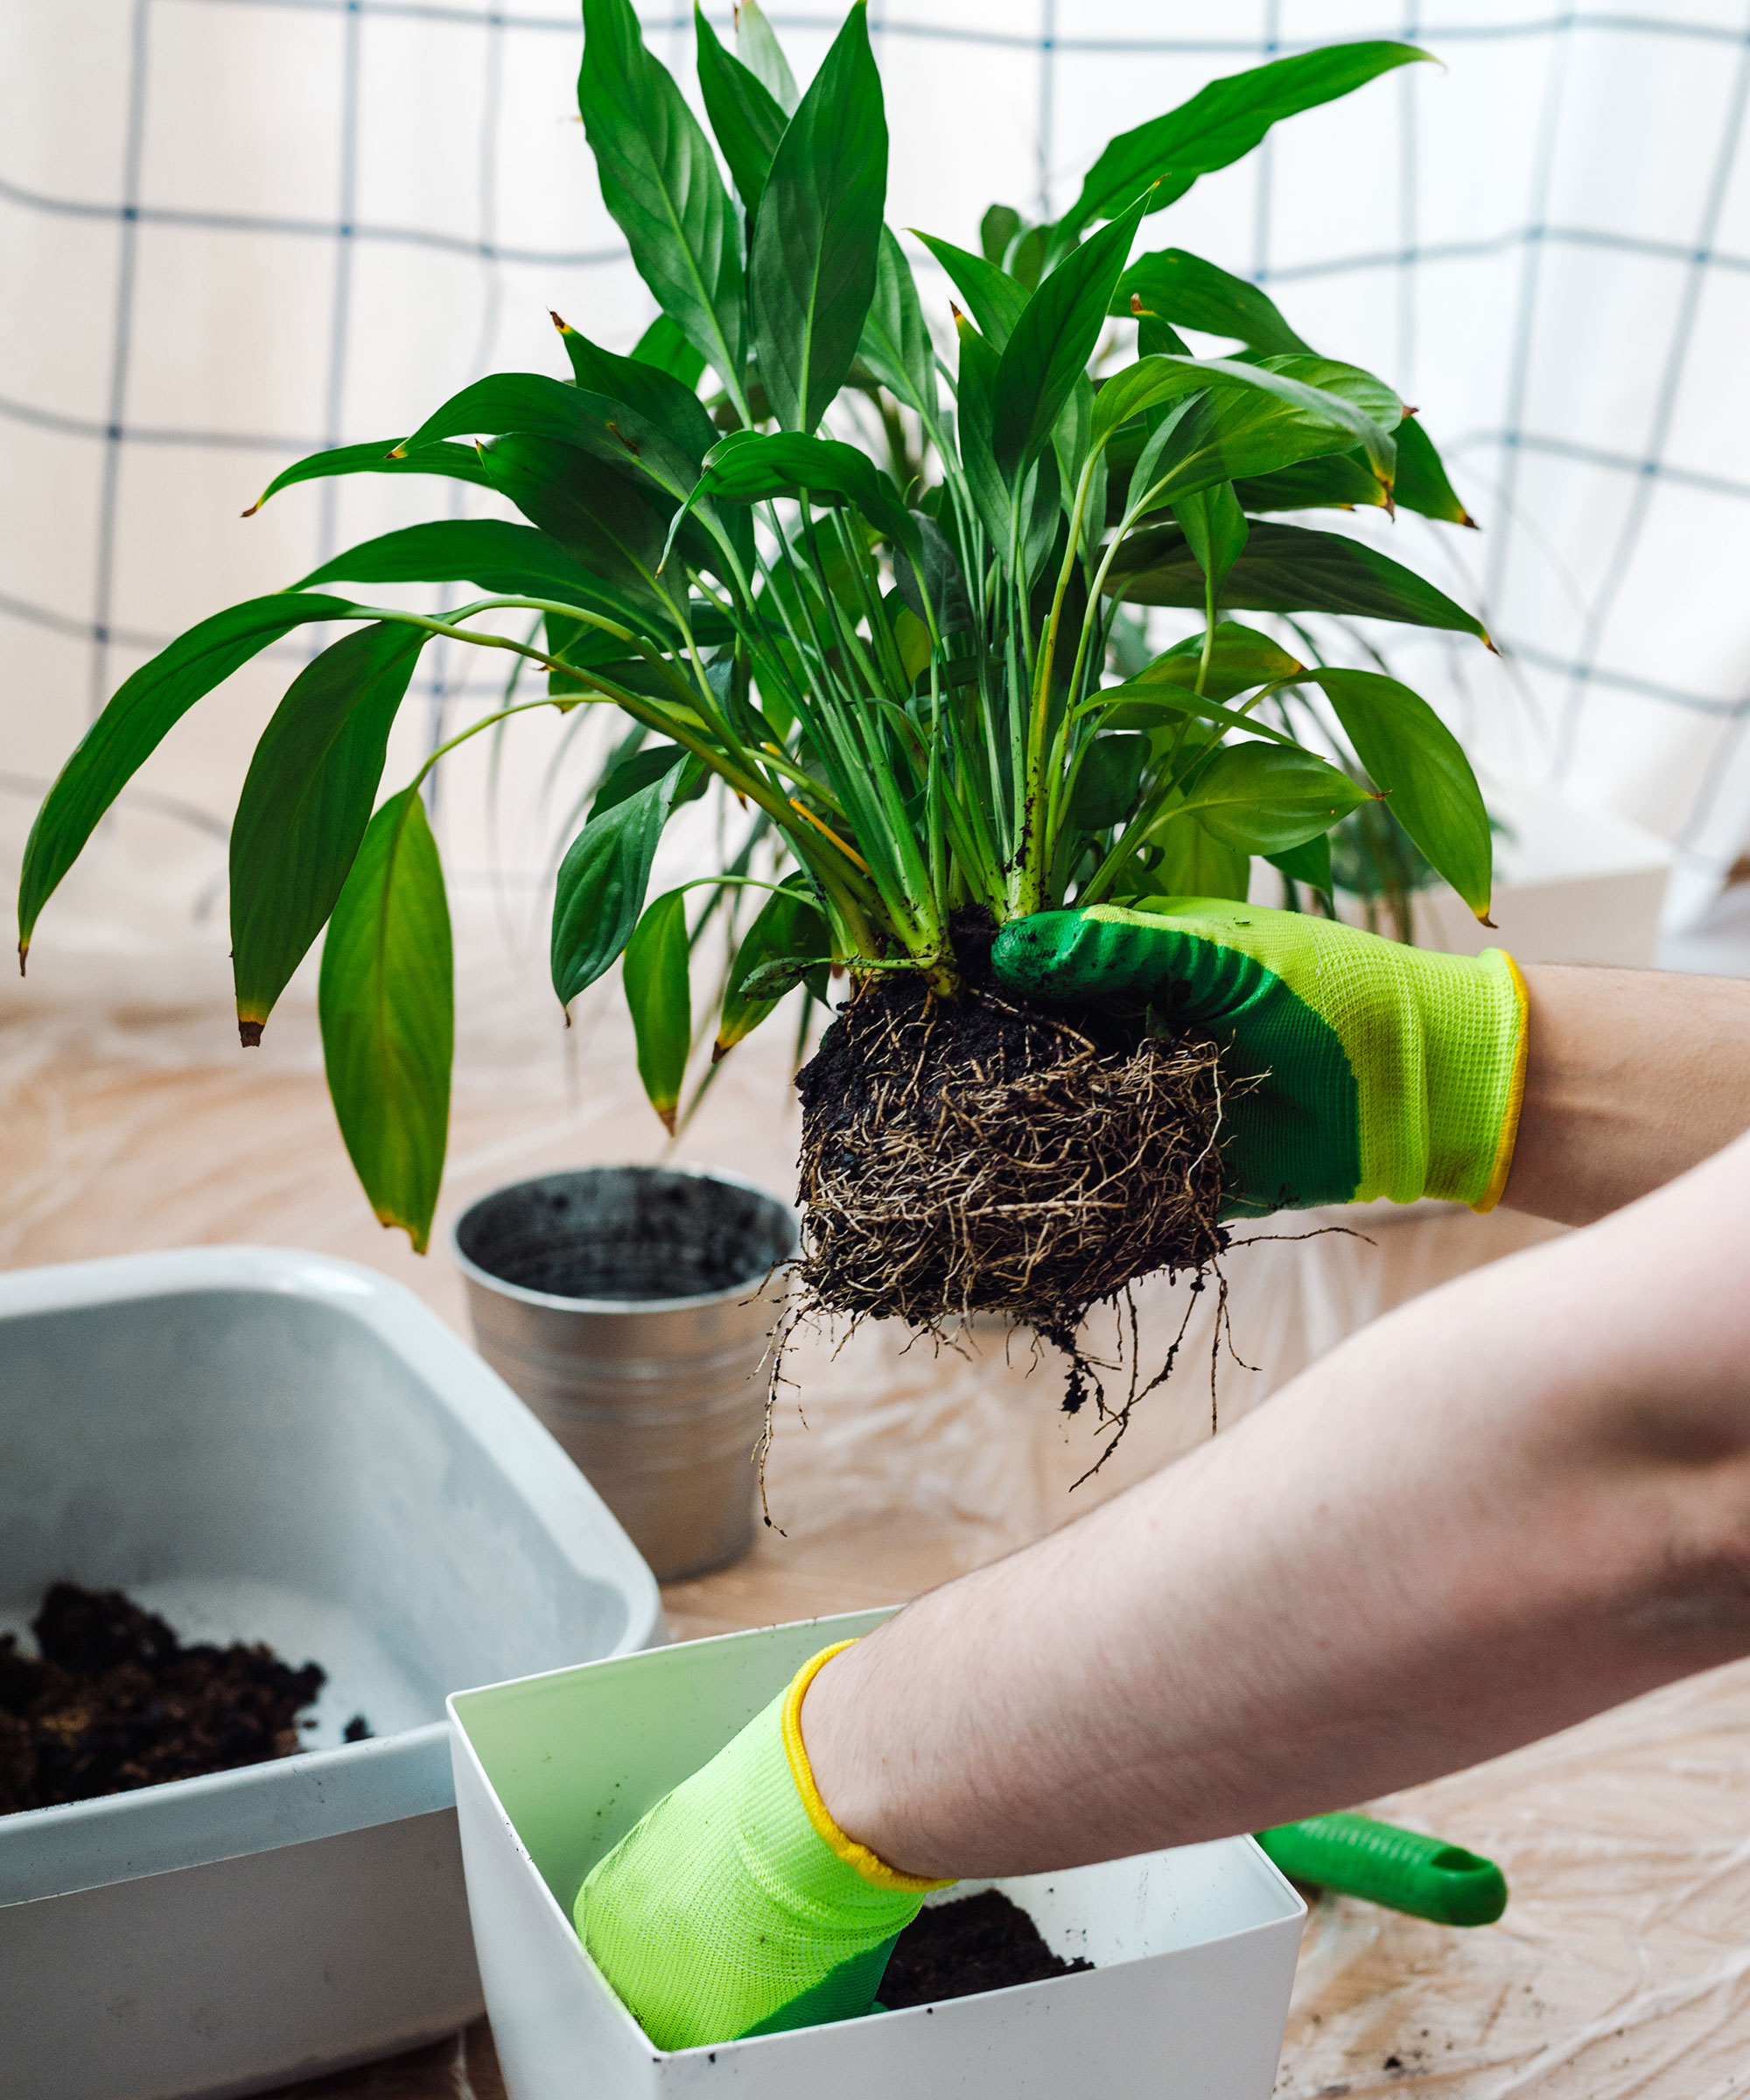
Division starts by removing the plant from the existing pot. While propagating from cuttings is usually done above the soil line, dividing plants requires a close look at the roots and removing of soil to split the plant into sections.
If your peace lily is planted in a plastic container, you can squeeze the sides to loosen the roots. For rigid containers like terracotta or ceramic, run a knife around the edge to release the roots from the sides and pull the plant out.
To remove the plant, turn the container on its side and gently pull from the base. Pulling from the leaves or blooms is a common houseplant propagation mistake and can lead to damage, especially if the roots are stuck to the container.
Design expertise in your inbox – from inspiring decorating ideas and beautiful celebrity homes to practical gardening advice and shopping round-ups.
As this task can be quite messy (similar to repotting), I like to lay down some newspaper to catch the soil. When you’re done, simply wrap it up and take it outside to limit any mess.

It's important to get a good look at the roots when dividing a peace lily
2. Tease the roots
Once the roots are exposed, gently tease them from the bottom to loosen any sections that are wrapped around each other. Remove some of the soil around the roots as you go. This will help you get a closer look at the base of the plant to identify the sections to divide.
While it is important to be gentle to limit damage, don’t worry if a couple of the roots break off in the process. As long as the bulk of the roots remain healthy and intact, new roots will continue to grow – plants are tougher than you think.
3. Split into sections
Next comes the hardest part: splitting the sections. Depending on the size of your peace lily, you can divide the plant into two or three sections, potentially more. Some smaller sections may come off on their own, ready to be replanted if they have enough roots to survive alone.
I typically prefer to split peace lilies into two to keep the plants looking lush after they have been divided. This also ensures they have enough leaves to grow and establish quickly after planting.
Once you’ve got a hold of each side, start gently pulling and shaking the two apart. At first it will feel like they won’t budge. Keep pulling slowly until the roots release and each section is on its own.

Depending on the size of your plant, you might be able to split it into several new ones
4. Replant each section
To replant each of your divisions, prepare the same number of pots as the sections you have. Use a well-draining houseplant potting mix, closely matching the soil your peace lilies were planted in originally. Miracle-Gro Indoor Potting Mix from Amazon is suitable for a wide range of houseplants and contains coconut coir for good moisture control.
Avoid regular potting soil or garden soil as these are typically too dense for peace lilies, increasing your chances of root rot. I like to make my own potting mixes by combining two parts potting soil with one part perlite for drainage and one part coconut coir for moisture retention.
Fill each container with a layer of this mix and lower the sections inside, filling in the gaps with extra potting soil. Press down around the base of the plant to remove any large air pockets. Ensure the plant is buried at the same height and is sitting upright to stop it from becoming lopsided.
5. Aftercare
As soon as you’ve planted, water the soil thoroughly. This will help the roots settle and encourage them to spread out into the soil. Dividing can be a stressful process, so the sooner you water, the better.
Once all the excess moisture has drained, find the perfect spot for your divided plants. If you're decorating with plants, a bright area protected from the path of direct sun and away from drafts is best.
Don’t worry if you notice some slight wilting a few weeks after planting. It can take a while for the plant to recover. Keep up with care and each of your new peace lilies should be back to normal in no time.
Best time to propagate a peace lily
As most root growth occurs when temperatures are warm in spring and summer, these are the best times to propagate a peace lily. However, as long as temperatures are warm and consistent indoors, you can propagate your peace lilies at any time of year.
I like to divide whenever my plants outgrow their containers to complete two tasks in one. Your peace lily should also be big enough to easily split into sections before dividing to ensure each plant will grow happily on its own.
If your peace lily is drooping, this could also be a sign that it needs to be repotted.
FAQs
Can you propagate peace lilies from leaves?
Unfortunately, peace lilies don’t have the right tissues to grow roots from single leaves. Division is the easiest propagation method and doubles your stock almost instantly.
Just like pruning a peace lily, propagating is another task that can keep your favorite houseplant in good health. What's more, once you've mastered how to get new plants by division, you can try this approach with other plants and propagate a spider plant or a snake plant to get even more houseplants for free.

Madison is a garden writer and editor, covering all things outdoors and lifestyle. After completing a BA in History and Political Science, she transformed her years-long passion for plants into a career writing for both digital and print publications. As garden editor of several print titles, Madison focuses on trends and developments in the continuously expanding gardening industry. When not typing away at her desk, she tends to her ever-growing houseplant collection and travels frequently, photographing and reporting on gardens around the world.