What is leaf mold? 6 steps to make leaf mold for a healthier, organic garden
Transform fall leaves from a nuisance into a multipurpose garden essential – with no expense


Design expertise in your inbox – from inspiring decorating ideas and beautiful celebrity homes to practical gardening advice and shopping round-ups.
You are now subscribed
Your newsletter sign-up was successful
Want to add more newsletters?

Twice a week
Homes&Gardens
The ultimate interior design resource from the world's leading experts - discover inspiring decorating ideas, color scheming know-how, garden inspiration and shopping expertise.

Once a week
In The Loop from Next In Design
Members of the Next in Design Circle will receive In the Loop, our weekly email filled with trade news, names to know and spotlight moments. Together we’re building a brighter design future.

Twice a week
Cucina
Whether you’re passionate about hosting exquisite dinners, experimenting with culinary trends, or perfecting your kitchen's design with timeless elegance and innovative functionality, this newsletter is here to inspire
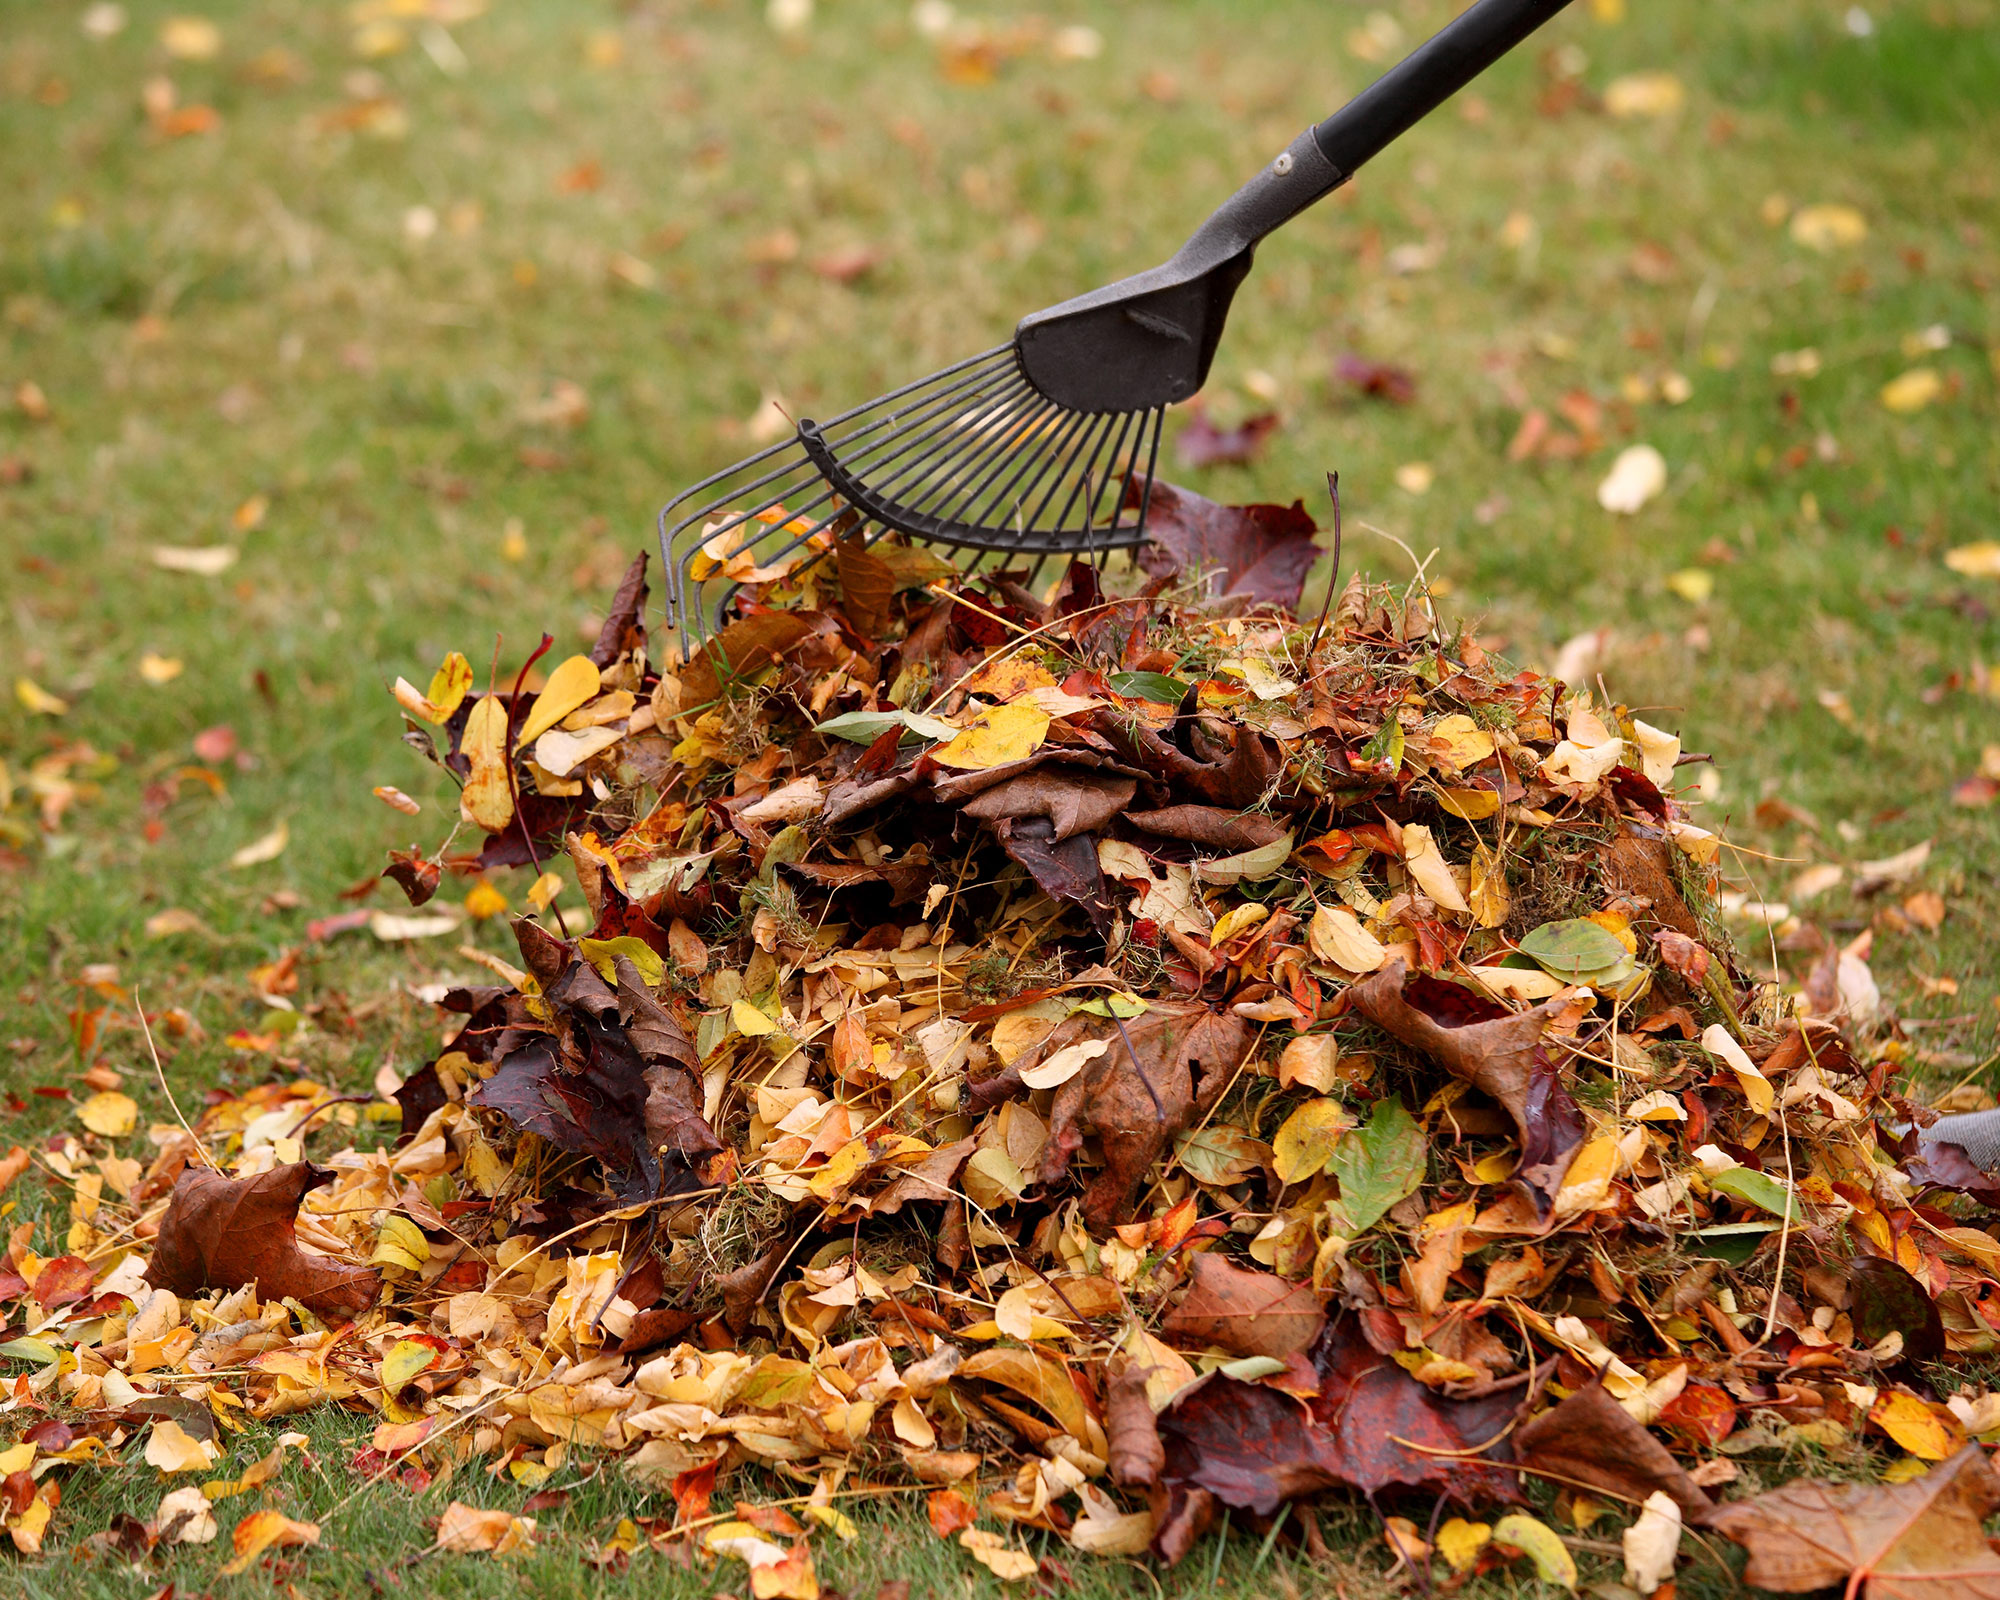
That thick layer of fallen leaves covering your lawn, flower beds and paths needs to be swept up in fall. Otherwise, it will smother grass, encourage mold on plants, is slippery underfoot, and is a haven for slugs and snails. But, instead of chucking the spent leaves on the compost heap or disposing of them another way, why not make leaf mold?
If you're constantly on the lookout for organic or permaculture gardening methods for your winter garden, then you'll be delighted to know that leaf mold is a high-quality fall lawn care product. Free, easy to make and a great way to utilize the fall leaves that cover the lawn and clog up borders, it works well as a mulch, soil improver, even as a potting compost.
Here's why you should consider making leaf mold now, for a better garden tomorrow.
What is leaf mold?
Leaf mold is a mulch you can start creating in fall and into winter for use the following year and beyond. It is simply made with fallen leaves left to decompose separately to the rest of your compost.
'There’s nothing complicated about making it, and while it takes some time for the leaves to break down, the result is worth the wait,' says gardener and author, Tamsin Hope Thompson. 'After one to two years, leaf mold can be used as a mulch around shrubs and trees, or dug in to improve the soil’s structure.'
According to many experts, the best leaf mold is made using leaves from oak, beech and hornbeam trees, which are know to decay at a faster rate than other types, such as horse chestnut and sycamore. If you don't want to wait for 2-3 years for leaf mold to form, you can help speed up the process by adding grass clipping to the mix. This will increase the nitrate levels in leaf mold, which quickens the decay.
It’s also a good idea to collect leaves while they’re damp as dry leaves will take significantly longer to decompose. All it takes is time and a little effort. And with such a useful end product, there really is no excuse for putting off raking up those leaves and turning this seasonal chore to your advantage.
Design expertise in your inbox – from inspiring decorating ideas and beautiful celebrity homes to practical gardening advice and shopping round-ups.

How to make leaf mold
Leaf mold isn’t rich in nutrients like normal compost, but it is still beneficial. For starters, it’s excellent for mulching flower beds and garden edges and borders. It is a good way to get rid of weeds and its brown tones offset winter plants. It can also be combined and sieved with homemade compost to make a perfect sowing and growing mixture.
Here are six simple steps to make leaf mold for your yard.
1. Collect leaves for leaf mold
Collect leaves from your own yard and if you don’t have enough, offer to do friends’ or neighbors’ yards as well. You can rake them up, but if you have a rotary lawn mower with a grass box it’s easier to rake them all onto the lawn.
Don't collect leaves from main streets – they could be contaminated with dog muck or affected by pollution.
2. Shred leaves for faster decay
Shred your leaves before composting – you can shred them on the lawn with a mower, or use a shredder. This will help them break down faster and speed up the decaying process.
3. Store in a leaf mold bin
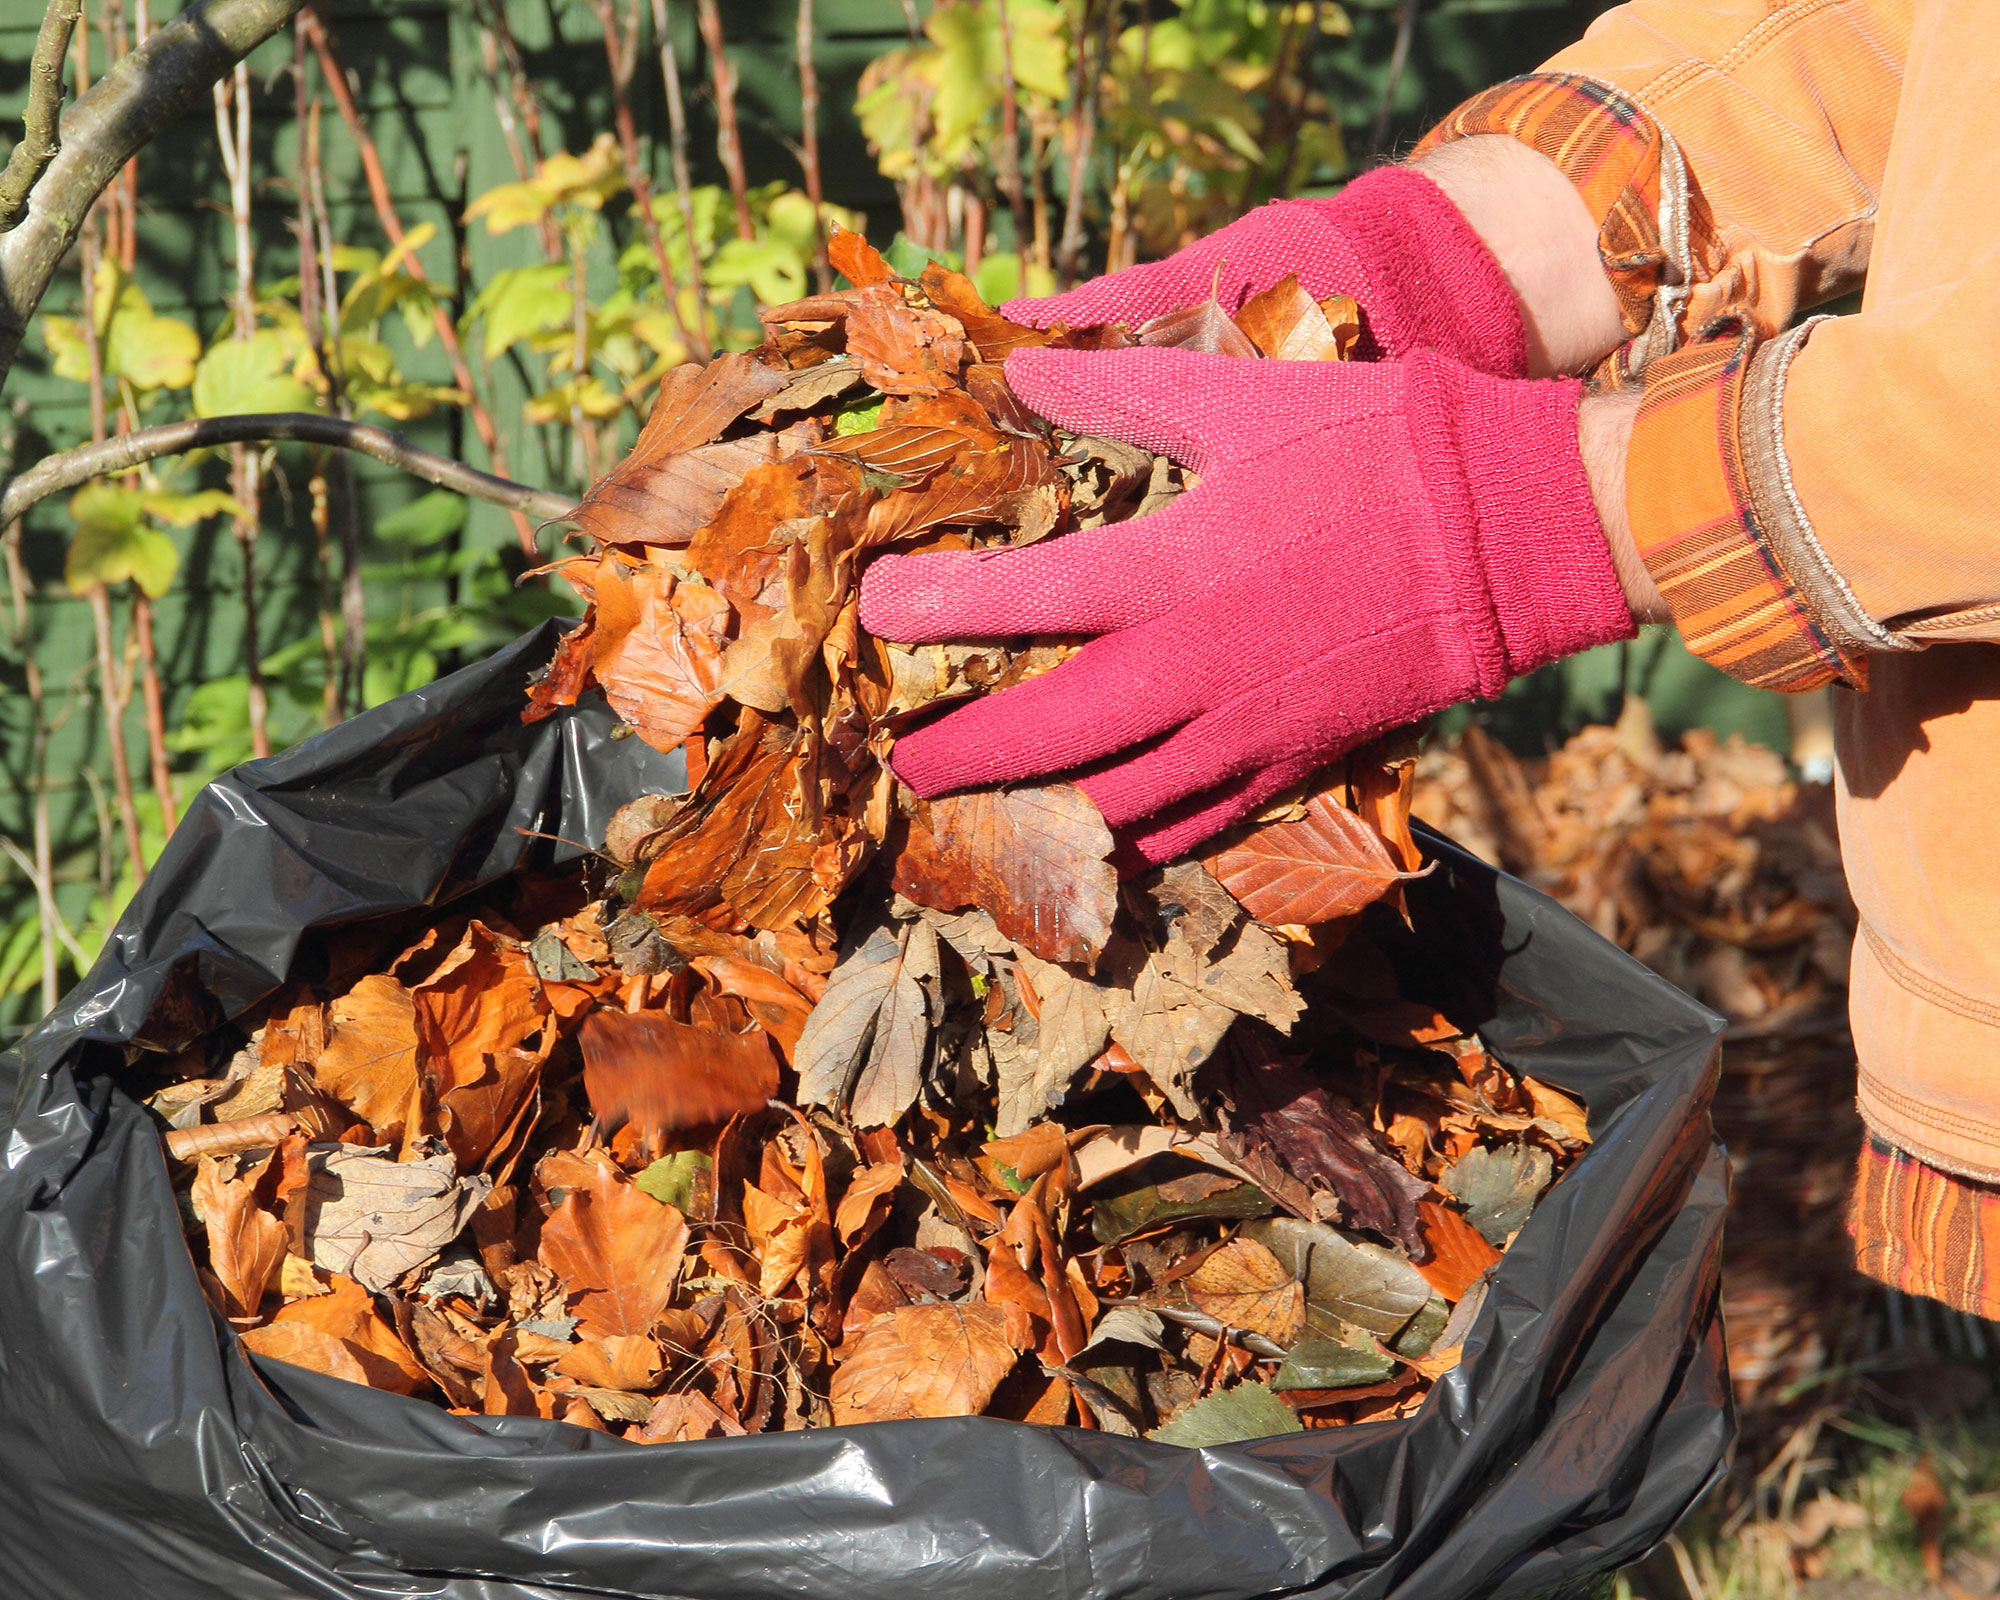
Once you’ve raked up fallen leaves in fall, store them in a leaf mold bin made of wire mesh. Alternatively, just stuff damp leaves into black bin liners or old compost bags.
4. Check on the progress
After a year or so, check to see if your leaf mold is well-rotted by lifting out a handful – it should be dark brown and crumble in your hand, and the leaves should have completely broken down.
5. Use on plants and border
Try leaf mold as a mulch around plants in borders – for this you can use partially-rotted leaf mold (around one to two years old). For an ericaceous mulch to use on acid-loving plants, make leaf mold from pine needles
6. Let air in
If you are storing your leaves in black bin liners, ensure you punch holes in the bags after filling them – this will let air in, which helps the leaves break down. You can then put them in an out-of-the-way place until ready.

Jennifer is the Digital Editor at Homes & Gardens, bringing years of interiors experience across the US and UK. She has worked with leading publications, blending expertise in PR, marketing, social media, commercial strategy, and e-commerce. Jennifer has covered every corner of the home – curating projects from top interior designers, sourcing celebrity properties, reviewing appliances, and delivering timely news. Now, she channels her digital skills into shaping the world’s leading interiors website.