Why are my monstera leaves turning yellow?
Find seven reasons why your monstera leaves are turning yellow and how to prevent them with this expert guide


Design expertise in your inbox – from inspiring decorating ideas and beautiful celebrity homes to practical gardening advice and shopping round-ups.
You are now subscribed
Your newsletter sign-up was successful
Want to add more newsletters?

Twice a week
Homes&Gardens
The ultimate interior design resource from the world's leading experts - discover inspiring decorating ideas, color scheming know-how, garden inspiration and shopping expertise.

Once a week
In The Loop from Next In Design
Members of the Next in Design Circle will receive In the Loop, our weekly email filled with trade news, names to know and spotlight moments. Together we’re building a brighter design future.

Twice a week
Cucina
Whether you’re passionate about hosting exquisite dinners, experimenting with culinary trends, or perfecting your kitchen's design with timeless elegance and innovative functionality, this newsletter is here to inspire
Monstera plants are hardy house plants, popular for their iconic leaves and ease to care for. When these leaves turn yellow, however, it can be difficult to understand why and discover the root of the problem.
With monstera being one of the best indoor plants, it is important to keep them in top condition for the best effect. Despite being great low-light plants, they are still prone to several common houseplant problems so learning how to properly care for monstera plants to prevent these problems is essential.
'The popular Monstera houseplant, also known as the Swiss cheese plant, is known for its statement leaves and distinctive pattern.' says Sarah Dixon, international marketing manager at Hozelock. 'Perfect for beginners, the Monstera plant lets you know when something is wrong through key signs such as yellowing leaves.'
Here, experts have suggested why your monstera leaves are turning yellow and how you can fix it.
Why are my monstera leaves turning yellow?
'The leaves of your Monstera, also known as Swiss cheese plant, can start to turn yellow for several reasons such as overwatering, inappropriate temperature conditions, low humidity levels, improper light, and fungal infections,' explains Suzie Wolley, head of product at Serenata Flowers.
Here we look at all the reasons why your monstera leaves might be yellowing, and what you can do to solve the problem.
1. Make sure to balance watering
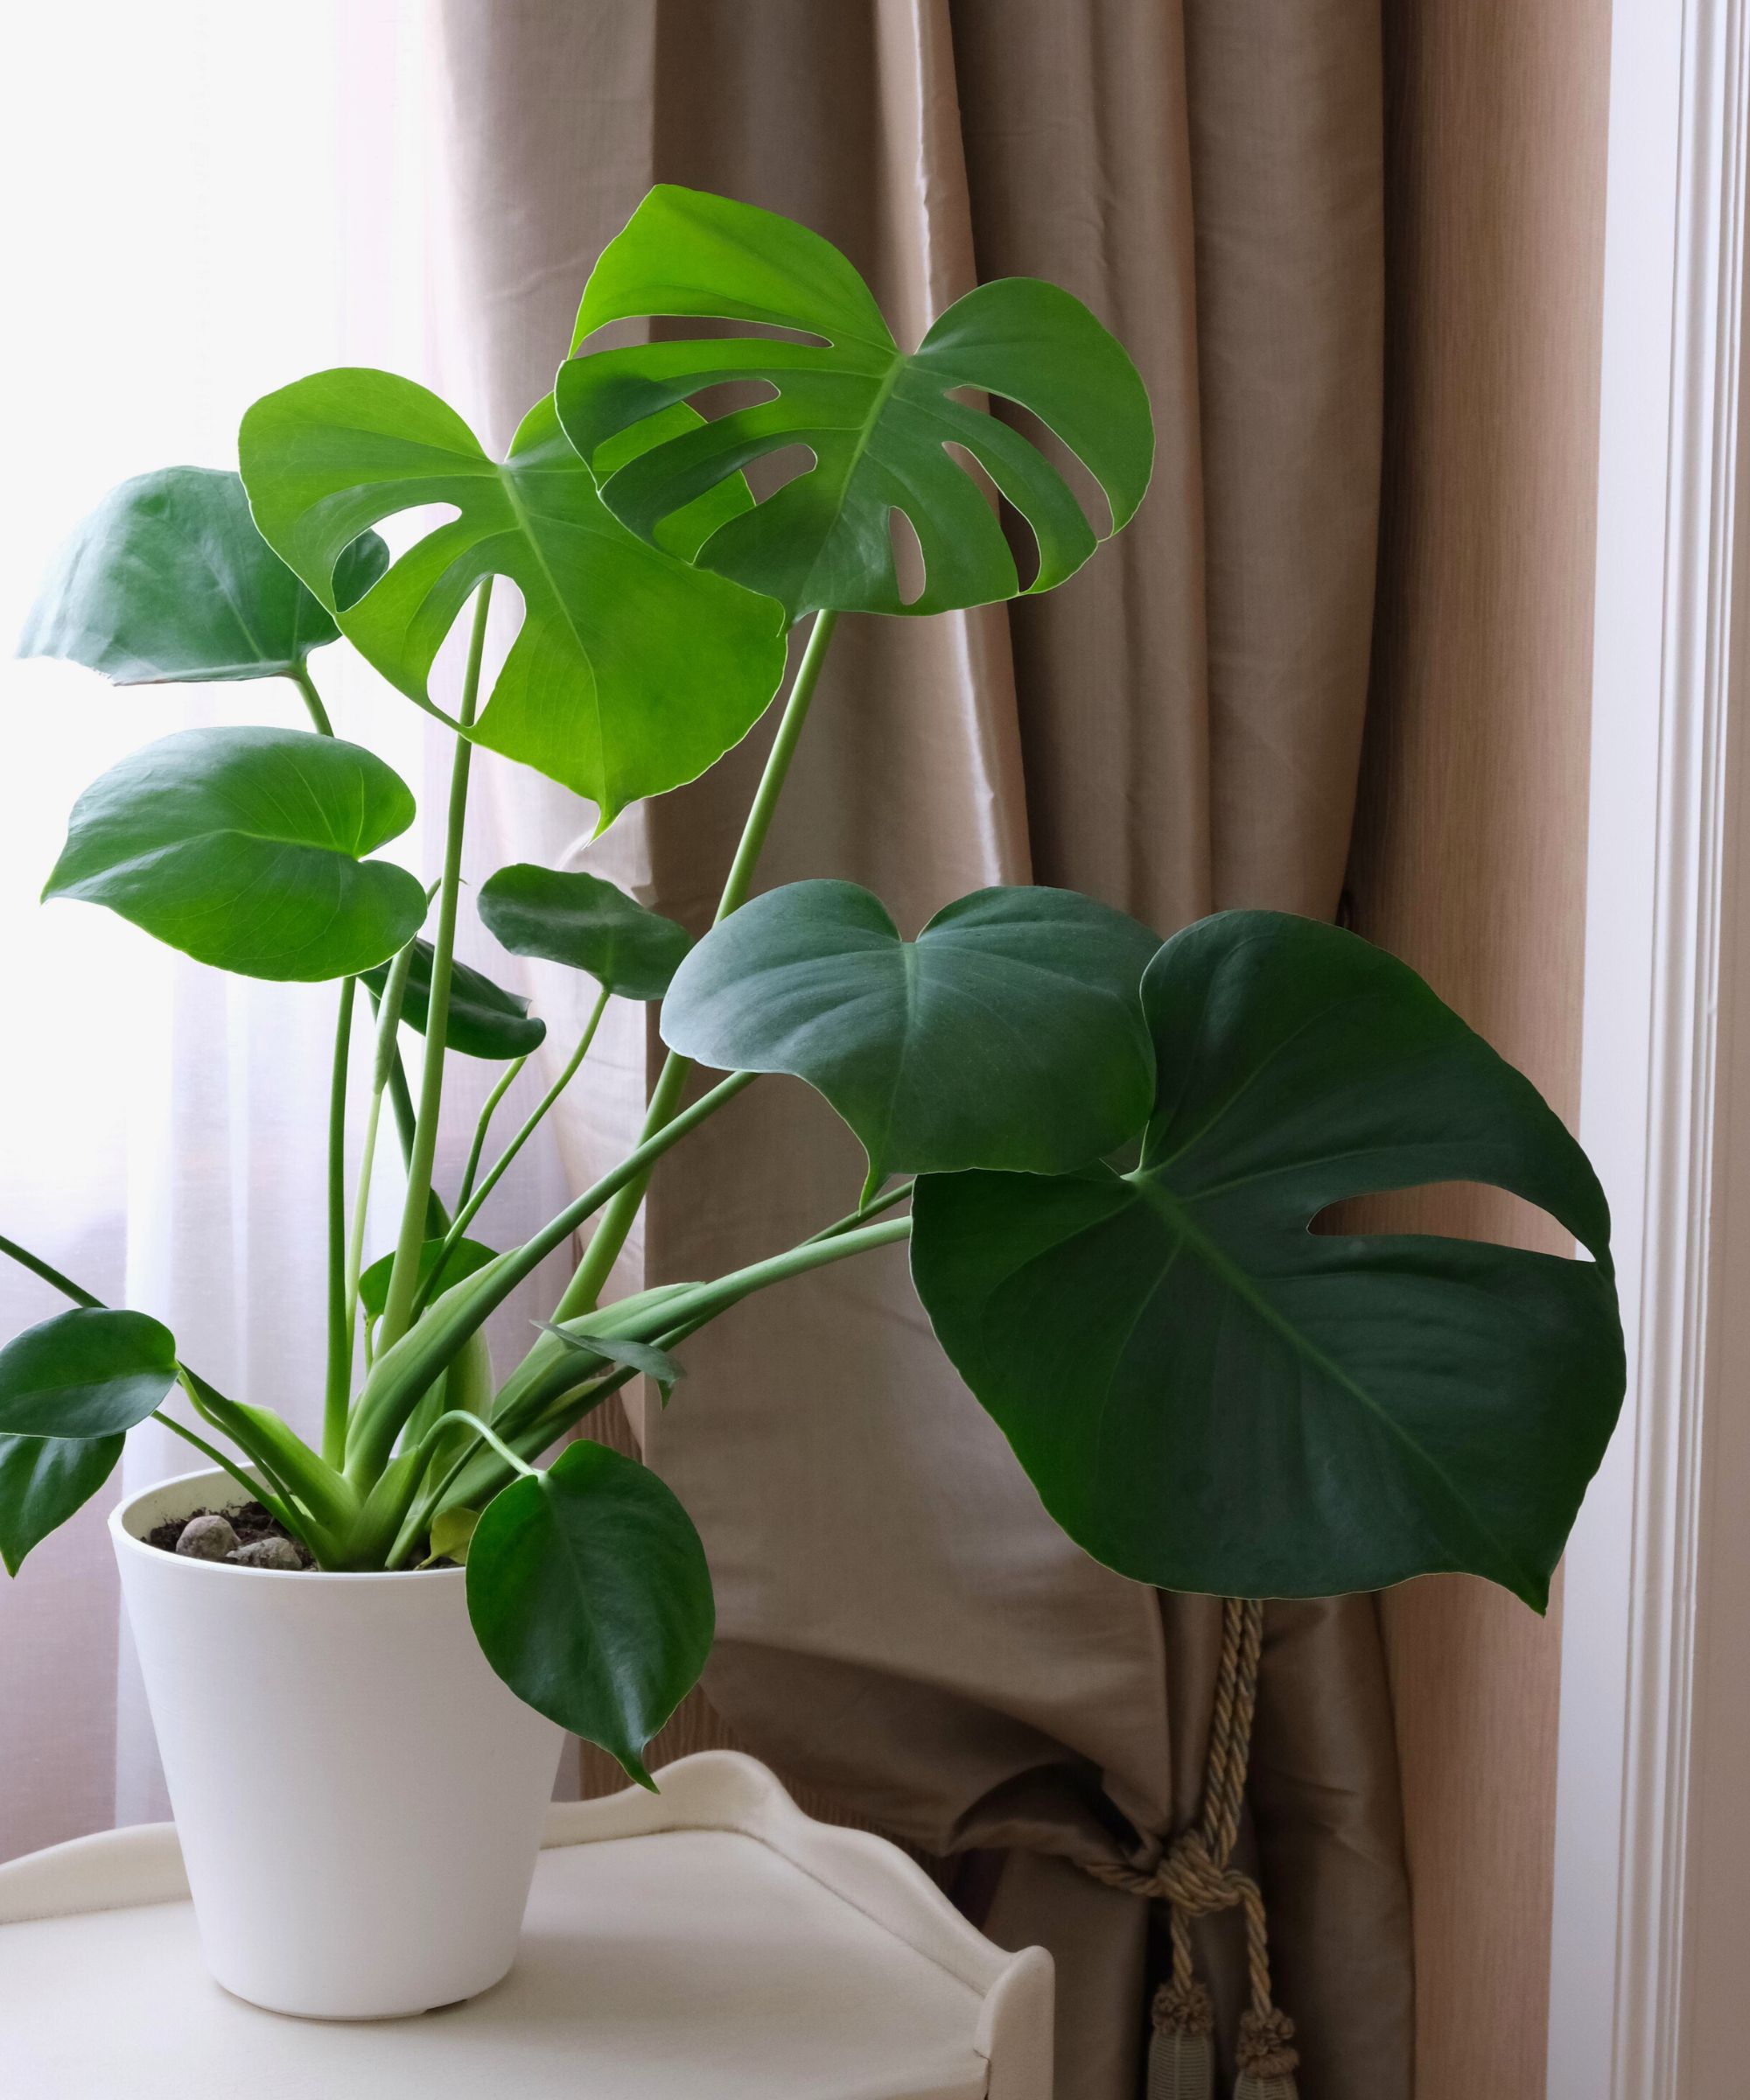
Although monstera plants are hardy additions to your houseplant collection, too much or too little water can have dire effects and both can lead to yellowing leaves.
Design expertise in your inbox – from inspiring decorating ideas and beautiful celebrity homes to practical gardening advice and shopping round-ups.
Dispute thriving on neglect, when left underwatered the monstera plant can turn brittle and begin to turn yellow or brown as well as curl in on themselves. On the other hand, leaves that are yellow and moist, or seem to be rotting, point to overwatering. This is a strong indicator that your plant may also be suffering from root rot.
Correcting underwatering is easy, and involves watering the plant with a watering can or in the sink until water flows from the pot's drainage holes. You should never leave a monstera plant to soak in water, so drainage trays should be emptied immediately.
Overwatering can be a more difficult problem to fix. It is important to stop watering your monstera as soon as you see signs of overwatering such as soil that does not dry out for a week, mold growing on the soil, or foul smells. Suzie suggests checking for root rot to clarify the source of the prime - 'simply stick a finger into the soil and if it feels wet it’s likely that your monstera is overhydrated. An overwatered monstera plant may also appear droopy, with brown leaf spots.'
You should change the soil and pot the monstera is in, preferably to a pot with drainage holes. You will likely also need to remove any rotting roots and apply a fungicide to help control the spread of any root rot too.
There are plenty of houseplant watering tips you can use to manage the watering of your houseplants to ensure they thrive.
2. Don't expose them to too much light
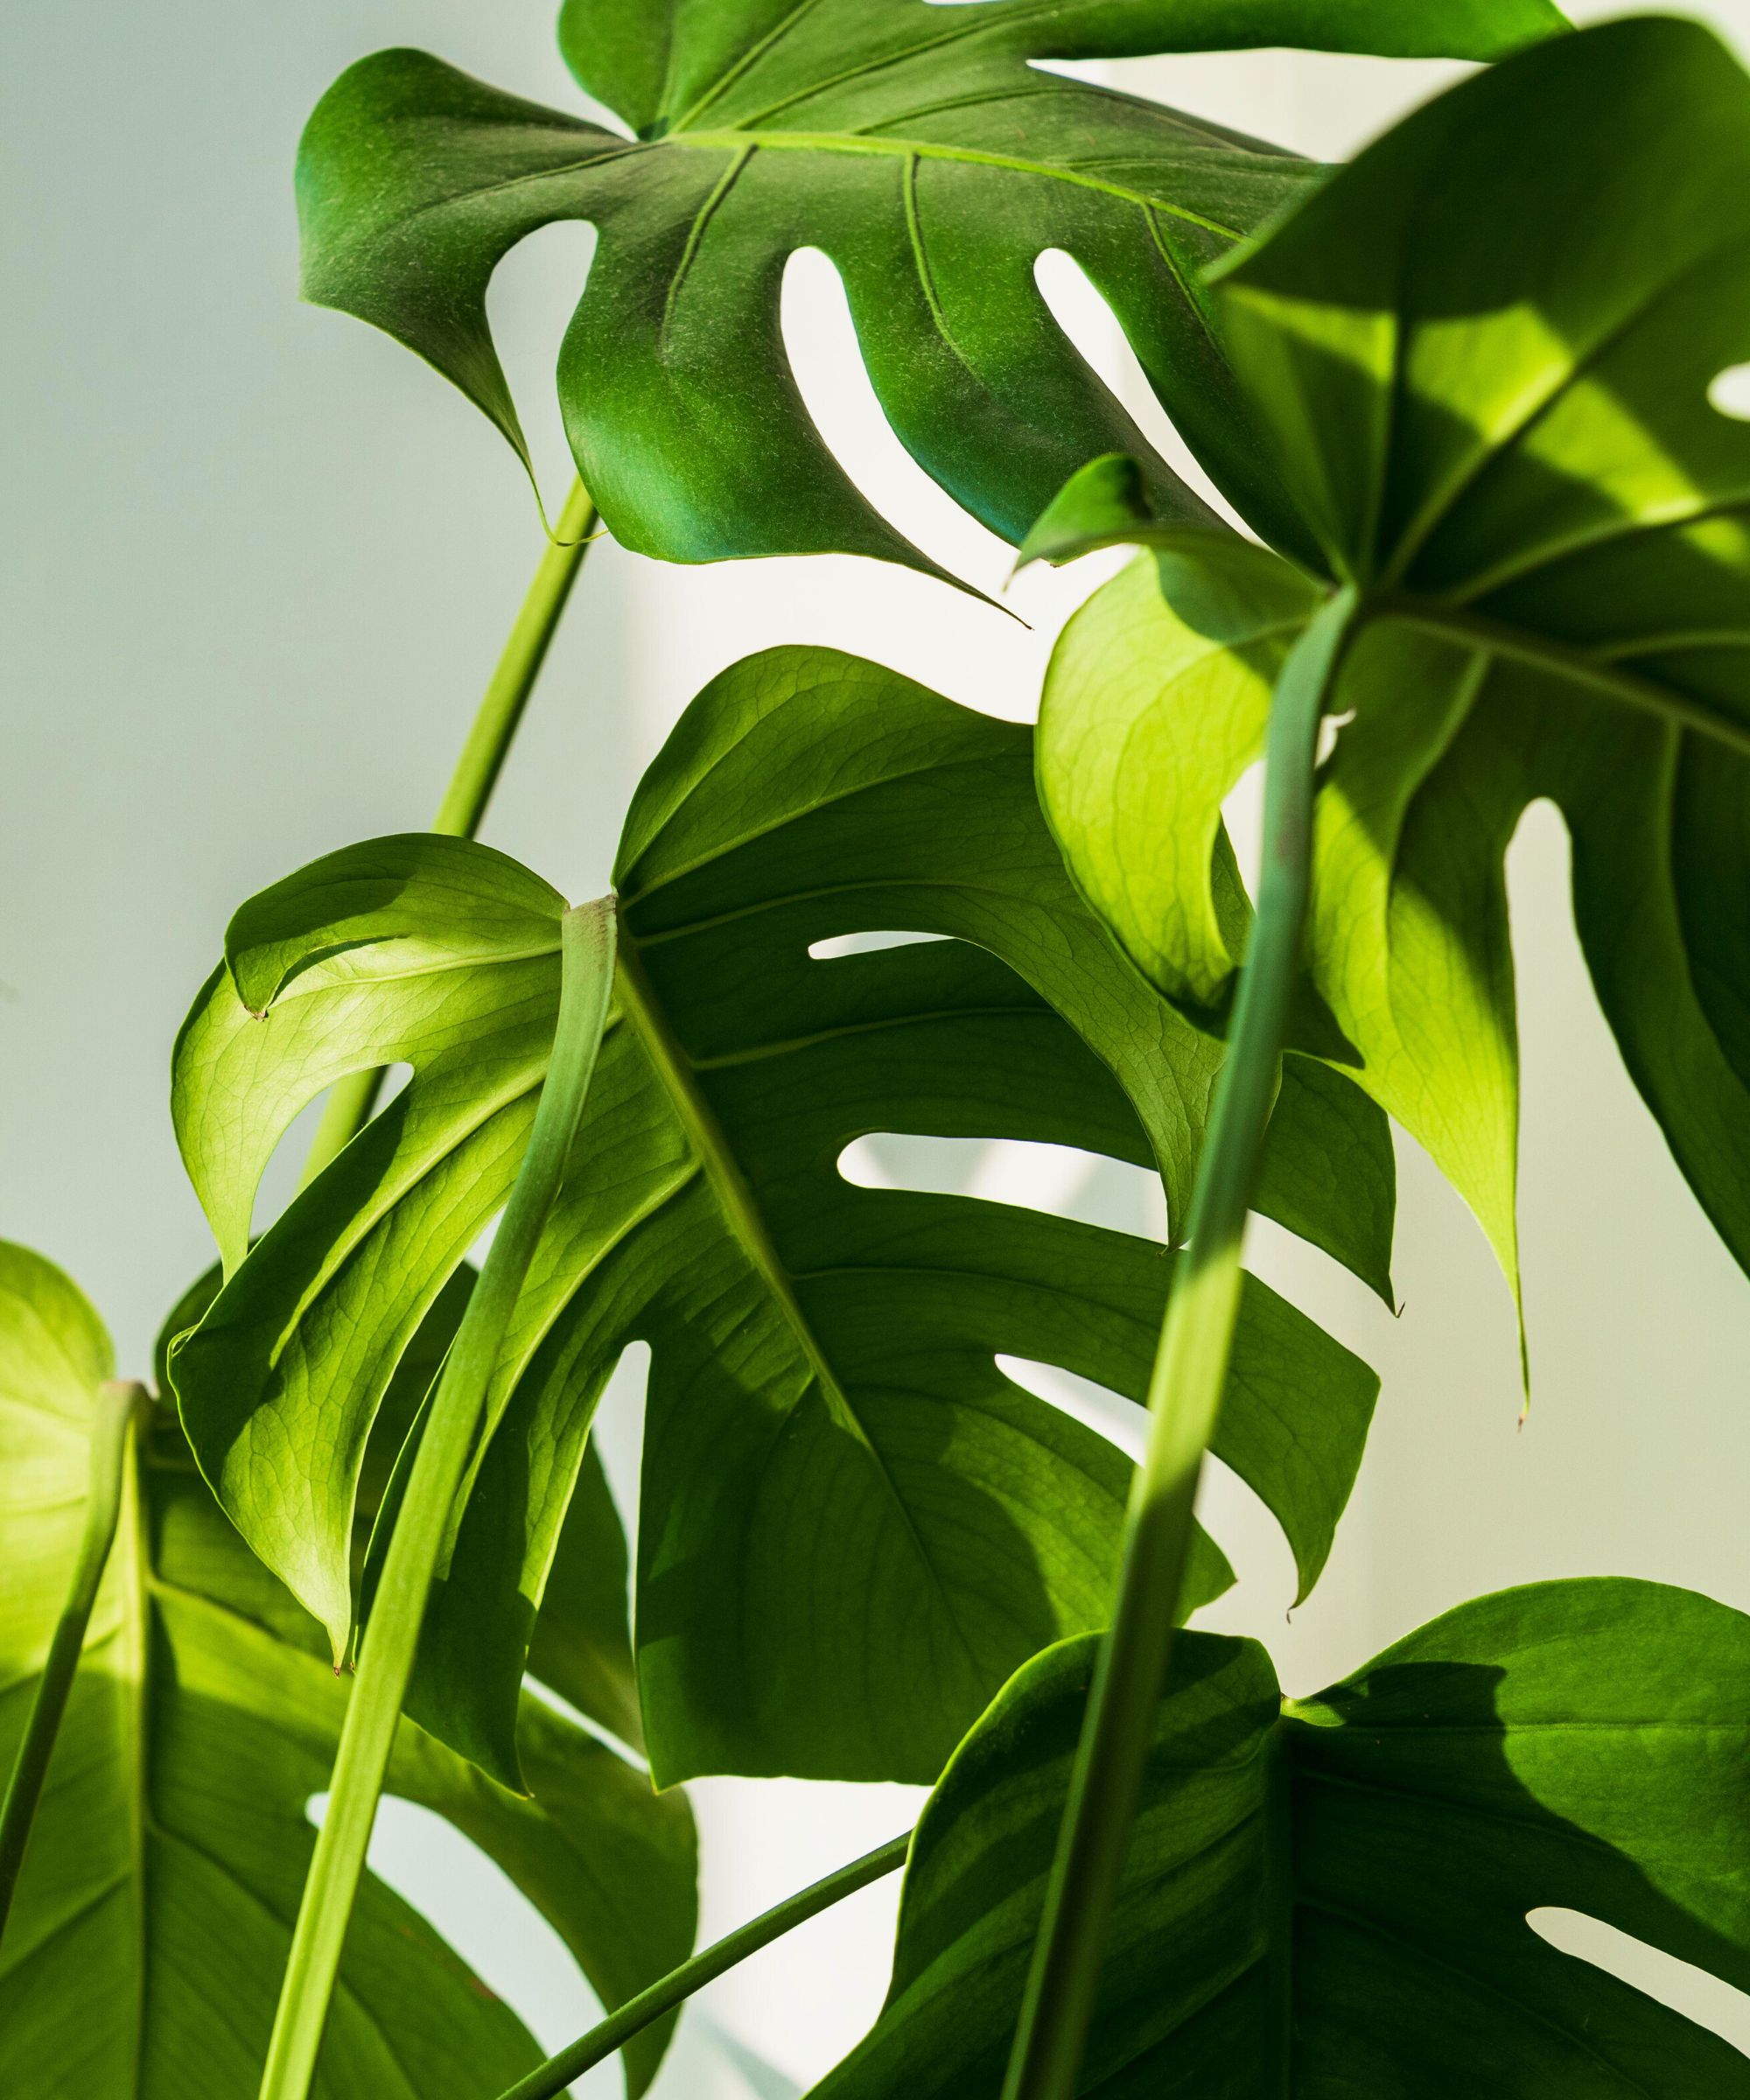
Despite being tropical plants, monstera's thrive in low light conditions. Exposing a monstera plant to too much sunlight can damage the leaves and cause yellowing.
It is important to get the balance right with low-light plants such as monsteras, as too much light can cause damage but too light can slow photosynthesis. Place your monstera in lowlight rooms or near windows that get early morning or late afternoon sun so the light is not too intense.
'If lighting is the issue (too bright or low) you’ll notice yellow patches or yellowing along the leaf veins, instead of yellowing of the whole leaf,' says Suzie. 'To rectify, simply move it closer or further from a natural light source, while avoiding direct sunlight.'
'If you spot yellowing leaves, make sure you are not keeping the Monstera in an area that is too dark. Monstera plants thrive in bright, indirect sunlight so placing it in areas of the home such as the bedroom, dining area, and living room works well,' adds Sarah.
3. Ensure the right humidity
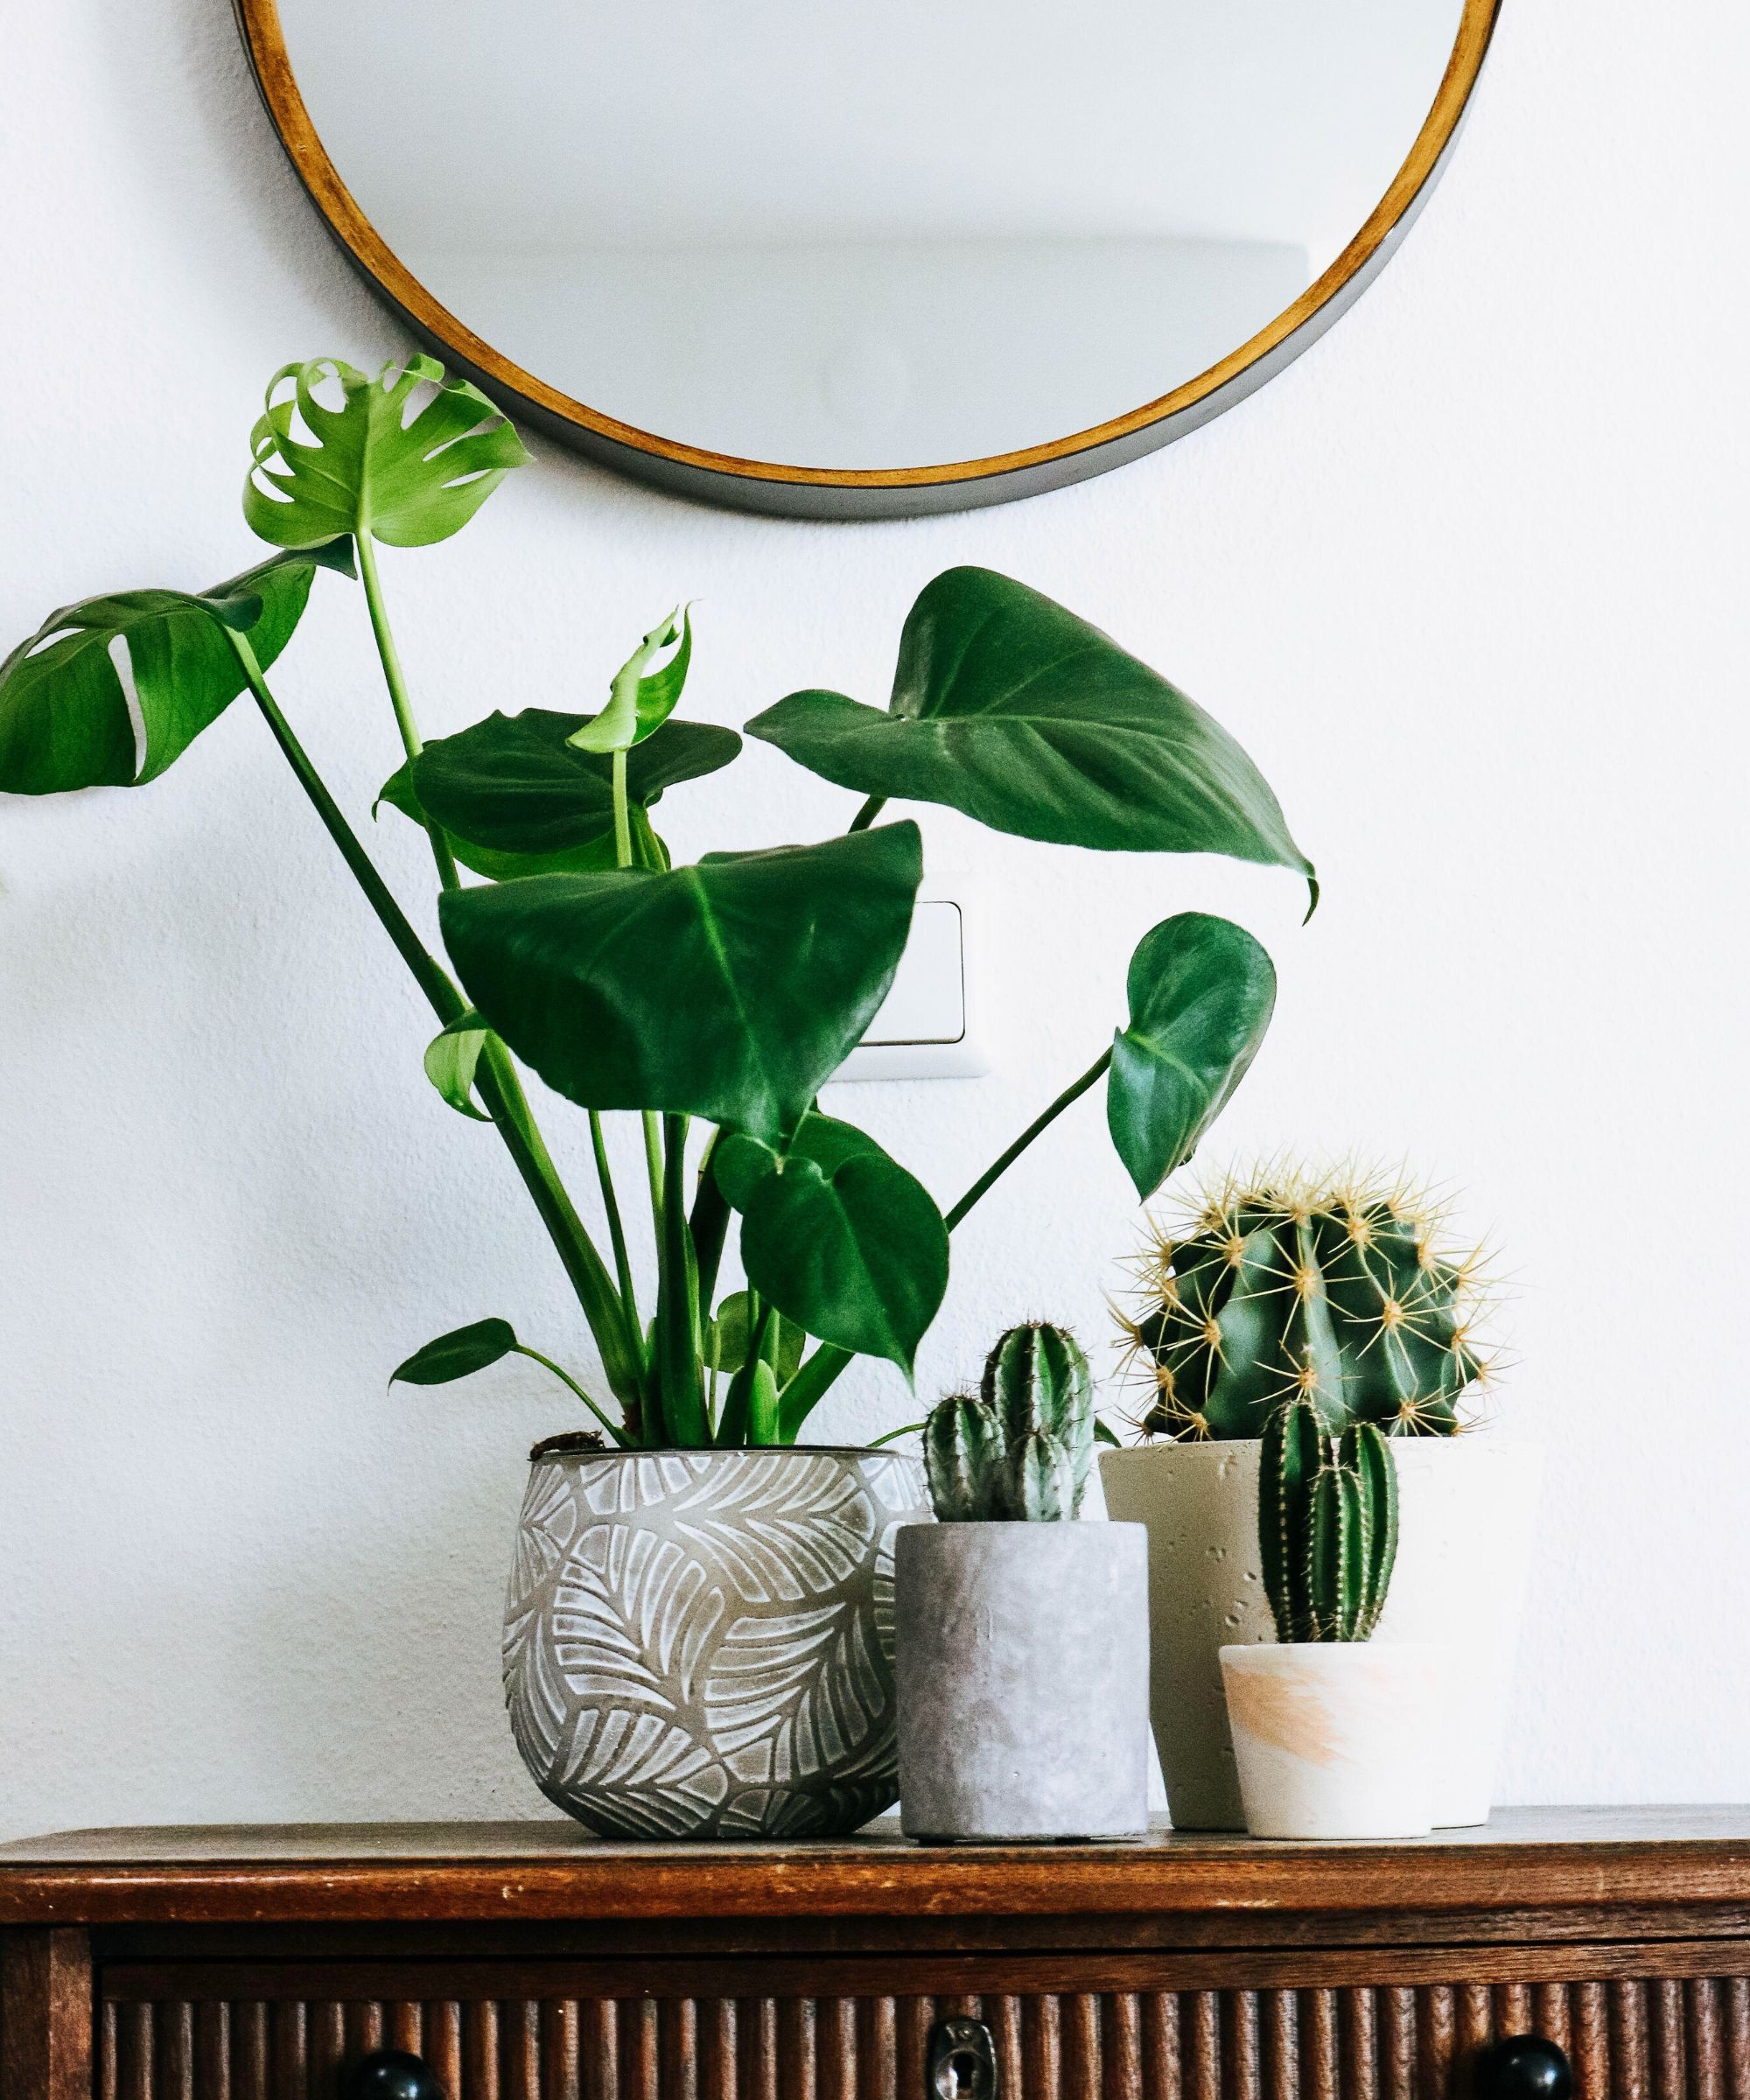
As tropical plants, monsteras need higher humidity than most other houseplants. Misting the plant once a day, particularly during the winter months when you may have the heating on more often, can help maintain humidity levels. Yellowing, dry leaves can be an initial indicator of a dry monstera plant. From this point, the leaves will likely become brittle, turn brown, and shrivel.
An alternative to misting is to keep your monstera plant in the bathroom, providing it with humidity from your showers or baths whilst also creating a relaxing, spa-like environment with its injection of life and greenery.
Monsteras are also one of the best bedroom plants as they act as natural humidifiers to prevent dry air during the night as well as filter the air of toxins and pollutants due to their status as one of the best indoor air cleaning plants.
Yellowing monstera leaves may also be caused by sudden changes in temperatures, or exposure to a draft. 'Seeing as they’re tropical plants, monsteras are averse to extremely cold conditions which can cause leaf yellowing,' Suzie explains. 'It’s, therefore, not advisable to place next to cold, drafty windows during winter, but extremely high temperatures such as those we’ve been experiencing recently, will also cause monstera leaf yellowing so ensure to keep away from direct sunlight.' Consider the environment your plant is kept in and move away from doors, air conditioning units, or heaters to prevent constant temperature changes.
4. Use nutrient dense soil or fertilizer
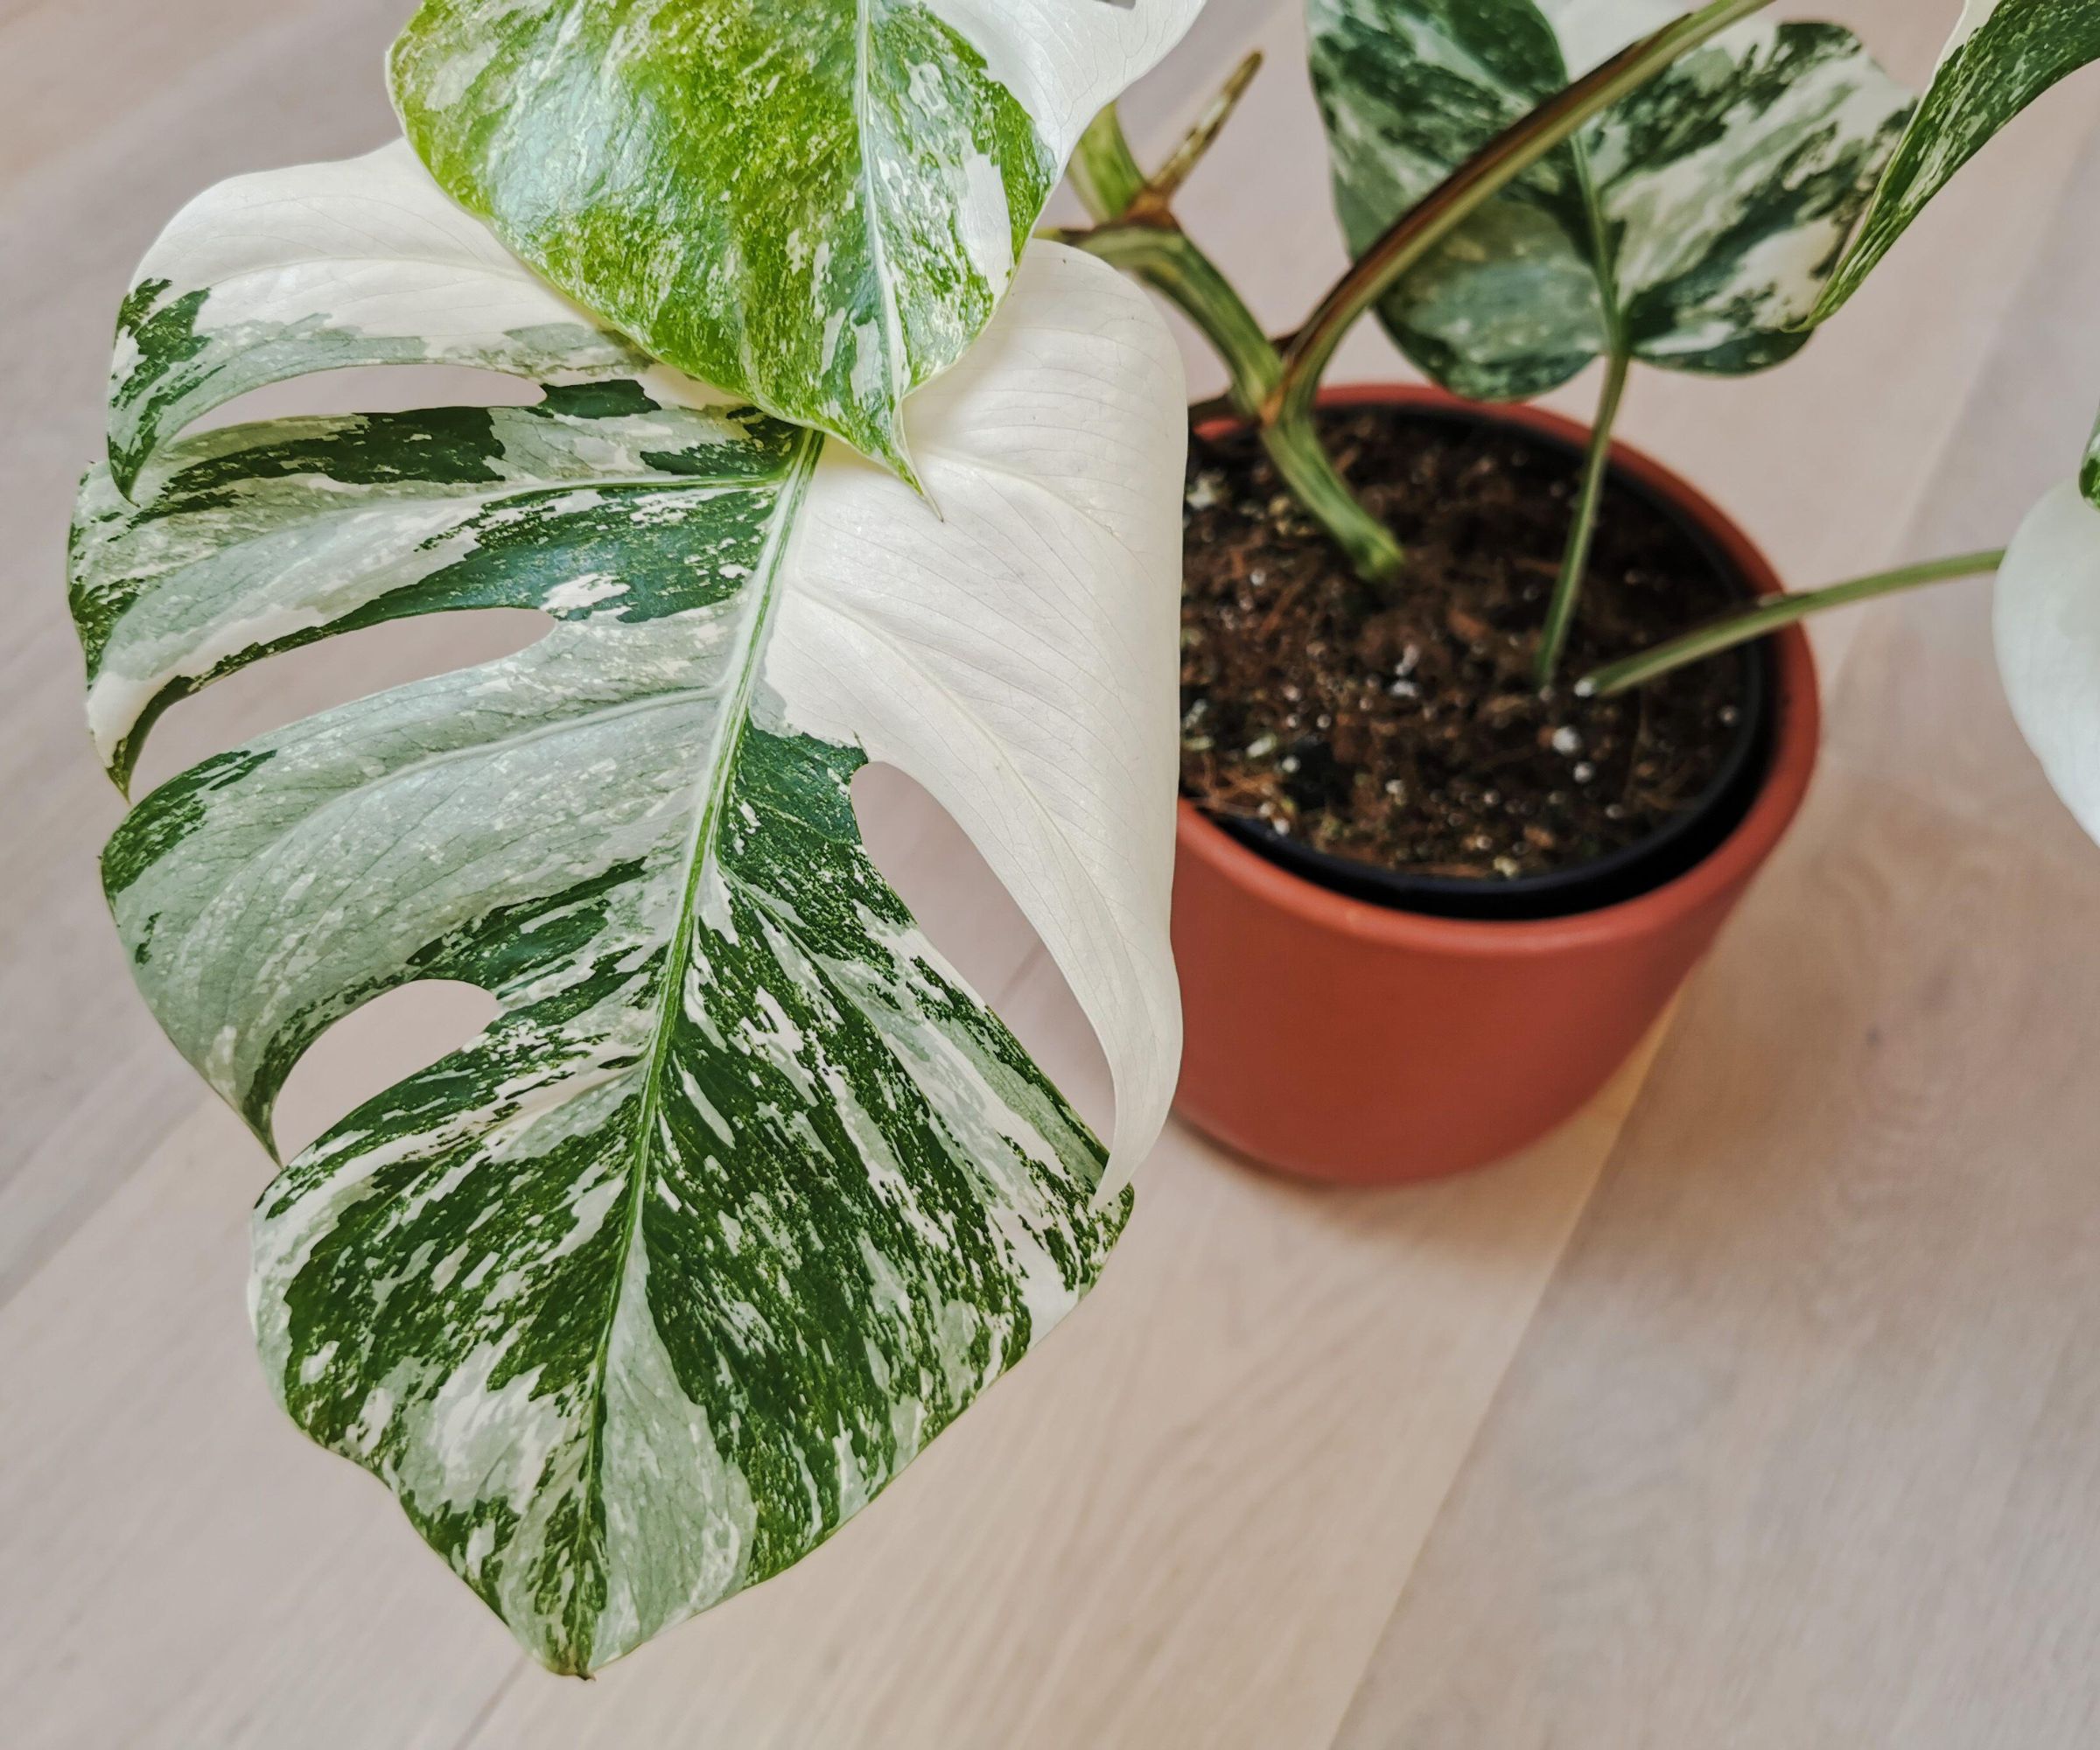
Yellowing of the tips of your monstera leaves, along with poor growth, may be an indicator that your soil is lacking in nutrients. Low levels of nitrogen in the soil can be rectified by changing the potting medium and removing as much of the old soil from your plant's roots as possible. It is a good idea to water your plants with rain water where possible rather than tap water to help regulate the nutrients in the soil, or use a liquid fertilizer either in the soil or sprayed on the leaves (depending on the variety you purchase) to correct the problem.
Nutrient-lacking soil is usually caused by overwatering, watering with hard tap water, or inadequate potting mediums.
There are a few ways you can add nutrients back into your houseplant soil, from fertilizing with Epsom salts to using banana peels as fertilizer. There is no excuse to not give your houseplants the best chance at thriving.
5. Treat houseplant pests
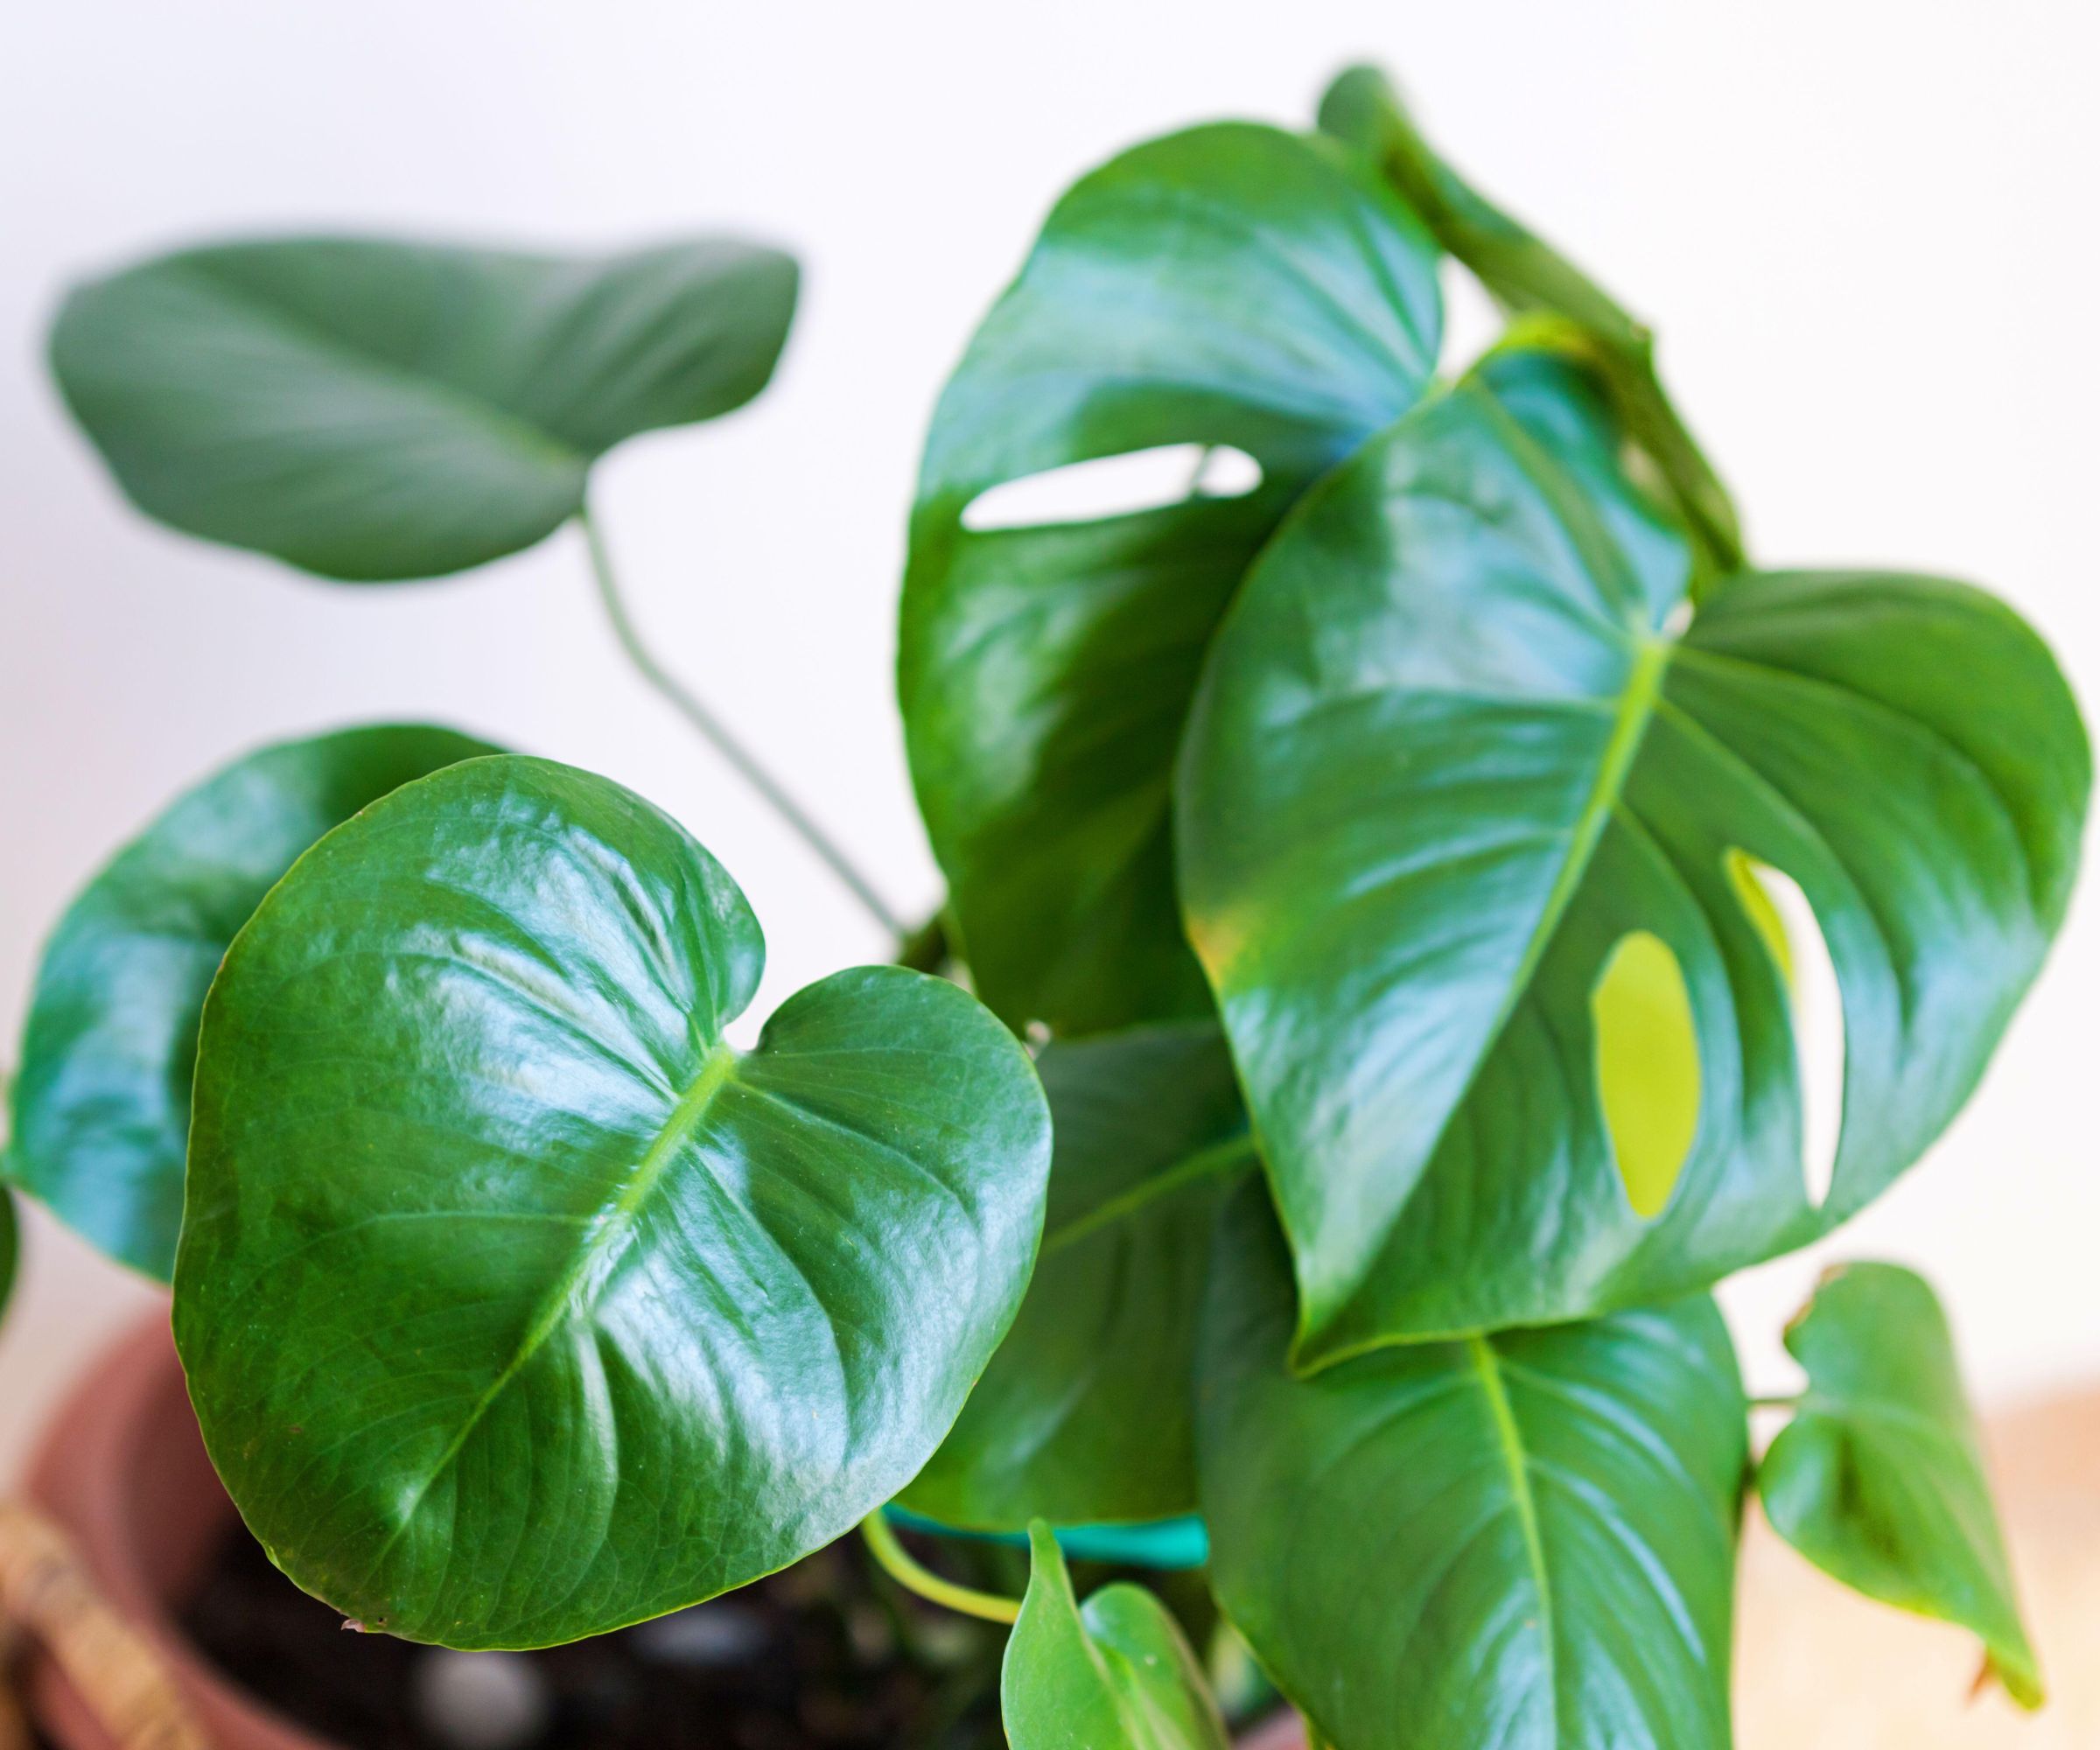
As with all houseplants, monstera’s are susceptible to common houseplant pests, all of which could remove vital nutrients from the plant and cause yellowing leaves. 'Monstera can be particularly susceptible,' Suzie adds. 'Damaged leaves exhibit yellow spots when insects feed on them.'
Whilst not all pests will cause yellowing leaves if you have ruled out other causes it may be a good idea to thoroughly check your plant for unwanted visitors. Houseplant pests, when not treated quickly, weaken plants and can prevent growth or even kill them. If you spot yellow leaves, wilting, or unnatural holes in the leaves or stem, begin to treat your plants for pests using homemade bug sprays or by following a pest eradication program.
6. Use the right pot size
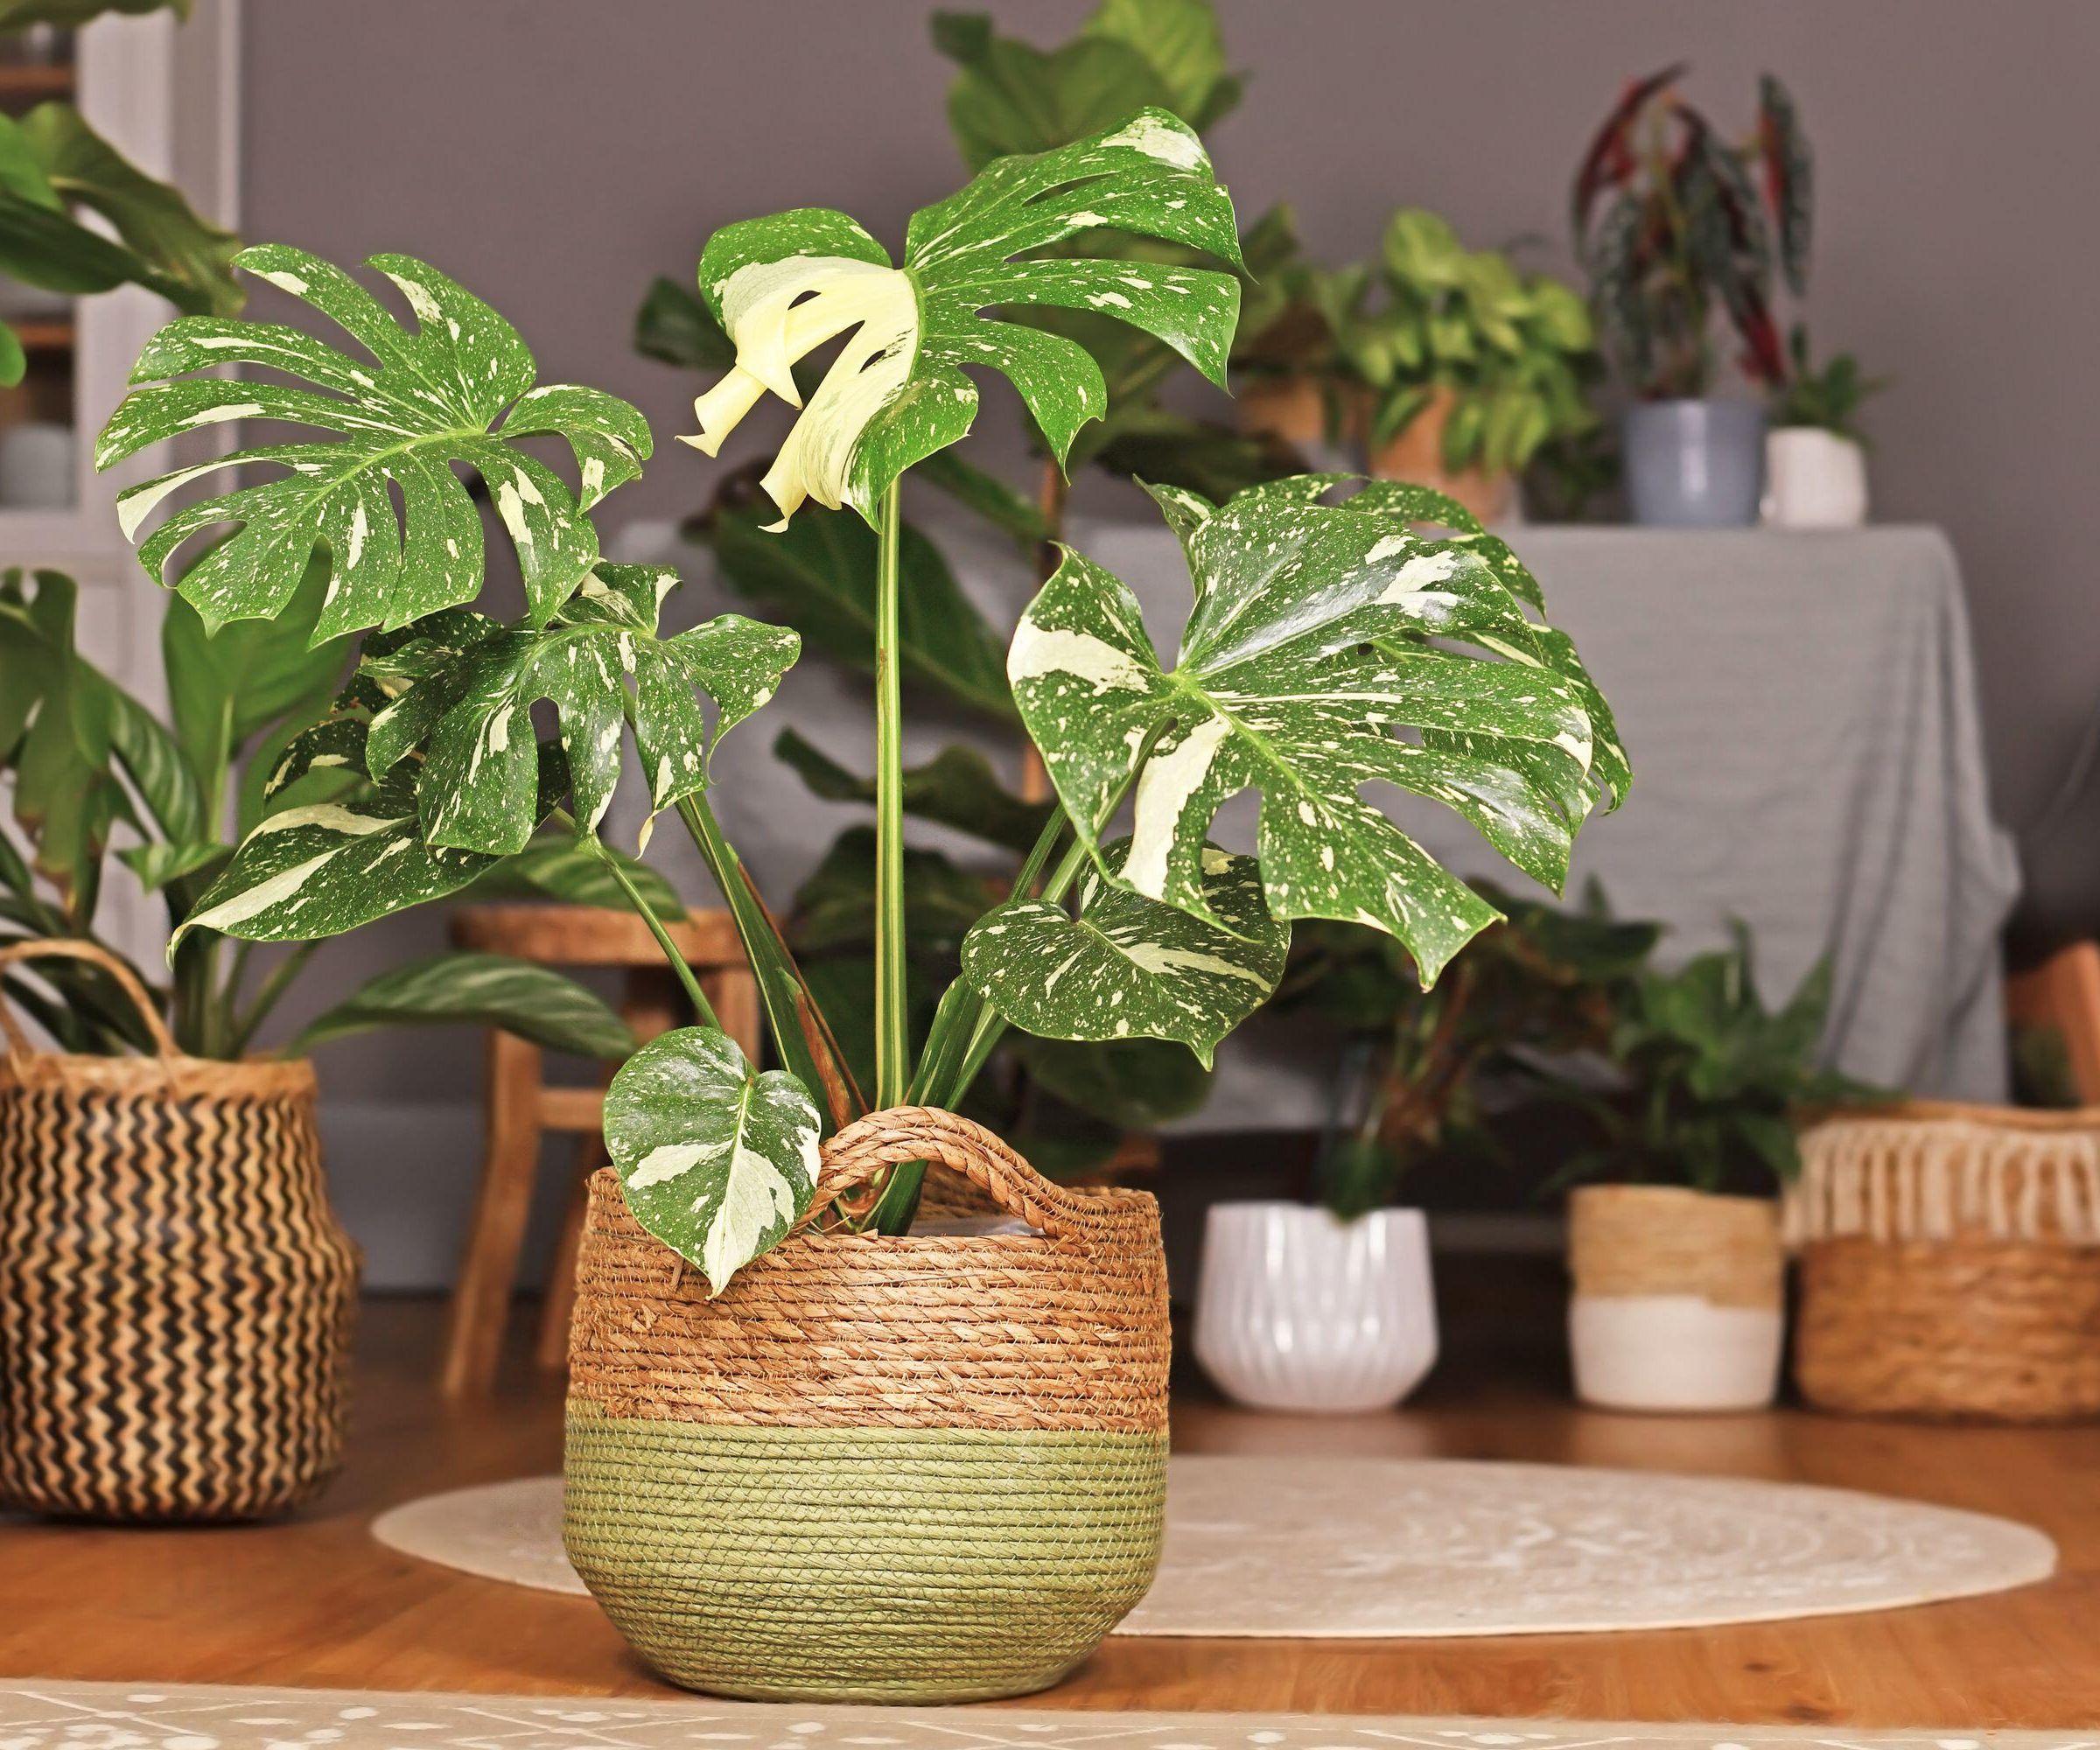
Monstera’s are appealing houseplants due to their sheer size. Monstera’s can grow up to 10 feet tall indoors when given the right growing conditions, with the plant achieving one to two feet of growth per year until maturity.
Because of this, it is likely that your monstera will outgrow its pot fairly frequently. If you do not repot your monstera, it may lead to a condition known as root bound which can lead to weak plants and yellowing leaves. Being root bound means the plant's roots have outgrown the pot and impacted together, often meaning it cannot receive the correct amount of nutrients or is more likely to get root rot. As well as yellowing leaves, root-bound monsteras can be spotted by dry soil despite watering or water pooling on the surface of the soil.
Luckily, it is easy to avoid making common potting mistakes. To prevent this problem, repot your monstera semi-regularly as it grows. To fix this problem if it has already occurred, repot the monstera as well as loosen the root ball. Use your hands to tease the roots apart and remove bound soil until they hang loosely. For serious causes of root bound, it may be necessary to use a knife to ease the root ball apart - but this should only be done if you cannot split roots by hand.
7. Consider the age of your plant

Yellowing leaves may be a sign of your monstera’s age. As larger leaves come to the end of their lifecycle, they will begin to yellow and die off to allow for new leaf growth. If you can not find any other causes of yellowing leaves, it is likely due to age.
You can leave the leaf on the plant until it falls off naturally, or you can snip the neaf at the base of the stem if you feel it detracts from the plant's overall appearance. As long as the remaining leaves are healthy-looking, aging yellow leaves are nothing to be concerned about.
How to prune yellow monstera leaves
You can prune yellow monstera leaves to preserve the size of the plant, or protect the rest of the plant from damage if it is caused by something like pests.
'Whilst yellowing is irreversible, only cut off yellow leaves if you suspect the cause is due to fungal infection,' advises Suzie. 'Cutting off the affected leaves will prevent the disease from spreading to the rest of the leaves, however, avoid pruning yellow leaves if the cause is root decay as the healthy monstera leaves can still draw nutrients from the dying leaves.'
You should only prune yellow leaves occasionally, and it is best to avoid removing any more than one-third of the plant at once as any more may cause stress. For a monstera plant, cut the leaf stem as close to the main stem as possible using sharp scissors or pruning shears.
How to repot a monstera plant
You should repot a monstera plant every few years and is best done in the springtime before your monstera's possible growth spurt. Repotting a monstera is not unlike repotting any other houseplant.
Choose a pot slightly larger than the old one: you want to choose a pot that is a few inches wider than the old one in diameter but several inches deeper. This allows for root growth and the ability to add a support pole to bolster your monstera’s long stems.
Choose the best repotting soil: Monstera plants benefit most from a well-draining potting soil that is nutrient dense. Fill the pot approximately one-quarter full and, if using a support pole, add it now.
Remove the monstera from the old pot and transplant: when removing a monstera plant, do not pull on the plant itself. Instead, turn the put over and coax the plant out by tapping or jiggling the pot – you may need more than one person for this if your plant is particularly large. It is a good idea to shake the old soil from the plant gently before repotting. Place the plant in the new pot around the support stake, fill the gaps with more potting soil, and attach the stems to the support with twist ties.
Water well: Water the plant from the top, allowing excess water to flow from the drainage holes and removing excess water from the drainage tray.
You might see some slight drooping from your plant for a while as it adjusts to the move, however, it should quickly pick up.

Chiana is Homes & Gardens’ kitchen appliances editor. With a lifelong passion for cooking and baking, she grew up experimenting in the kitchen every weekend with her baking-extraordinaire Mom, and has developed a great understanding of how tools and appliances can make or break your ideal relaxing kitchen routine.