7 wall painting mistakes professional decorators warn against
For a professional and polished finish, steer clear of these common errors


Design expertise in your inbox – from inspiring decorating ideas and beautiful celebrity homes to practical gardening advice and shopping round-ups.
You are now subscribed
Your newsletter sign-up was successful
Want to add more newsletters?

Twice a week
Homes&Gardens
The ultimate interior design resource from the world's leading experts - discover inspiring decorating ideas, color scheming know-how, garden inspiration and shopping expertise.

Once a week
In The Loop from Next In Design
Members of the Next in Design Circle will receive In the Loop, our weekly email filled with trade news, names to know and spotlight moments. Together we’re building a brighter design future.

Twice a week
Cucina
Whether you’re passionate about hosting exquisite dinners, experimenting with culinary trends, or perfecting your kitchen's design with timeless elegance and innovative functionality, this newsletter is here to inspire
Whether you are redecorating a kids' bedroom or refreshing your home office, painting a space yourself is no easy feat.
Painting a wall properly requires careful preparation, otherwise, you could be left with streaks, smudges, and patches that compromise the finished look and leave you kicking yourself every time you walk into the room.
Once you have decided on your paint ideas and color scheme, take note of these common wall painting mistakes experts see time and time again. Paint tricks such as using both matt and gloss, or creating a 3D effect can create a striking impression and add personality, but any paint job needs a solid foundation of a well-primed wall and the right tools.
Wall painting mistakes professional decorators warn against
For the wall painting mistakes professional painters and decorators caution against, keep scrolling.
1. Skipping primer
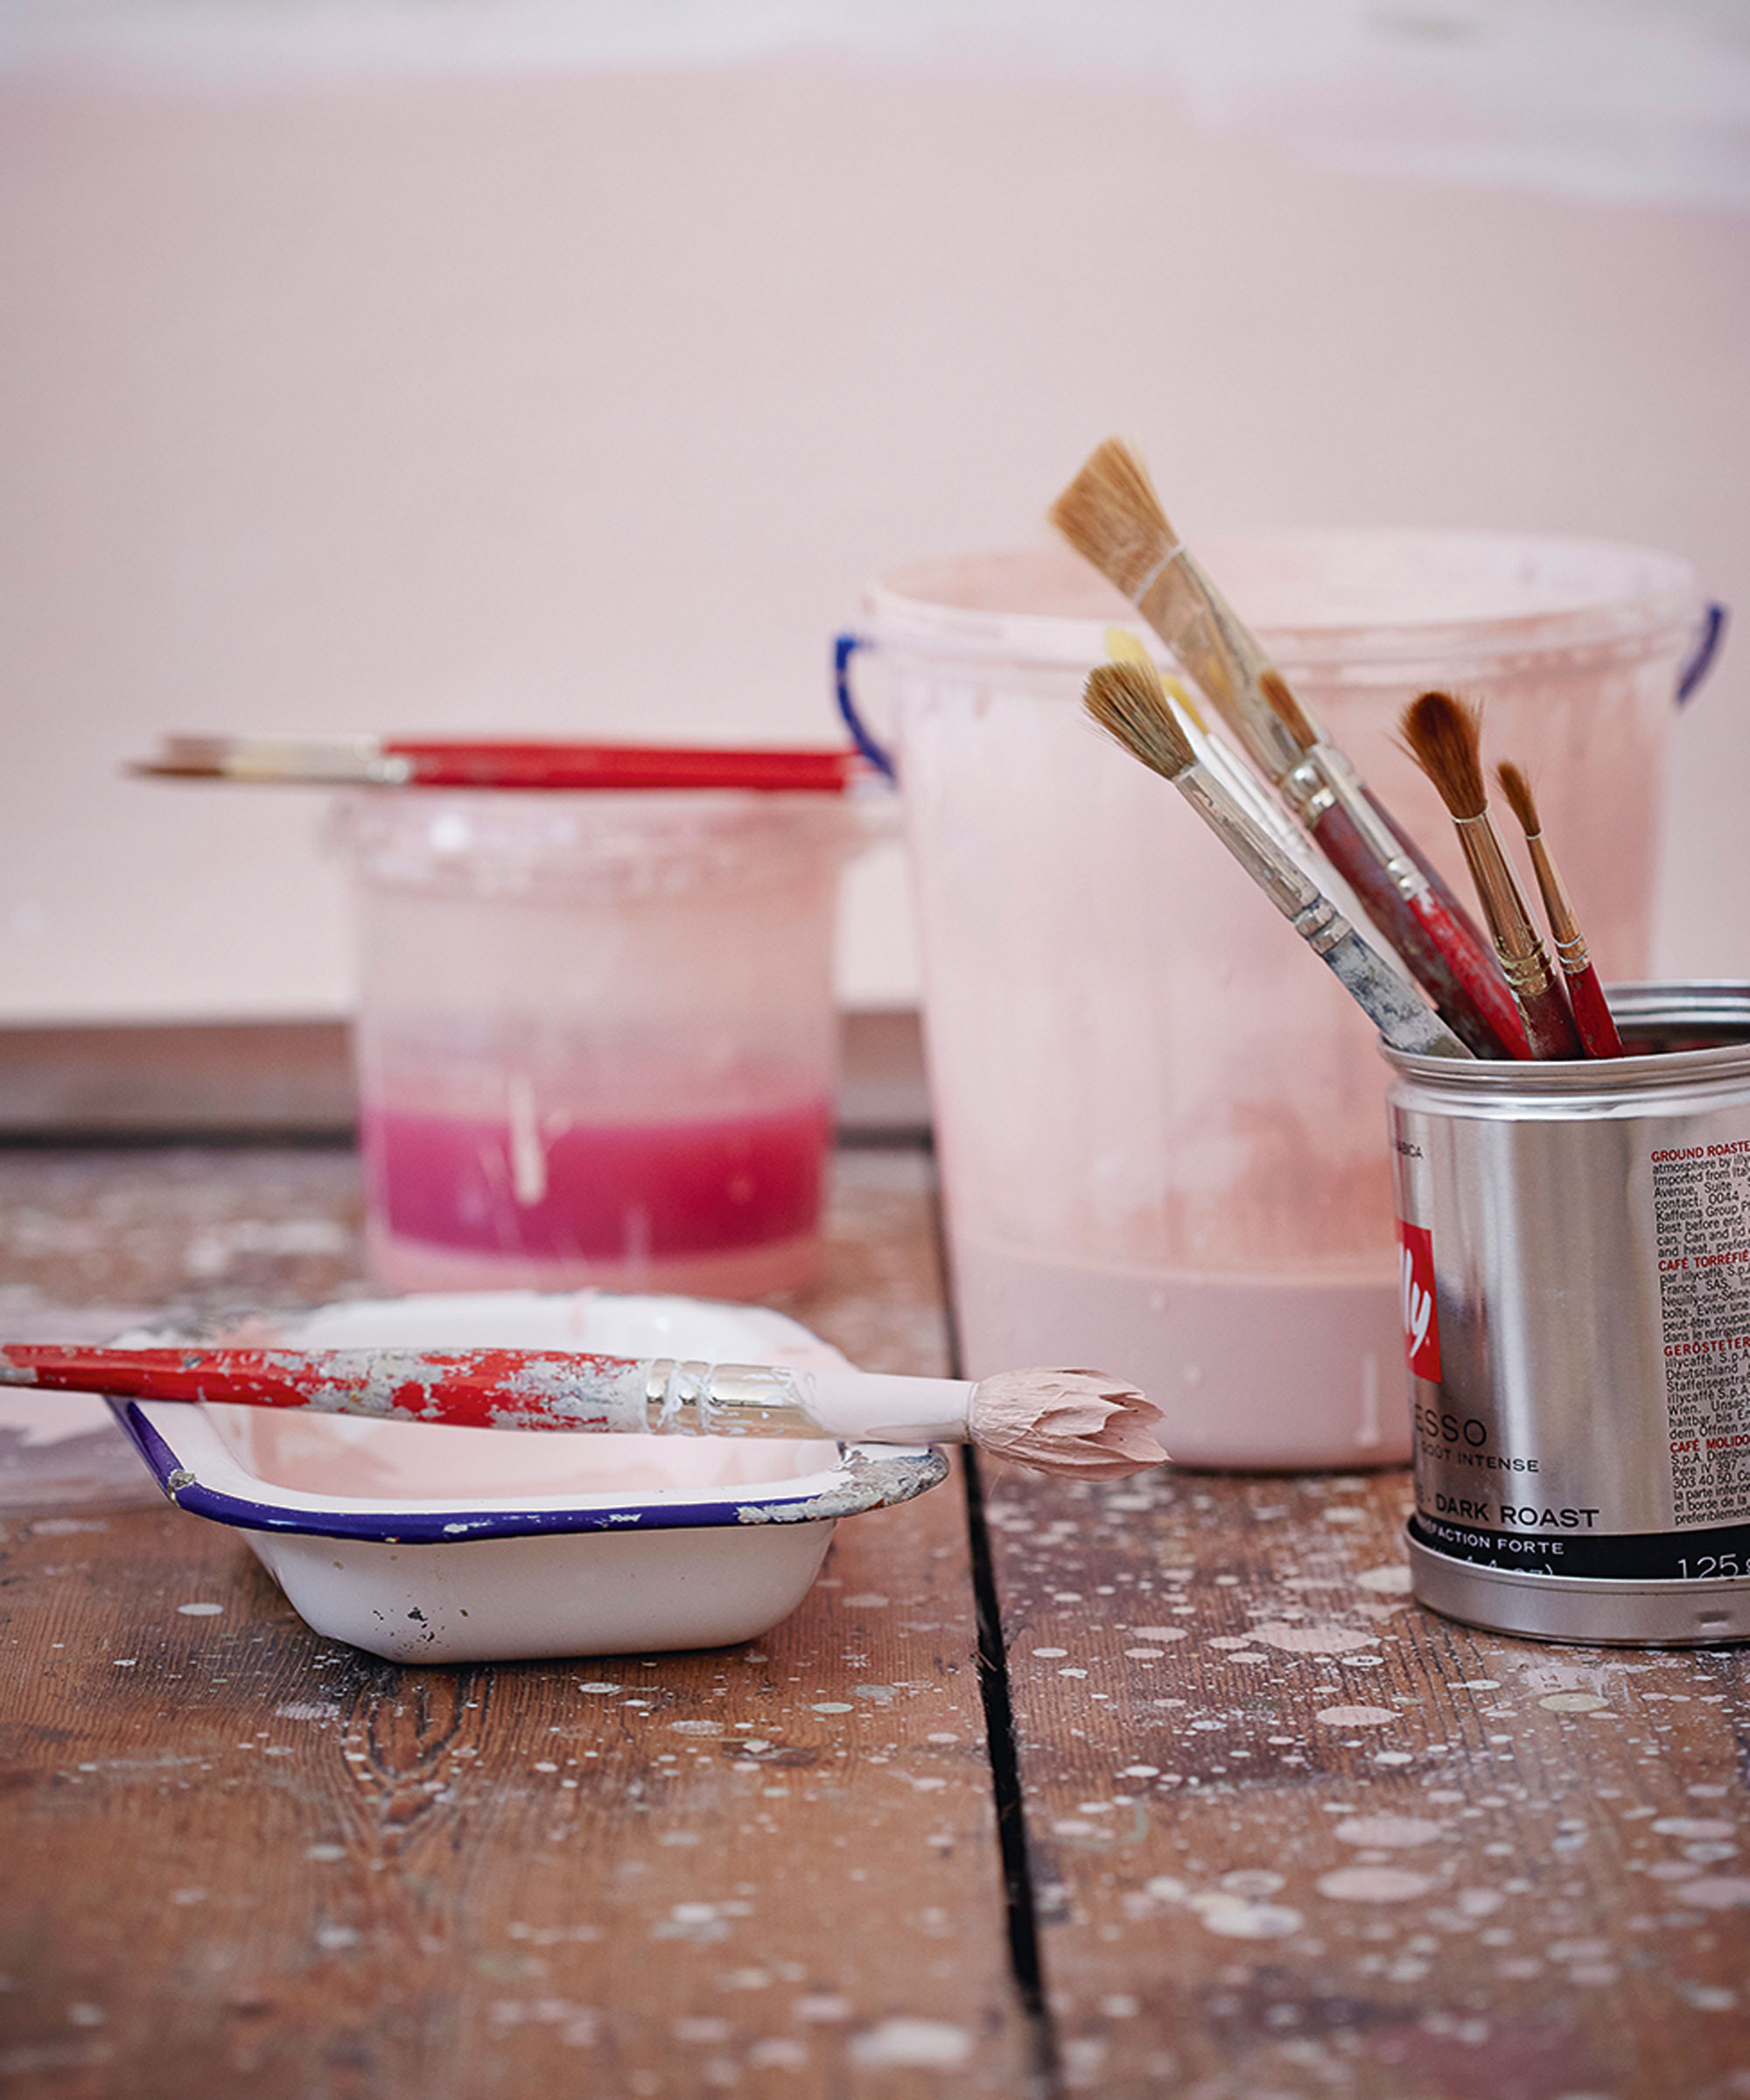
'A common wall painting mistake is skipping the step of applying primer before painting. Primer can help the paint adhere better and prevent uneven color,' says Tim Payne, professional painter and owner of Tim Payne Painting.
'Priming is important over patchwork or if there is a significant color change or sheen change.'
Brian from Cedar Home Buyers explains that primer is essentially an adhesive, which helps the paint stick even as the weather changes, and seals the wall against reacting to moisture. When you don't use primer, you leave the painted wall open to peeling and chipping.
Design expertise in your inbox – from inspiring decorating ideas and beautiful celebrity homes to practical gardening advice and shopping round-ups.

Tim Payne is the owner and CEO of Tim Payne Painting, based in Chattanooga. The company provides high-quality service and assists clients with everything from selecting colors to moving furniture.
2. Not preparing the wall properly
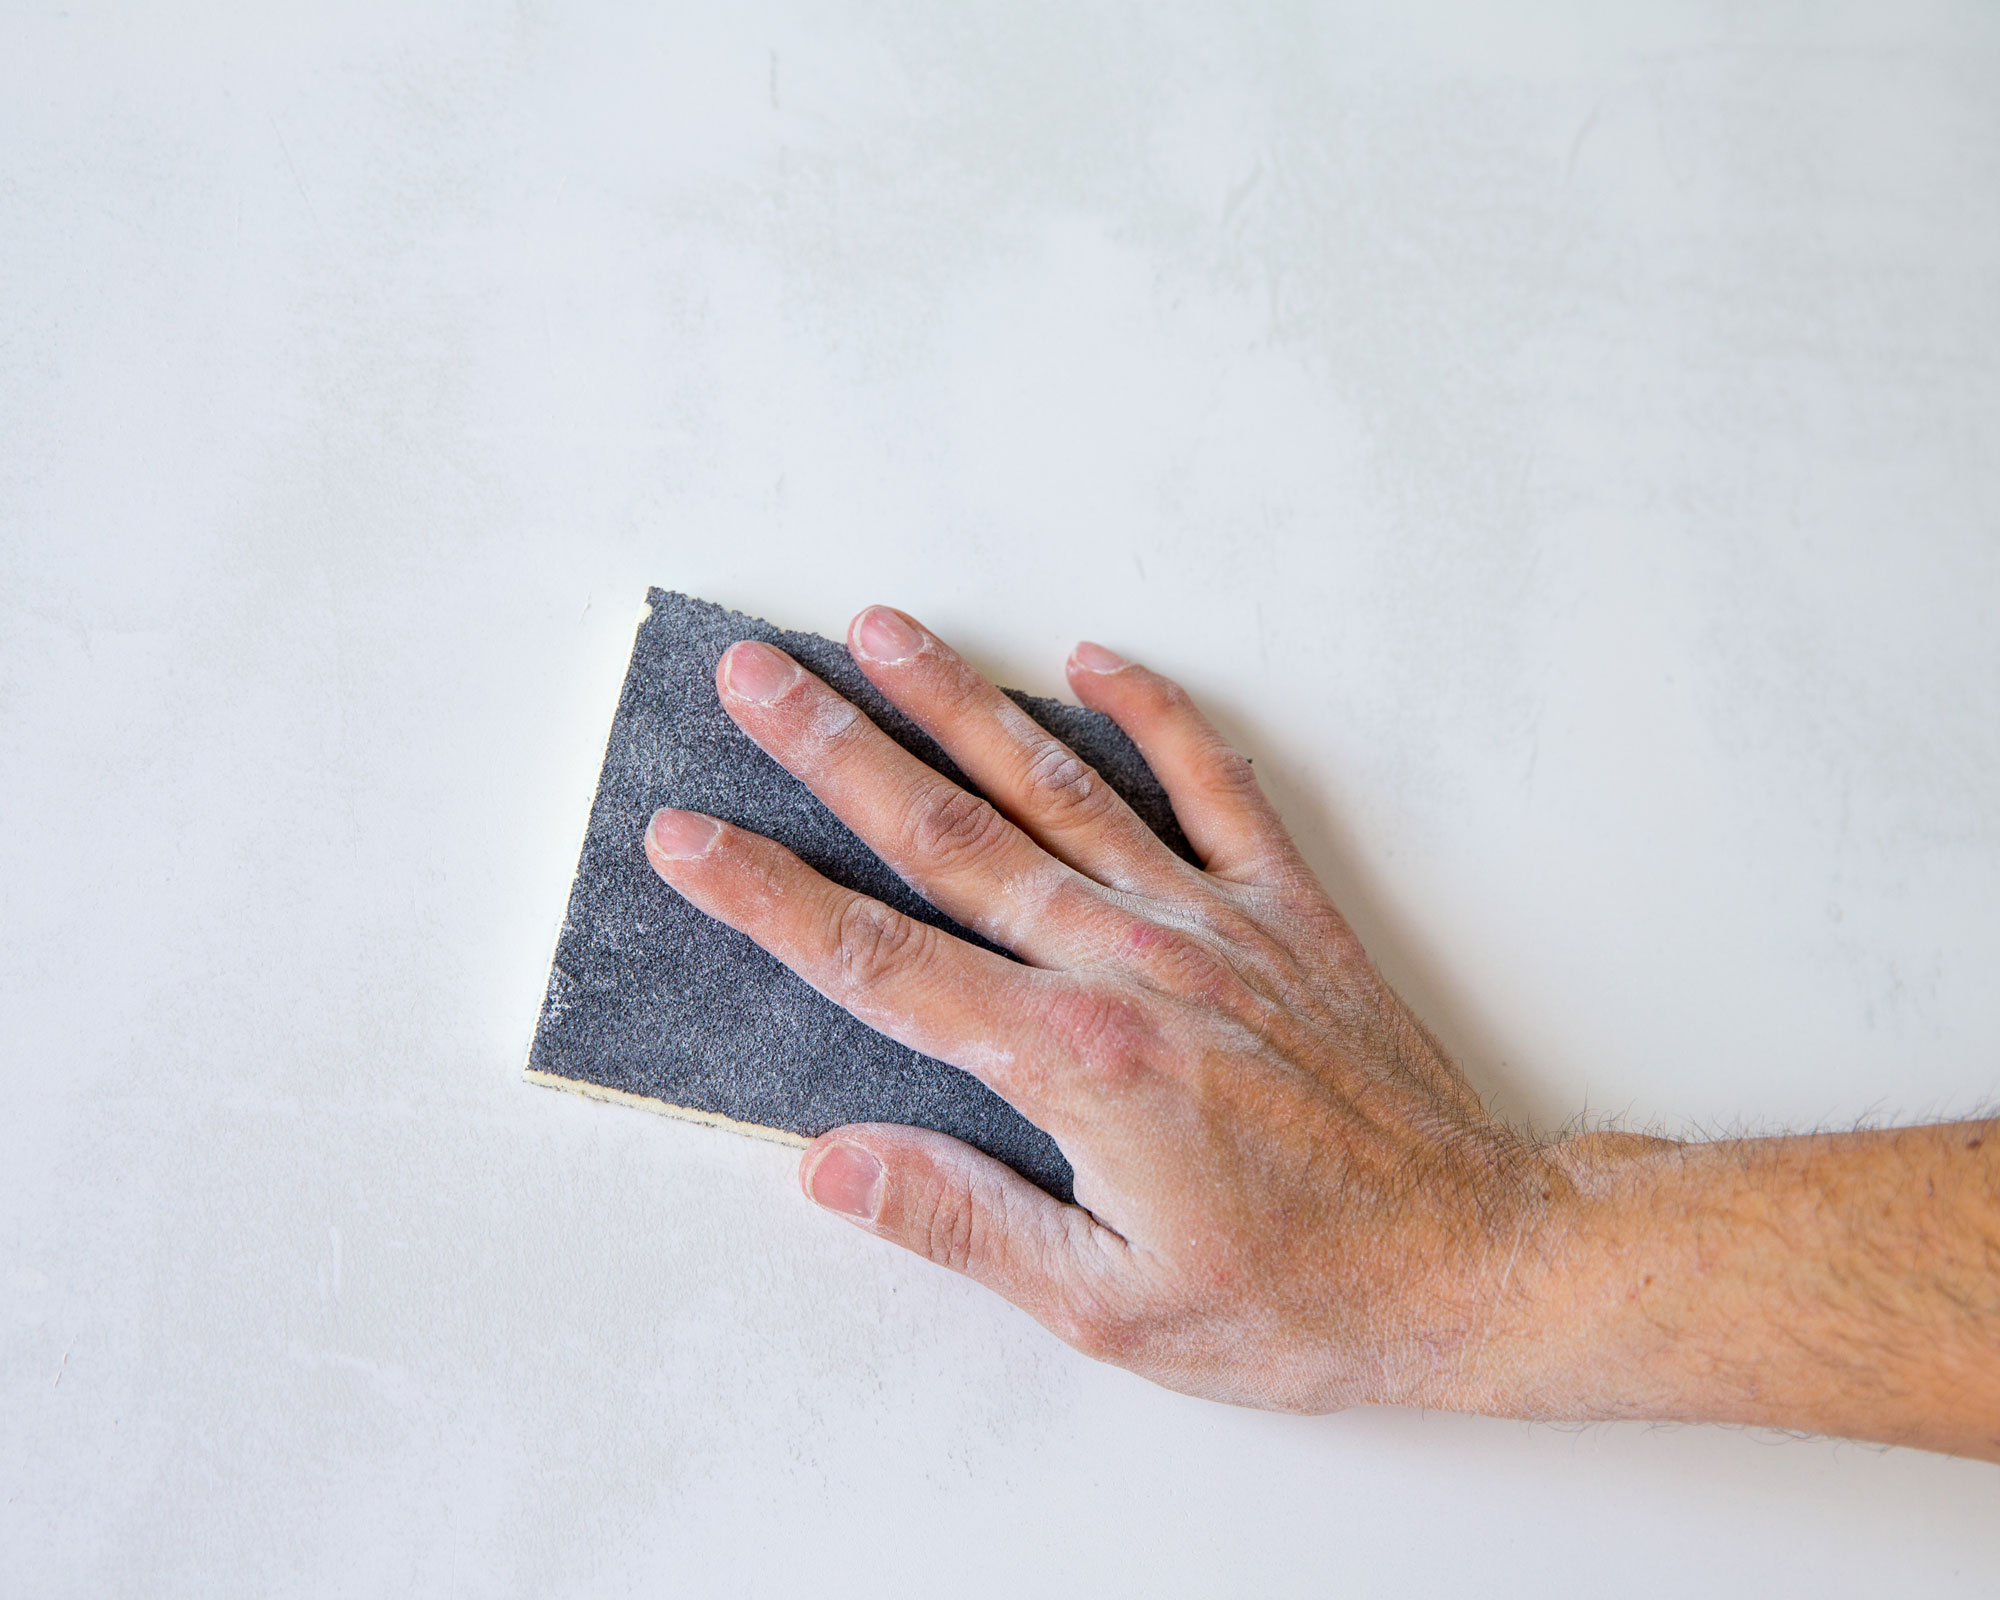
Mike Qiu fixes and flips houses in the Greater Seattle area, and is the owner of GoodAsSoldHomeBuyers. He says, whether you're painting inside or outside, the most common mistake we make is not preparing the wall properly: 'This can include not cleaning the surface of dust and dirt, or not patching up holes or cracks,' he says, and is a common patio painting mistake.
'Skipping these steps can lead to a finished product that looks uneven, patchy, and unprofessional.' Cleaning walls and sanding them before priming may feel like a lot of work, but preparing the wall properly will make the actual painting stage much more straightforward and the paint will look good for longer.
3. Failing to use the right tools
Using the wrong type of brush or roller can result in a finish that is streaky or uneven, warns Mike. Not using a drop cloth, at Amazon or painter's tape, at Walmart can also lead to paint drips and splatters on floors, furniture, or other surfaces.
Choose high-quality brushes and rollers for the best results and clear your space as much as possible. It's also a great painting hack to minimize clean-up.
4. Not cutting in
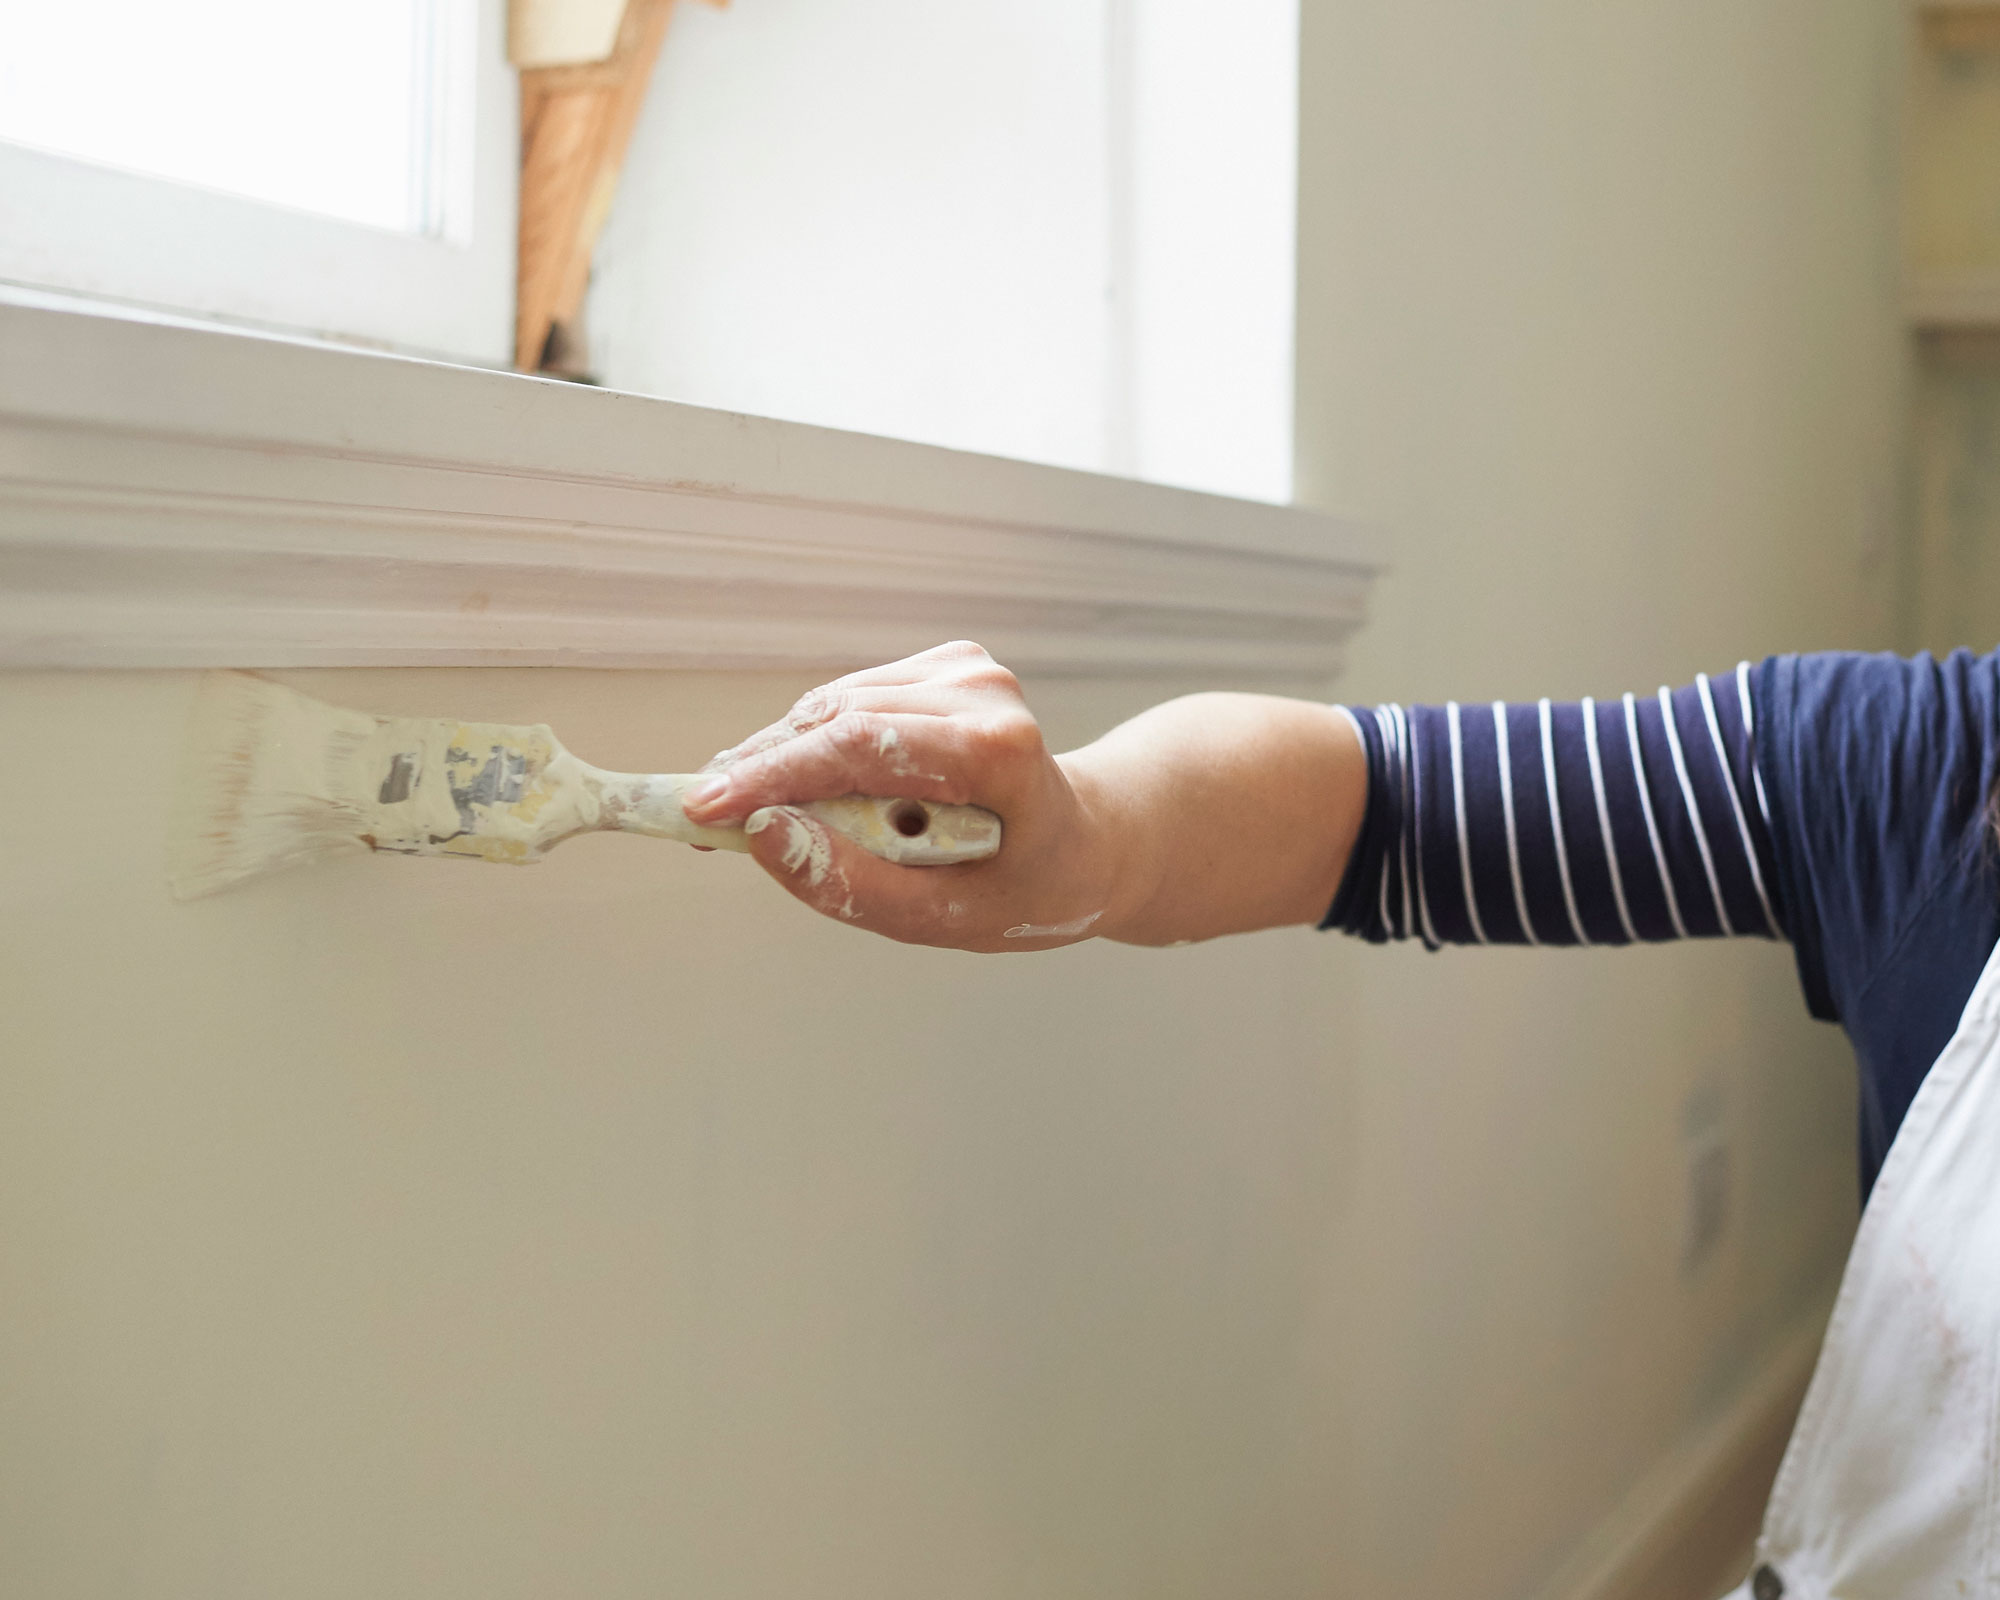
Neglecting to use a brush to paint areas around the edges of the wall, such as corners, edges, and trim, before using a roller, is a common error we make, says Tim Payne.
5. Applying too few coats
Interior designer Lisa Jane says that applying too few coats of paint can make the finish look patchy or uneven, and the old color may show through the new paint, making the paint job look unprofessional and incomplete. The lack of proper paint coverage can make the finish susceptible to damage, such as chipping, peeling, and cracking.
6. Not mixing the paint properly
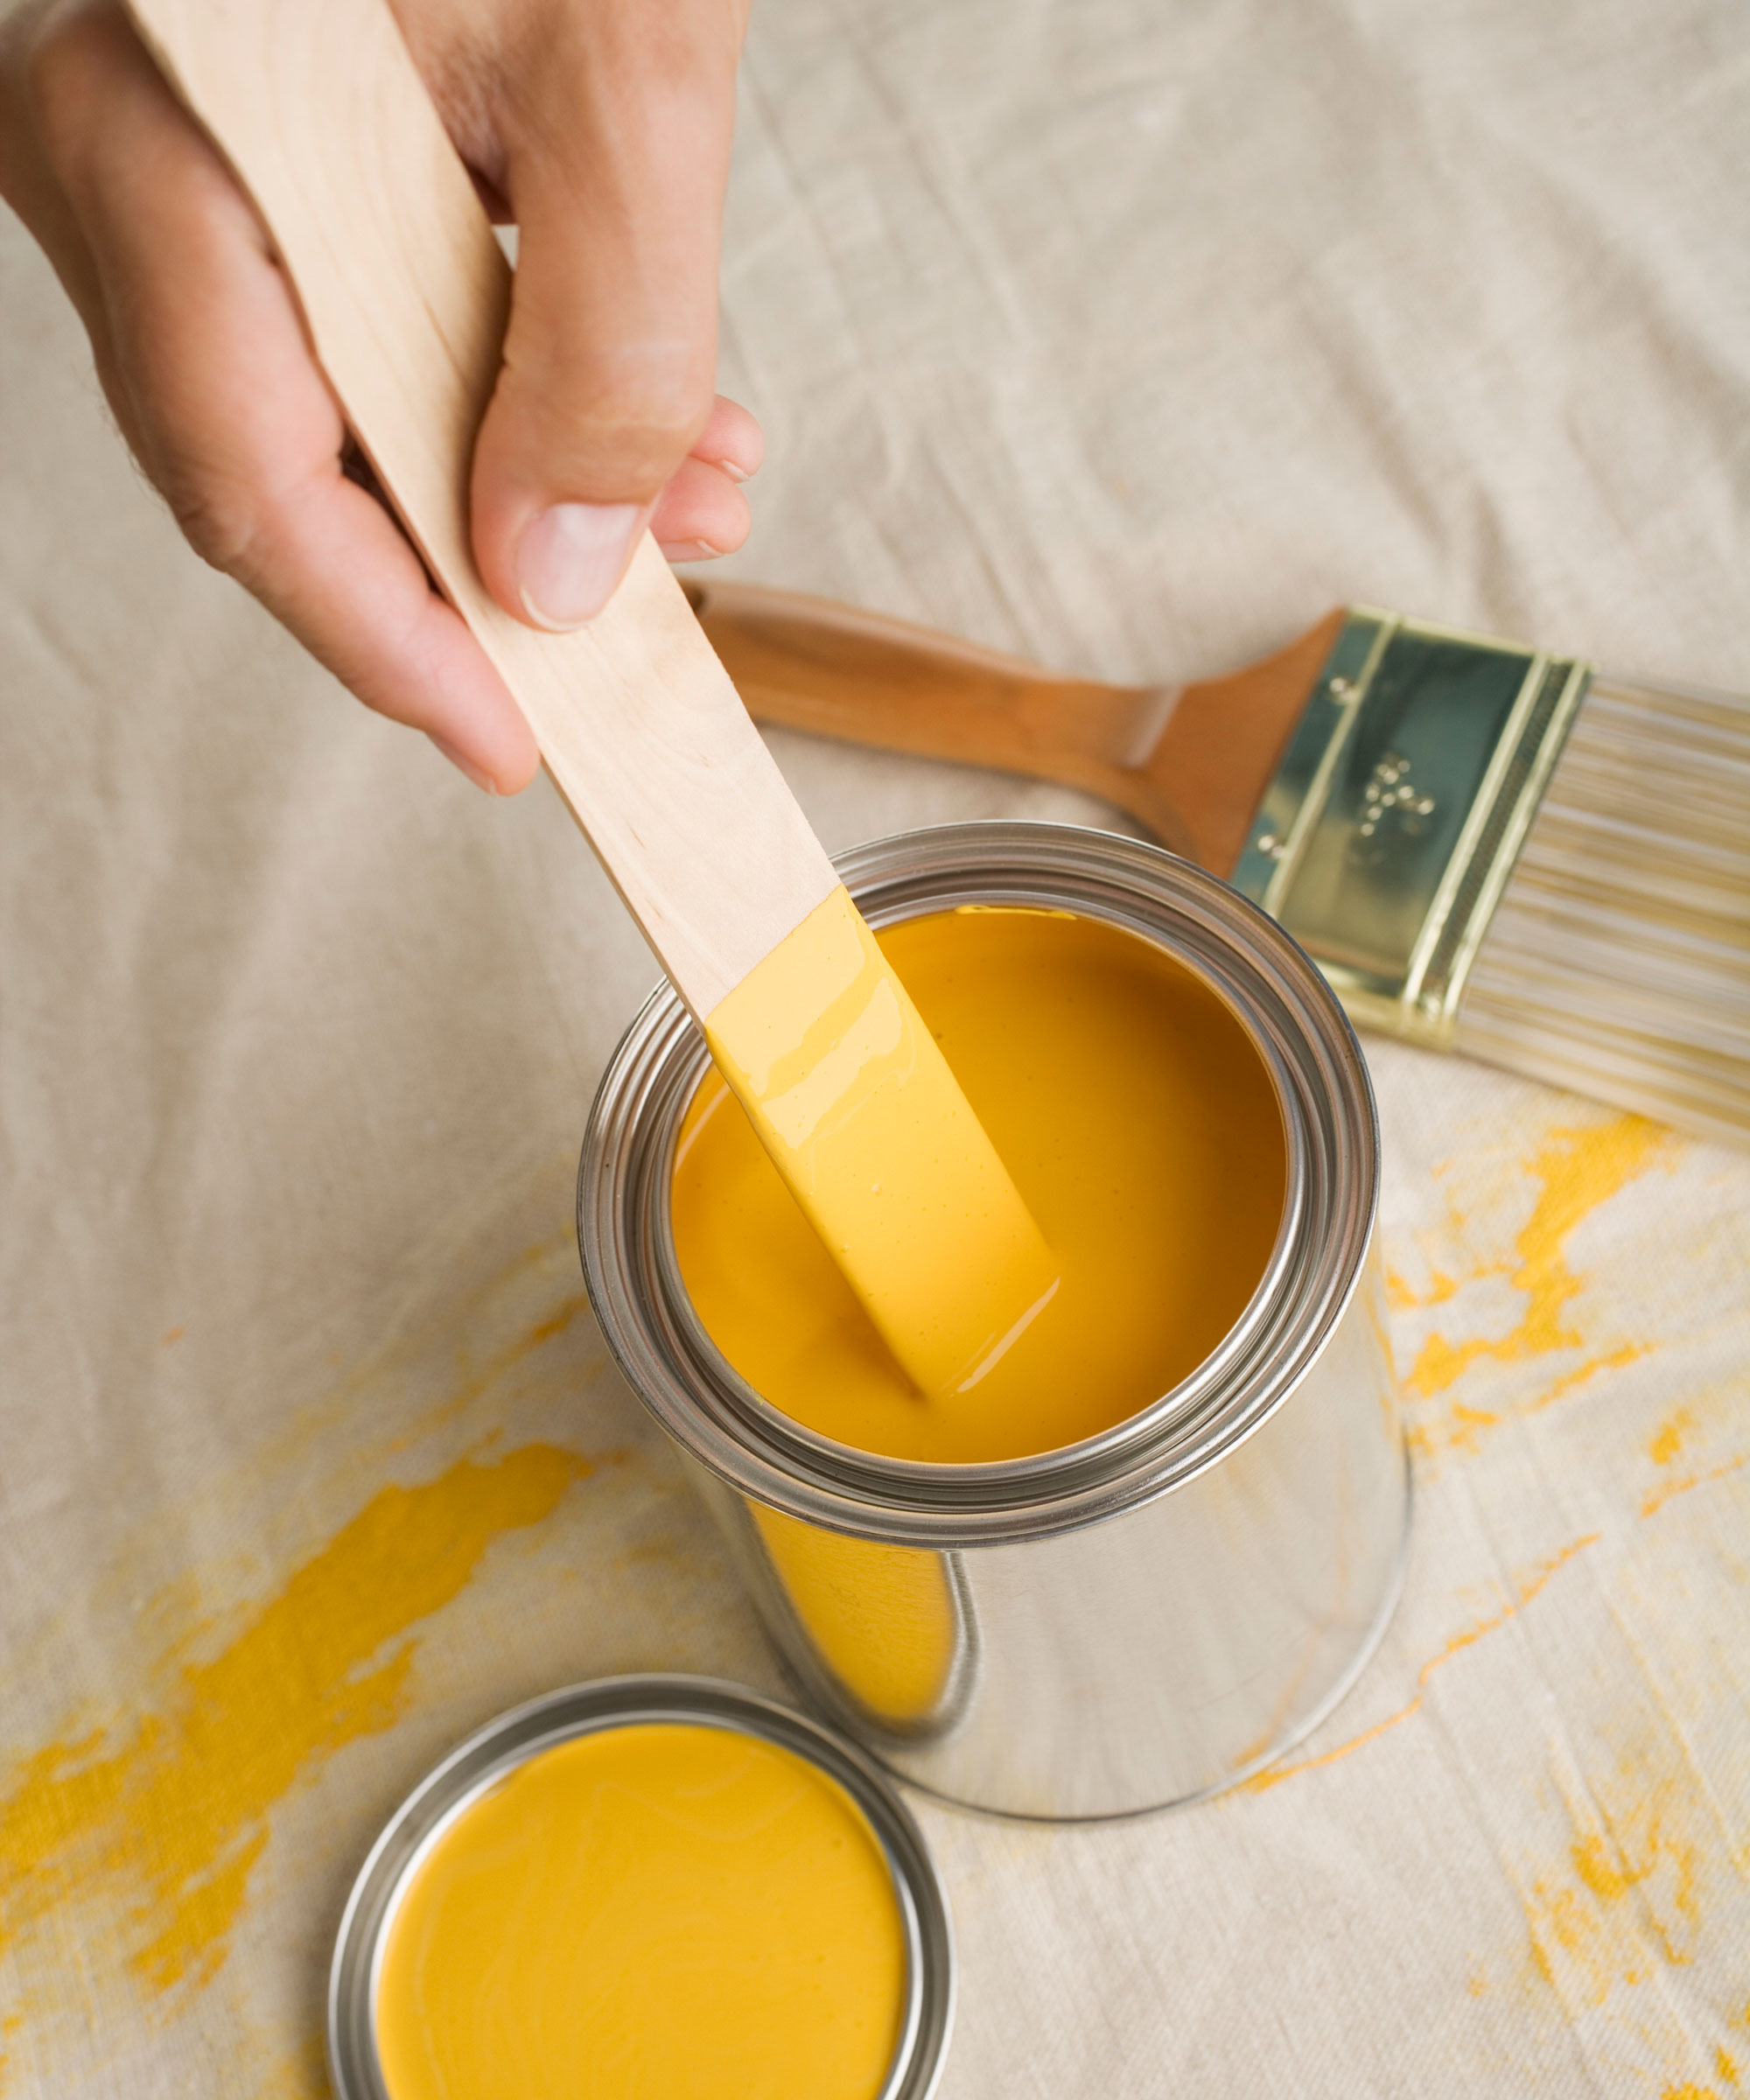
'Not mixing the paint thoroughly before painting is one common mistake that results in a patchy appearance due to uneven distribution of pigments and other components in the paint,' comments Lisa Jane. 'Different paint components settle over time, and if the paint is not mixed properly, you may have an inconsistent color or texture.'
To avoid this, stir the paint thoroughly before painting and periodically stir it while painting to ensure even distribution. Use a stir stick, at Amazon or a mixing tool and stir for a few minutes to ensure that all the paint components are evenly distributed.
7. 'Picture framing'
'If you allow the areas that you cut in with a brush to begin to dry before rolling the walls, the cut-in will area will differ slightly from the rolled area,' comments Bill Nishanian, Owner of Nash Painting.
'The trick is to cut in and roll approximately 4-5' worth of wall at a time to keep what's known as a wet edge,' says Bill.
8. Rushing the job
Painting a room yourself is a big job that can make our homes feel a little upside down, so it may be very tempting to rush. Tim Payne says that not taking the time to properly prep the wall, apply the paint evenly, or wait for each coat to dry before applying another coat will compromise the finish, making it look messy and unprofessional.
'Normally, the label on the paint can provide proper drying time instructions as these can vary based on the type of product and environmental concerns such as temperature and humidity,' he says.
FAQs
What causes a wall to look patchy after painting?
Brian, an interior decorator, and the founder of Cedar Home Buyers says dirt and oil that gathers on a wall can cause a paint job to look patchy. He believes we often underestimate the importance of cleaning our walls before painting but argues that it's really the most basic and important step for a solid paint job.
'You also want to make sure that you have an even coat of paint. Most often, patchiness comes from thin coats of paint,' he adds. So using a good-quality nap roller, at Amazon is what Brian would recommend to get the best coverage and shine.
Can you brush up paint without leaving brush marks?
'It is possible to brush up paint without leaving brush marks, using long, even strokes in the same direction when painting with a brush,' says interior designer Lisa Jane. 'Start at the top of the surface and work your way down, overlapping each stroke slightly to ensure even coverage. Avoid over-brushing or going over areas that have already started to dry, as this can create visible brush marks.'

Millie is a freelance writer and qualified interior designer based in Sheffield. She has many years of experience in the world of content and marketing, and previously worked as the head of Solved at Homes & Gardens. Before that, she worked in SEO at News UK in London and New York. She has a first-class degree in French and Italian from UCL and loves to weave decor into her home that reminds her of time spent living and studying in Bologna. Millie believes a clutter-free space that you love coming home every day is the best secret weapon for our well-being.