10 baseboard painting mistakes to avoid – and what experts say to do instead
Here are some common mistakes to avoid for a clean, professional-looking finish


While painting a room can be reasonably straightforward, the area people often find the most challenging is the baseboards. This is especially true when the baseboards are a different color and texture from the rest of the wall, requiring different paints and techniques.
In addition to knowing the proper steps to paint baseboards, understanding the common errors can ensure this task is done successfully, prolonging the life of your paint job and ensuring a professional-looking result.
Below, our experts have shared ten mistakes to avoid before, during, and after painting your baseboards, along with painting tips to help you do the job right.
Baseboard painting mistakes
'Make sure you pay attention to the details, use quality materials, and wrap up the job with care, and you will be sure to achieve a blemish-free result for the baseboards in your house,' advises Andriy Boyko, Founder of A.O. Handy Inc.
Prior to painting

1. Choosing the wrong paint type
Choosing the wrong paint type can result in inadequate coverage, application issues, and poor durability. To achieve a professional outcome, it is important to select high-quality enamel paint specifically formulated for baseboards. The same applies outdoors, particularly when swerving any patio painting mistakes.
'Many people make the mistake of using flat wall paint, which won't hold up nearly as well, especially in high-traffic areas. For baseboards, you want to choose durable semi-gloss or satin paint finishes,' advises Jon Christensen, home improvement expert and CEO of Bidmii International Inc. 'These can withstand occasional scuffs and are easy to wipe clean. I recommend Benjamin Moore for consistent top-quality paint!'
2. Selecting low-quality brushes or rollers
Using low-quality or worn brushes or rollers results in streaks, bristle marks, and uneven paint application.
Design expertise in your inbox – from inspiring decorating ideas and beautiful celebrity homes to practical gardening advice and shopping round-ups.
Painting baseboards can be technical, so using a range of high-quality tools ensures a smooth, professional finish and precise application, enhancing the overall appearance of your baseboards.
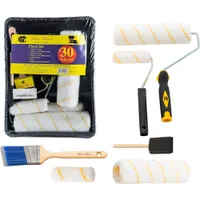
11 Piece Home Painting Supplies | Was $24.99, now $16.99
This professional quality set includes a tray, 2 roller frames (9"), 2 roller covers (9"x1/2"), roller frame (4"), 2 roller covers (4"x1/2"), 2" angel paint brush, and high-density foam brush.
3. Overlooking surface preparation
Neglecting to prepare baseboards before painting is a big mistake. Not only will this reduce the longevity of your paint job, but likely also impact its appearance. The finish may appear uneven, with streaks and blotches. Just as you would prepare walls for painting, the same must be done for your baseboards.
'Before painting the baseboards, they need to be sanded to achieve a smooth and proper adhesion of paint,' advises Andriy Boyko.
'Next, they need to be cleaned. Paint doesn’t adhere as well or as long on dirty boards. You should use something like Citra Solv, from Amazon – a biodegradable product containing limonene – to remove dust, dirt, and grime.'
You should also prime the surface before painting. Primer is an adhesive coat that seals a surface, seals it in, and helps the topcoat adhere well and last longer. If you don't prime the baseboard before, it may not adhere properly, leading to peeling and flaking over time, and can leave visible streaks and blotches.
4. Forgetting to cover surrounding surfaces
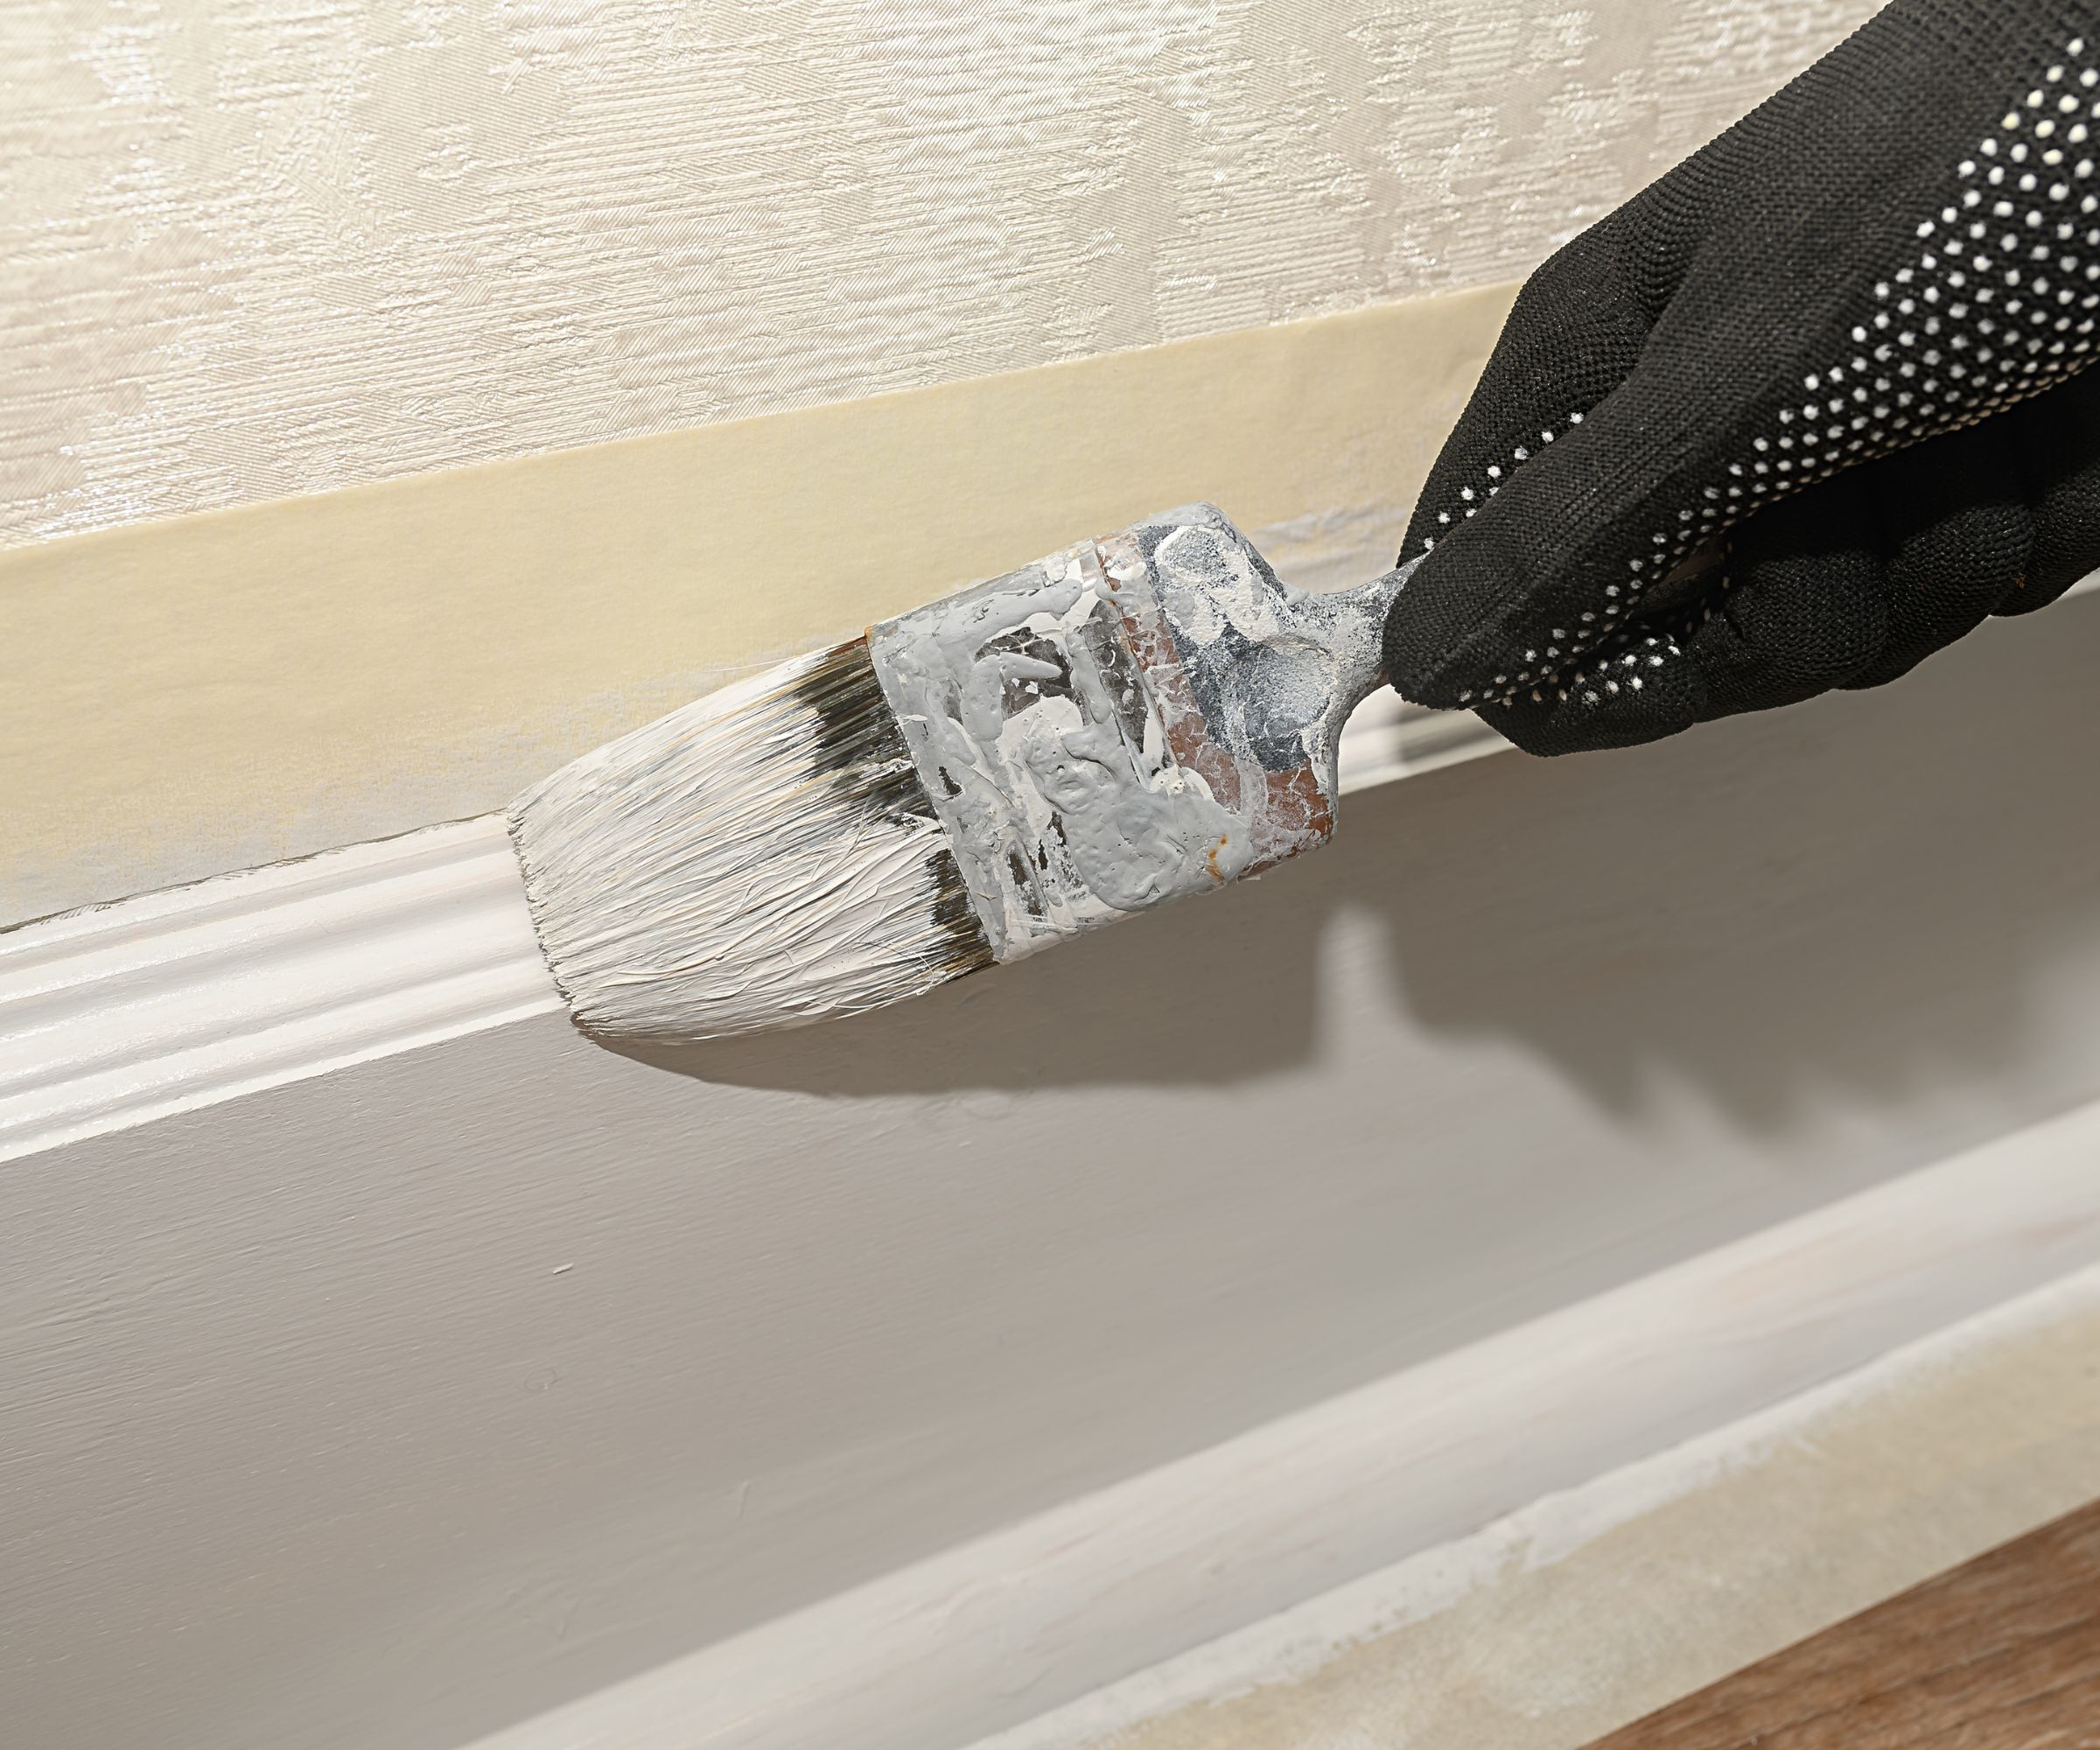
'The mistake I see the most often when painting baseboards is people just expecting to be good at it right away. More than almost any other painting task, it's a tricky spot to cover and often results in smudges and spillages on surrounding surfaces,' says Andre Kazimierski, CEO of Improovy Painters.
'To prevent this, it is important to use painter’s tape and drop cloths to cover surrounding surfaces and objects before painting to avoid getting paint on walls and floors.'
You can use this ScothBlue painters tape and this LLPT tape and drape, from Amazon.
During painting
5. Applying too much paint
'Using too much paint to apply for each coat can create splatters, runs, and ridges in the finish for a poor result,' warns Andriy Boyko. 'Apply several thin coats of paint – and let them dry before applying the next – for the best finish.'
6. Applying too few coats of paint
While applying too much paint is a mistake, so is applying too few coats of paint. Doing this will mean inadequate coverage, allowing the underlying color or material to show through, resulting in patchy, uneven results. Additionally, fewer coats may not protect against wear and tear, leading to chipping, peeling, and damage.
Sufficient layers of paint applied properly will ensure a smooth, consistent appearance that enhances the durability and longevity of your baseboard's paint job.
7. Failing to consider drying time
Rushing the drying process will cause smudges, smears, and dents on freshly painted baseboards. Leave adequate time for the paint to dry between coats according to the paint’s suggested drying time, and resist the urge to touch dry painted surfaces until they are cured.
8. Not ventilating the room
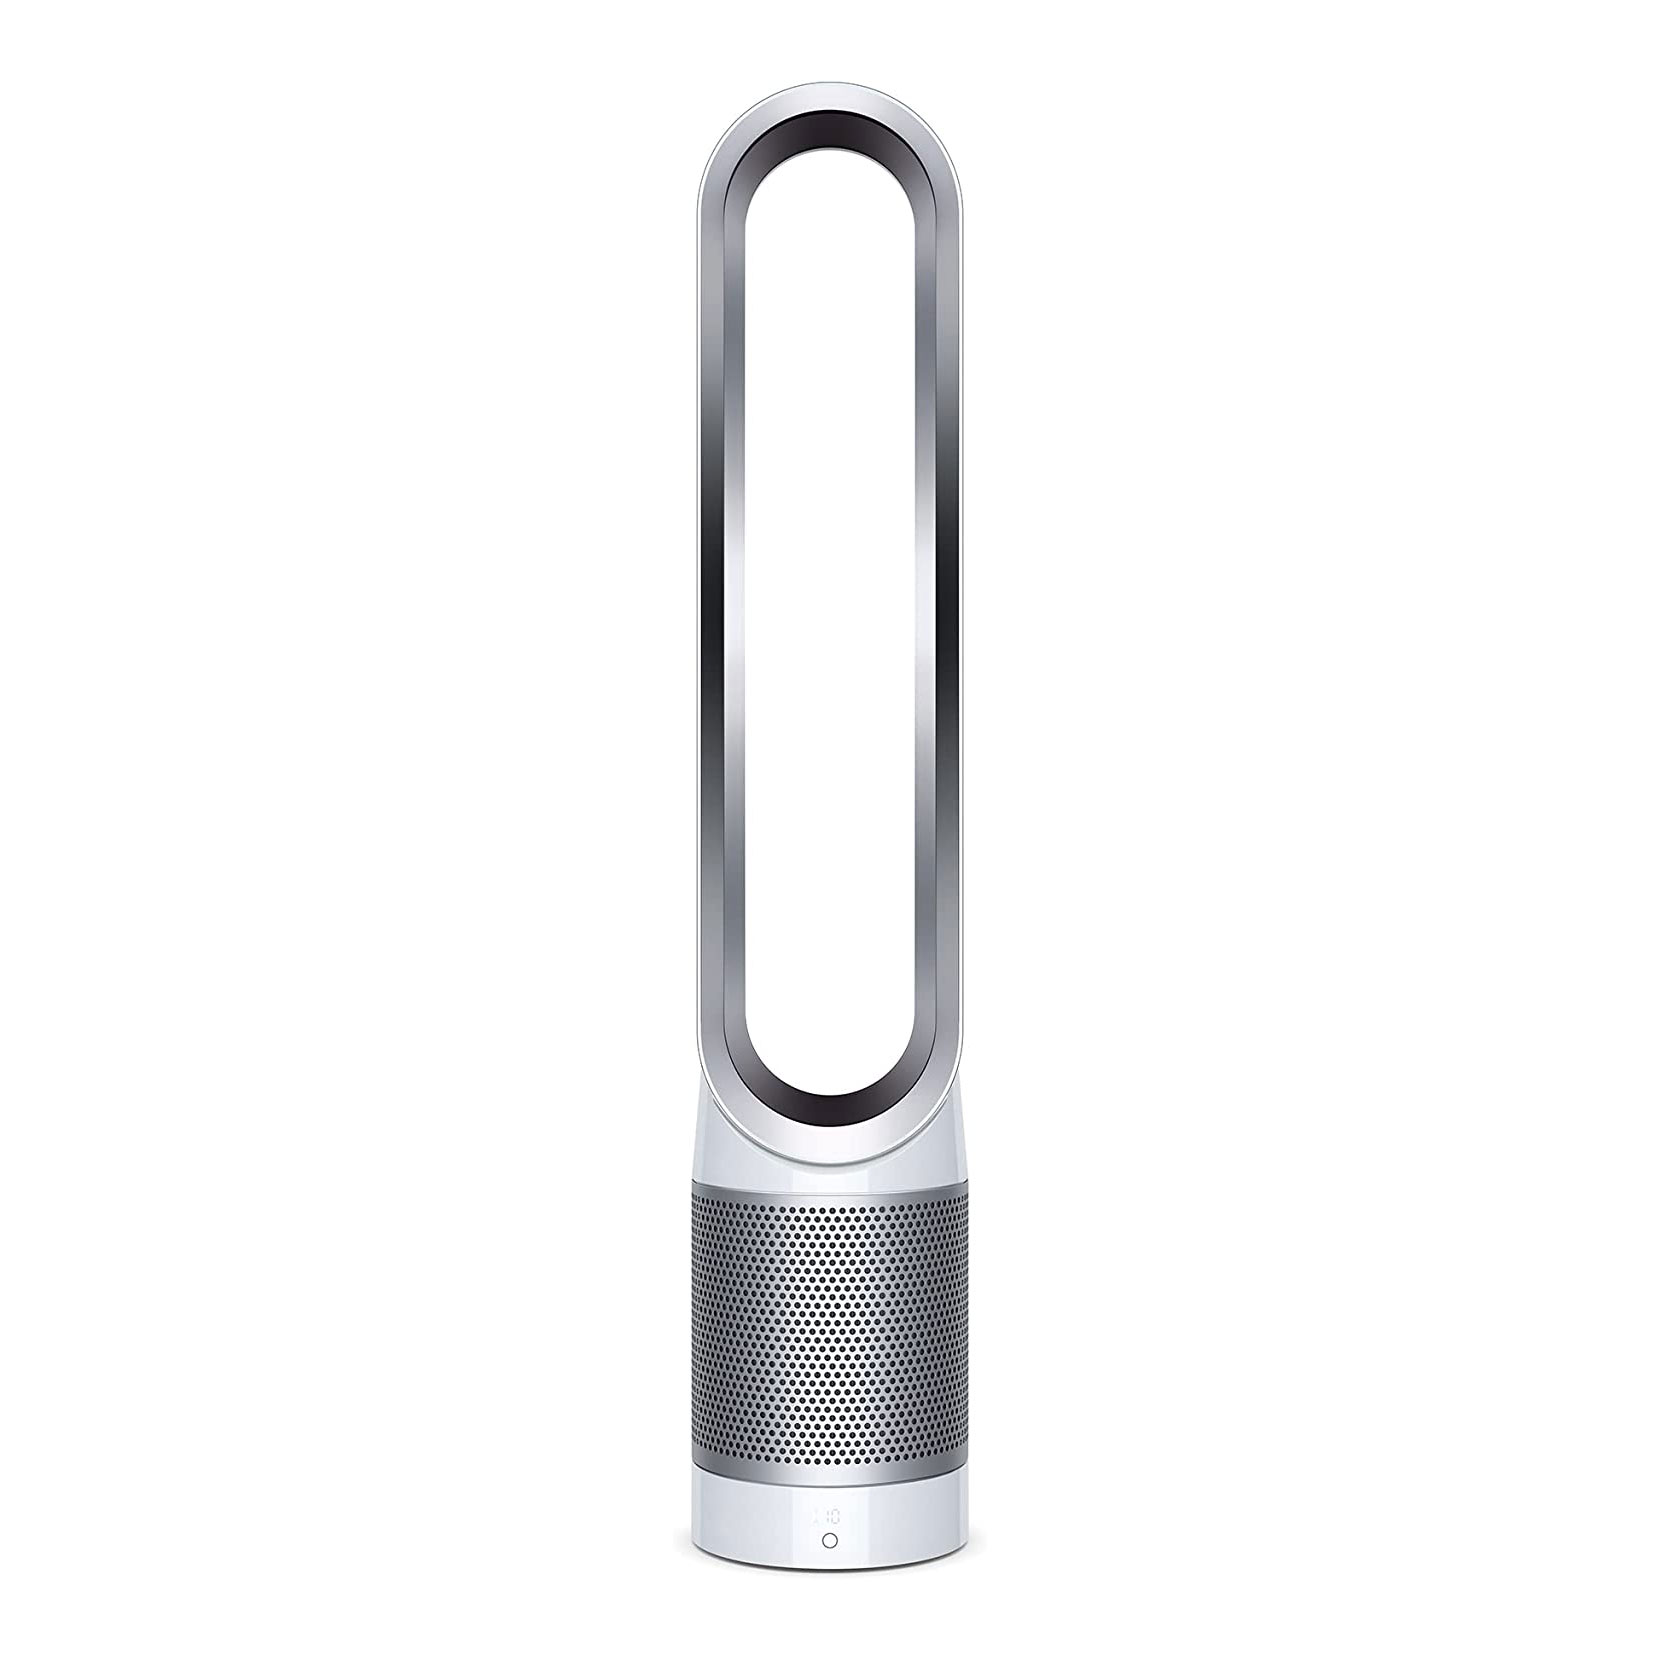
Failing to ventilate the room properly while painting baseboards can result in strong fumes, poor air quality, and prolonged drying times.
To ensure adequate airflow during painting, open windows and doors, and use fans or ventilation systems. This helps dissipate fumes and speed up drying times.
Post-painting

9. Peeling the painters tape off too late
'The biggest mistake to make post-painting is forgetting to remove the painter's tape while the paint is still wet,' says Jon Christensen. 'If you wait until the paint dries, you'll peel off some of your new paint job as you pull up the tape. For clean lines, carefully remove the tape about an hour after painting.'
10. Overlooking touch ups
Upon finishing, don't forget to carefully check the entire surface to ensure that you haven’t missed a spot or dripped paint.
Make any necessary touch-ups you spot as soon as possible; otherwise, the paint may dry unevenly, and correcting these mistakes later could be more difficult and result in an inconsistent finish.
FAQs
Is it better to paint baseboards before or after installing them?
It's better to paint your baseboards before installing them. 'One common mistake people make when installing baseboards is attempting to paint them after installing them,' says Ivo Iv, Founder and CEO of Decor Home Ideas. 'Painting your baseboards before installing them ensures even coverage and consistent color, reducing the risk of missing spots or making a mess.
'Once you install them, you can easily retouch the nail holes for a seamless look. Additionally, when repainting, you can use some tape to cover the floor and wall so there is no splatter and keep your paint job clean and professional.'
You may also be wondering whether to paint trim or walls first. Professional handyman Andriy Boyko recommends painting baseboards before painting walls: 'If you paint the baseboards first and then the walls, you’ll end up with clean, seamless edges.'

Lola Houlton is a news writer for Homes & Gardens. She has been writing content for Future PLC for the past six years, in particular Homes & Gardens, Real Homes and GardeningEtc. She writes on a broad range of subjects, including practical household advice, recipe articles, and product reviews, working closely with experts in their fields to cover everything from heating to home organization through to house plants. Lola is a graduate, who completed her degree in Psychology at the University of Sussex. She has also spent some time working at the BBC.
