Design expertise in your inbox – from inspiring decorating ideas and beautiful celebrity homes to practical gardening advice and shopping round-ups.
You are now subscribed
Your newsletter sign-up was successful
Want to add more newsletters?

Twice a week
Homes&Gardens
The ultimate interior design resource from the world's leading experts - discover inspiring decorating ideas, color scheming know-how, garden inspiration and shopping expertise.

Once a week
In The Loop from Next In Design
Members of the Next in Design Circle will receive In the Loop, our weekly email filled with trade news, names to know and spotlight moments. Together we’re building a brighter design future.

Twice a week
Cucina
Whether you’re passionate about hosting exquisite dinners, experimenting with culinary trends, or perfecting your kitchen's design with timeless elegance and innovative functionality, this newsletter is here to inspire
If the summer sun has left you inspired to partake in some cleaning around your home (after all, nothing shows up dust like the rays of the sun), then you may want to take a look at our guide to how to clean an essential oil diffuser.
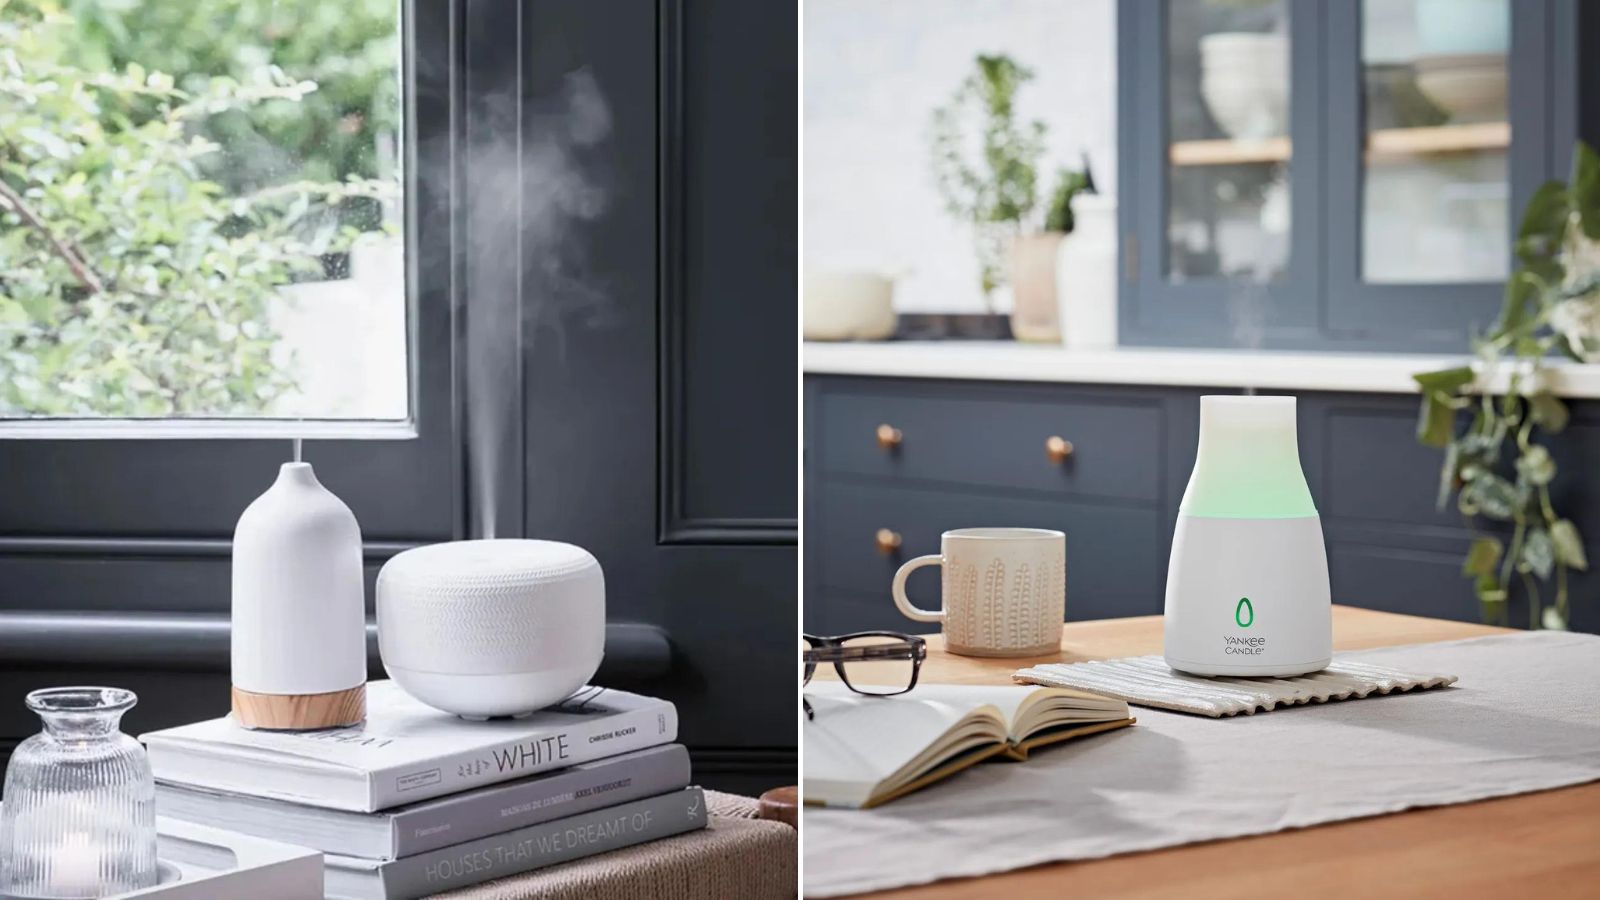
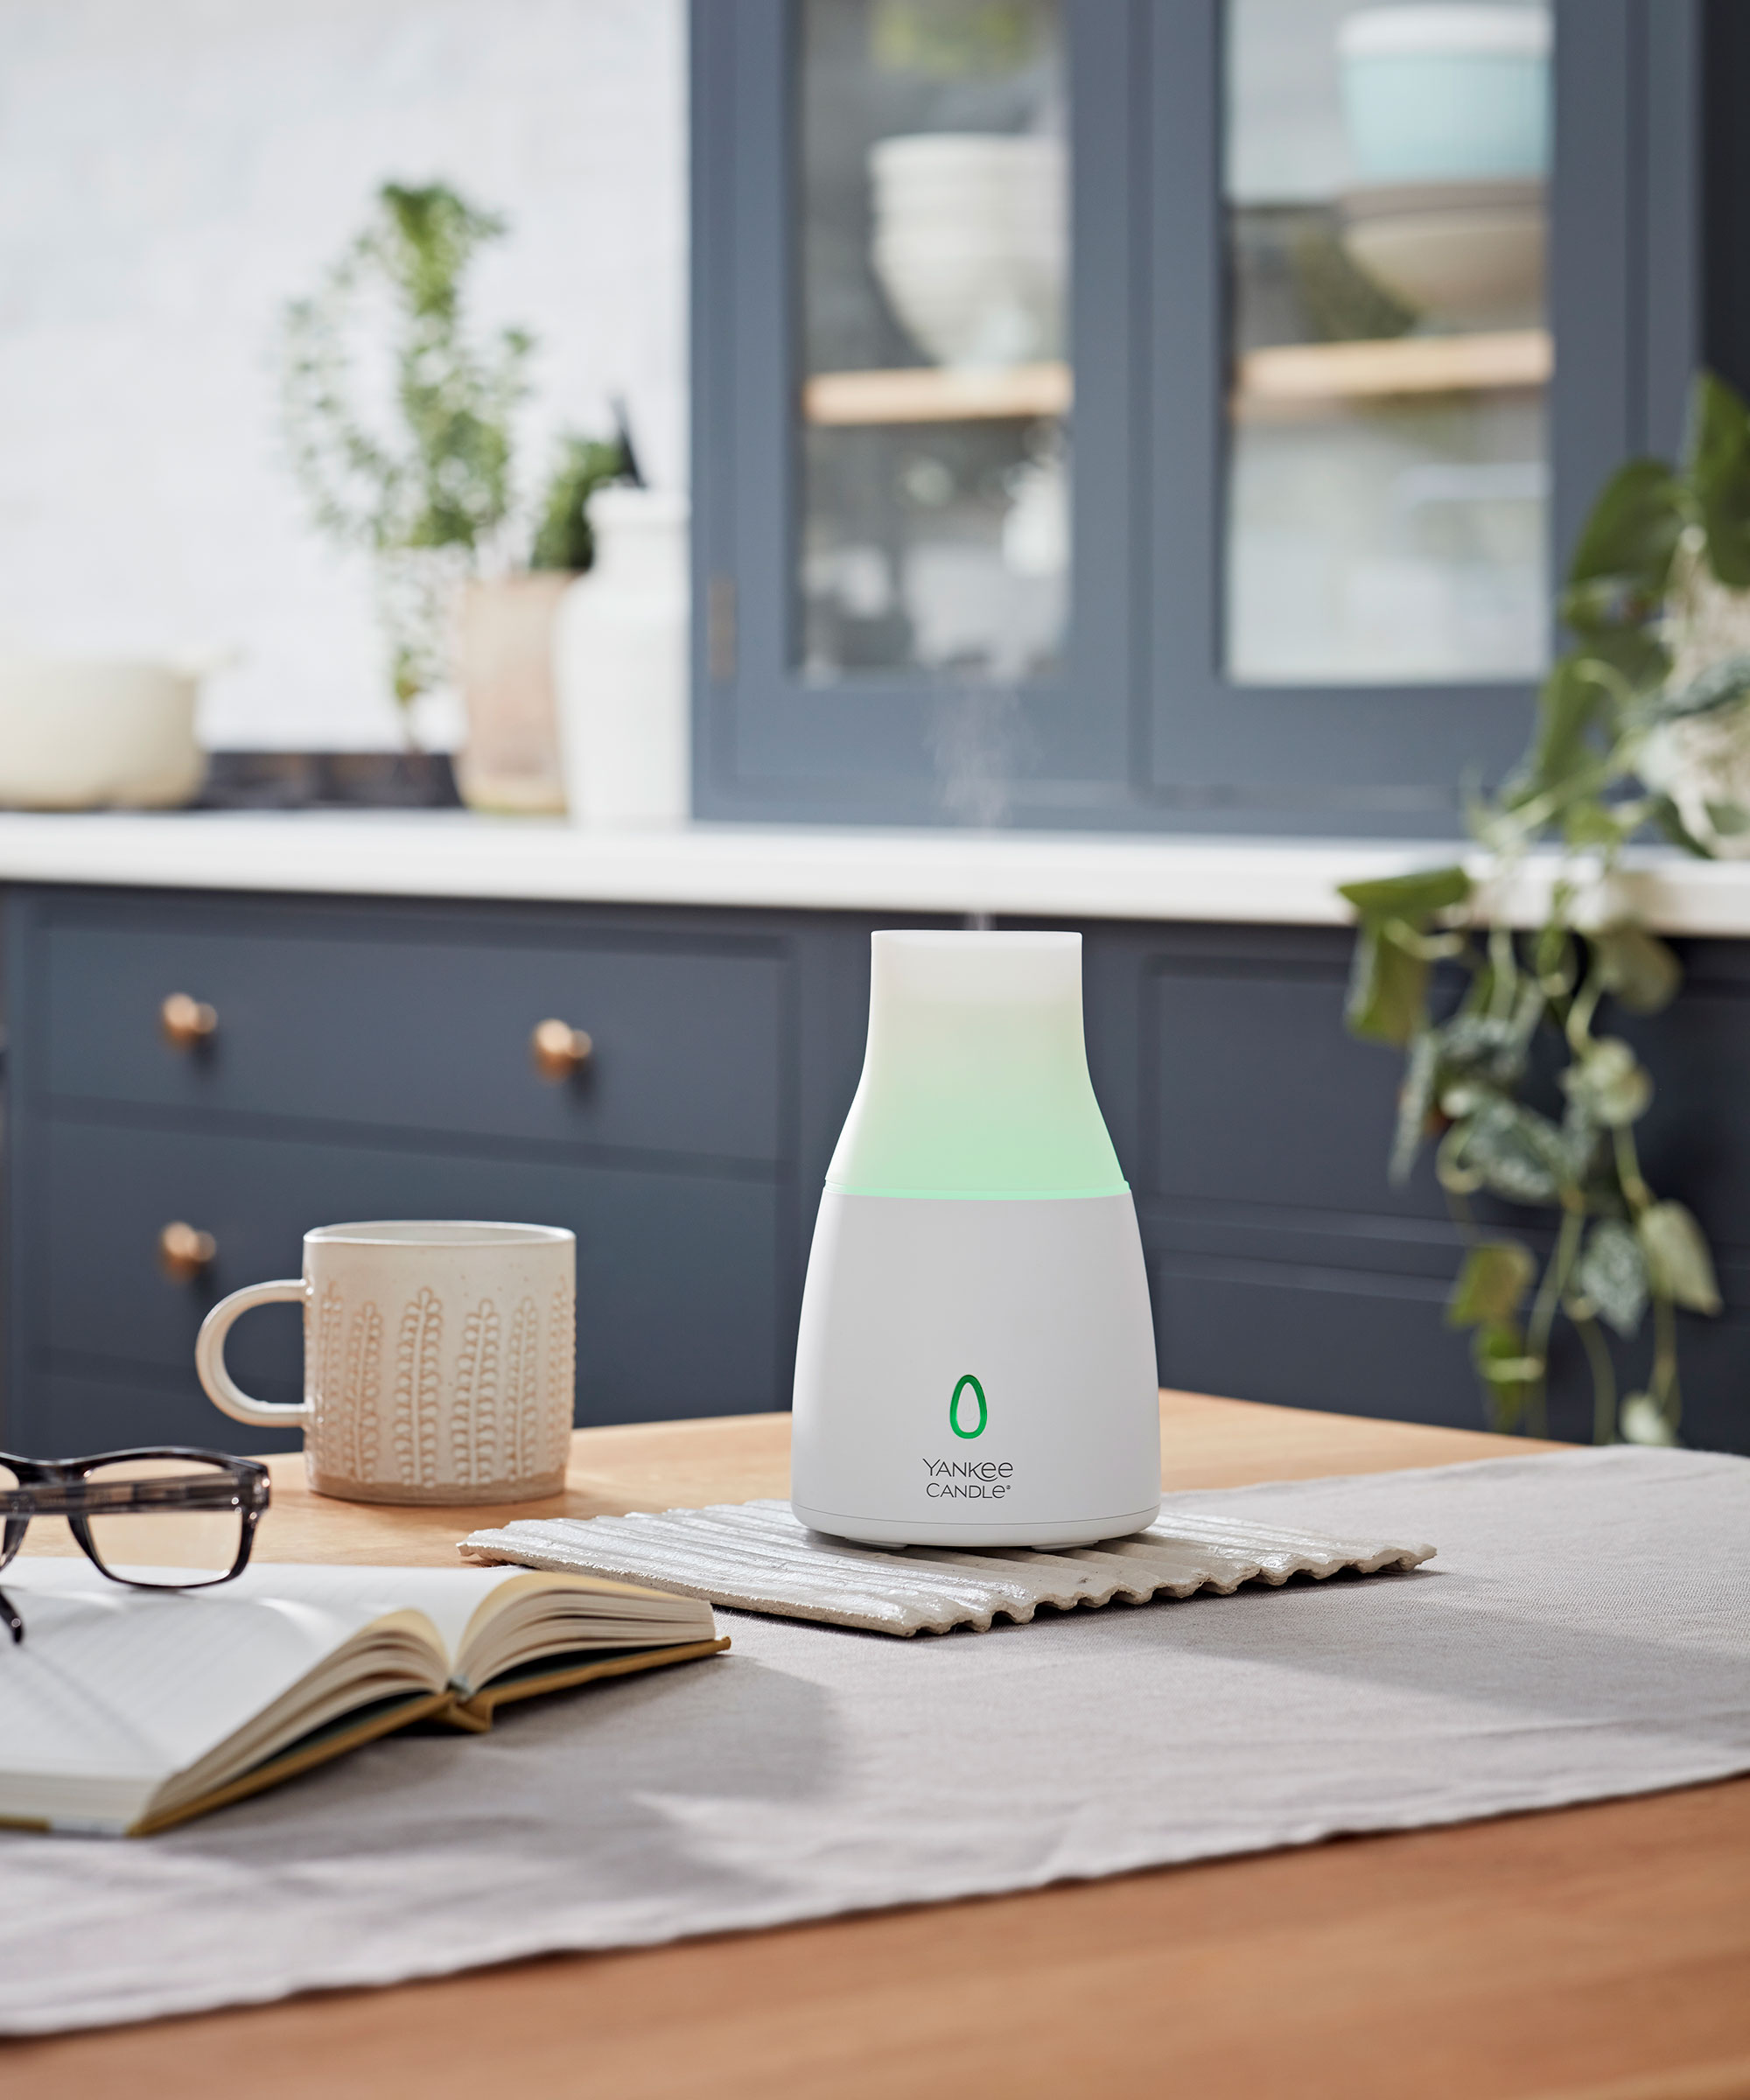
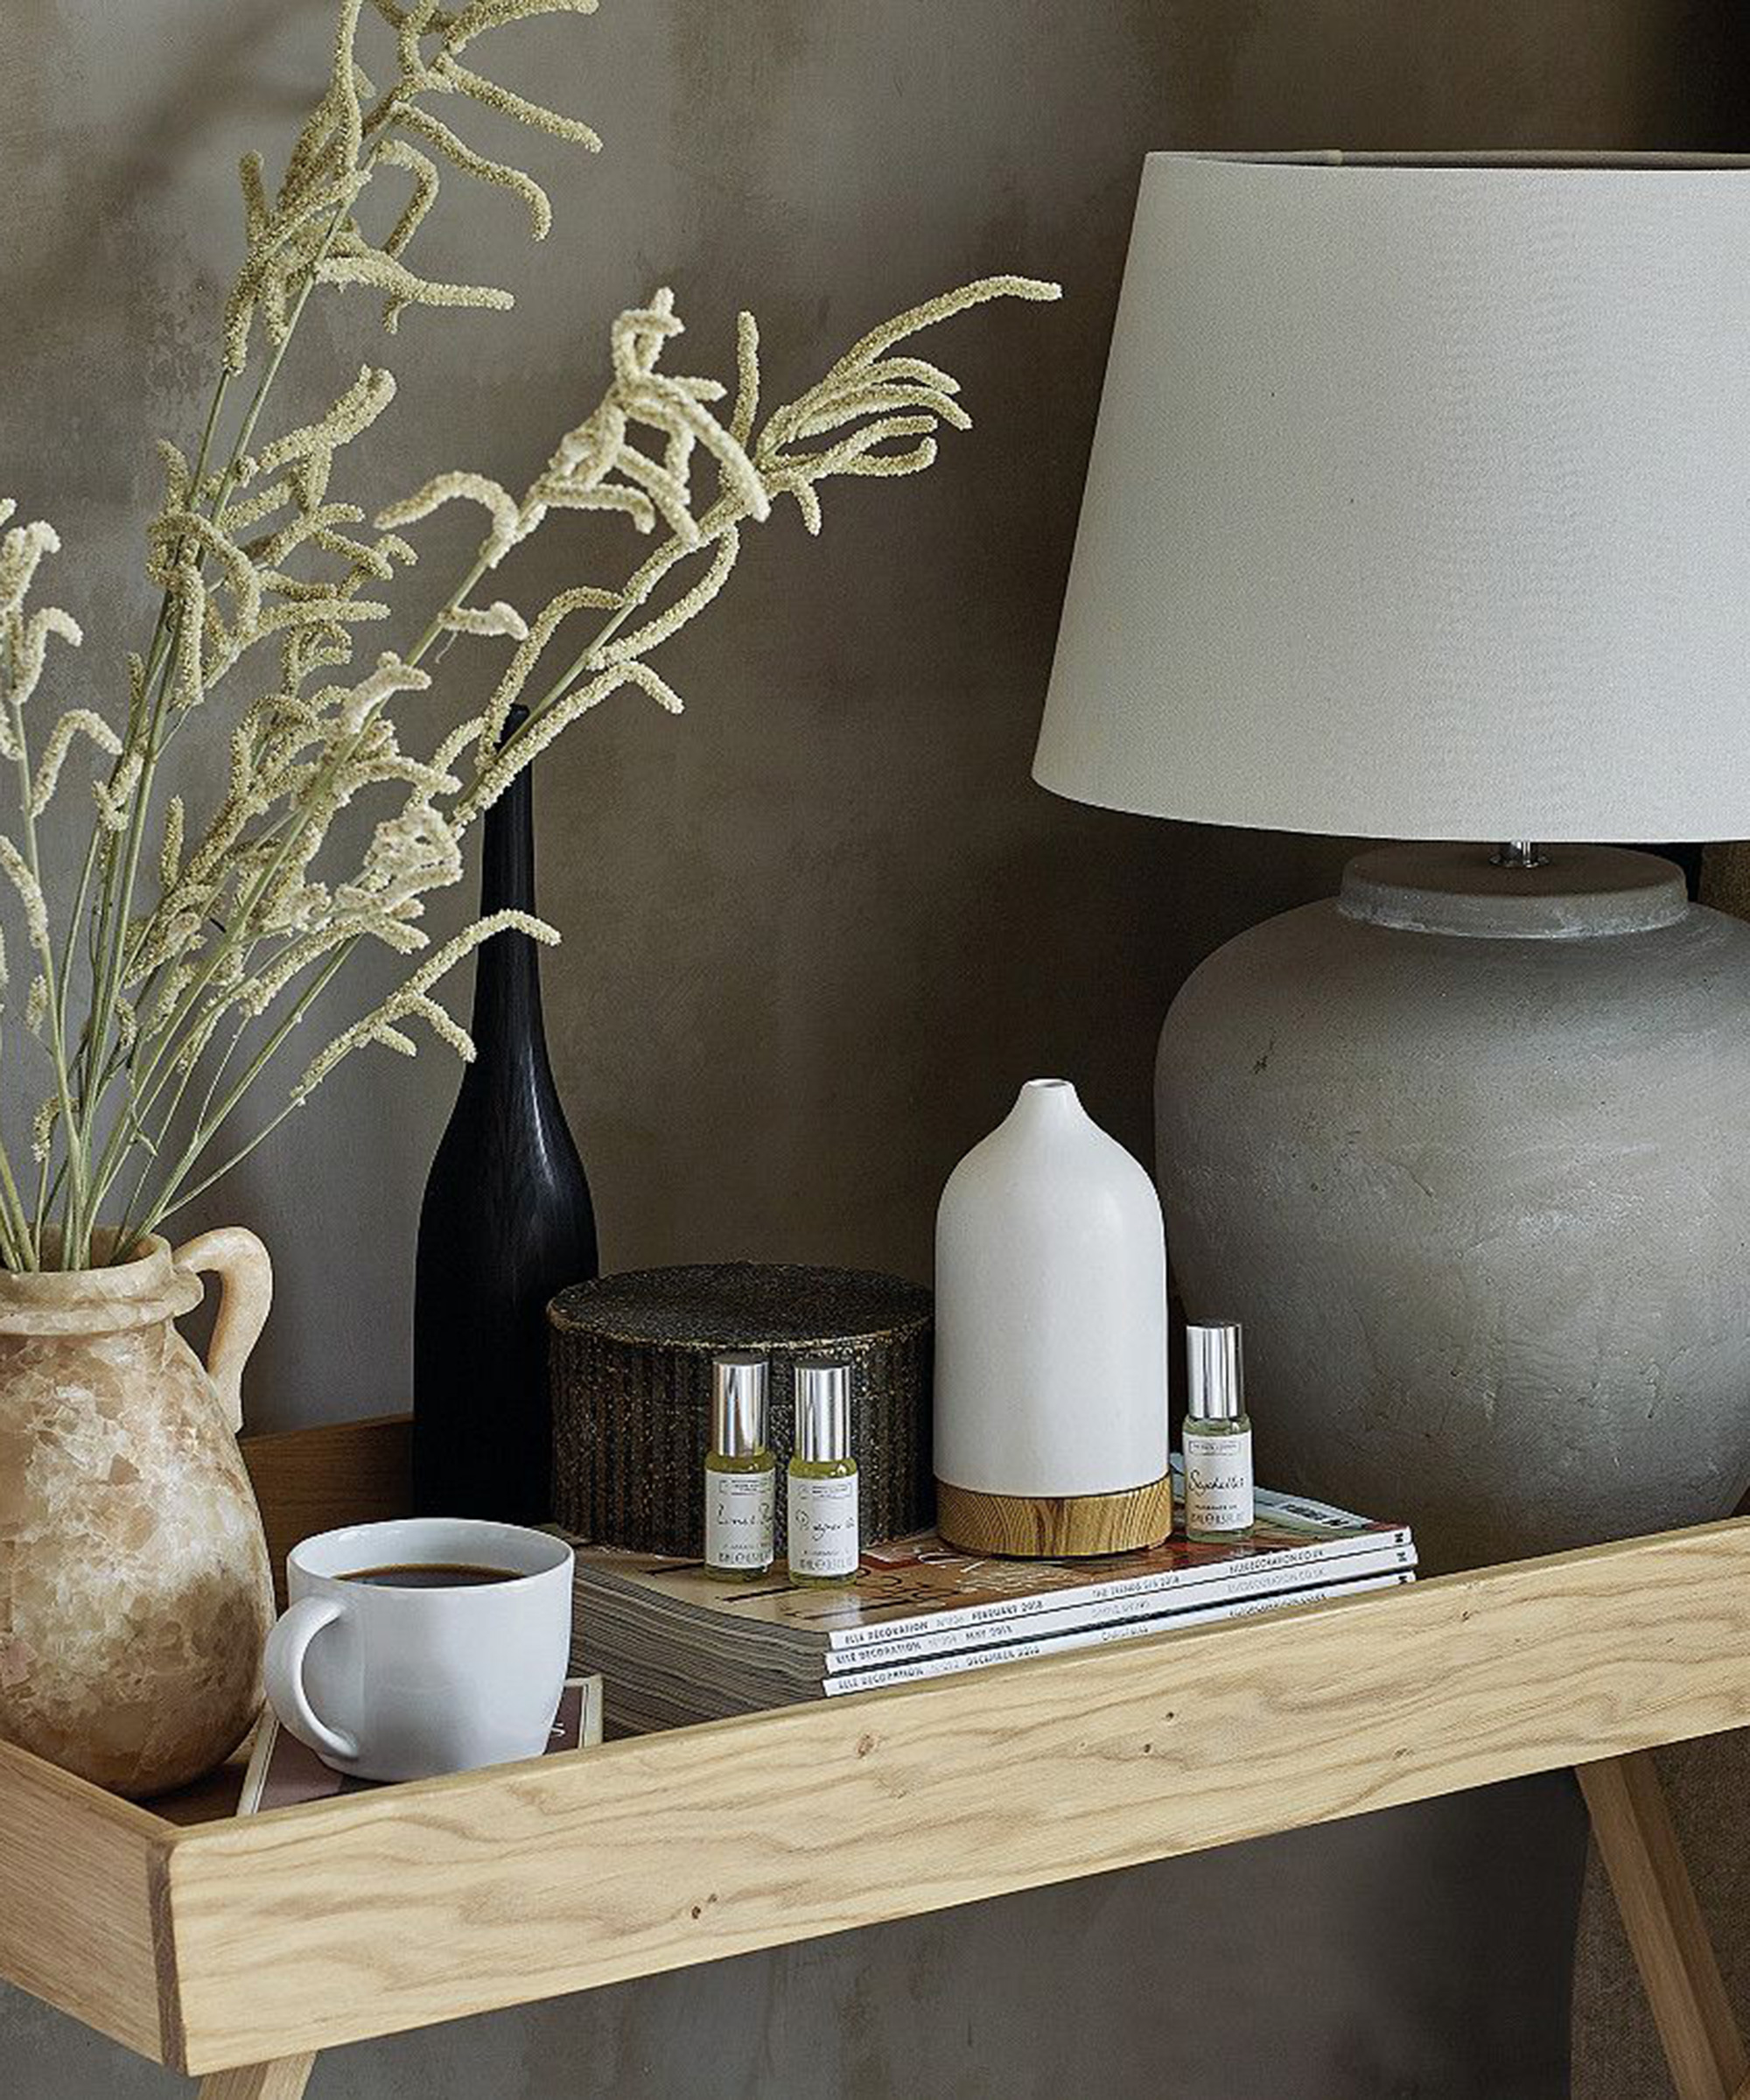
These handy little appliances can be a lovely addition to any room; providing a wonderful scent to our homes, and offering some much-needed calmness too, thanks to the soothing properties of essential oils. And of course, that’s not all – they also add a welcome pop of decor to our homes too, especially if you treat yourself to one of the more stylish options on the market.
But if your essential oil diffuser is something you use regularly, it’s important to not neglect cleaning it, as easy as that may be. Cleaning your diffuser allows it to function properly now and for years to come, and also means you can enjoy the relaxing scent it gives off without having to worry about whether you're also breathing in mounds of dust or oil build-up, too.
How to clean an essential oil diffuser
Smartening up your essential oil diffuser shouldn't take you very long and isn't particularly laborious, so why not take 10 minutes to get the job done? 'Cleaning an essential oil diffuser isn’t too difficult, provided you do it regularly,' cleaning expert Michael Bogoyavlenskiy, Managing Director of Cleaning Express says. 'However, it is worth deep cleaning your diffuser once a month or so; though how often you should do it depends on how often you use it.'
1. Unplug the diffuser

Before you begin cleaning your diffuser, it’s imperative that you disconnect it from its electricity source, for safety reasons. Milan Antonic, an air quality and air purifier expert at Air Purifier First explains, 'I always unplug the device before cleaning to make sure there's no electricity in it that could possibly react in any way with my cleaning solutions.'
Michael also explains that there’s one other action take before you can start cleaning. 'Tip away any water left in the diffuser and wipe down the water tank,' he advises.

Michael Bogoyavlenskiy is an expert in professional cleaning, and is currently the director of Cleaning Express, a cleaning company specializing in quality cleans for domestic and commercial clients.
2. Add a vinegar and water mix to the base
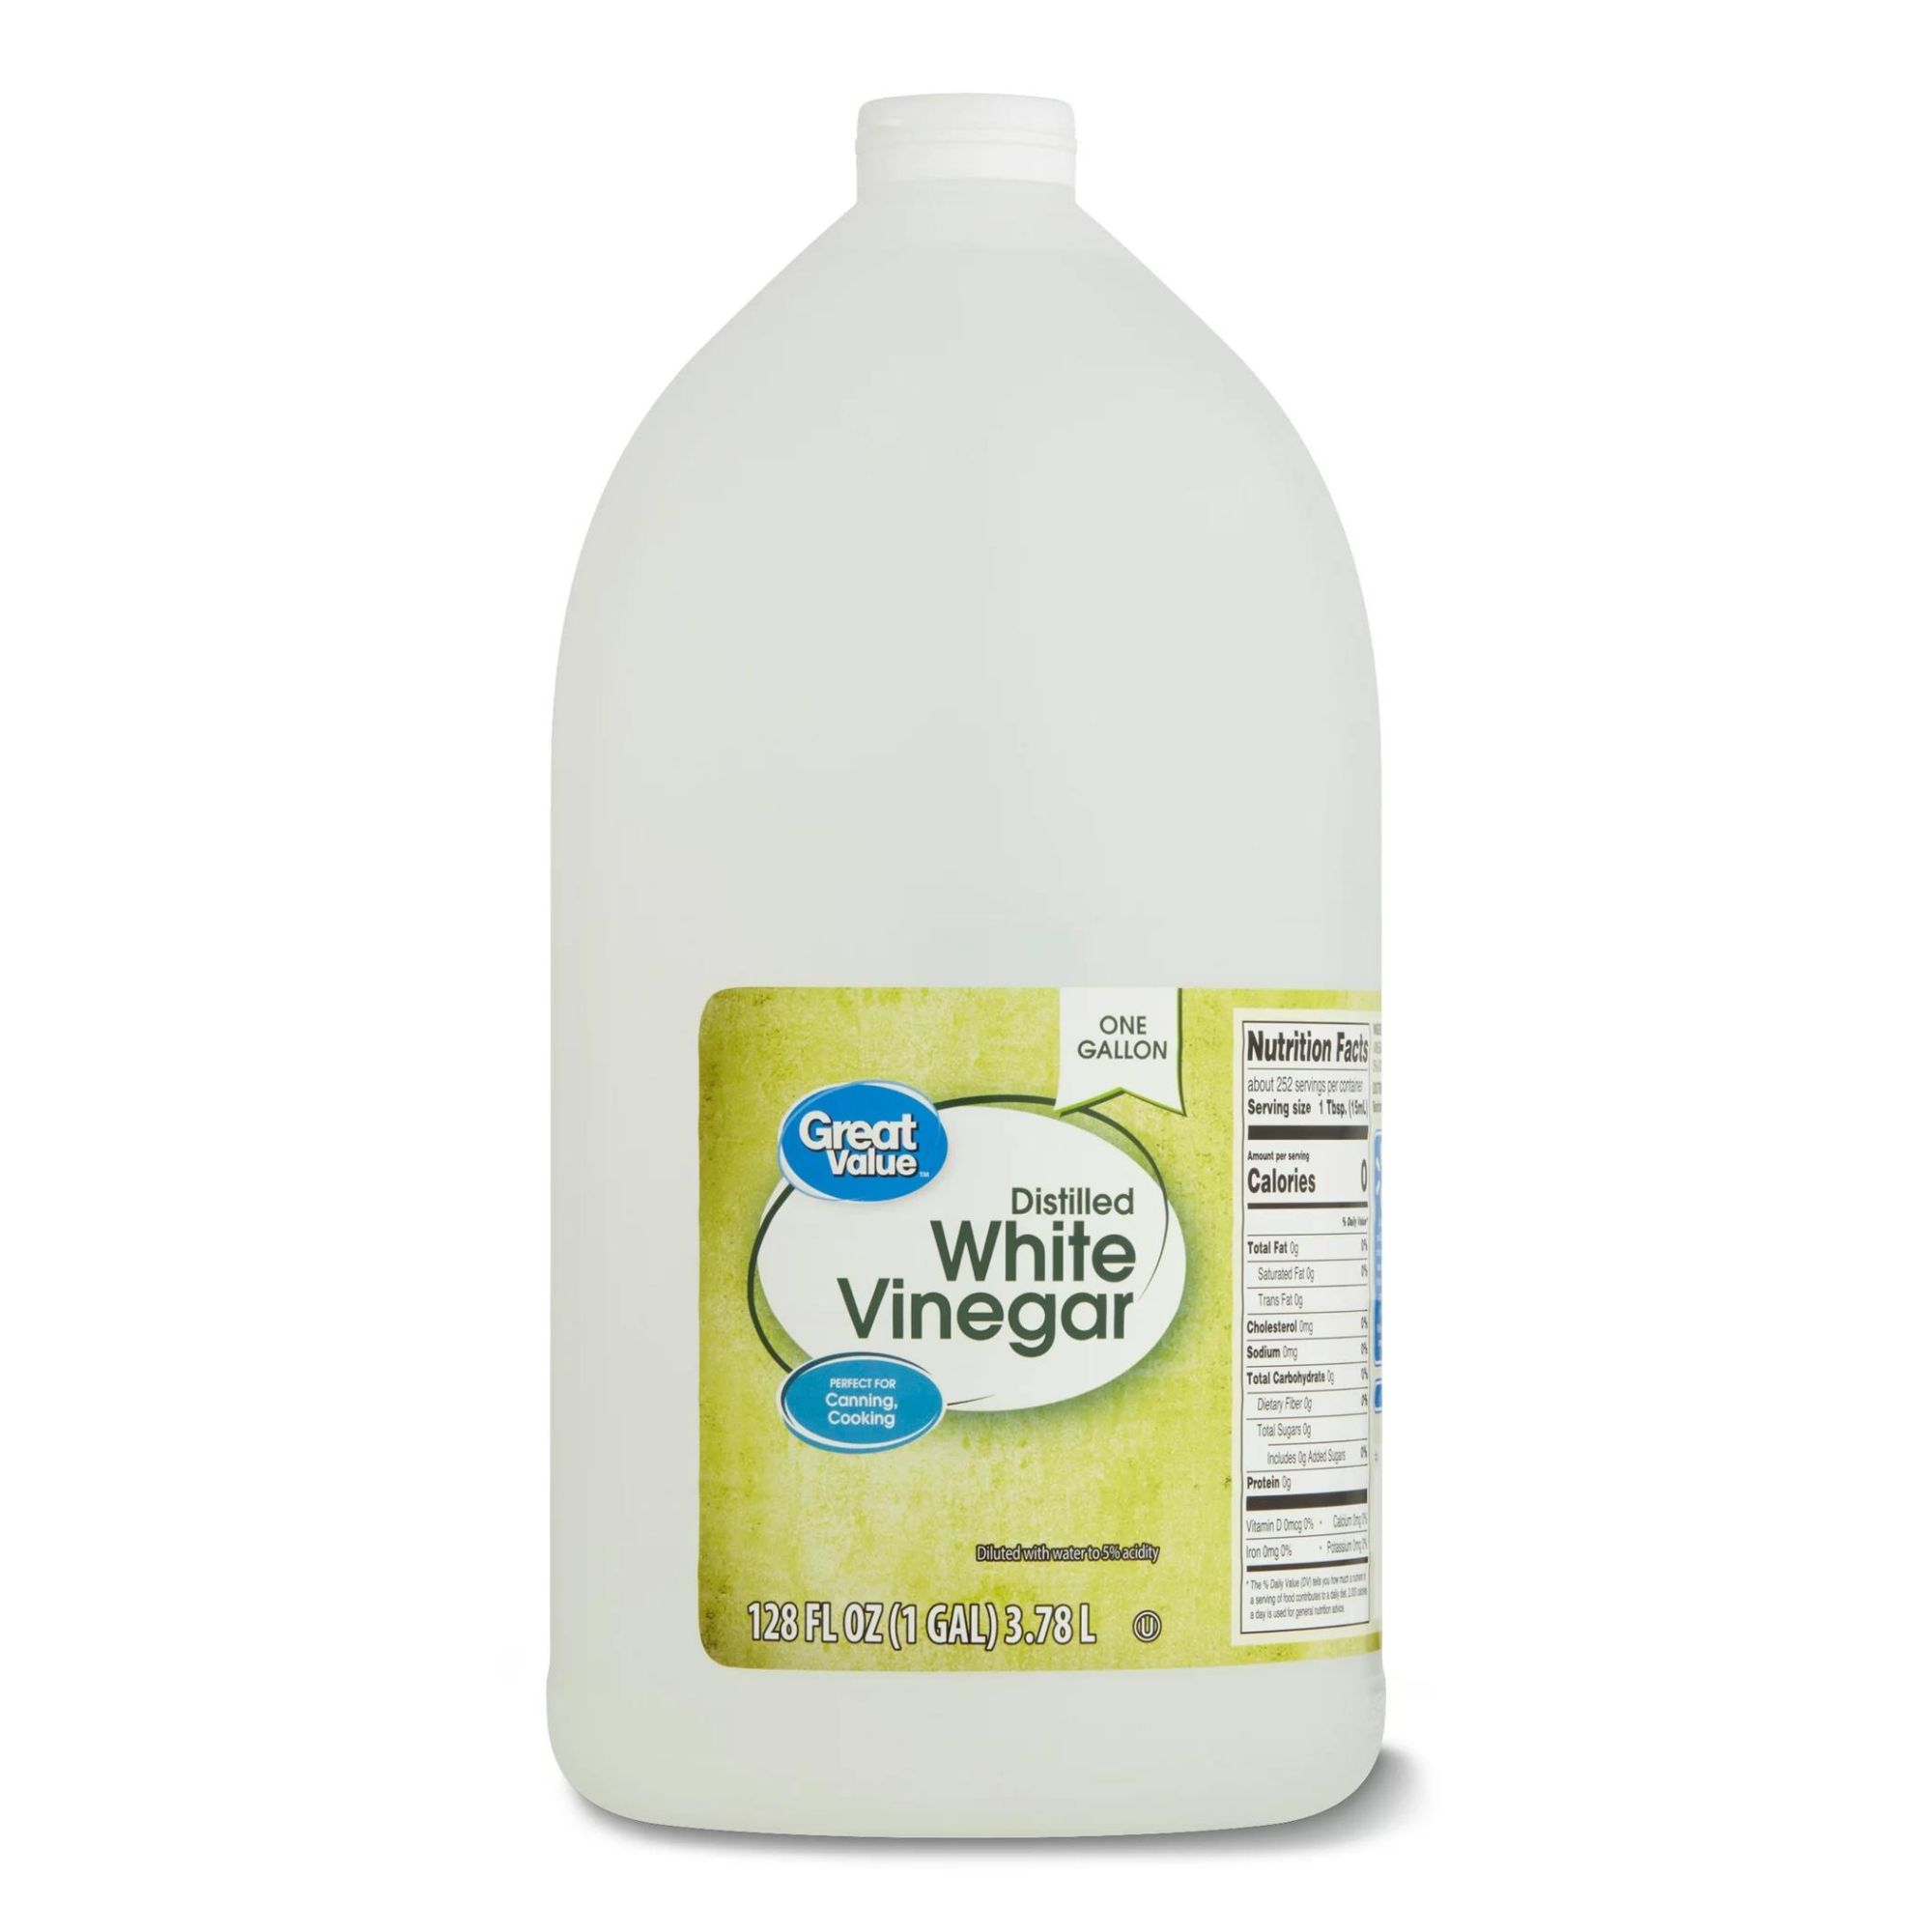
One option for cleaning the interior of your essential oil diffuser (e.g. the base that hold the water) is to put together a natural cleaning solution made with vinegar; a safe and effective tool for cleaning so many items around your home.
Design expertise in your inbox – from inspiring decorating ideas and beautiful celebrity homes to practical gardening advice and shopping round-ups.
'Fill the diffuser halfway with clean water, and add about 5 tablespoons of white vinegar to it. The vinegar helps break down oil residues and disinfects the unit, which is extremely important when cleaning a diffuser,' Milan says.
To get the vinegar and water solution working to remove grime, and to sanitize your diffuser, you'll need to run it as you would your regular water and essential oil mix. Milan says, 'run the diffuser and let it run for at least 10-15 minutes. Prepare for a smelly house during those 10-15 minutes! But it's really worth it, as it’s the only way to really do a deep clean of the diffuser.'
Then, it's time to drain the solution from the diffuser. 'After 10 to 15 minutes, unplug the diffuser and again drain the liquids out and rinse with clean water,' Milan says. 'I suggest distilled because it has been filtered of minerals which sometimes make diffusers look "dirty".'
It’s wise then to wipe the inside of your diffuser round with a clean cloth or kitchen towel, in order to dry it.
3. Or, try dish soap and water
If you don’t have vinegar to hand, or don’t quite fancy the scent of the vinegar in your home, another effective cleaning solution is dish soap and water, which cleaning expert Taylor Riley, co-owner of Impact Cleaning Professionals and founder of Boom. Facility Service Advisors, explains is especially effective in dealing with the build-up that essential oil diffusers experience.
'One of the main reasons essential oil diffusers get dirty is because of oil build-up. Essential oils are made up of various compounds, not all of which are water soluble, and after time, leave behind a residue,' he says.
'As such, the easiest way to clean an oil diffuser is the same way you would clean dirty dishes, with dish soap. The reason dish soap is so powerful is because of a process called emulsification, where the soap binds with the oil allowing it to be easily rinsed away with water,' Taylor continues.
The process for cleaning your diffuser with dish soap and water is somewhat similar to the above process for cleaning it with vinegar, and incredibly simple to do. Taylor advises, 'to clean your essential oil diffuser, all you need is to add a few drops of dish soap to the base, and then to rinse with warm water and swill the water about the diffuser, to dislodge any buildup.'
Once this is done, carefully rinse out the diffuser with cool clean water, before gently drying it with a paper towel.

Taylor Riley began his journey into the cleaning world began in 2019, when he started working with Impact Cleaning Professionals of Polk County, Florida. Alongside raising a family, Taylor also founded Boom. Facility Service Advisors later on in his career, where he assists other cleaning business owners with his passion for Lead Generation.
4. Clean the outside and reassemble

The inside of your diffuser may be the main part you’ll need to clean, but the outside is likely to need some TLC too – especially if yours has been sat on a side table for months without a dusting.
Again, it really couldn’t be easier to clean the outside of your diffuser, Milan explains. 'For your last step, use a dry or slightly damp microfiber cloth to wipe down the outside and inside, paying specific attention to the ultrasonic plate,' he says. 'After that, leave it for an hour or two before turning it off again, so it's 100% dry.
If you want to properly sanitize the outside of the diffuser, Michael suggests using 'some rubbing alcohol, between 70% and 90% strength. Wipe everything down with a damp cloth and the rubbing alcohol,' he says.
'Clean the plate, chip, and any other external components with a Q-tip dipped in rubbing alcohol. It’s fine to clean components with this ingredient because it evaporates very quickly,' he explains.
Finally, after waiting a few hours for everything to completely dry out, reassemble your diffuser, pop your favorite essential oil in, and take a moment to relax with a cup of coffee, admiring the fruits of your labor!
You should be cautious of where you are applying any type of water when cleaning. 'One thing to keep in mind is your essential oil diffuser does have multiple places you do not want to get wet,' says Taylor Riley, co-owner of Impact Cleaning Professionals. 'Make sure to read through your owner's manual if you’re unsure where to avoid applying water.'
And finally, rinsing and drying it thoroughly is essential to allow your diffuser to function properly after cleaning. 'Make sure you thoroughly rinse your diffuser after cleaning to ensure all of the soap is gone before reusing.'
Amy Hunt is a freelance lifestyle writer and editor primarily covering homes and interiors, wellness, travel and careers. She was previously Lifestyle Editor at woman&home, commissioning and editing the homes, books and features sections of the website,
In 2019, she won the AOP Digital Journalist of the Year Award, for her work on womanandhome.com. Having worked in the industry for over eight years, she has contributed to a range of publications including Ideal Home, Livingetc, T3,Goodto, Woman, Woman’s Own, and Red magazine.
