How to grow chili peppers – tips to enjoy a long and fruitful harvest
Get bumper crops by growing chili peppers from seed and starting them early
Design expertise in your inbox – from inspiring decorating ideas and beautiful celebrity homes to practical gardening advice and shopping round-ups.
You are now subscribed
Your newsletter sign-up was successful
Want to add more newsletters?

Twice a week
Homes&Gardens
The ultimate interior design resource from the world's leading experts - discover inspiring decorating ideas, color scheming know-how, garden inspiration and shopping expertise.

Once a week
In The Loop from Next In Design
Members of the Next in Design Circle will receive In the Loop, our weekly email filled with trade news, names to know and spotlight moments. Together we’re building a brighter design future.

Twice a week
Cucina
Whether you’re passionate about hosting exquisite dinners, experimenting with culinary trends, or perfecting your kitchen's design with timeless elegance and innovative functionality, this newsletter is here to inspire
Growing chili peppers is an annual pastime for millions of people around the world. Chili plants are very simple to grow and you can grow chilies in any space, whether you have a large backyard or want to cultivate plants in pots on a deck or balcony.
There are so many options out there too. You can grow mild, hot, or super-hot ones - there is such a variety of types of chili peppers you can grow at home. When it comes to the shapes, colors, and flavors available to grow, there are so many more to choose from than you regularly find in grocery stores.
Sun and warmth is always important when cultivating these plants and it dictates when and how you grow chili peppers. So let's take a close look at how to grow chili peppers and reveal all you need to know, from sowing seeds right through to harvesting the spicy hot fruits.
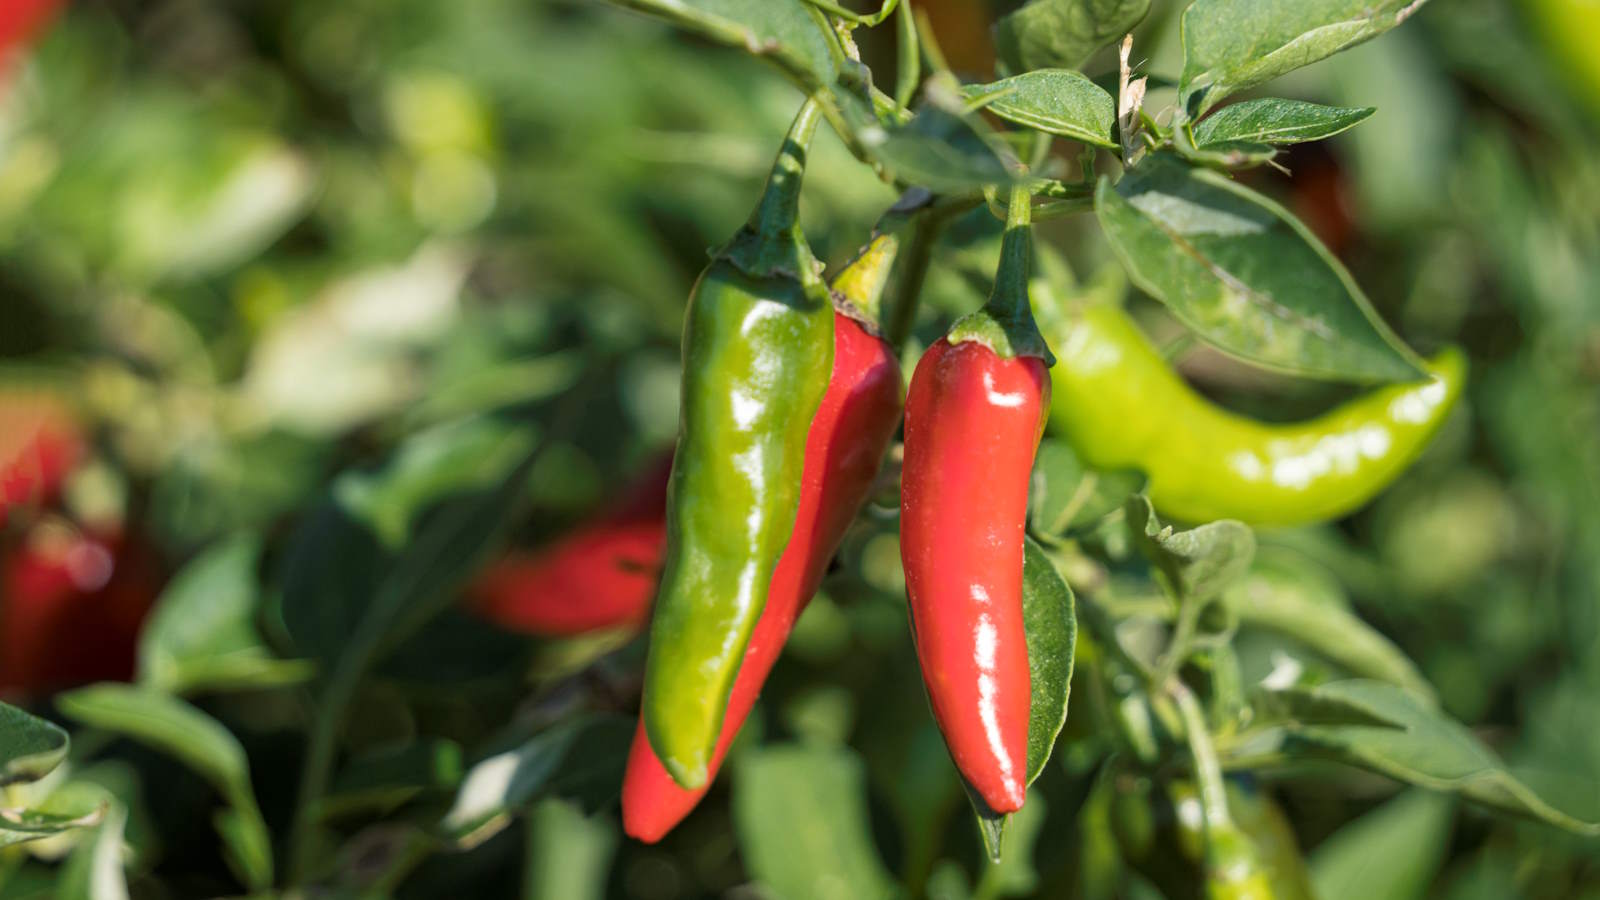
You can grow a huge variety of chili peppers at home
How do you grow chili peppers?
Chili peppers adore heat and have a long growing season, so growers in most climates need to start their plants indoors early to have the longest season possible.
Whether you are growing habanero peppers, jalapeno peppers, banana peppers, serrano peppers, or any of the plethora of chili pepper varieties there are around the world, it is recommended to start seeds indoors early or purchase young plants from nurseries, garden centers or online.
You can see the range of chili pepper seeds available at True Leaf Market
How to grow chili peppers from seed
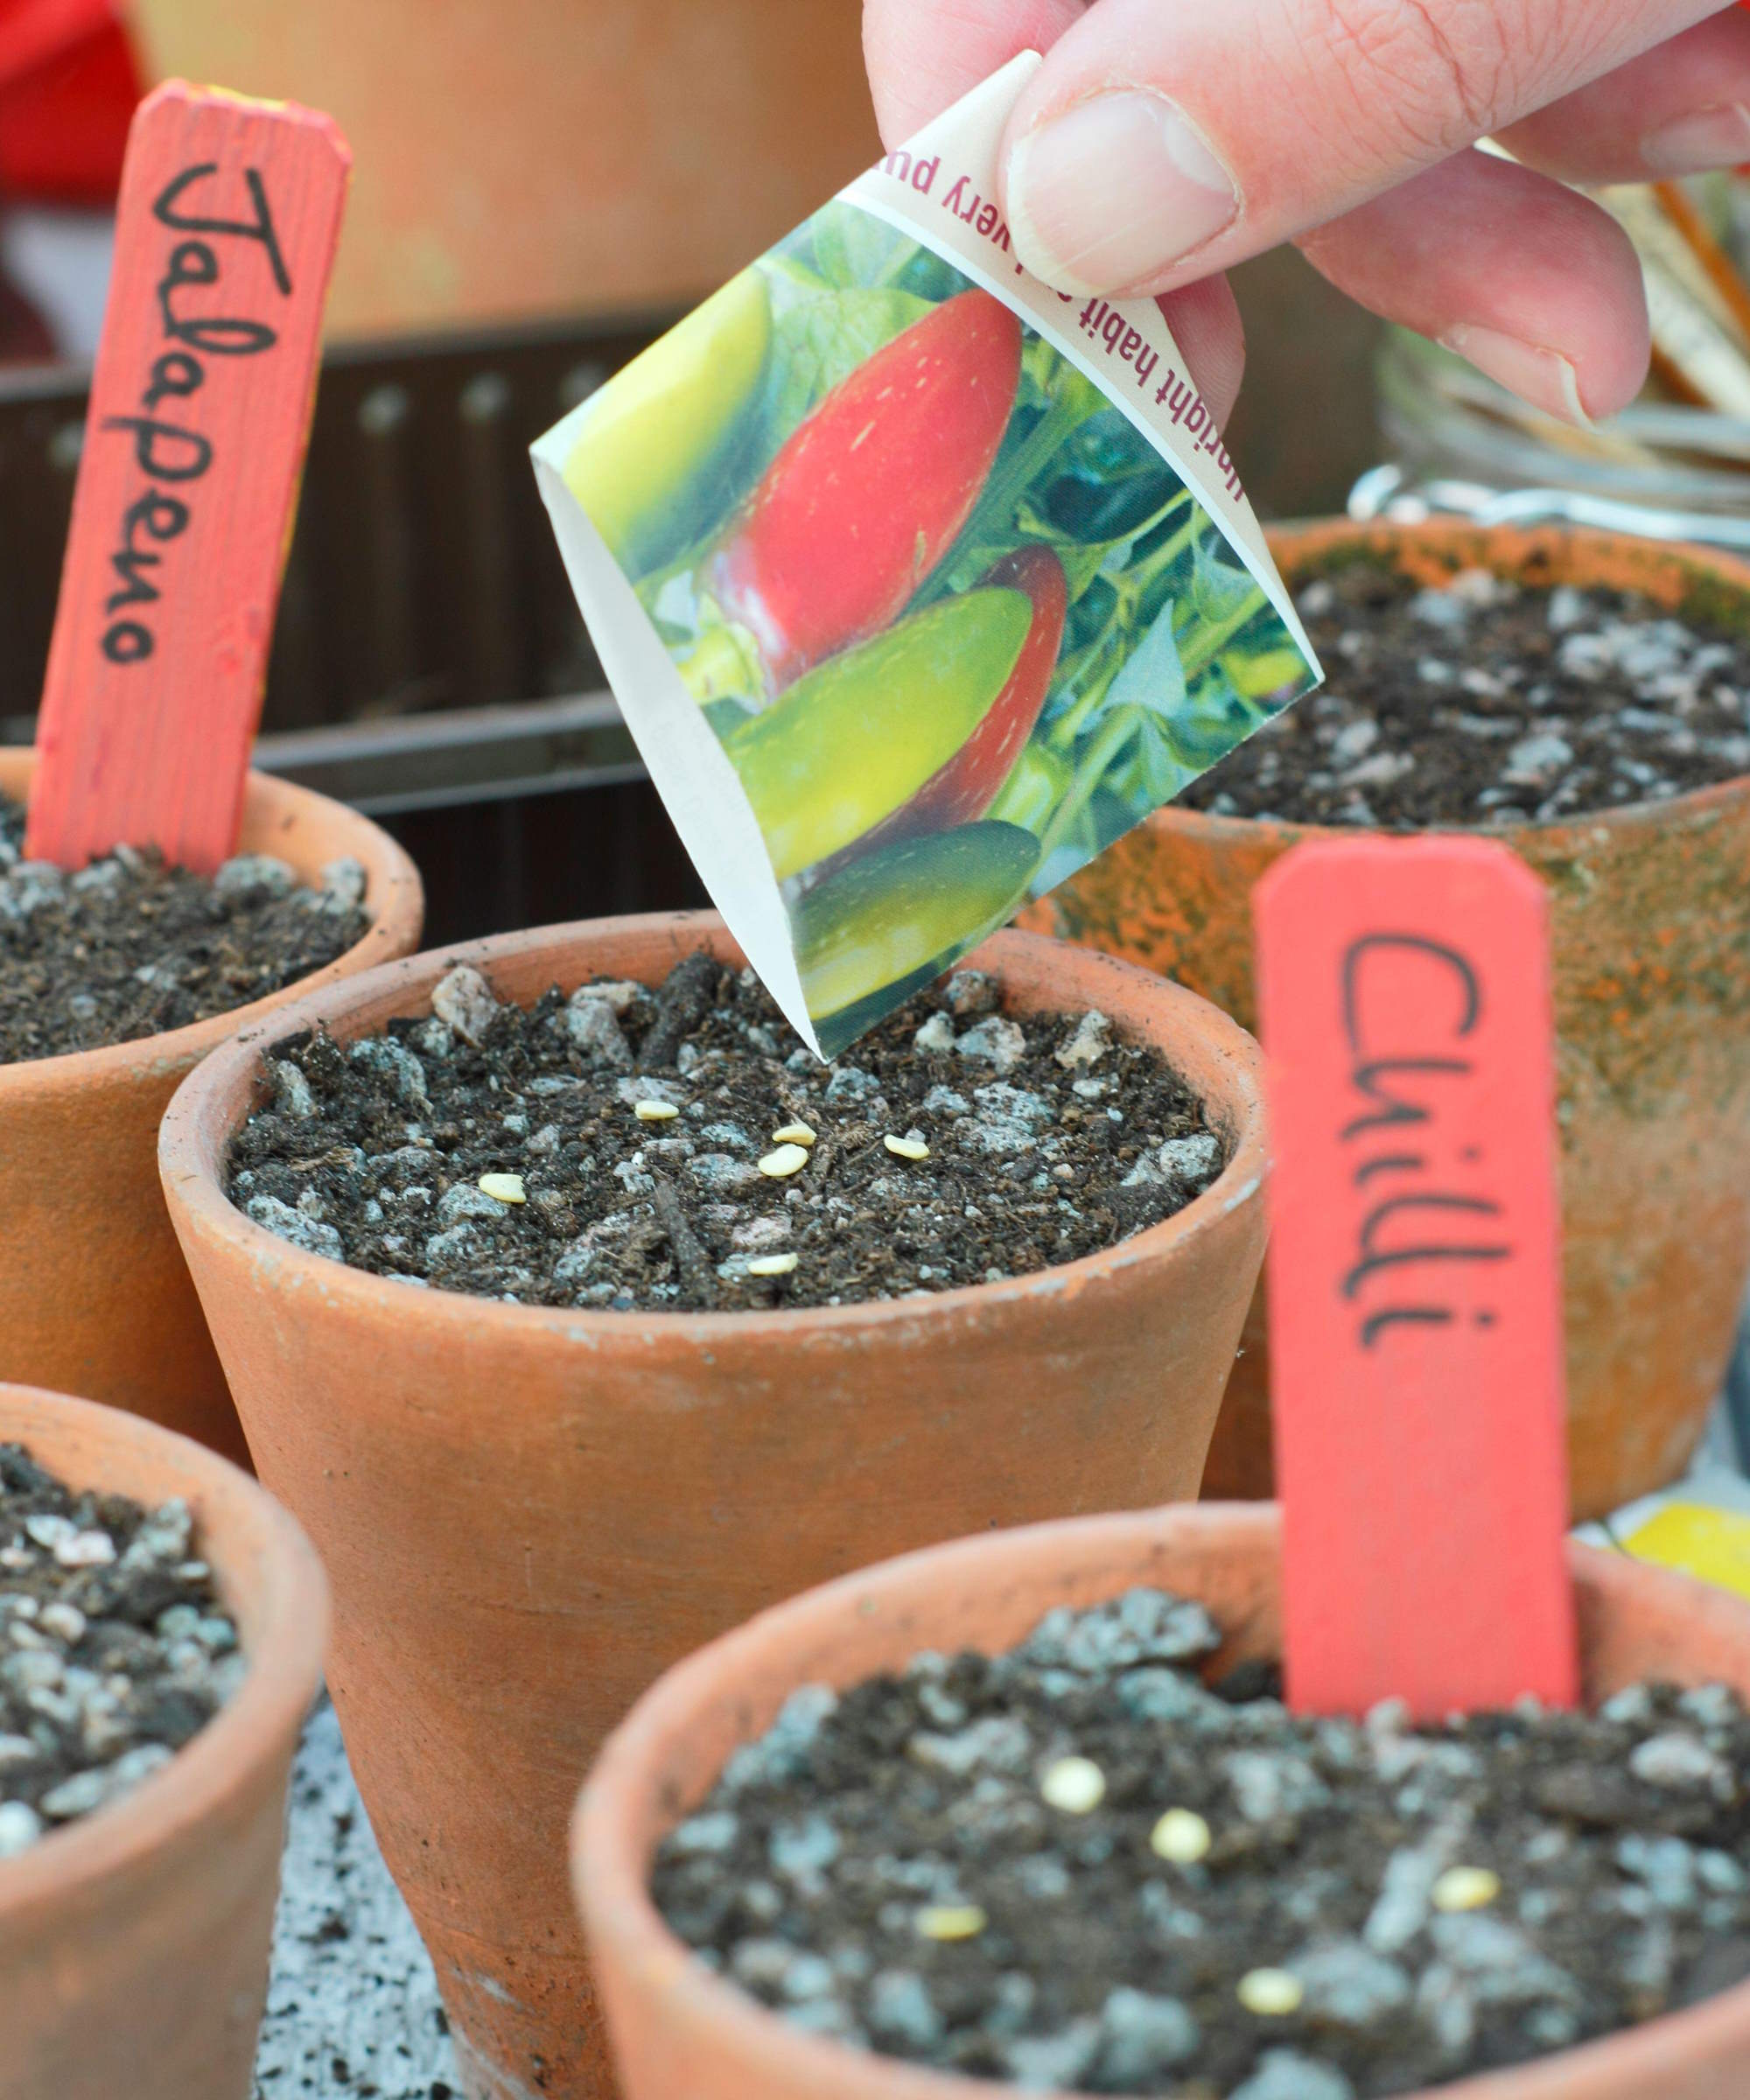
Growing chili peppers from seed is a popular way to start the plants
Chili peppers can take up to 150 days to go from sowing to producing a first harvest of peppers. Therefore, the earlier you can sow seeds the better - however, early sowings will likely require additional heat and lights to germinate and develop into healthy seedlings. You can start planting as early as January and the window to sow plant chili pepper seeds runs through until the end of March.
Design expertise in your inbox – from inspiring decorating ideas and beautiful celebrity homes to practical gardening advice and shopping round-ups.
Crystal Provenzano, general manager at Eden Brothers, recommends that pre-soaking seeds prior to planting can reward you with faster germination. She says: ‘Soak your chili seeds in warm water overnight before planting. This softens the seed coat and can speed up germination. It's like giving your seeds a little spa treatment before they start their growing journey.’
When it comes to how to plant chili pepper seeds, sow them a quarter-inch deep into trays or pots filled with a quality compost designed to start seeds in. The soil needs to be kept moist and the seeds want temperatures around 70°F. The ideal place to start chili seeds off is in a heated greenhouse, though you can have success on a bright south-facing windowsill with a little bit of extra help from technology.
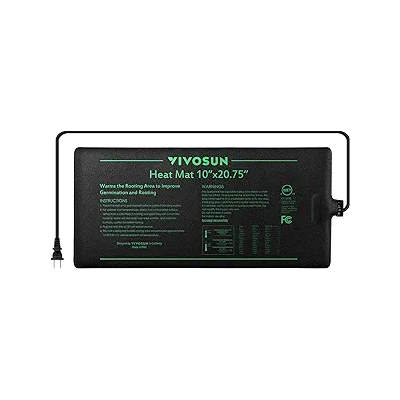
‘If you're starting seeds indoors, using a heat mat can significantly improve germination rates,’ adds Crystal. ‘Chilies love warmth, and a heat mat mimics the cozy soil temperatures they crave.’
Crystal also advocates for keeping seedlings under a humidity dome or a clear plastic cover after they have sprouted, saying this can ‘help maintain ideal moisture levels’ for the young chili pepper plants. You can buy pots that do come with humidity domes, such as these MIXC Plant Nursery Pots at Amazon.
The chili seedlings should be transplanted out into their final growing spot when they are at least six inches tall. Many growers will cultivate their chili plants in their greenhouse to give them warmer temperatures, however, those in warmer US hardiness zones can plant them outside into sunny spots in their backyard. It is important to harden off seedlings for at least a week to acclimatize them to outdoor conditions.

Crystal is the green-thumbed maestro who’s been sowing smiles at Eden Brothers for a decade. Starting off in customer service, she’s blossomed into a garden guru and now holds the title of General Manager. But it’s not all about business meetings - this multitasking marvel is also a gardening enthusiast. From veggies to wildflowers, she’s grown it all. A lover of the outdoors originally from Asheville, NC, she enjoys time playing outside with her two small children when not knee-deep in soil or spreadsheets.
Where to plant chili peppers
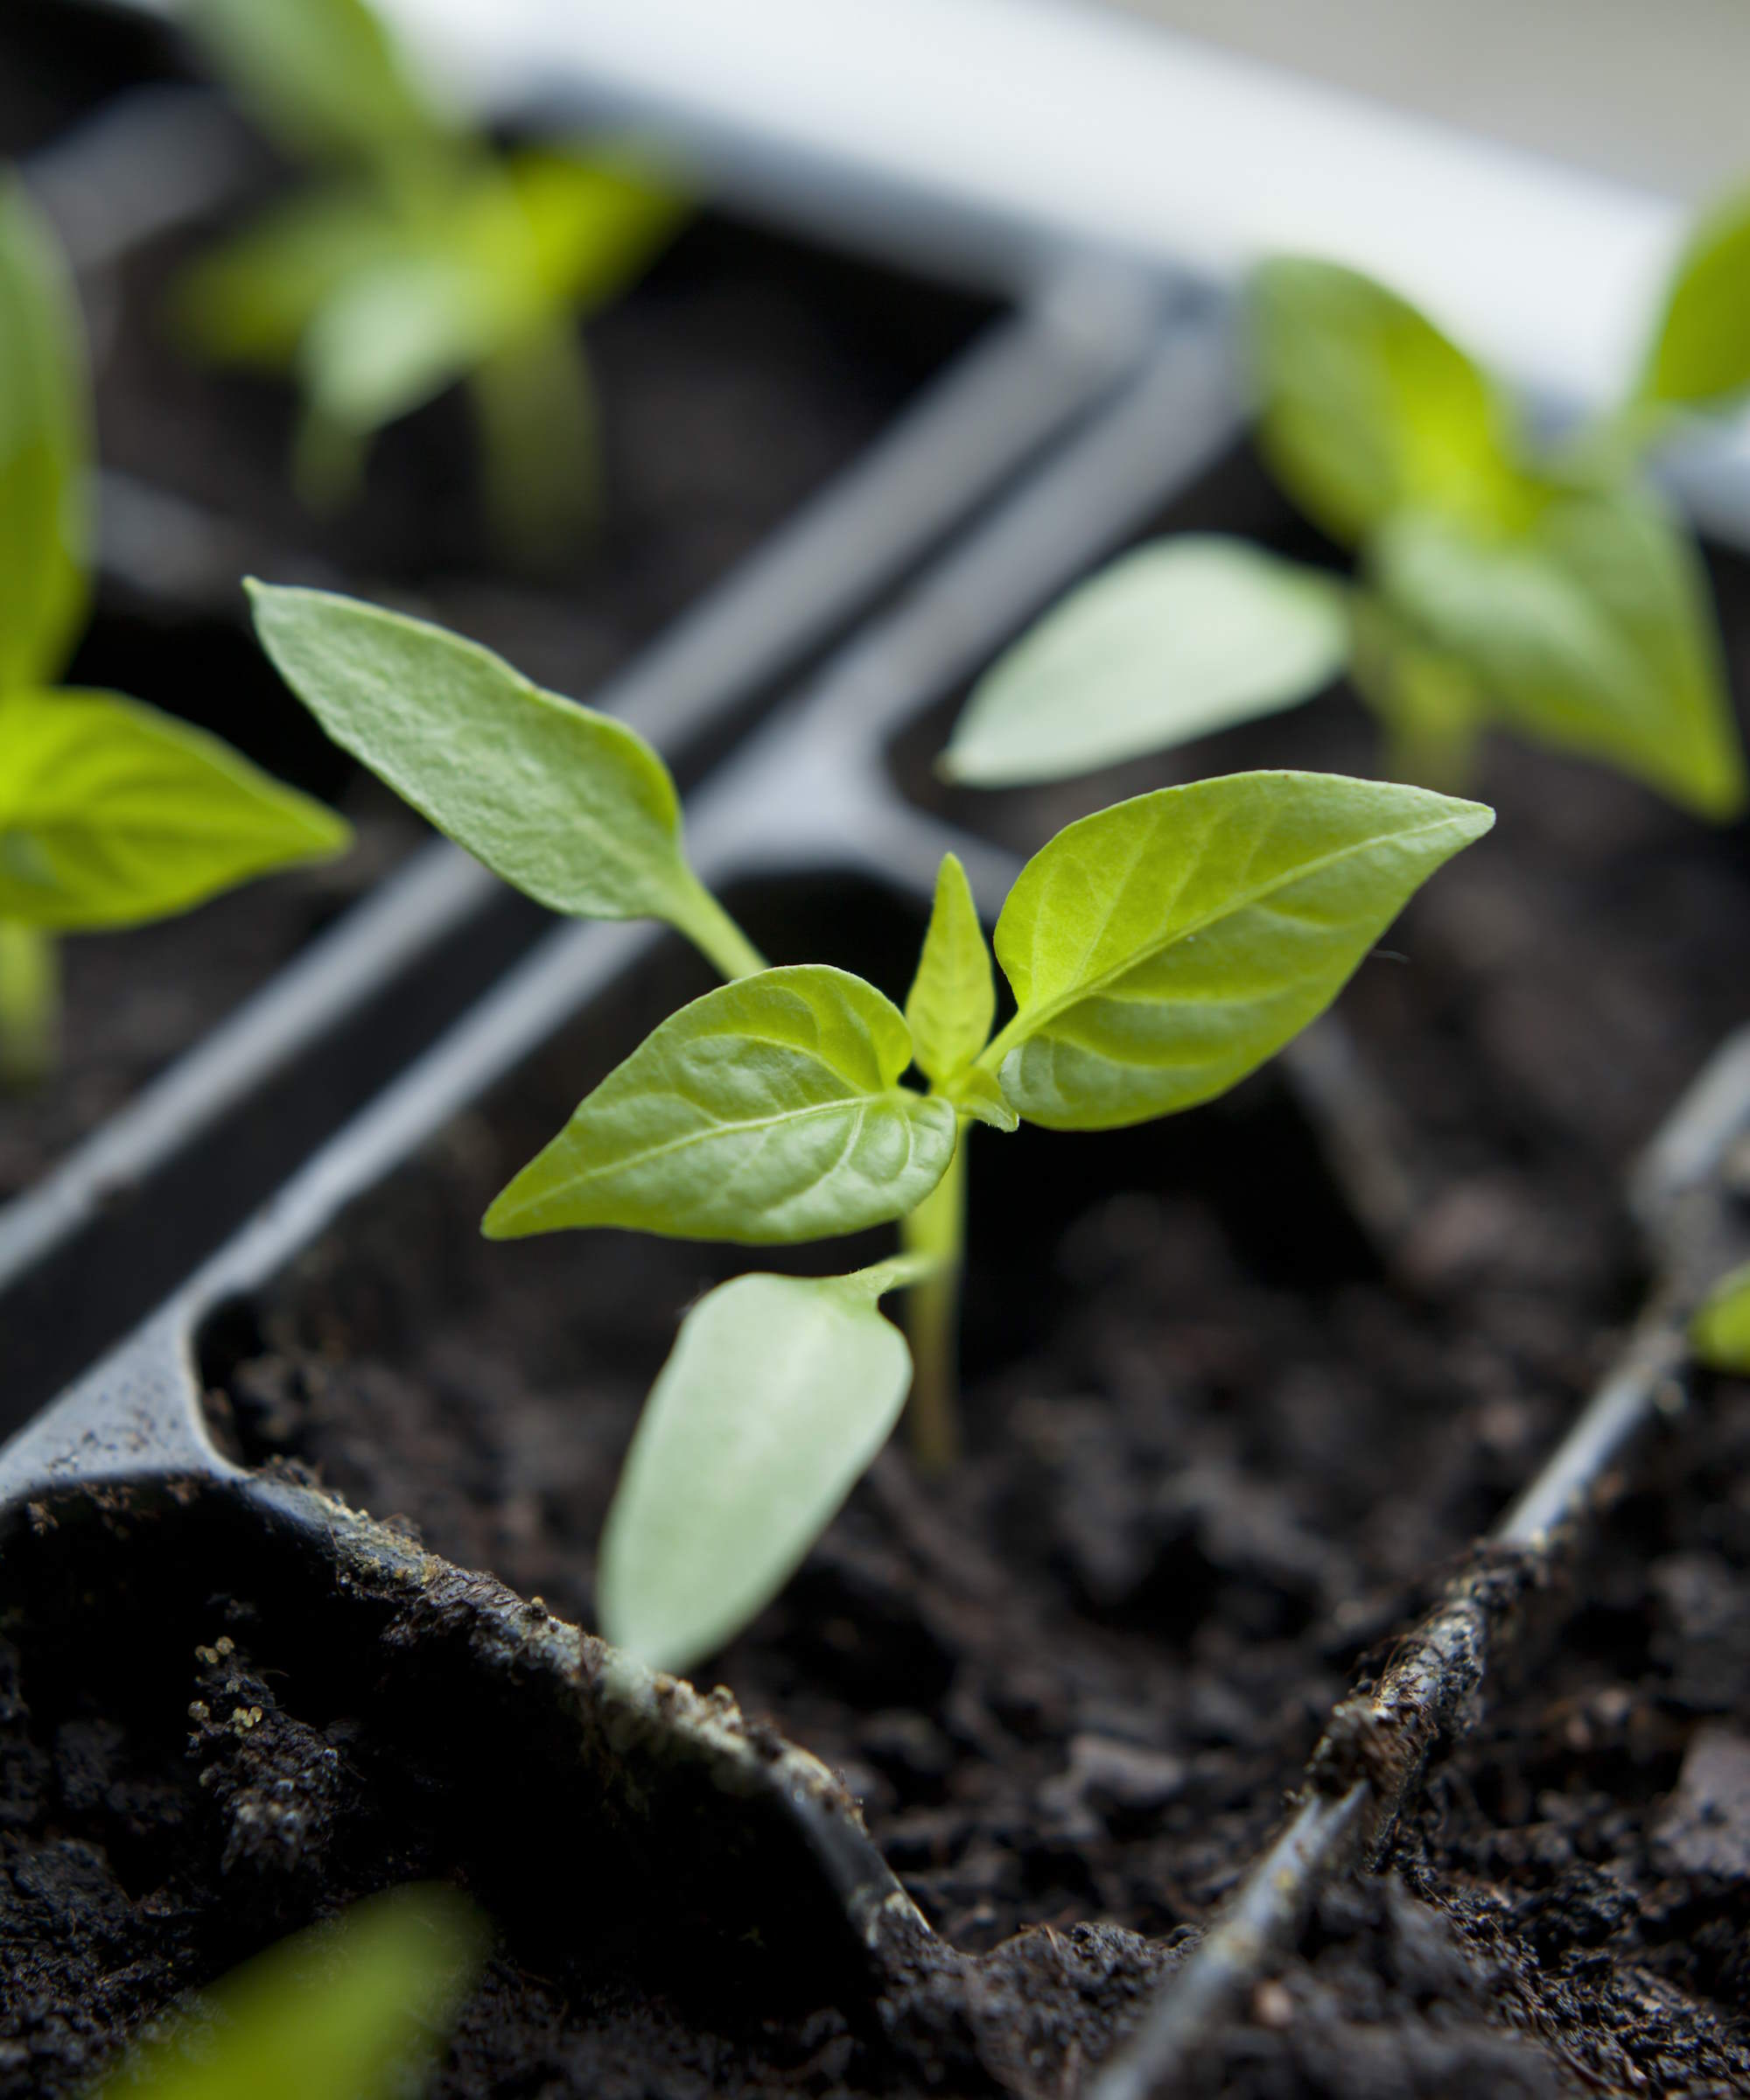
You can grow chili peppers on a warm and bright windowsill
Chili peppers benefit from a warm and sunny spot. The ideal location in the vegetable garden would be full sun and have 6-8 hours of direct sunlight per day, along with consistent daytime temperatures of 70-80°F.
A south-facing garden spot would be fantastic, though the plants can also be a good vegetable to grow in a greenhouse or polytunnel as these protected spots can give consistent warmth and light to plants.
Chili peppers can also thrive in a vegetable container garden, in a small vegetable garden or on a sunny patio, deck, or balcony. Smaller and more compact types of chili peppers can also be grown indoors on a sunny windowsill, porch, or sun room.
The plants want to grow in a soil type that is fertile, moisture-retentive, and well-draining. Adding organic matter, such as compost or well-rotted manure, can help boost the fertility of the ground and provide extra nutrients to the heavy-feeding plants as they get established in the soil.
When transplanting chili peppers, space plants at least 18 inches apart to give them space to grow and leave at least two feet between rows. If you are growing your chili peppers in pots, the container needs to have holes in the bottom for drainage and be filled with a good quality potting mix that is designed for growing vegetables in.
Maintenance tips
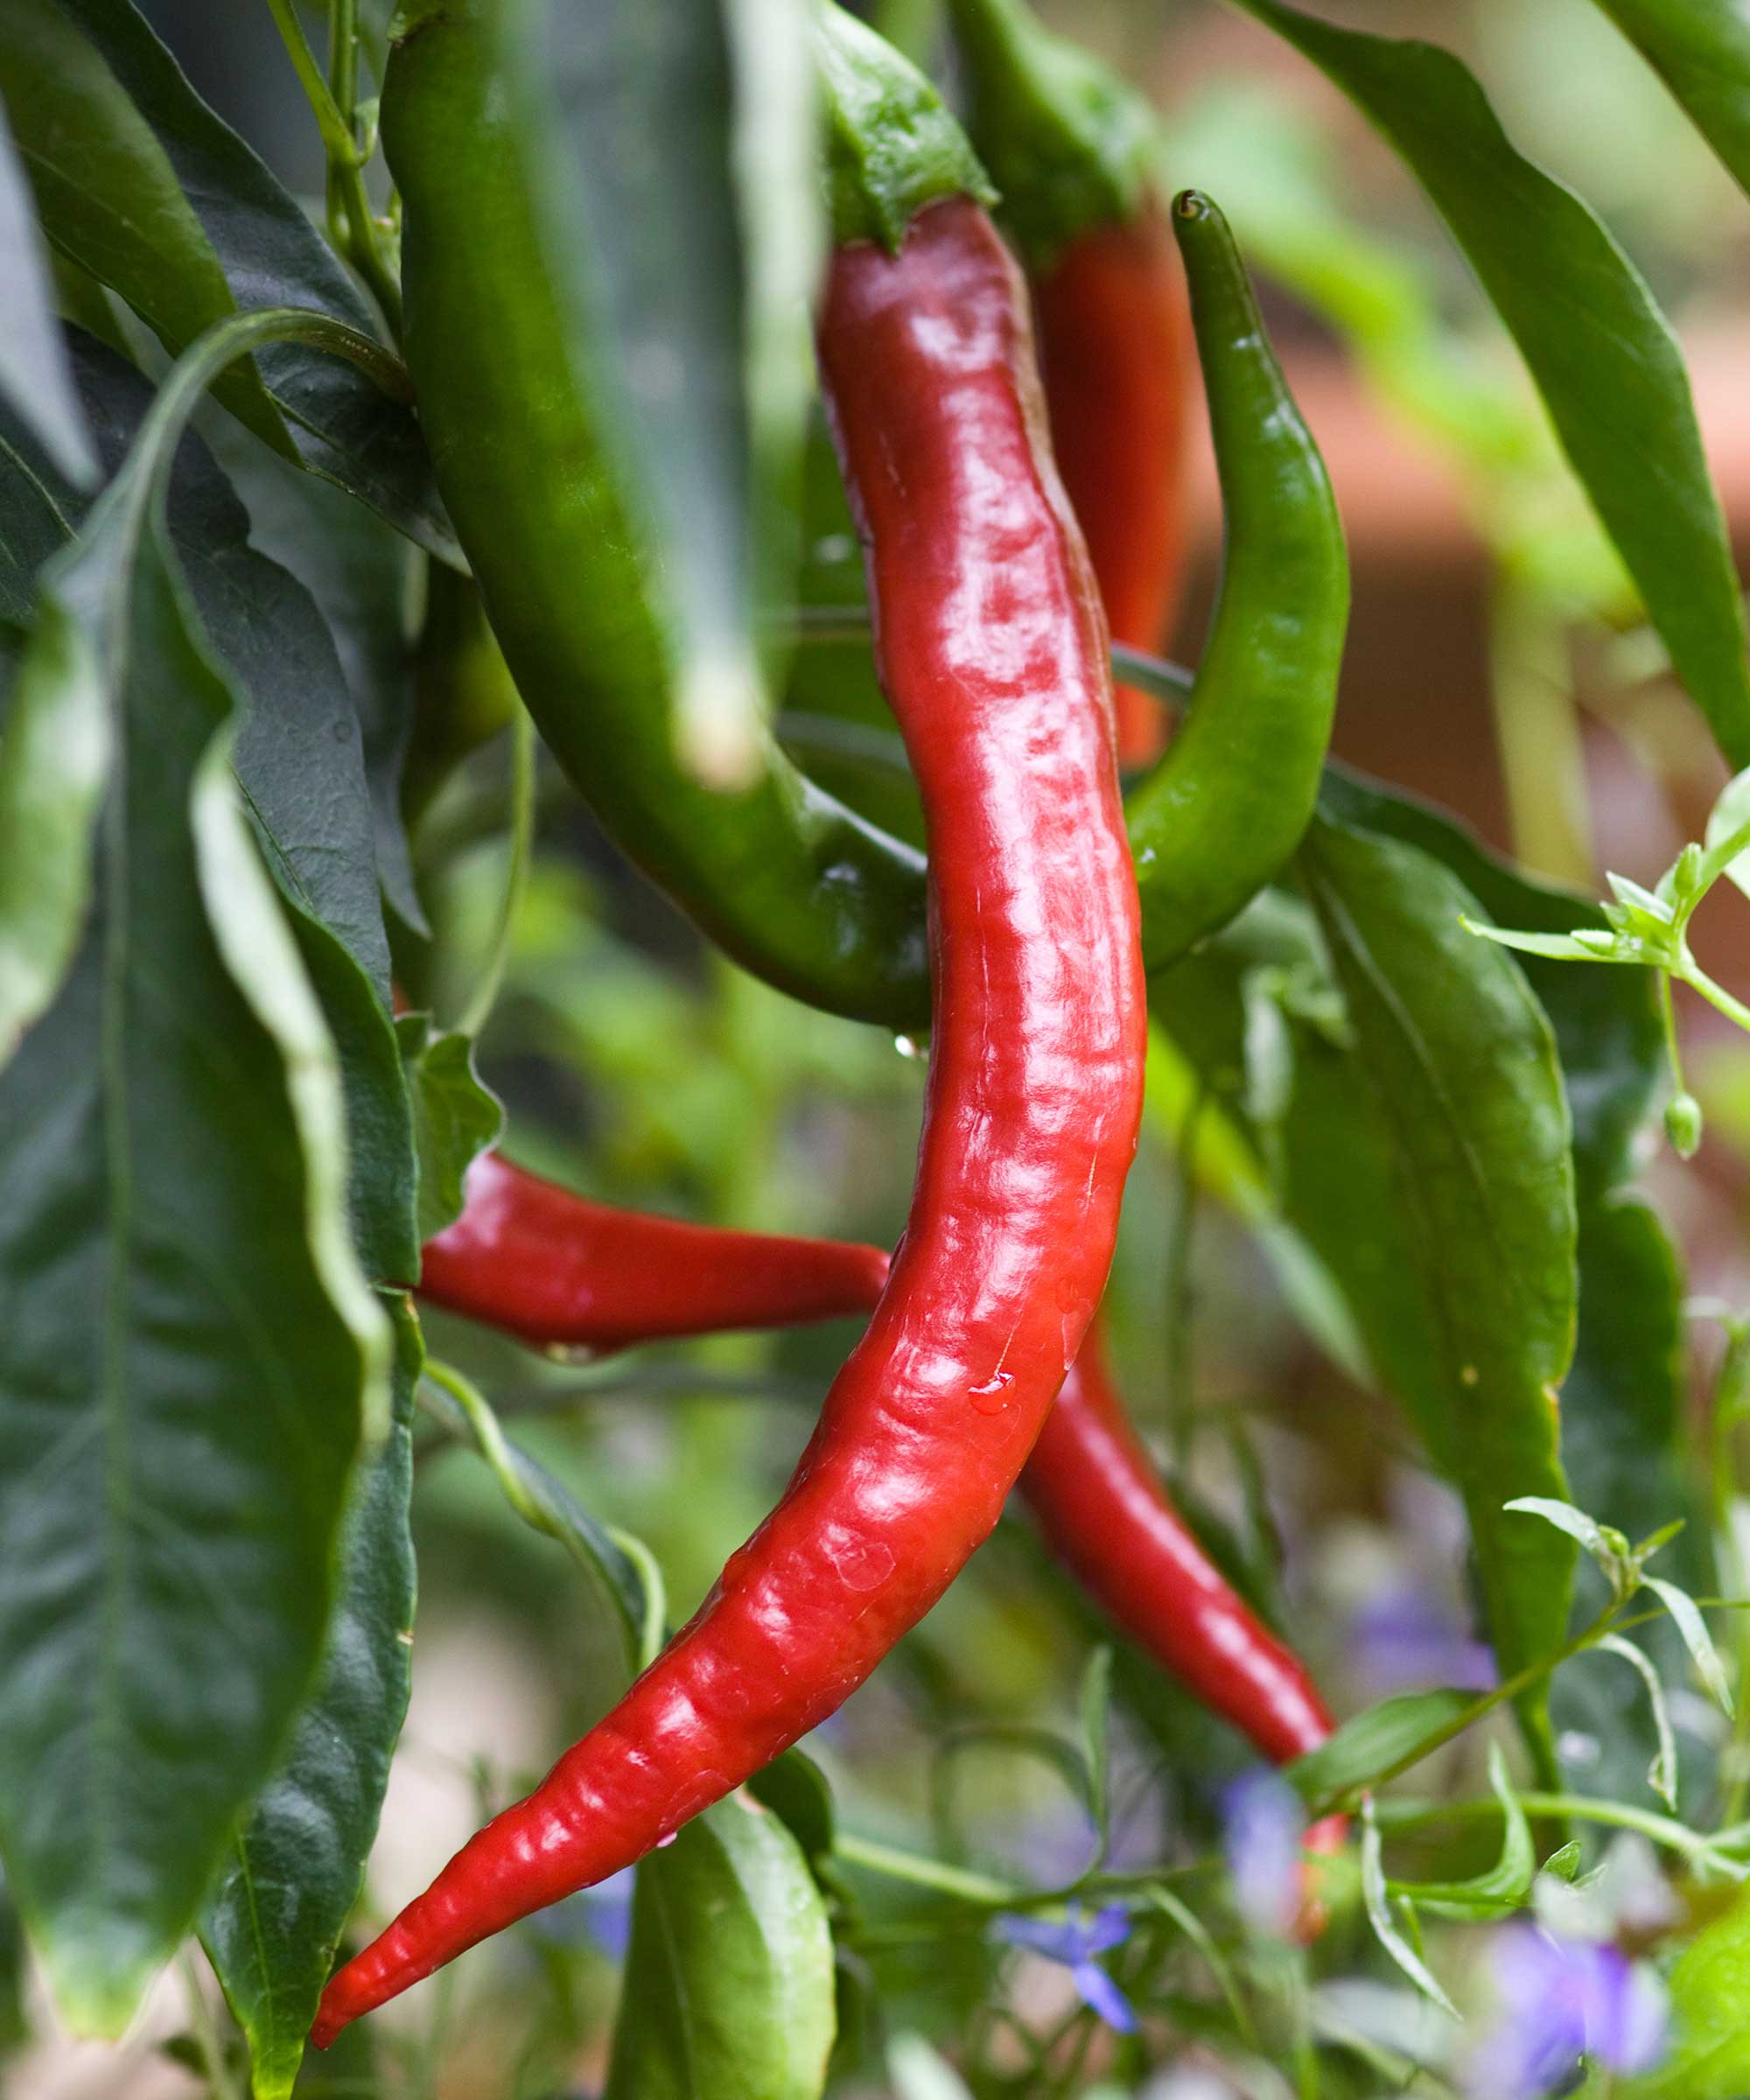
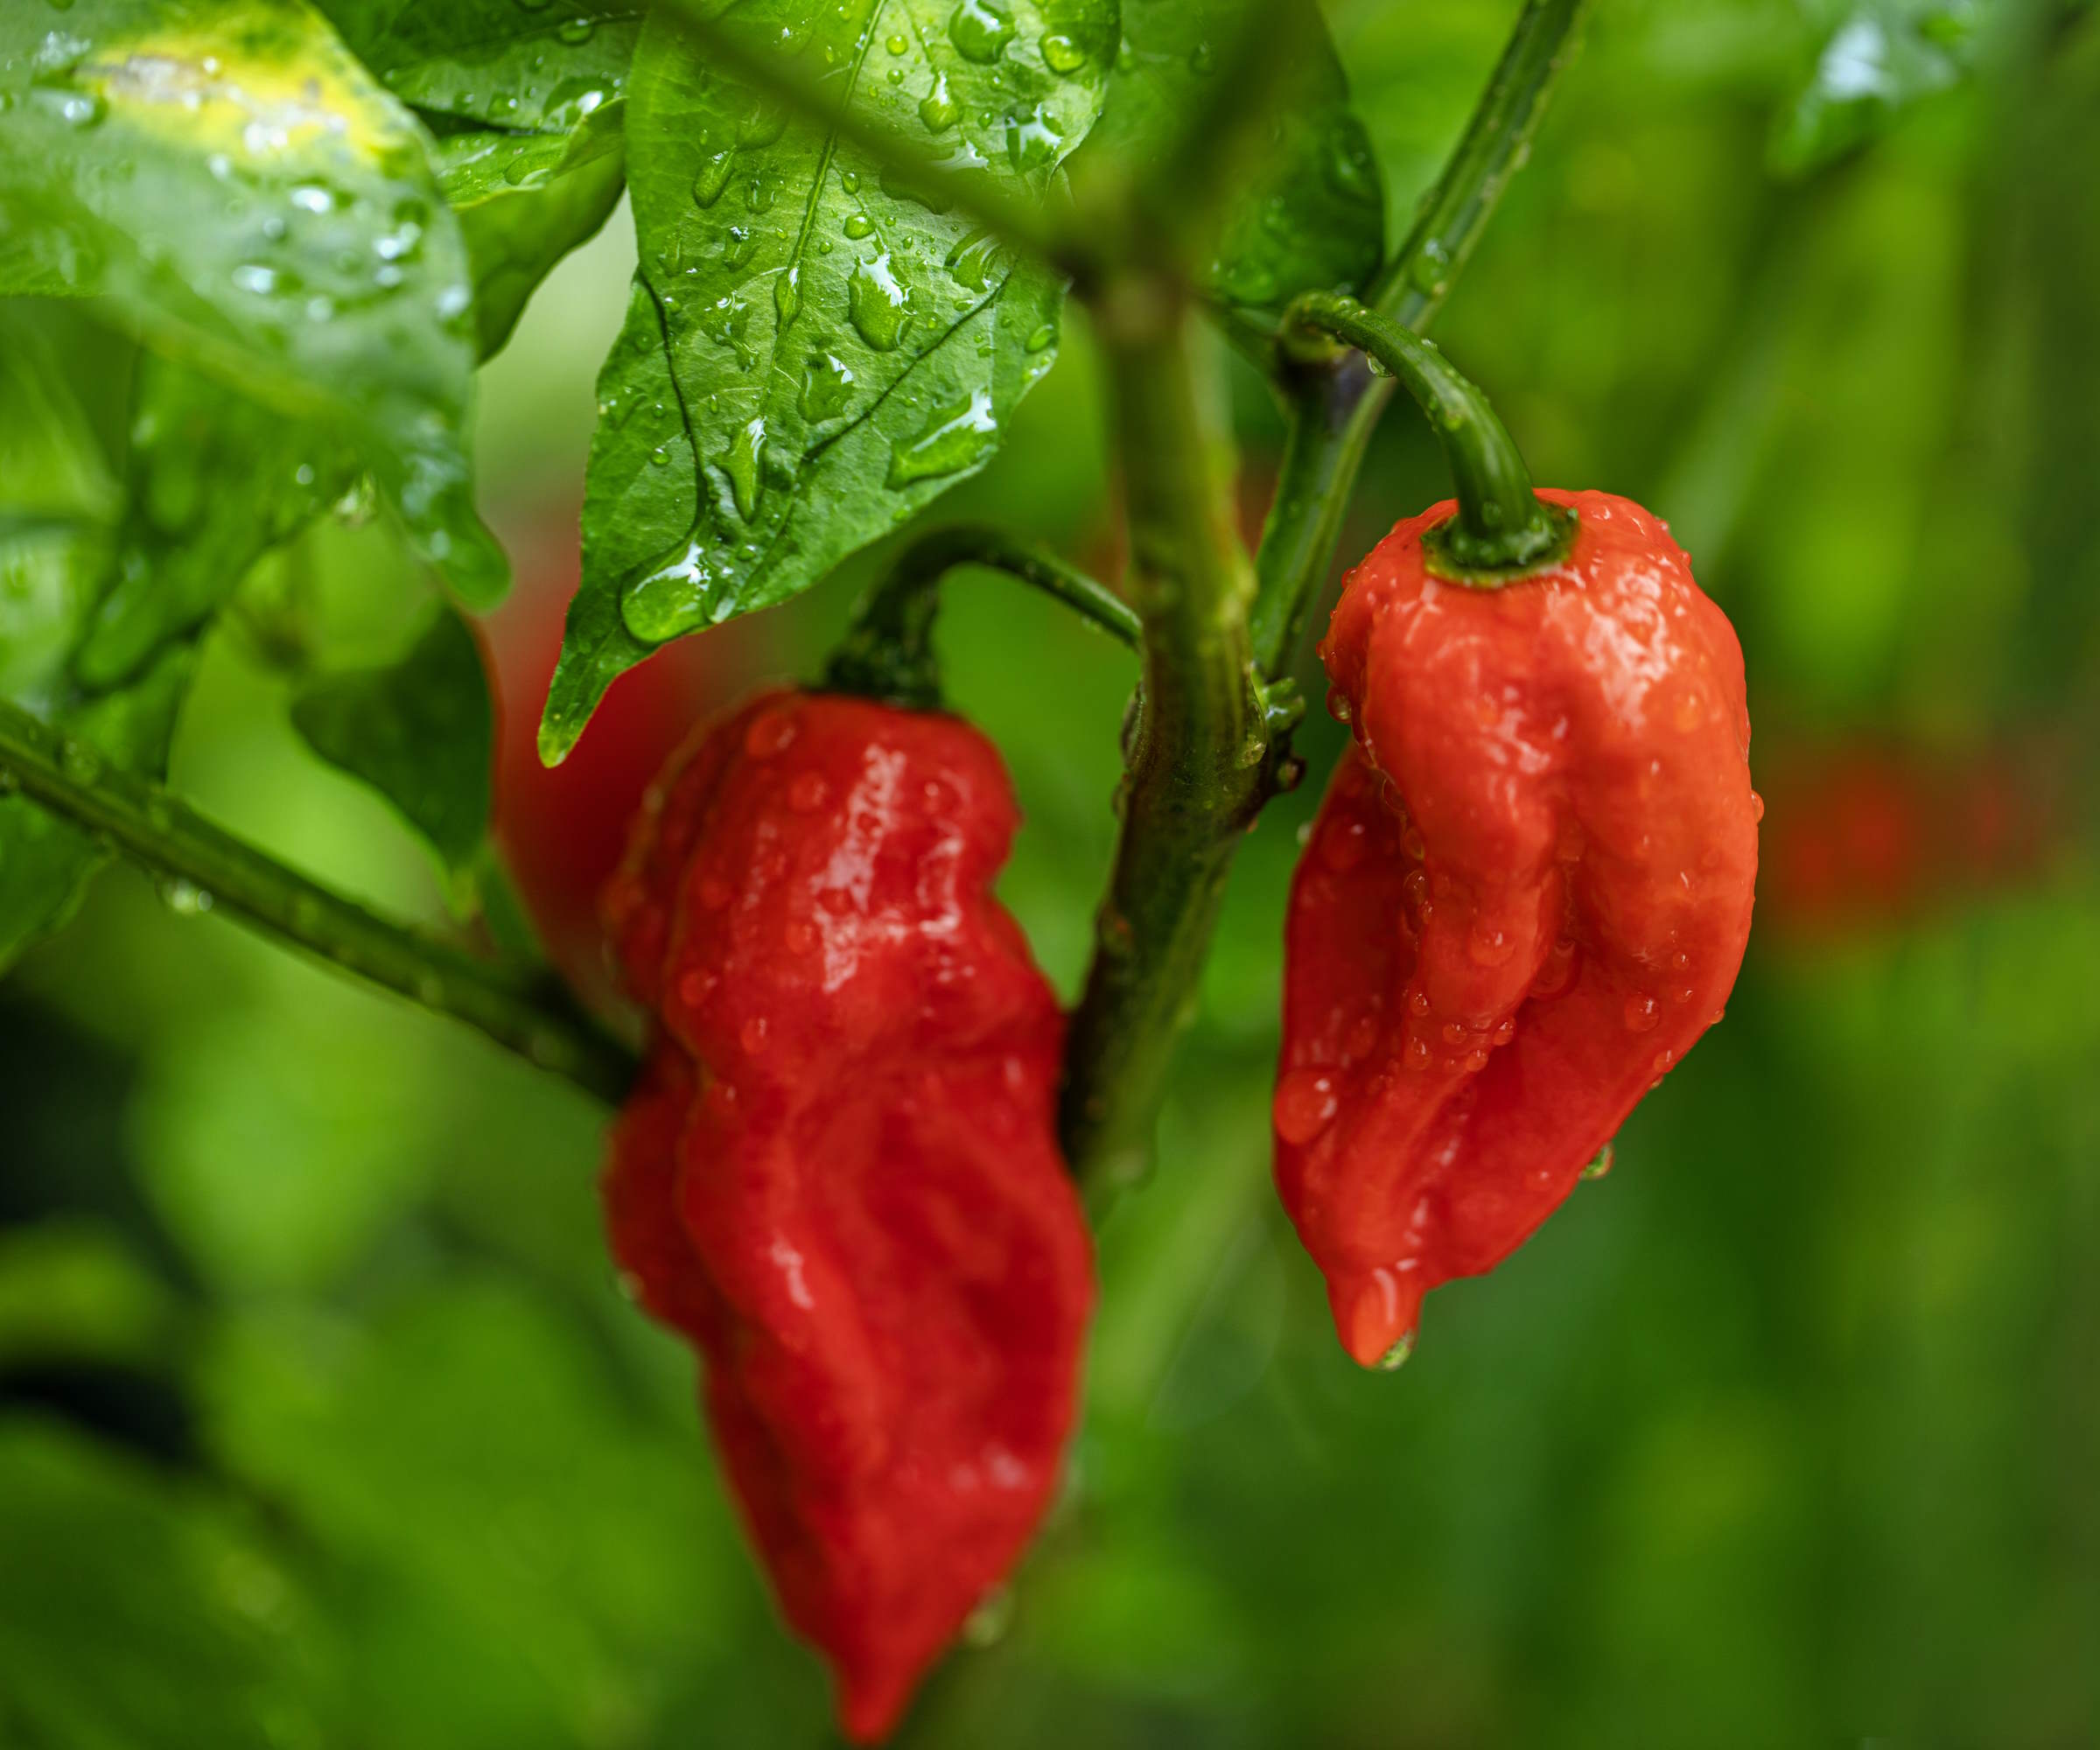
The color of chili peppers develops as they ripen
Watering needs to be consistent, so it is important to keep regularly checking for when to water plants. The soil wants to be kept moist and neither let to dry out or get too waterlogged, as overwatering can cause plants to suffer from wilted leaves and root rot. A good rule of thumb for watering plants is that chilis want around one inch of water per week. Water the soil rather than the foliage, as this ensures the roots take up as much water as possible and wet leaves can increase the risk of fungal problems.
Chili plants will benefit from regular feeding throughout their growing season. Dick Zondag, the owner of Jung Seed Company, recommends ‘add a little extra nitrogen’ when you first plant the chili. This can be done through the addition of blood meal, available at Burpee, chicken manure pellets, or fish meal.
‘Once the plant begins to flower and fruit, add a higher phosphorus fertilizer,’ adds Dick. Fertilizers that are higher in phosphorus and potassium help develop and ripen fruits, such examples include water-soluble feeds commonly used for fertilizing tomatoes. A product such as Espoma Organic, available at Walmart, can be added to water and fed to plants once a week as part of your watering schedule.
Chili peppers tend to take 60-75 days to go from planting to being ready to harvest. The chilies are usually ready for harvest from mid-summer onwards, depending on when they were planted and the conditions they grew in.
‘Once the fruit is large enough to eat, they are ready for harvesting,’ says Dick. ‘However, if you wait a little longer for the fruit to mature, the peppers will color up nicely.’
The change in color indicates the ripeness of the chili and it affects the flavor. Letting the fruits mature fully on the plant will mean hotter peppers. Crystal Provenzano says: ‘Some gardeners like to harvest chilies at different stages of ripeness to enjoy a range of flavors and heats.'
When harvesting chili peppers, always use scissors or pruning shears to cut the peppers from the plant. Picking fruits in this way avoids making the vegetable harvesting mistake of damaging or stressing the plant. The more regularly you harvest the chilies, the more fruits the plant will produce.
FAQs
Do chili plants come back every year?
Chili plants are usually grown as annual plants, however, they are actually perennials in their native warmer climates of Latin America. If you live in colder regions, you can overwinter pepper plants to continue growing them. How you do this will depend on where you grew the plants.
Chili plants in pots can be brought inside somewhere warm and light to continue growing. If your chili plants were grown in the ground, the plants can be cut back, lifted, and potted up into containers to start sprouting again when the temperatures rise in spring.
Do you prune a chili plant?
You can improve the eventual yield from chili plants through pruning. This is a task that is not essential, but one done by many growers to get stronger and bushier plants. Types of peppers that are small-fruiting benefit a lot from being topped out when they are young.
Crystal Provenzano, General Manager at Eden Brothers, advises: ‘When your chili plants are about six inches tall, pinch off the top set of leaves. This encourages the plant to grow bushier and more robust, rather than tall and leggy. Think of it as giving your plants a beneficial haircut.’
Companion planting is a fantastic organic way to help protect crops from pests and boost pollination - giving you a bigger crop of chilies. There are lots of good options for pepper companion planting, with the likes of beets, carrots, and eggplants all good partners for chilies. If you are growing chilies in a greenhouse, flowers like marigolds and nasturtiums can attract pests that would otherwise damage your chili plants.
Drew has worked as a writer since 2008 and was also a professional gardener for many years. As a trained horticulturist, he worked in prestigious historic gardens, including Hanbury Hall and the world-famous Hidcote Manor Garden. He also spent time as a specialist kitchen gardener at Soho Farmhouse and Netherby Hall, where he grew vegetables, fruit, herbs, and cut flowers for restaurants. Drew has written for numerous print and online publications and is an allotment holder and garden blogger. He is shortlisted for the Digital Gardening Writer of the Year at the 2025 Garden Media Guild Awards.
