How to make a composter – an easy step by step guide
Learn how to make a composter for a more sustainable home and garden

Design expertise in your inbox – from inspiring decorating ideas and beautiful celebrity homes to practical gardening advice and shopping round-ups.
You are now subscribed
Your newsletter sign-up was successful
Want to add more newsletters?

Twice a week
Homes&Gardens
The ultimate interior design resource from the world's leading experts - discover inspiring decorating ideas, color scheming know-how, garden inspiration and shopping expertise.

Once a week
In The Loop from Next In Design
Members of the Next in Design Circle will receive In the Loop, our weekly email filled with trade news, names to know and spotlight moments. Together we’re building a brighter design future.

Twice a week
Cucina
Whether you’re passionate about hosting exquisite dinners, experimenting with culinary trends, or perfecting your kitchen's design with timeless elegance and innovative functionality, this newsletter is here to inspire
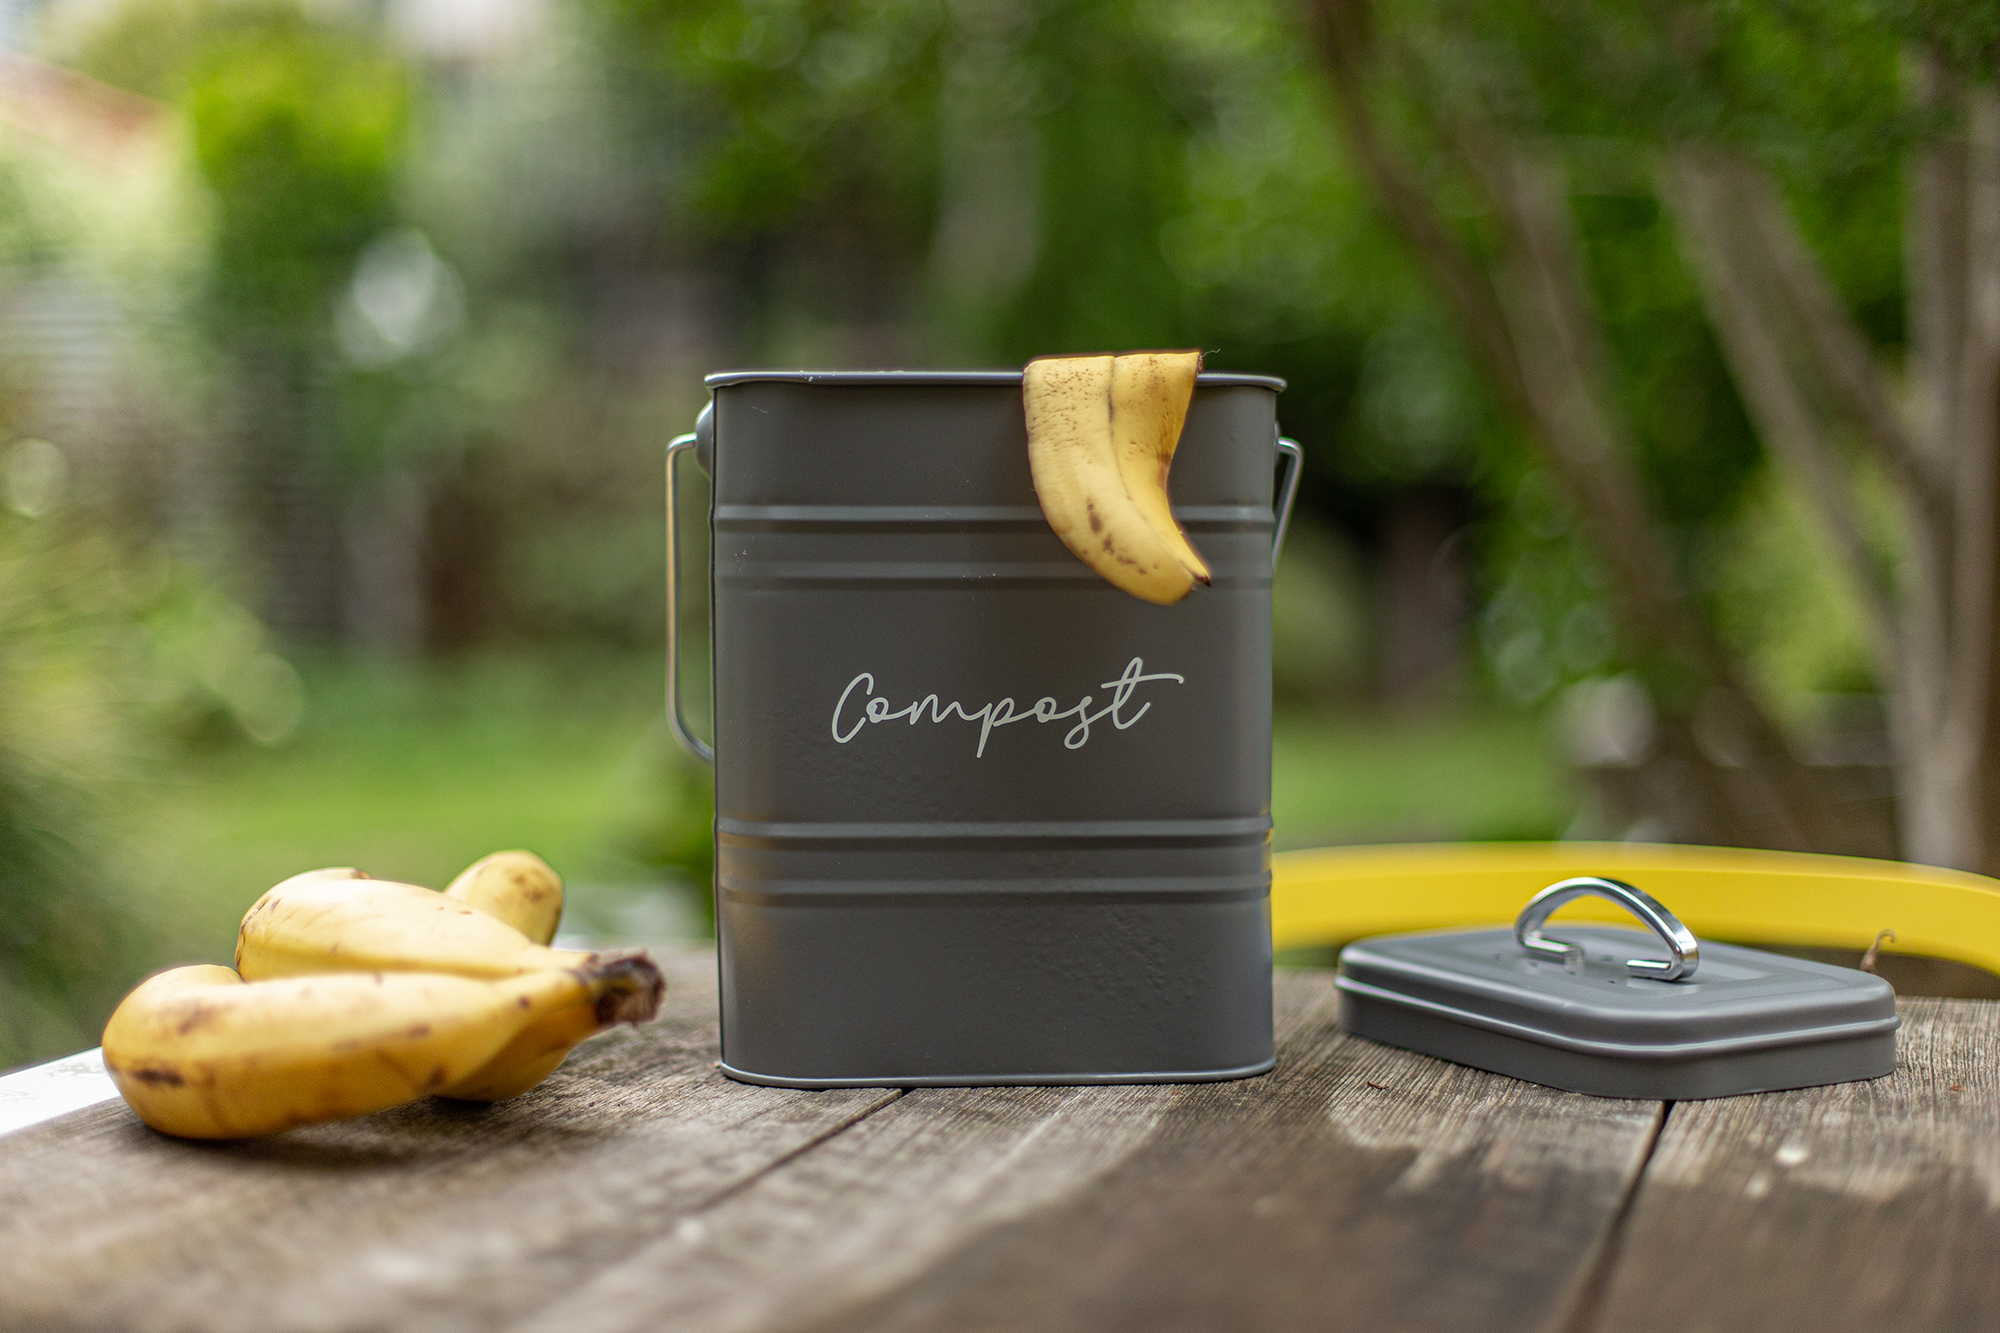
Knowing how to make a composter is one of the best ways to make your home and backyard more environmentally friendly – not only does it help you to reduce your kitchen waste, but it will also generate high quality compost that will help your garden ideas to thrive.
Of course, once you've learnt how to make a composter, then the next step is how to make compost – this will help you to create rich compost for your garden, helping you to save money and realise your sustainable garden ideas.
'While it may not seem like it, food waste can contribute significantly to carbon emissions – six percent of global greenhouse gas emissions come from food loss and waste. But creating your own compost means you not only reduce food waste, but you also create nutrient-rich compost that is great for your garden without having a buy a thing,' explain the gardening experts at The Greenhouse People.
How to make a composter
Simply put, a composter is a vessel in which you make compost - whether that is traditional cold compost or the hot compost. They can be any size and shape from round barrels through to square wooden structures, there are even rotating designs that help to speed up the composting process.
Before you learn how to make a composter, you need to decide which DIY compost bin you want to make – the easiest is the round barrel composter; though a wooden composter will blend more seamlessly into your wildlife garden ideas, or the more technically challenging rotating composter can produce compost in as little as three weeks.
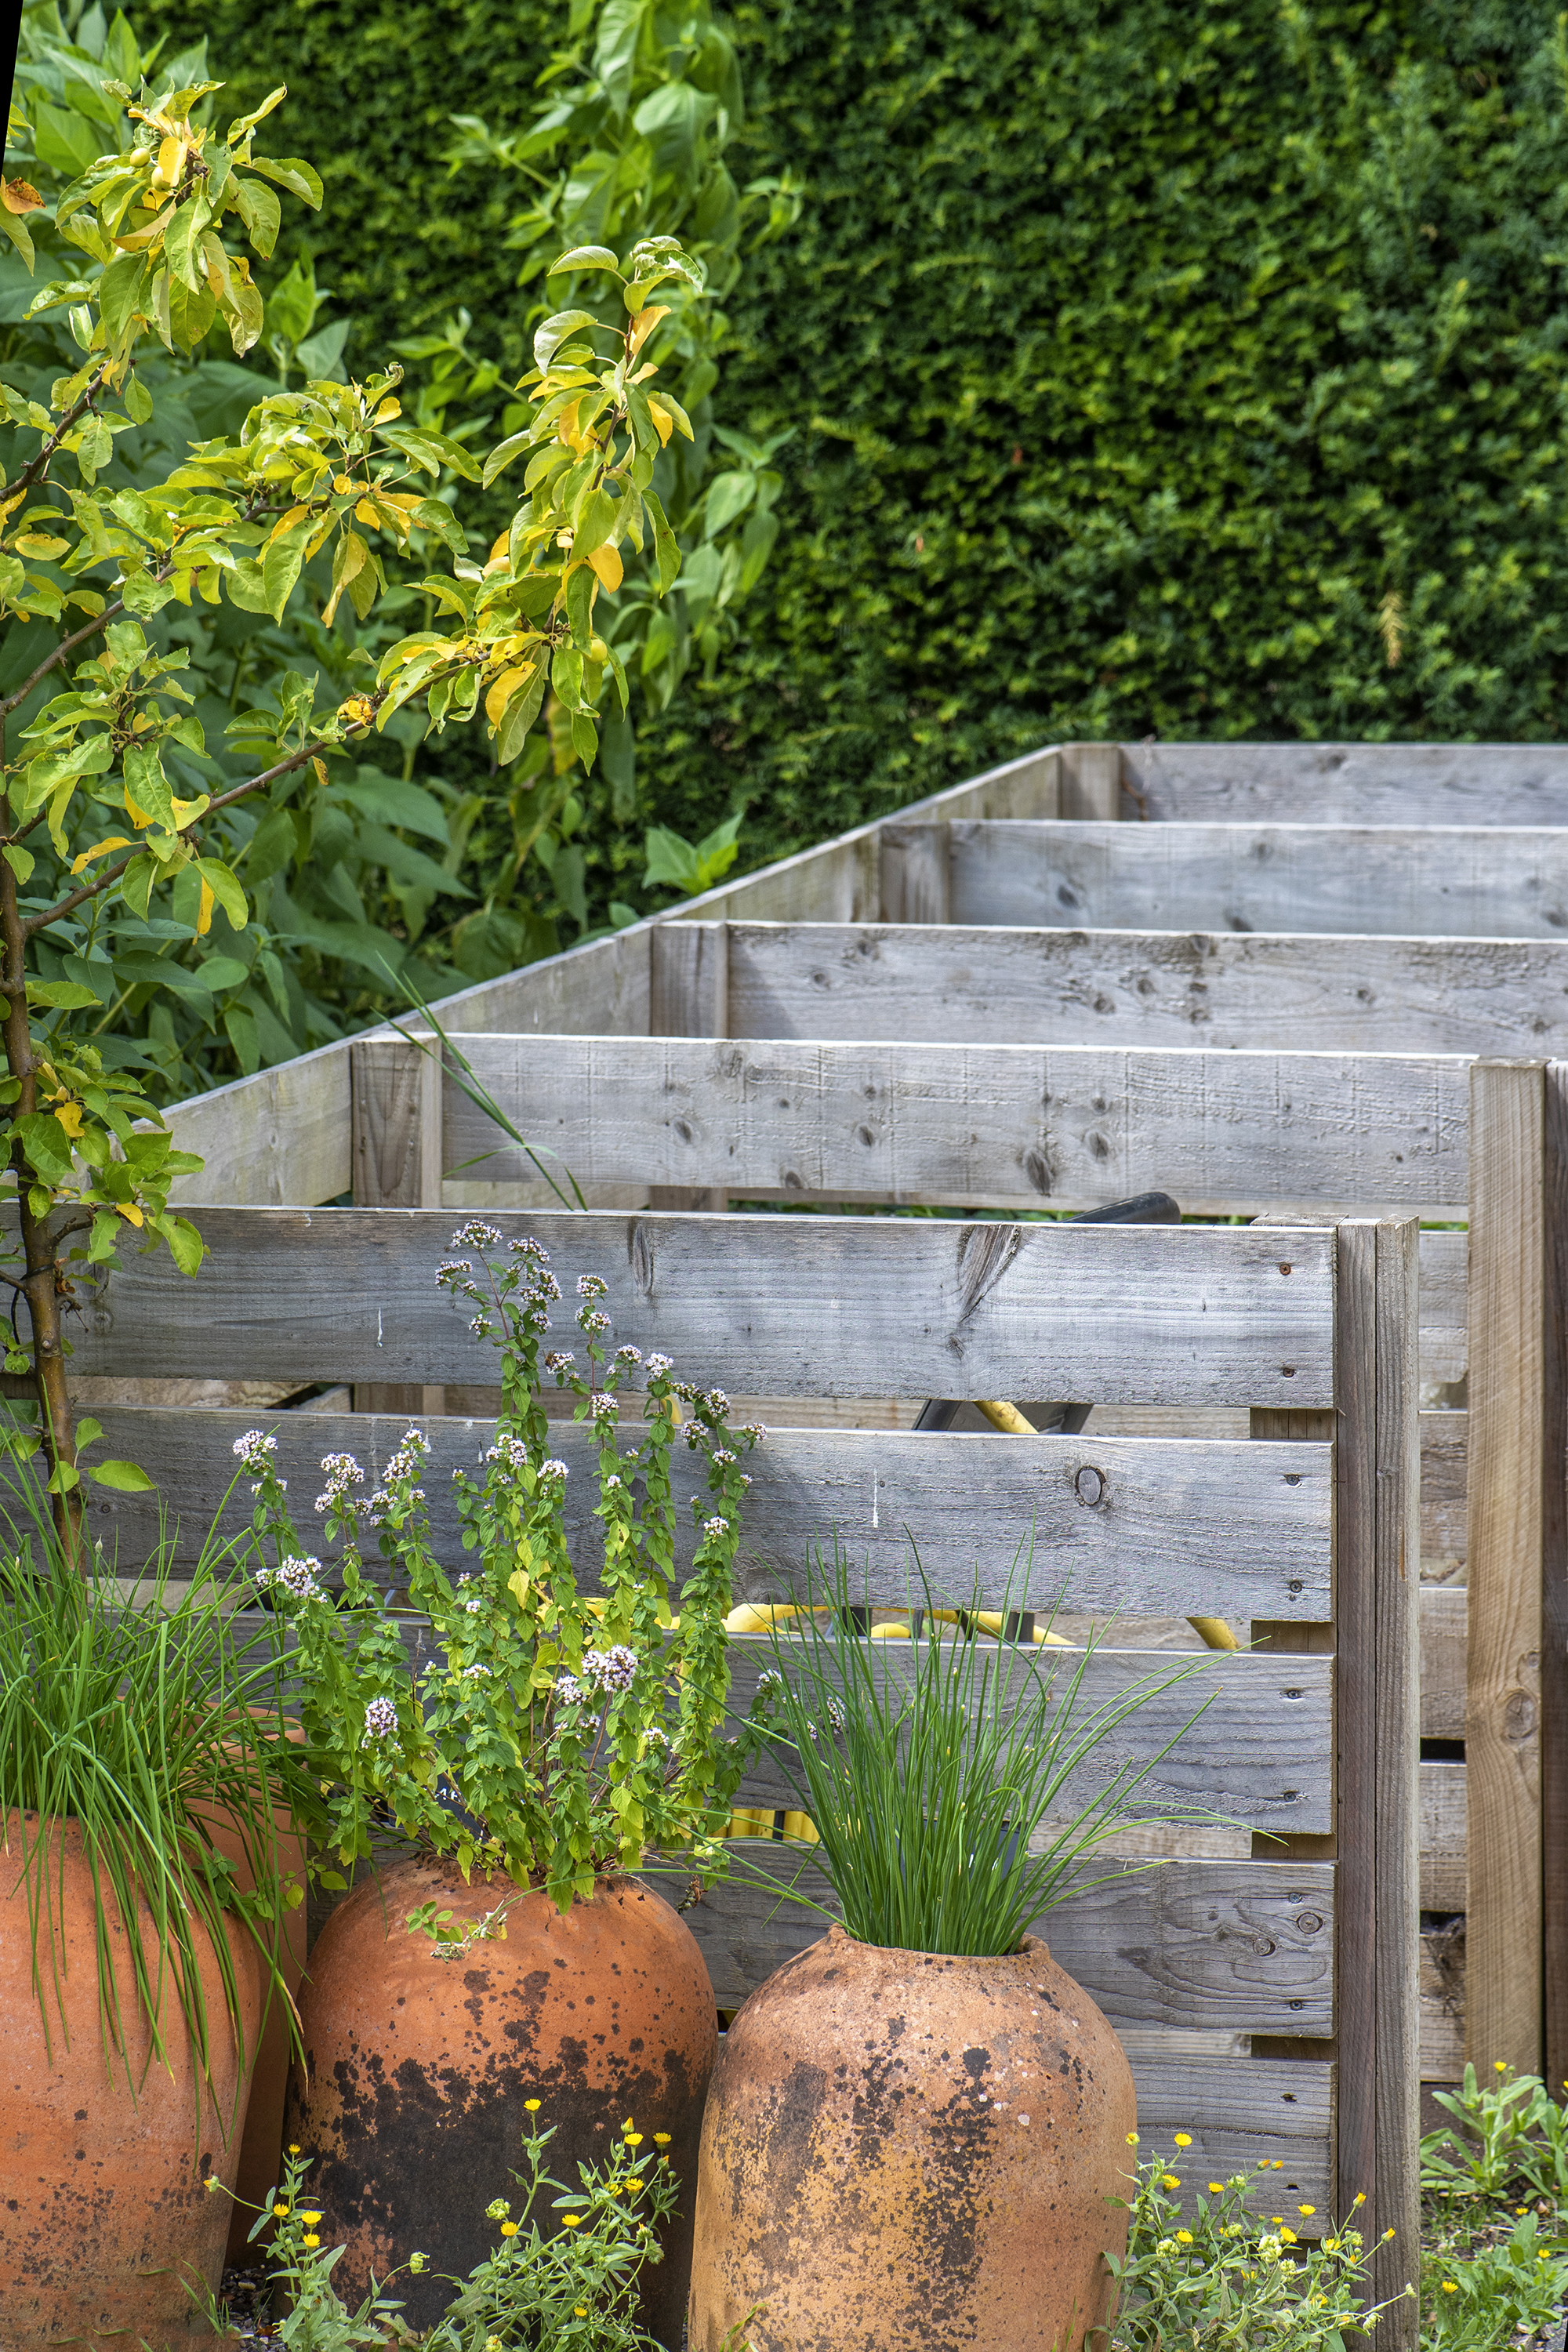
'Create a compost bay in your garden using recycled timbers, or use a compost bin in a shady, level, well-drained position, where water can drain away and worms can get in and do their work,' explains H&G's garden expert Leigh Clapp. Regardless of the shape of your composter, the process for making compost is the same for all styles.
- Layer wood, twigs, cardboard and newspaper on the base of your composter.
- Then add in your food and garden waste (also known as green waste) alongside cardboard, twigs and straw (also known as brown waste). This will ensure that your compost has a good balance of carbon (provided by the brown) and nitrogen (provided by the green).
- Water your compost heap when it gets dry though ensure it is not soaked.
- Feed it with a nitrogen-rich feed such as blood and bone meal to help speed up the composting process.
- Turn your compost every few days, this will help to aerate it and distribute moisture.
- Ensure your composter is covered to protect it from the elements and keep rats, racoons and similar pests from making a home in your composter.
If you don't want to turn your compost learn how to use a wormery for compost –here the worms take on the hard work of turning the compost for you, resulting in ultra-fine compost that is ideal for sowing seeds.
Design expertise in your inbox – from inspiring decorating ideas and beautiful celebrity homes to practical gardening advice and shopping round-ups.
How to make a composter in a container
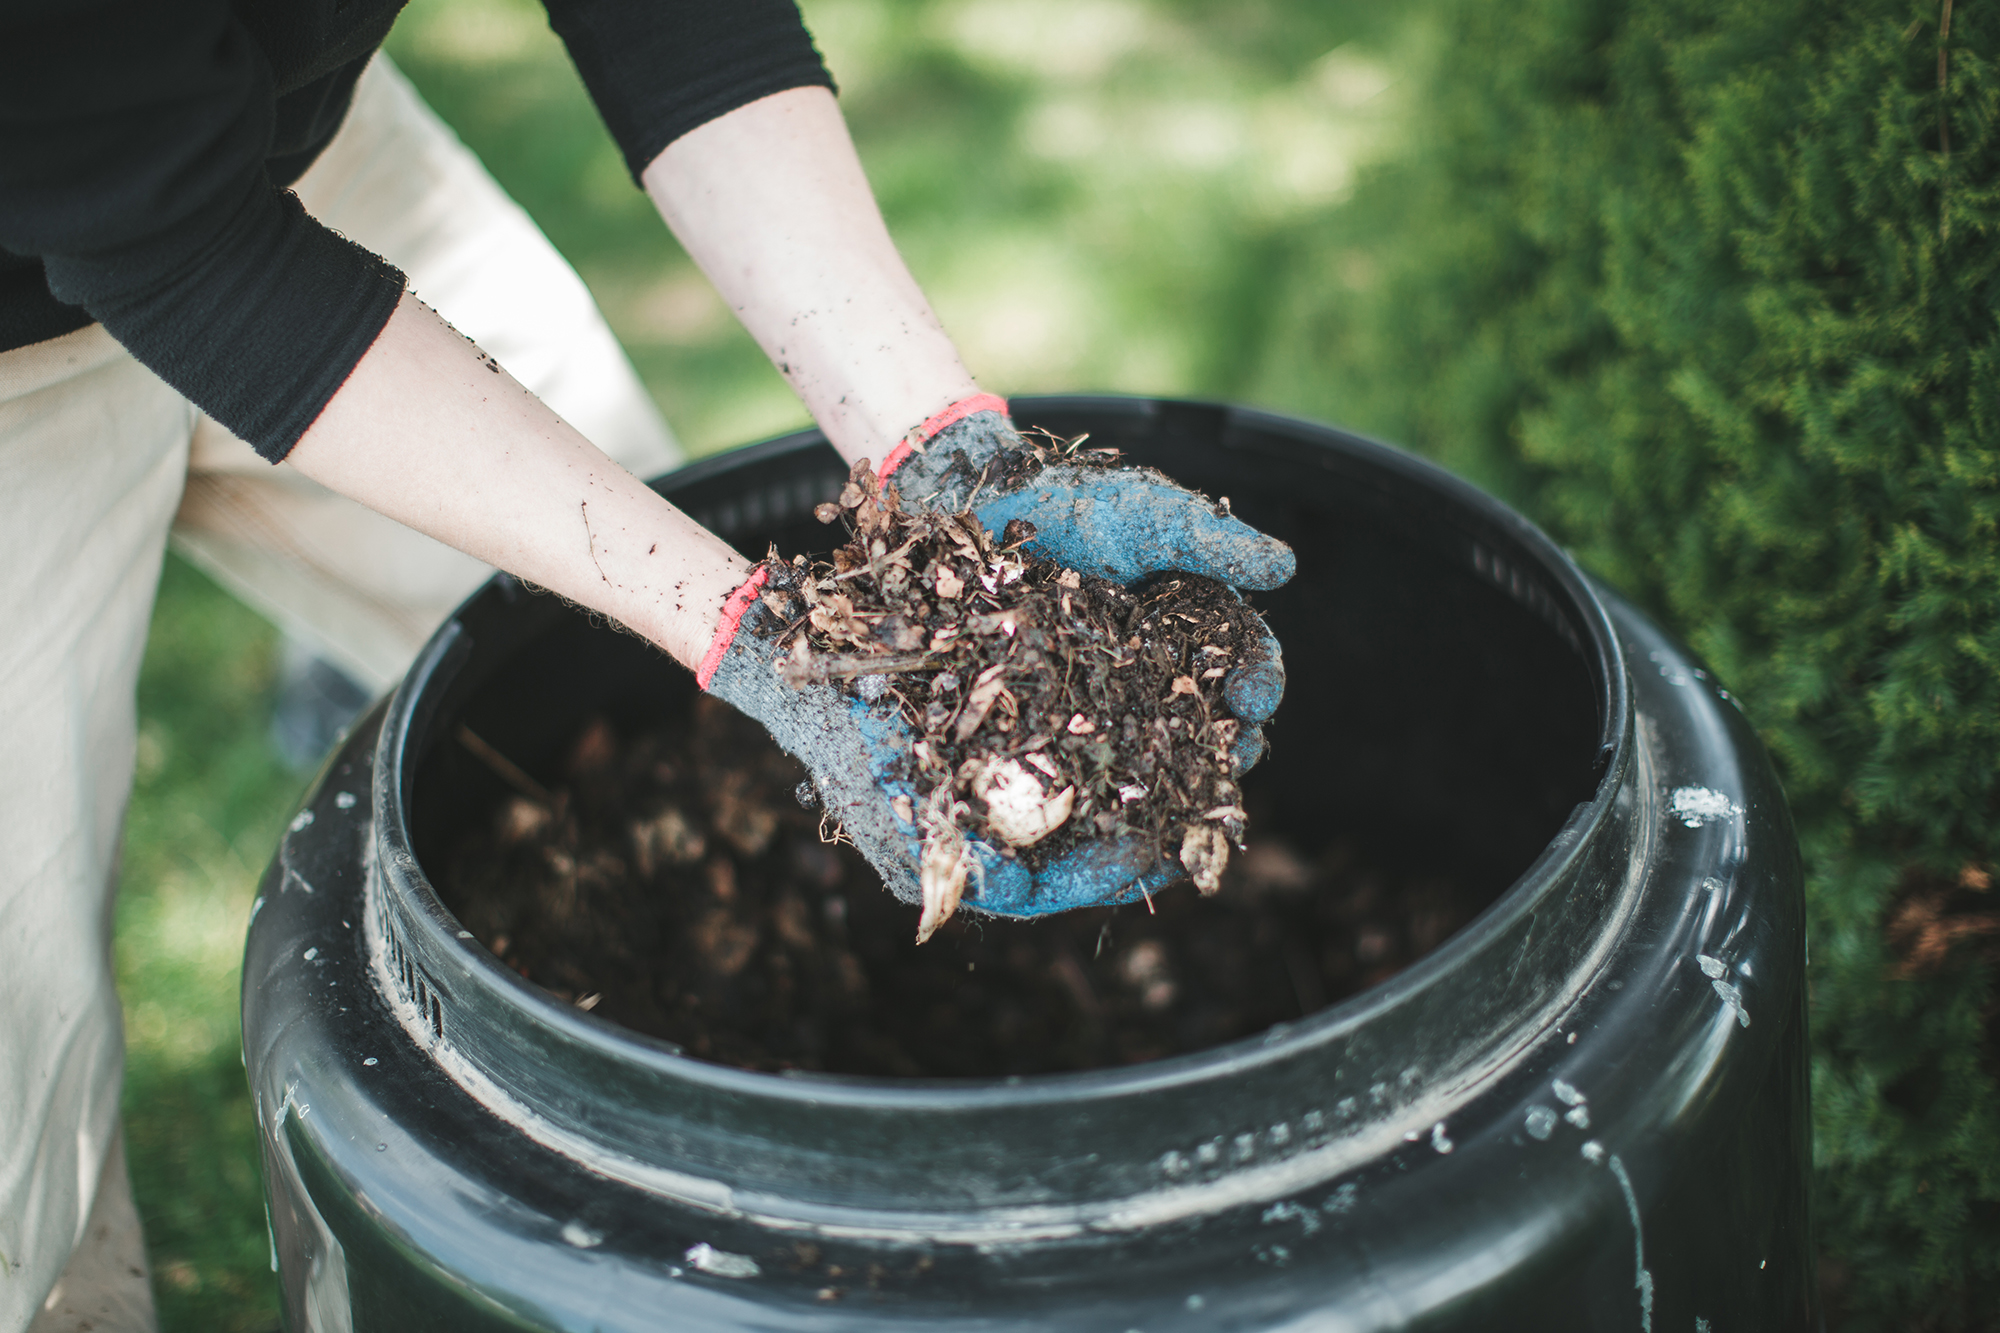
Container gardening ideas aren't just for flowers: container composters are the most common method, with lots of homeowners having purchased the iconic black or green bins. However, it is surprisingly easy to learn how to make a composter from a plastic container.
- Select a plastic container. It can be any size but 32 gallons or 55 gallons are recommended. Ensure that your container has a lockable lid. Opt for a dark colored bin for the quickest results.
- Drill two dozen small holes into the sides and bottom of your bin (more if it is larger). This will help it to drain and prevent your compost becoming waterlogged.
- Then simply add a layer of twigs, cardboard and straw to the base of your compost bin.
- Add green waste followed by a layer of leaves.
- Continue this until your bin is full.
- Use a pitchfork to turn your compost every week or two weeks.
- Place in a warm spot in the garden.
- It should be ready to use within six months.
How to make a composter with wood
Wooden composters are a practical and an aesthetic choice of composter. It can easily be made from recycled wood, old scaffold boards or pallets or you can learn how to make a composter from decking or cedar boards. In fact, cedar wood is the best material for making a compost bin – though will of course be more costly than recycled wood or pallets.
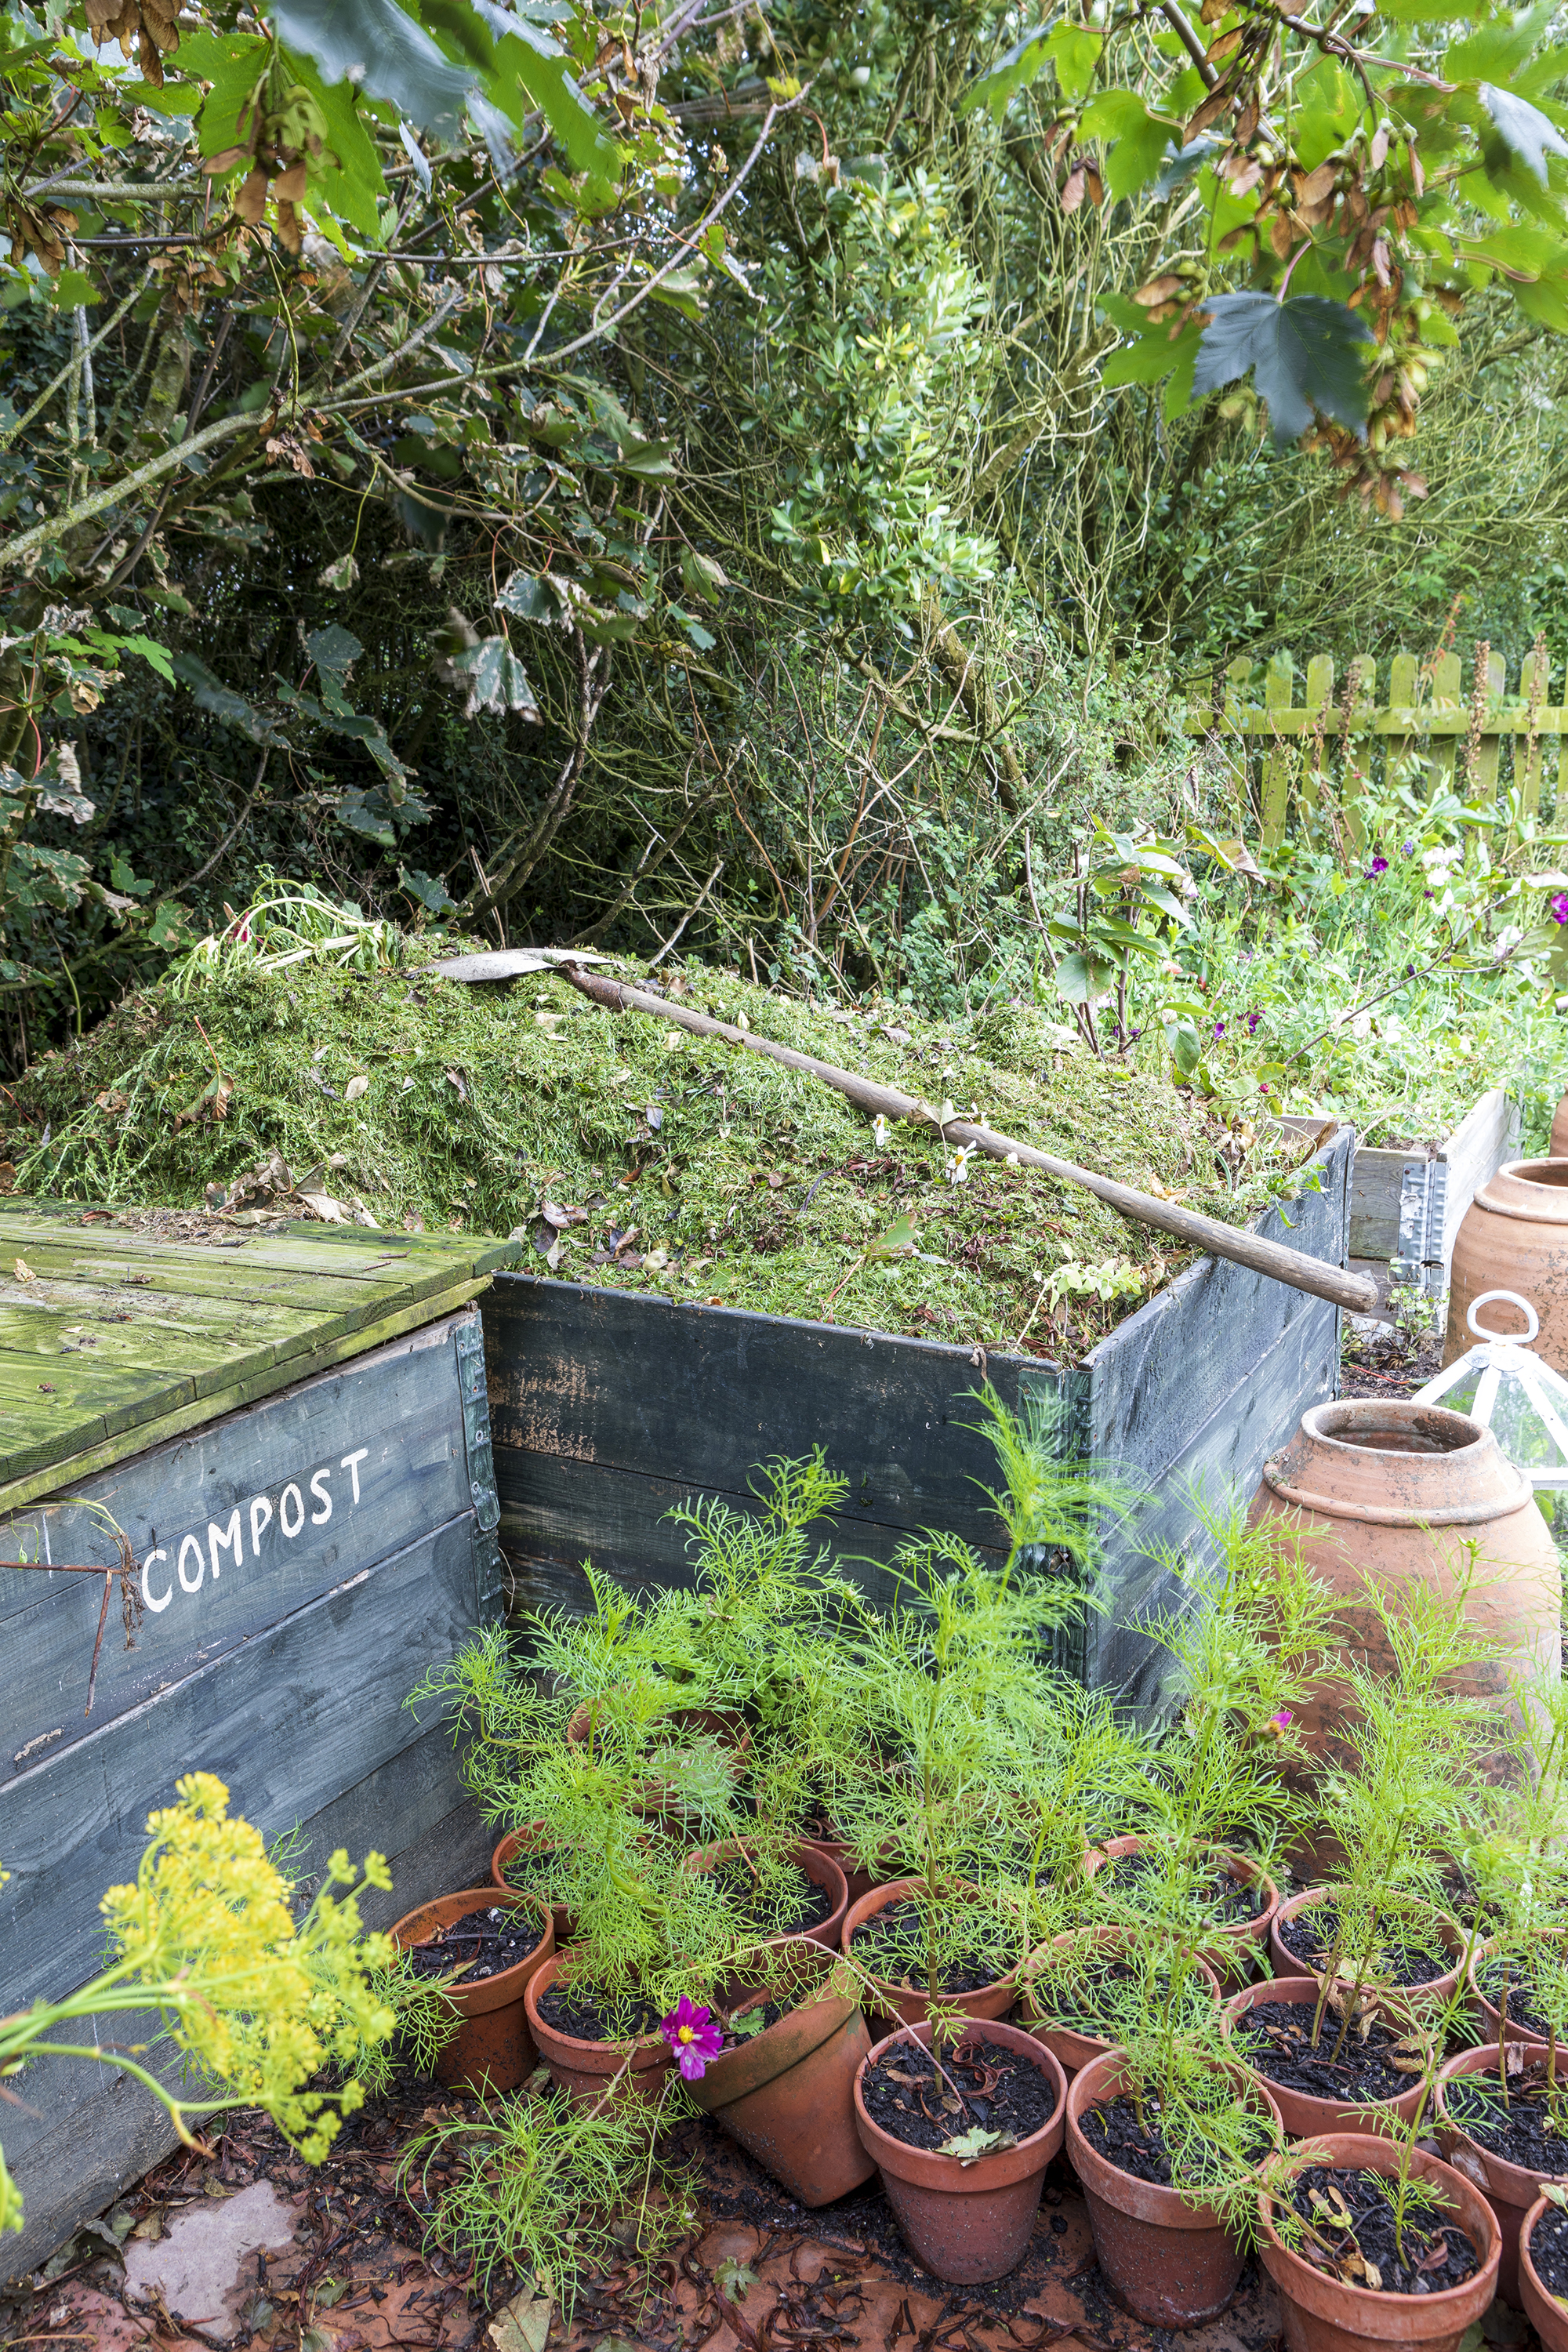
Regardless of the wood you choose, it is essential to select wood that has no signs of rot. Depending on the type of wood used, you can expect your wooden composter to last between 5 and 10 years. The thicker the wood the longer it will last.
You can also extend your wooden compost bins life for a few years by treating the interior and exterior of your wood with organic hemp oil or linseed oil.
There are lots of blueprints online for how to make a composter from wood – these are available in various sizes and styles. However, the fundamentals of each method is to create a square box with a lid.
The easiest method for how to make a composter from wood is to use pallets:
- Source four pallets of the same size (alternatively, you can cut them to size).
- Only use pallets that have been heat treated (look for a HT stamp on the pallet). This means there's no risk of toxic chemicals from the pallet compromising your compost. Avoid any pallets with MB or SF markings as they have been treated with a pesticide or biocide respectively. For more information Universal Pallets have an in-depth guide.
- Then position in a square formation and join together with square brackets.
- Line the pallets with chickenwire to keep the contents inside the compost heap and line the base with plastic sheeting or bin liners.
- Then create a lid with a solid wooden sheet and attach to the back of the composter with hinge brackets. This will keep the compost dry during rain or storms.
- Line the base with a layer of brown waste such as twigs, leaves or cardboard and then start filling with green waste interspersed with layers of brown.
- Turn your compost bin with a pitchfork a couple of times every week and water if it starts to look dry.
- Within four to six months you should be able to use this compost on your garden.
How to make a compost heap
A compost heap is the easiest way to learn how to make a composter – however it is also the less aesthetically appealing and as such is better suited to large gardens where your compost heap can be hidden out of view and placed far away from your patio ideas.
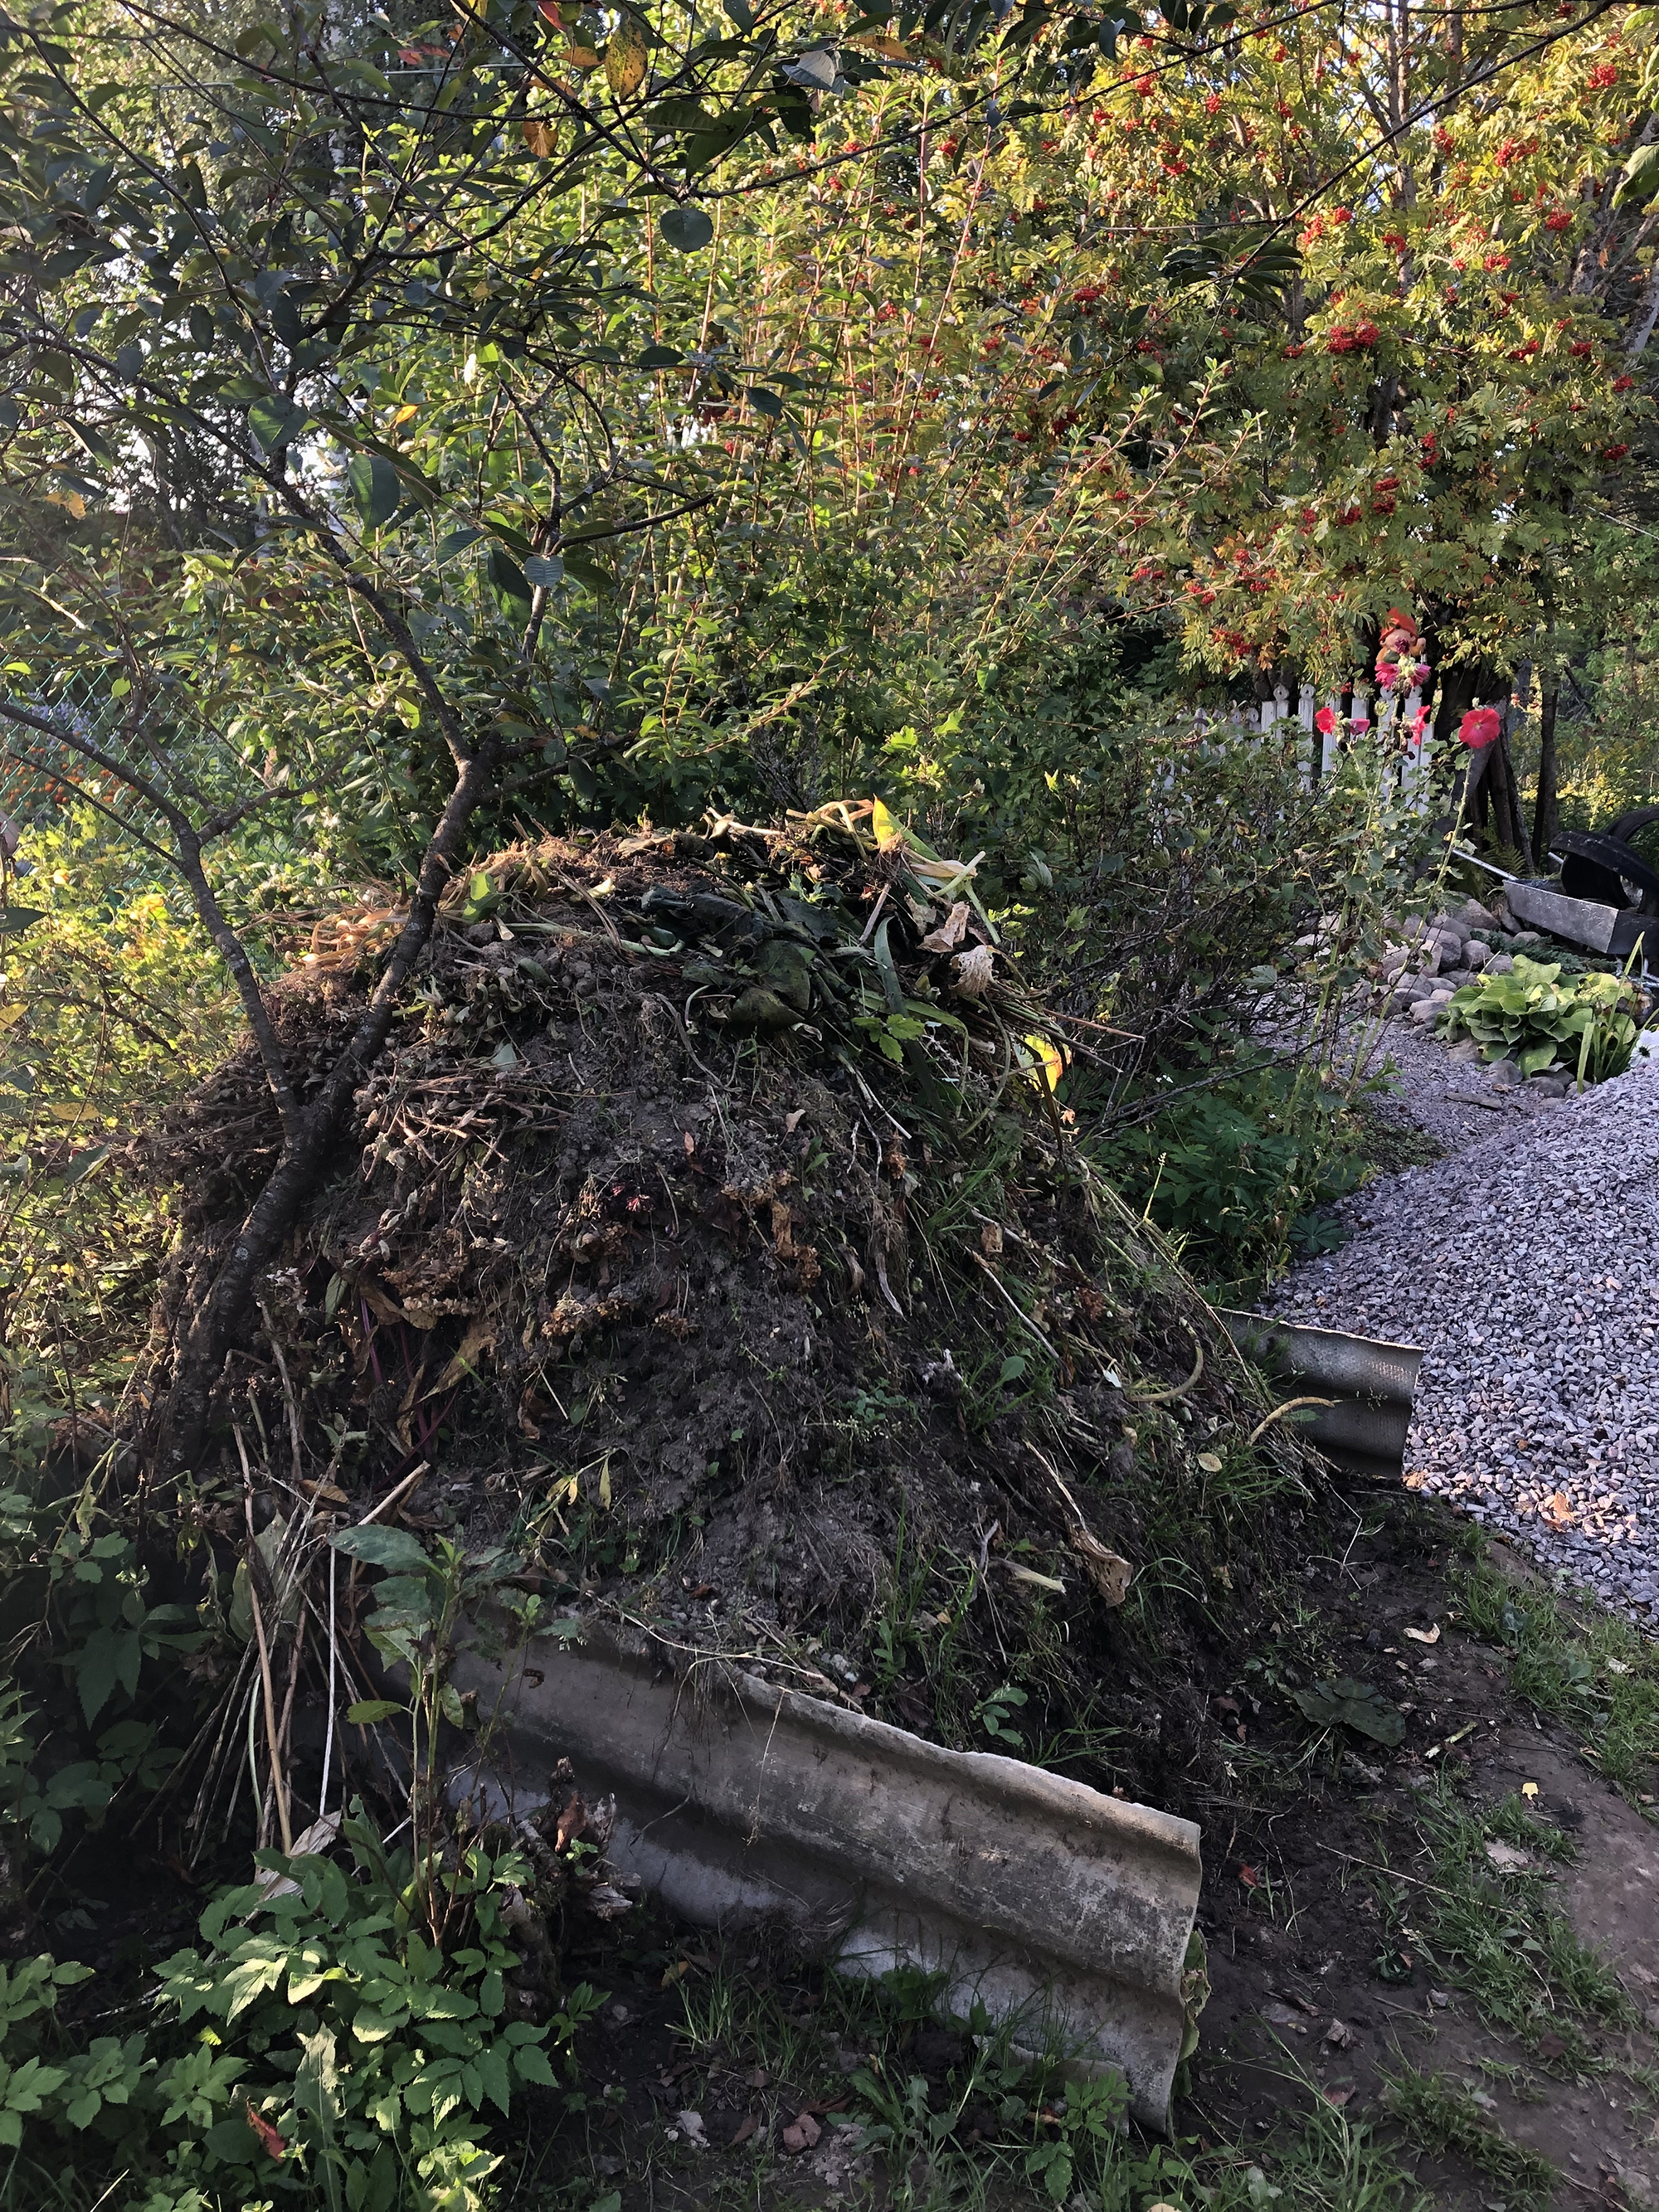
'The easiest way to start is by collecting all your kitchen scraps in a container with a lid. Once you have started to collect this food waste, you can begin a compost pile on a patch of bare ground and add layers of twigs and straw. You can then alternate adding moist ingredients, such as food scraps or tea bags, with dry ingredients, like leaves or wood ashes. Once you have created a pile, add manure, which provides essential nitrogen to help kickstart the composting process. Cover it with any material, such as plastic sheeting or old bedlinen, that you have on hand to help keep it moist. You can water the heap occasionally and turn it every couple of weeks to help aerate the patch,' advise gardening experts at The Greenhouse People.
How to make a rotating compost tumbler
Rotating composters offer the quickest way to get compost – with the right conditions it can make rich compost in just three weeks. Rotating composters, also known as compost tumblers, work in a similar way to a tombola spinner with a barrel suspended on a frame.
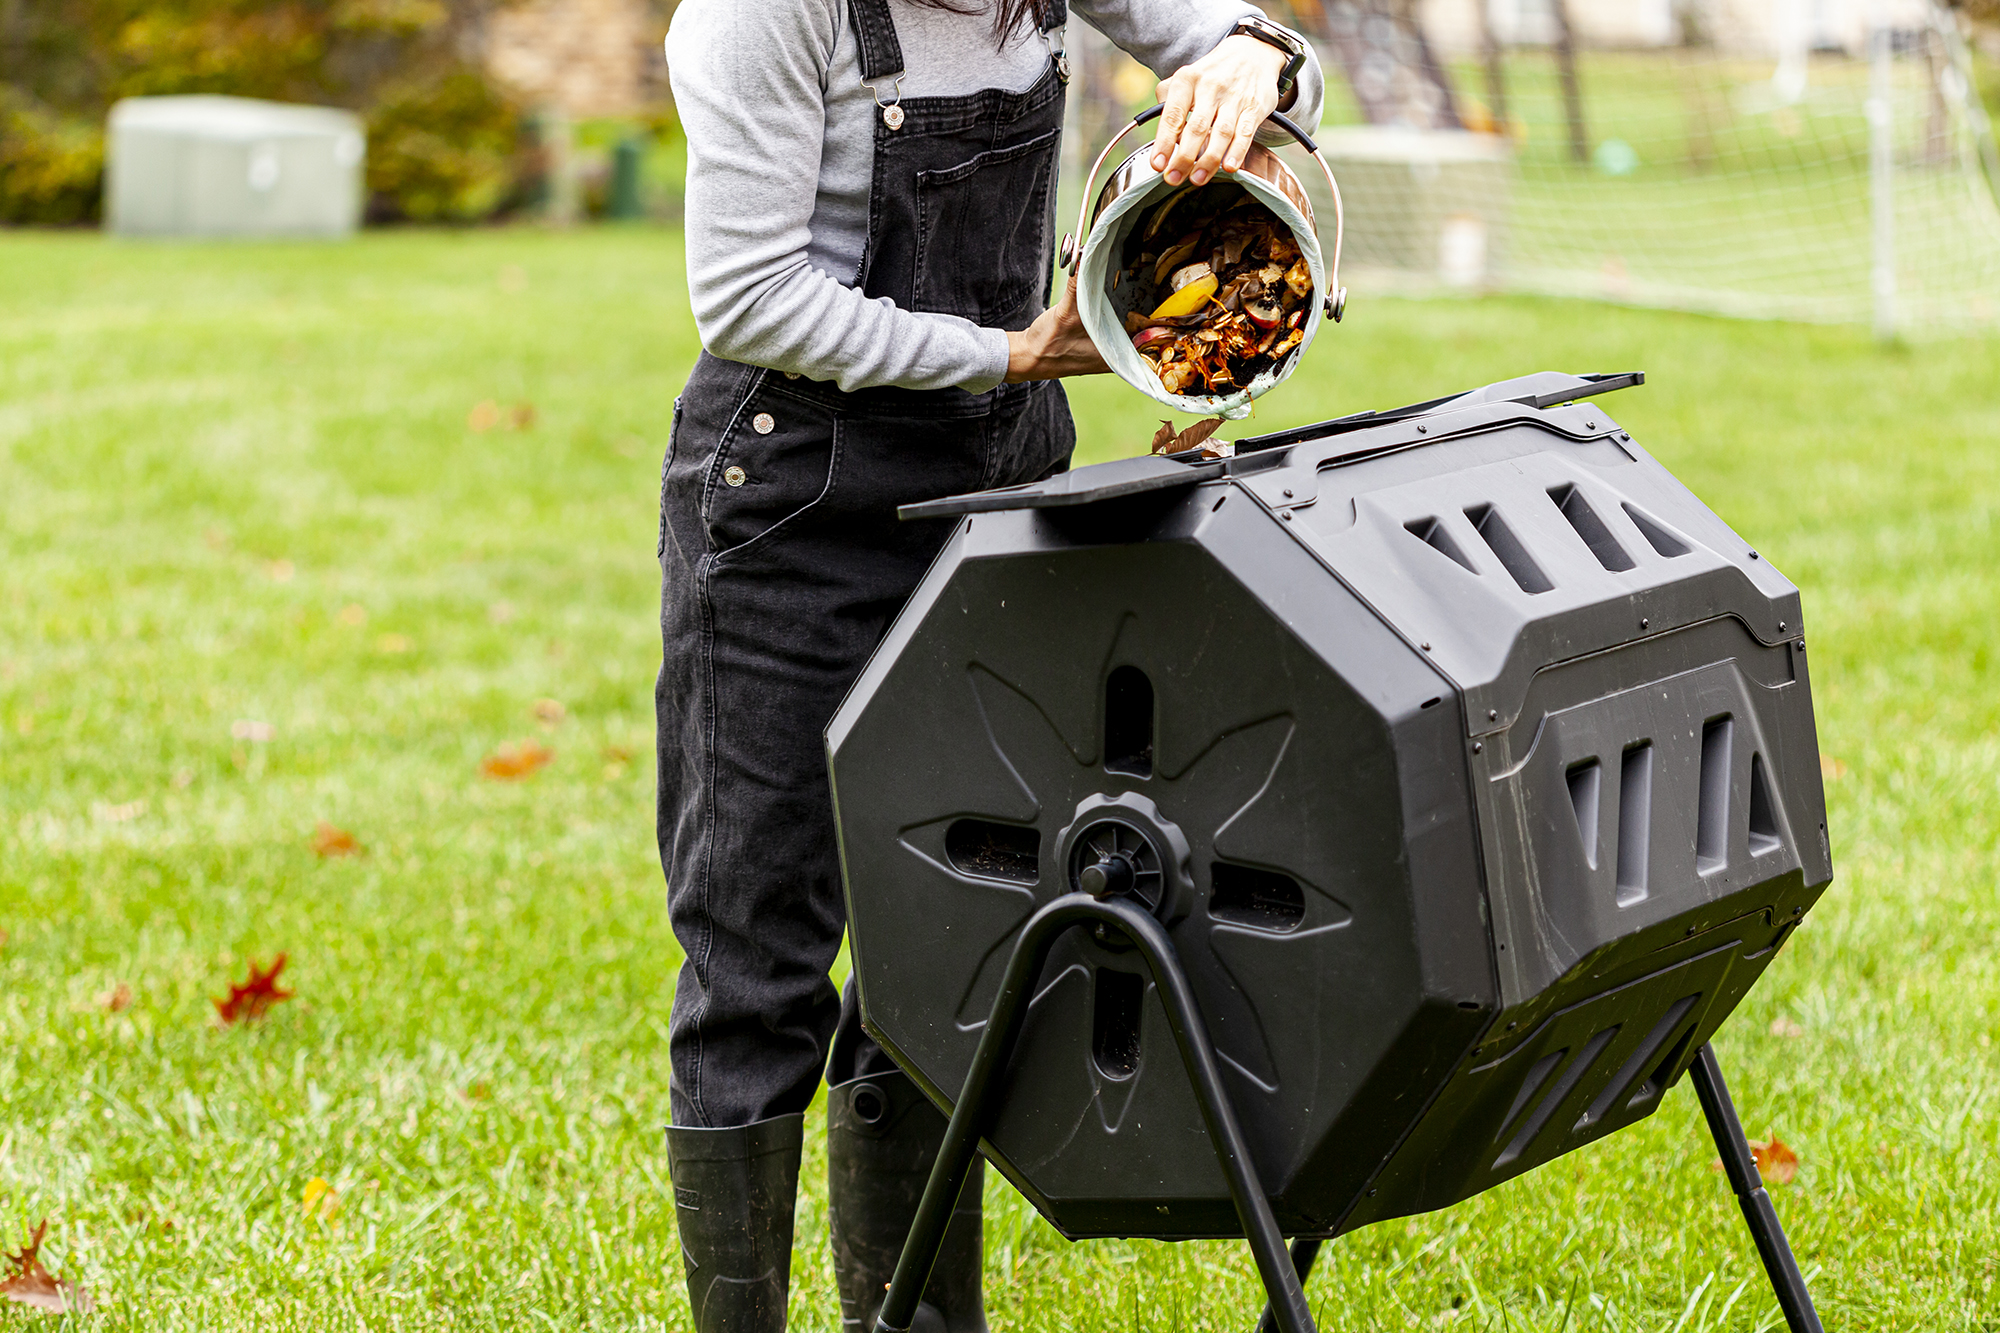
Though it is the most efficient method for making compost, learning how to make a composter on a rotating frame is the hardest DIY method. The frame must be able to support the barrel when it is full of heavy, wet compost. You will also need expert skills and tools in order to create a successful finished project. If you do not want to complete this as a DIY project there are lots of ready made rotating composters that will work just as well.
- Opt for a large barrel with a lockable lid – it can be any size but 32 gallons is the most common option.
- Start by creating the frame.
- Get two standard thickness wooden posts – these need to be as tall as your barrel to ensure that you can have a full rotation of the barrel. These posts will form the upright part of the frame.
- Once you have these posts, drill two holes six inches from the top of the post. The holes must be the same diameter as your axel post and in the same position on each post.
- Secure the posts by attaching each to a flat piece of wood that is the same length as your upright posts. This will create an inverted T shape to support your barrel.
- Join the two posts together with a middle piece of wood that is 12 inches longer than the width of your barrel. This frame should be able to stand up independently.
- Next create the composter’s drum.
- Stand your drum on its base with the lid pointing upright and measure the barrel’s length and width to find the central point on the side of the drum. Repeat this on the opposite side of the drum. Ensure these points line up and drill holes the same diameter as your metal axel tube.
- Then drill smaller aeration holes throughout the drum – around 24 should be sufficient.
- Thread your metal axel tube through the large holes in the drum and then thread through the holes in the wooden frame. Ensure your barrel can fully rotate.
- Add wall clamps or washers to either end of the tube to prevent it from coming loose. Alternatively you can bend the ends of the tube so that it cannot pass back through the holes in the frame or drum.
- Then fill your compost bin and secure the lid.
- Rotate your composter a few times each week.
How often should compost be turned?
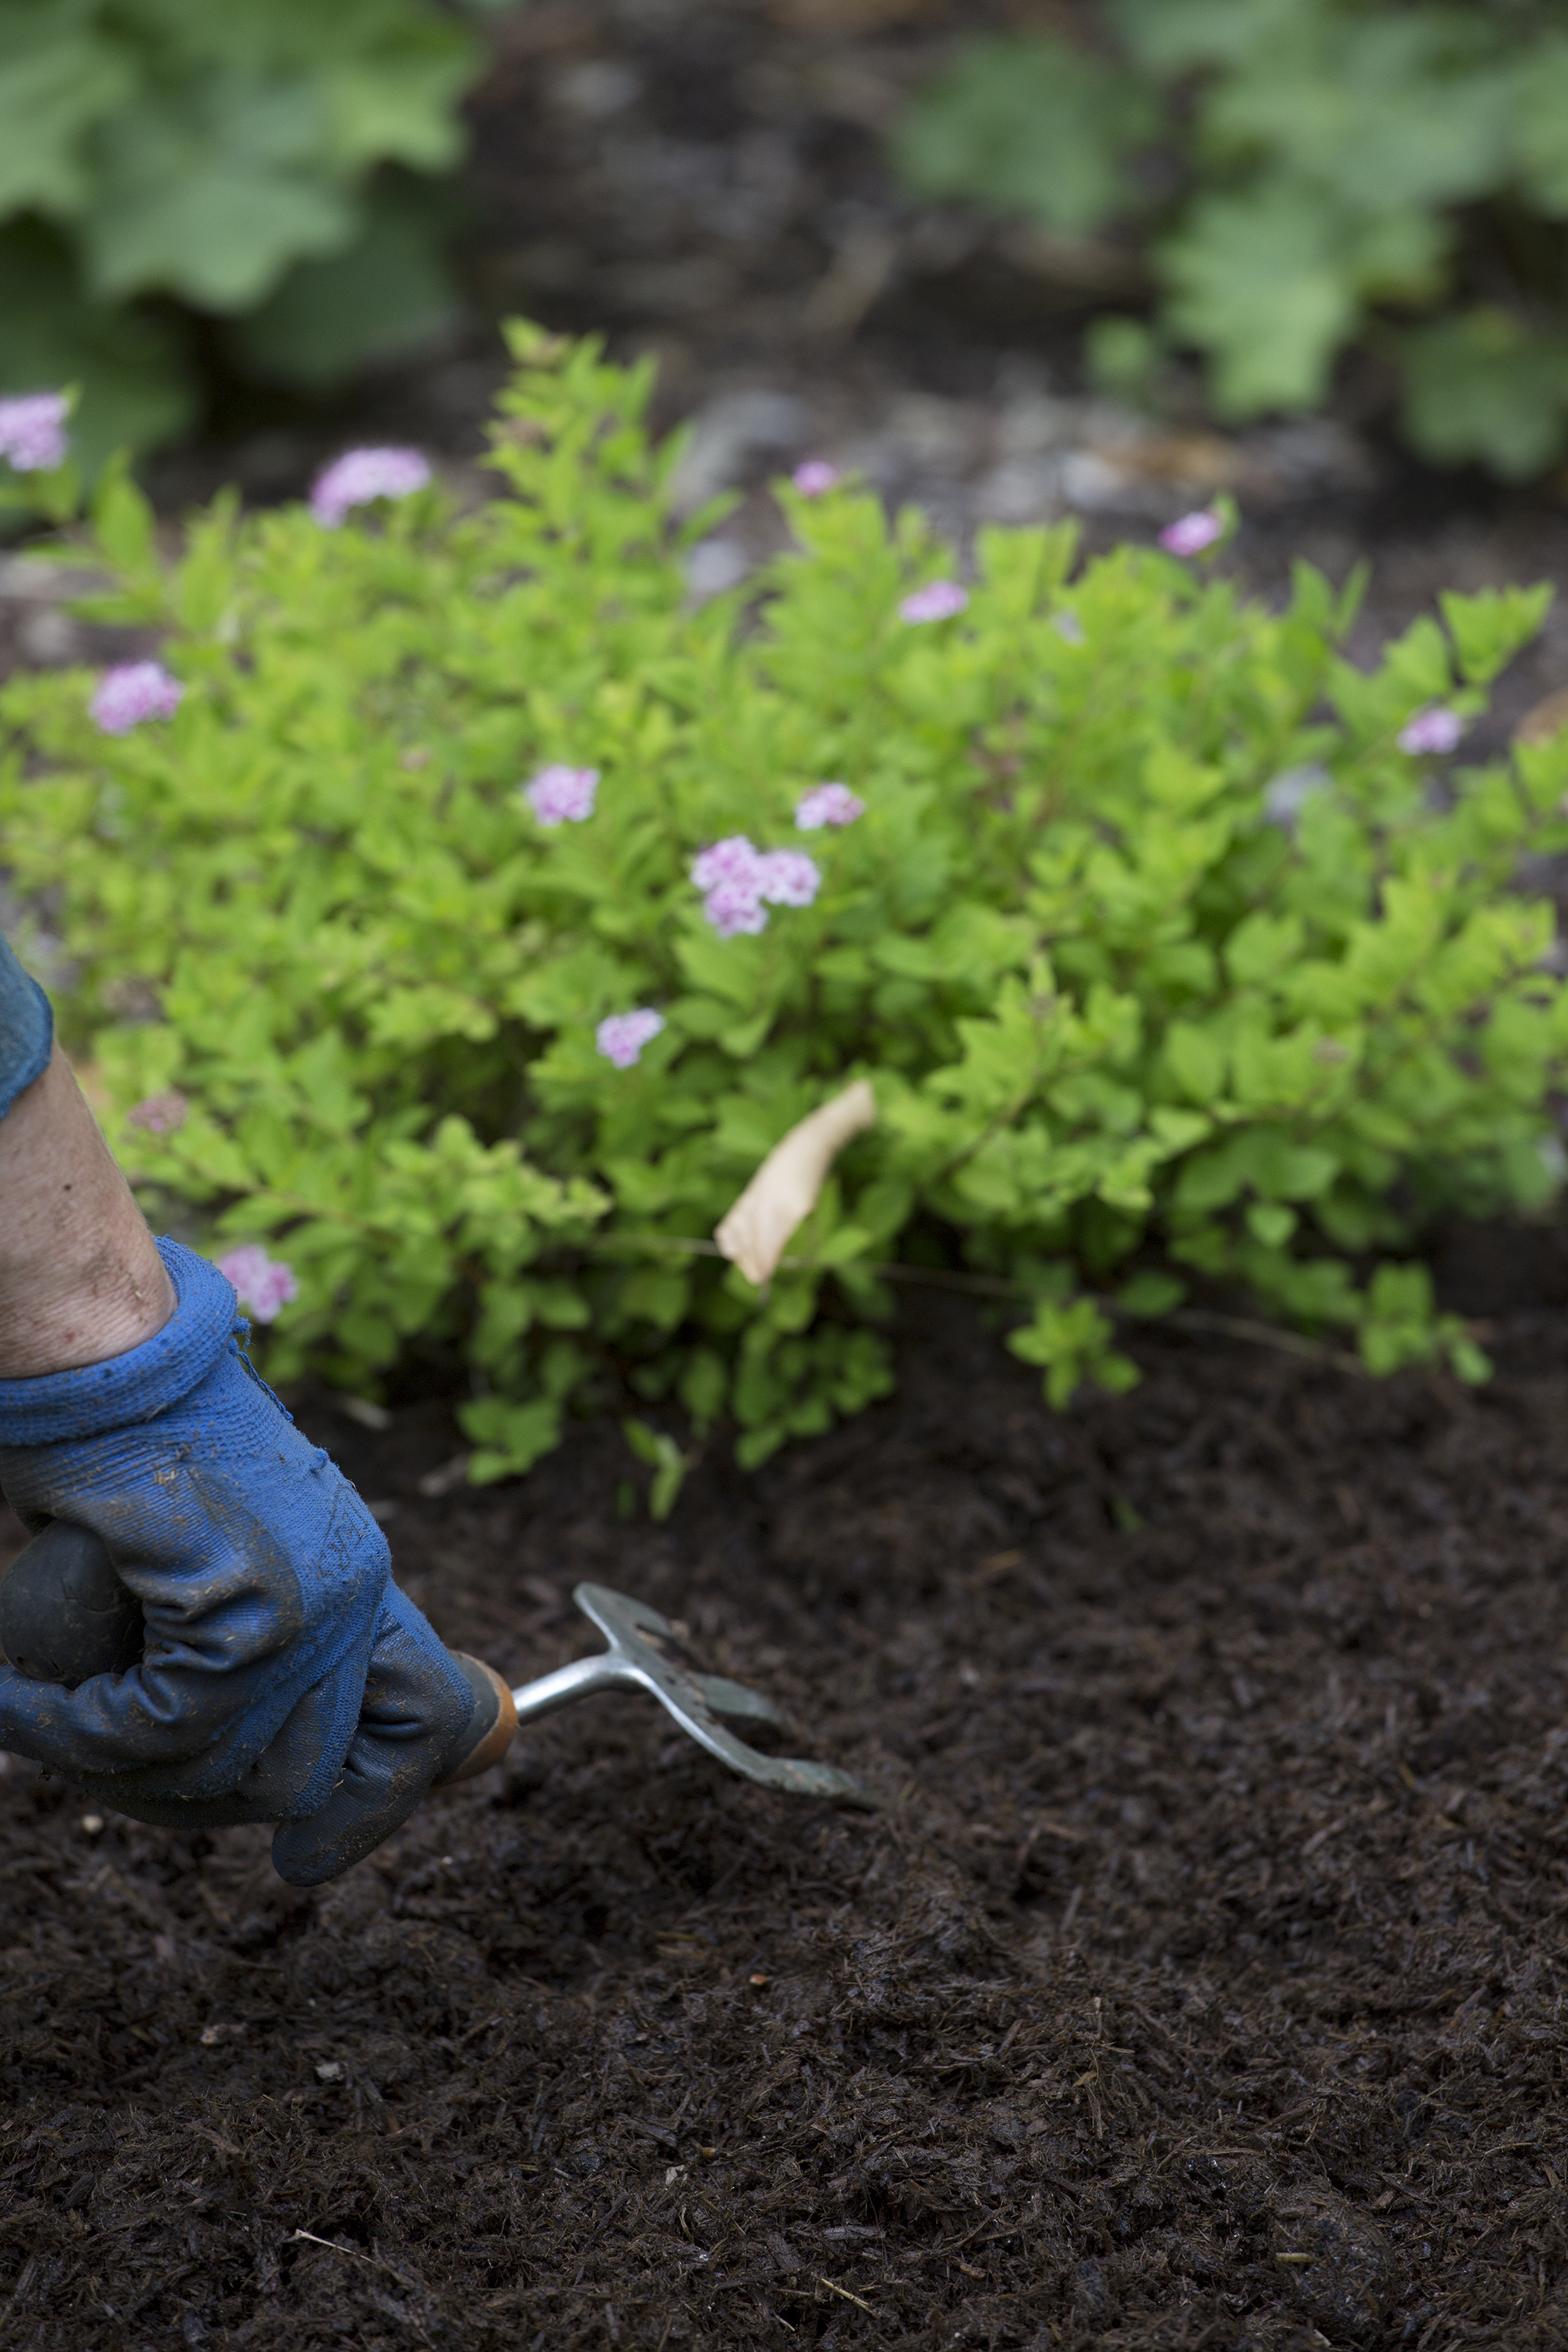
You should turn your compost every three to ten days when stored in a compost heap or bin. It is easy to turn your compost, simply use a pitchfork to lift the compost from the bottom to the top and vice versa.
If you have a rotating composter, this should be turned every three to four days.
What can I put in my composter?
'Things you can put in your composter include fruit waste and veg peelings, plant, grass cuttings and even teabags. These are quick to break down, providing moisture, as well as nitrogen, which is important. Other things to include are crushed eggshells, fallen leaves and cardboard egg boxes. Avoid putting certain perennial weeds in there, like dandelions, as well as any meat or dairy products,' recommends Jack Sutcliffe, Co-Founder of Power Sheds.
How long does it take for compost to break down?
On average it takes around six months for compost to break down. However, with a rotating composter it can take as a little as three weeks with the right climate (warm weather) and balance of carbon and nitrogen.
If you are hoping to become fully self sufficient in your compost then it is worth making several composters. If you have three composters you can have one for your waste; one that is actively composting; and one that it ready to use. You can then rotate these when empty or full to ensure a constant supply.

Having graduated with a first class degree in English Literature, Holly started her career as a features writer and sub-editor at Period Living magazine, Homes & Gardens' sister title. Working on Period Living brought with it insight into the complexities of owning and caring for period homes, from interior decorating through to choosing the right windows and the challenges of extending. This has led to a passion for traditional interiors, particularly the country-look. Writing for the Homes & Gardens website as a content editor, alongside regular features for Period Living and Country Homes & Interiors magazines, has enabled her to broaden her writing to incorporate her interests in gardening, wildlife and nature.