Want showstopping, brilliant blooms? An ex-flower farmer shares the secrets to growing perfect dahlias, zinnias and cosmos
Expert advice on growing cut flowers to brighten up your home

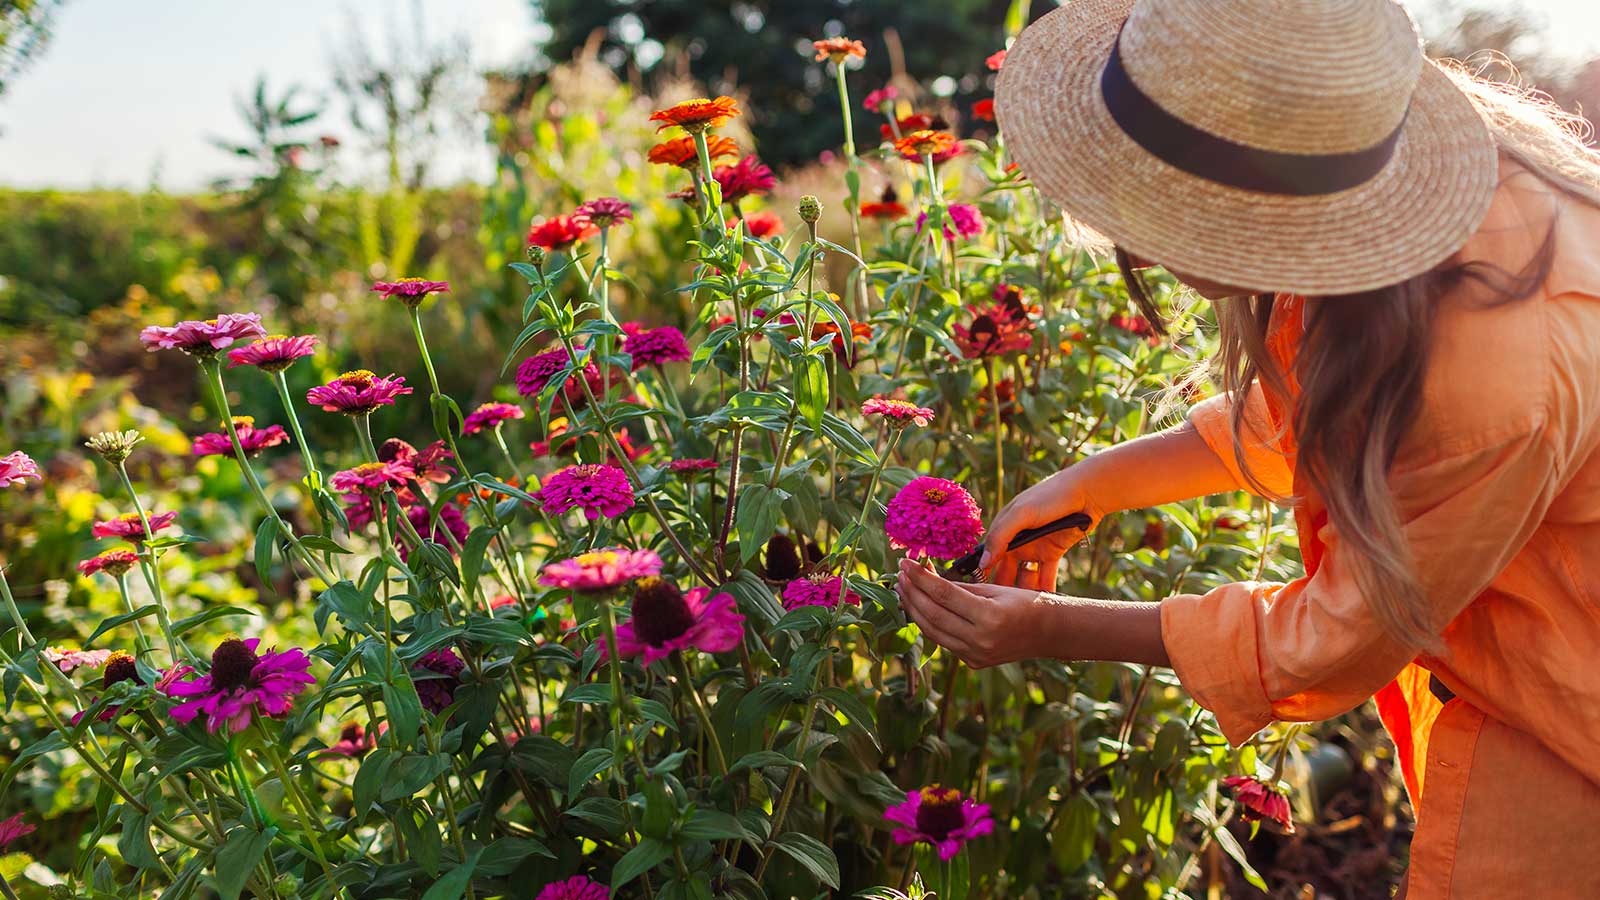
I’ve been lucky enough that my horticultural career has been wide and varied. From maintaining high-end private gardens to managing therapeutic and community spaces, I’ve also experienced the joy of growing cut flowers commercially.
Flower farming, grown almost totally from seed, taught me many valuable lessons and skills that I am more than happy to share. From choosing the best varieties to preventing leggy seedlings, here are my lessons from a flower farmer to help ensure your flower growing is a success.
So, whether you are growing a few flowers in containers or want to turn some of your backyard over to cultivation so you can adorn your home with cut flowers all season long, our helpful guide compiled by horticultural experts on planning a cut flower garden is full of advice and inspiration.
Lessons from a flower farmer
As any flower farmer will tell you, growing cut flowers commercially is unfortunately not just about picking and arranging beautiful blooms and photographing them for Instagram.
To get to that point, the amount of preparation, planning, manual labor and deep disappointment over species failures is surprisingly large.
That being said, growing flowers is one of life’s great pleasures and I’m not sure anything beats seeing the joy in a client’s or friend's face when you hand over a stunning bouquet that you have grown yourself.
Only grow what you love
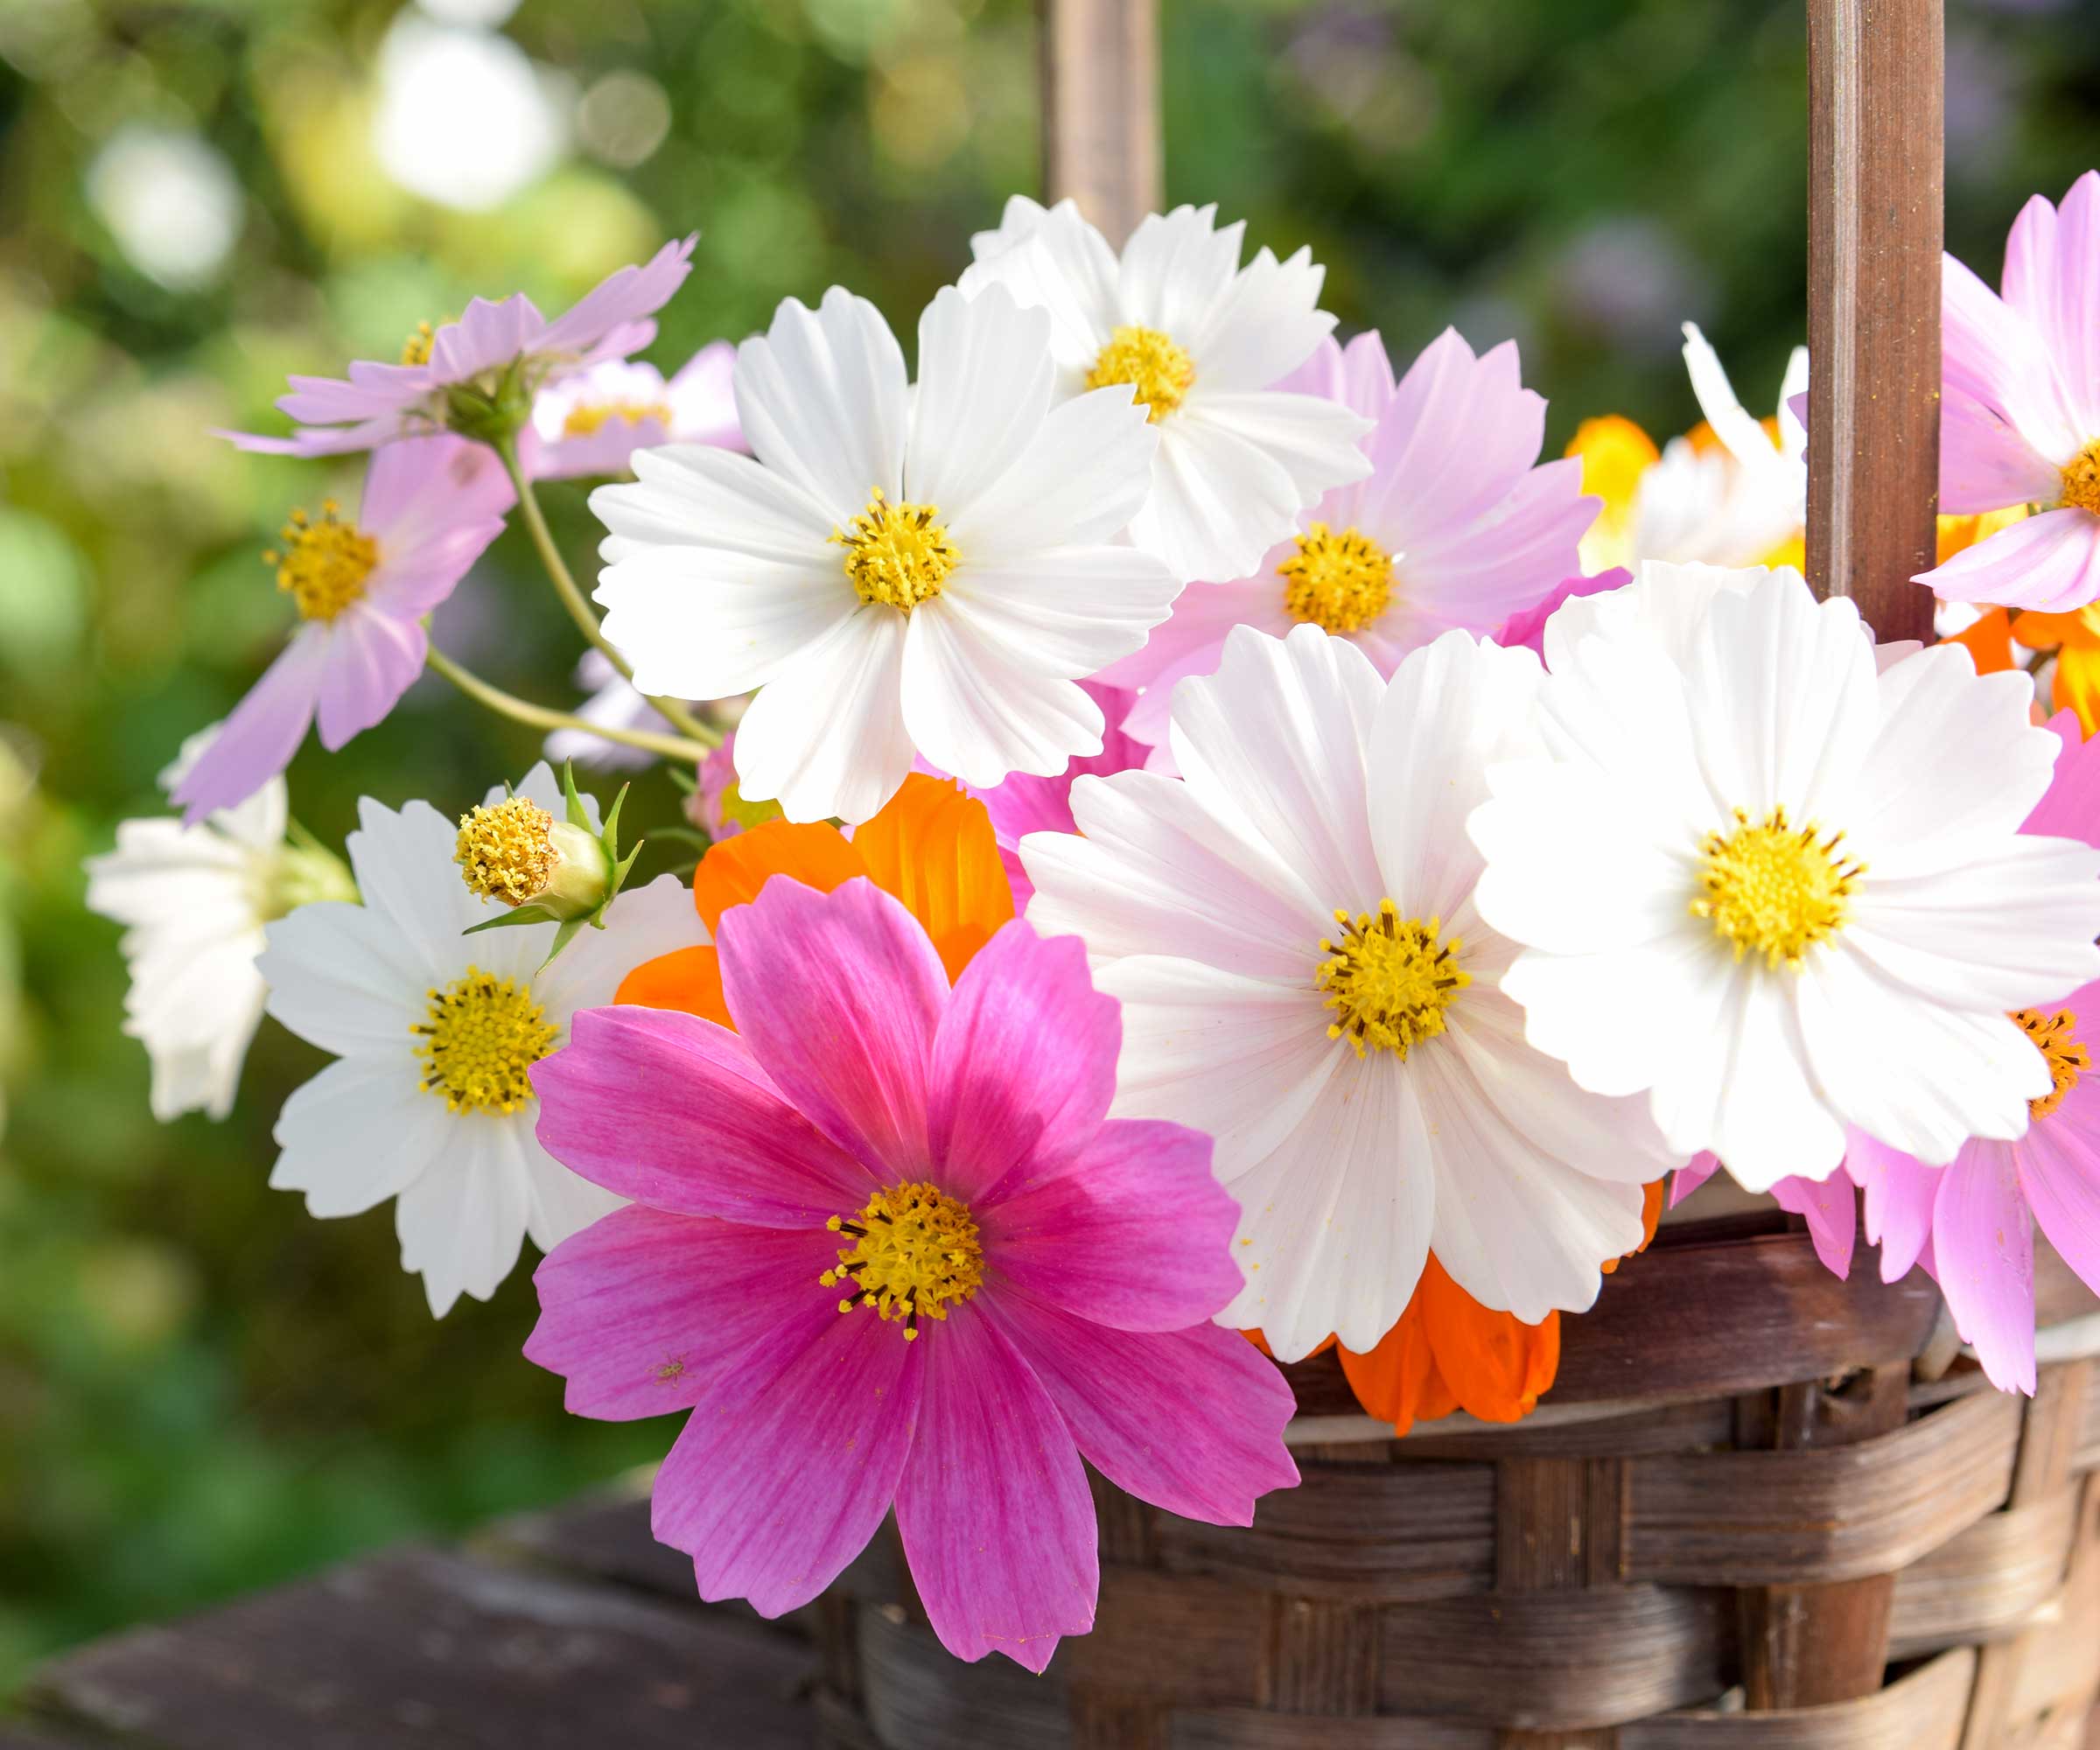
It may seem obvious, but perhaps one of the biggest lessons I learnt when flower farming was to only grow what you love.
Design expertise in your inbox – from inspiring decorating ideas and beautiful celebrity homes to practical gardening advice and shopping round-ups.
Flowers are a very personal choice and unless you adore the varieties you choose to grow, then you may well end up resenting the time spent watering, fertilizing and deadheading them.
If you are growing cut flowers commercially, there is obviously a case for growing what sells well, but considering how much of your heart and soul is poured into growing them, to me, at a domestic level, it makes sense only to grow the flowers you love.
For the flower farm, that meant finding the happy medium of growing flowers like Cosmos bipinnatus ‘Purity’, Queen Anne's lace (Daucus carota) and Antirrhinum majus 'Madame Butterfly Bronze', which I, the florists and our customers adored.
Cosmos seeds are available via Amazon.
It’s all about the soil
I was lucky enough to be able to use a beautiful walled garden on the south coast of England to grow my cut flowers.
A site roughly half an acre in size, most of which required intensive preparation to get it ready for the first season.
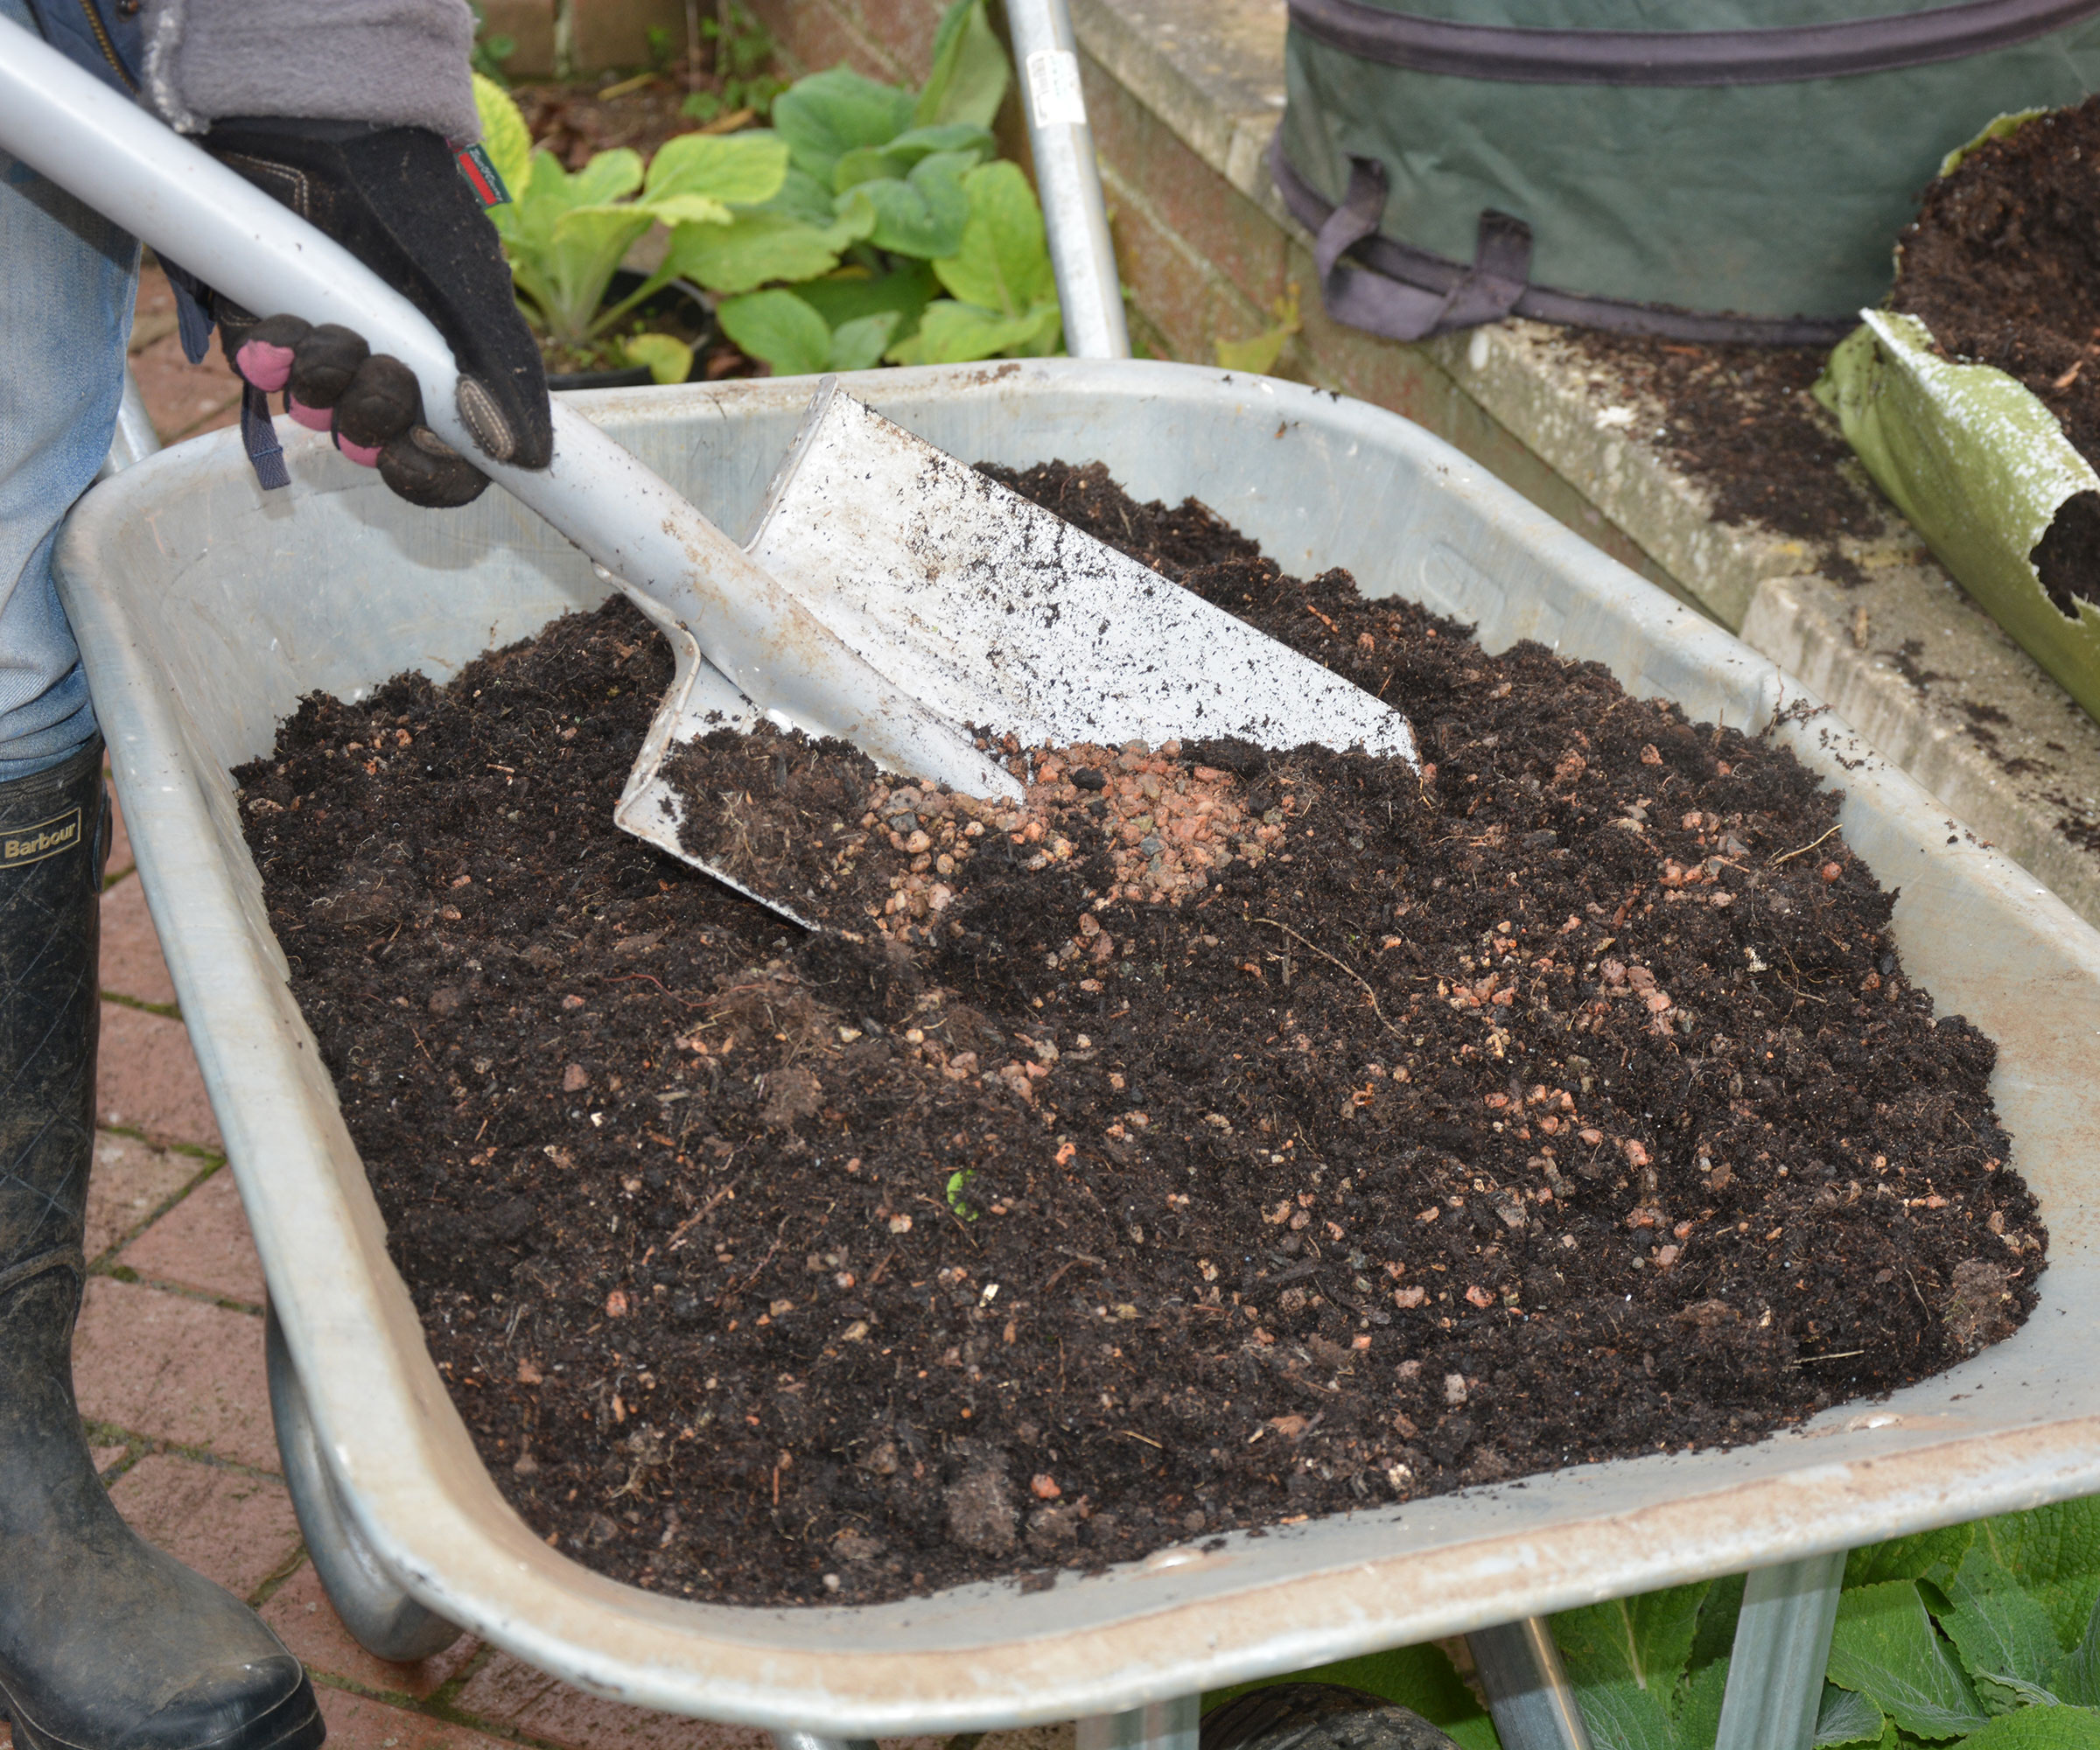
Following no-dig principles, yards upon yards of weed membrane were laid out to suppress the weeds before mulching with a thick layer of well-rotted manure and garden compost to boost the soil’s fertility and structure.
Lugging wheelbarrows for hours on end in the October rain was certainly not glamorous, but I know that the soil preparation was key to everything growing so well the following year and making the yields so high.
Before you begin a cut flower patch, you can test the soil using a soil meter such as this Garden Tutor Soil pH Test Kit from Amazon, which will indicate whether the soil is acidic, neutral, or alkaline and which plants will grow best in that area.
Ericaceous soil can be limiting for cut flower growing, and if tests show that your soil is acidic, you may want to choose to install raised beds filled with a more neutral growing medium to grow cut flowers more successfully.
Lighting
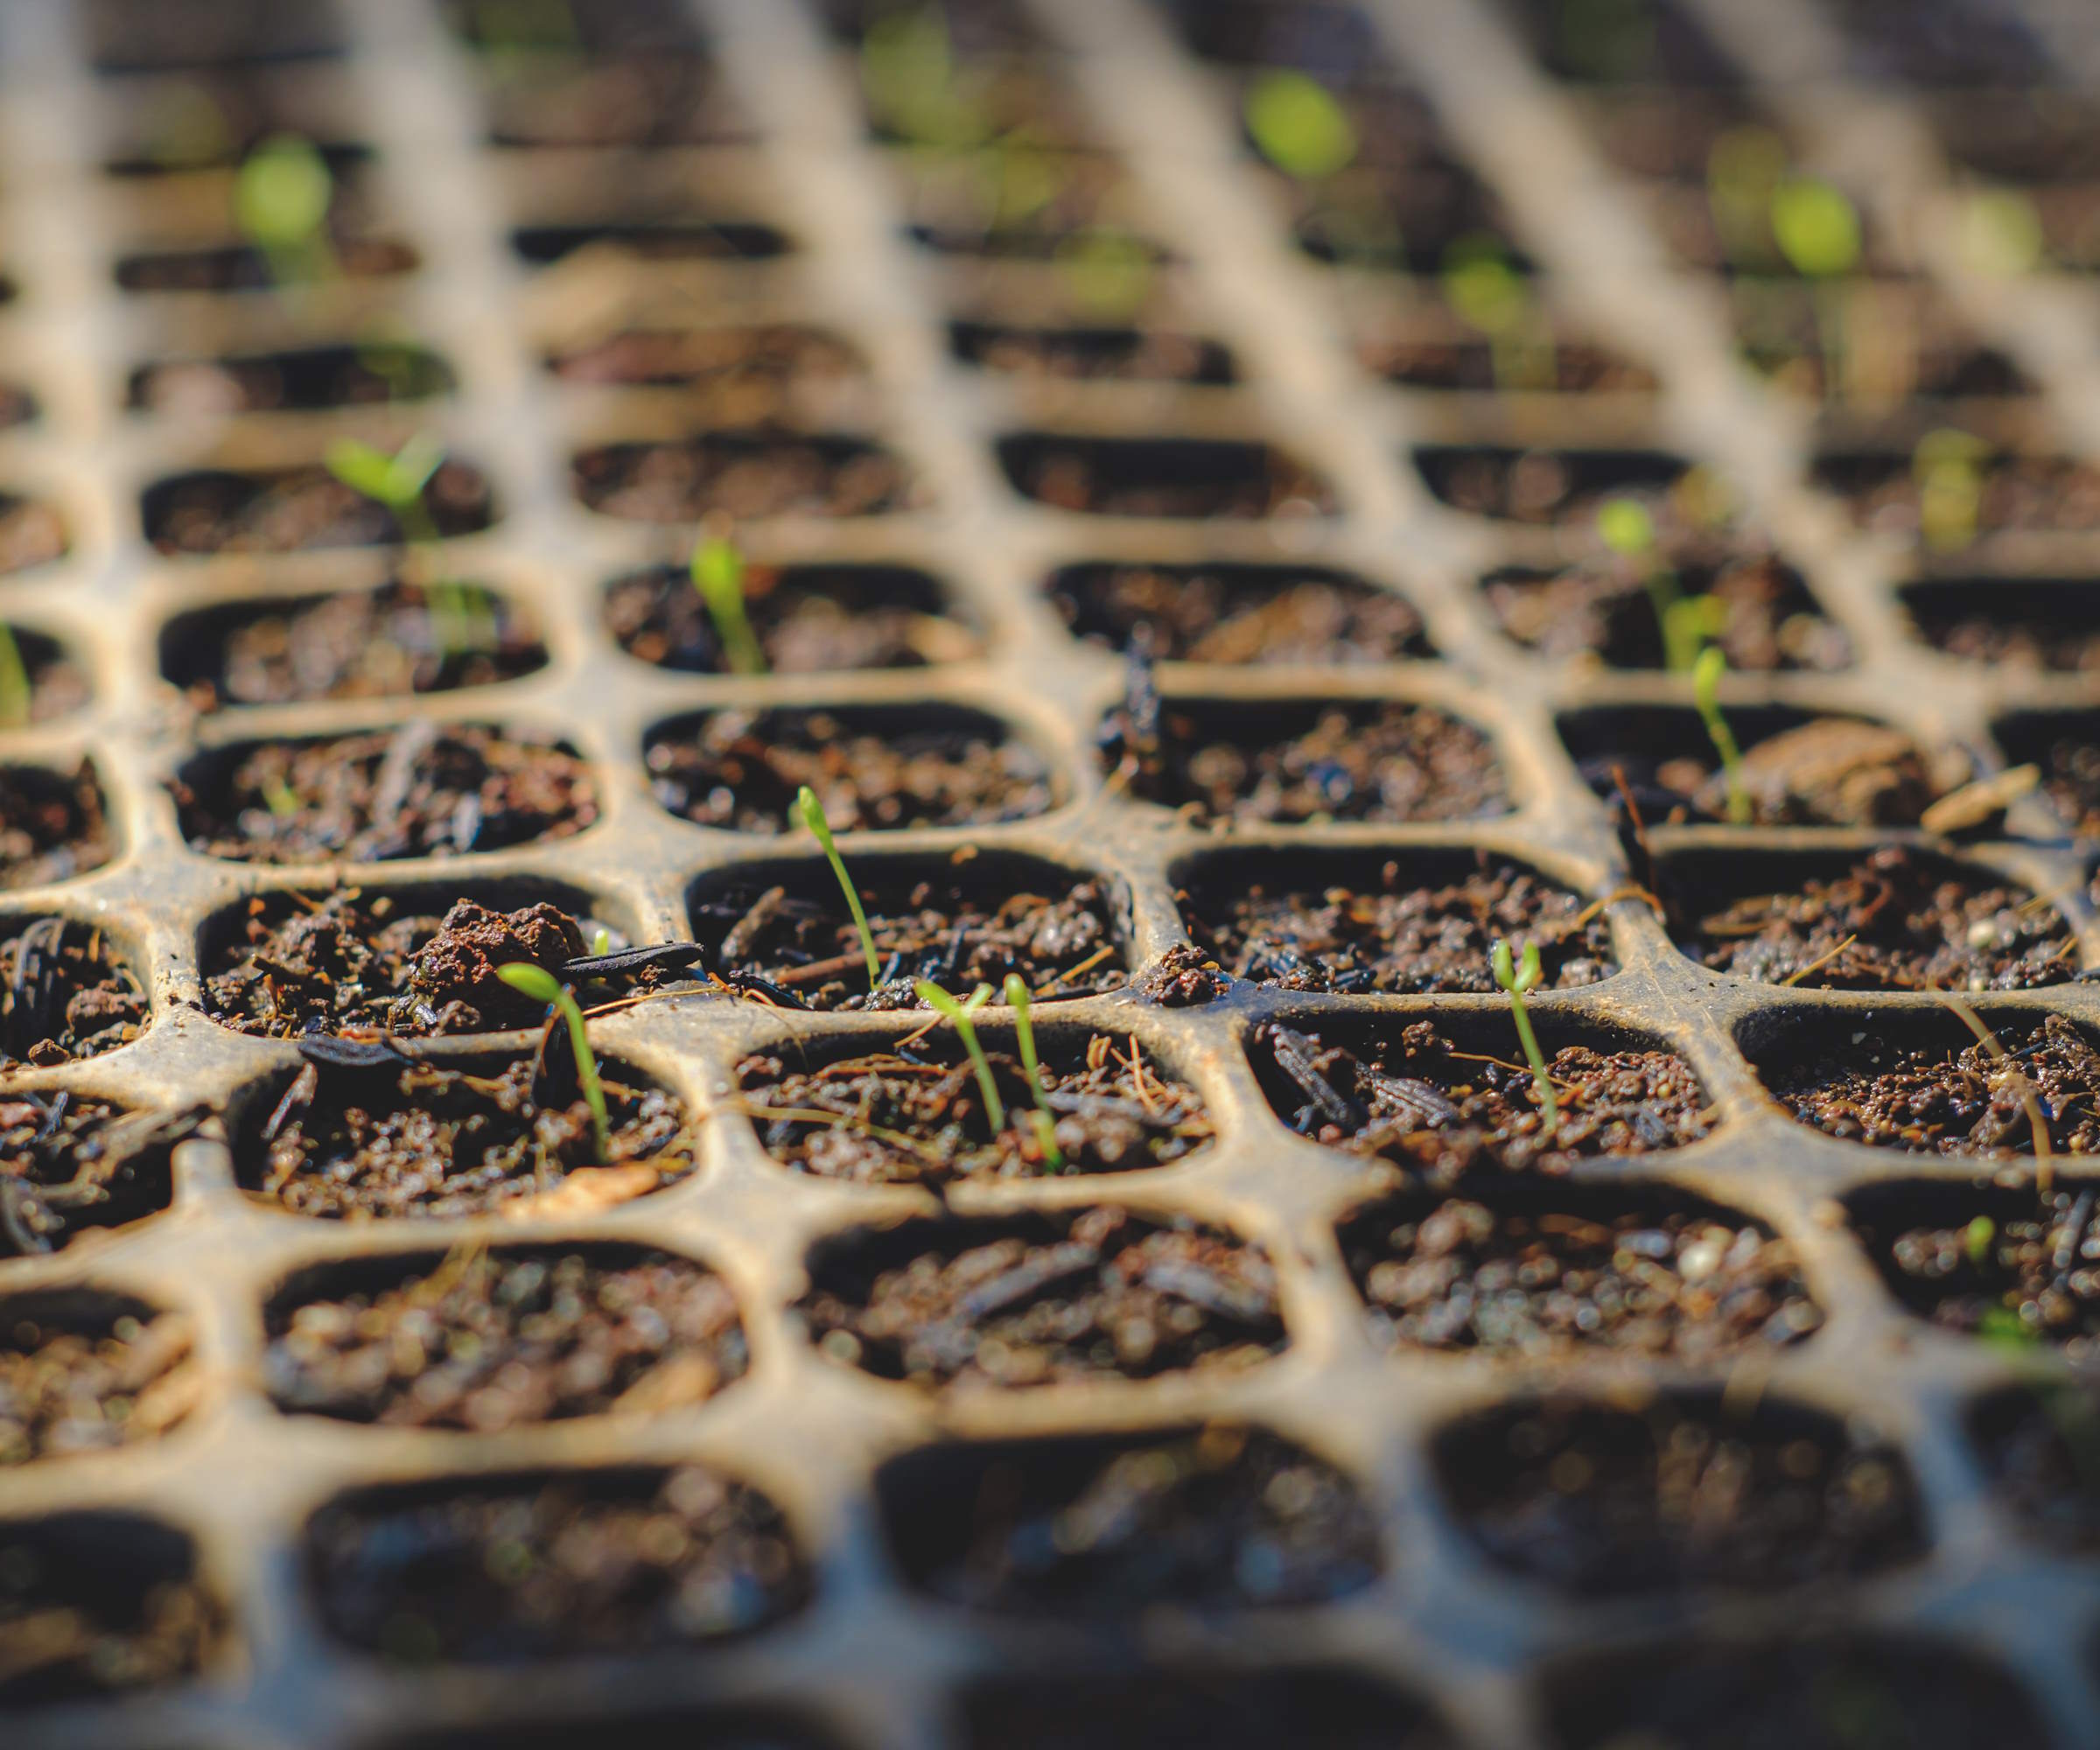
Having previously grown ornamentals and vegetables from seed in glasshouses for over two decades, I was aware of the importance of light required at the germination stage to prevent leggy seedlings.
However, it was not until I invested in LED grow lights that I understood what a difference they could make, especially in late winter.
Producing healthier and stockier young plants that could be planted out sooner was a game-changer, and this, along with only sowing seeds without grow lights when the longer days arrived, with enough daylight hours to support vigorous growth, meant they were robust enough to handle any slug damage when planted out.
However, focusing mainly on the soil preparation and sales outlets in the first year, I foolishly gave too little thought to the plants' final planting position.
Being short of space and desperate to get the young plants in the ground after hardening them off, I did not take into account how tall each plant row would get and if some plants would be overshadowed by others.
Unfortunately, the rows of multi-stemmed sunflowers (Helianthus) and bishop’s flower (Ammi majus) grew so well and tall that they shaded out the shorter lace flowers (Orlaya grandiflora) and snapdragons (Antirrhinum), causing them to produce fewer blooms. It was a costly but valuable lesson that reminded me of the importance of giving more thought to where things should be planted before doing so.
Supporting plants
As a flower farmer, you are often up against the weather. Hot dry summers one year and endless gales and rain the next taught me to prepare for every eventuality.
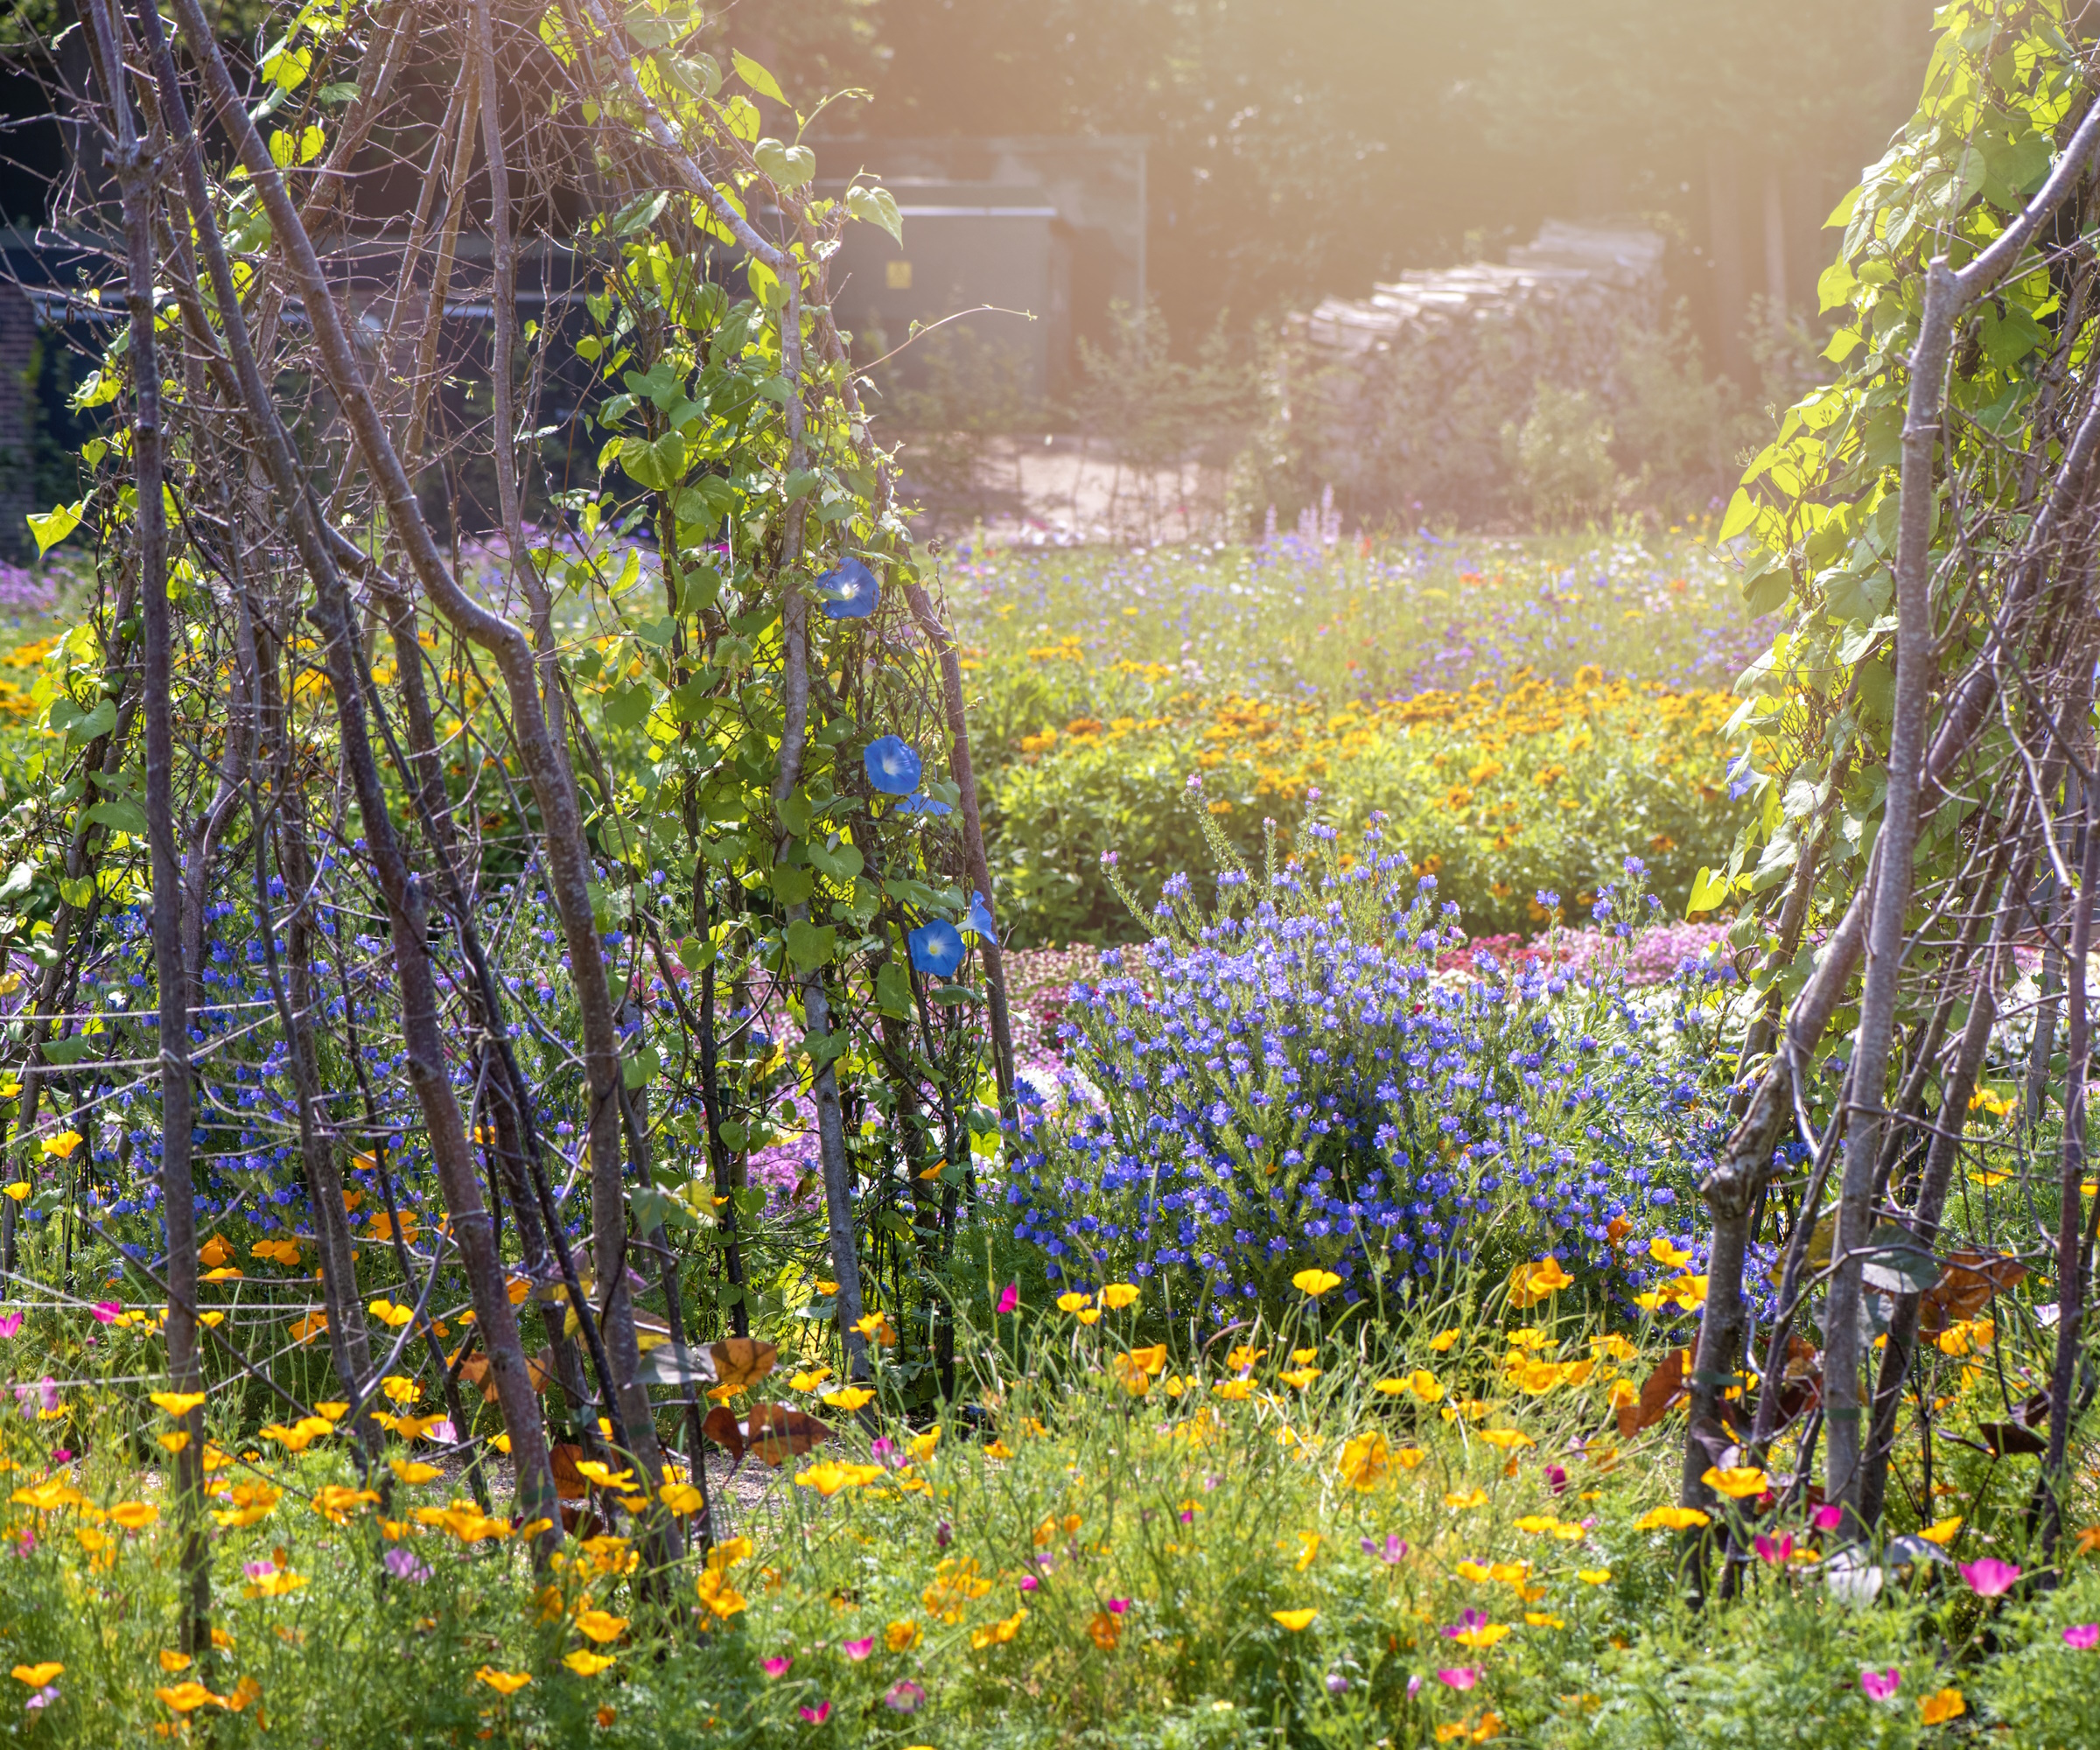
However, it was only through the insistence of a fellow flower farmer that I escaped near-entire crop failures due to high winds. Thinking the flowers would be safe and protected within the confines of the walled garden, I originally did not think too much about staking all but the tallest varieties.
Thankfully, though I was advised to support almost every plant using netting that would last for years to come, such as this Tenax Hortonova Plant Trellis Net from Amazon.
Attached to wooden stakes and laid horizontally along the plant rows at height intervals of 18 inches before the plants grew meant that the precious flower stems were supported and survived unseasonally high summer winds that would have otherwise damaged the flowers.
With changing weather patterns, staking plants, whether using the method above or by installing bamboo canes or metal plant supports such as this Eberns Design Plant Support Stake available from Wayfair, can help prevent broken stems or flopping plants come unfavourable weather and keep plants looking their best.
Having gardened professionally for almost two decades, I already knew how crucial watering plants correctly is for them to thrive.
However, it was not until I realised how laborious watering the site by hand was going to be that I installed a drip irrigation system, such as this Dripworks Drip Tape Irrigation Kit available from Amazon.
Even though it was an initial investment, the system proved sustainable and saved me countless hours and watered the plants more efficiently, directly to their roots. Furthermore, using a timer meant that it could be set to automatically irrigate the plants first thing in the morning when the chance of evaporation and water loss was at its lowest.
Deadheading
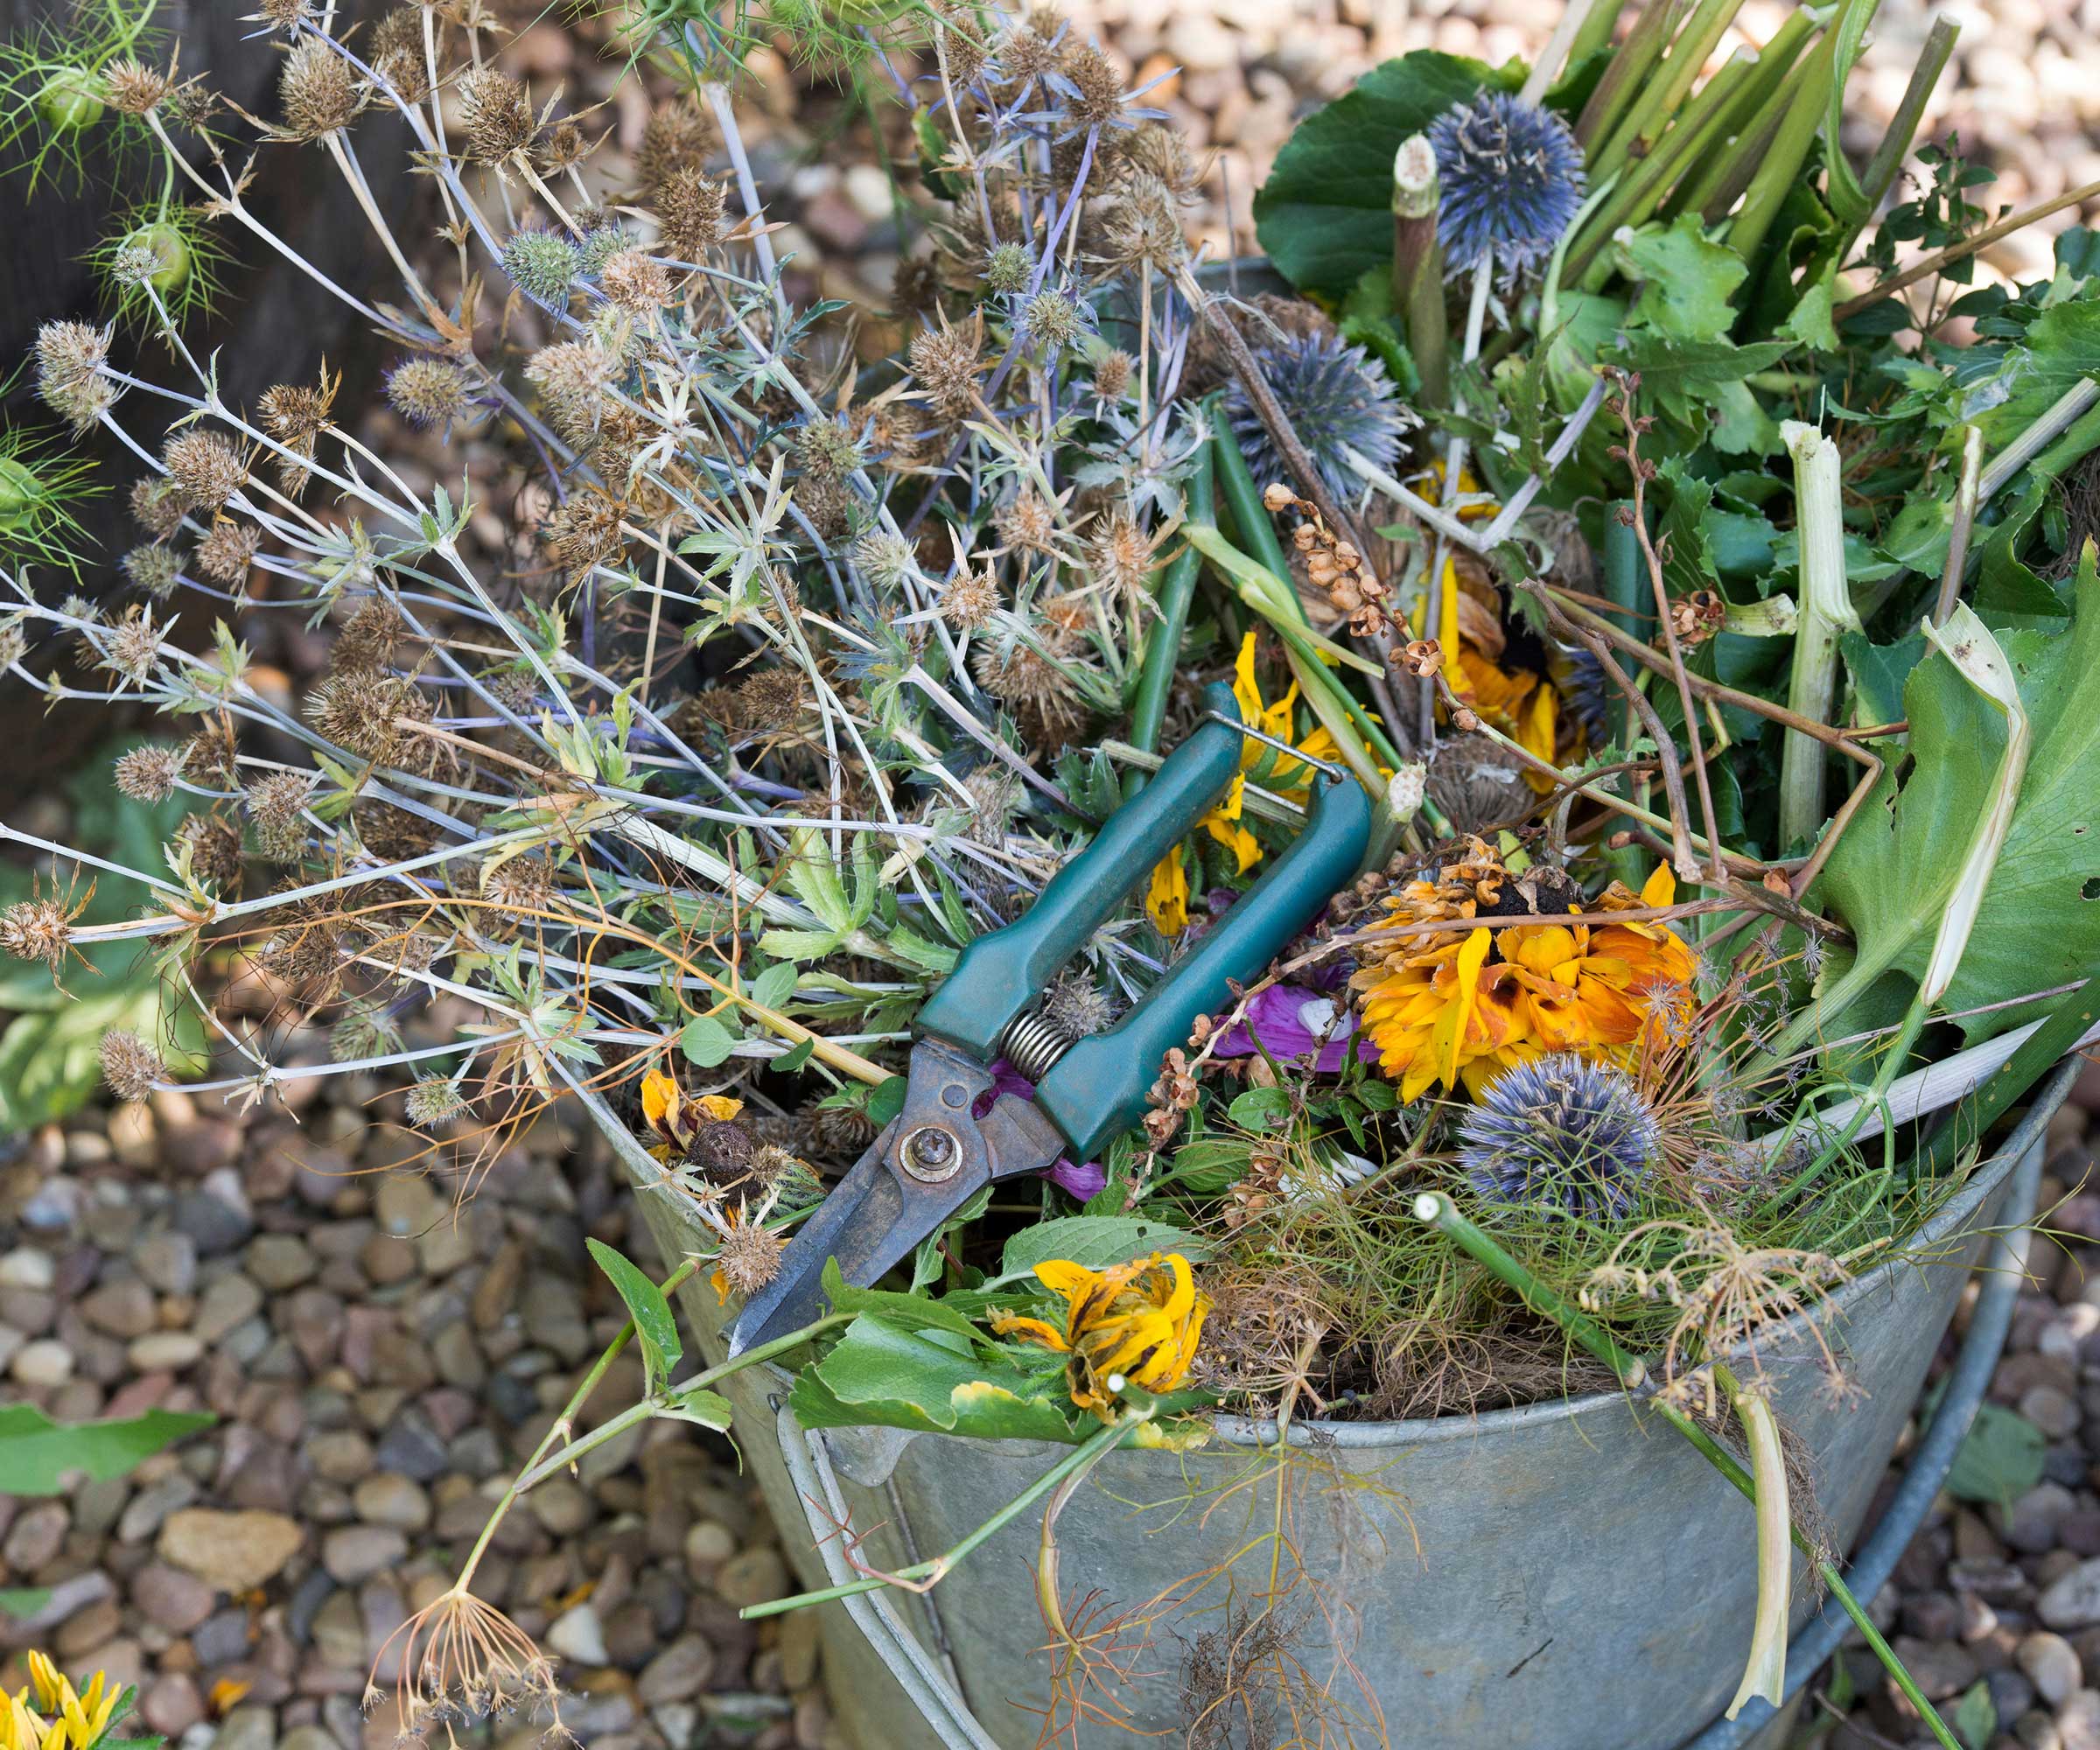
Along with the correct fertilization and irrigation of flowering plants, deadheading each variety correctly is key to stopping your flowering plants from going to seed and a subsequent lack of blooms.
With hundreds of flowering plants to look after, deadheading quickly went from being a short task in early summer to a lengthy chore when everything came into bloom.
Managing this task with a little and often approach, along with calling in extra hands to help, made it all feasible, but I was astounded by how many hours it required that first year.
It was also surprising how quickly pruners became blunt and how a wrong-fitting pair could cause hand blisters.
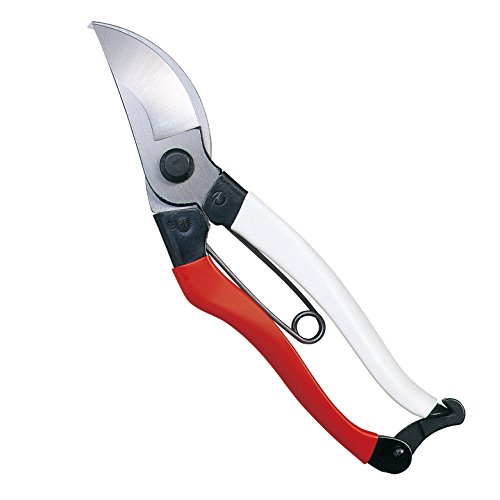
Sharpening pruners regularly and using quality tools such as these Felco F-12 Pruning Shears available from Amazon, thankfully, made a big difference.
Working at the flower farm at the right time of day also made deadheading and harvesting the stems more manageable. Avoiding the strong sun in the middle of the day meant early mornings and later evenings, but this was also beneficial for the cut flowers as it meant they had a longer vase life.
Harvesting cut flowers early in the morning when they are most hydrated and plunging them immediately into a bucket of water can make all the difference when it comes to their longevity.
However, if you are unable to pick your cut flowers first thing, the next best time is after the sun sets, when the plants have recovered from the heat of the day.
Although non-essential, fertilizing cut flowers can encourage new blooms, especially for cut and come again varieties. Organic, synthetic and DIY versions are all available and you can find further advice in our specialist article on do cut beds need fertilizing.
Long-lasting and very much on trend, dried flowers can also be incorporated into a cut flower patch. For some inspiration on what to grow and to enjoy your flowers even after the growing season has finished, here are the 9 best flowers to grow for drying.
Shop flower growing kit
Edward Bowring is a horticultural therapist and writer with a passion for gardening and the health benefits that it has to offer. With a background in occupational therapy, Edward worked within health care settings where he witnessed first-hand the healing power of gardening and has managed and run therapeutic kitchen and community gardens ever since.

