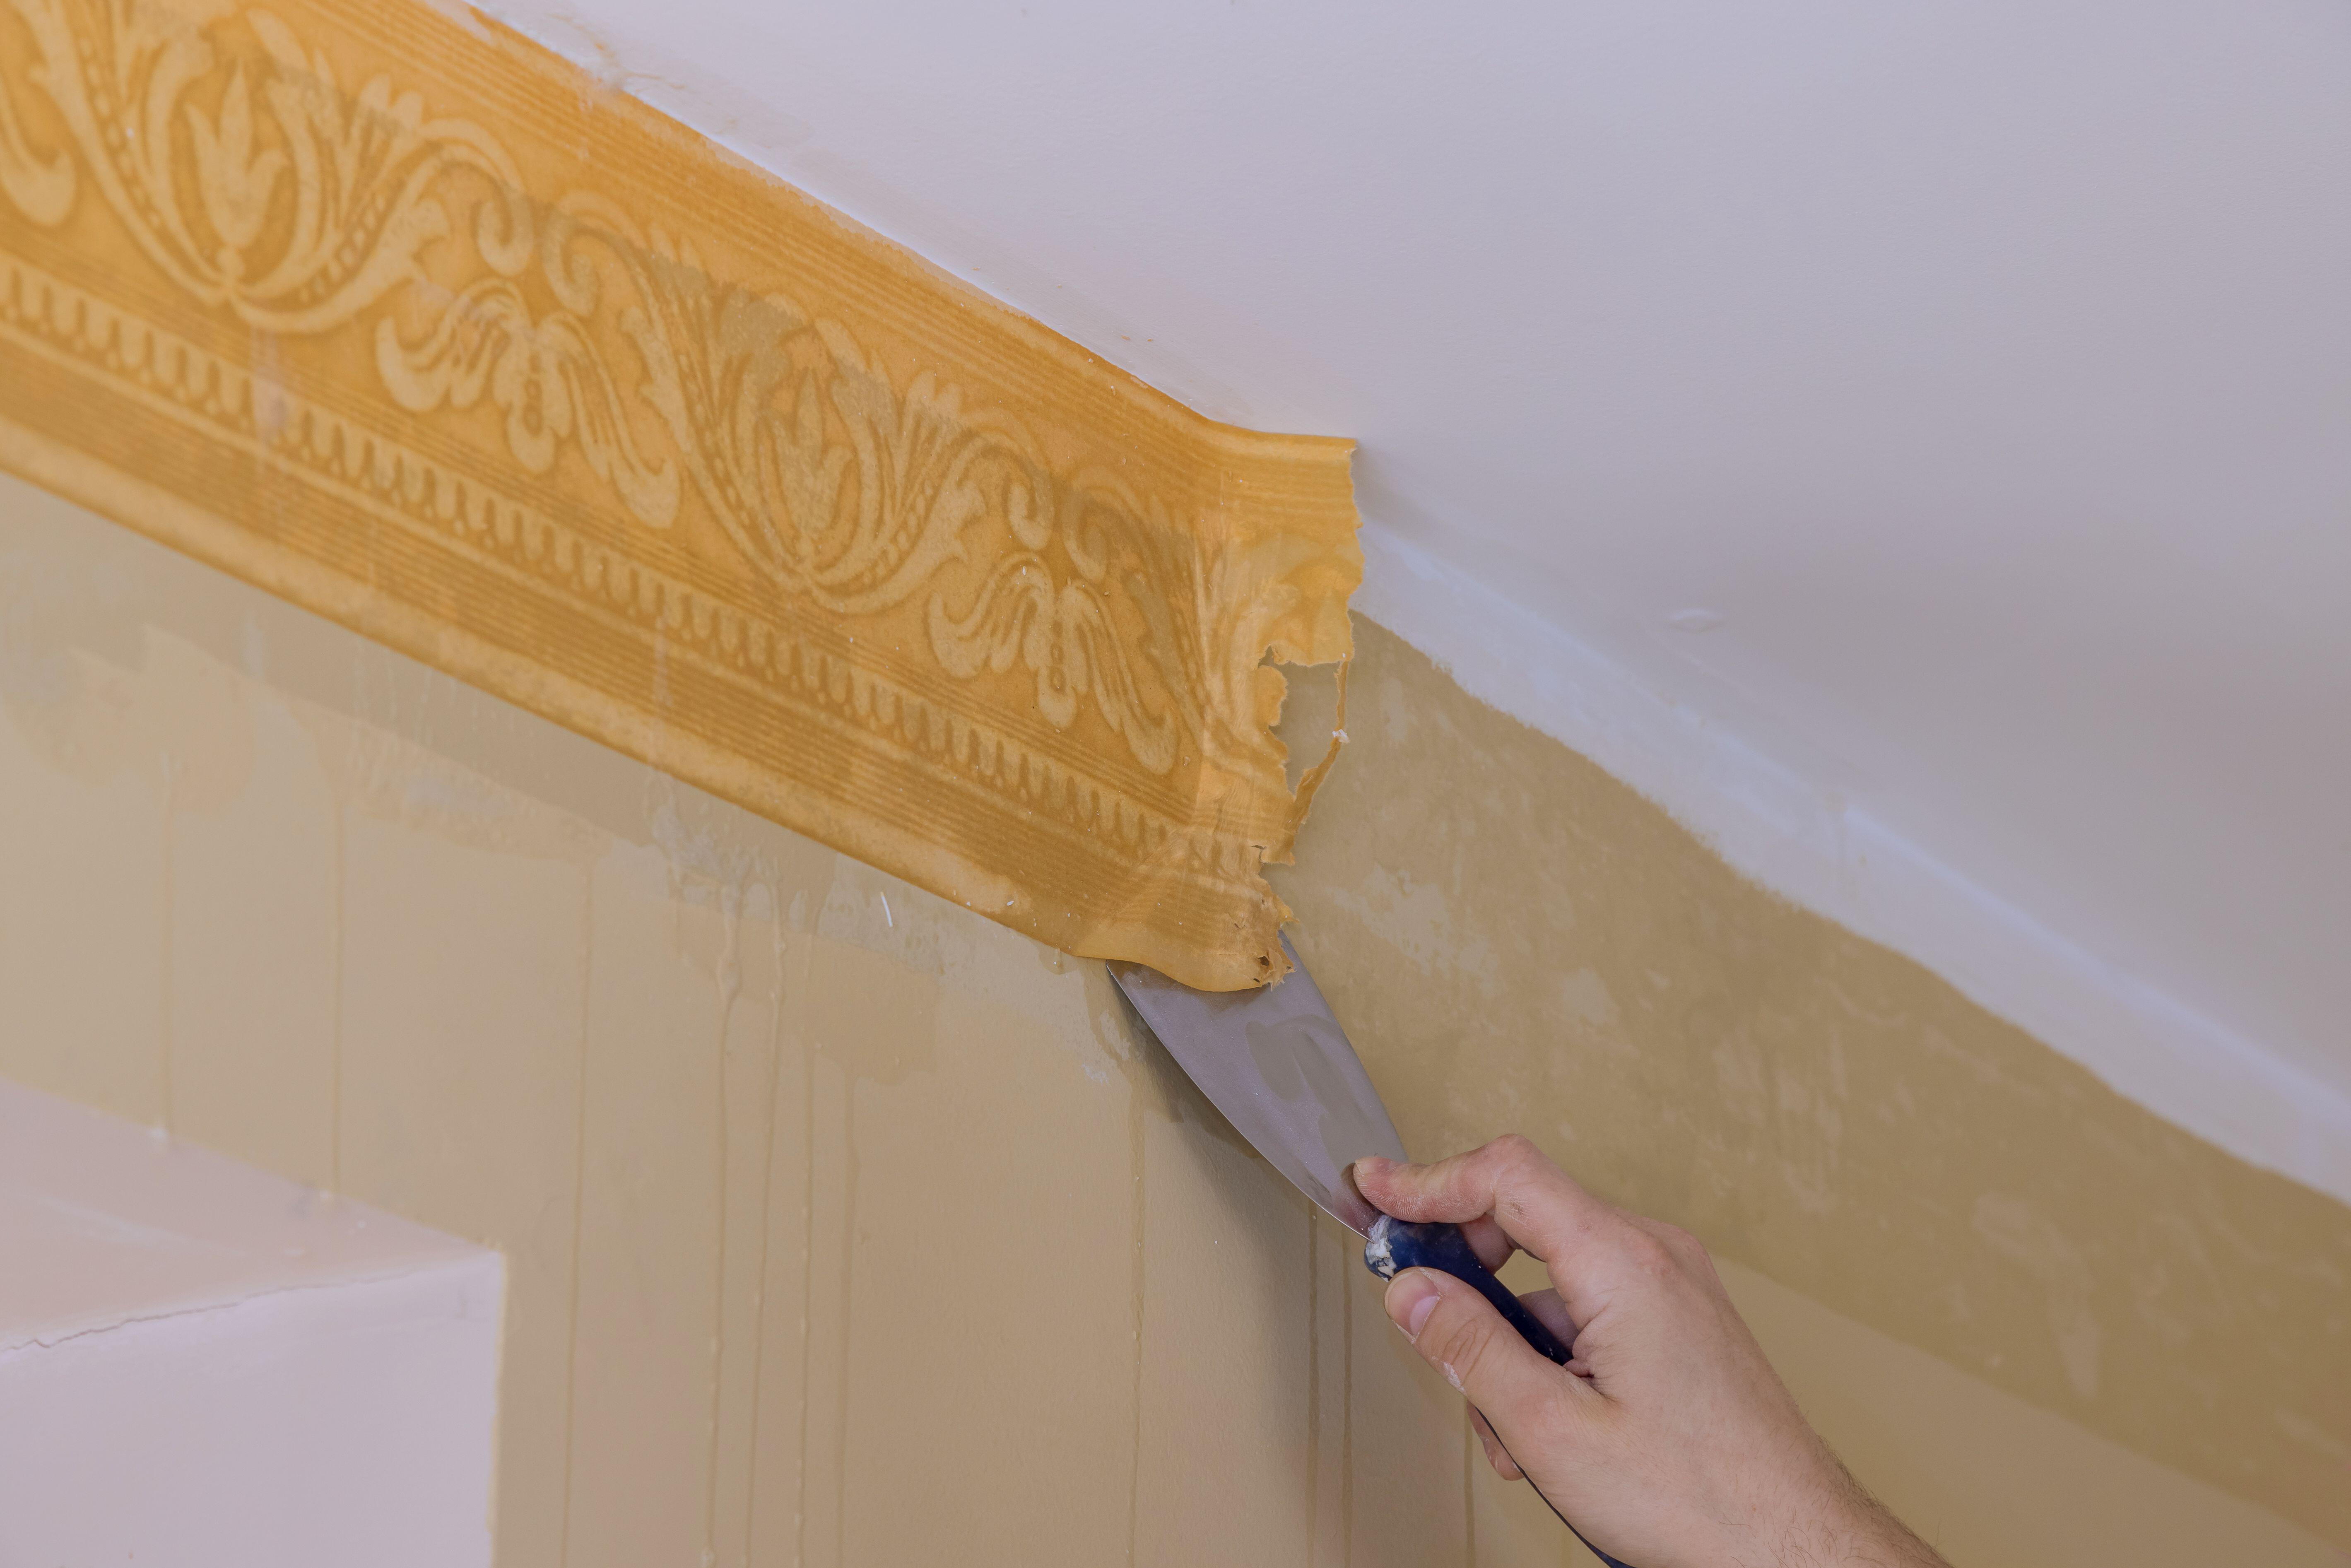
How to remove a wallpaper border
Here’s how to remove a wallpaper border the easy way


It might be time for you to learn how to remove a wallpaper border. Hugely popular in the 1980s and 1990s, wallpaper borders were used to break up empty wall space. And while there are some stunning new border designs that can elevate your interior into something truly unique, it’s a trend that has fallen by the wayside of late.
So if you are looking to remove your wallpaper, and in particular to remove a wallpaper border, there are some top tricks you can use to make the job quicker and easier.
How to remove a wallpaper border
Unless you’re planning to paint over wallpaper, before selecting a new design for wallpapering a room, the old wallpaper border needs to be removed.
‘The best way to remove a wallpaper border is to get the wallpaper damp with a sponge and let it soak,’ advises James Greenwood, paint and wallpaper expert at Graham & Brown. ‘Wet the paper again if needed and then use a scraper to remove the corner of the paper. Once you have an edge, gently pull away the paper, trying to work in as large pieces as you can.’
Martha Stewart recommends using a wallpaper steamer to speed up the process. Be aware however, that the steamer will drip hot water so always wear protective gloves, goggles and clothing.
Your wallpaper border may have been applied to a wallpapered wall or a painted surface so the key is to try and take it off without damaging the décor beneath. Set aside a weekend when you can complete the process without interruption. Get all your tools ready and wear appropriate clothing.
Below, we tell you how to remove a wallpaper border in the simplest way possible.
Design expertise in your inbox – from inspiring decorating ideas and beautiful celebrity homes to practical gardening advice and shopping round-ups.
You will need:
- A plastic sheet to protect flooring and furniture
- A spray bottle
- A wallpaper scraper or putty knife
- A bucket and sponge
1. Prepare the space
Start by moving all the furniture and any other pieces into the middle of the room and cover with a plastic sheet to protect them.
2. Wet the wallpaper border
Fill an empty, clean spray bottle with warm water and spray the border so that it becomes slightly damp. After 10 minutes, the glue holding the border in place should start to loosen.
3. Start to remove the wallpaper border
Take a wallpaper scraper tool or putty knife and insert under an edge of the border then pull the paper back slowly and gently.
Any hard to lift areas can simply be sprayed again then repeat the step above.
When you manage to get a large section peeling away, lift it off slowly with a steady and even pressure. You can always slide the scraper or putty knife under the paper as you pull away.
4. Clean the wall
Once it’s all been removed, wipe the wall with a clean sponge and hot soapy water to ensure all the glue residue has gone then leave to dry.
How to remove a wallpaper border with fabric softener
Another trick is to mix equal parts water and fabric softener in a spray bottle, shake and spray onto the wallpaper border. Allow to soak into the wallpaper border before carefully peeling it away from the wall.
How to use vinegar to remove a wallpaper border
You can also make your own natural wallpaper border remover with distilled white vinegar. Mix it equally with water in a spray bottle, shake well and spray onto the wallpaper border. Allow to soak into the wallpaper border before carefully peeling it away from the wall.
How to remove a wallpaper border with a heat gun or steamer
If you’re really struggling or if the wallpaper border is applied to a painted wall, use a wallpaper steamer or heat gun to melt the glue then use your scraper or putty knife and peel back the border in slow, steady movements. Sometimes even a hairdryer does the trick! Always wear protective goggles, gloves and clothing if using a steamer or heat gun and keep out of children’s reach.

Hayley is an interiors journalist, content provider and copywriter with 26 years experience who has contributed to a wide range of consumer magazines, trade titles, newspapers, blogs and online content. Specialising in kitchens and bathrooms, she has twice won the CEDIA Award for Best Technology feature. Hayley writes for H&G about kitchens, bathrooms, cleaning, DIY and organizing.