How to install vinyl plank flooring – 9 steps to quickly revive your floors with this simple and affordable DIY project
You will need a picnh of patience, however, experts reveal

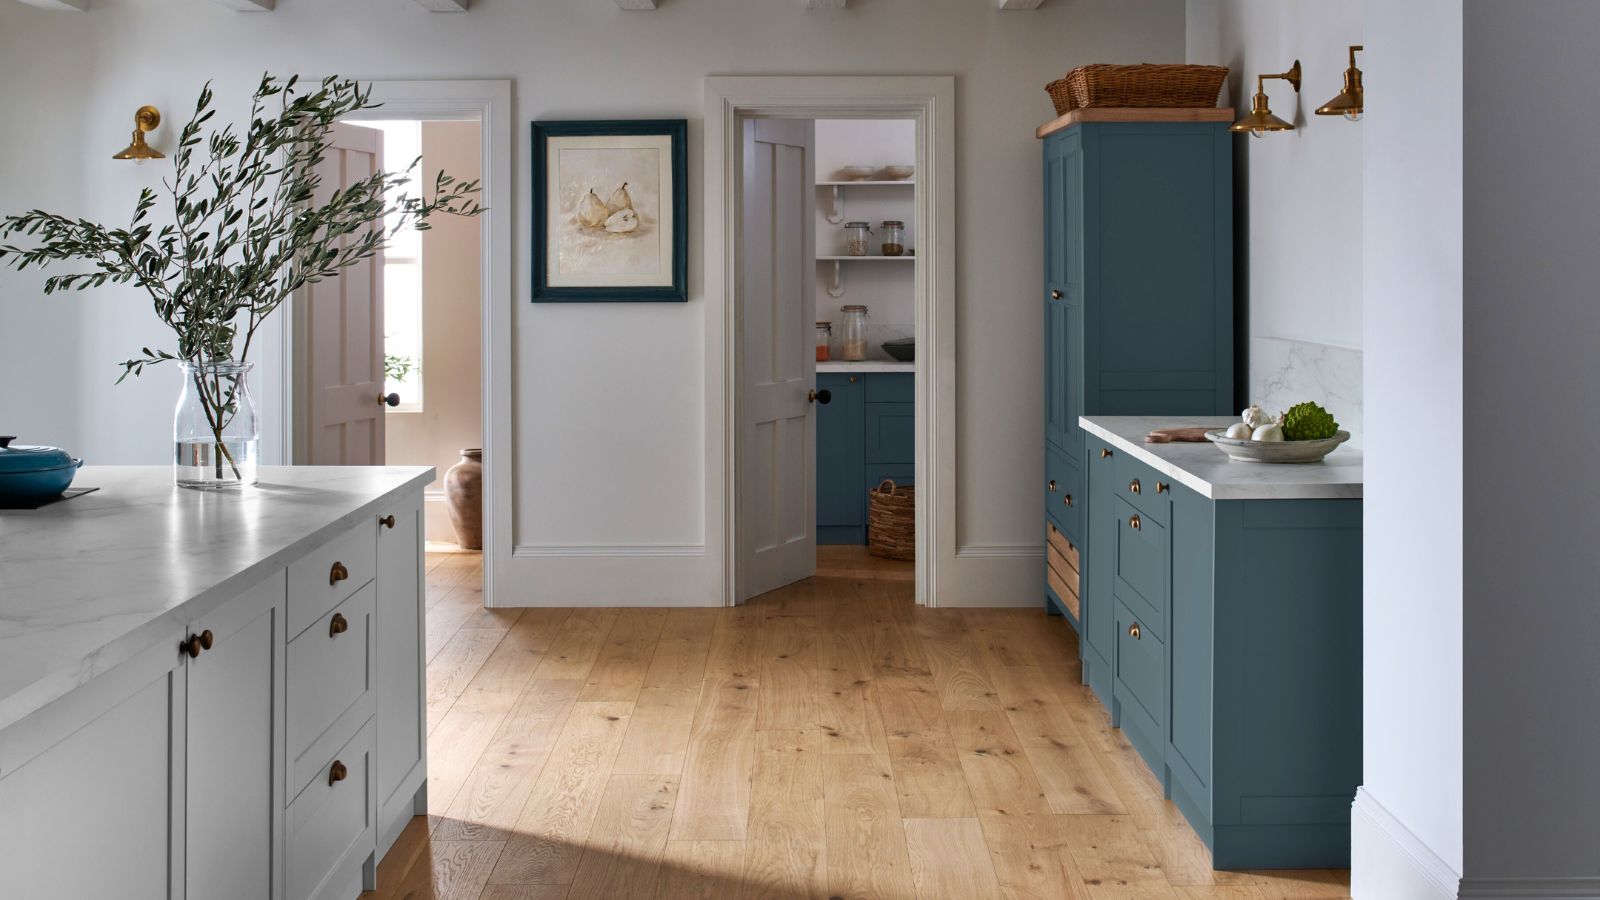
Installing vinyl plank flooring is an affordable, aesthetically pleasing, and easy-to-maintain alternative to installing natural wood flooring.
Luckily, it is a relatively simple task for homeowners to complete themselves with the right tools and some patience.
Here's how to complete this DIY project to elevate your home without expert intervention – and while keeping all of your fingers in the process.
Installing vinyl plank flooring like a pro
How long it takes to install vinyl plank flooring generally depends on your skill level, and the size and shape of your room. On average, however, for a DIY-er, you can expect the project to take anywhere between two to four hours.
The same applies to how hard it is to install vinyl plank flooring yourself. This is generally considered an intermediate home DIY task as it requires precision measurements and cutting, as well as a lot of patience.
Choosing vinyl plank flooring

There are different types of vinyl flooring.
Before planning your project, you need to work out if luxury vinyl flooring is right for your home, and, if so, what type of vinyl plank flooring to use.
There are two faux wood flooring ideas to choose from:
Design expertise in your inbox – from inspiring decorating ideas and beautiful celebrity homes to practical gardening advice and shopping round-ups.
- Floating: Floating vinyl plank flooring is made up of interlocking planks that do not attach to the subfloor. Most vinyl planks are floating and are easier and quicker to install.
- Adhesive: As the name suggests, adhesive vinyl plank flooring sticks down to the subfloor with either adhesive tape or liquid glue. This is often more affordable than floating vinyl plank flooring, but is more time-consuming to install.
Before you begin

Test your layout before installation to ensure the perfect results.
Before you start installing vinyl plank flooring, you need to thoroughly prepare the space, lest your DIY home improvements devalue your property.
Vinyl plank flooring can be installed directly over the top of existing hard flooring such as wood or tiles, but you should clean the floors without streaks first. If you have carpet flooring ideas, however, this should be removed.
Luckily, vinyl plank flooring does not usually need underlayment, especially if the flooring below it is already level and smooth. That being said, installing underlayment for vinyl plank flooring can be helpful to level out uneven surfaces, reduce sound transfer between floors, and offer another level of comfort and insulation ot your flooring.
Then, to install vinyl plank flooring quickly and simply, you will need the following tools and supplies:
- A flat pry bar, availible with a grip at The Home Depot
- Pliers, such as these nail-pullers also from The Home Depot
- Tape measure. This auto-locking HART tape measure from Walmart keeps your measurements in place, whilst this digital tape measure with Bluetooth from Mileseey Tools comes in handy when working alone.
- Utility knife, from Walmart, or fine-tooth saw, such as the Craftsman fine finish cut Tooth Saw from Lowe's
- Carpenter's square to ensure clean lines, from The Home Depot
- Rubber mallet, from The Home Depot, and a thick scrap block of wood to help knock planks into place
- Your vinyl plank flooring of choice
- 1/4 inch spacers, from The Home Dpot
- Floor levelling compound such as Quikrete FastSet Self-Leveling Floor Concrete Resurfacer from Lowe's
- Optional: Kneepads, from The Home Depot, as you will be working on your knees a lot
How to install vinyl plank flooring
1. Plan the flooring layout

Leave the planks out for 48 hours before installation.
Before committing to your affordable DIY project, start by laying out the planks in your empty room. This will give you a better idea of which direction you want your planks to be, and allows you to stagger the planks so that all of the short edges do not line up in long lines.
Start along your longest straight wall and work outwards.
Anton Liakhov, interior designer and founder of Roomtery, then suggests, 'Let the vinyl planks acclimate in the room for at least 48 hours so they can reach their ultimate temperature and humidity level.' This can prevent warping and flexing during and after the installation.
2. Remove old trim and molding
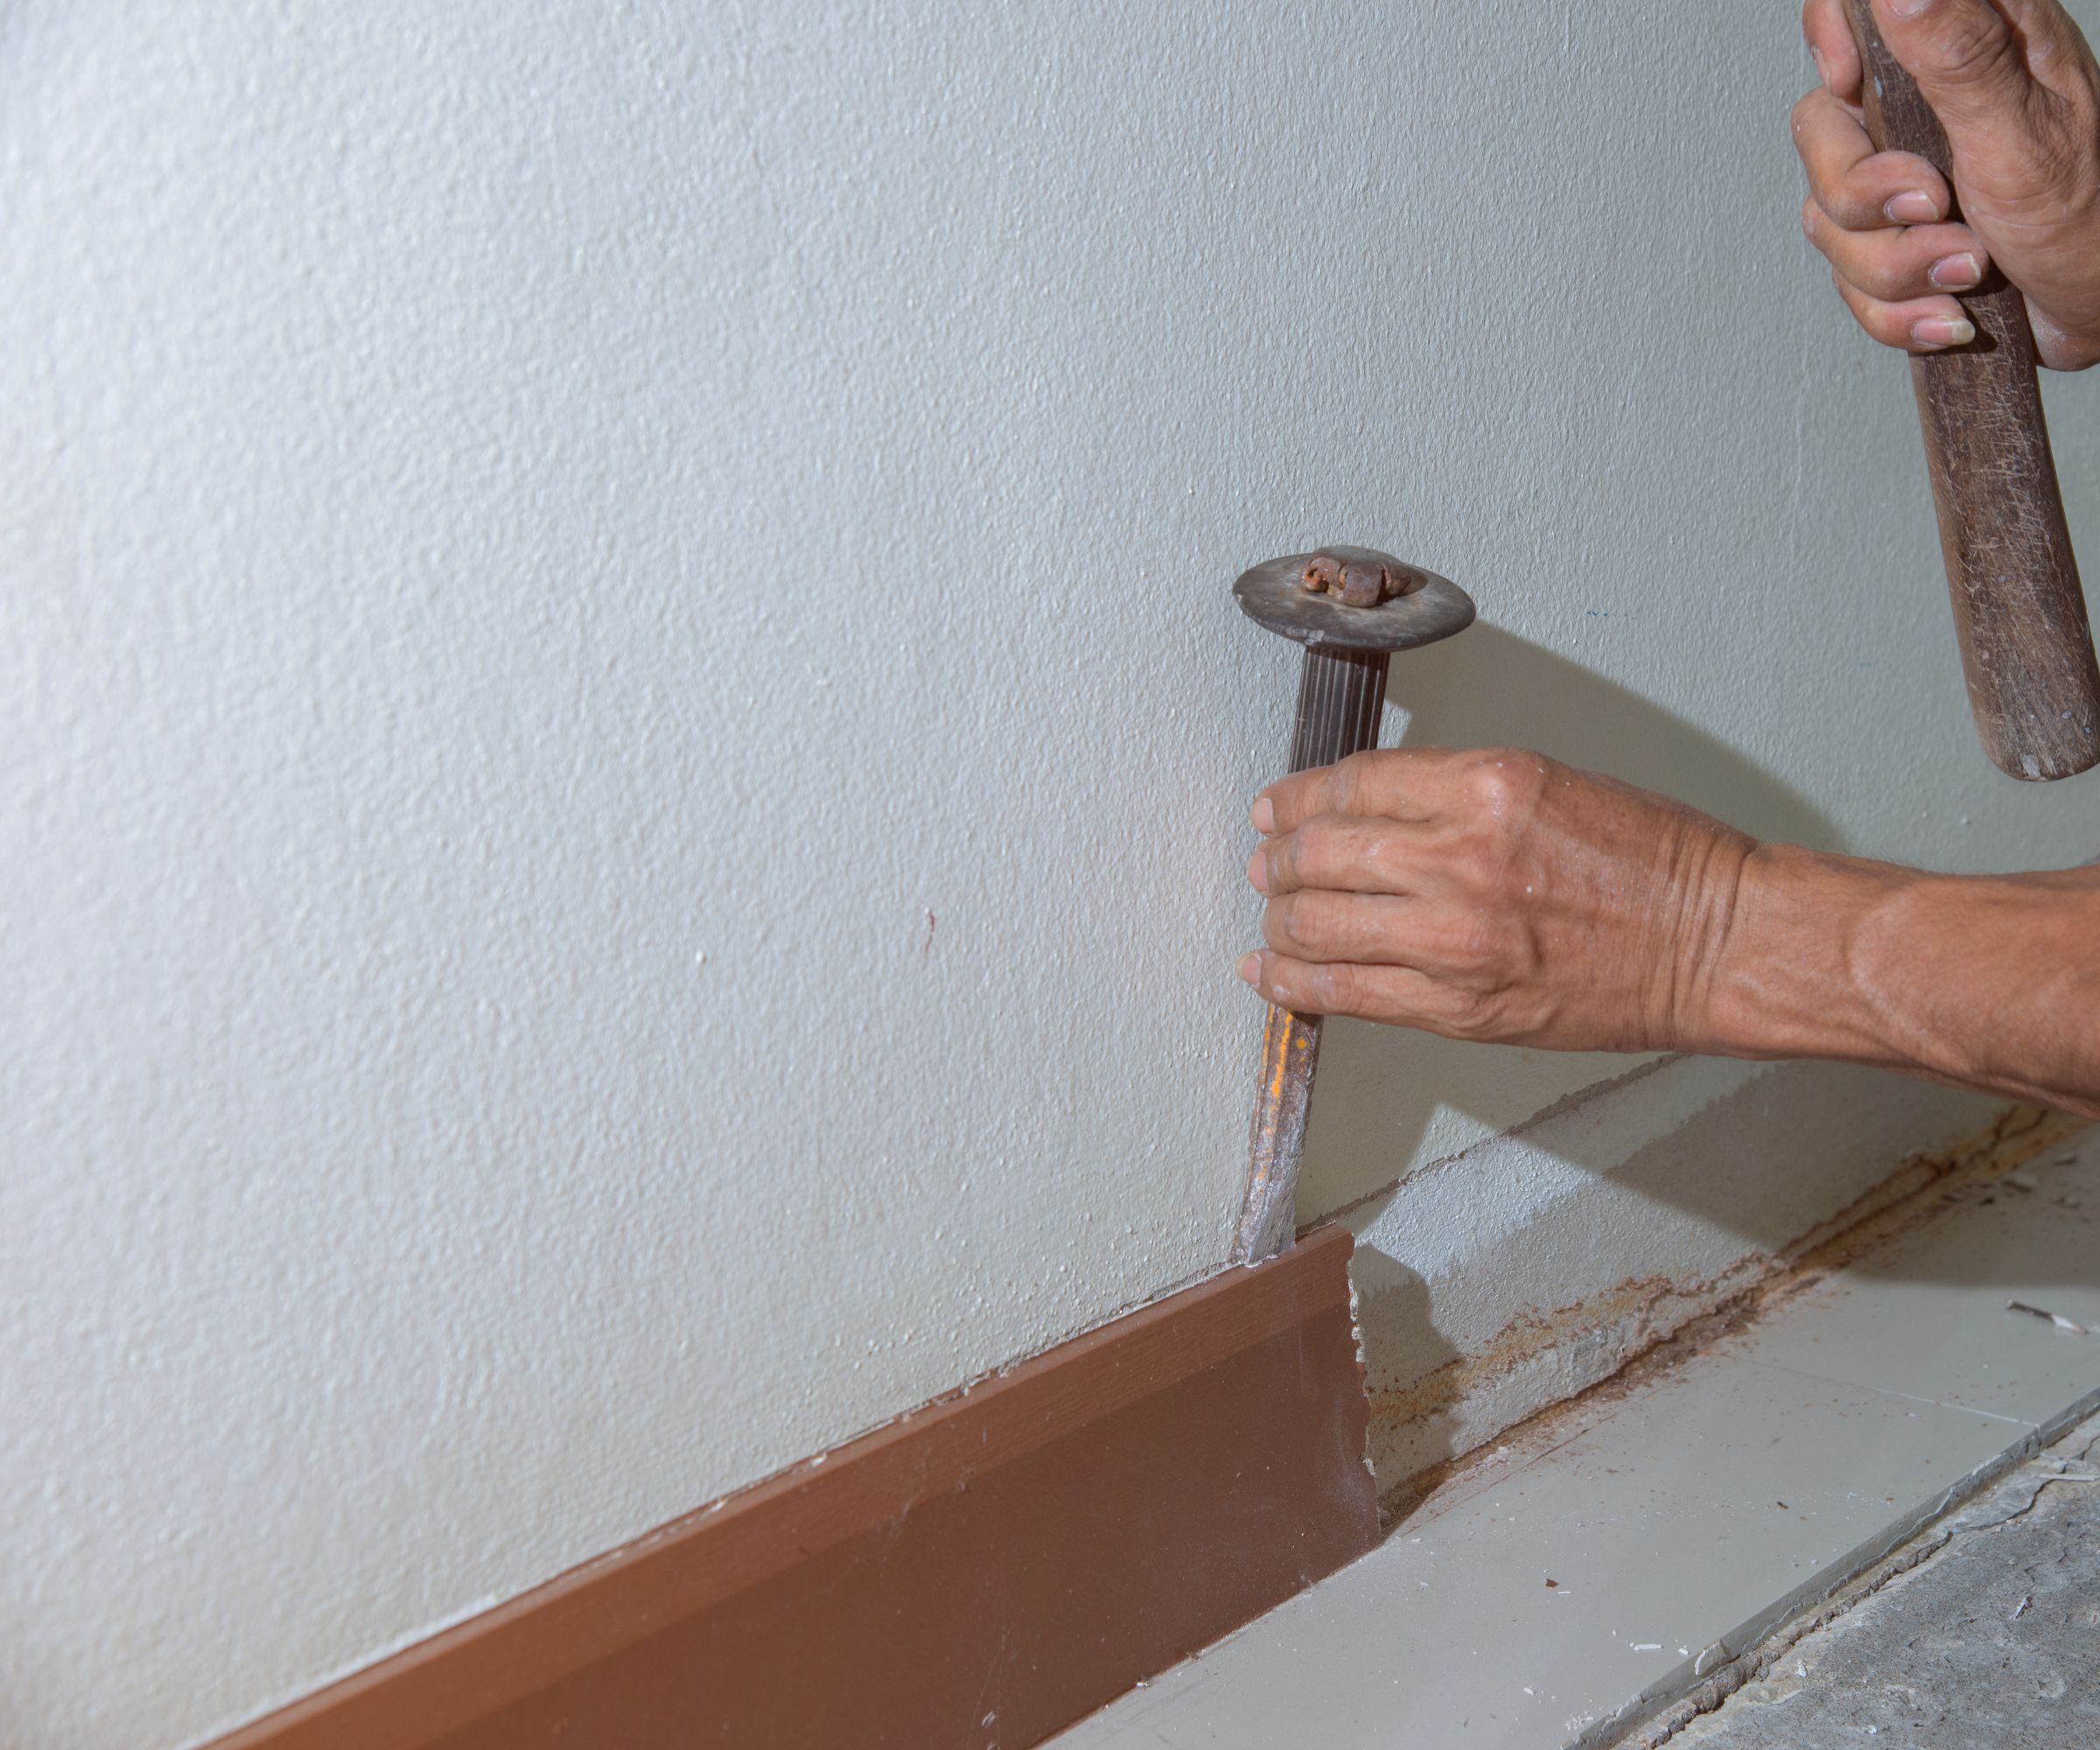
You can also use a hammer and chisel if you know you will be refinishing the walls.
Bar Zakheim, CEO of Better Place Design & Build, says, 'It's much easier to install vinyl plank without baseboards or other trim at floor level,' so use your flat prybar to ease the old molding and trims away from the wall.
You might find the hammer useful to help tap the bar behind the edge of each trim. Thomas Borcherding, owner of Homestar Design Remodel, adds, 'I advise homeowners to be careful when removing their baseboards. You will have to use a crowbar resting against your home's plaster or drywall in order to pry loose the nails that secure your baseboards.
'To prevent wall damage, it's best to use a piece of sturdy cardboard secured against the wall as you tilt the crowbar into the wall.'
Don't worry, we have some tips for removing scuffmarks from walls if you need them. Remove any lingering nails from the wall using your pliers.
3. Prepare the floor
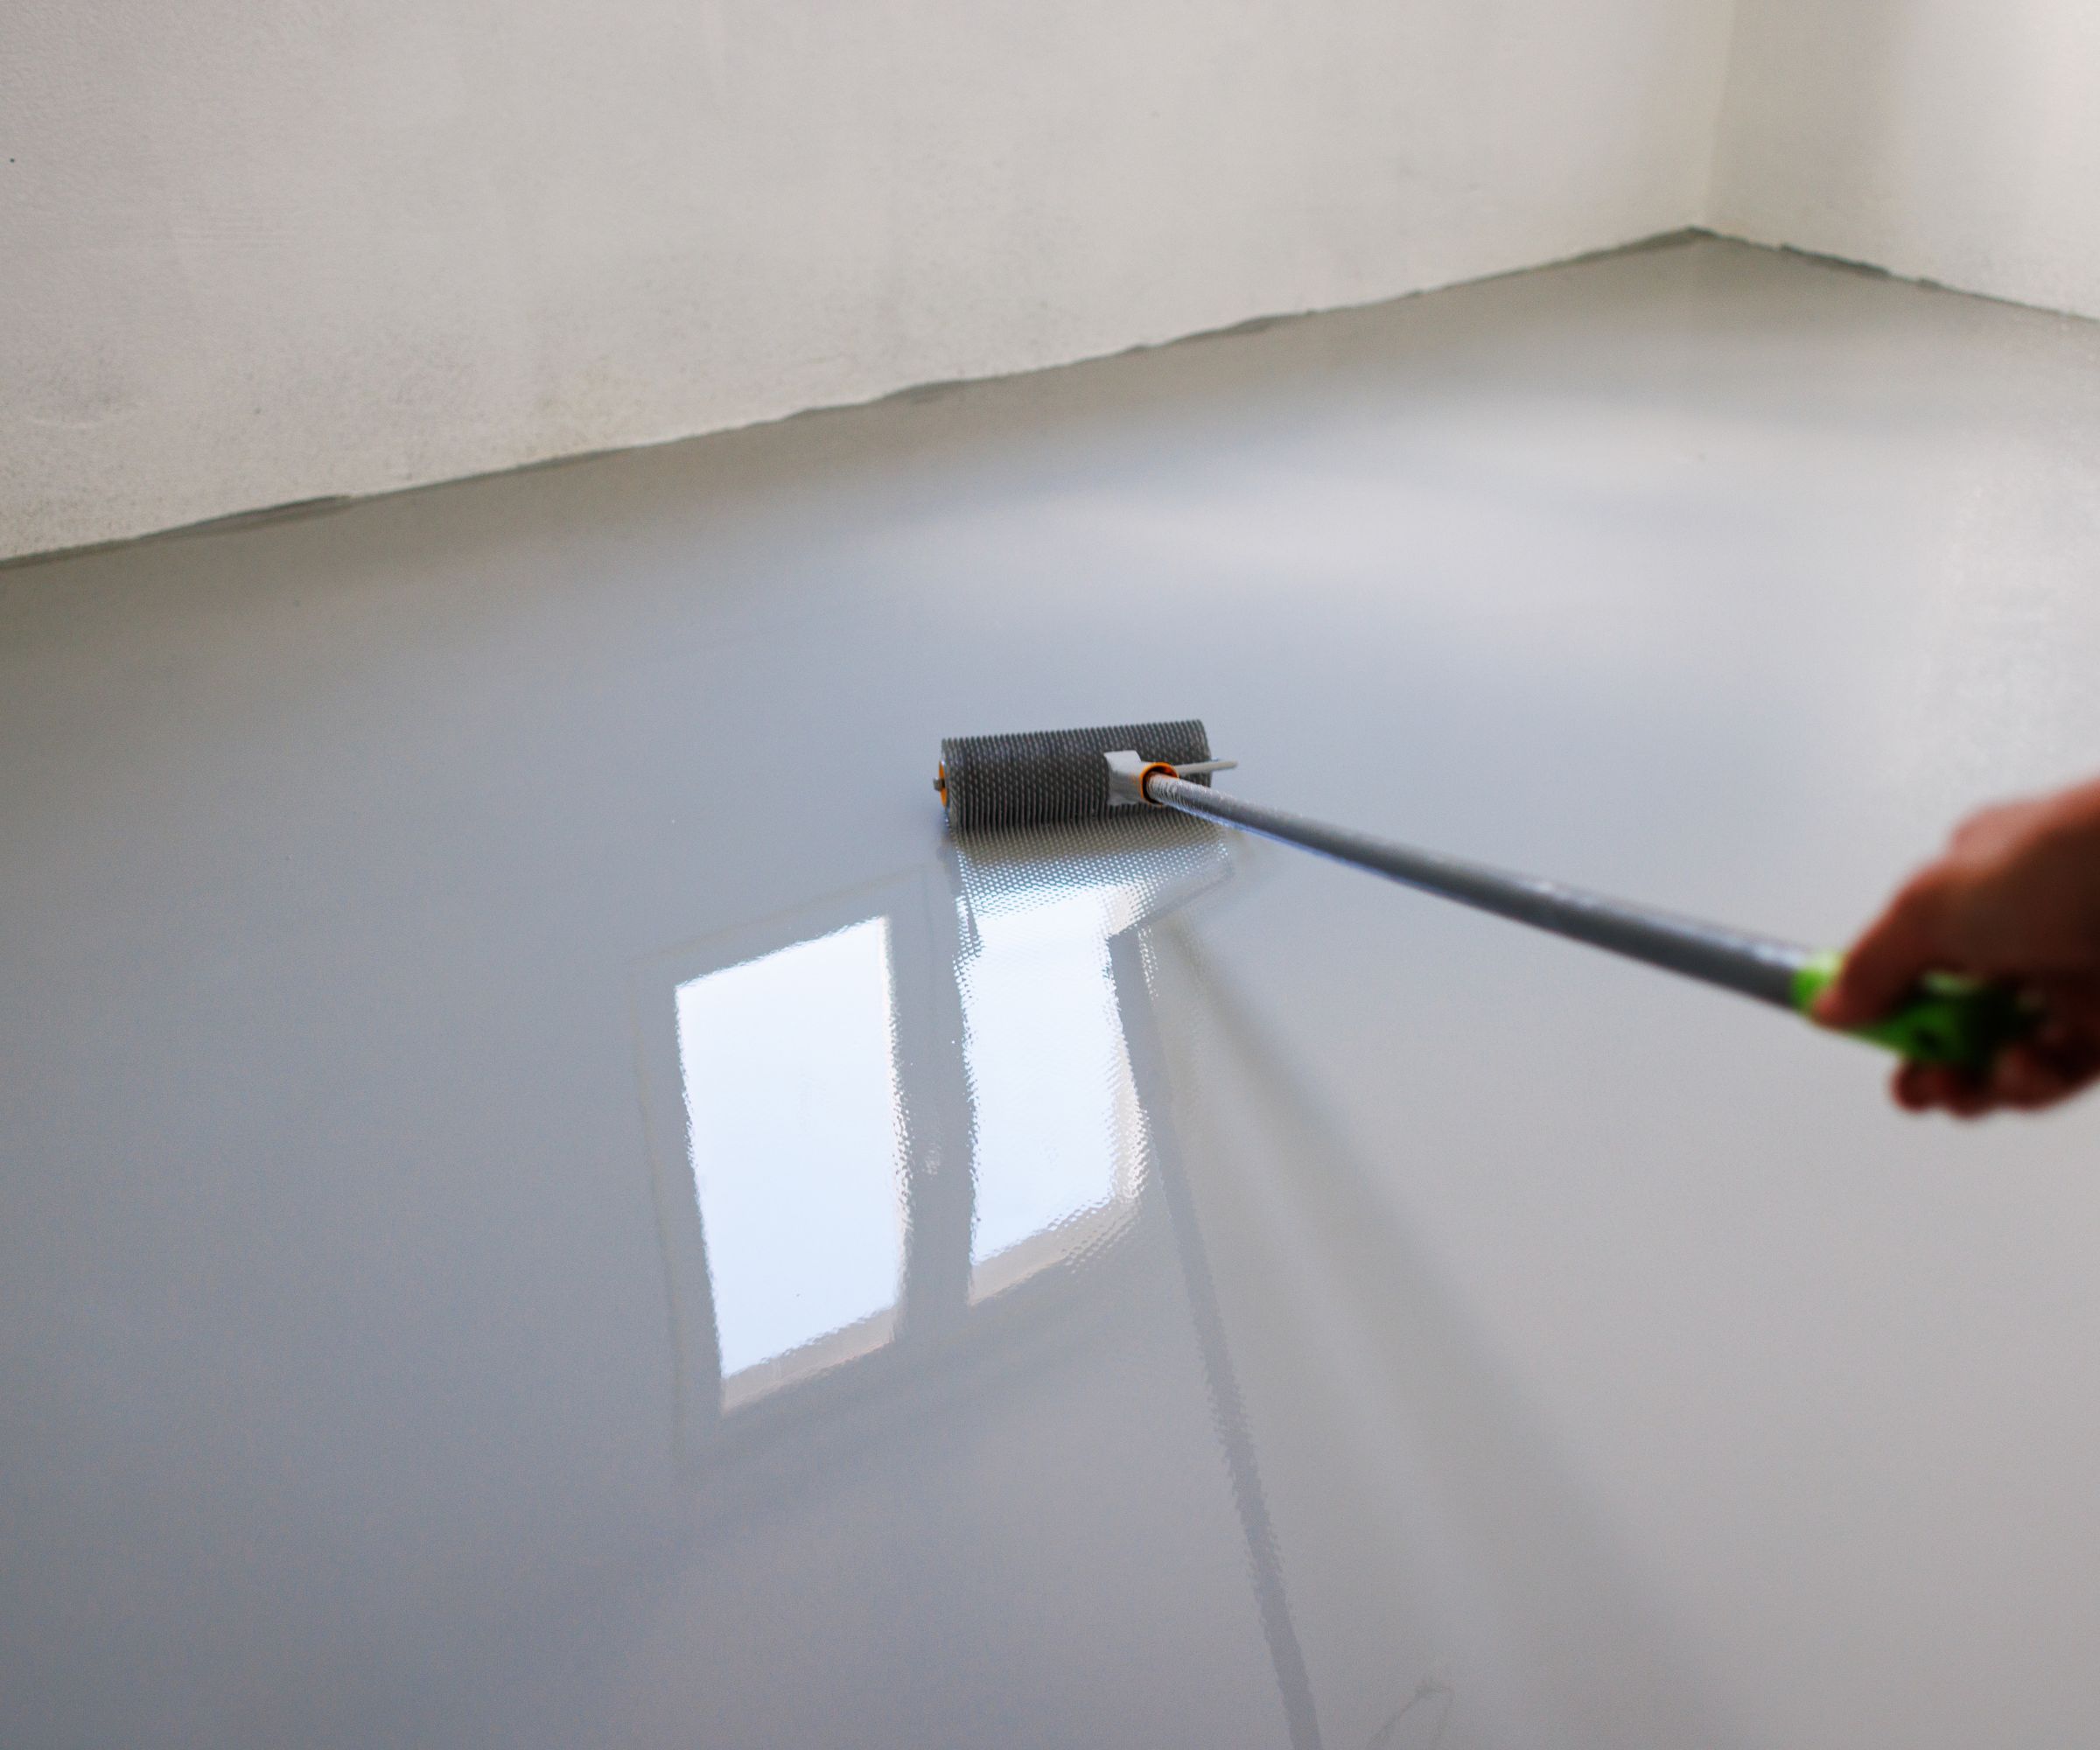
Self leveler will need a few days to cure.
This is the most important step.
If you are installing vinyl plank flooring over the top of existing hard, level flooring, now is the time to deploy smart cleaning tips to remove any dust and debris. Ensure the floor is dry before continuing.
If you are removing carpet, removing floor tiles, pulling up wooden floors, or removing linoleum flooring, use protective nitrile-dipped construction gloves from Lowe's, to protect against cuts.
Then, Thomas says, 'You may wish to use a floor leveling product to ensure a consistent floor elevation. Such products are simple to use. You merely pour the leveling solution onto your subfloor and wait for it to dry.
'Gravity will ensure it is spread out evenly and that your floor will be a consistent grade. Make sure to caulk seams in your subfloor so that the leveling product doesn't drip into lower levels.'
The MAPEI Self Leveler Plus, from Lowe's, is designed for indoor use and is ready for vinyl plank flooring installation after three days.
Anton further explains, 'If your subfloor is not level, level it by using a leveling compound. Vinyl planks are flexible and will conform to imperfections, leading to uneven wear and an amateurish look. '
4. Test fit the first row
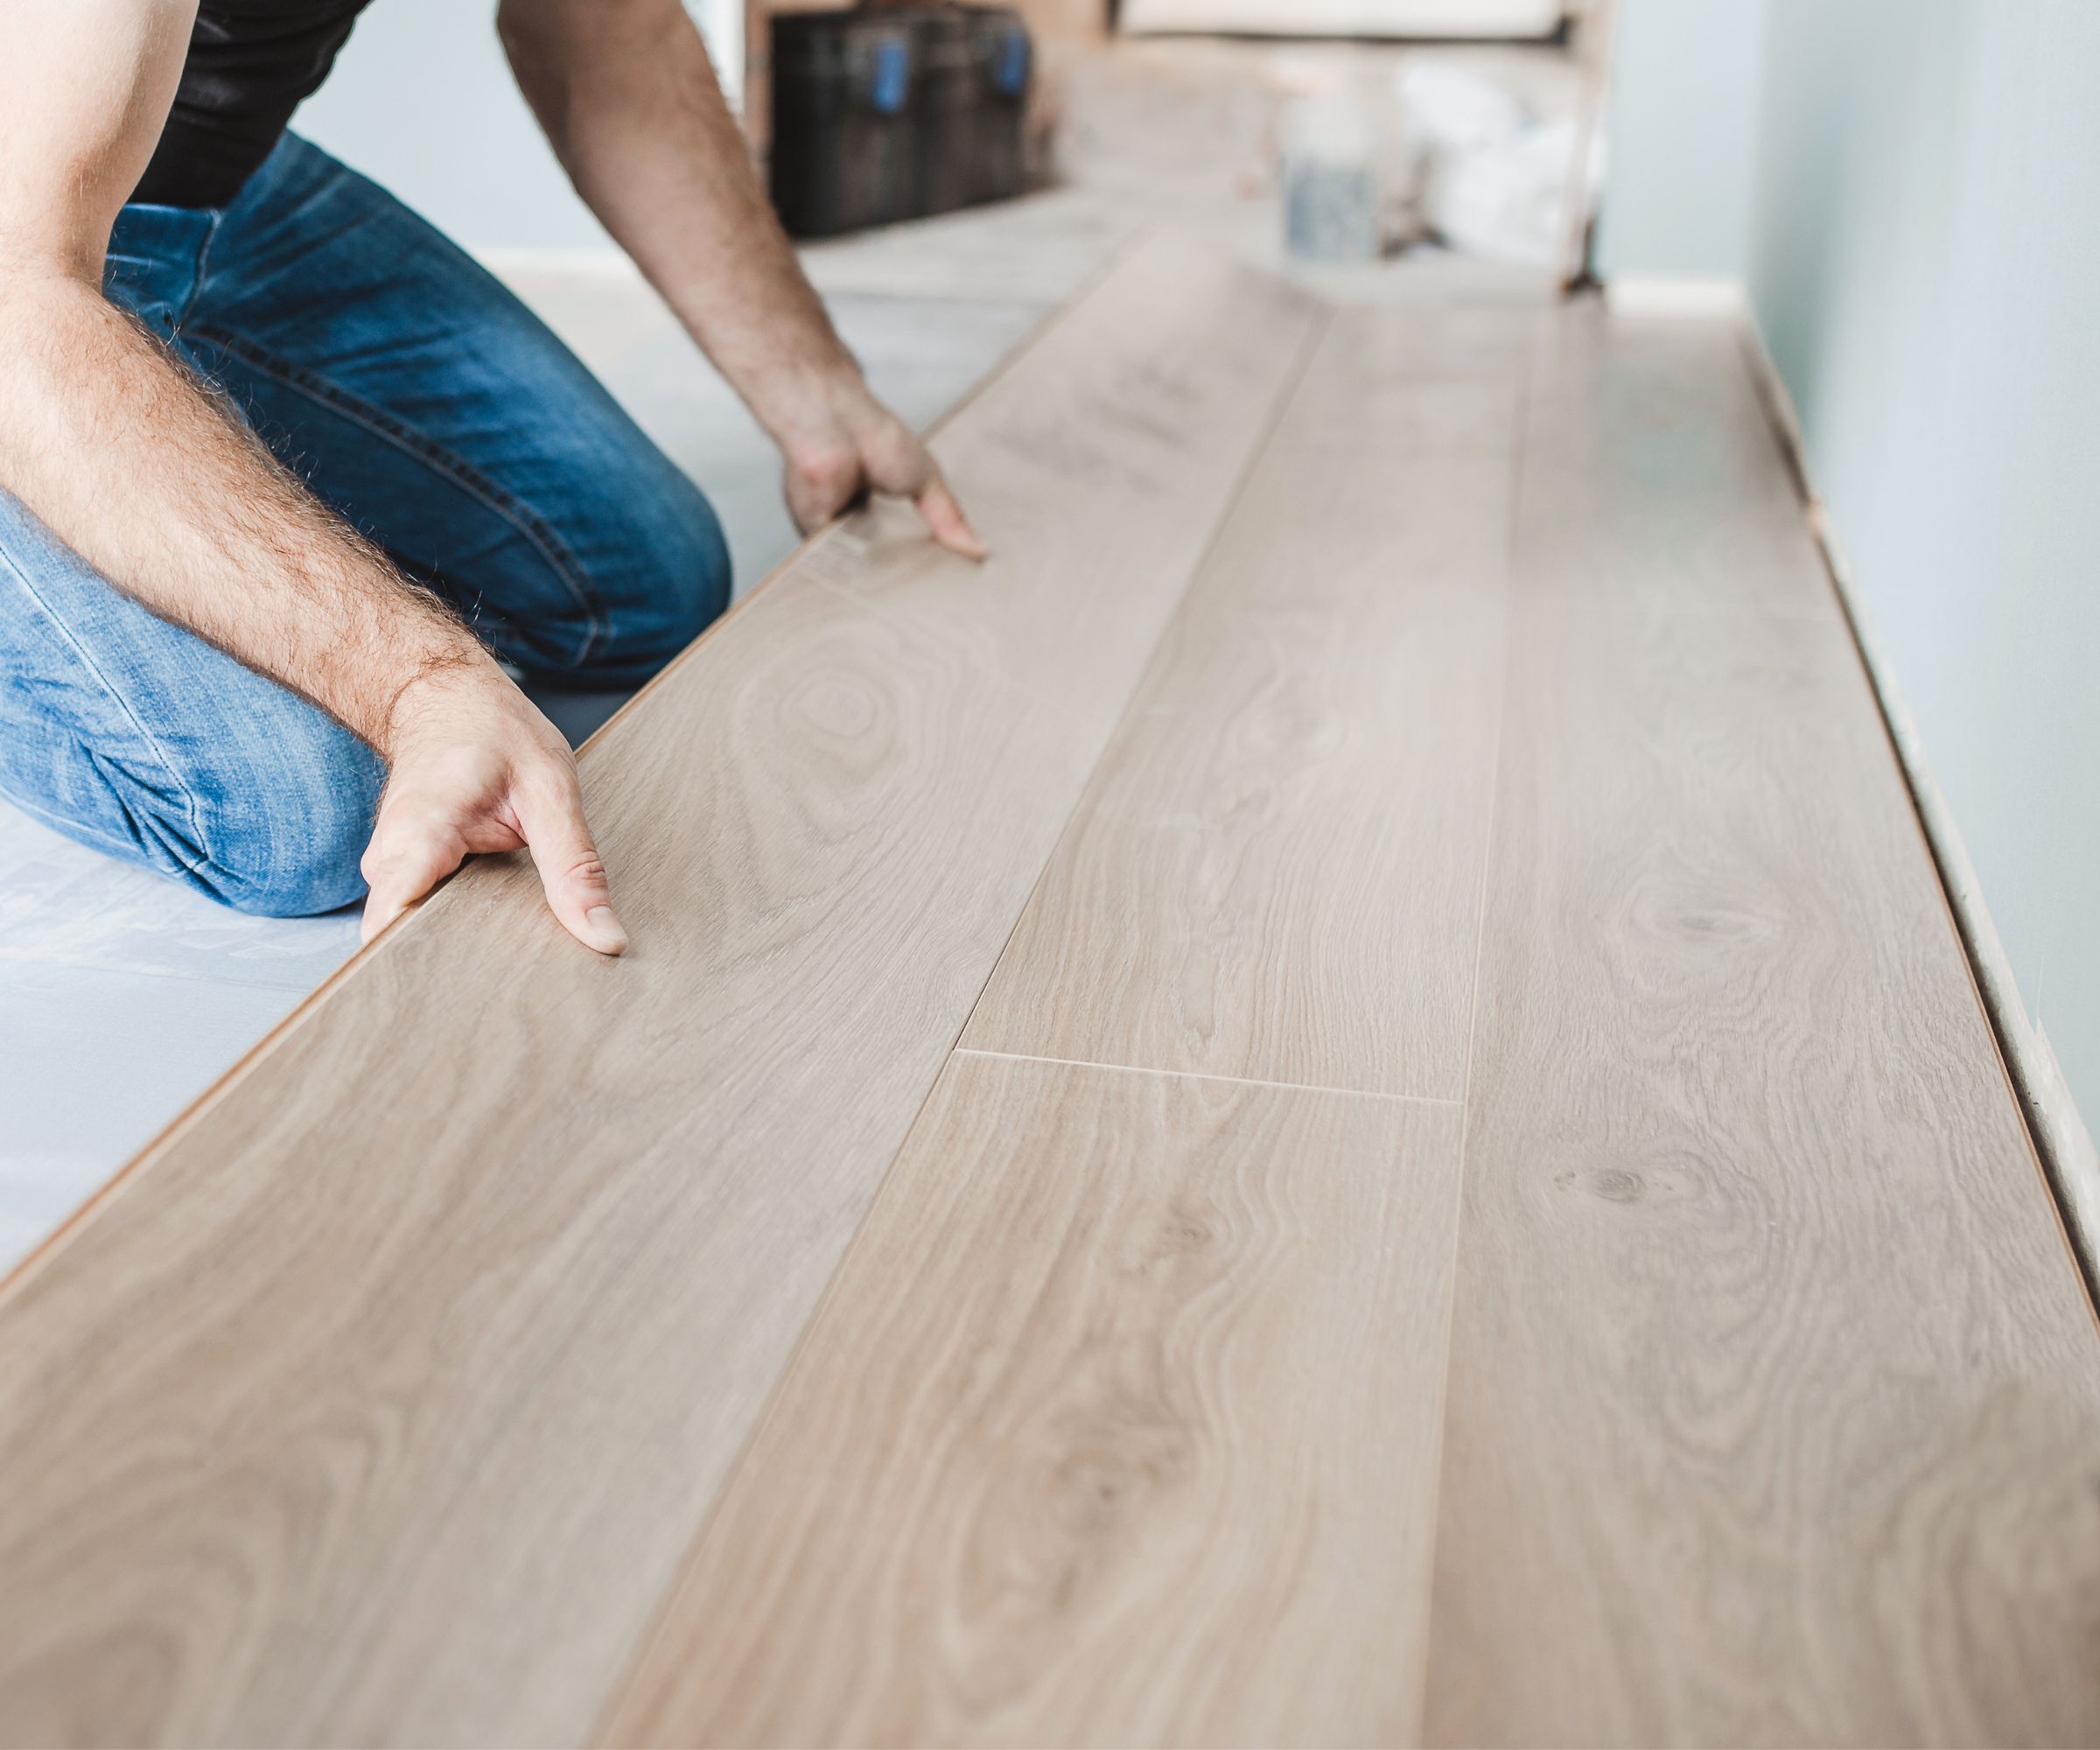
Test fitting prevents mistakes before you start cutting.
To start installing vinyl plank flooring, Anton says, 'Always start at the longest, most exposed wall. This is generally opposite the main door. If the room isn't a perfect square (which rarely exists), starting here will cause any slight non-levelness to be hidden along the back or under baseboards.
'Stagger the seams at least six inches apart to resemble real wood floors and increase strength.' To make this easier, start with a full plank in the center of the wall and work to either side, so that cut planks at the end will be of roughly equal length.
Place 1/4 inch spacers, available at Walmart in packs of 250, between your planks and the wall. Anton warns, 'Never skip the expansion gap. Vinyl does expand and contract slightly with temperature changes, and without a buffer zone, it could buckle or lift.'
5. Cut planks to size
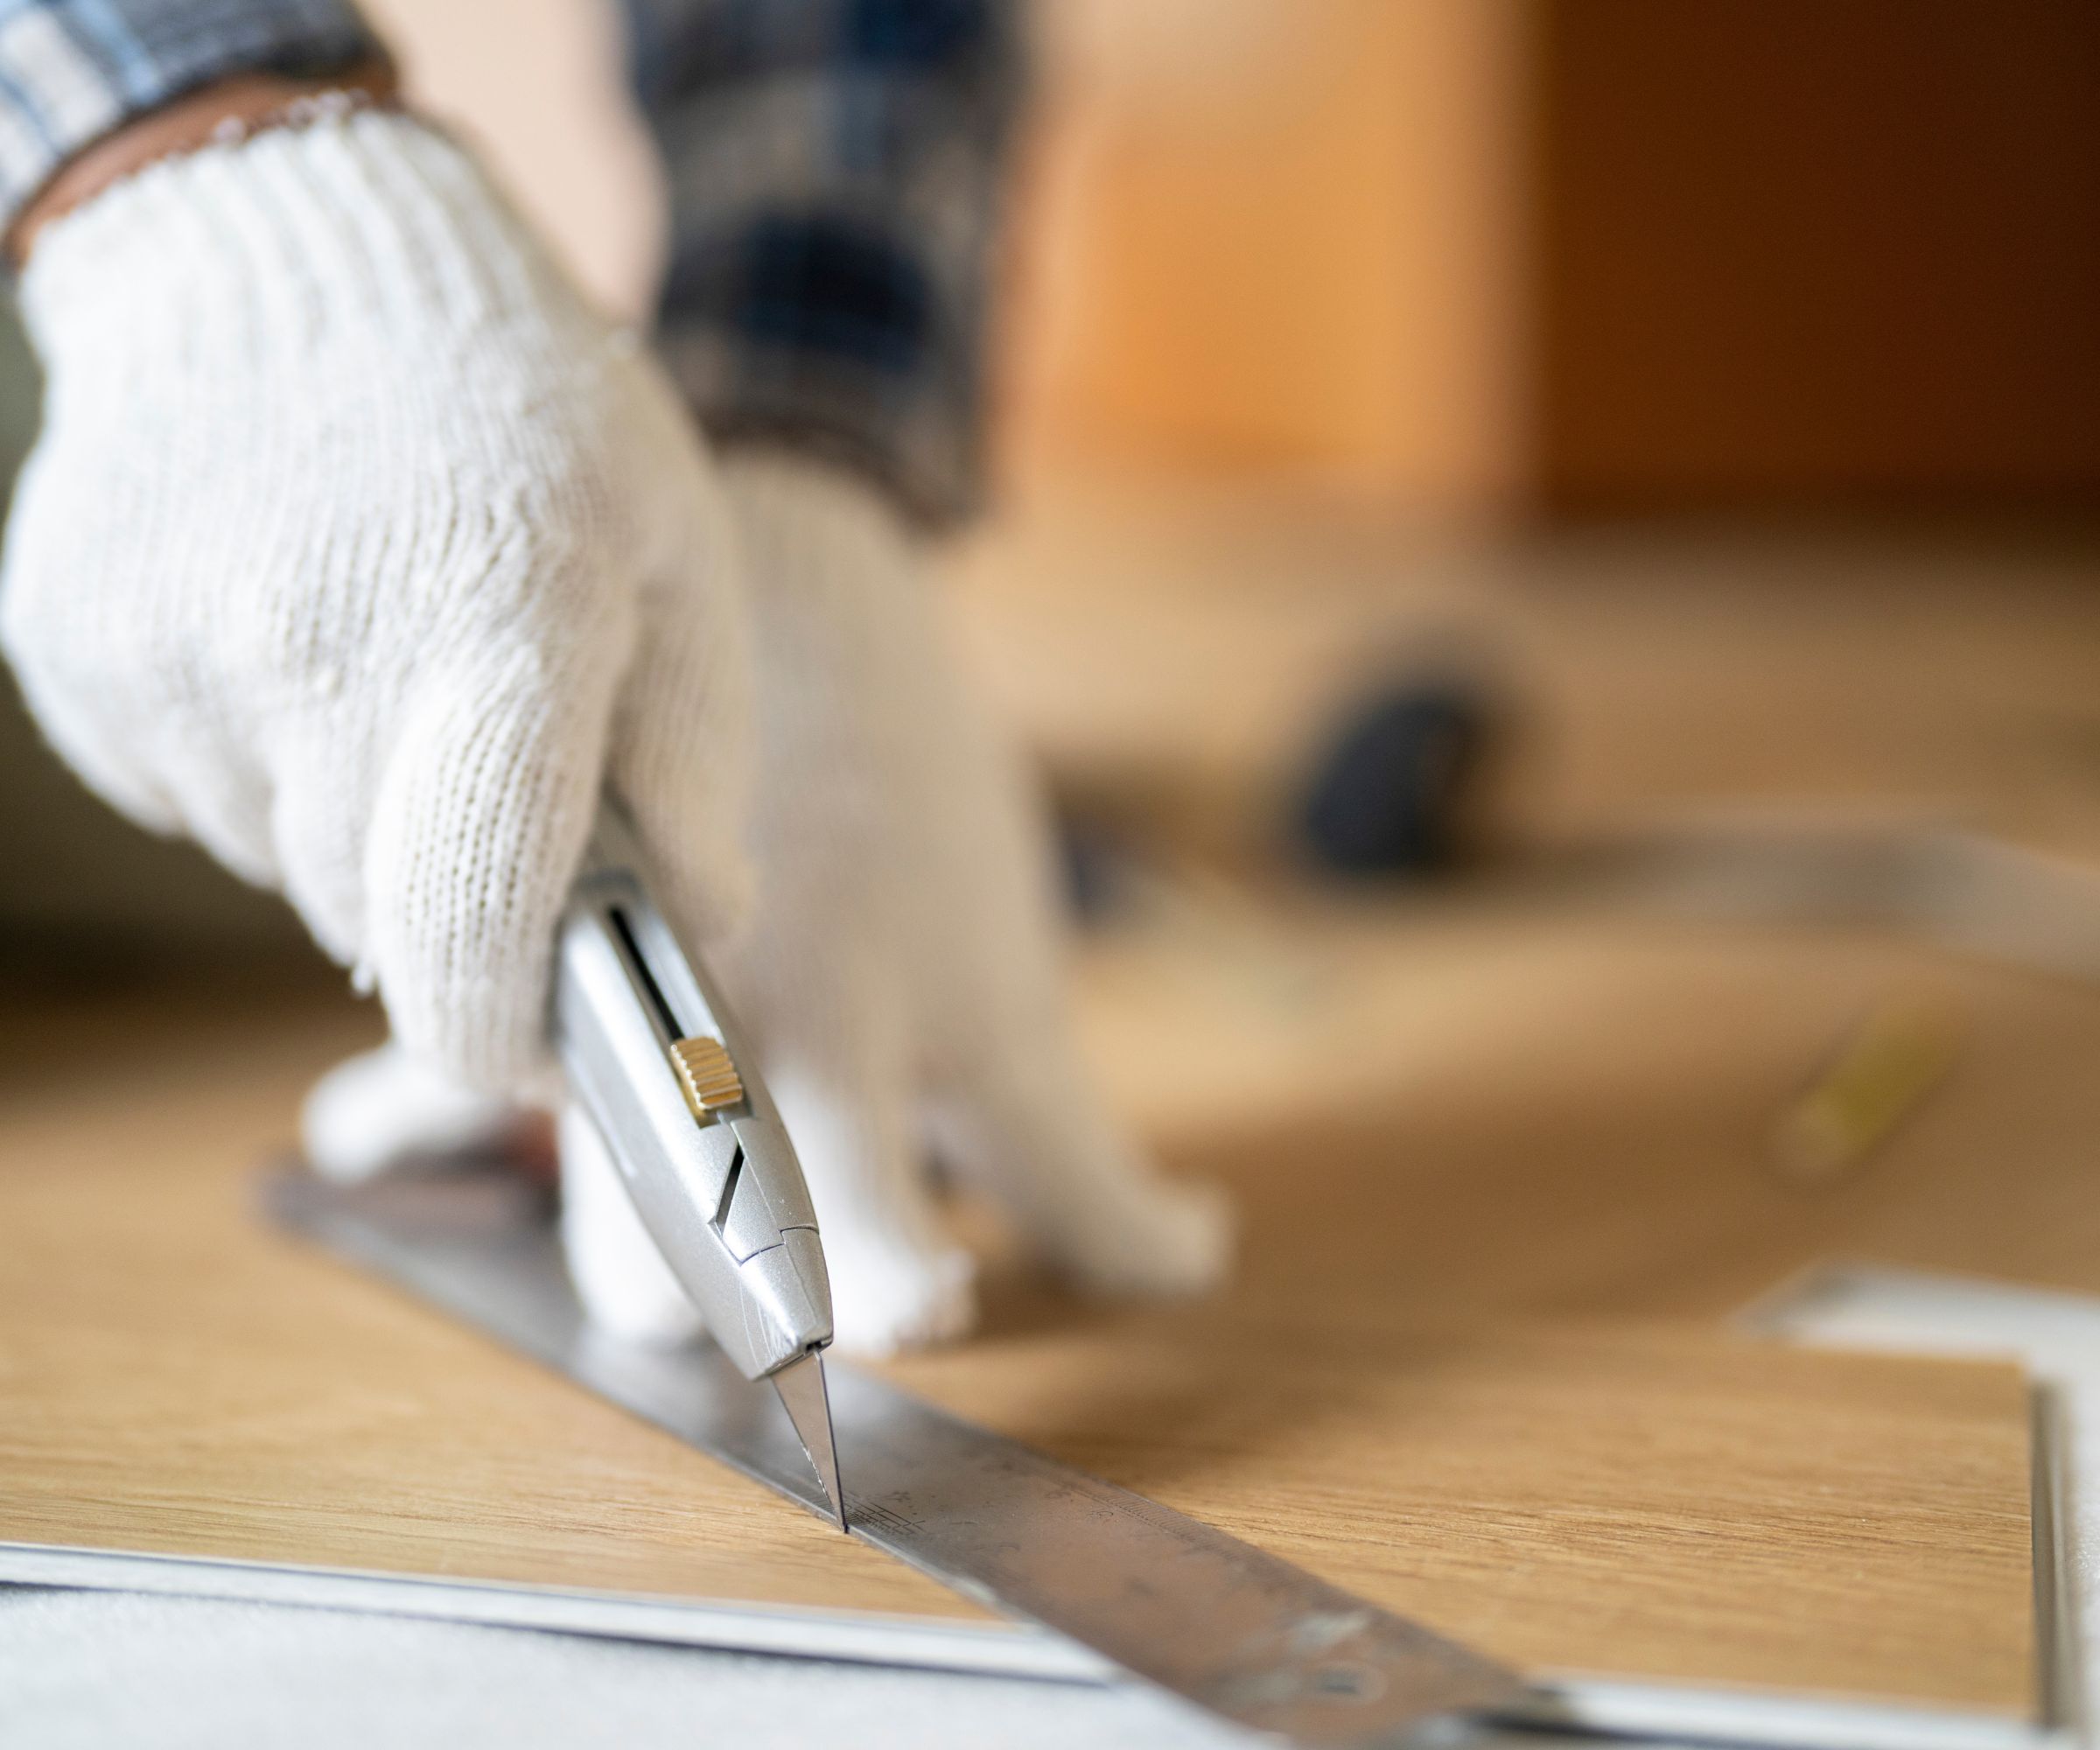
Use short, soft cuts to score through the vinyl.
Much like cutting laminate flooring, measure twice before committing to any cuts to avoid waste.
Once you have measured the length of the plank you need, use your carpenter's square to ensure a straight line at the cut point on the face of the planks (the side you will see after installation) and cut along the line with either your utility knife or fine-tooth saw. You will need to go over this line several times.
Then, turn the board over so that the finished side is facing downwards and fold the plank back on itself. The cut should snap by itself. If it does not, repeat the process again.
6. Attach the planks
Video credit: Getty Images / Katsiaryna Kallantai
How you attach your planks will depend on the type of vinyl plank flooring you chose:
- For floating vinyl plank flooring: Place the next plank at a slight angle to the first plank, lining up the tongue-and-groove sections on each piece. Slide the tongue and grooves together and fold the plank down so that it lies flush to the floor.
- For adhesive vinyl plank flooring: Ensure the adhesive is sticky before pressing the plank down.
- For both: Tap the plank gently with a rubber mallet to ensure it is firmly in place.
7. Fitting around protrusions
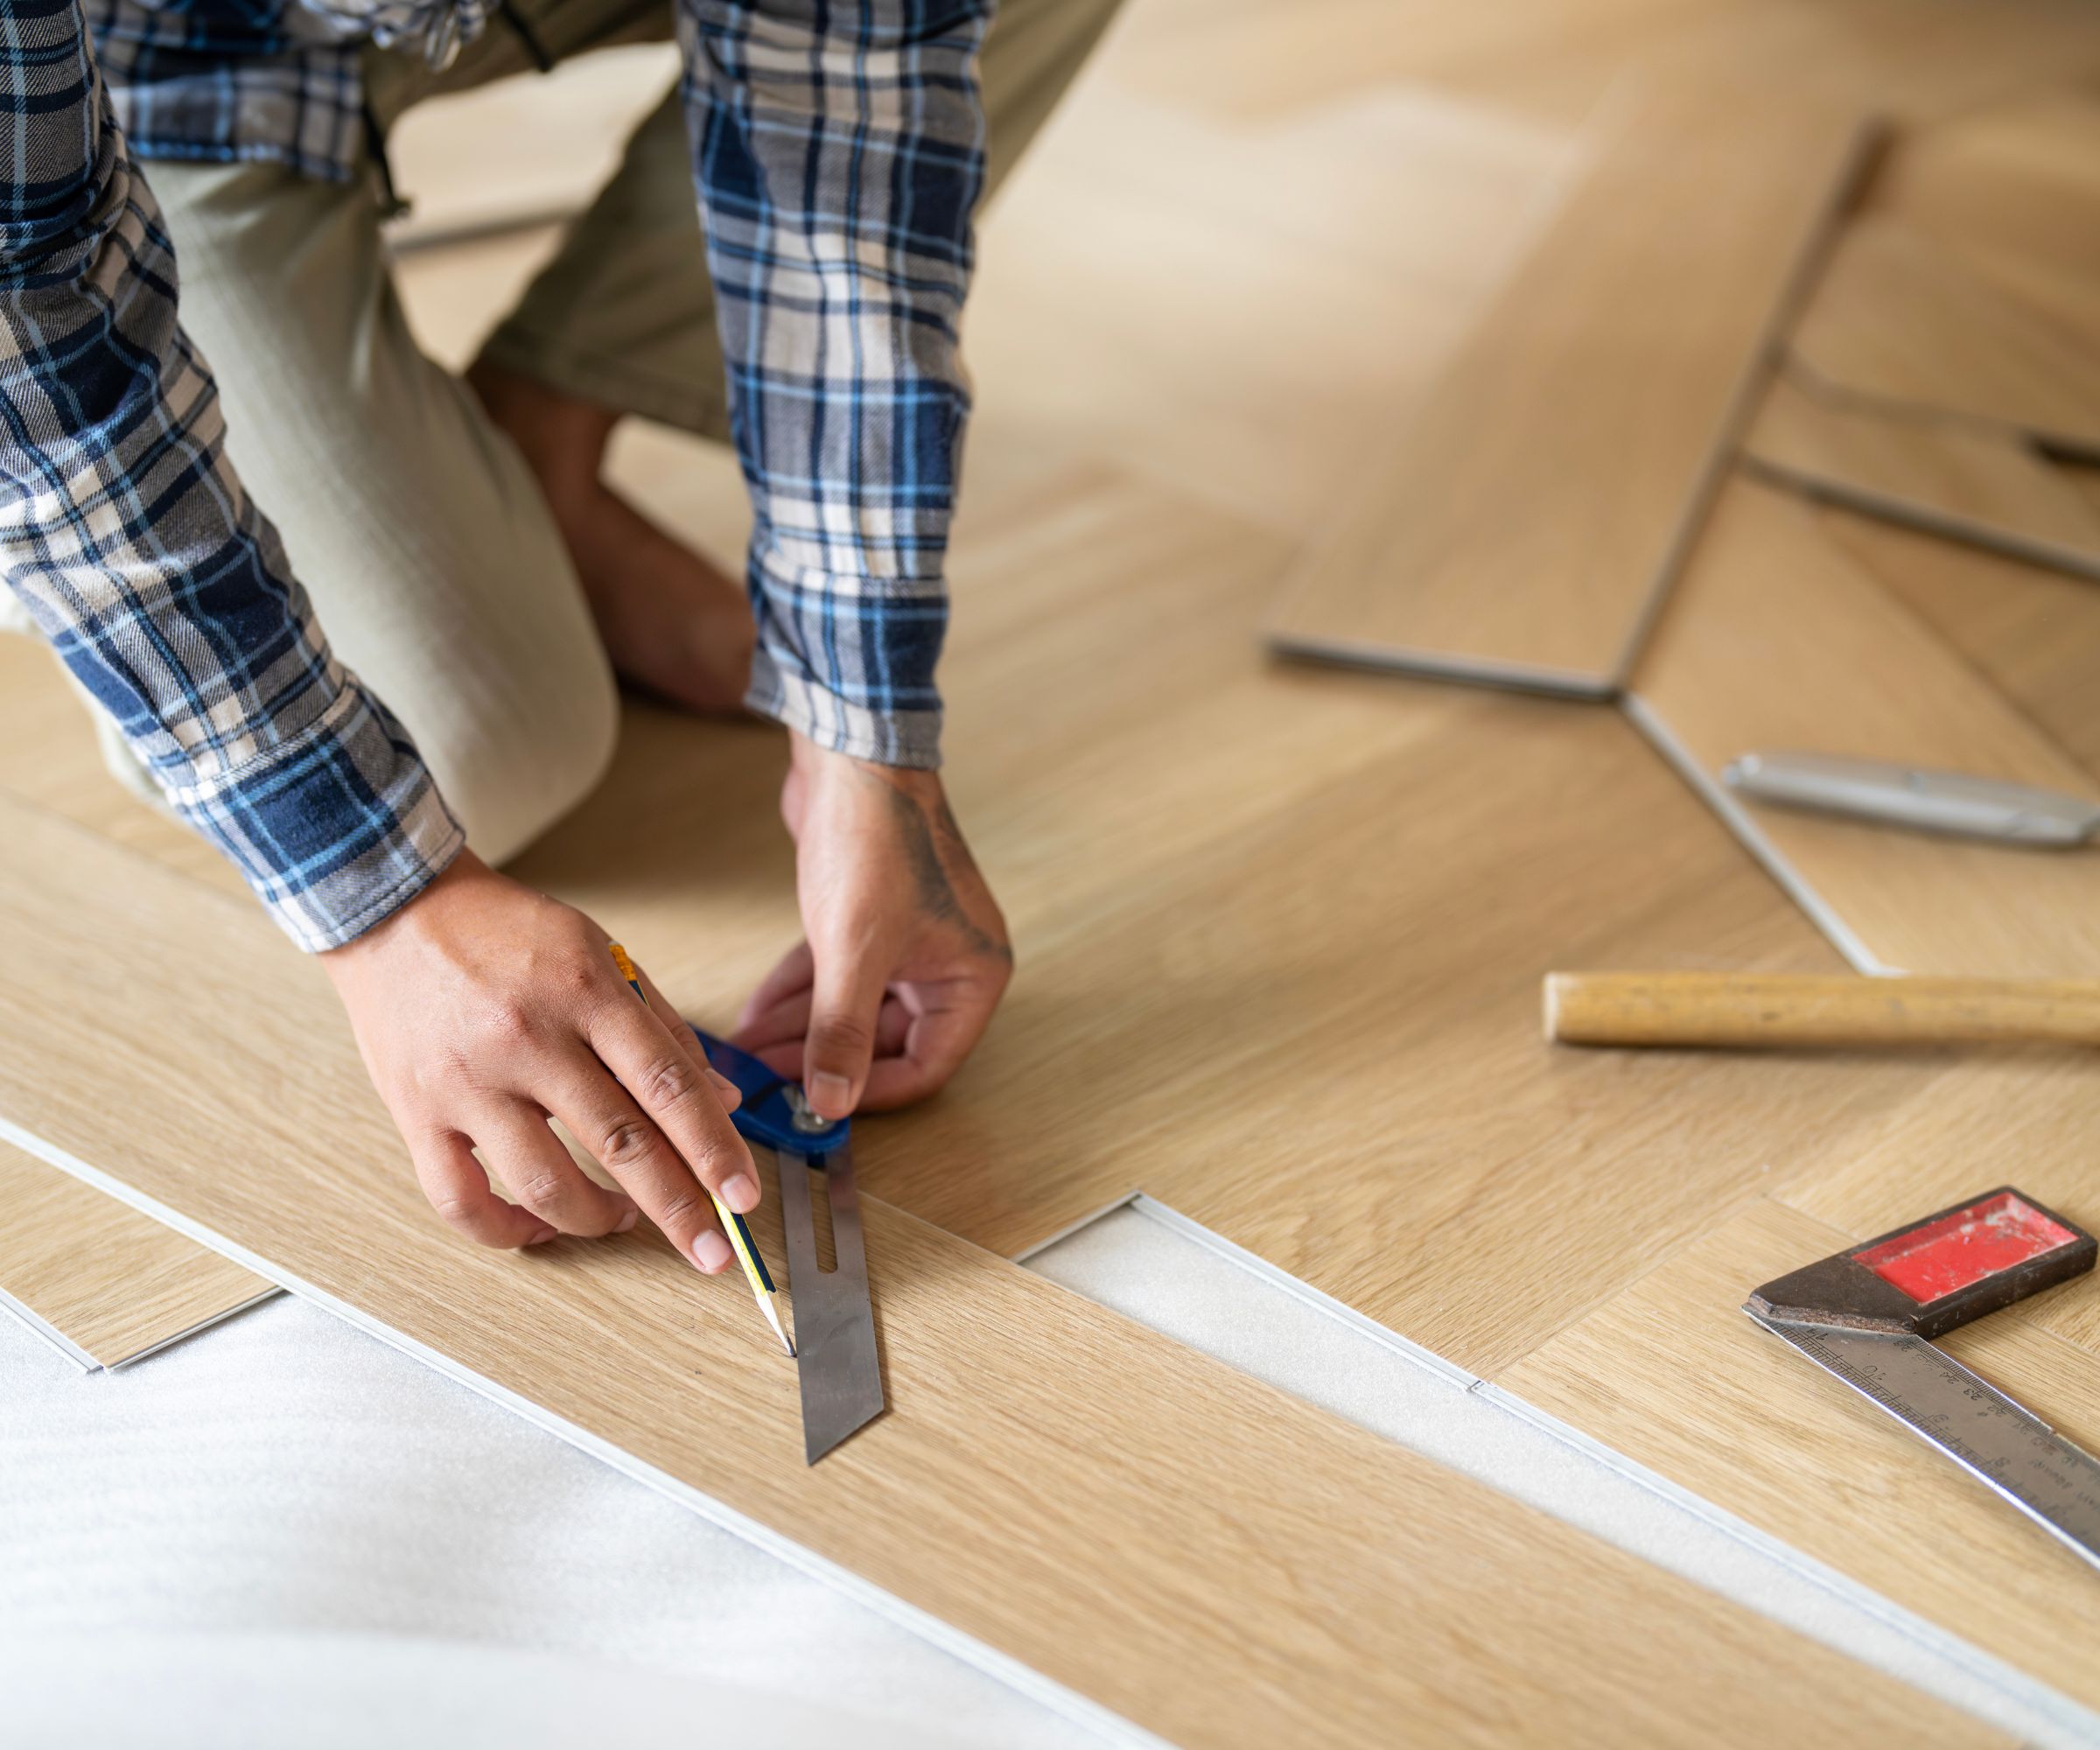
It can be helpful to drawer out the angles you need to cut.
Protrusions from walls, such as around alcoves, need to be cut in the same way as trimming planks to fit.
Again, measure twice and use the carpenter's square to ensure straight lines and even cuts. This time, instead of one cut, however, you will be making two, usually at a right angle.
8. Fitting the final planks
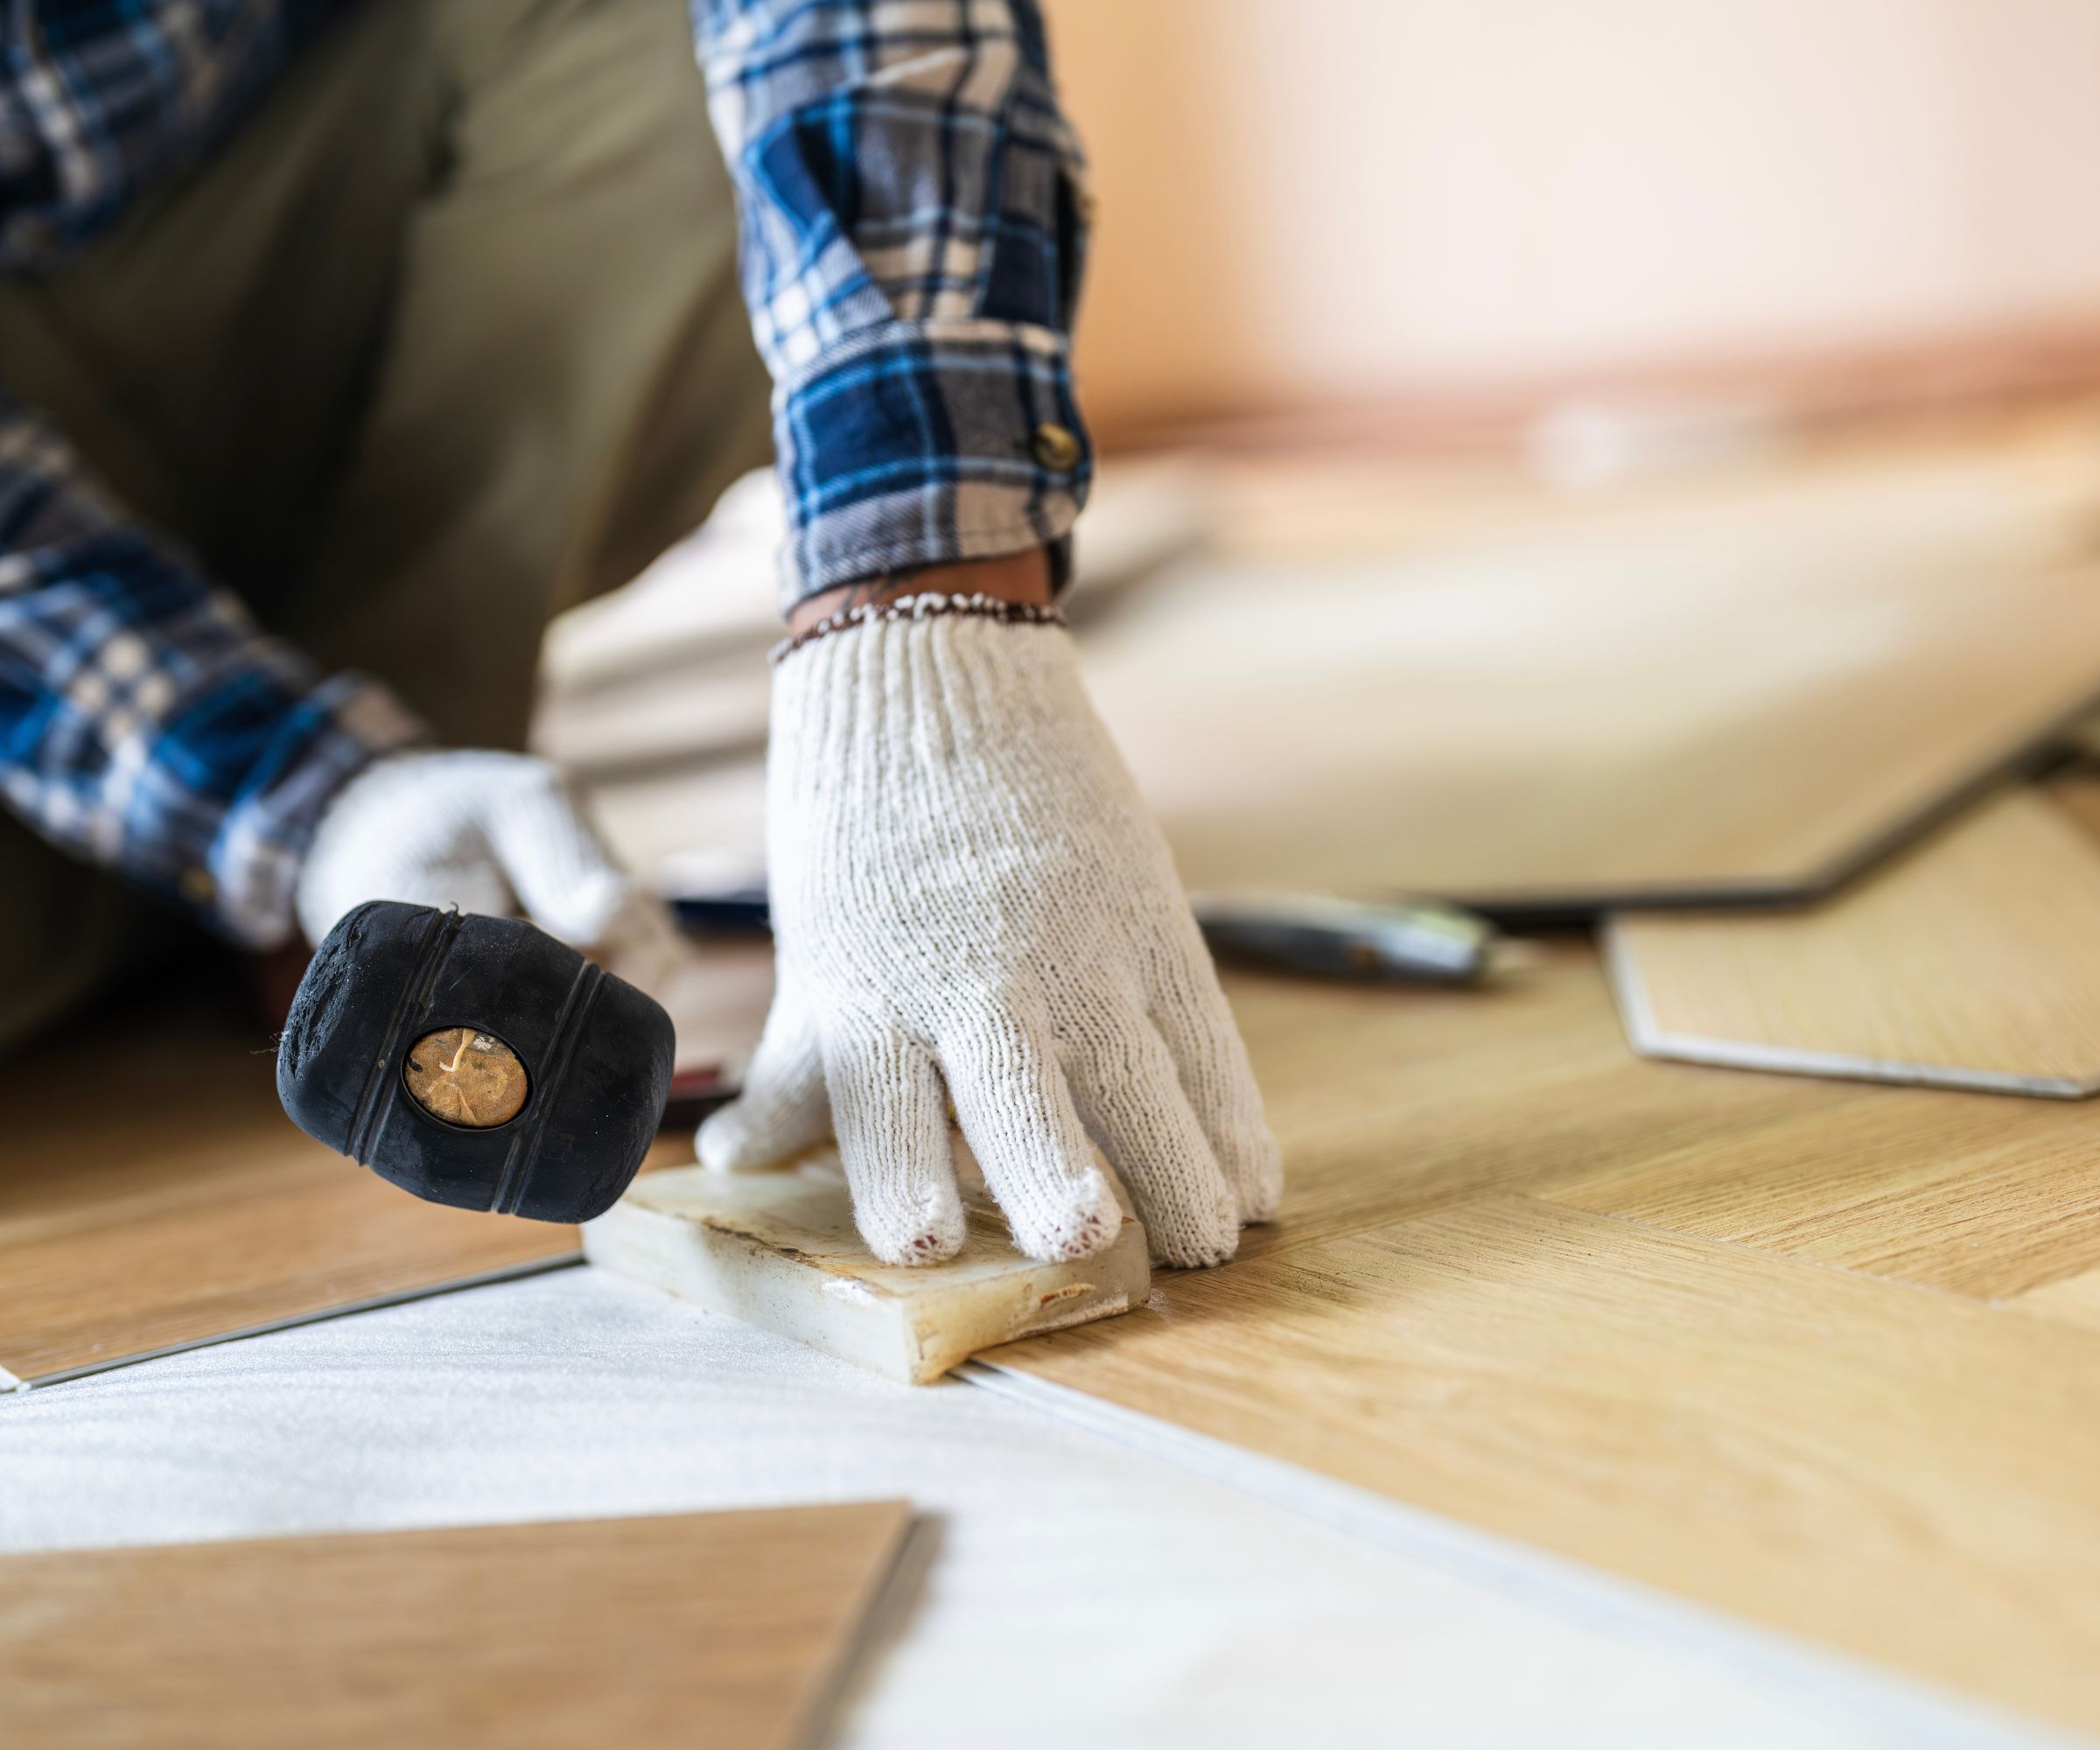
Using a mallet and block can help to tap the planks into place securely.
To fit the final plank, you may need the assistance of your pull bar, and you may need to cut planks lengthwise to fit them into smaller width gaps. Remember to once again include the 1/4 inch gap.
9. Refit moldings
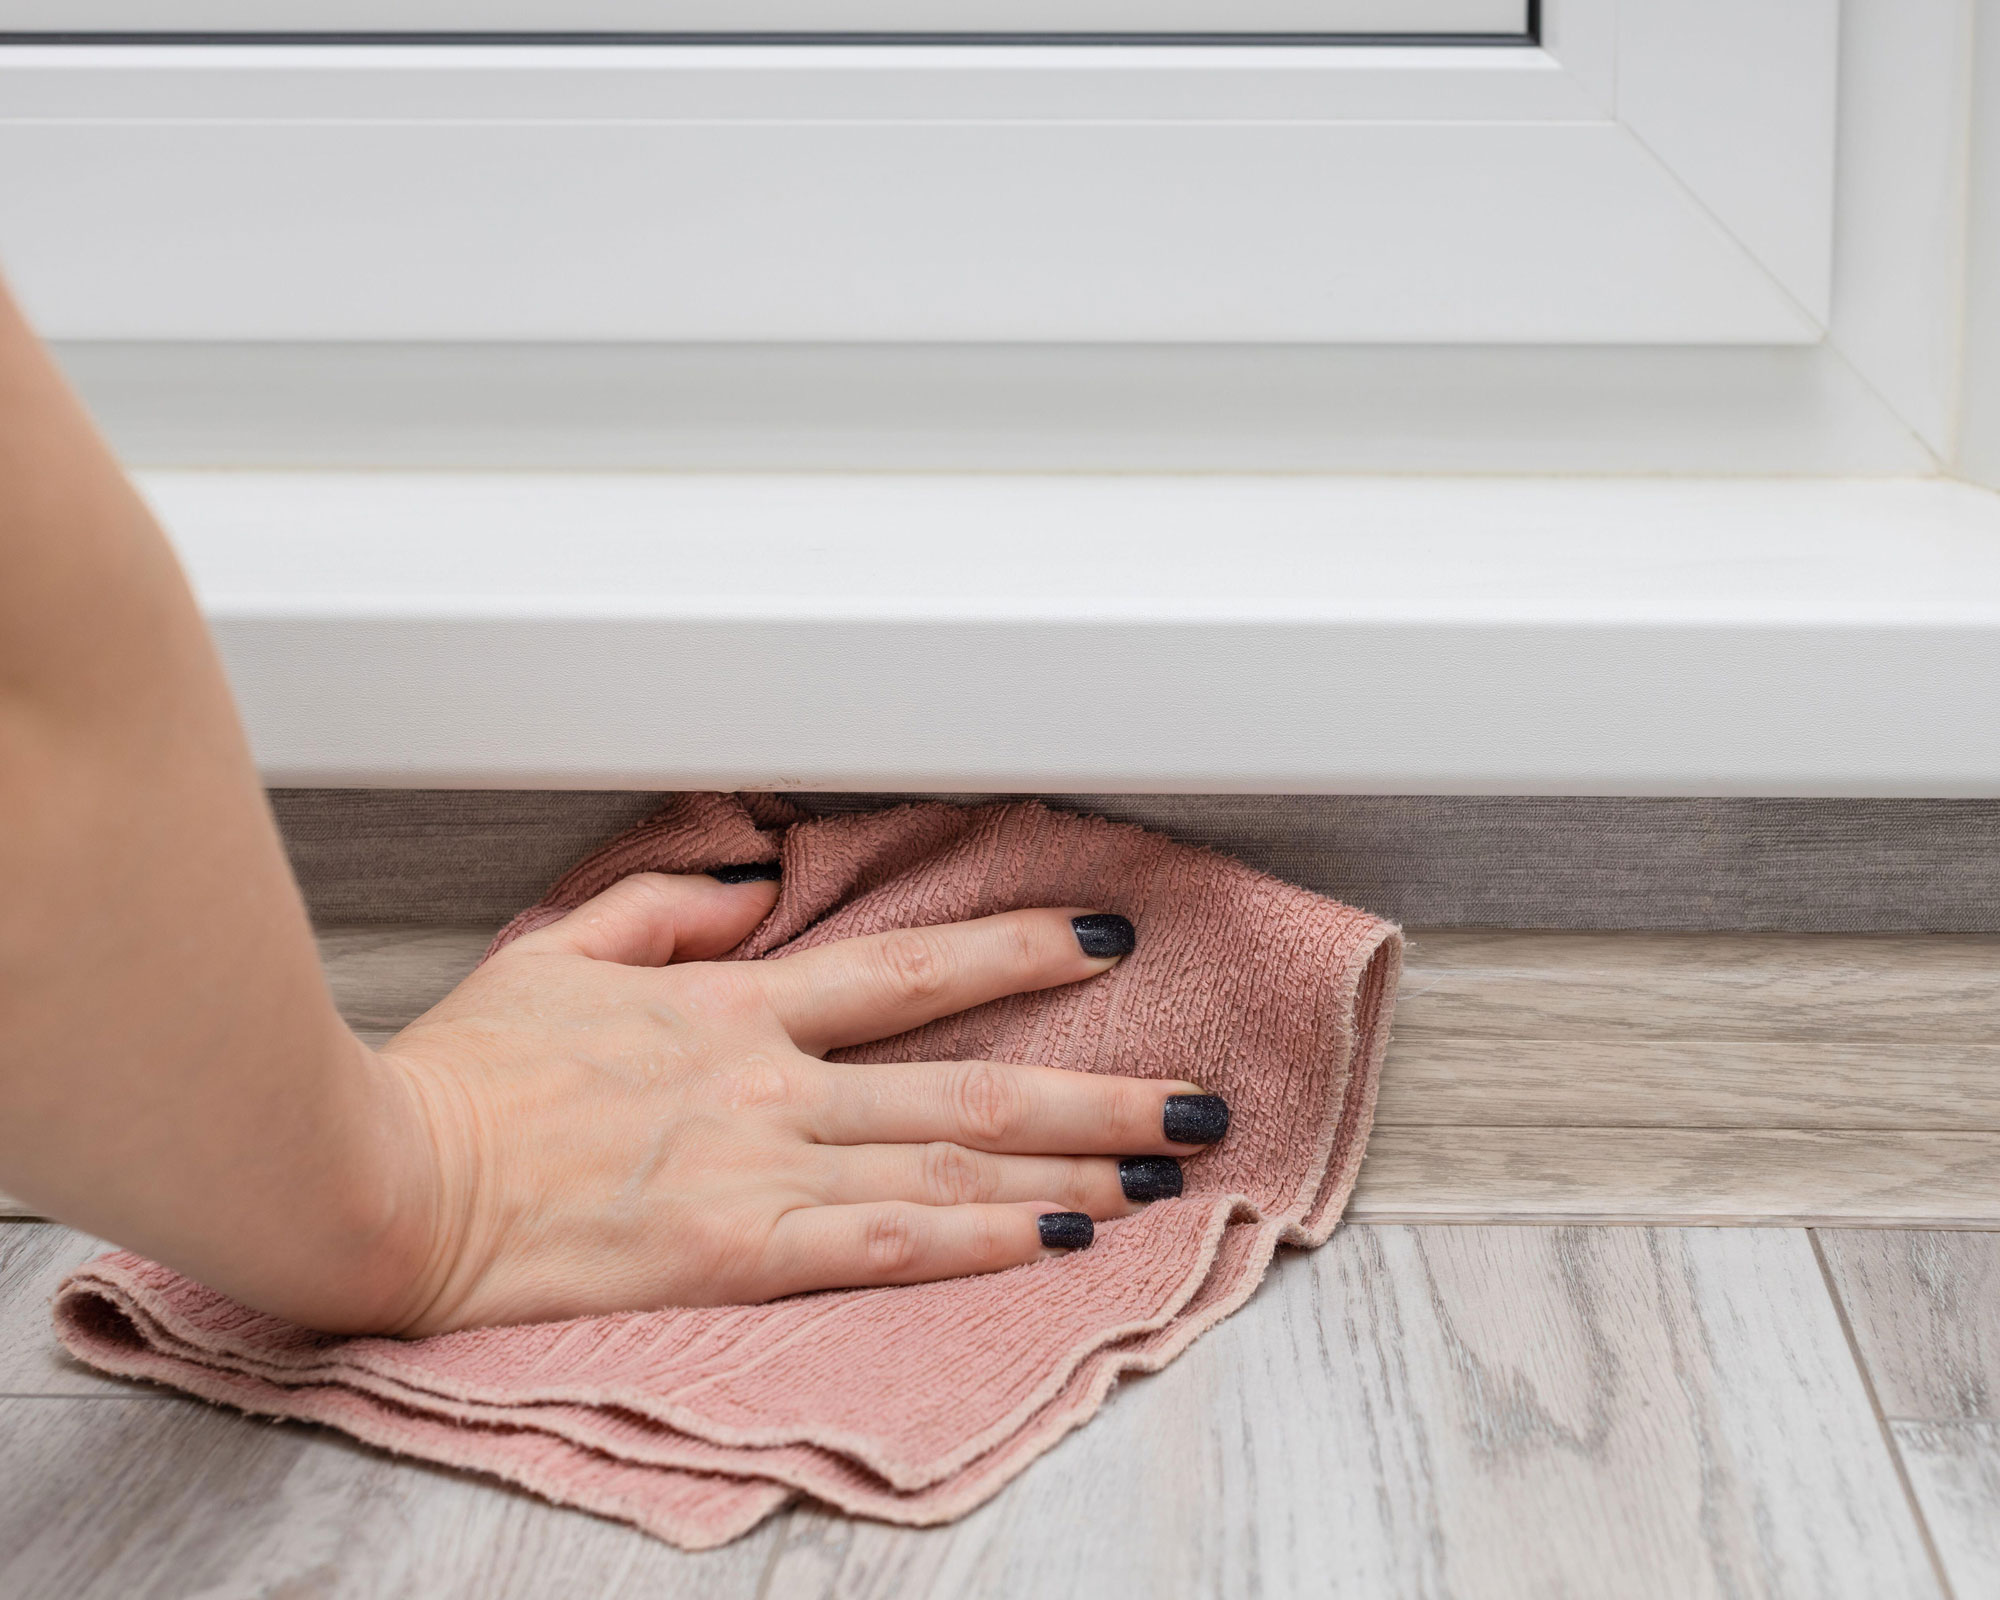
Clean away dust after installation.
With the flooring snugly in place, you can install baseboards and moldings again. You can do this manually, using a hammer and nails, or with a Straight Brad Nailer from Lowe's.
If you are installing new trims, brush up on how to paint baseboards and some painting hacks to minimize clean up to fully finish the room.
FAQs
How much does it cost to install vinyl plank flooring?
How much it costs to install vinyl plank flooring depends on the type of flooring your choose, the size of your room, what prep work the room requires, and if you choose to install it yourself or not. Typically, this project will cost between $2 and $7 per square foot.
Which direction should you install vinyl plank flooring?
Generally speaking, you should lay vinyl plank flooring parallel to the longest wall in the room to make the room feel larger and more spacious.
Meet the experts

Anton Liakhov is an interior designer who focuses on blending aesthetics with practicality, making sure every space looks great and works for everyday life.

Bar is a licensed general contractor and military veteran. He co-owns Better Place Design & Build with his brothers in San Diego.

Thomas Borcherding is a NKBA-Certified Kitchen & Bath Designer with decades of residential remodeling experience.
Once your new vinyl plank flooring has been installed, brush up on how to clean vinyl floors and which cleaning mistakes to avoid to keep them looking fresh.

Chiana is Homes & Gardens’ kitchen appliances editor. With a lifelong passion for cooking and baking, she grew up experimenting in the kitchen every weekend with her baking-extraordinaire Mom, and has developed a great understanding of how tools and appliances can make or break your ideal relaxing kitchen routine.