How to make candles – these bees wax-dipped candles are so easy
Learn how to make candles with beeswax dipping for a charming, homemade display

Zara Stacey

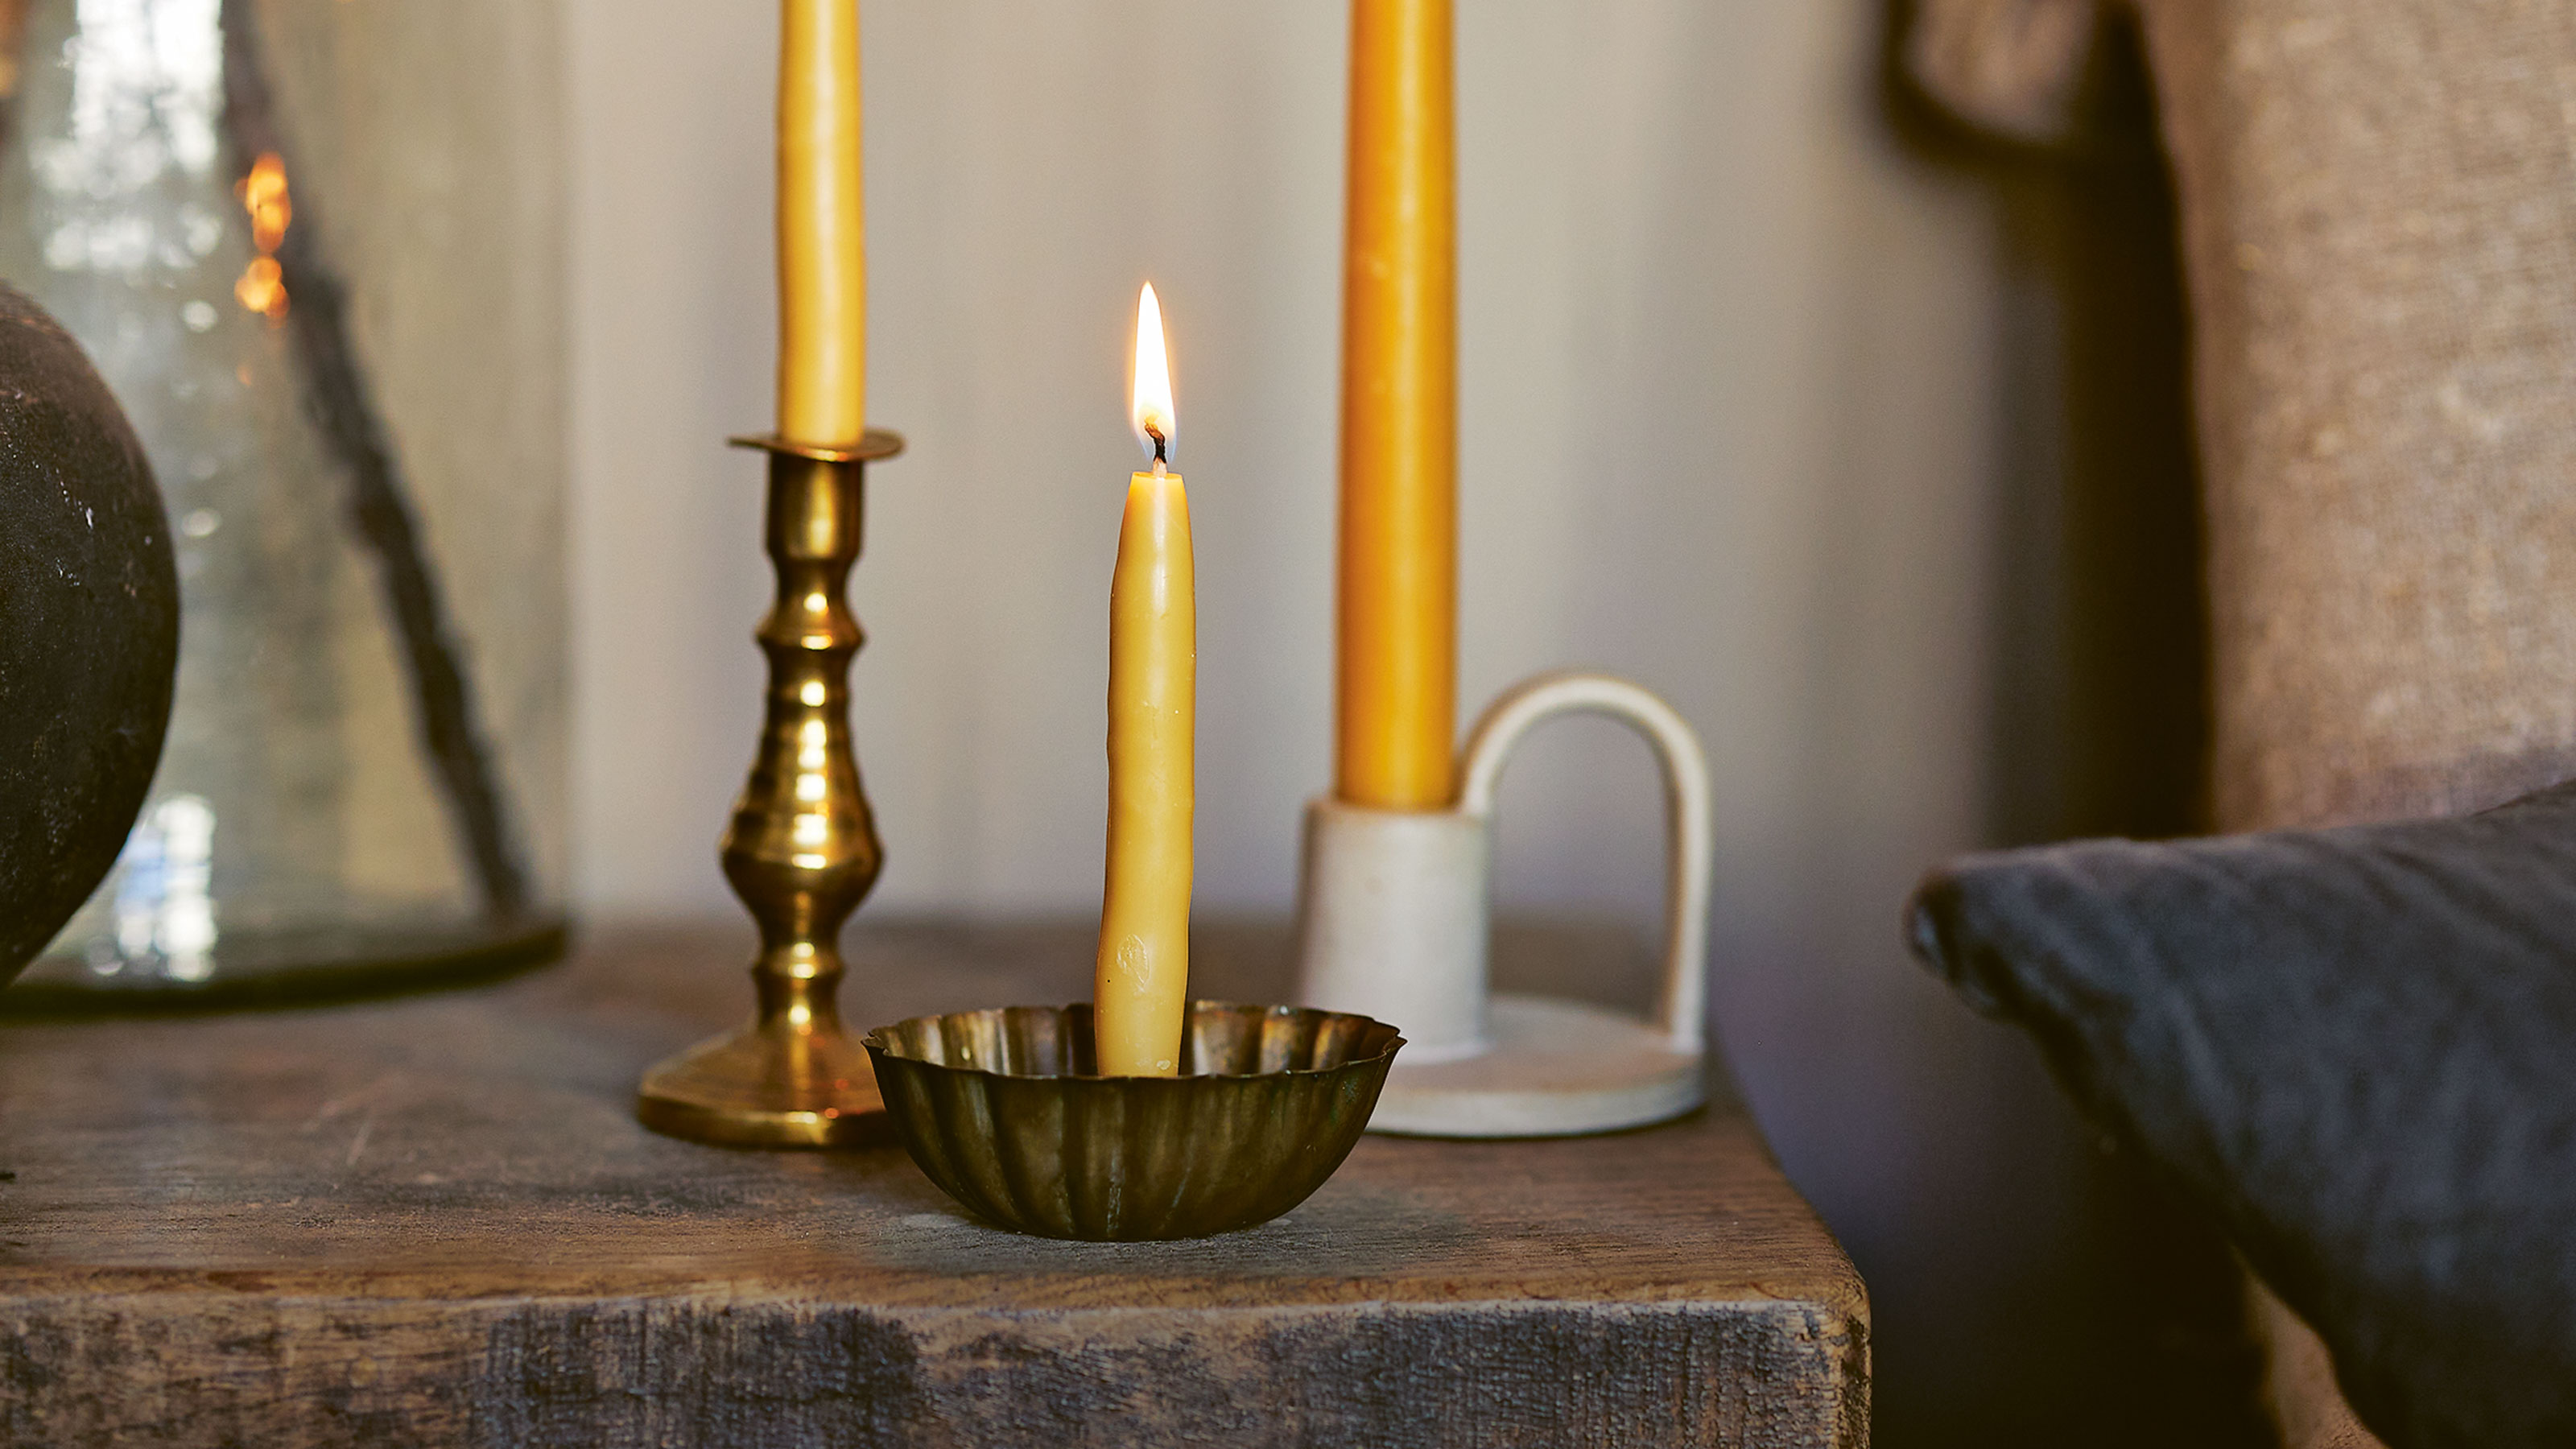
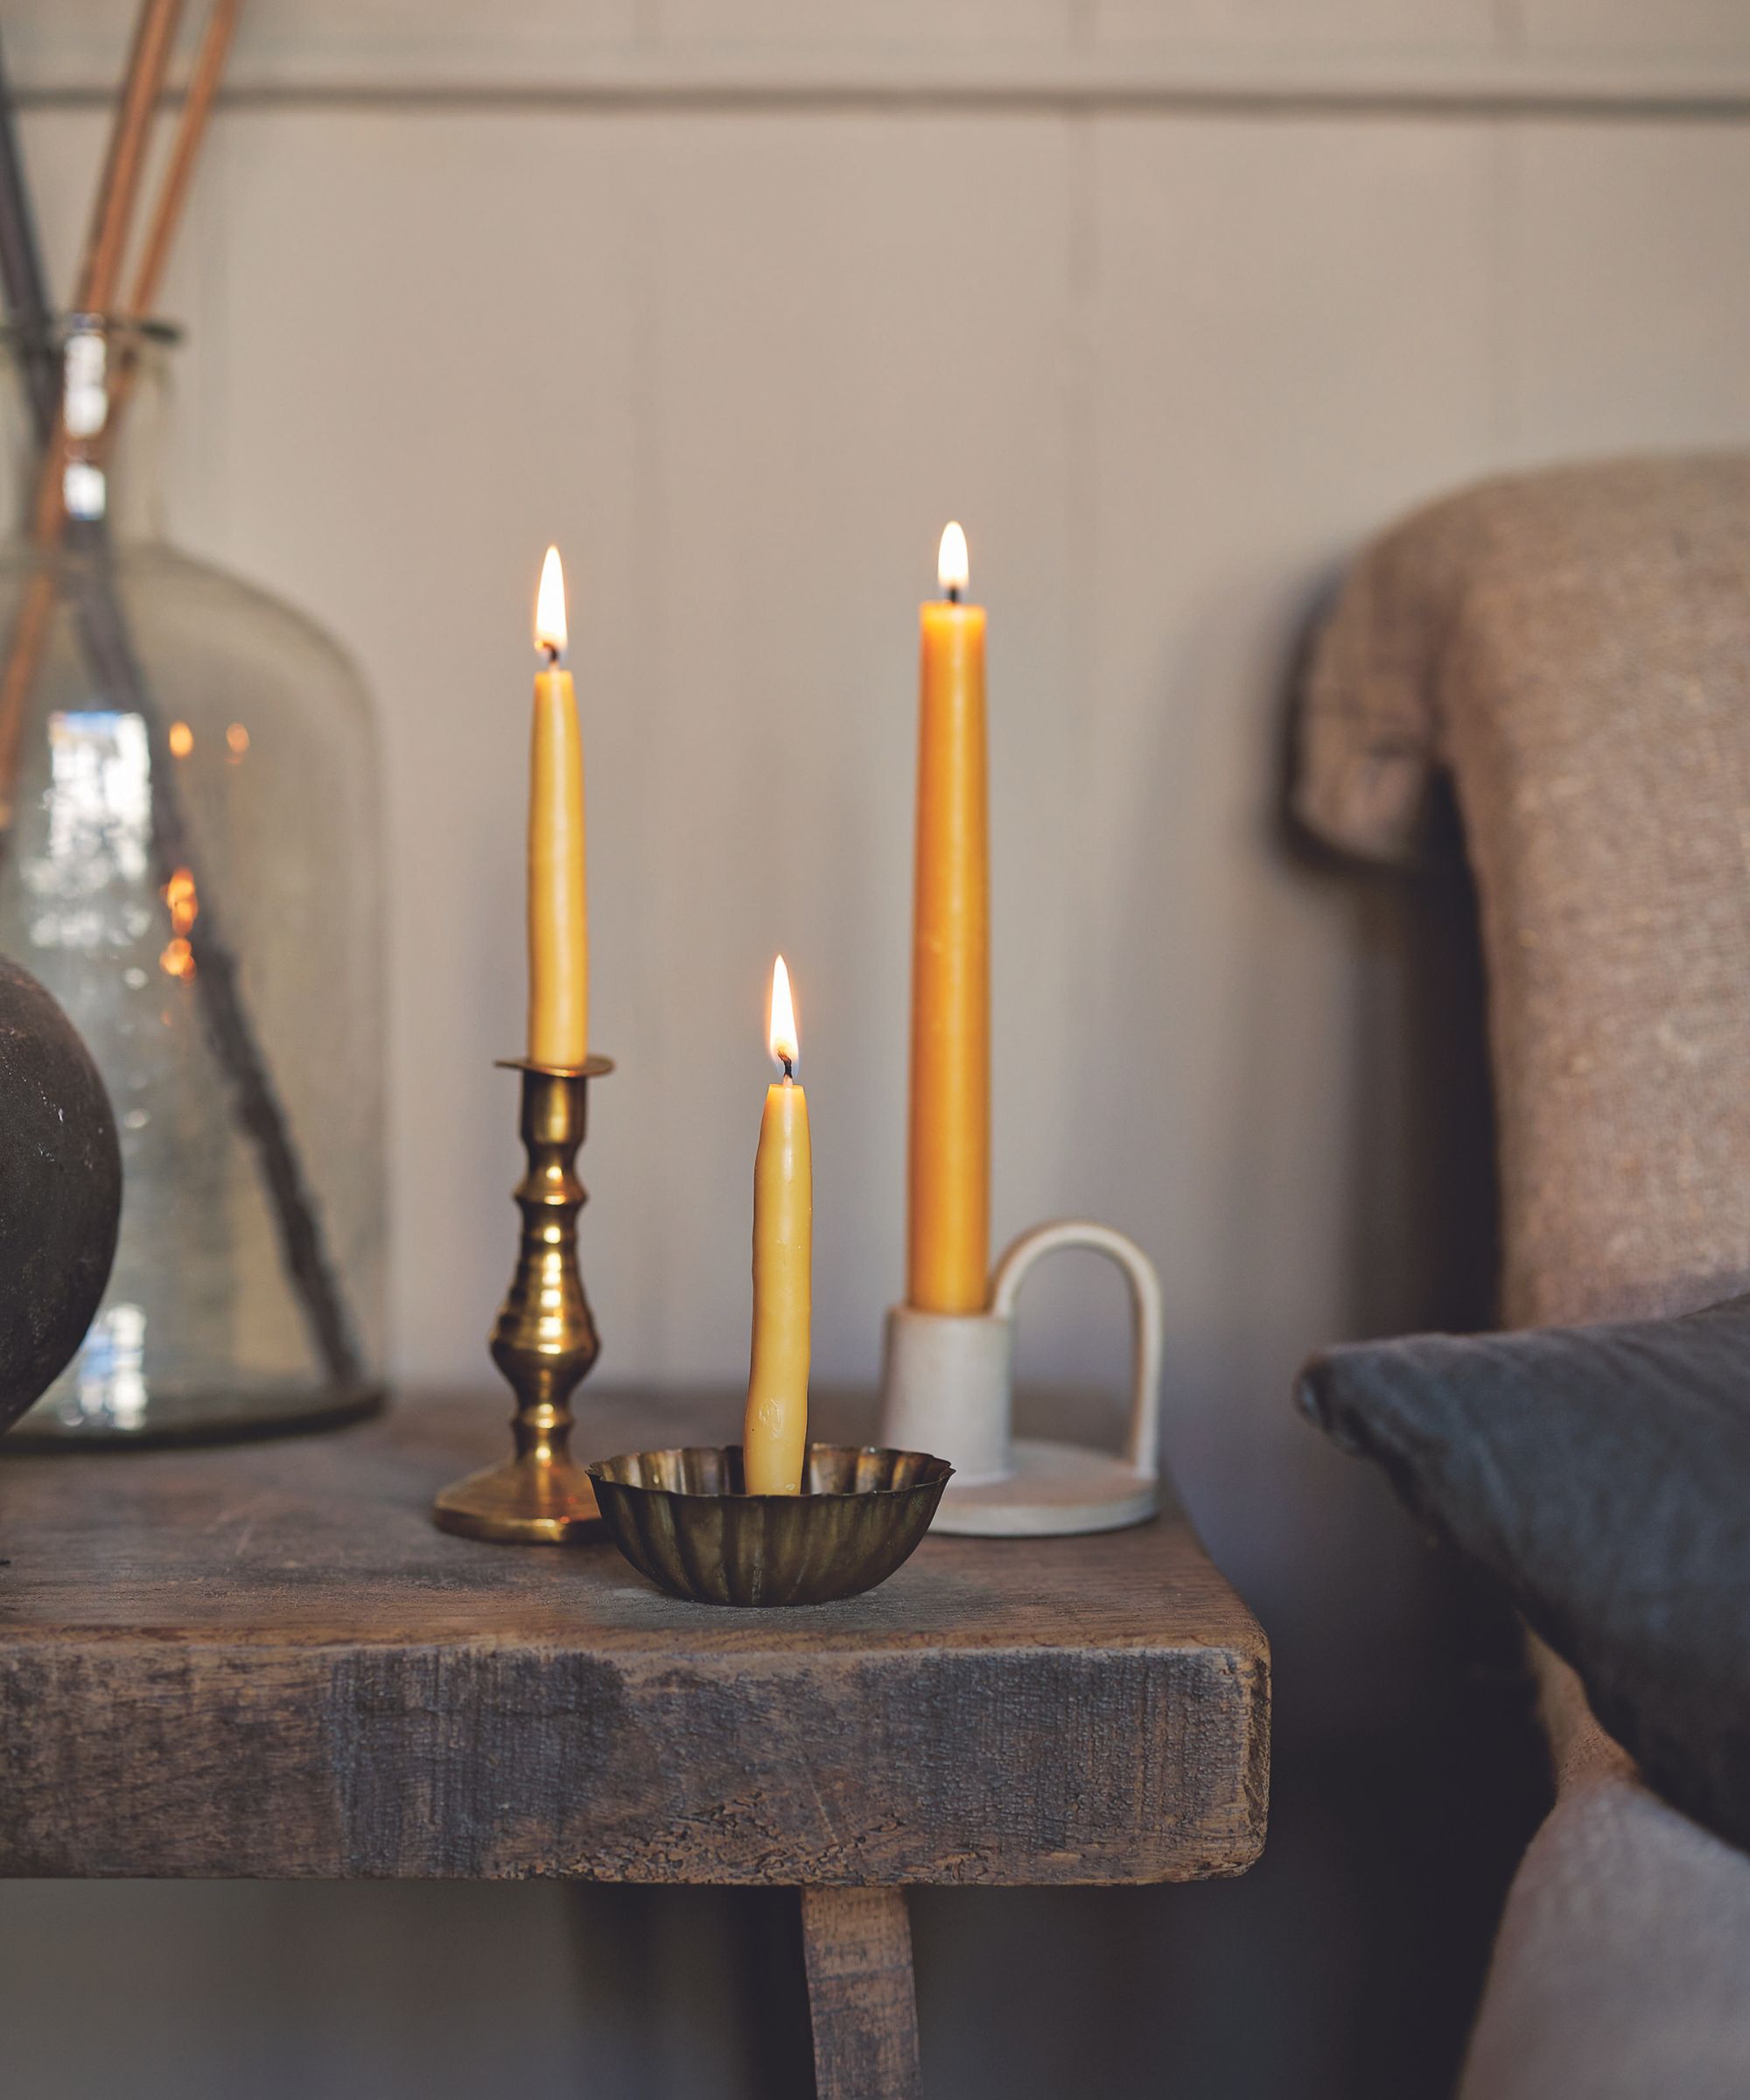
Our guide on how to make beeswax-dipped candles not only makes for a joyful crafting activity, but the designs can bring beautiful decoration and warming light into your home.
There is something so irresistibly comforting and cozy about a candle. Creating inviting pools of soft, flickering light, the best candles can help you feel more relaxed, make your home smell amazing and can serve as stylish decorations and styling tools.
Here, with the help of Angela Maynard, author of The Art of Gifting Naturally, we will take you through how to make your very own beeswax-dipped candles, which make great, sustainable gifts, and can add a more meaningful, natural and hand-crafted decoration to your home.
You will need
For a set of 2 candles:
- Scissors
- Candlewick, such as these from Amazon
- Length of wood (to hang wicks on and for drying)
- Ruler
- Candle-making jug, such as this jug from Walmart
- 720g beeswax, such as these beeswax blocks from Etsy
- Saucepan
- Metal washers, available to purchase from Amazon
- Clothes drying rack
- Bucket (for cooling, optional)
- Knife
1. Cut a length of wick to size
Wick length is determined by the length of the candle you wish to make. Hang the wicks over a length of wood at spaces of 5cm. You can mark the intervals with a pen or you could cut small notches into the edge of the length of the wood.
2. Melt the wax
Place the jug into the pan and add the beeswax to the jug. Fill approx. one-third of the pan with water and gradually bring to a boil. Heat until the beeswax has completely melted. The depth of the jug will determine the length of the candles you’ll be able to make so pick a jug accordingly.
3. Weight the wicks
Weight the wicks by tying small metal washers to both ends, to ensure that the string doesn’t float in the water.
Design expertise in your inbox – from inspiring decorating ideas and beautiful celebrity homes to practical gardening advice and shopping round-ups.
4. Dip the wicks
Dip the wicks into the beeswax the full length you would like your candles to be and gradually lift out. Set them aside on the clothes drying rack to cool for a few minutes or dip them into a bucket of cold water. Once cool, repeat the dipping process. Repeat dipping until the candles have reached the thickness you require.
5. Keep dipping
If you have added weights, cut these off with a knife. Then dip again to create a neat finish.
6. Allow the candles to cool and dry
Set your candles aside to completely cool off and dry out on the clothes drying rack. Allowing candles to cool off completely will also help candles last longer when you do light them.

"I’d always loved making gifts as a child and always paid particular attention to wrapping them beautifully, even having wrapping competitions with my sister at Xmas! With my childhood self in mind, I decided to spend some time playing with natural, recycled, and sustainable materials, devising a collection of practical projects that would be easy to make at home. My book ‘ The Art of Gifting Naturally’ is the result of these ideas and experimentations."
What wax is best for dipping candles?
As we have explored in this guide, beeswax is one of the best waxes to use when making dipping candles.
Beeswax is a 100% natural wax produced by honey bees, it is used to create the foundations of their hives. The wax can be used to make all kinds of candles and is one of the most popular and versatile options to choose from. Other natural waxes include soy and palm.
Paraffin wax is also a popular choice for dipped candles, however, this type of wax is not the most sustainable as it is a byproduct of the petroleum, coal and oil purification process.
Can you add scent to beeswax candles?
Yes, you most definitely can add scent to your homemade beeswax candles.
There are so many essential oil and fragrance scents to choose from which will add a lovely smell to your homemade candle.
Beeswax candles already have their own, subtly sweet scent, but adding your own scent can make the creations even more special and unique.
You can also add coconut oil to your homemade beeswax candles as this will help the candle to burn more evenly and consistently.

Jo Bailey has been Editor of Homes & Gardens (the print edition) since September 2023; overseeing all features for the print edition. Previously, she worked as the News & Shopping Editor across H&G and Livingetc where it was her role to discover the best news stories, latest trends and honed her understanding of Homes and Gardens' over 100-year-old brand.
Before joining Future Plc, she worked as an interior stylist for over ten years, specialising in commercial photo shoots for luxury clients such as; Design Centre Chelsea Harbour, The Romo Group, Christopher Farr Cloth and Heal's. She has worked closely with Homes & Gardens and Livingetc for over a decade, having styled and produced editorial shoots and events for both titles over the years.
- Zara StaceyContent Editor
