How to descale a Keurig with vinegar – avoid using harsh chemicals with this all-natural alternative the pros love
Keep your machine running smoothly and your coffee tasting great with this expert-approved descaling method

Ottilie Blackhall

Design expertise in your inbox – from inspiring decorating ideas and beautiful celebrity homes to practical gardening advice and shopping round-ups.
You are now subscribed
Your newsletter sign-up was successful
Want to add more newsletters?

Twice a week
Homes&Gardens
The ultimate interior design resource from the world's leading experts - discover inspiring decorating ideas, color scheming know-how, garden inspiration and shopping expertise.

Once a week
In The Loop from Next In Design
Members of the Next in Design Circle will receive In the Loop, our weekly email filled with trade news, names to know and spotlight moments. Together we’re building a brighter design future.

Twice a week
Cucina
Whether you’re passionate about hosting exquisite dinners, experimenting with culinary trends, or perfecting your kitchen's design with timeless elegance and innovative functionality, this newsletter is here to inspire
It might not be top of your priority list, but descaling your Keurig with vinegar won't just keep your morning coffee tasting great – it will remove mineral deposits and prolong the life of your machine, too.
Luckily, it's not a tricky task to undertake, and you don't need any pricey specialist products to clean both the interior and exterior of your machine, either.
I spoke to professional cleaners and coffee appliance experts for their descaling with vinegar tips so even the best Keurig coffee maker doesn't get sidelined by limescale.
How to descale a Keurig with vinegar easily and quickly
Keurig descaling essentials
- White vinegar such as this White Distilled Vinegar available at Target
- Distilled water
- A cup or mug, to catch the used solution
- A clean cloth such as the bestselling Great Value Multipurpose Microfiber Household Cleaning Cloth available at Walmart
- Dish soap such as the MRS. MEYER'S CLEAN DAY Liquid Dish Soap available at Amazon, which has a biodegradable formula and is made with plant-derived cleaning ingredients.
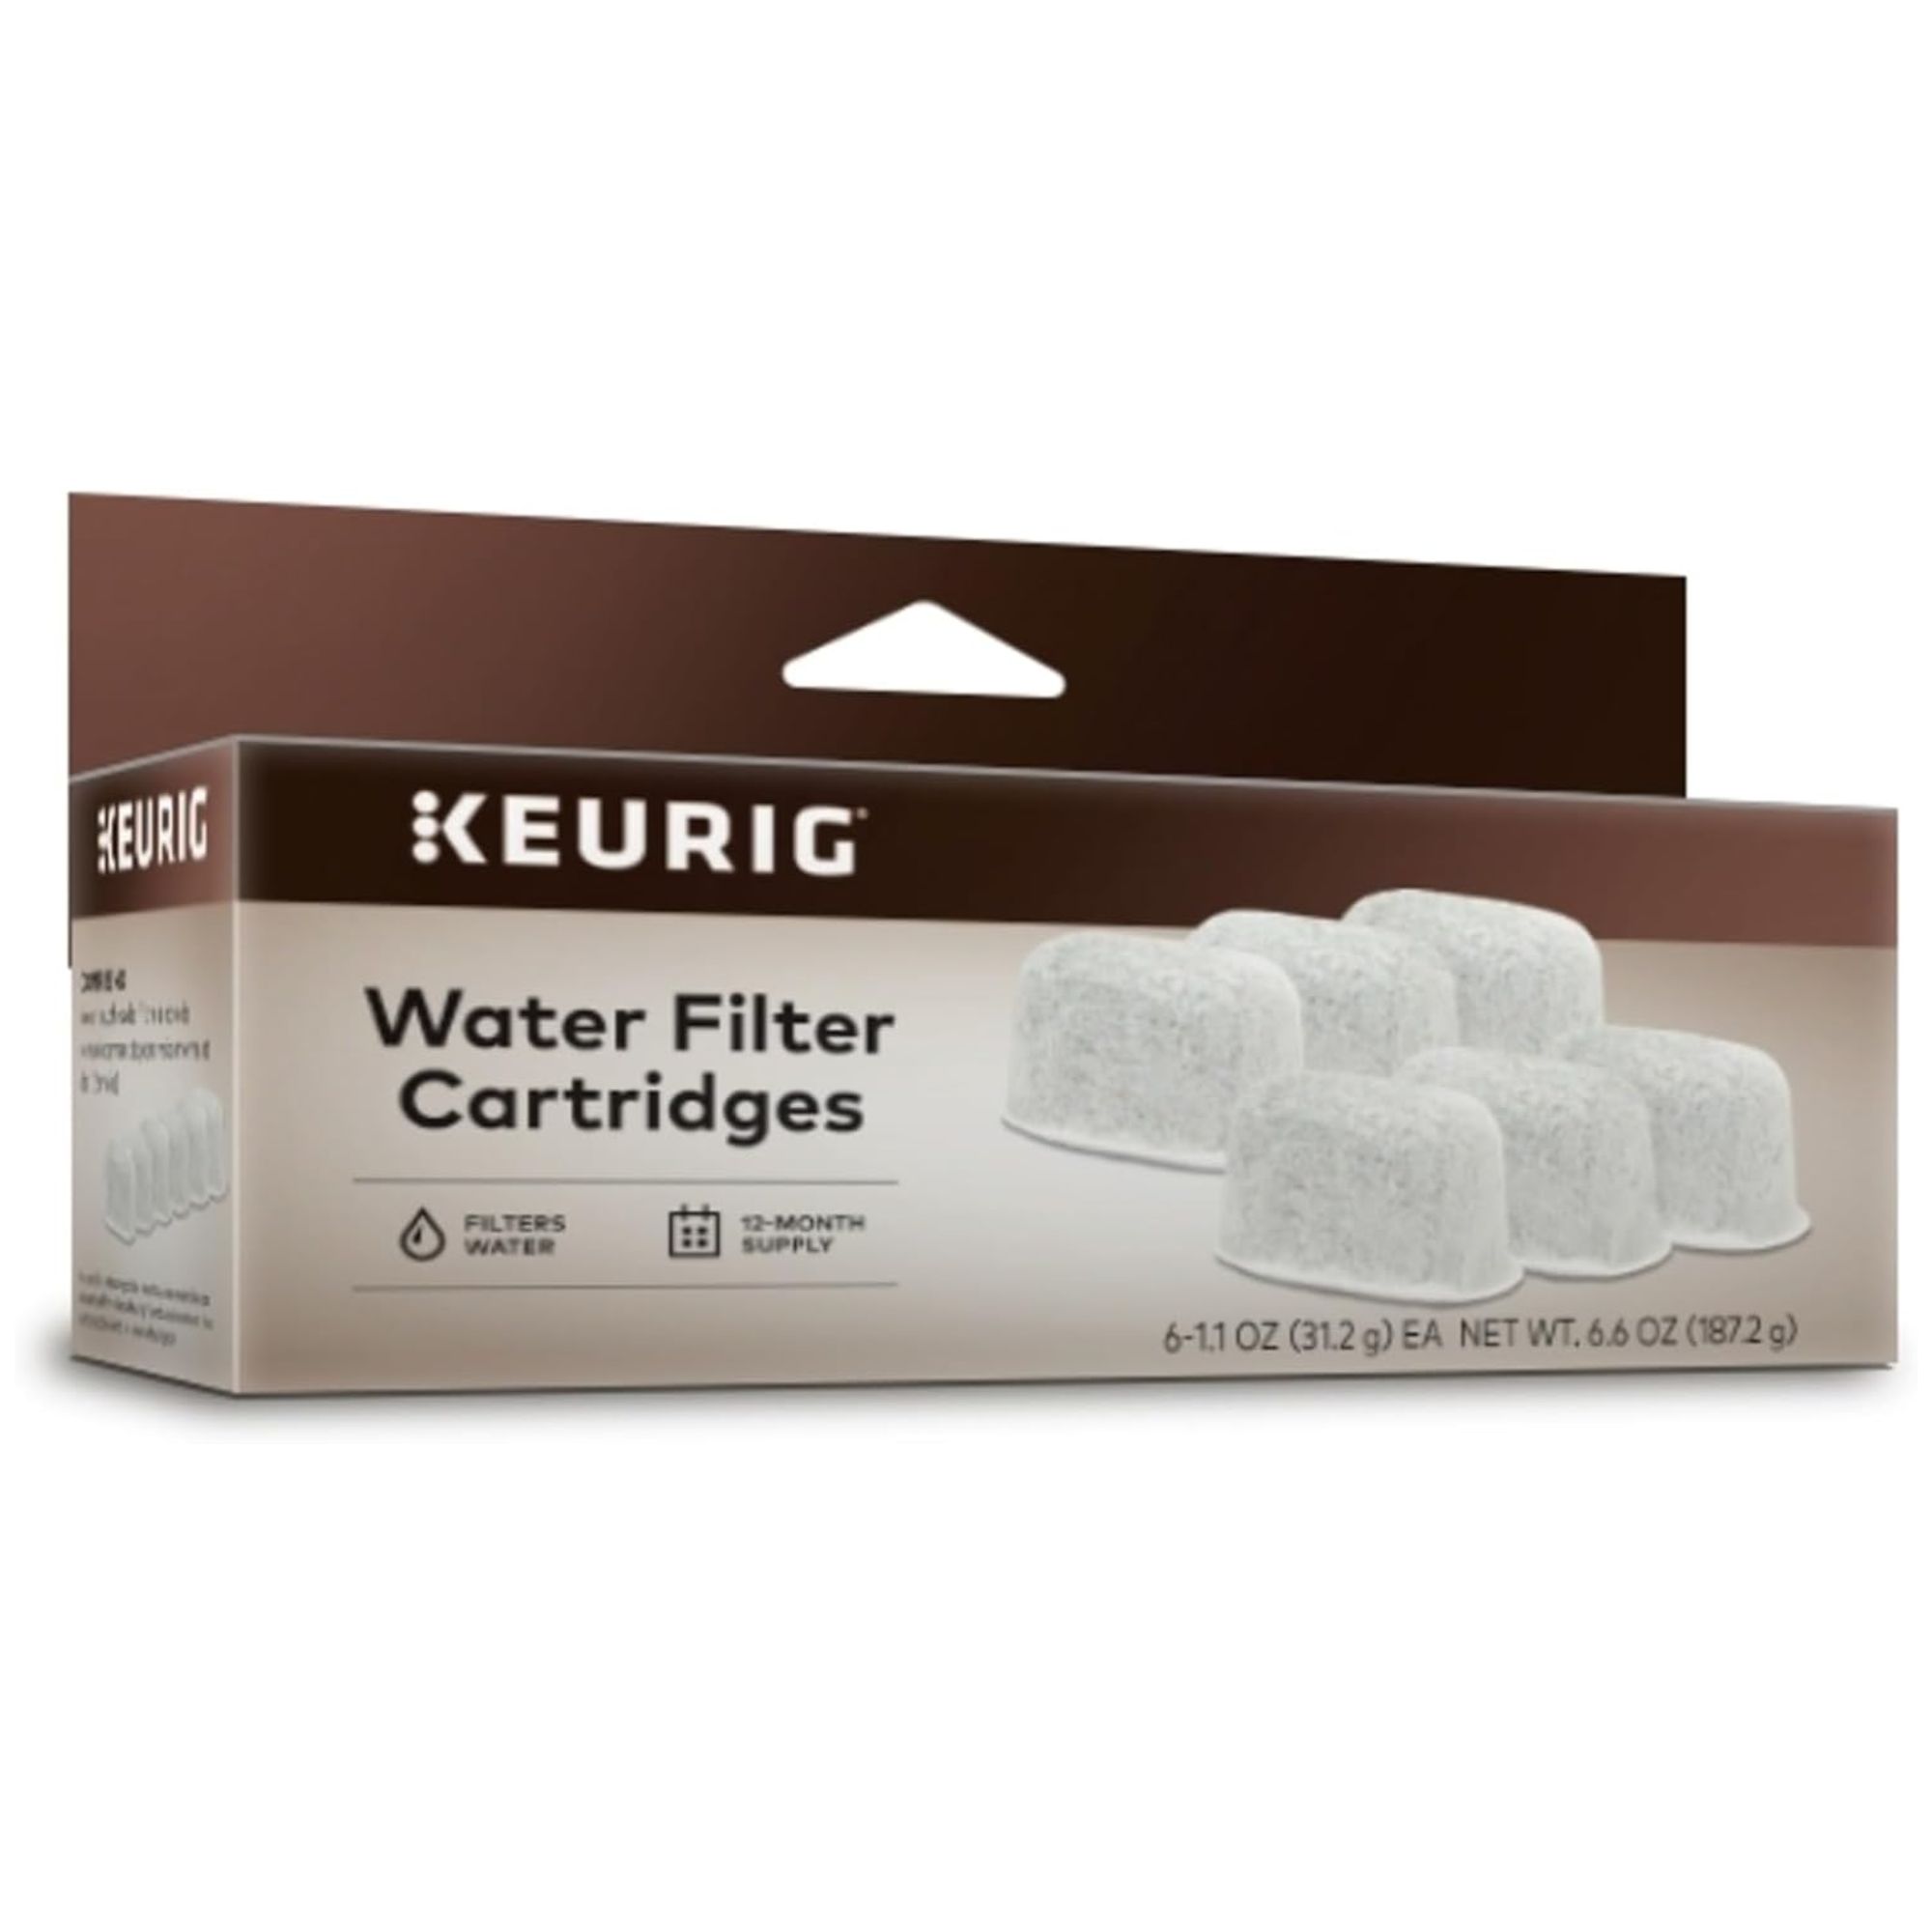
- A replacement filter, Keurig sells filters that fit all their machines. Check your product number for the exact type you need.
1. Empty the machine's reservoir
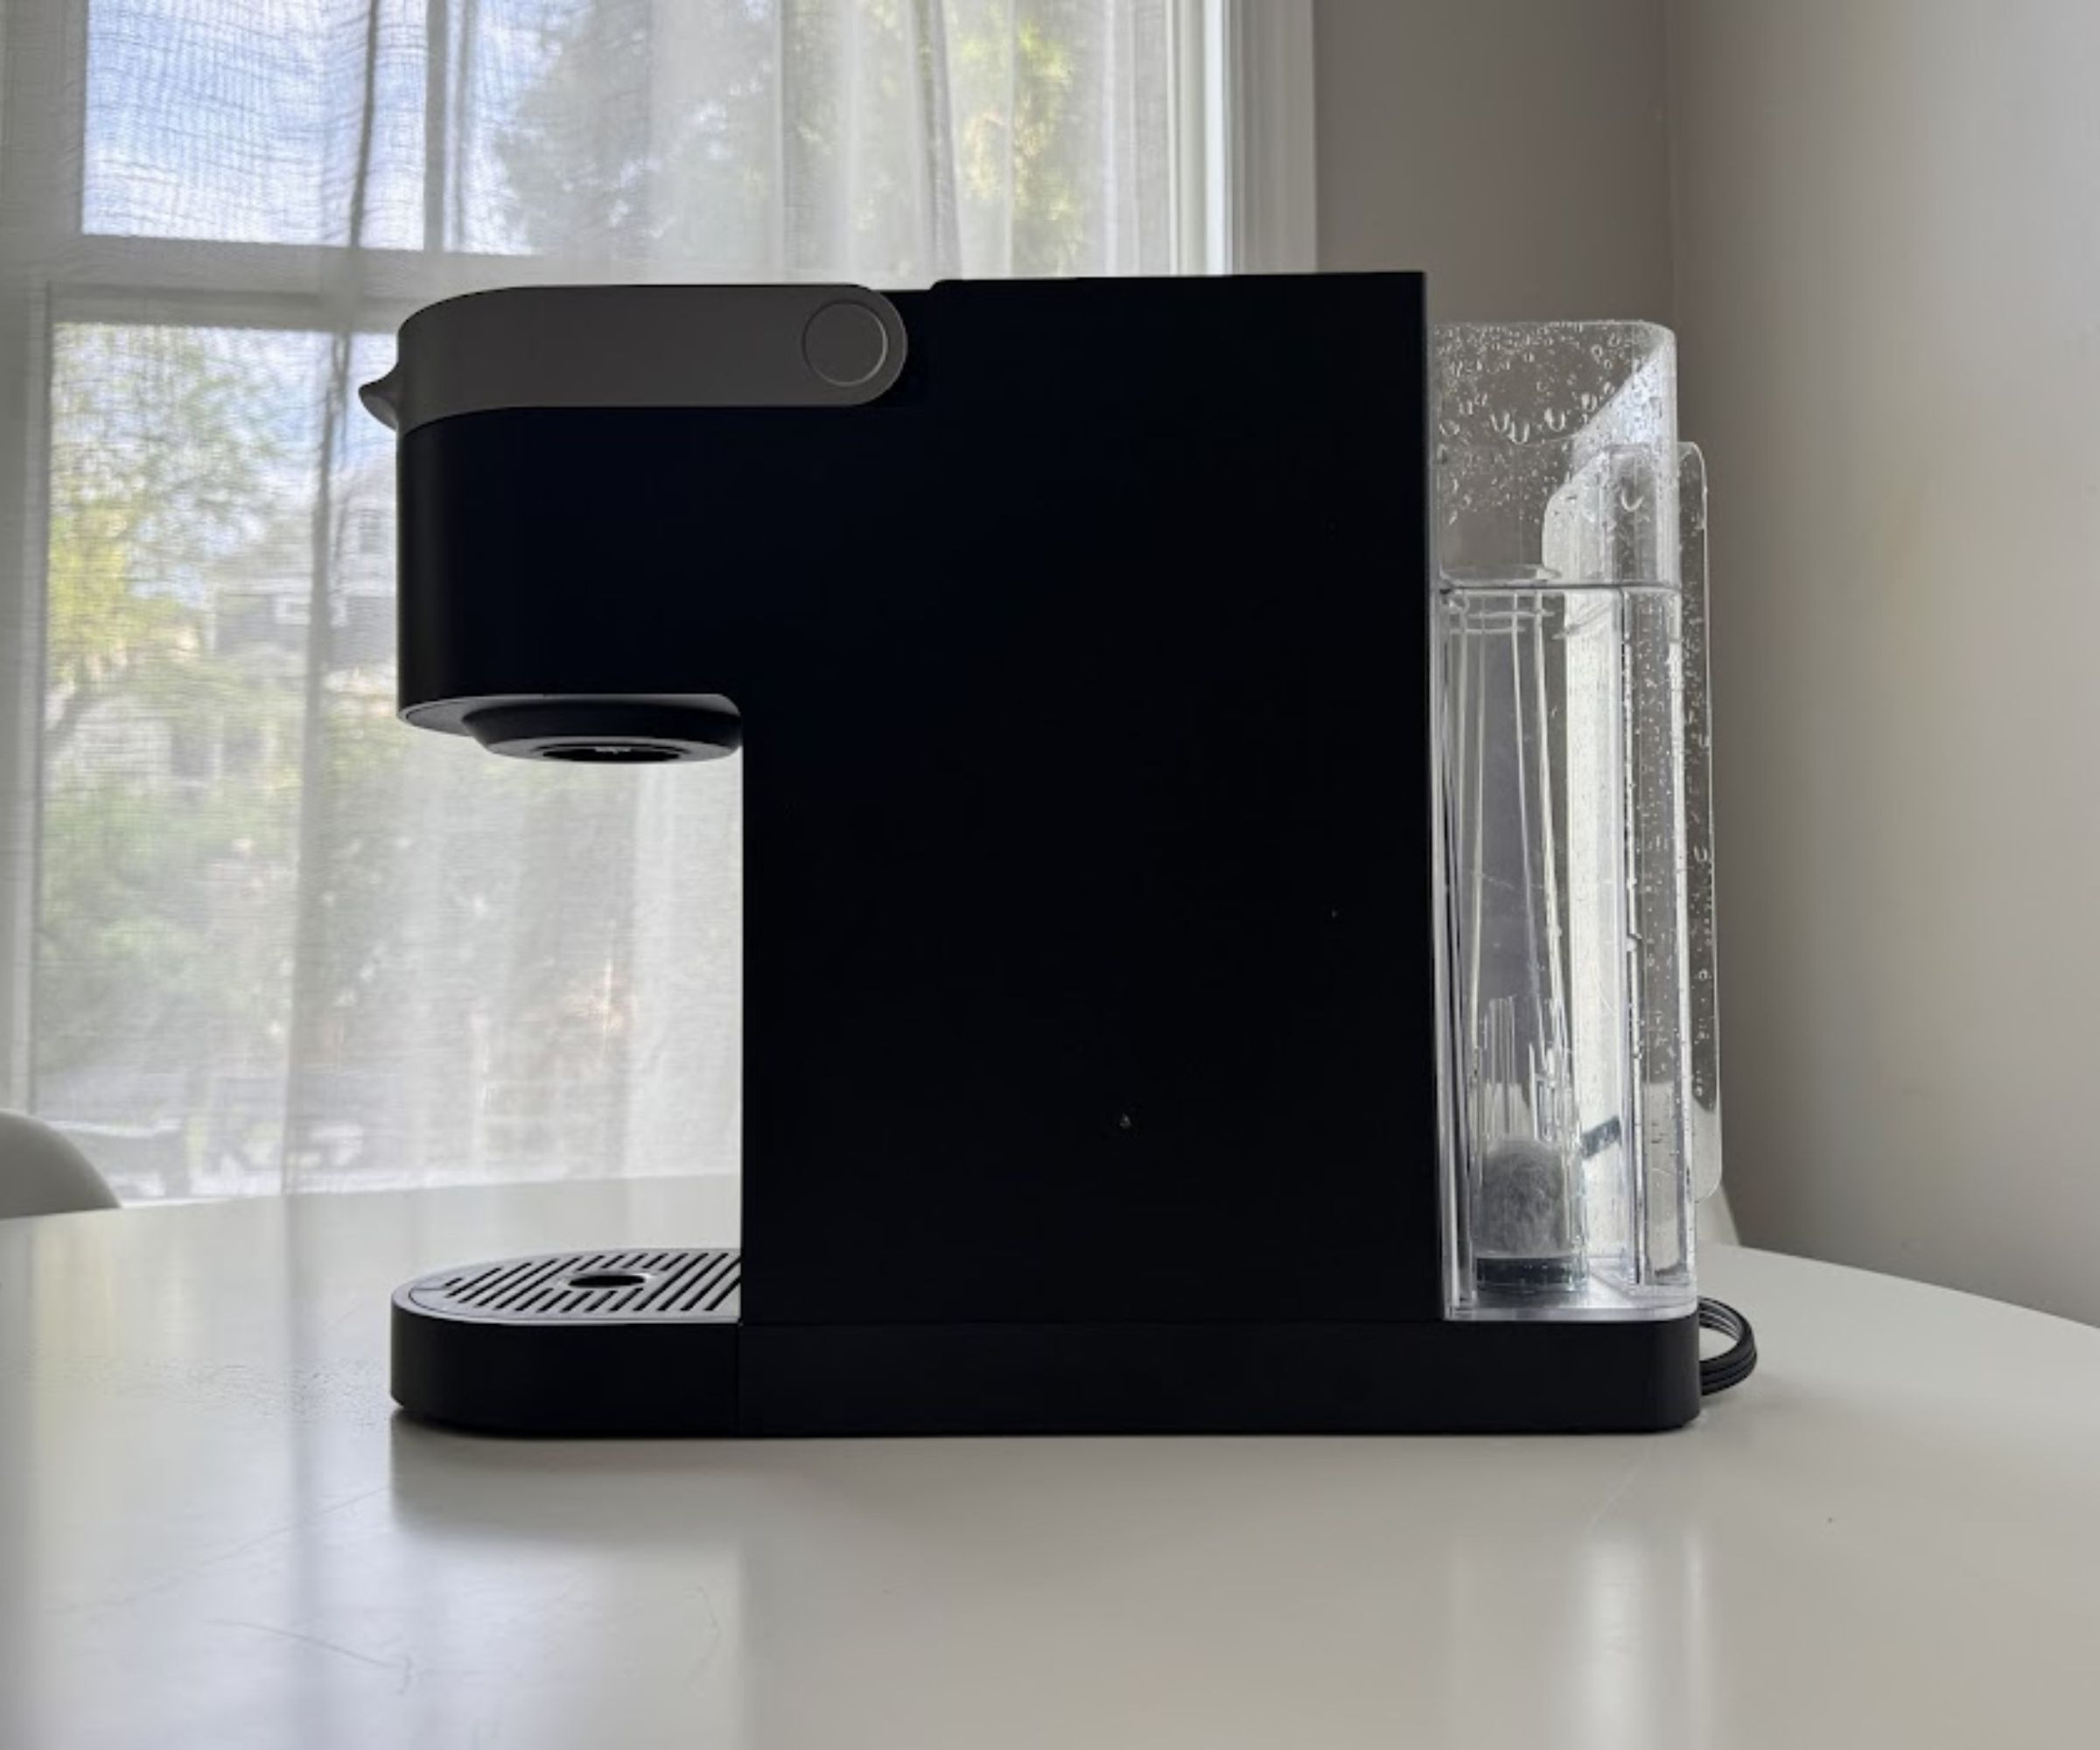
The reservoir may be in a slightly different location depending on your coffee maker's model, but they are usually made from clear plastic, and located towards the back of the machine.
To start, turn off your Keurig and empty the reservoir of existing water. Diana Crane from Keurig also advises, 'remove any K-Cups, and the water filter if applicable.'
At this stage, Karina Toner, professional cleaner and operations manager at Spekless recommends turning off the auto shut-off feature on your machine, to prevent any interruptions in the process.
2. Combine equal parts water and vinegar
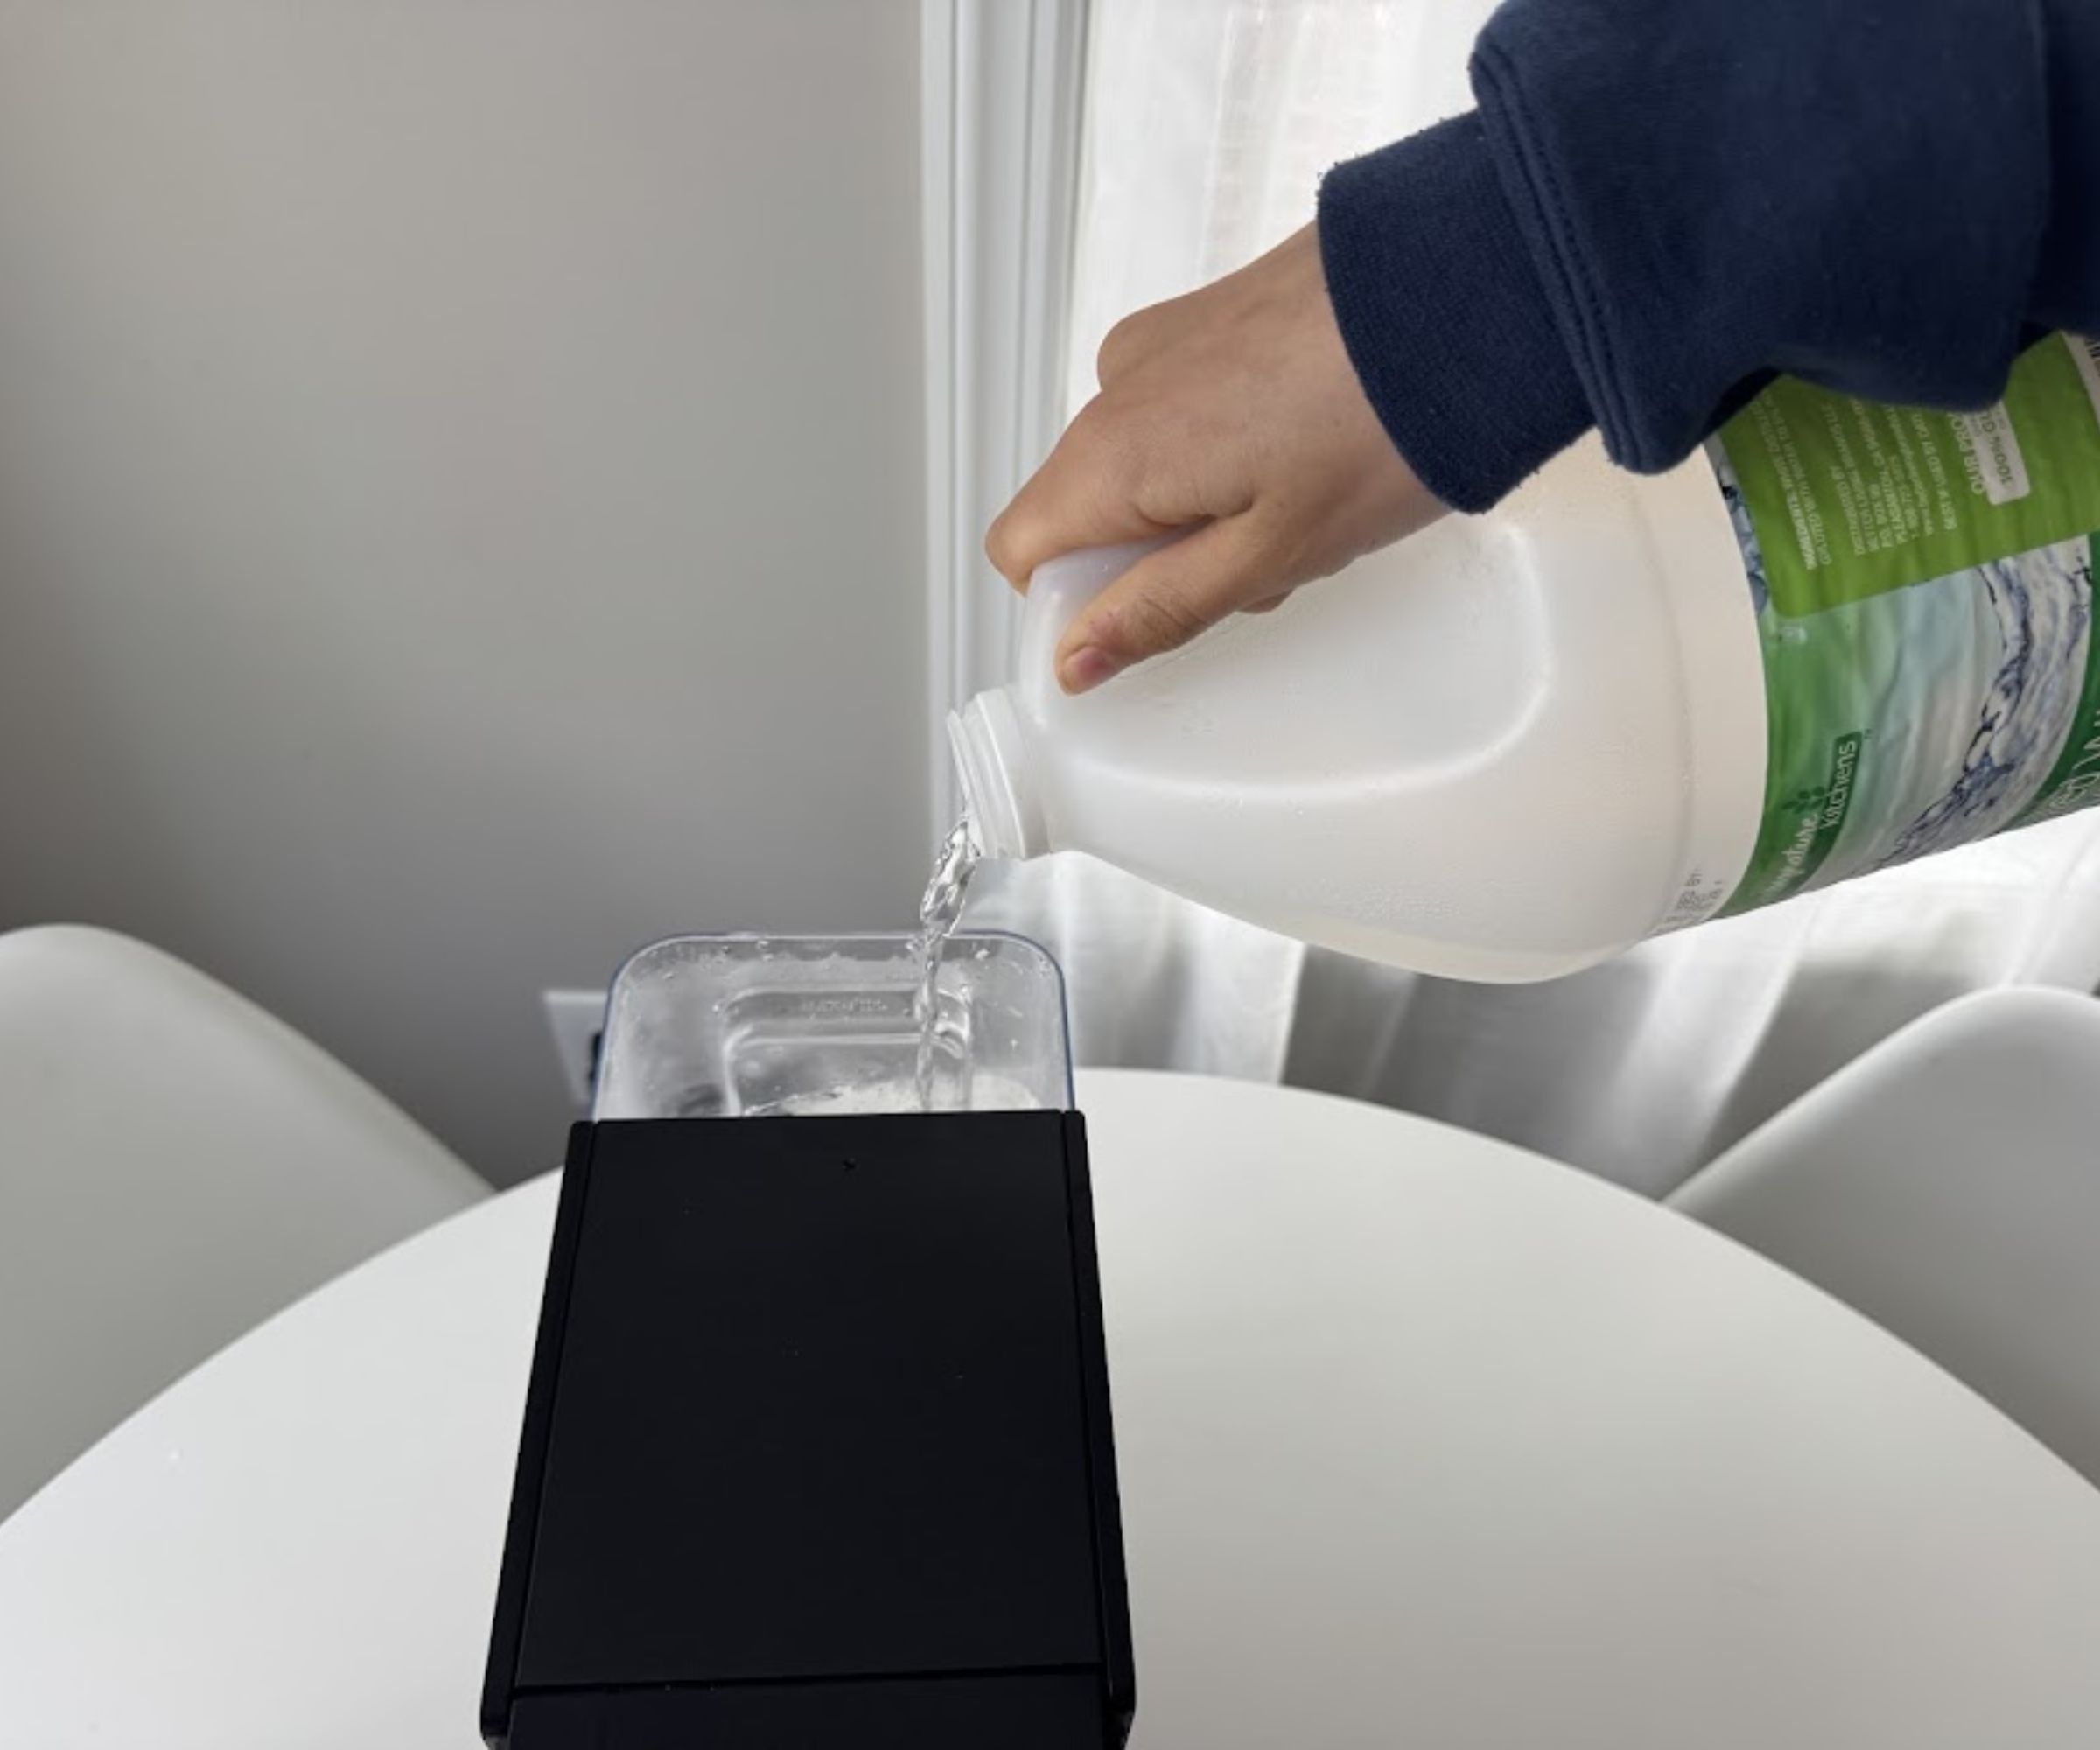
You can eyeball this process, or measure them into a pitcher first.
Next, pour distilled water, such as the Pure Life Distilled Water available at Amazon, to the halfway mark in your Keurig's reservoir, before filling the rest with white vinegar. You can roughly eyeball this, or measure it using the bestselling Anchor Hocking Glass Measuring Cup available at Walmart.
Kayla Stavridis, former Starbucks barista from Barista HQ, explains that this process works because 'vinegar is highly acidic, making it effective at dissolving mineral deposits without leaving chemical residues.'
Design expertise in your inbox – from inspiring decorating ideas and beautiful celebrity homes to practical gardening advice and shopping round-ups.
Better yet, coffee blogger Johnny Morrison adds that vinegar is 'much cheaper than specialized descaling solutions,' typically costing around 40 cents per descale.
3. Run the brewing cycle
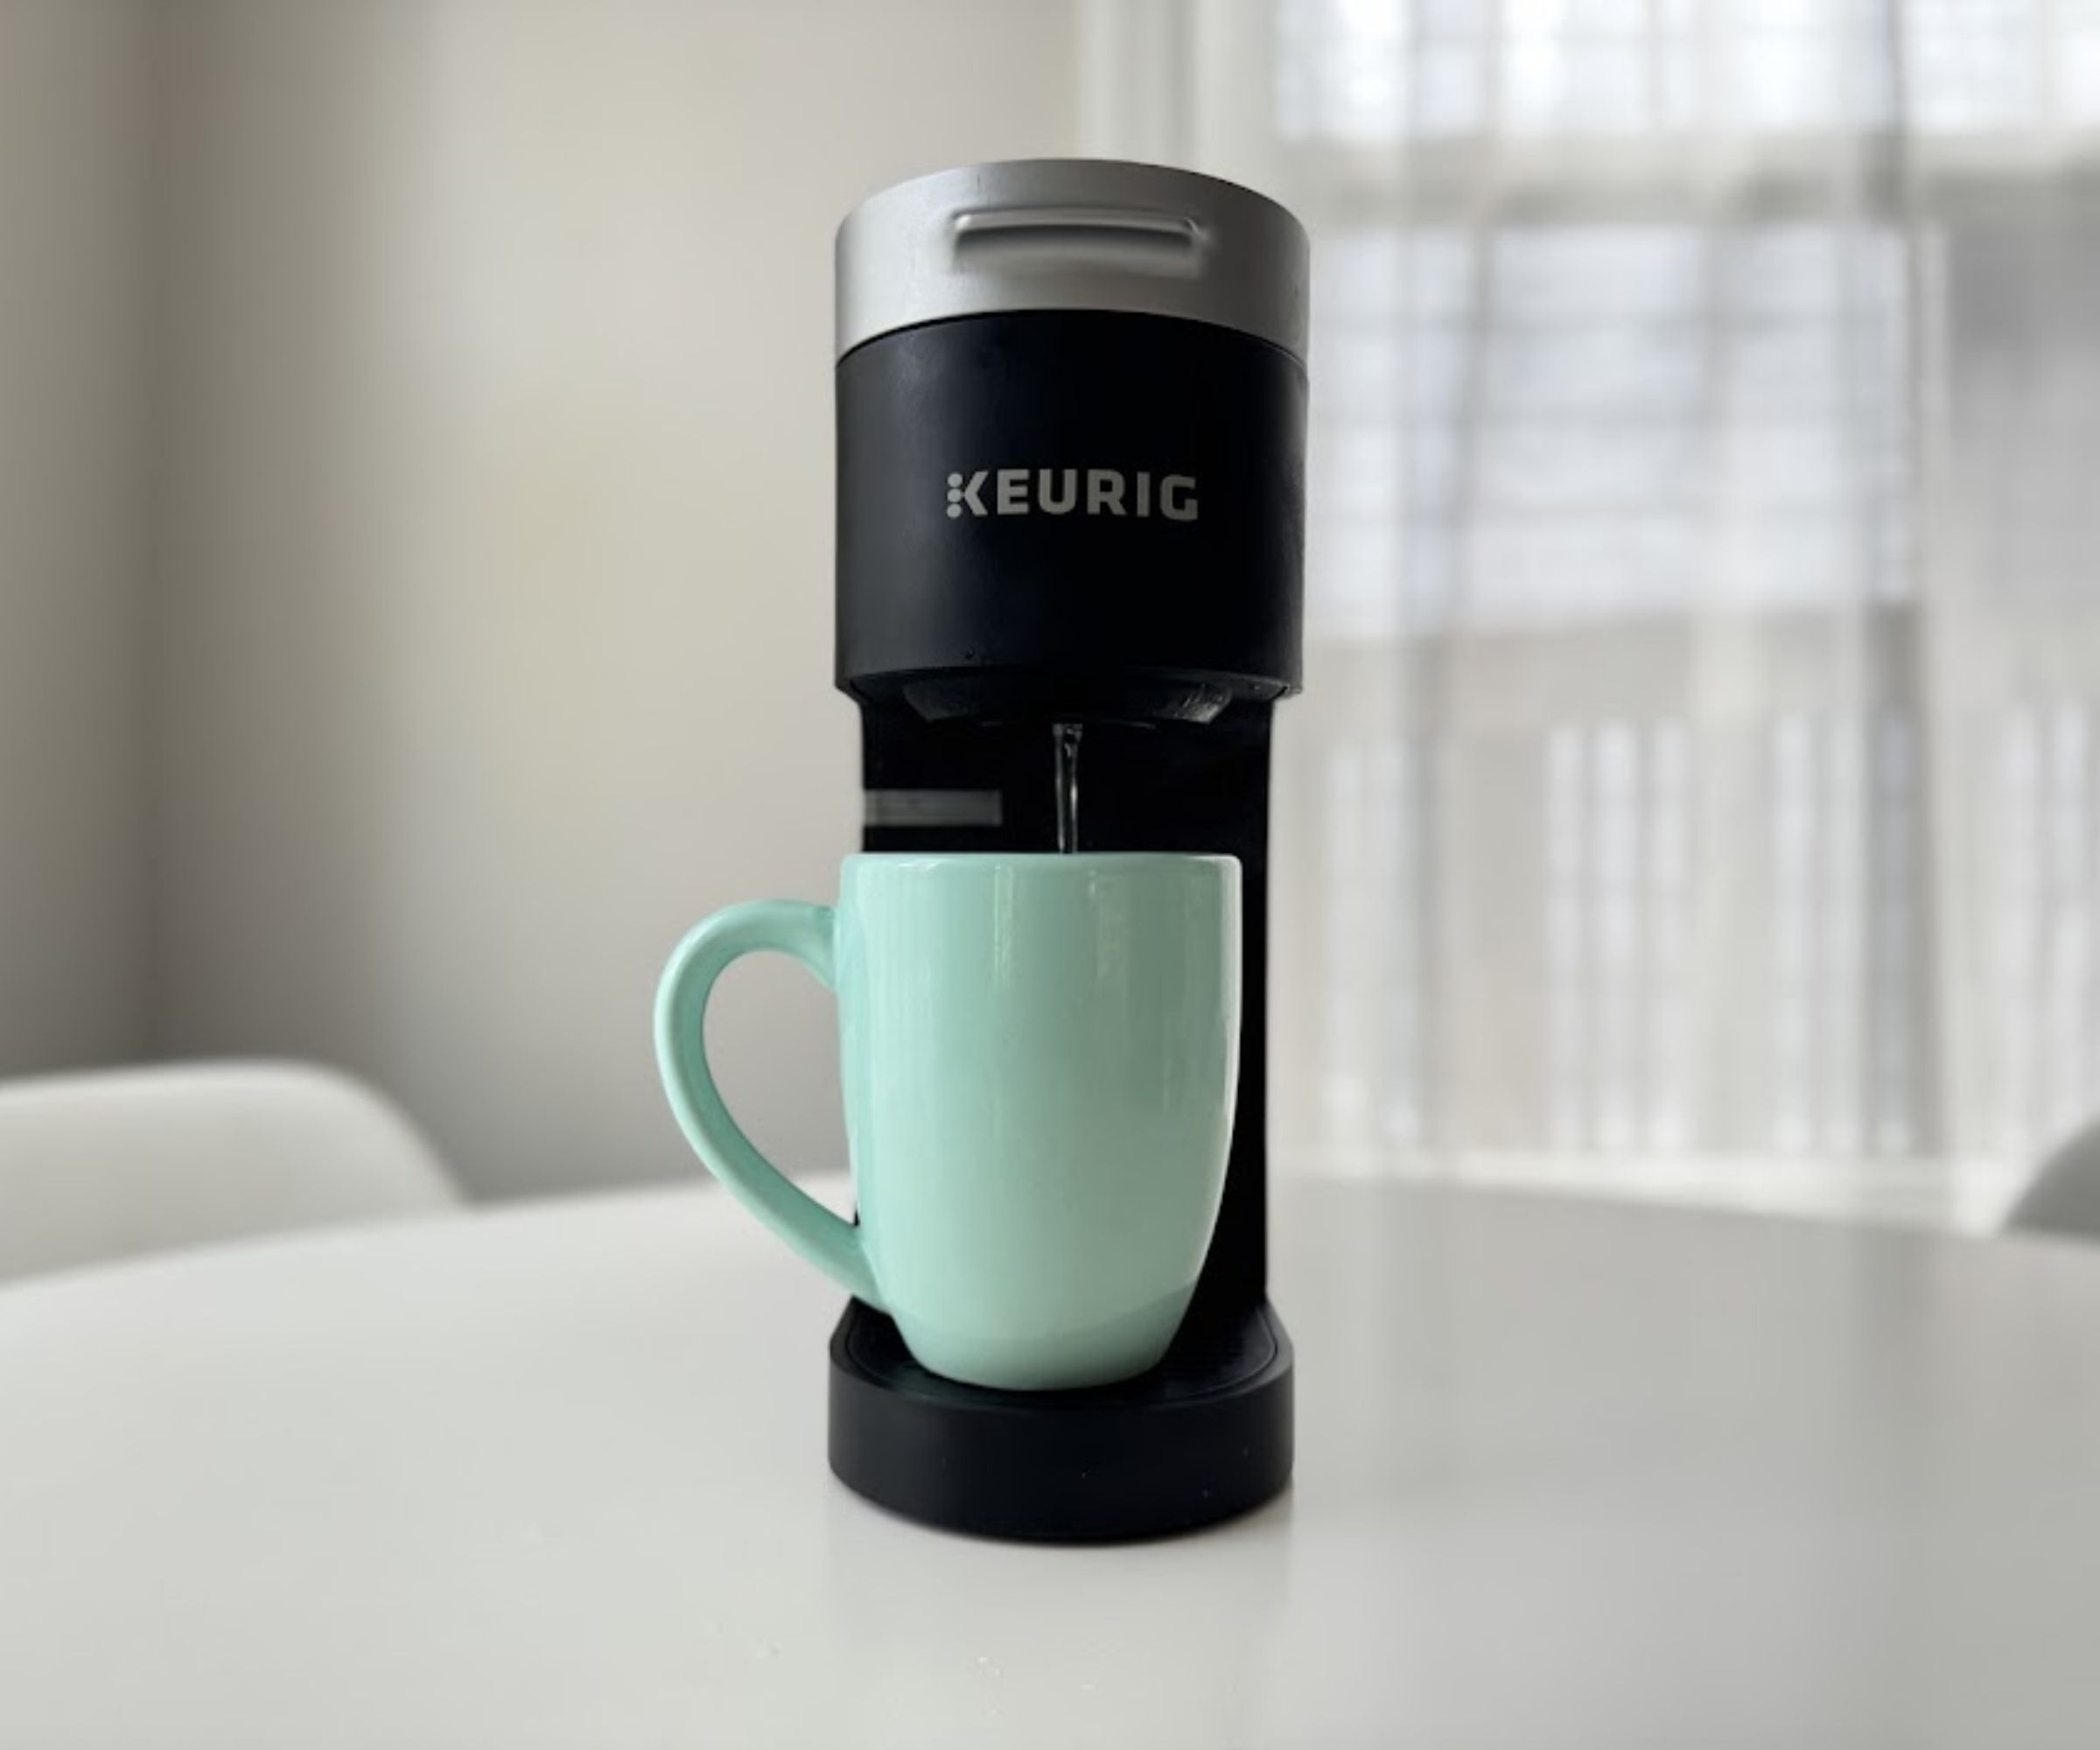
Running a full brewing cycle allows the vinegar to descale the pipes inside the coffee maker.
With your DIY cleaning solution in place, put a large empty mug under the spout and run a regular brewing cycle using the largest cup setting. You will have to repeat this process a few times, emptying the mug after each cycle, until the reservoir is empty.
Diana from Keurig notes that the fill reservoir light will illuminate on the front of your machine once it is empty to avoid overfilling the machine.
Alternatively, some Keurig machines have a self-descale function built in. If this is the case for your appliance, simply set the machine to run and leave it until the cycle is complete. You can check your manual for more instructions if you are unsure.
4. Flush the vinegar out with regular water
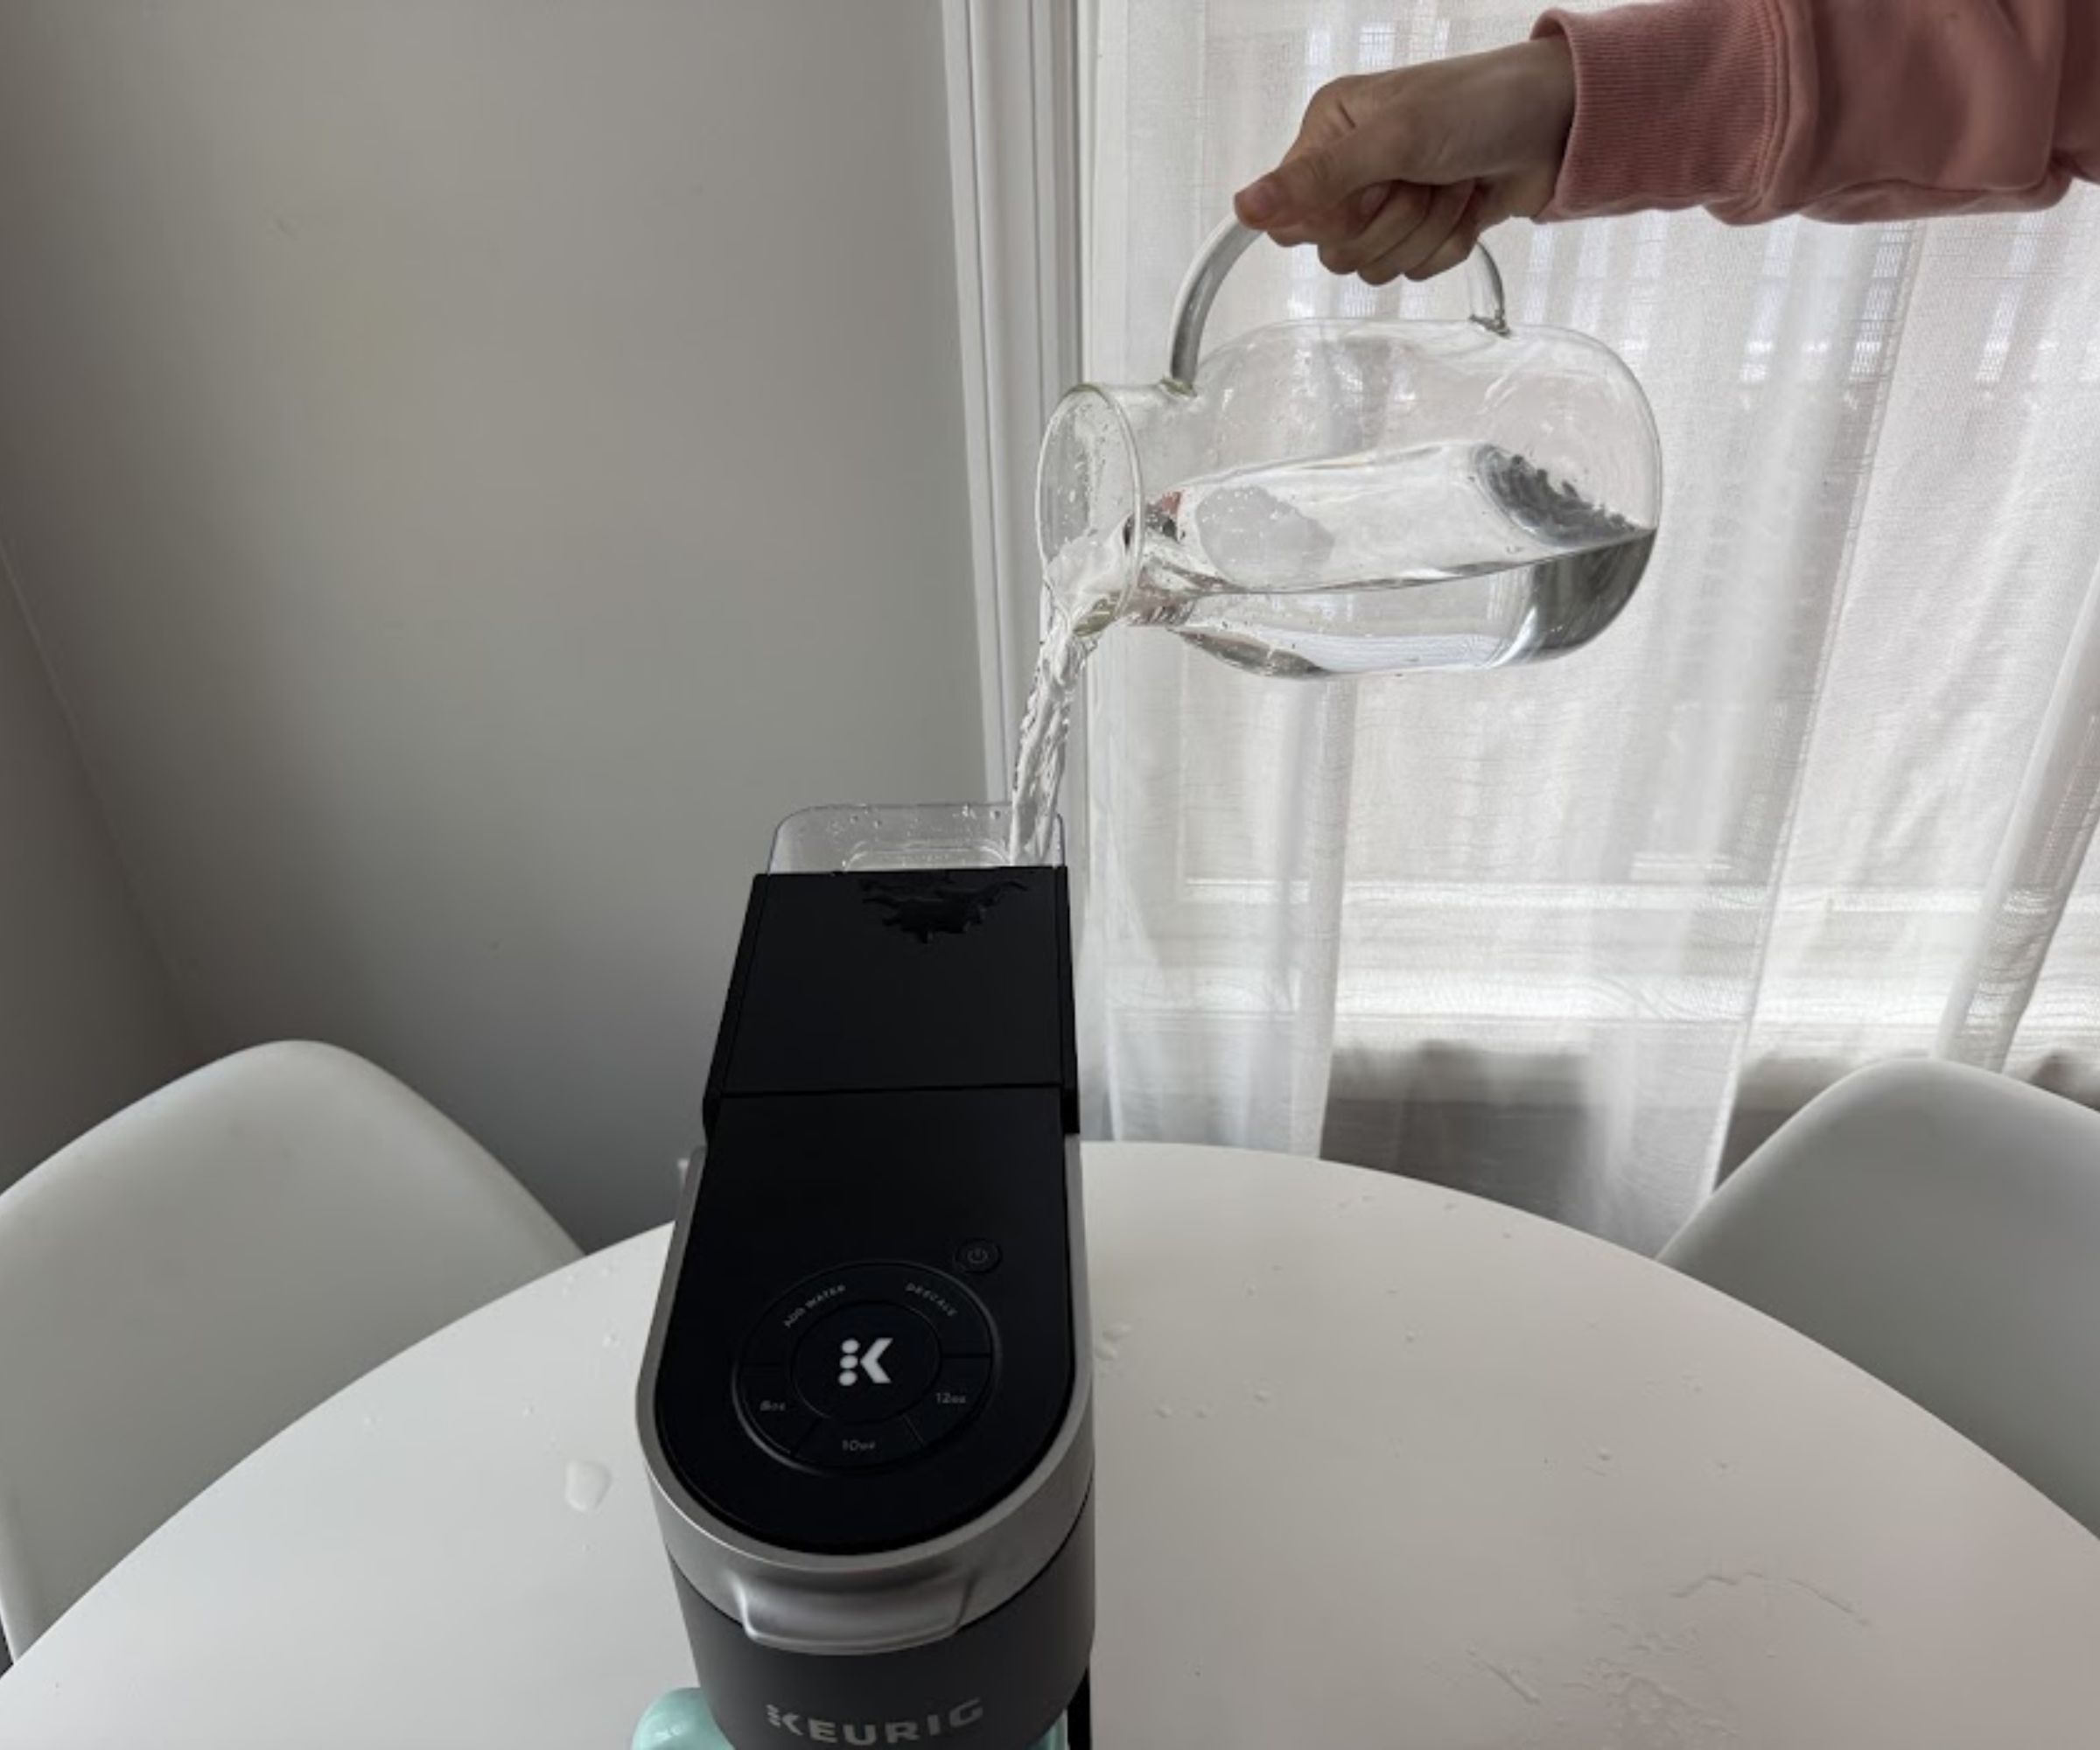
Repeating the process with plain water removes the vinegar taste from the machine.
When the reservoir is empty, allow your coffee maker to sit for at least one hour and up to four hours before removing the reservoir and washing it thoroughly with a soft cloth and warm, soapy water, using a gentle dish soap, such as the Method Dish Soap available at Walmart.
After drying, replace the reservoir and refill it with plain water before running a regular cycle to flush the vinegar out of the system and make coffee taste better.
5. Clean the filter and exterior
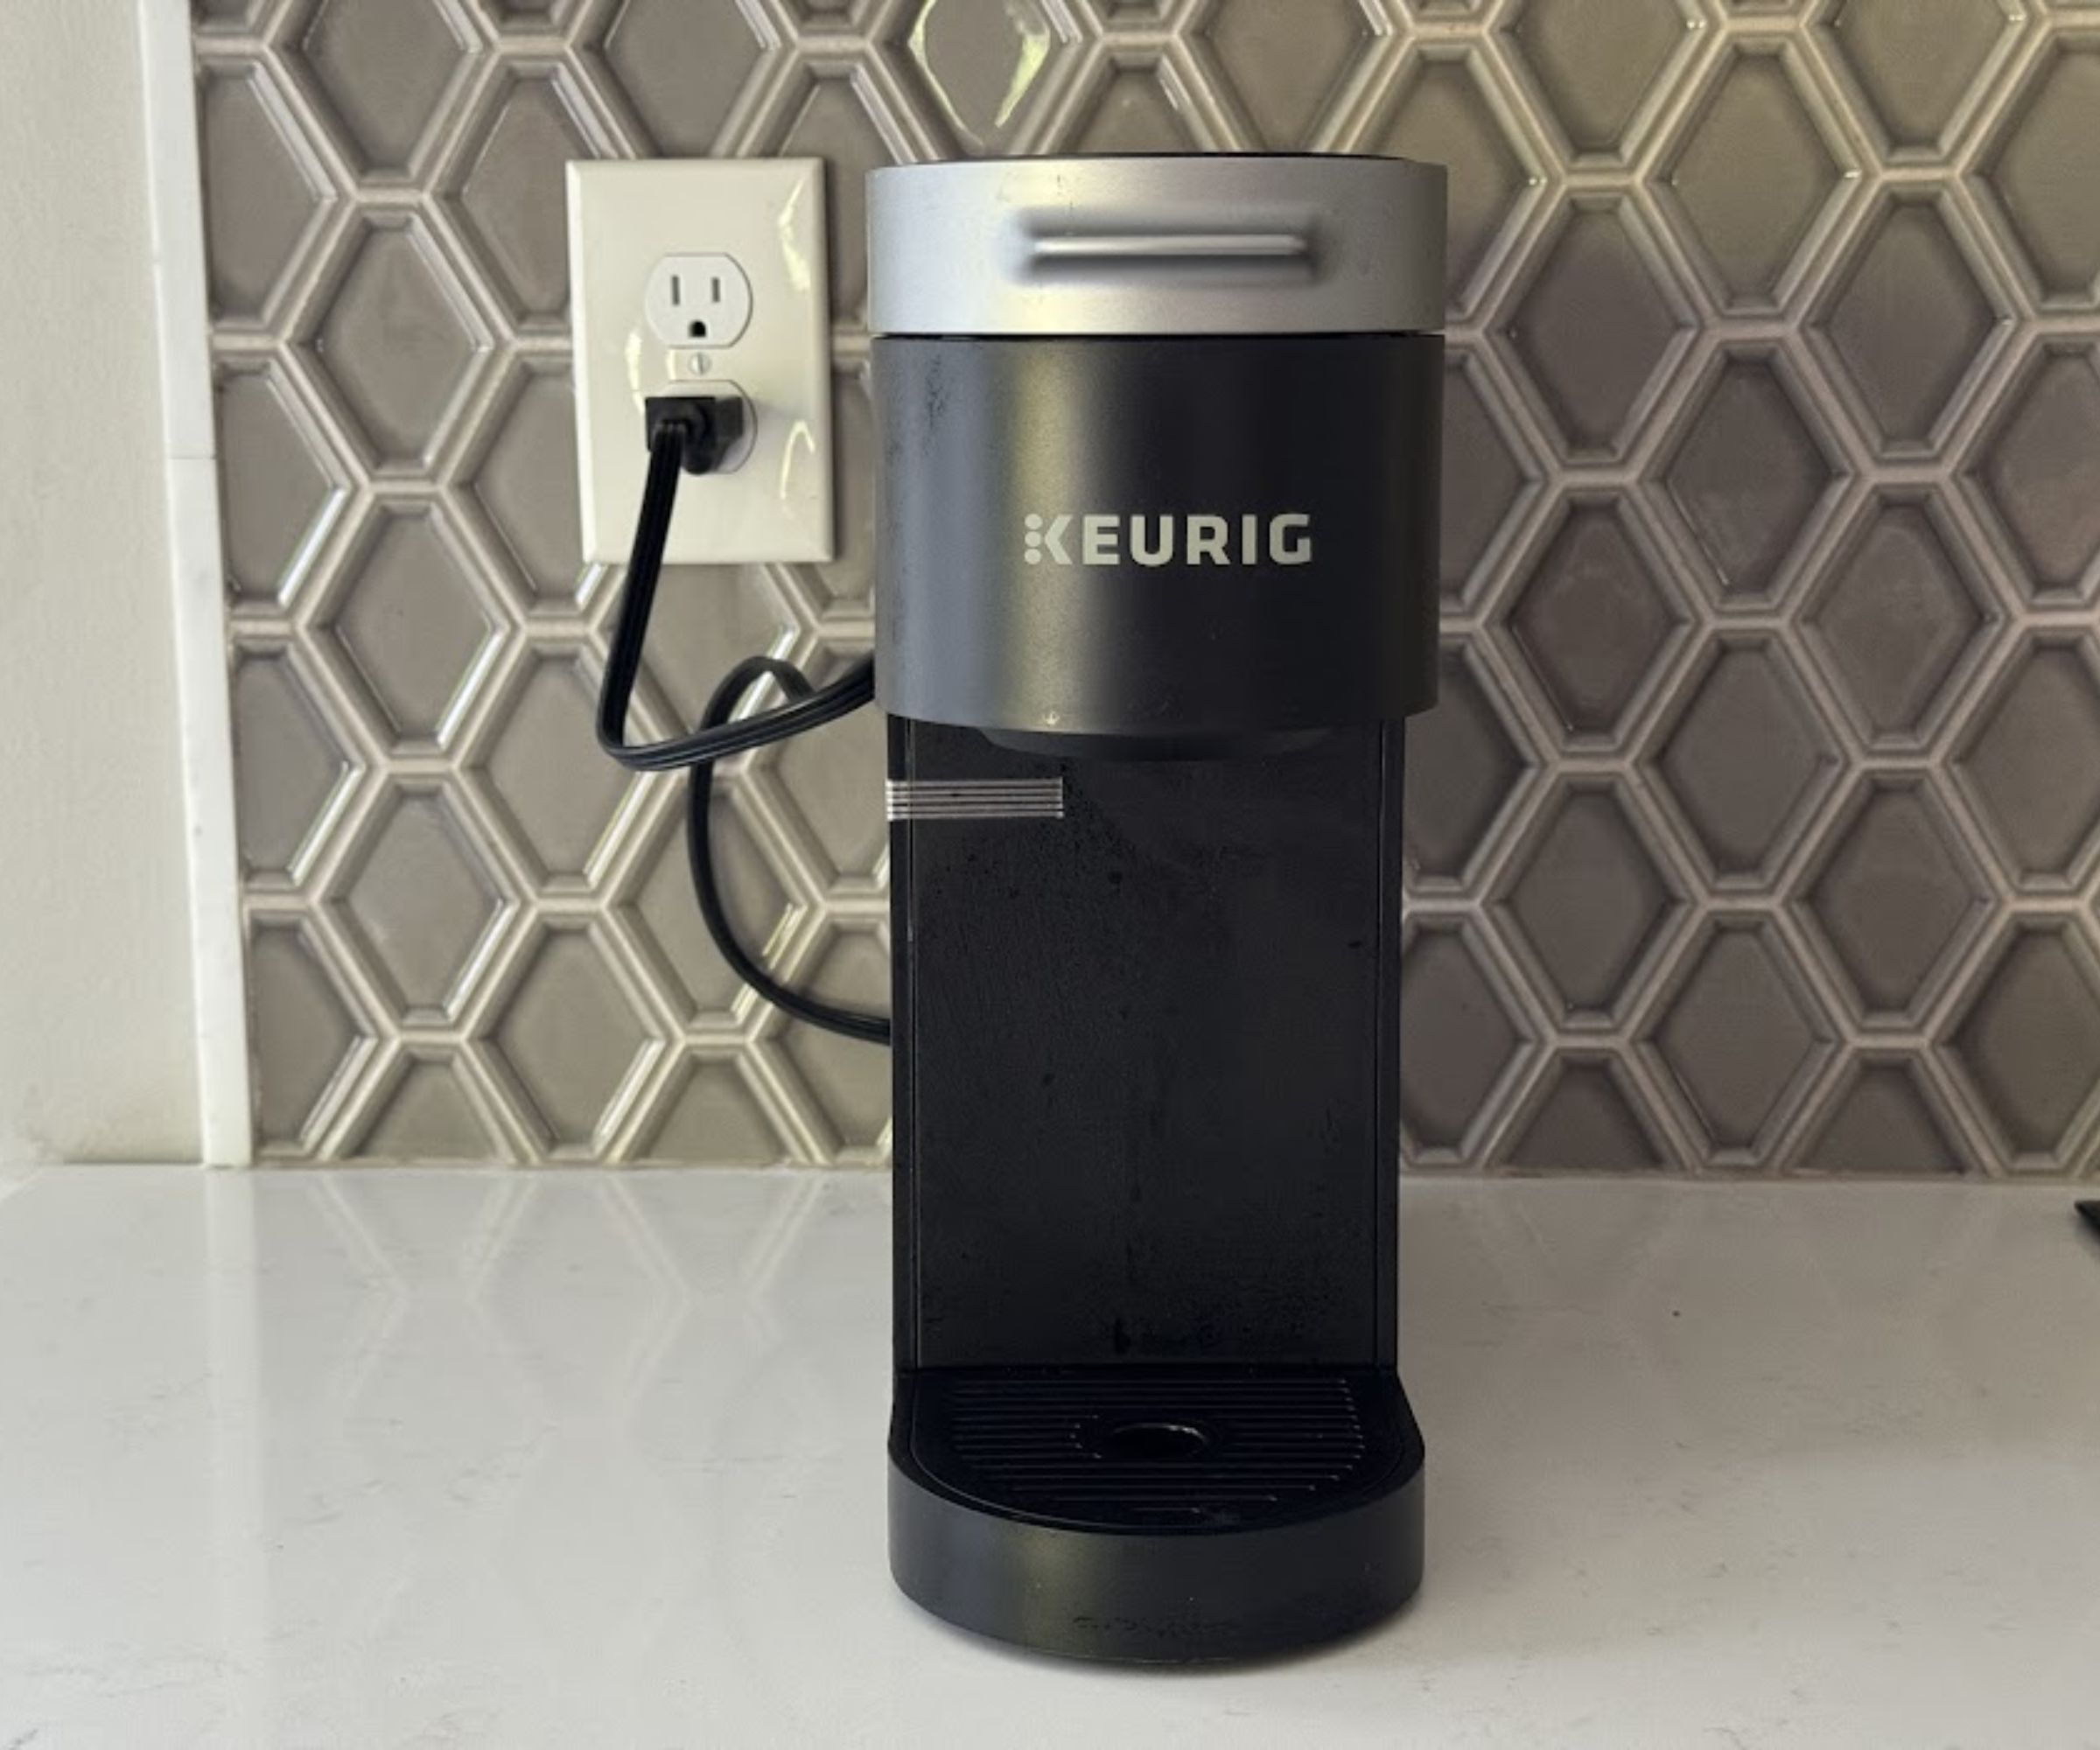
Cleaning the exterior is just as important as descaling your machine.
After descaling, clean the exterior of your Keurig and replace the water filter for better-tasting coffee and a longer-lasting appliance. Always unplug your appliance first.
To replace a Keurig's water filter:
- Remove the old filter using your appliance's dedicated manual and dispose
- Soak the new filter in water for at least five minutes, then rinse it under running water for a minute to saturate it and rinse away any factory dust
- Insert the new filter into place and clip the filter holder back into place
- Repeat every two to three months
To clean the exterior of your Keurig, use a soft cloth, such as a microfiber cloth from Target, dampened with either warm soapy water or a multi-purpose kitchen cleaning spray, and wipe over the surfaces, paying close attention to the drip tray.
For hard-to-reach spots like the drip tray and coffee pod holder, you can remove them and use a brush. Finish by drying the appliance with a clean, dry towel.
How often should you descale your Keurig coffee machine with vinegar?
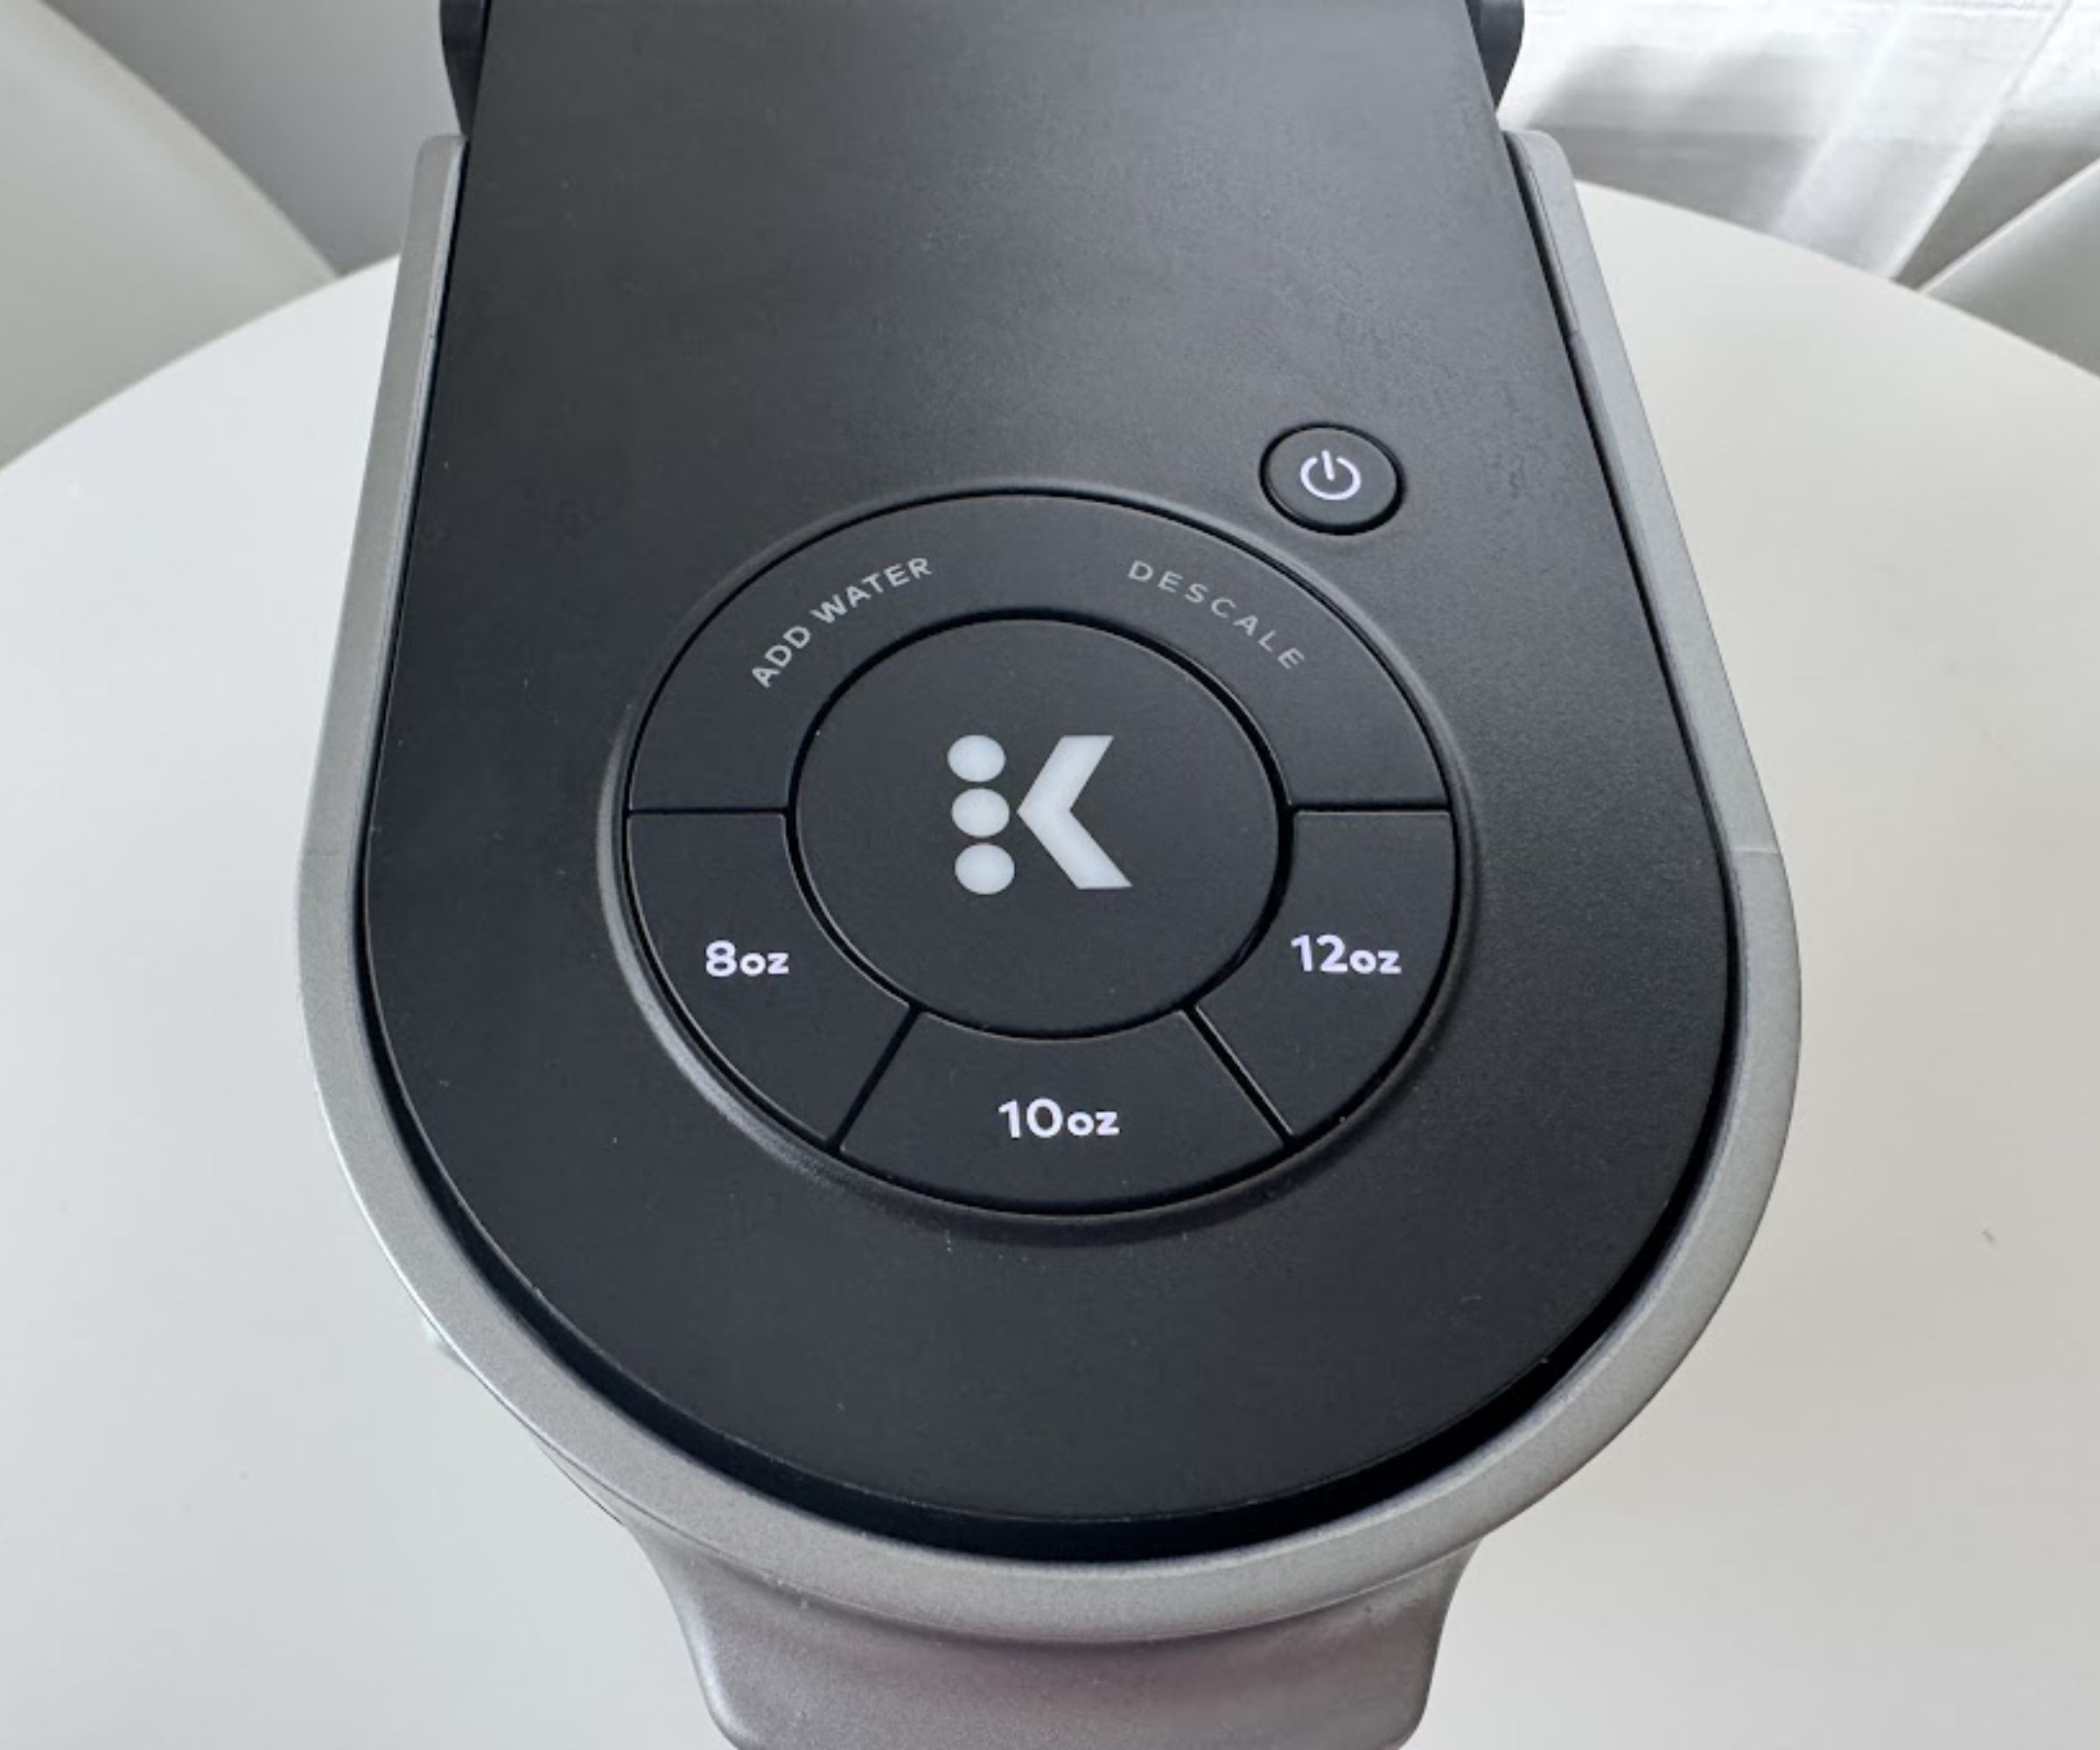
Most Keurig coffee makers come with a warning light that will tell you when the machine needs descaling. On this model, it is on the top of the machine near the power buttons.
As a rule of thumb, you should aim to descale your appliance at least quarterly, or every three to six months, advises Diana from Keurig.
She explains, 'However, this can depend on the water you use and its mineral content. Harder water will cause a quicker build-up of calcium deposits than softer water, which is why we recommend using bottled or filtered water,' so keep this in mind when it comes to both daily use and running descaling cycles.
A study by the United States Geological Survey found that most of the US suffers from hard water, with states in the Midwest and Southwest particularly affected. This may mean that you have to descale your Keurig coffee maker more often than others, or use a stronger descaling solution to get through tough deposits.
Most Keurig machines come with a descaling alert light, which Diana assures will prompt you when it's time to run a cycle. 'Although you can postpone the warning for six weeks, the sooner the descaling, the better,' she adds.

Red areas of the map indicate severe water hardness, followed by white,, then blue, with purple signifying softer water areas.
Alternative ways to descale a Keurig coffee maker
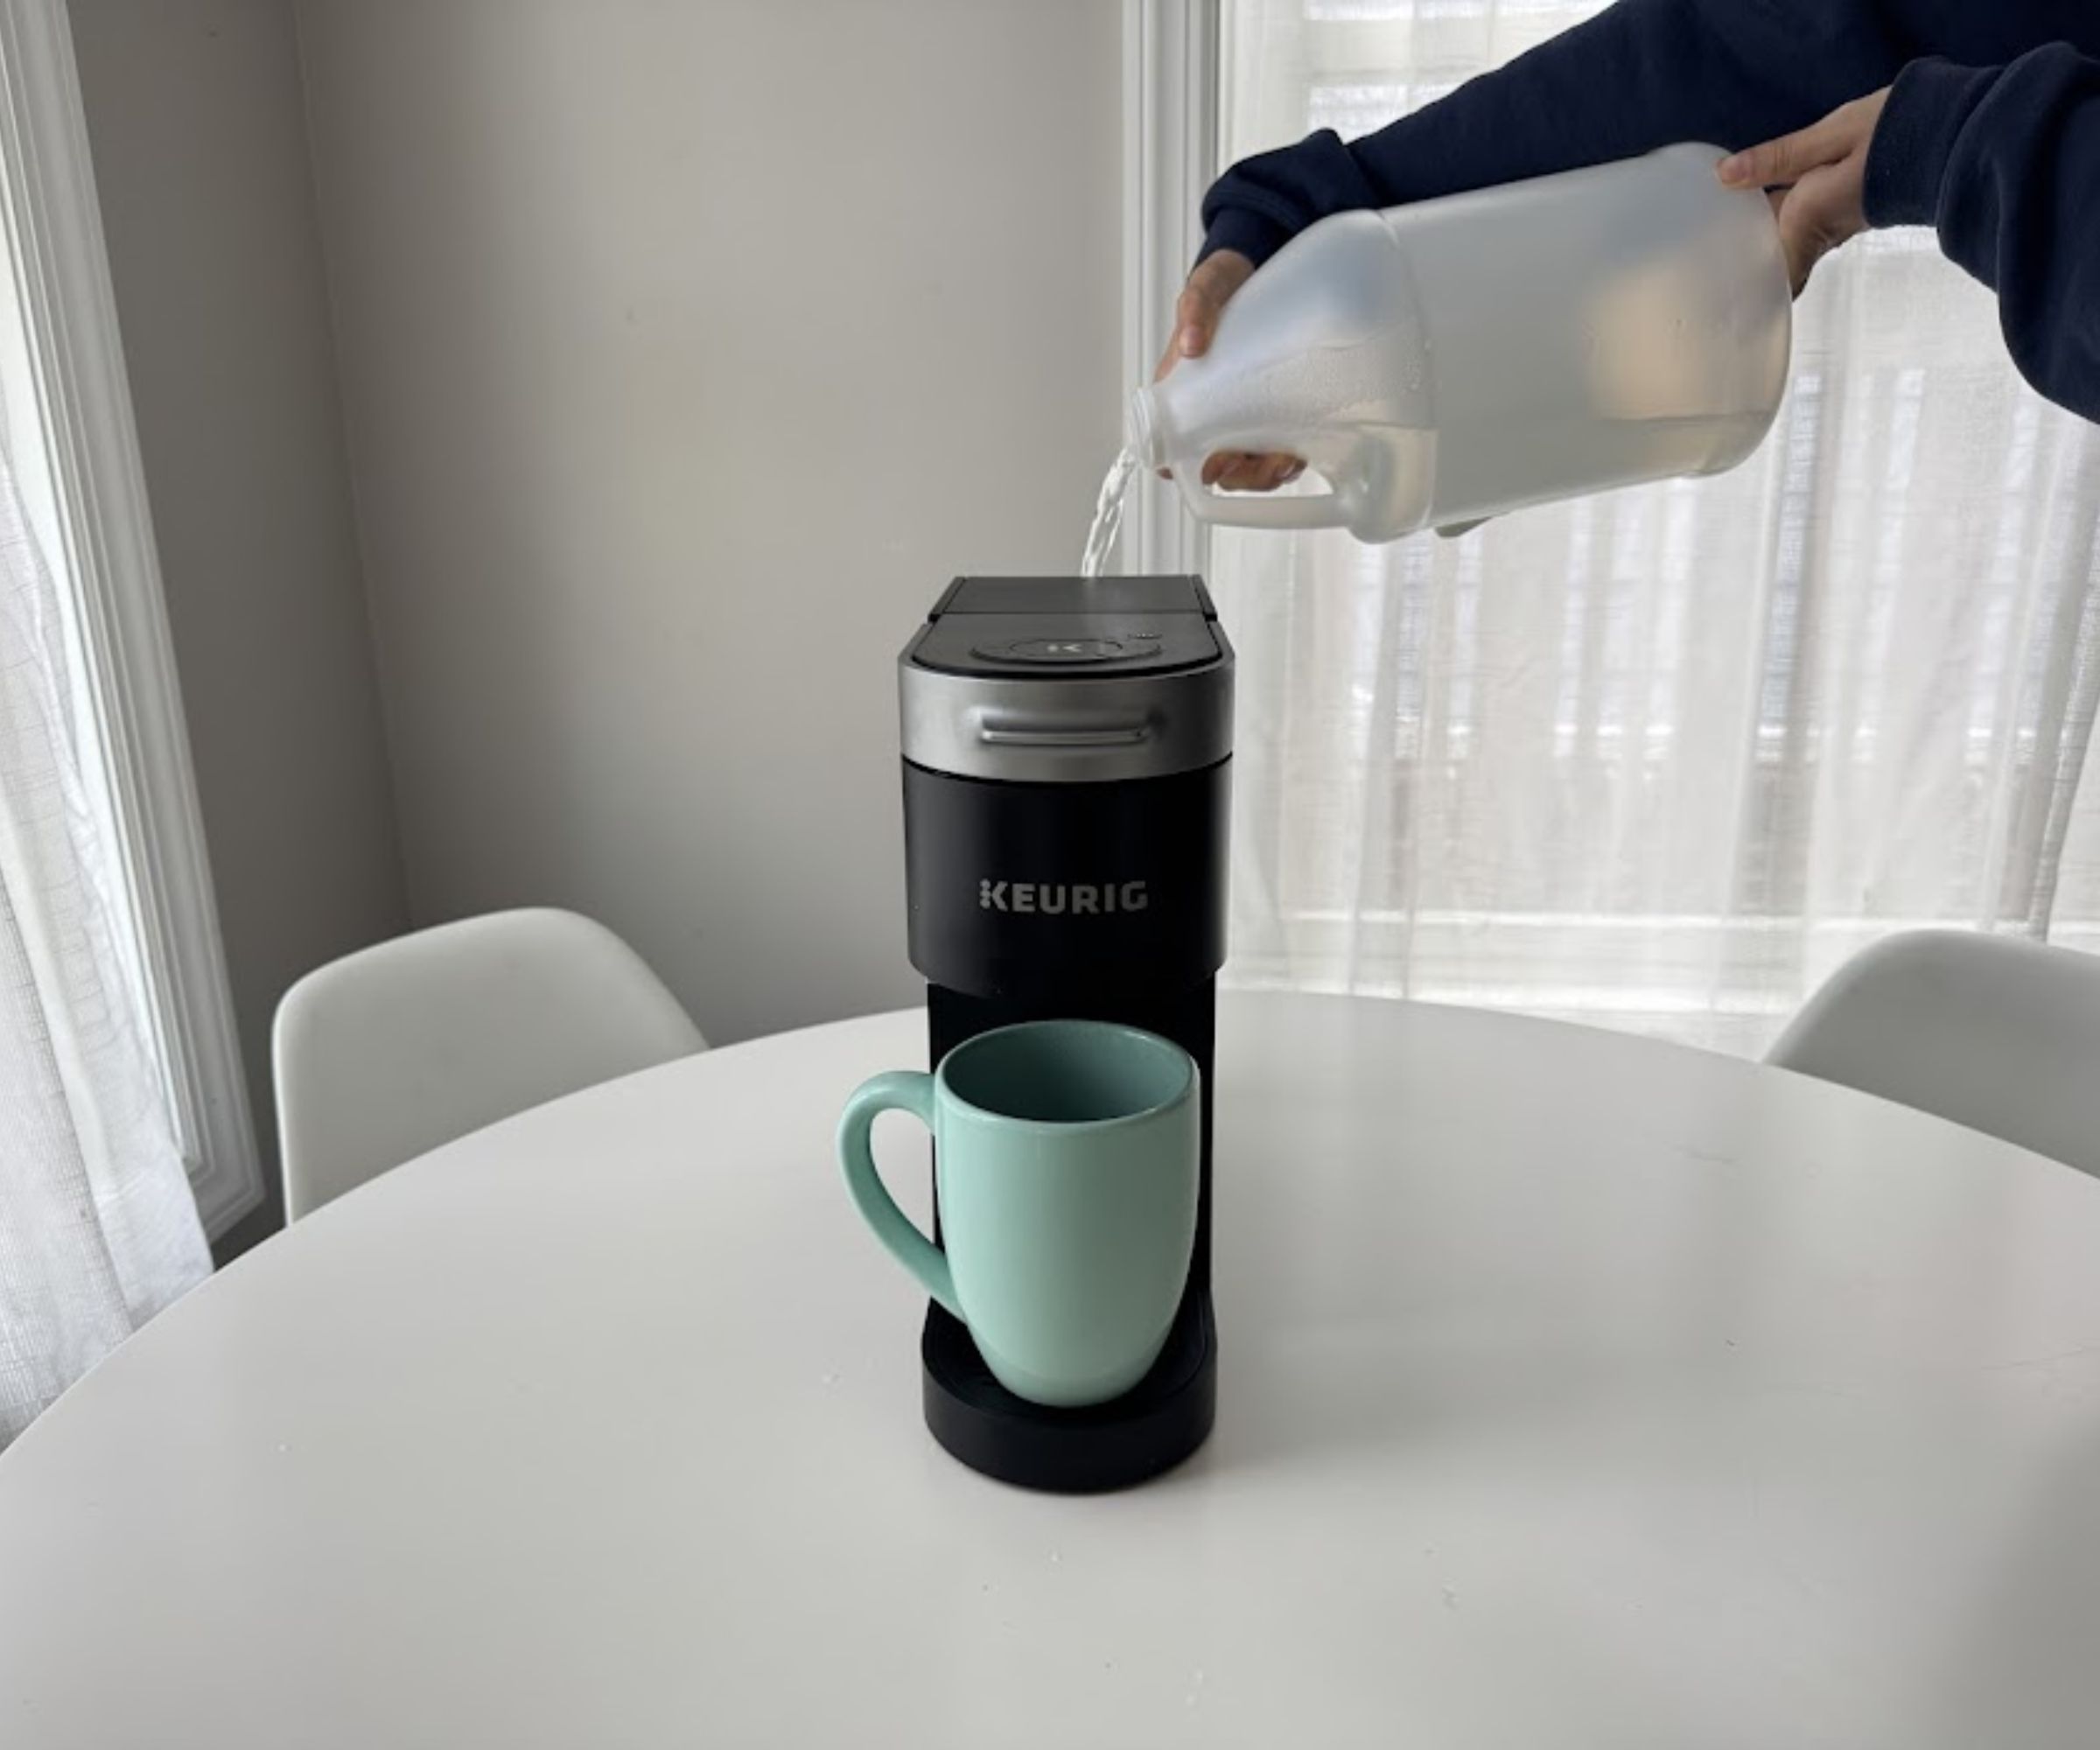
There are several vinegar alternatives for descaling a Keurig if you do not want to risk an acidic aftertaste.
While cleaning with vinegar is a great chemical-free option to descale and create a non-toxic home, it is not without its faults. For instance, Vinegar is not as powerful as commercial descaling solutions, making it more effective in softer water areas where larger, tougher deposits are less likely to build up inside your machine. Vinegar's high acid content has also been reported to damage some rubber seals over time, meaning that repeated use could damage your appliance over the years.
If you still want to use a chemical-free descaling solution, consider cleaning with citric acid instead. Simply add a tablespoon of citric acid crystals, such as the Roots Circle All-Natural Citric Acid, to one gallon of water in your Keurig before running it a few times and adding clean water. Again, repeat until the water runs clear, without any mineral or limescale deposits.
Otherwise, opt for a commercial Keurig descaling solution, available with fast delivery at Amazon, which can descale your machine without the worry of deposits being left behind. Remember to thoroughly clean and rinse your appliance after, however, to remove any lingering chemicals.
FAQs
Why is the descaling light still flashing after I have descaled my Keurig with vinegar?
If the descaling indicator remains lit, this suggests that the machine hasn't been adequately rinsed following the descaling process.
You should thoroughly rinse the Keurig again with clean water. Take out the water tank, refill it to the 'max' line using tap water, and initiate the water rinse cycle in your machine's settings.
You might need to try using dedicated descaling solutions, like this Coffee Machine Descaler Descaling Solution available at Amazon, if vinegar doesn't seem to be cutting it for your machine.
Vinegar is also a great non-toxic solution to clean drip coffee maker, and kill mold lurking in your coffee maker, too.

Chiana is Homes & Gardens’ kitchen appliances editor. With a lifelong passion for cooking and baking, she grew up experimenting in the kitchen every weekend with her baking-extraordinaire Mom, and has developed a great understanding of how tools and appliances can make or break your ideal relaxing kitchen routine.
- Ottilie BlackhallSleep Editor
