Kamado Joe Classic Joe II review: charcoal grilling, refined
The Kamado Joe Classic Joe II comes with intelligent, luxe touches that set it apart from cheap charcoal grills.
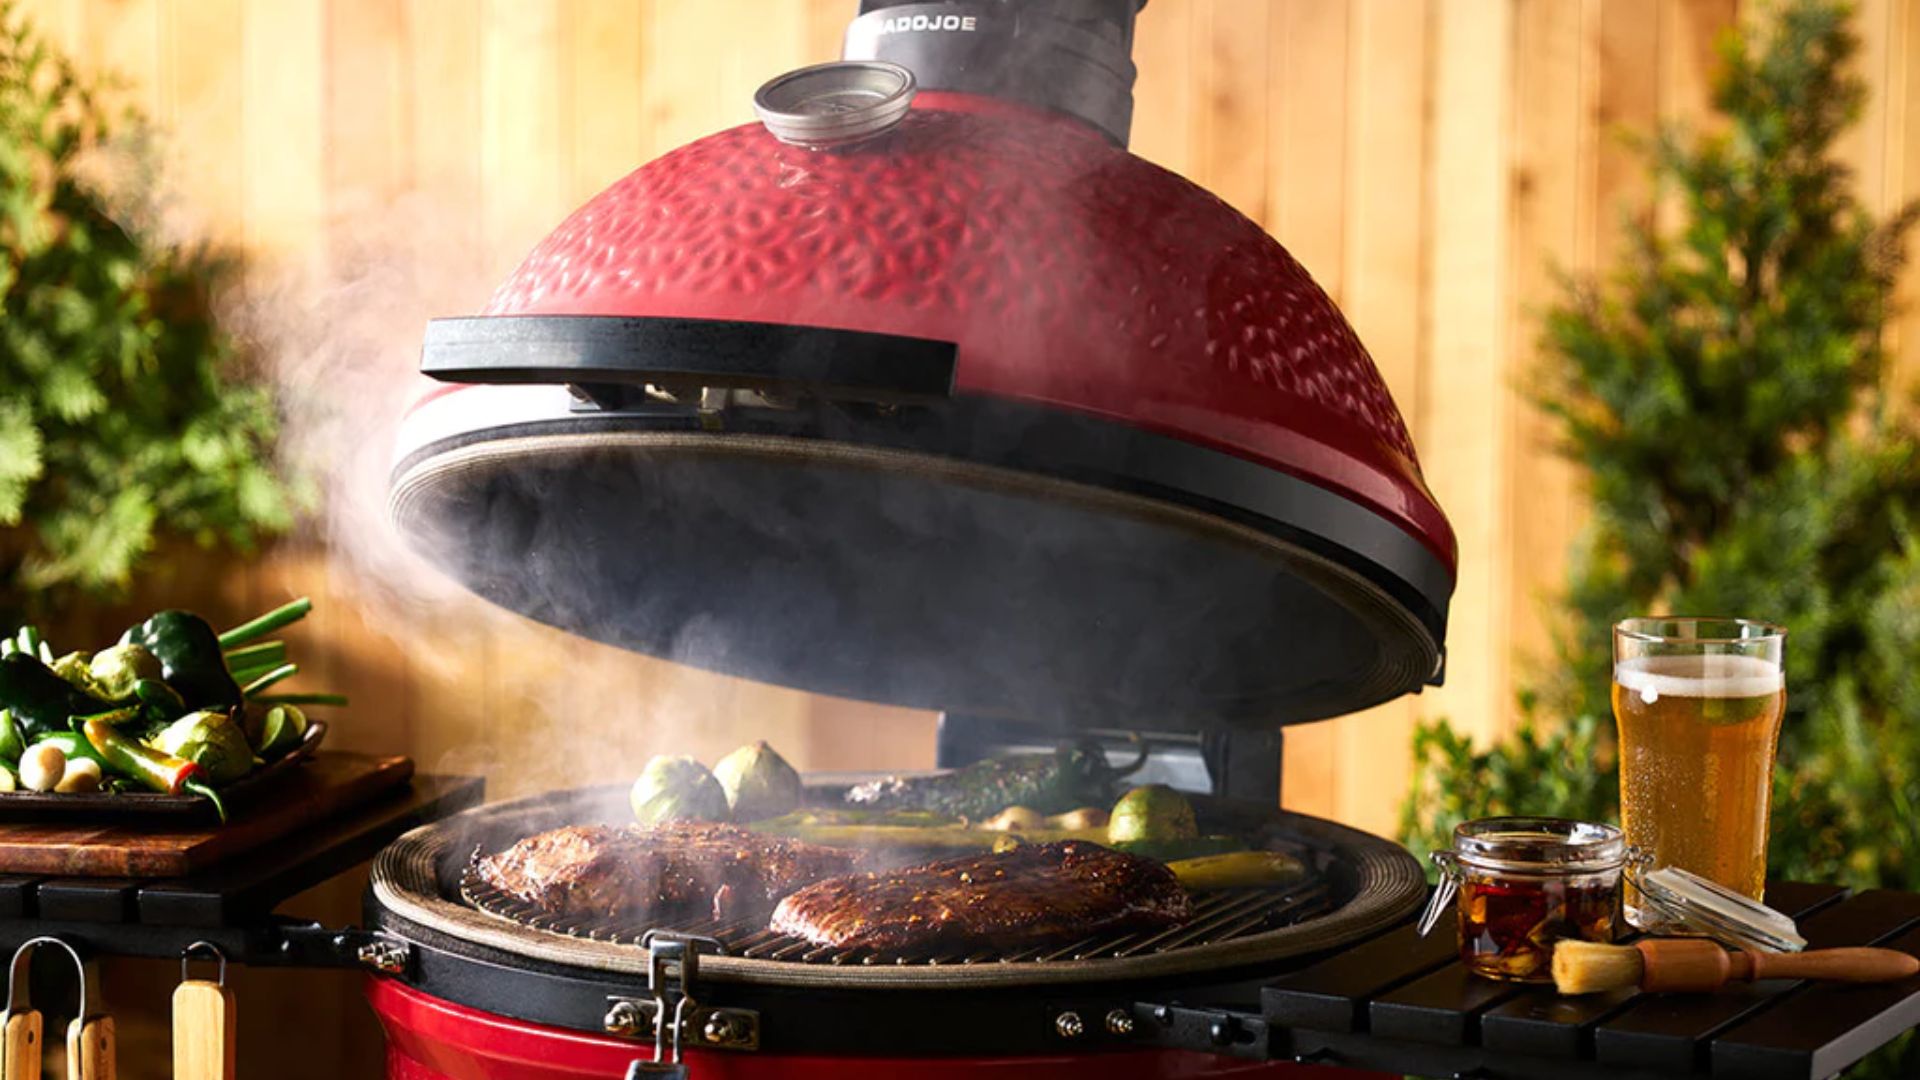
We loved cooking on the Kamado Joe Classic Joe II. There is a learning curve to master this traditional grilling style, but smart upgrades make the Classic Joe II feel luxe throughout the user experience.
-
+
Durable and attractive design
-
+
Assembly was quick and virtually painless
-
+
Food cooked evenly and tasted amazing
-
+
Heat is long-lasting and surprisingly simple to control
-
-
If you want something portable, look elsewhere
-
-
Food can fall through the grates
-
-
Topping up fuel can be a faff
You can trust Homes & Gardens.

Combining the egg-shaped design of a Kamado grill with a vibrant fire engine red, the Kamado Joe Classic Joe II is certainly striking. But when you've got such a gorgeous and durable piece of kit in your yard, why wouldn't you show it off?
I tested the Kamado Joe Classic Joe II alongside other market-leading grills in our annual best grill testing day. We cooked everything from burgers and hot dogs to a whole spatchcock chicken to see how well it compared to brands from Weber and Everdure. But when it comes to this traditional, charcoal-fuelled cooking, there is truly no comparison.
If you want a space-efficient grill, or something for casual grilling, we'd recommend you stick to gas, but the Kamado Joe Classic Joe II could not be beaten when it came to smokey barbecue flavor.
Kamado Joe Classic Joe II
Kamado Joe Classic Joe II Specifications
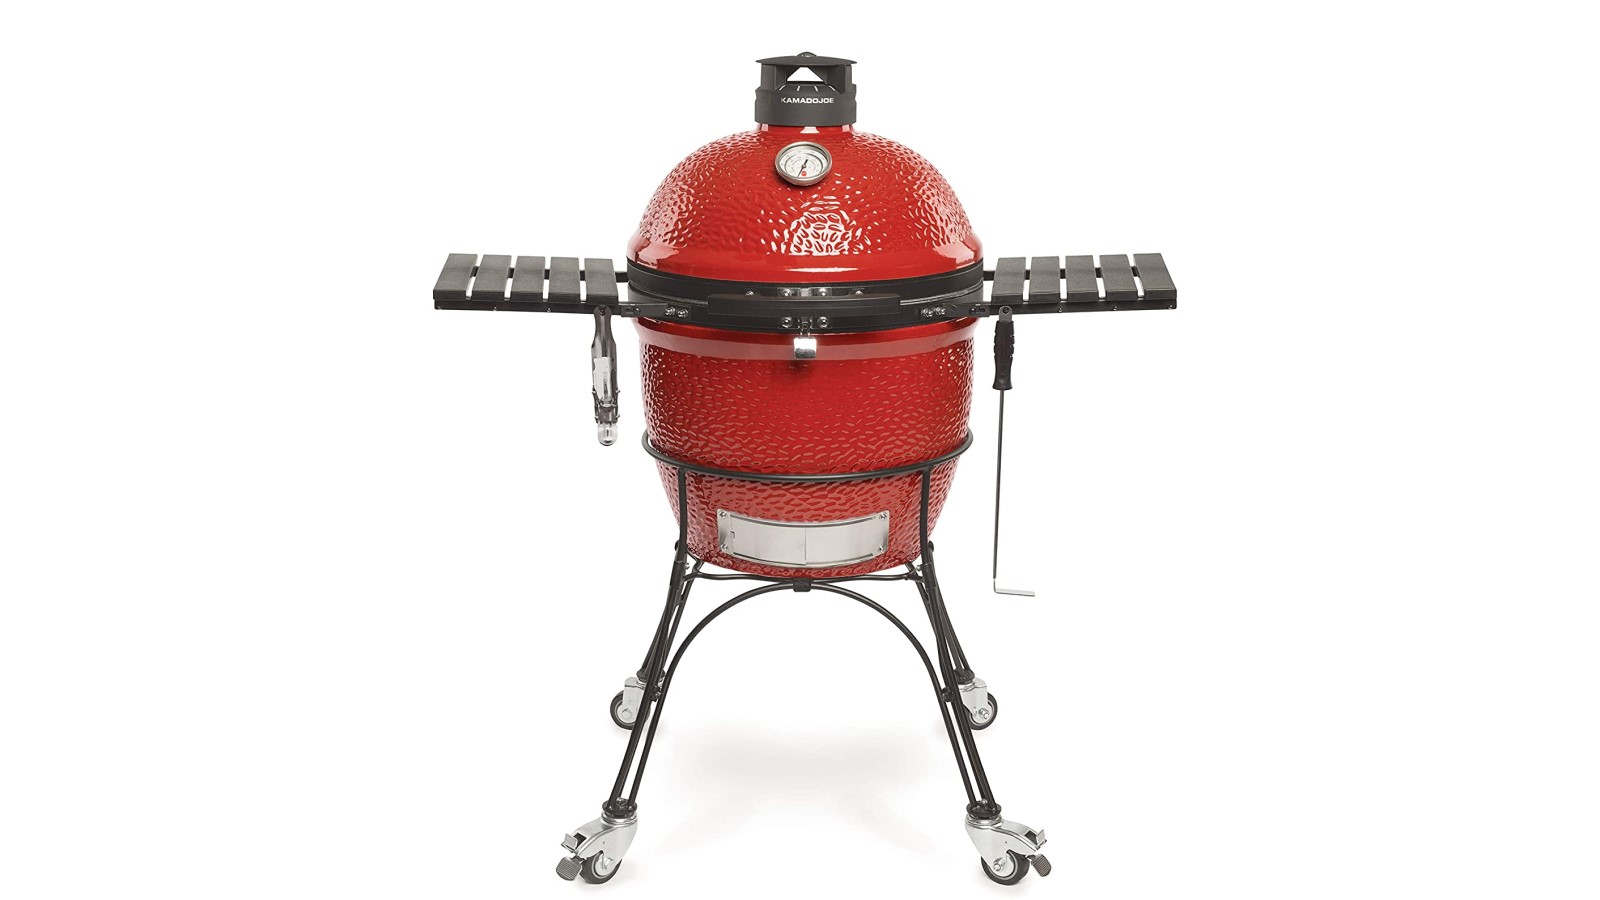

| Model: | Kamado Joe Classic Joe II KJ23RHC |
| Size: | 46.5" W x 48.5" H, 18" |
| Fuel type: | Charcoal, smoking wood |
| Features | tainless Steel Latch, AMP Firebox, Stainless Steel Cooking Grates, Built-in Thermometer, Folding HDPE Side Shelves/Handle, Grill Gripper, and Ash Tool |
| Grill size | 18" Diameter, 250 sq. in. max cooking space |
Setting up
Unboxing the Kamado Joe Classic Joe II
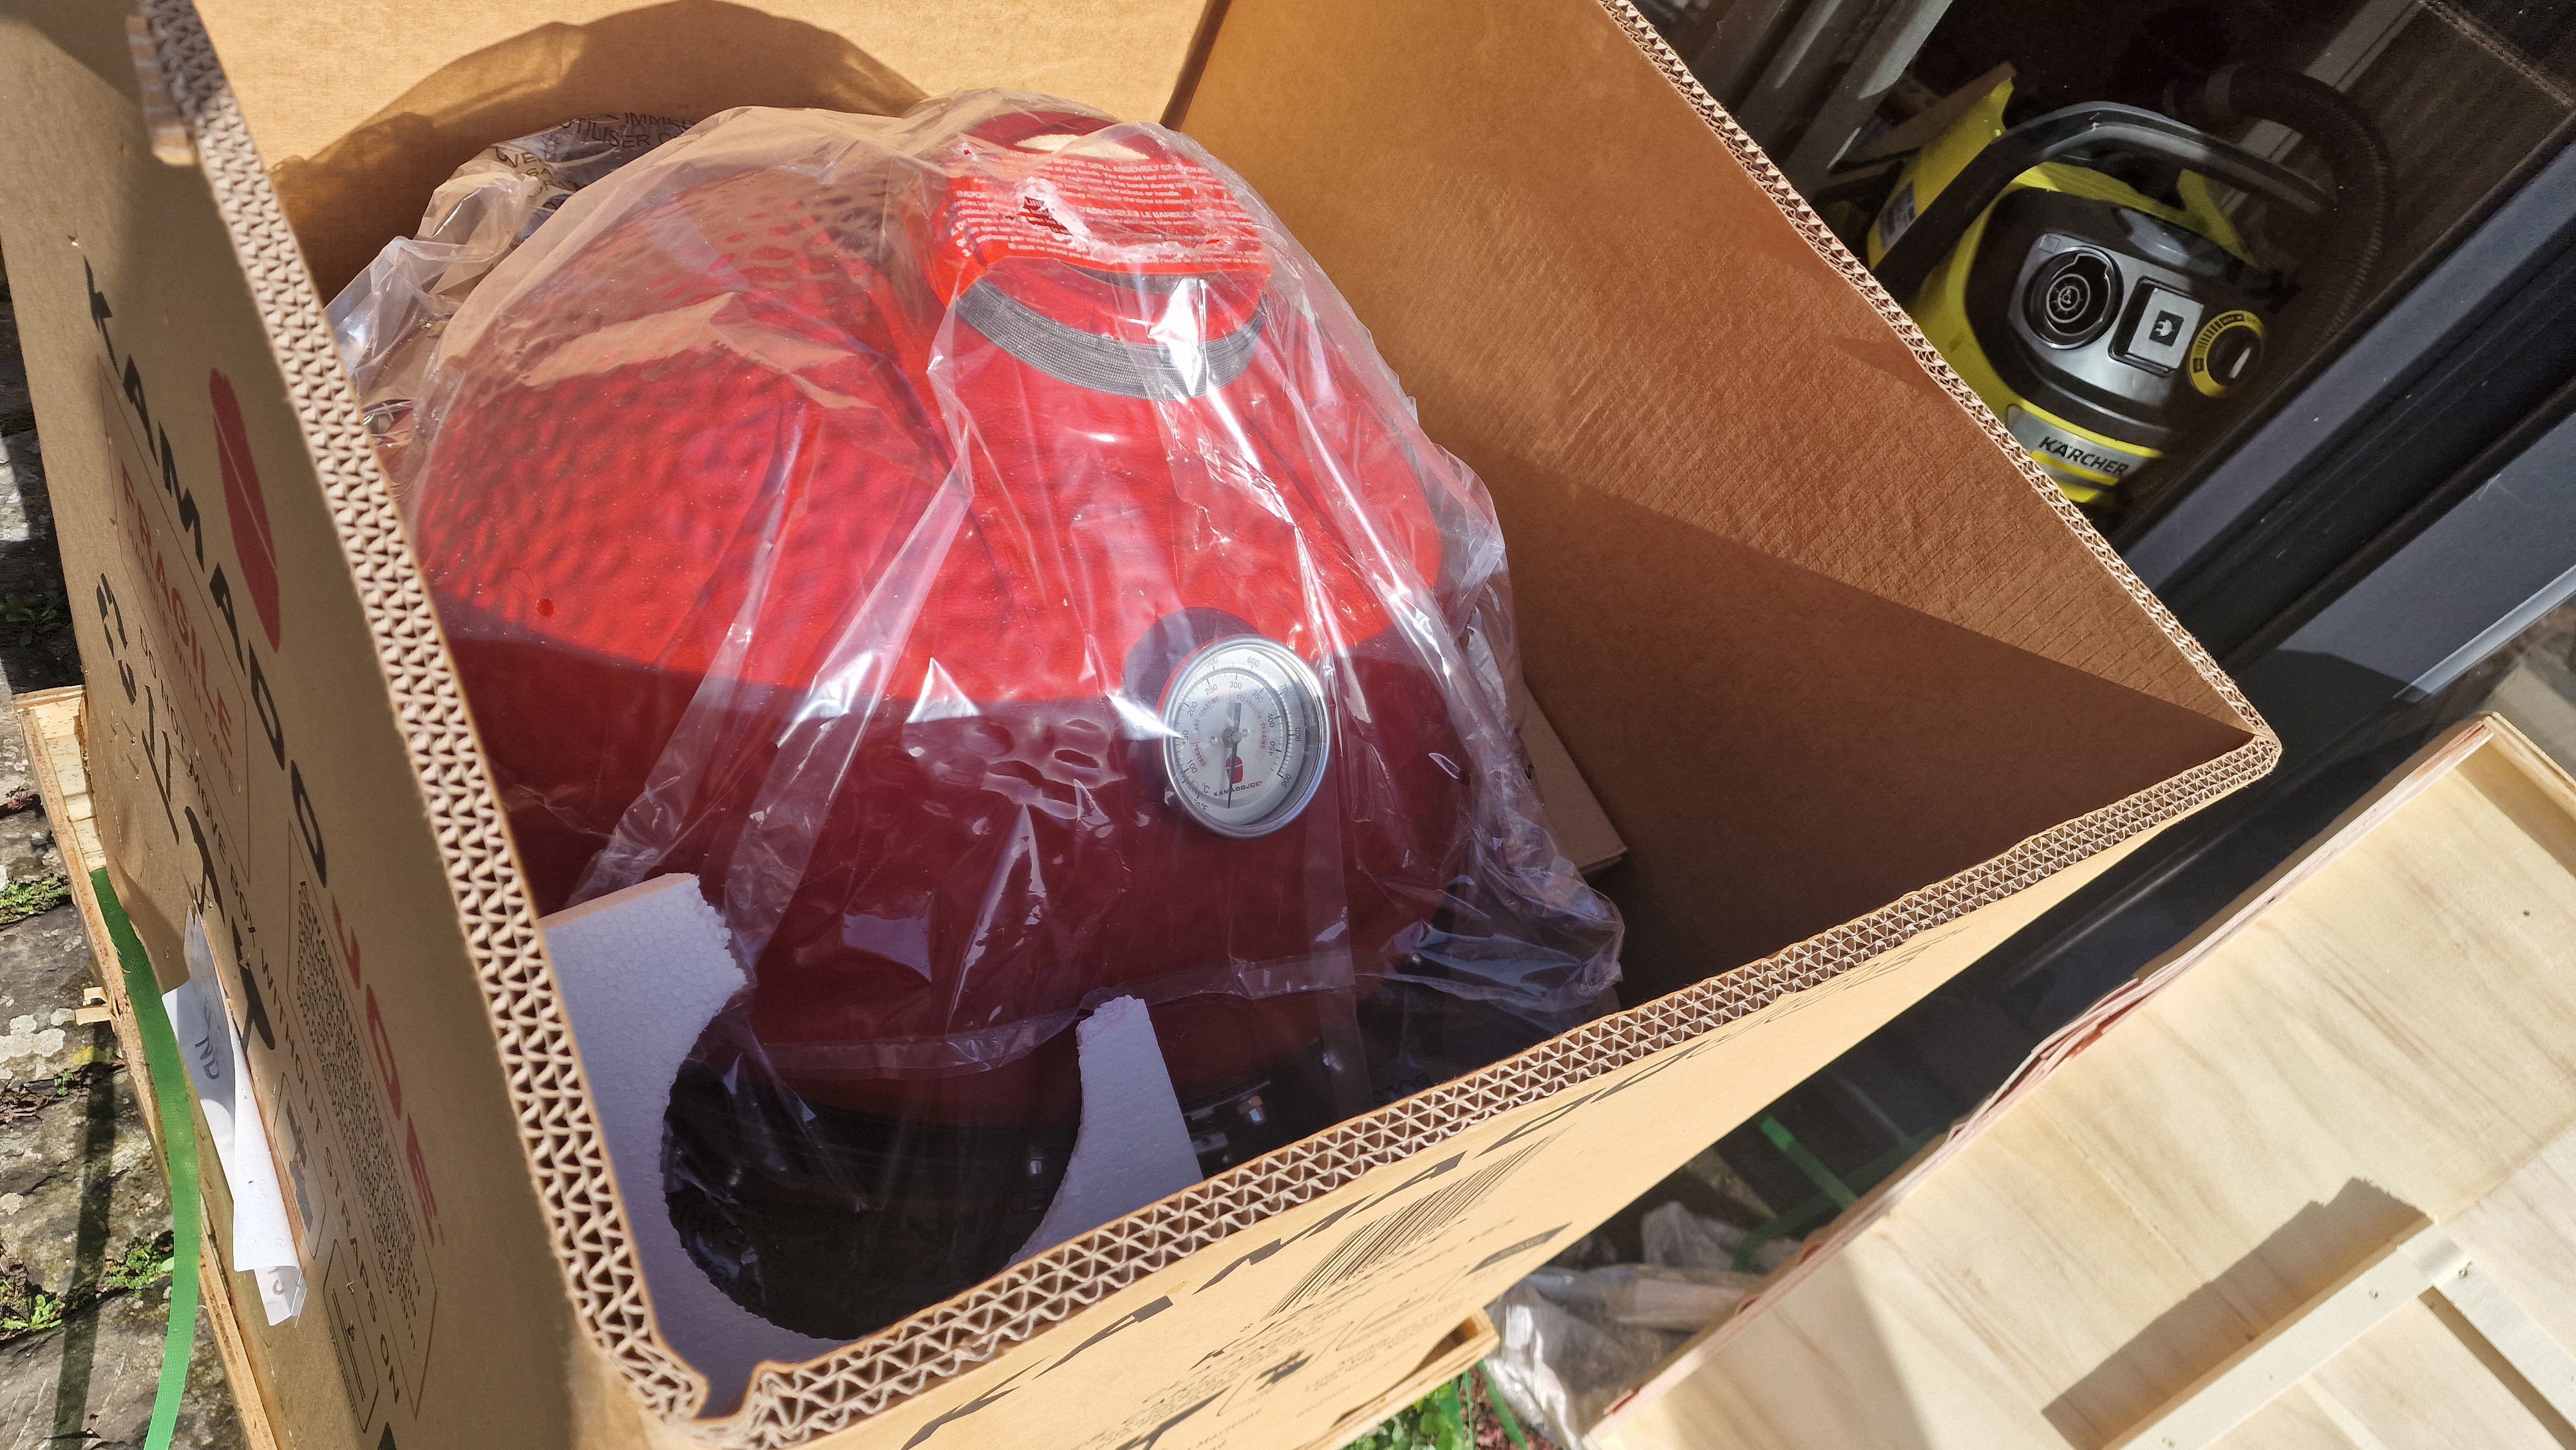
The Kamado Joe Classic Joe II arrives with most of the parts assembled. There were only nine steps to follow, which is significantly fewer than some of the gas models we tested. The first step is to build the base. It slots together fairly easily, but it's less sturdy than we'd have expected to carry a 231.5 lbs grill.
Once assembled, you need to take out the component parts of the grill and nested them inside. This will allow you to lift the grill into position, which is a tough job that requires two pretty strong people. One person will have to stick their hand inside the ash tray slot at the base of the grill, which has a pretty sharp edge. We'd recommend wearing gloves to do this safely. The main piece of advice is that you cannot lift using the handle, which would otherwise the most intuitive way to approach it.
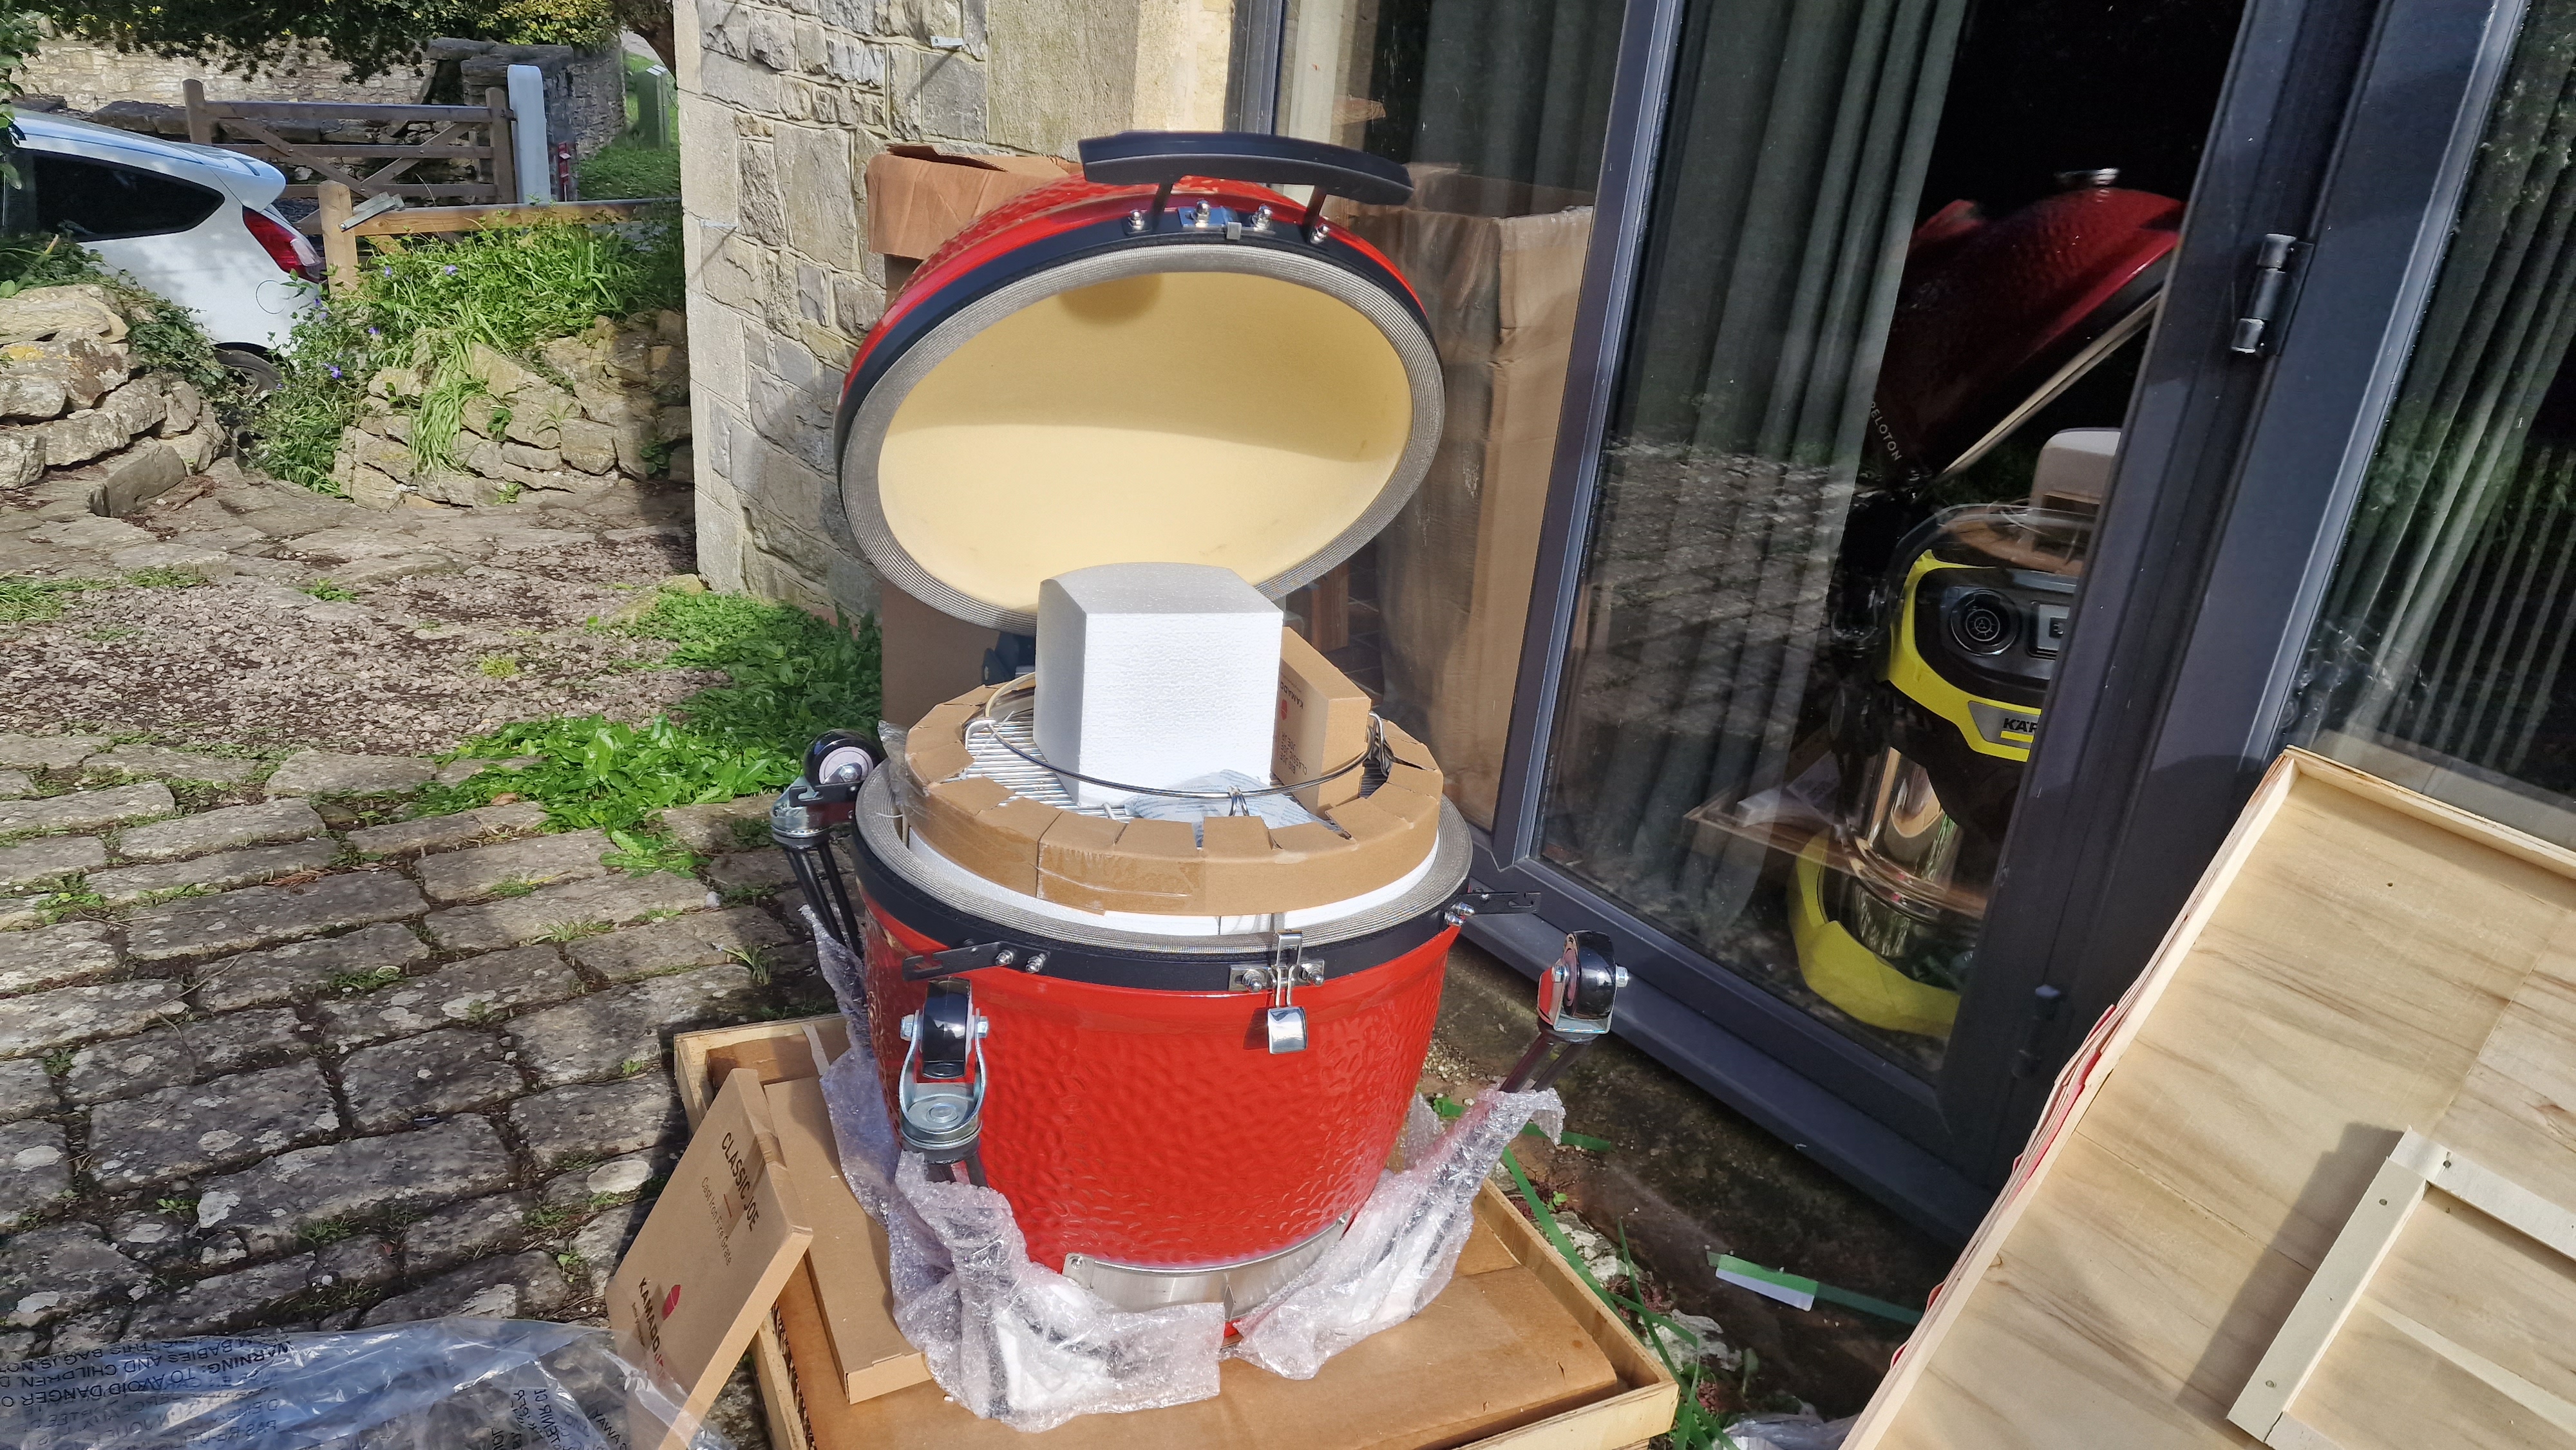
Slotting the grill into its base wasn't as straightforward as expected. There's not much guidance on which way the egg should face, but presumably you want it to be symmetrical in the base and with easy access to the ash dispenser at the base. Once in, we shimmied it around to get it centered but were surprised to find that the grill still had a slight wobble. This detracted from the otherwise high-end feel.
From there, we just had to slot the firebox walls together. This is a fiddly process, and definitely a two-person job. The majority of the grill assembly involves slotting parts together within the grill. Once it's all assembled you simply need to slot the side arms on. These latch and lock securely into place and can be lowered. We were also impressed with the fact that each side had four hooks - plenty for all your grilling tools.
Design expertise in your inbox – from inspiring decorating ideas and beautiful celebrity homes to practical gardening advice and shopping round-ups.
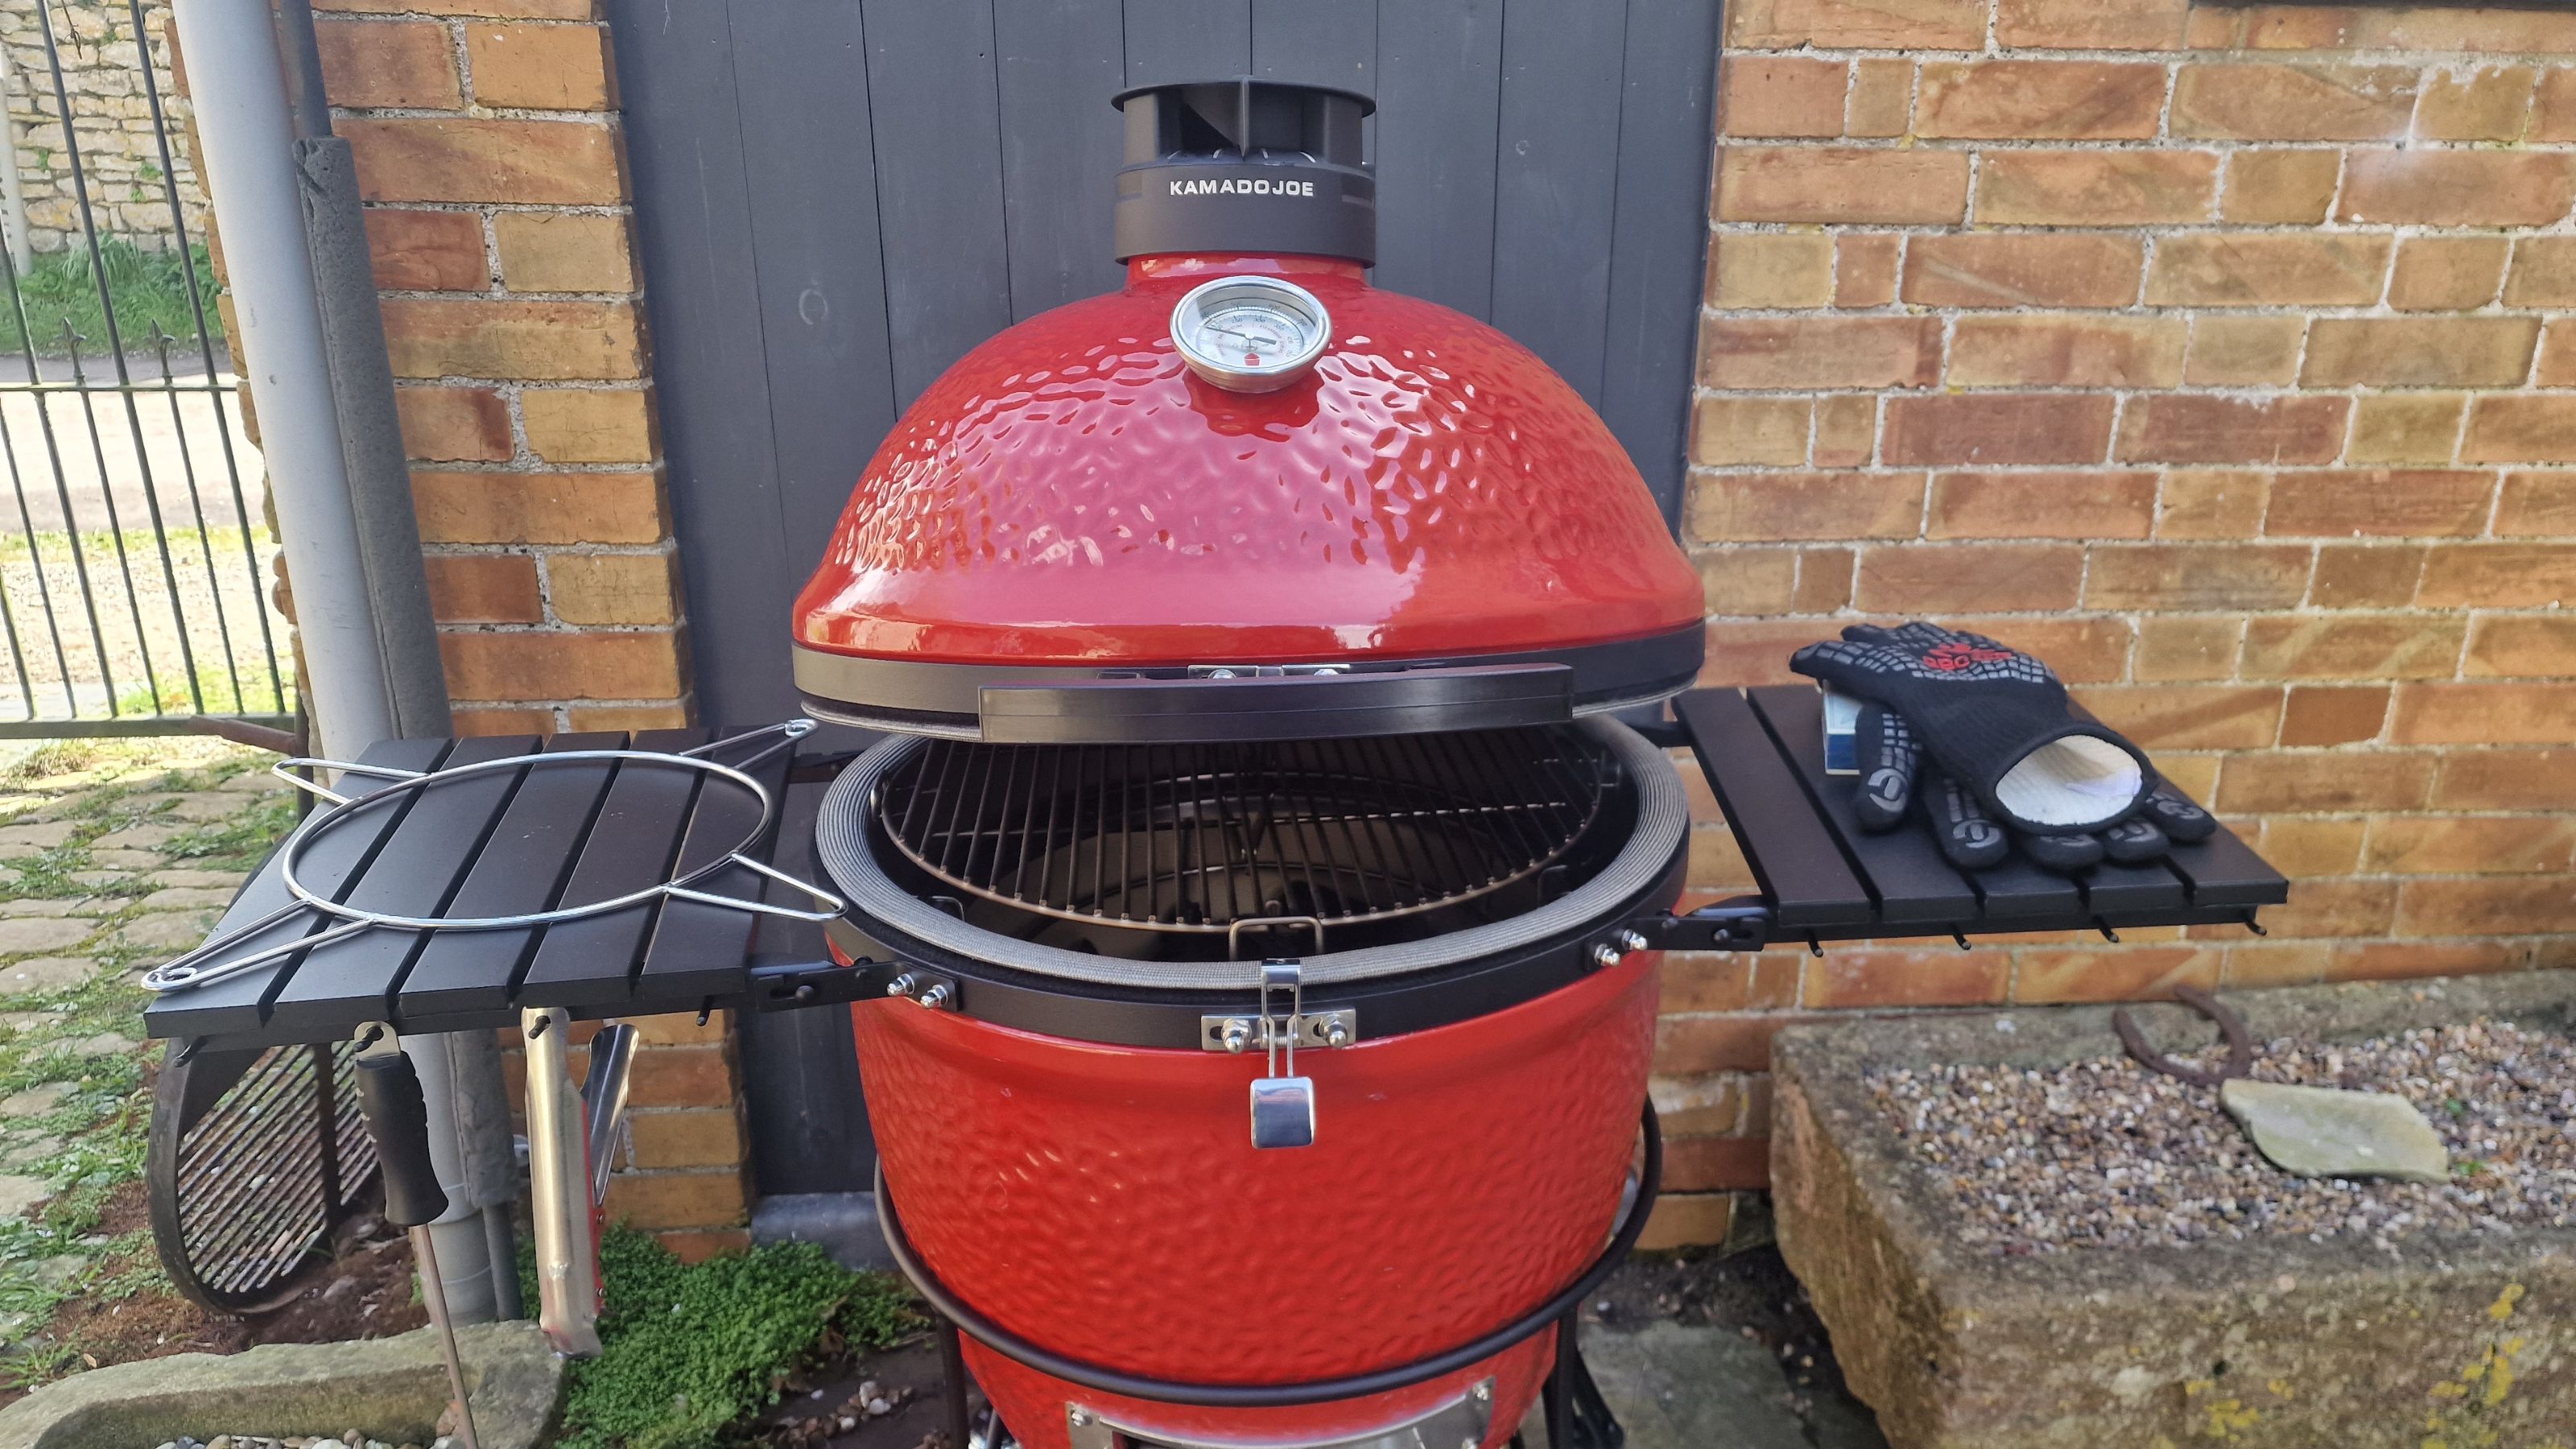
This grill took two of us 45 minutes to assemble, making it the easiest grill to assemble of those on test. However, it proved very tricky to move to the main testing area thanks to the small wheels and hefty dimensions, so we tested this grill in a different space to avoid dragging it up an incline. Note that you won't want to move this one around much once you've built it, and we'd recommend building it close to where you'd like to store it.
Getting started
Unlike many of the best gas grills, you can't get the Kamado Joe Classic Joe II up and running in a few minutes. Instead, you'll need to remove the heat deflectors and grates to add fuel into the firebox. We used the brand's own charcoal and natural firelighters. Once in, we added our grates back on top and left the deflectors off, as we weren't using them for our first recipe. We opened the vents to allow air circulation and closed the lid to burn off the charcoal for 15 minutes.
One of the things we really enjoyed about this grill was how easy it was to open. It has a latch at the base of the lid that, when pressed, will lift the lid for you. You can choose how high up you want it, and it's not hefty whatsoever to raise and lower.
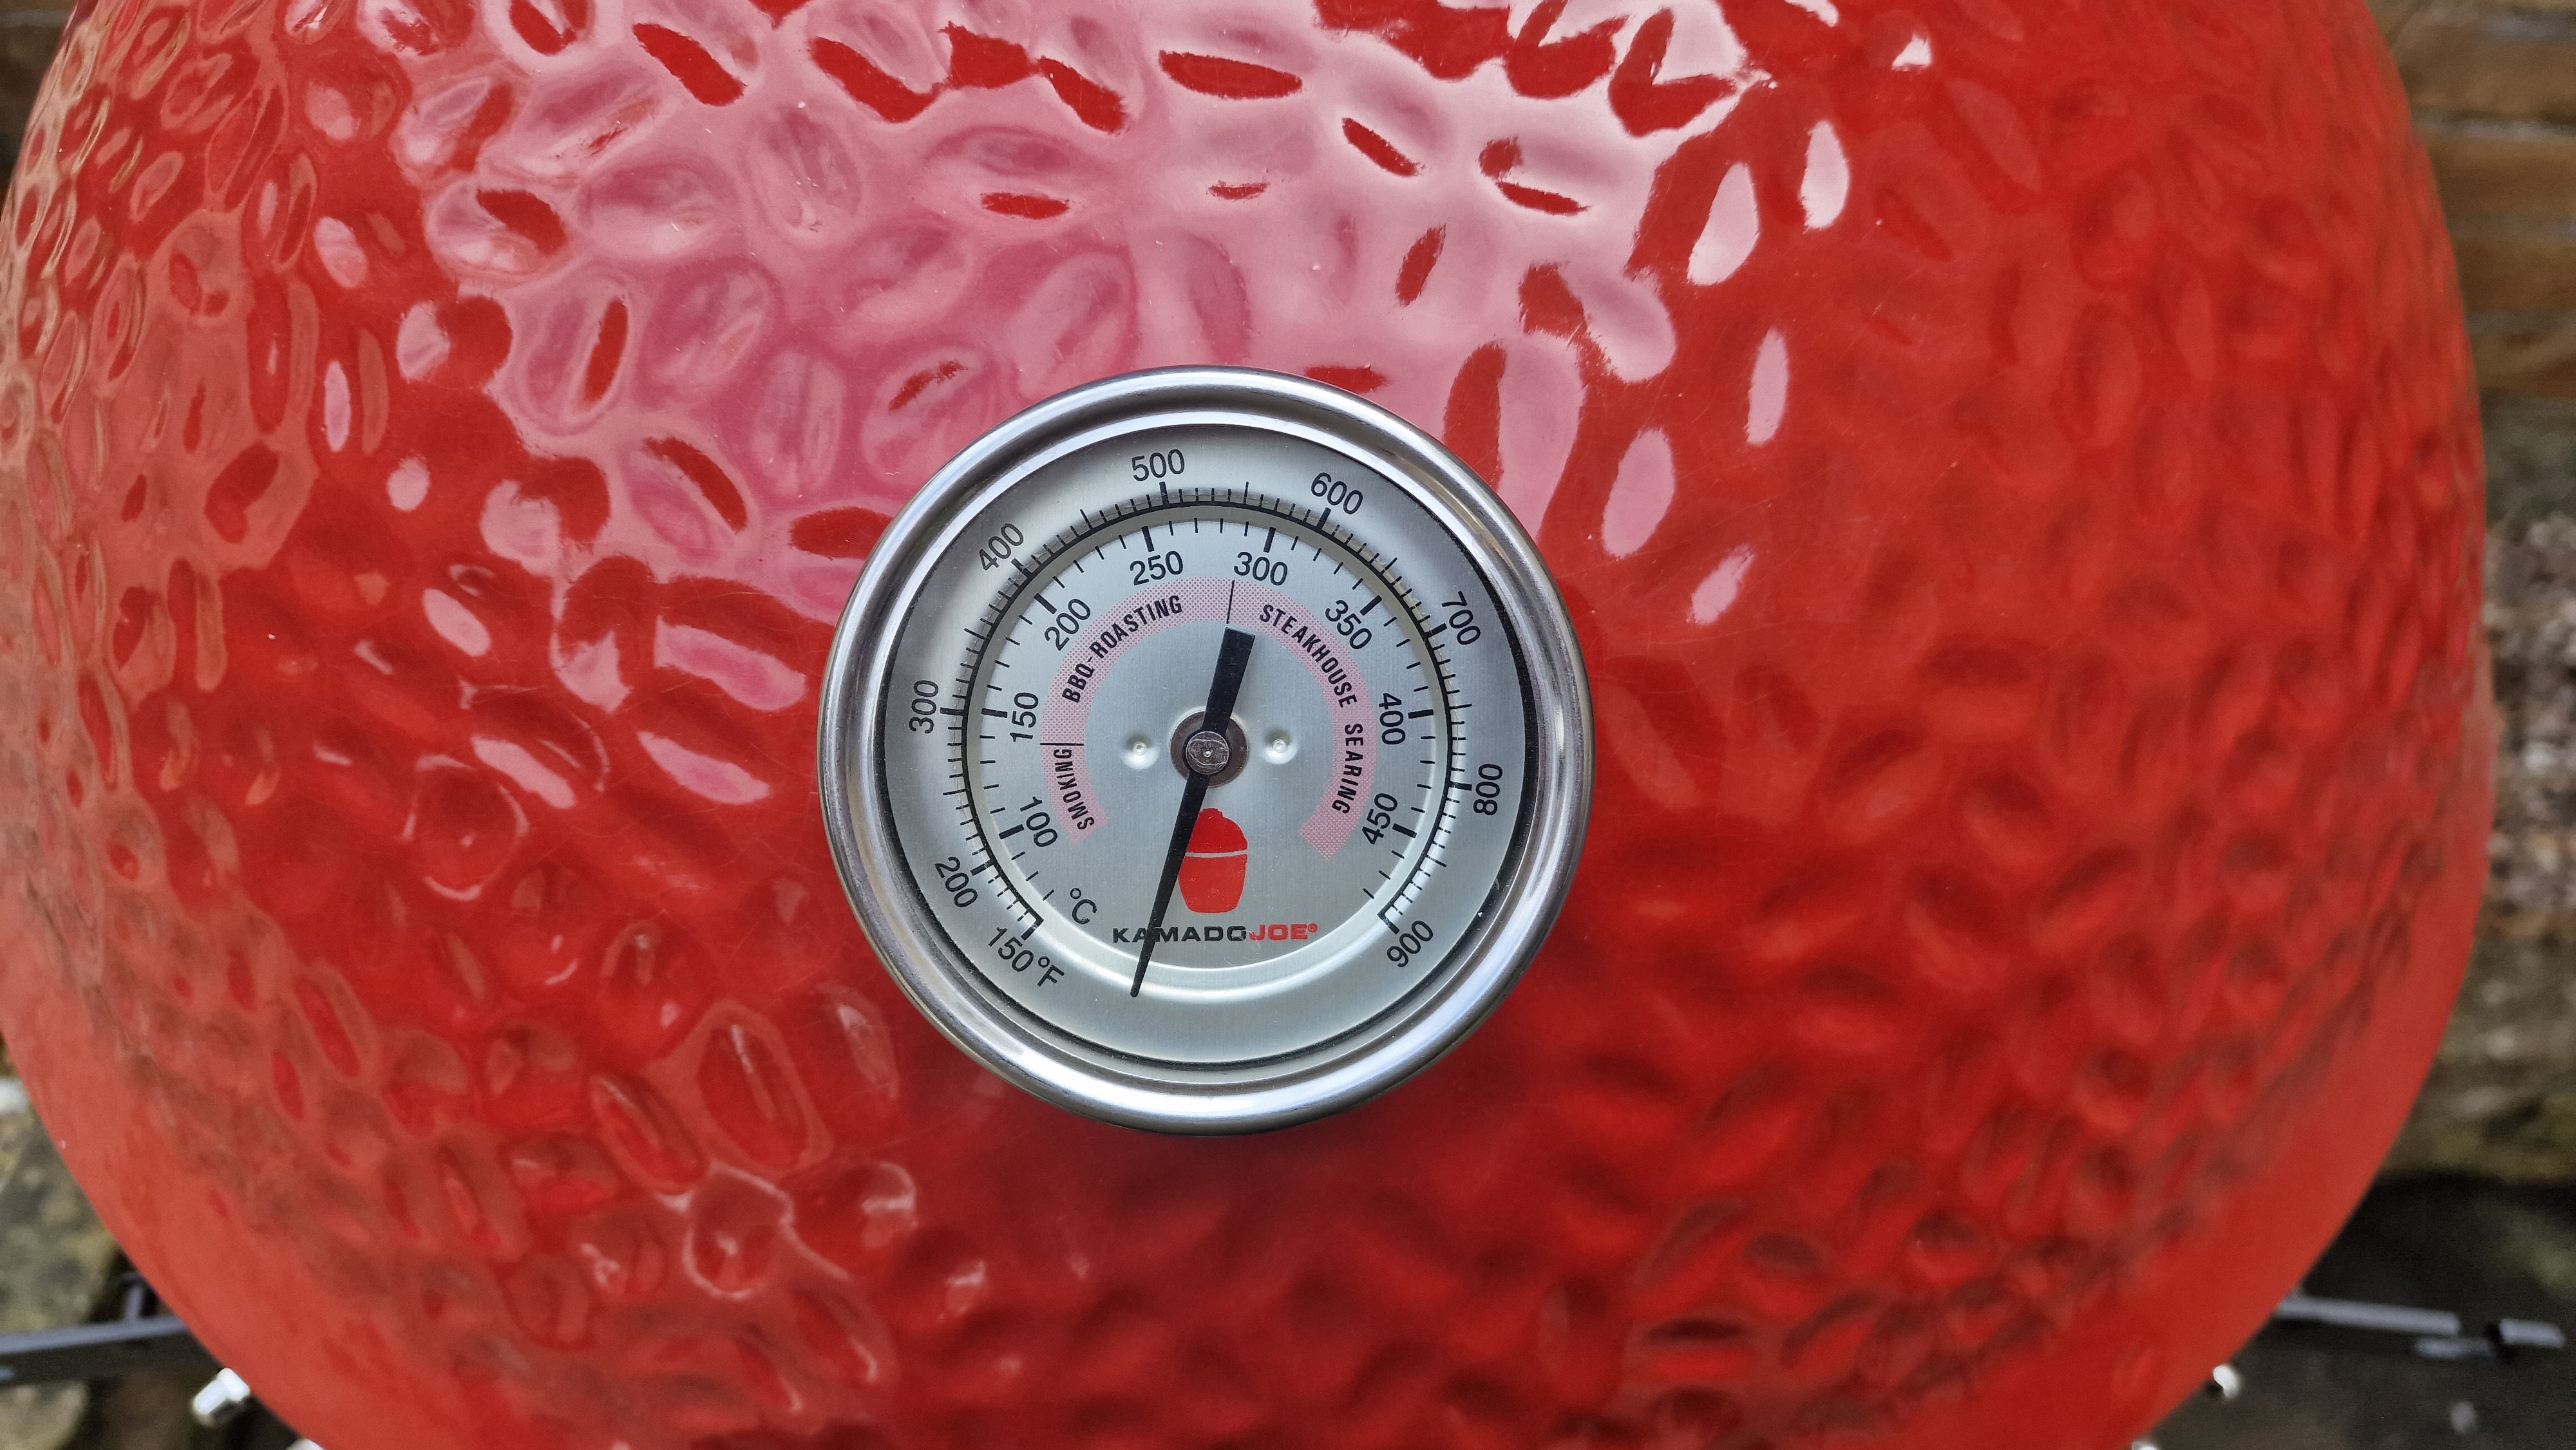
With your classic kettle grill, there's something fairly intuitive about getting it up and running. The same can't be said for the Kamado Joe Classic Joe II. There's a definite learning curve here, which became evident when we massively overshot our intended 450°F target for our first recipe. Taking the temperature down wasn't as simple as leaving the top open and turning a dial to lower the gas. We'd already burnt off our charcoal, so there wasn't much left to do but wait it out or persevere. Seeing as our first test was simply grilling some vegetables and Cypriot halloumi, we decided to persevere. But we would definitely advise caution for first-time users. Don't underestimate the power of the insulation on this grill, because it's easier to add more heat than take it away.
Cooking on the Classic Joe II
Cooking vegetables and halloumi
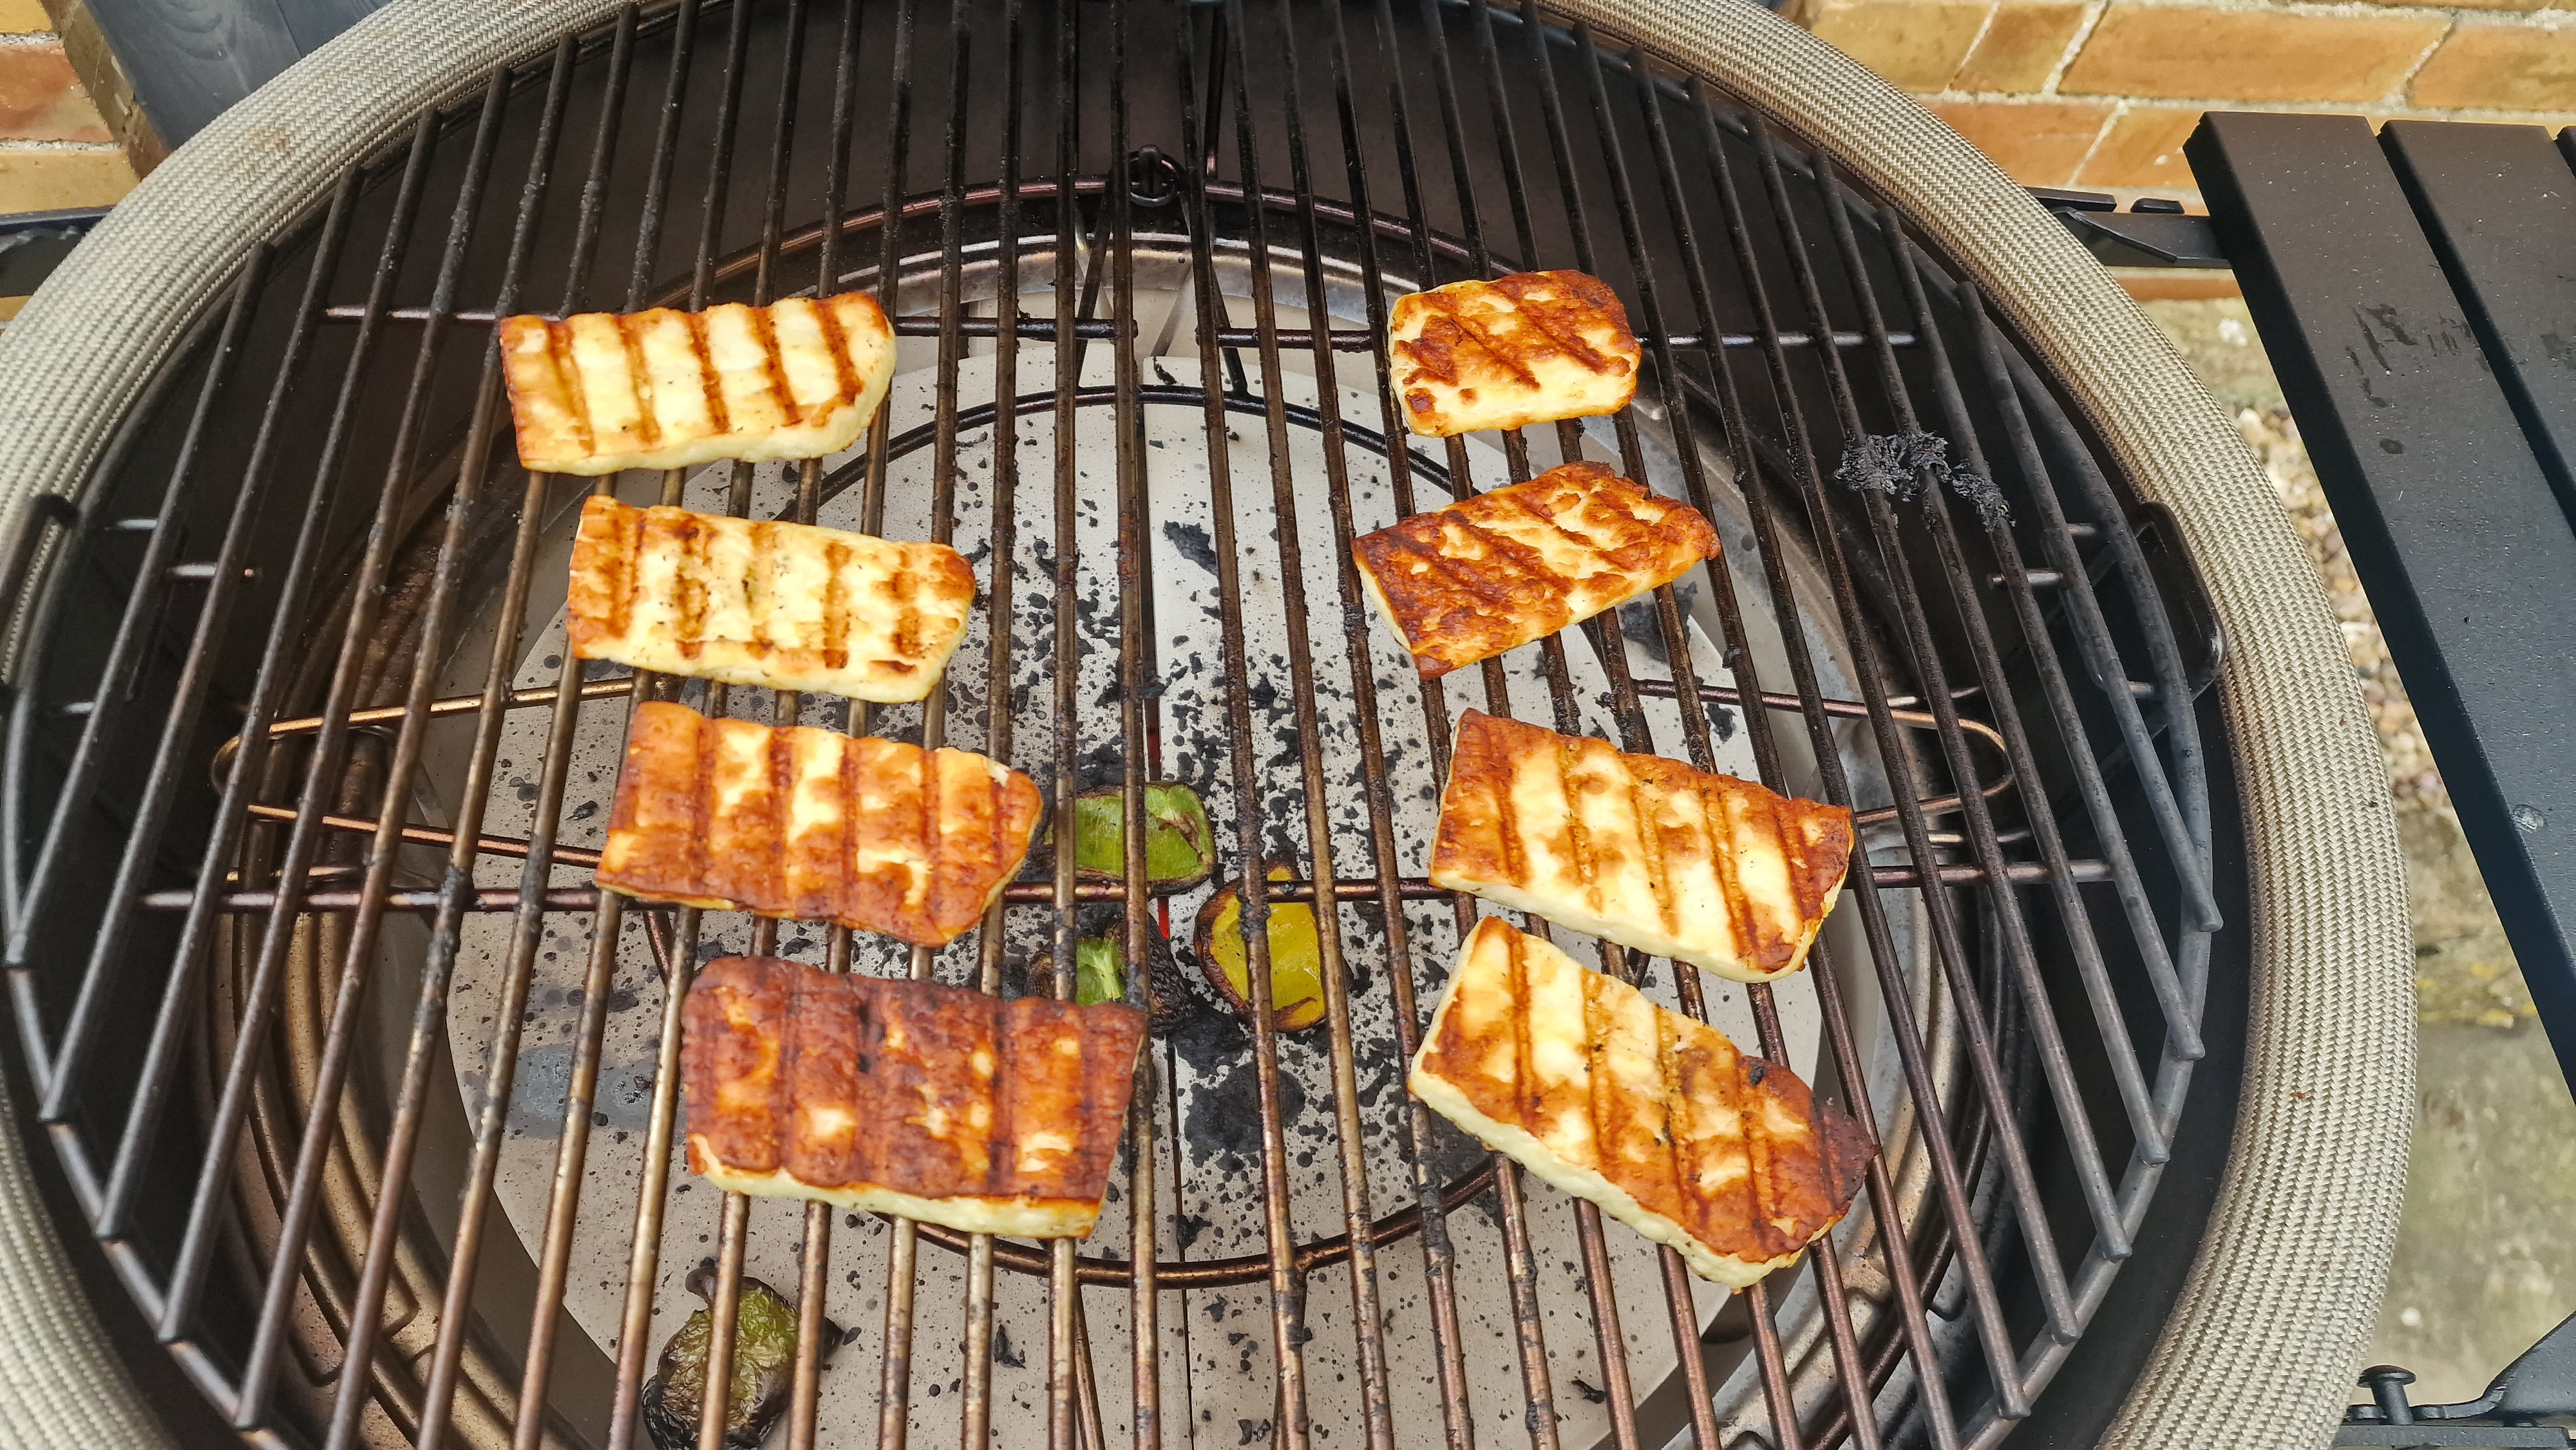
Perhaps the high temperature actually worked in our favor in this test, because our halloumi was far better than any of the other grills we tested. It came out beautifully browned and evenly cooked. On some grills, the halloumi stuck to the grates, but the Classic Joe II had no such problems.
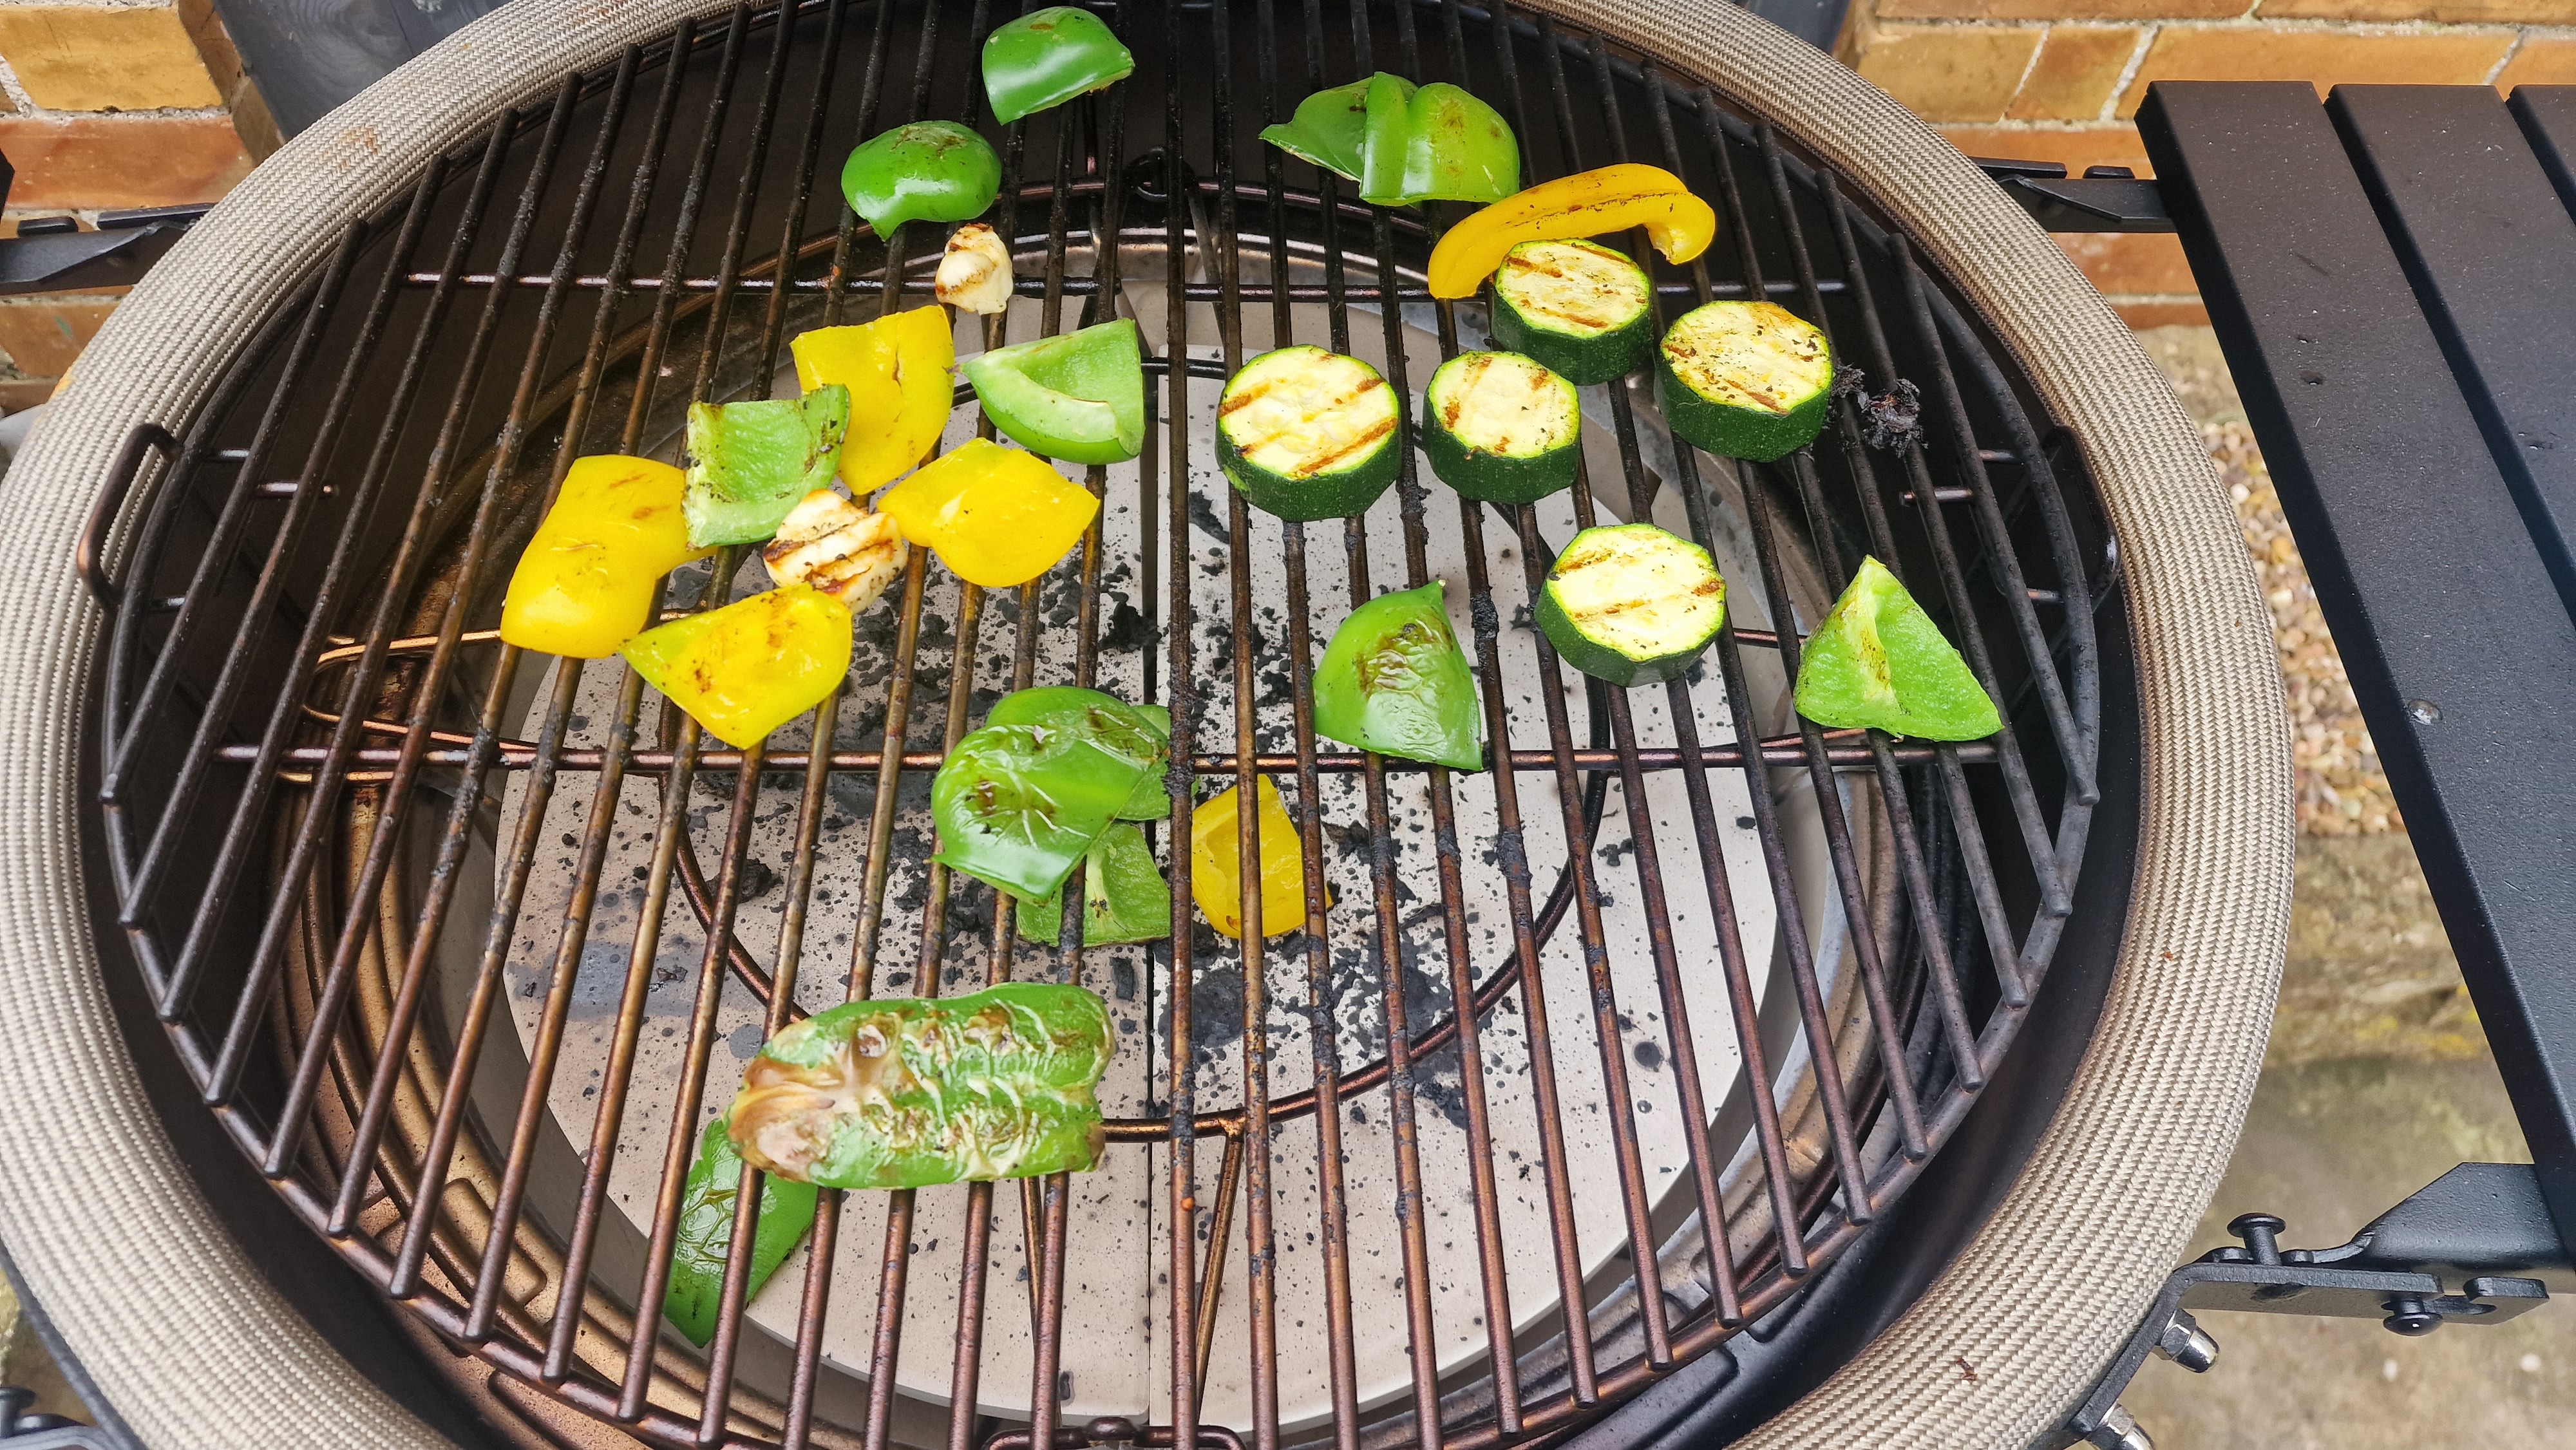
As for the grilled vegetables, we also really enjoyed how nicely blistered they came out. Our main reservation was that the grates were quite wide apart, so it's very possible that you'll lose smaller cooking items through them. We lost some pepper slices, and next time we'd not cut it so small to prevent this from happening.
Cooking burgers and sausages
When it came to testing our meat, we were really excited to see the difference the charcoal would make to our sausages and burgers. They'd been good on the gas grills we tested, but lacked a distinct smokiness that only comes from a proper charcoal model.
We were very happy with the finished product. The burgers got the signature char-lines we look for in any good barbecue, and the sausages were crisp but still juicy.

Our one caveat for this test is that the sausages were prone to rolling toward the back of the grill, and there was nothing there to stop them from falling off and hitting the floor. To stop this from happening, Kamado Joe suggested we skewer them together, which also allows you to turn them all in one go. We can't think of many other foods at risk of rolling around a grill, but still, it's something to keep in mind if you're cooking up some hot dogs.
Slow roasting chicken
We did a slow roast test in every grill we tried. For many grills, this involved turning on the outer burners and cooking our chicken in the center on medium, indirect heat. With the Kamado Joe Classic Joe II you need to lift up the grates and slot your heat deflectors into place, which will take out some of the ferocity of that heat.
By this point we had already done two tests in the Kamado Joe Classic Joe II and the heat had died down somewhat. In fact, we were a little nervous that we'd lose too much heat in the 60 minutes we planned on cooking the chicken for. It seemed a lot more sensible to add a bit more charcoal now than to remove the chicken halfway through cooking to do it, so we placed a handful more fuel into the grill and let it heat up a little more.
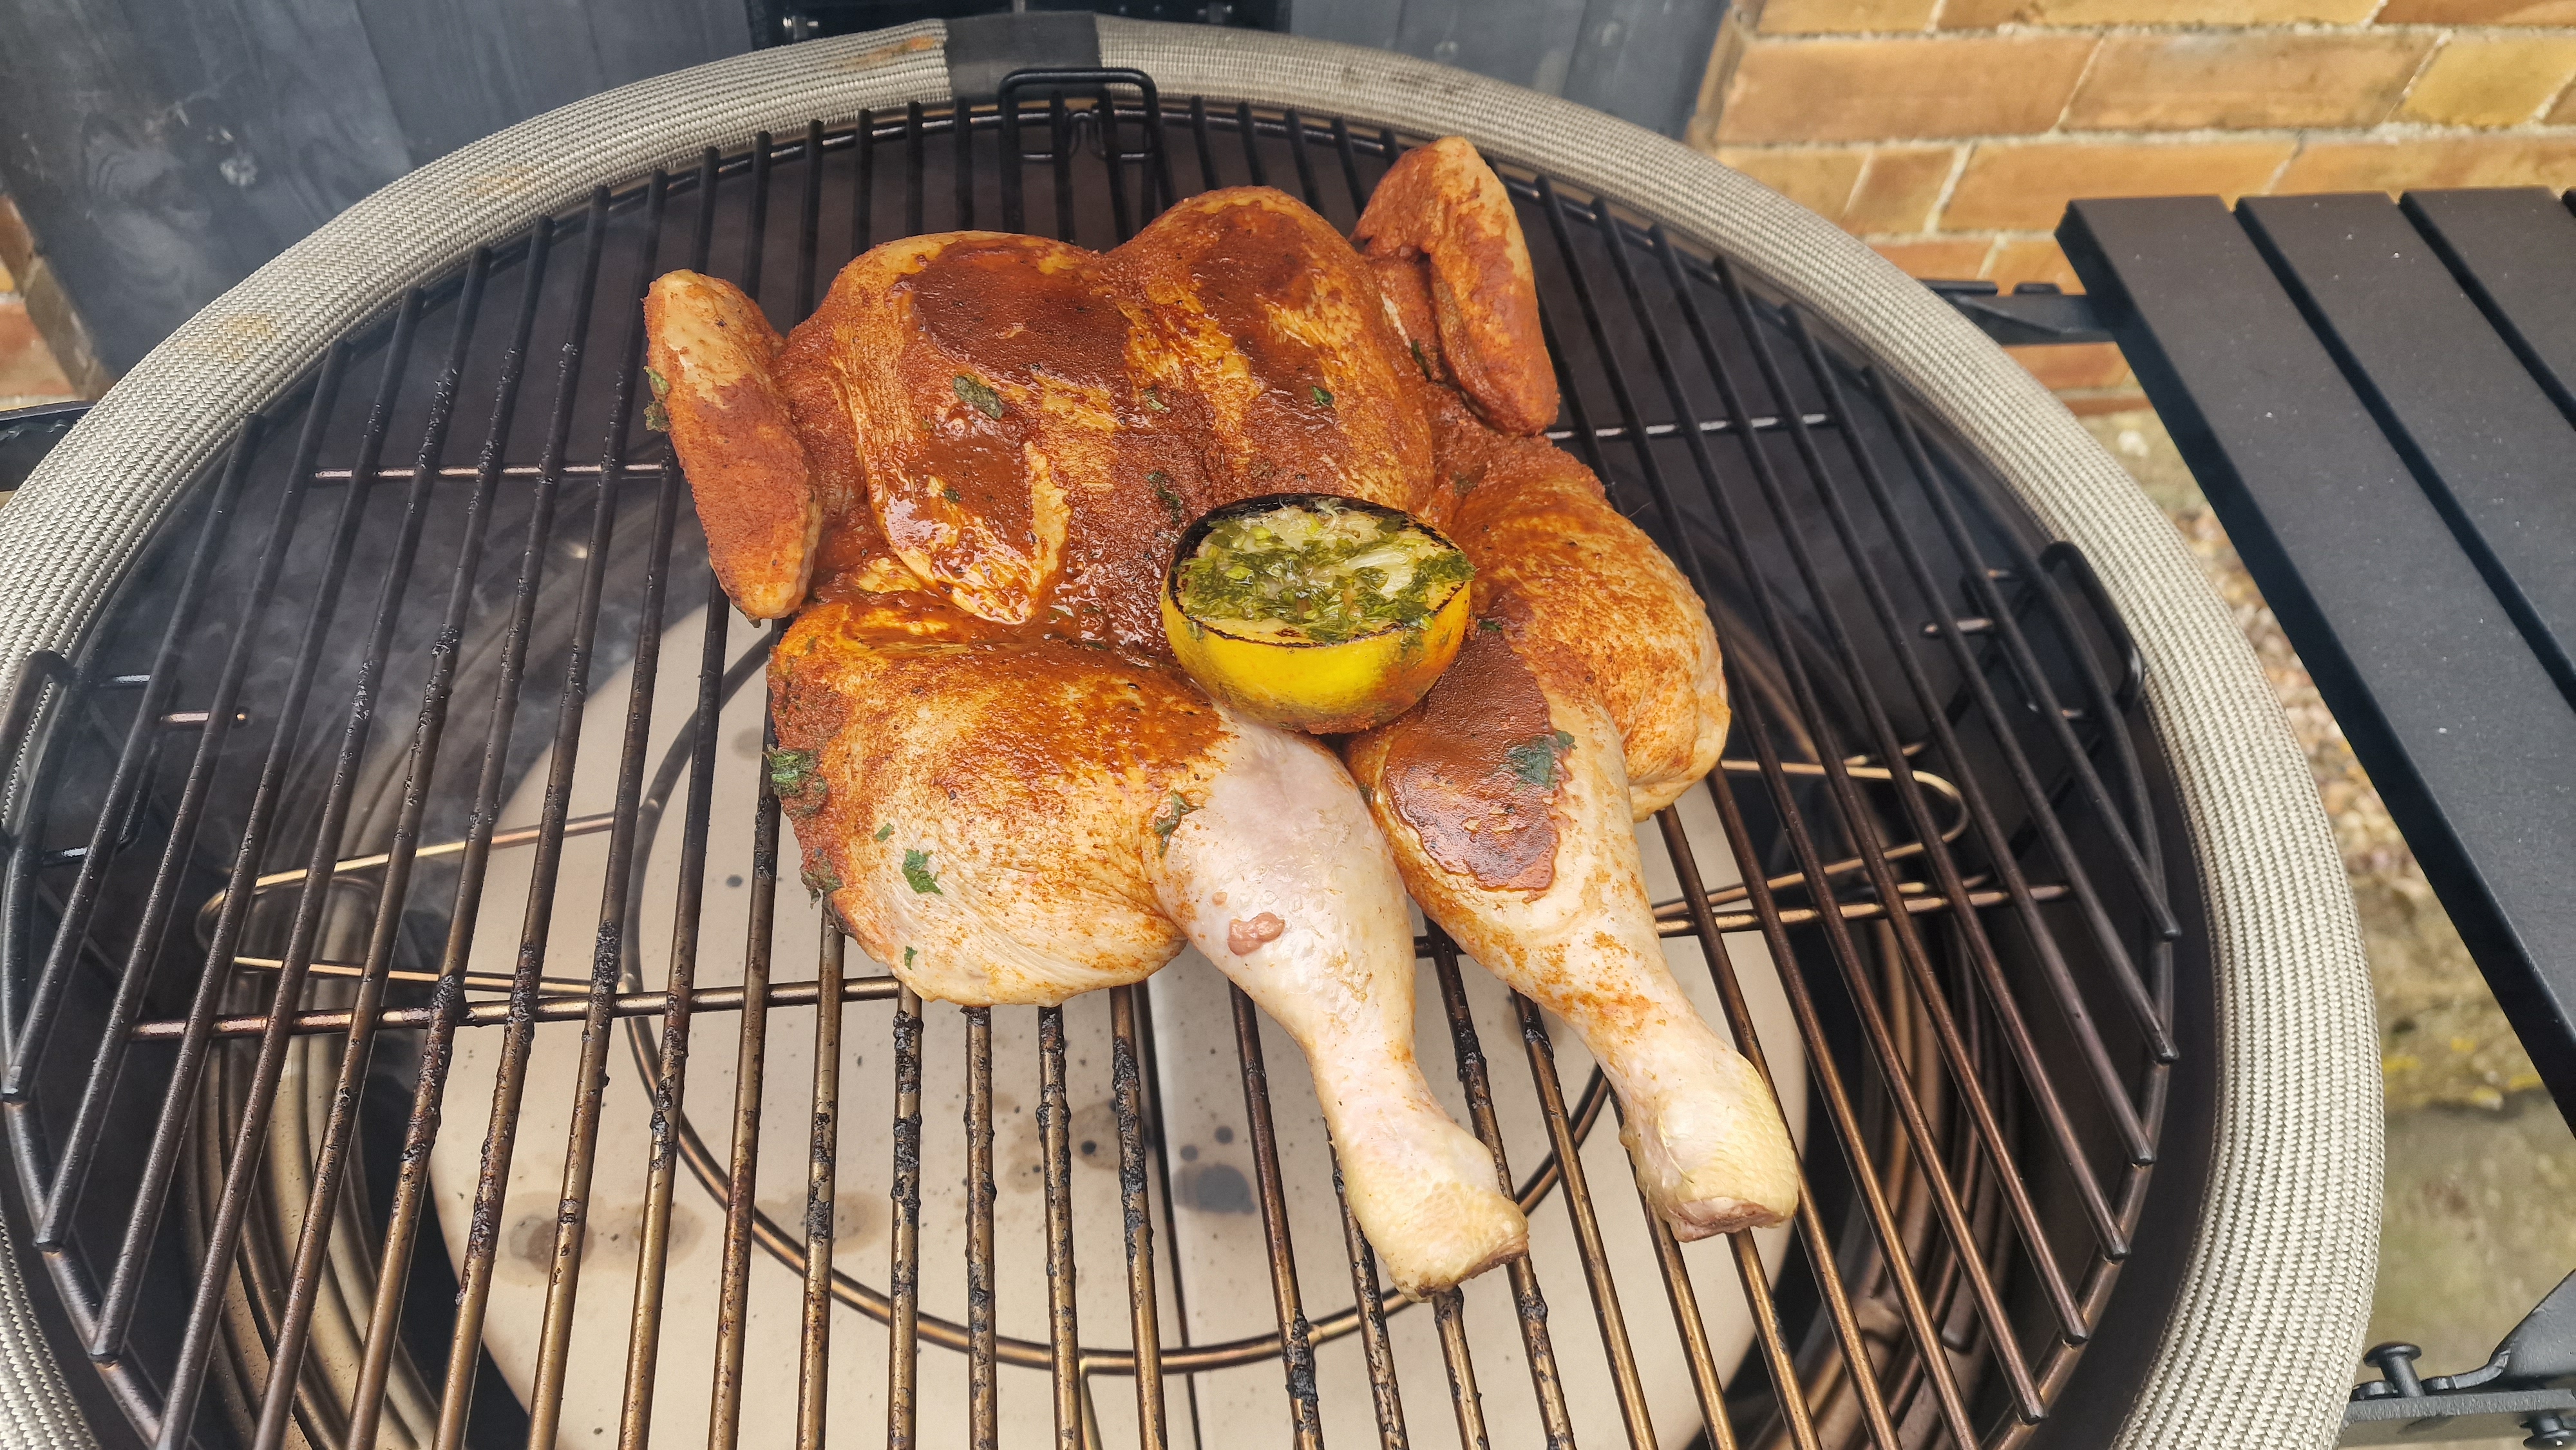
Again, we underestimated this grill massively. That ceramic body guarantees immense efficiency, and now we know a bit more about how the Kamado Joe Classic Joe II works, we'd have trusted it to slow roast our chicken as planned.
Instead, we overshot once more and our chicken was cooked in just 45 minutes. Less of a slow roast, but entirely down to human error. And, most importantly, the finished result was outstanding. The skin was crisp (ok, and a little burnt) and the meat smokey and flavorful.
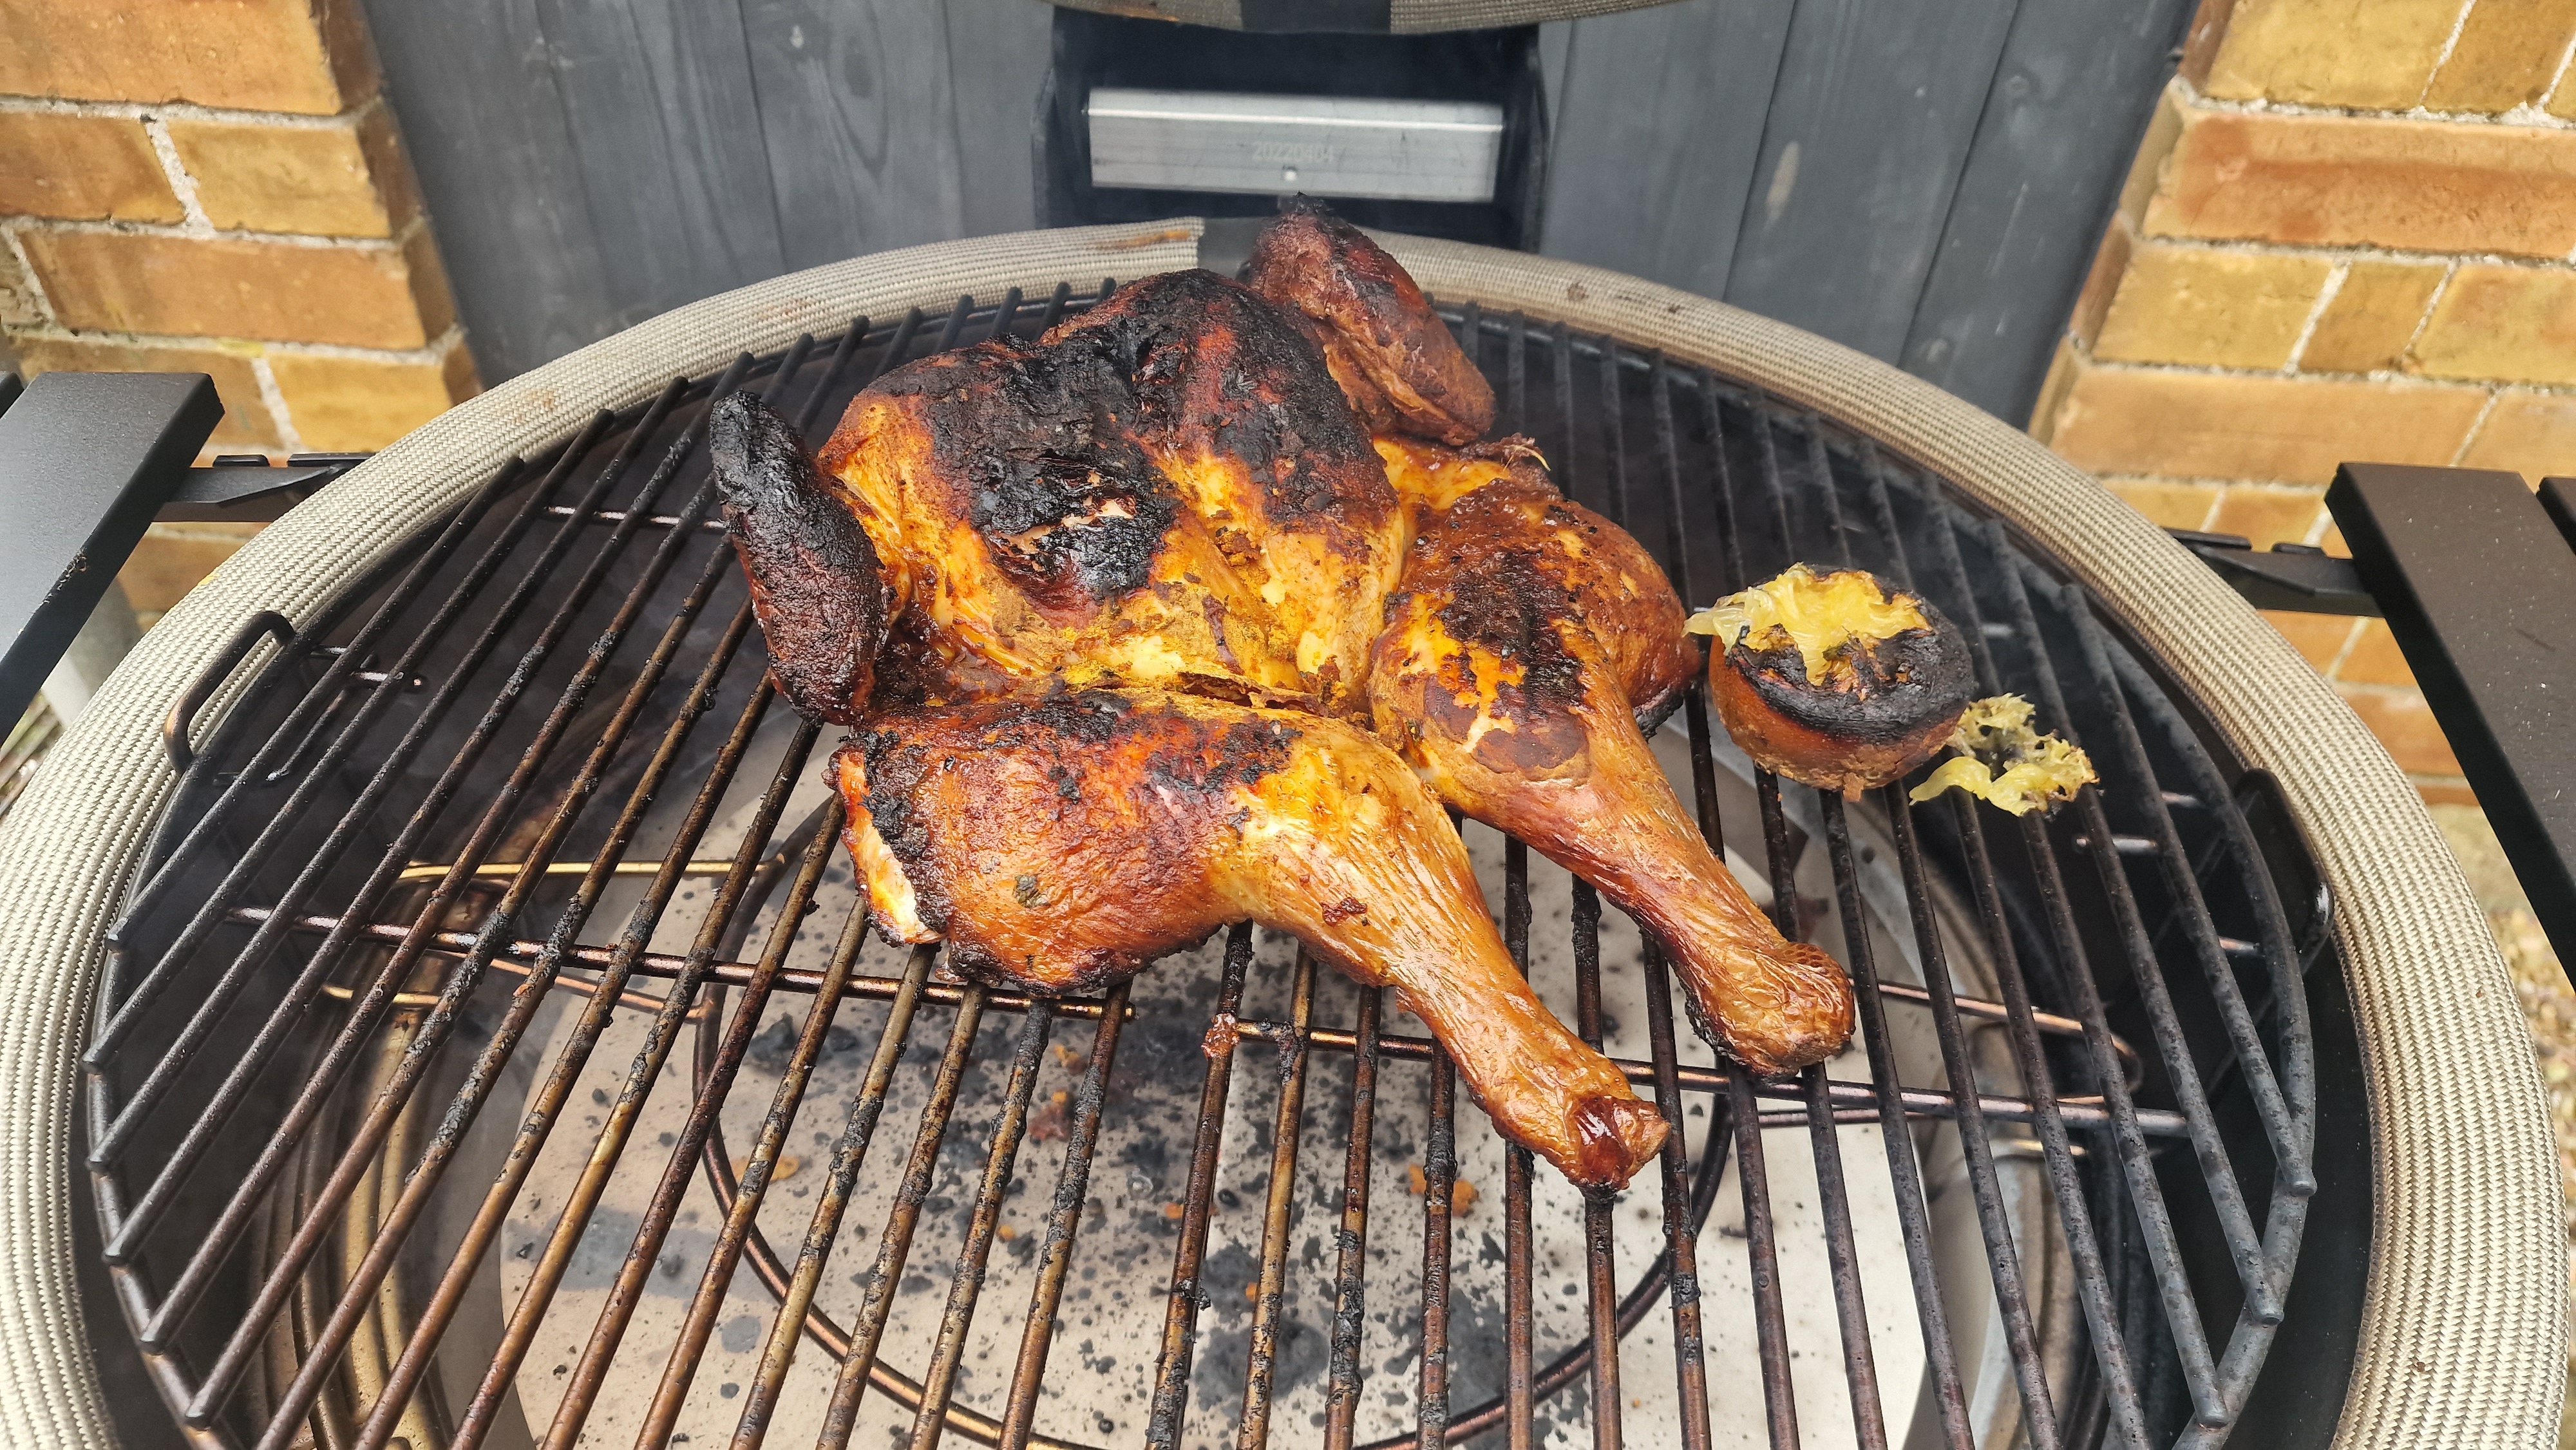
We researched this grill before testing it to make sure we understood the principles behind ceramic grilling. If you're an experienced alfresco chef this may seem like overkill, but the Kamado Joe definitely could be a little intimidating to a newbie. While all of our recipes actually came out great, none of them went according to our original plan.
So, if you buy this grill (which, despite the learning curve, we think is a great decision) then plan for some experimentation first before you attempt anything too complex. You'll be glad you spent the time getting to grips with it once you're tucking into some juicy brisket. Kamado Joe has a lot of online advice that makes the process feel a lot more beginner-friendly.
Cleaning the Kamado Joe Classic Joe II
Like most good grills, the Kamado Joe Classic Joe II doesn't require too much elbow grease to keep it clean. It does take a while to cool down though, so don't expect to clean it immediately after use.
The main issue is removing the ashes, which is made easier by the patented ash drawer at the base of the grill. You then need to take out the grates and give them a scrub under some hot water. There's no need to use any chemicals, as the heat of the grill should keep it sanitary with each use. When you've got grease on the heat deflectors, just give them a wipe down with a brush between uses to keep them dry at all times to prevent them from weakening or breaking.
That covers regular cleaning, but for regular year-round maintenance you should remove the fire ring and the firebox to clear out extra ash and debris a few times a year. And it's worth noting that Kamado Joe does give you cleaning accessories with the grill, which is not something you'll find with many market-leading brands, where this will cost extra.
Should you buy the Kamado Joe Classic Joe II?
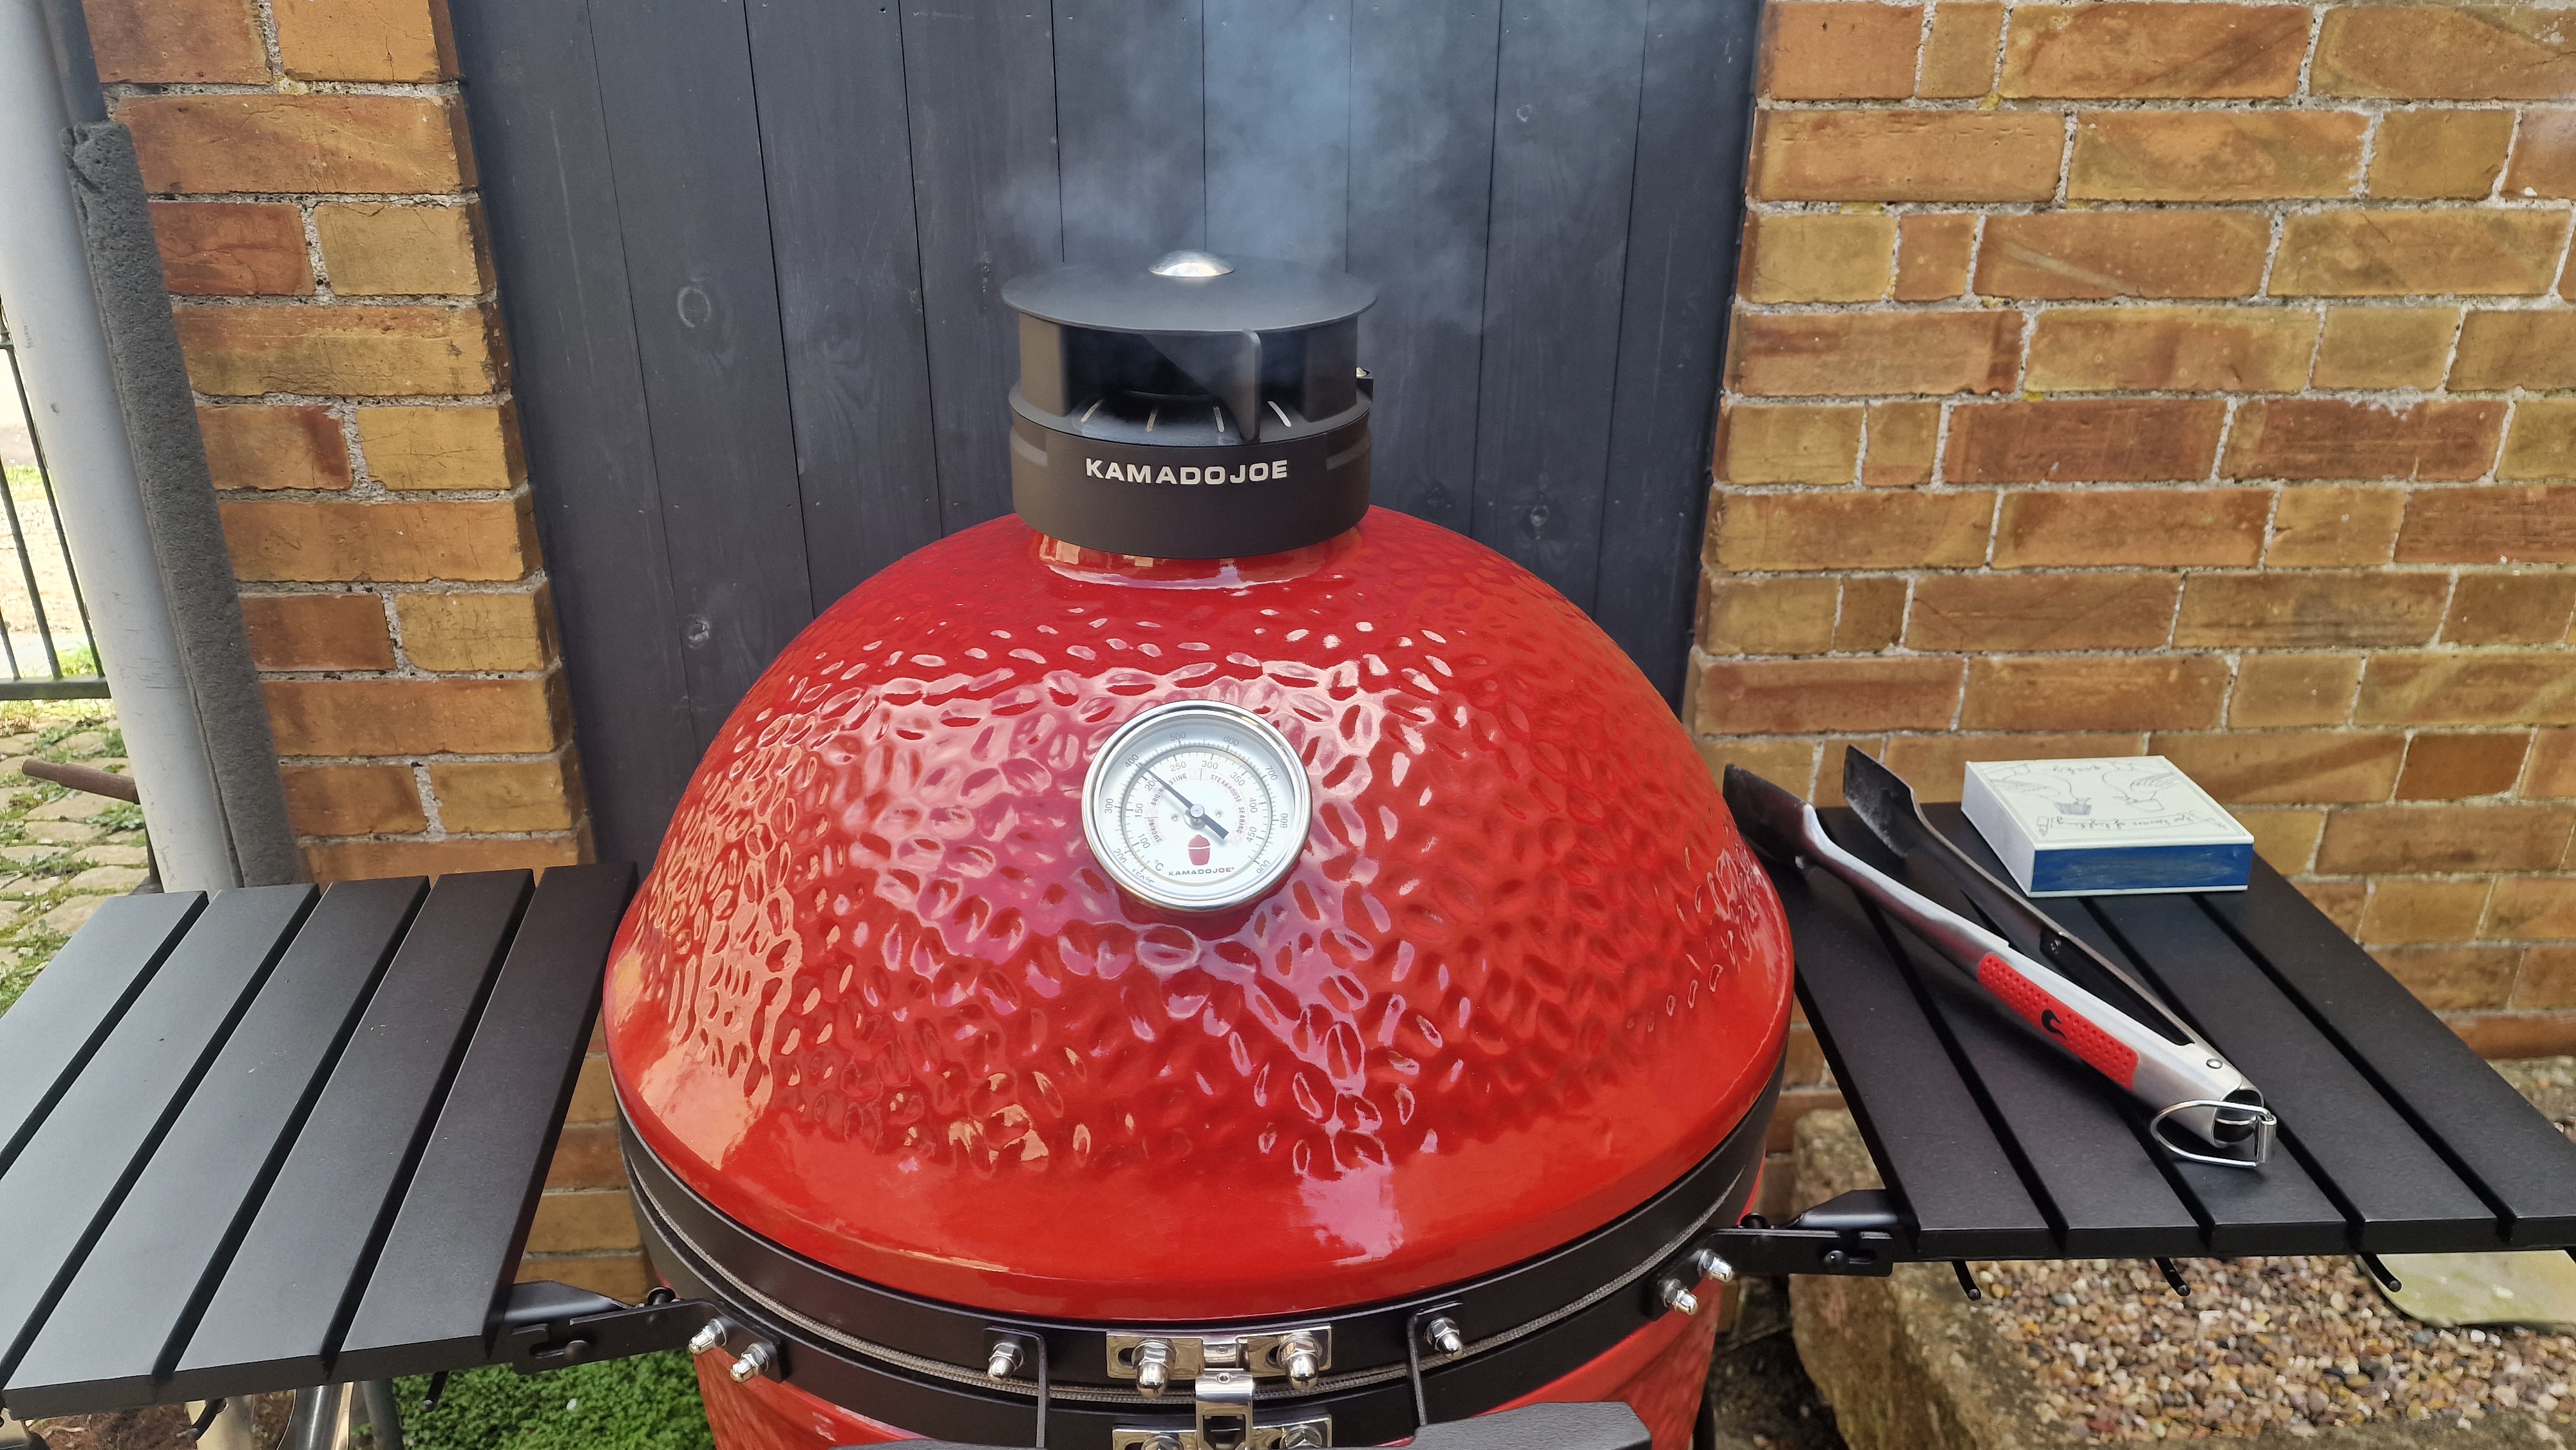
If you're on the market for a grill you'll use for decades to come, and you want to experiment with the art of slow-roasting and smoking, we think the Classic Joe II is an excellent choice. However, if you want the sort of grill you can switch on and go, maybe opt for a gas model. We'd also advise going for a larger grill if you're interested in cooking larger cuts of meat or for 4+ people, as the surface area of the Kamado Joe Classic Joe II could feel a little limiting. The brand also has a line called the Big Joe which, as the name suggests, is made for serious feasting.
It's not for the casual griller, but the Kamado Joe Classic Joe II is a winner for eye-catching and thoughtful design. We definitely had an easier time getting to grips with some of the other grills we tested, such as the Weber Spirit and Everdure Force, but the Kamado Joe Classic Joe II was definitely the testing group's favorite when it came to flavor.

Millie Fender is Head of Reviews on the Homes and Gardens Ecommerce team. She specializes in cooking appliances, such as the best kettles, and also reviews outdoor grills and pizza ovens. Millie loves to bake, so she will take any excuse to review stand mixers and other baking essentials. When she's not putting products through their paces in our dedicated testing kitchen, Millie's reviews are conducted at home, meaning she uses these products in her own day-to-day life.