This genius damage-free wall addition was my secret to staying organized in college – I still use them all over my home
They’re just as useful in 'grown-up' life as my shared campus bathroom


Design expertise in your inbox – from inspiring decorating ideas and beautiful celebrity homes to practical gardening advice and shopping round-ups.
You are now subscribed
Your newsletter sign-up was successful
Want to add more newsletters?

Twice a week
Homes&Gardens
The ultimate interior design resource from the world's leading experts - discover inspiring decorating ideas, color scheming know-how, garden inspiration and shopping expertise.

Once a week
In The Loop from Next In Design
Members of the Next in Design Circle will receive In the Loop, our weekly email filled with trade news, names to know and spotlight moments. Together we’re building a brighter design future.

Twice a week
Cucina
Whether you’re passionate about hosting exquisite dinners, experimenting with culinary trends, or perfecting your kitchen's design with timeless elegance and innovative functionality, this newsletter is here to inspire
When I moved out of my final college room, I thought I was done with Command hooks and strips. Those sticky lifesavers had helped me hang everything from string lights to towels without risking my security deposit – but they aren’t just for students.
Even now, three years after graduating, I still swear by Command strips, available from Walmart. They’ve become my go-to for organizing, decorating, and solving weird little problems around the house.
This is why I keep coming back to them when organizing my home. Here are a few tips for using them correctly, too, so you don’t end up with a mirror crashing down at 3 am.
Why I love Command hooks
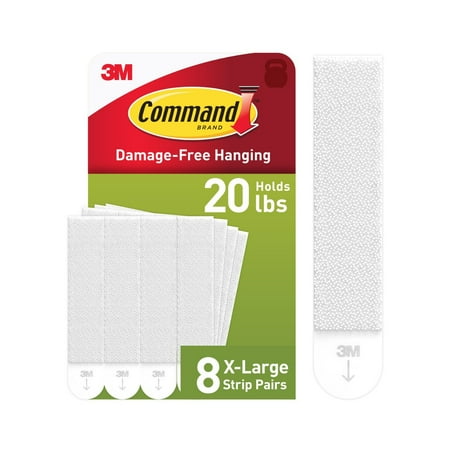
These heavy-duty strips are suitable for hanging heavy items like picture frames, mirrors, and wall art, and have 40% more adhesive holding power than the large picture hanging strips.
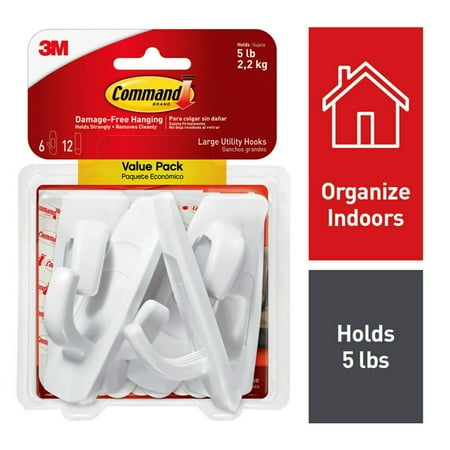
These heavy-duty hooks work on most smooth surfaces, including painted walls, wood, and metal.
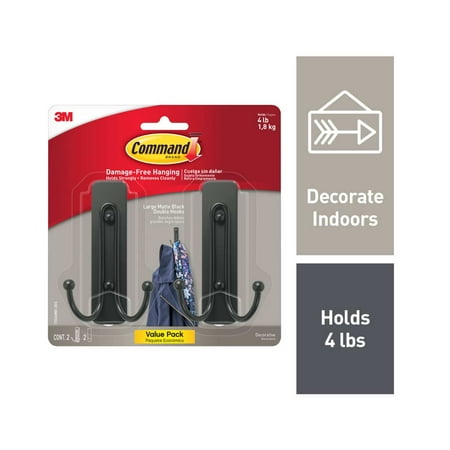
Need something a little more decorative? These hooks are ideal for items up to four pounds in weight, and come in three colors to match most interiors.
In a home with next to no storage, using vertical storage to save space is not a choice – it’s a necessity. From hanging towels to mounting speakers and organizing keys and coats, Command hooks have remained my go-to, even in a rental home that allows for nails and screws in the walls.
Why? Because the removable, damage-free hooks help with both my indecisiveness and fear of power tools (for every time I use one, I manage to break or seriously damage something, even things unrelated to the DIY project at hand).
They immediately improve wall storage ideas when used correctly, and allow me to move items around as I need to, without having to rush to the store and fiddle around with hole filler and paint. Plus, I can hang items above wall sockets and switches, where dripping into a wall could end up with a shocking trip to the emergency room.
Even when I finally buy my first home, I can see these practical essentials following close behind.
Design expertise in your inbox – from inspiring decorating ideas and beautiful celebrity homes to practical gardening advice and shopping round-ups.
How to use Command hooks correctly

Command hooks are a great way to create a gallery wall without having to find wall studs.
The key to using hooks for increased storage is to apply and remove the Command hooks properly. You cannot rush the process, and I learned that the hard way. One mirror came crashing down at 3 am, while I accidentally pulled a chunk of plaster off the wall in my second student rental home.
To hang artwork without damaging walls and expand your home storage ideas, these Command tips are a must:
- Clean the wall first: Whether you are using a wall hook or a clip-and-lock strip, it is important to clean the wall first. It turns out that any small hair or dust can prevent proper adhesion. A slightly damp microfiber cloth, available from Walmart, is all you need for this.
- Use the correct strength strip: If you do not want a dramatic reenactment of my broken mirror, always check the item’s weight first. If you do not have suitably sized kitchen scales, from Walmart, for this, I have found that using bathroom scales (also from Walmart) and weighing myself, then weighing myself holding the object, and working out the difference, is a good guide. Opting for a strip designed for a bigger weight is always a safe option if you are unsure.
- Ensure the tab is pointing down: I cannot stress this step enough, as it is the reason I had to fix cracks in plaster walls in my second year. The small tab on a Command hook is how you remove it, and it needs to be pointing downwards, not sideways, to ensure damage-free removal later down the line.
- Allow the strip to stick before hanging anything: In a rush to decorate or organize a space, I have been guilty of sticking the strip on the wall and hanging the item up right away. However, this can cause the strip to peel away. Instead, let the strip sit on the wall for 24 hours before hanging anything with it to allow it to properly adhere.
- Remove slowly with two hands: The ‘damage-free’ part of command strips comes down to the removal technique. To remove a strip from a wall without damage, place one finger at the top of the strip, applying firm pressure, as you pinch and pull the bottom tab downwards, not away from the wall. This stretches the sticky backing for safe removal. Only once it is fully stretched out, remove your top finger for the strip to come away completely.
What to shop
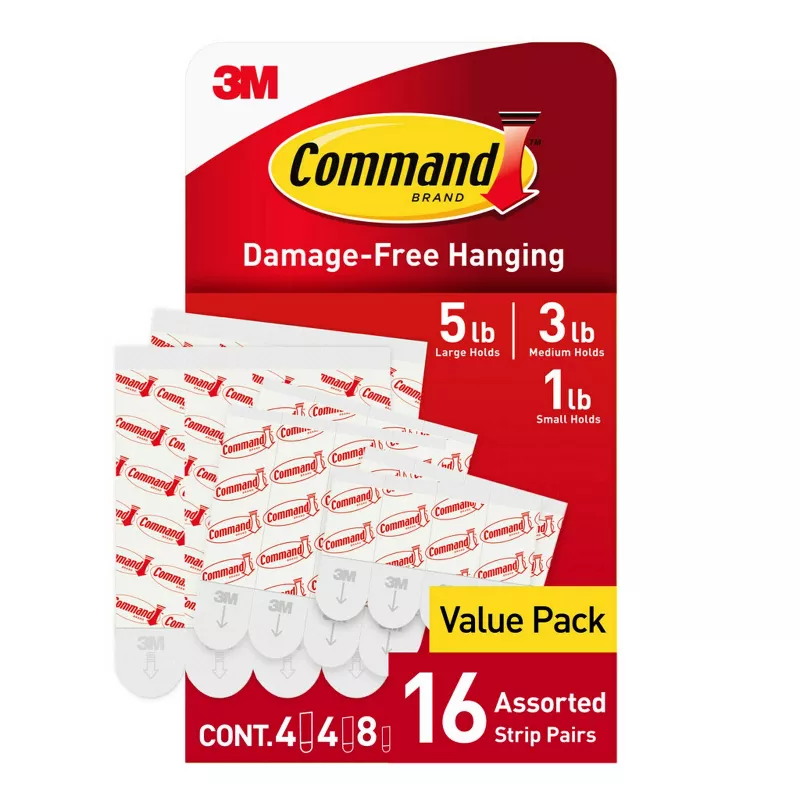
With three sizes of strips, this Command starter kit is perfect for smaller, lightering hanging tasks.
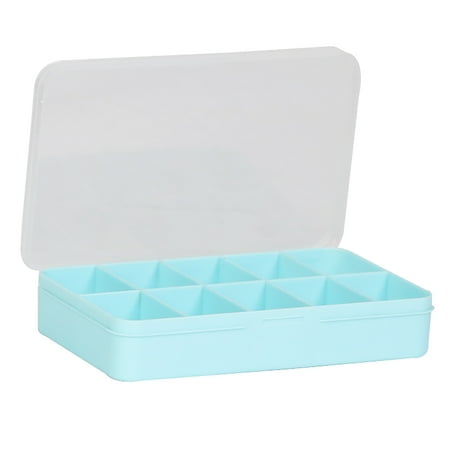
Keep your command strips organized by weight to avoid mixing them up and prevent items falling from walls.
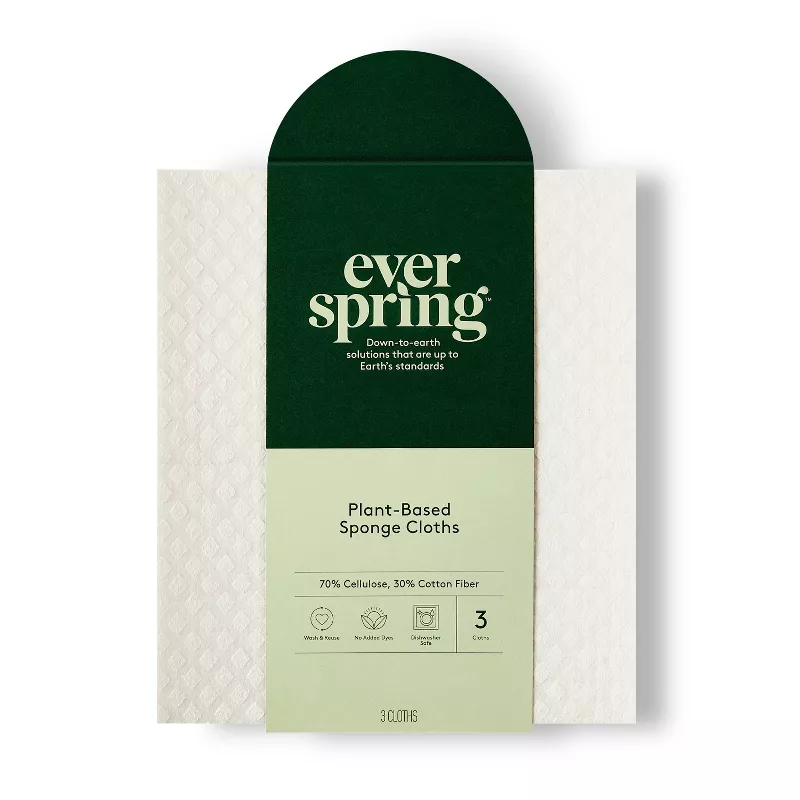
Sponge cloths are a great way to quickly clean walls, ready for command strips. Simply dampen with tap water and wring out before wiping and drying the surface.
Moving to college soon? Check out the organizing lessons I learned from a small dorm room to help set you up for a clutter-free study hub.

Chiana is Homes & Gardens’ kitchen appliances editor. With a lifelong passion for cooking and baking, she grew up experimenting in the kitchen every weekend with her baking-extraordinaire Mom, and has developed a great understanding of how tools and appliances can make or break your ideal relaxing kitchen routine.