The 6 DIY steps I always follow to protect my walls from damage when hanging artwork
These 6 simple steps help me protect my walls from damage when securing artwork and mirrors


Design expertise in your inbox – from inspiring decorating ideas and beautiful celebrity homes to practical gardening advice and shopping round-ups.
You are now subscribed
Your newsletter sign-up was successful
Want to add more newsletters?

Twice a week
Homes&Gardens
The ultimate interior design resource from the world's leading experts - discover inspiring decorating ideas, color scheming know-how, garden inspiration and shopping expertise.

Once a week
In The Loop from Next In Design
Members of the Next in Design Circle will receive In the Loop, our weekly email filled with trade news, names to know and spotlight moments. Together we’re building a brighter design future.

Twice a week
Cucina
Whether you’re passionate about hosting exquisite dinners, experimenting with culinary trends, or perfecting your kitchen's design with timeless elegance and innovative functionality, this newsletter is here to inspire
When it comes to decorating my walls I'm the first to admit that I ascribe to the 'more is more' school of thought. There's always space for one more piece of artwork or a statement mirror in my home.
But the initial excitement of purchasing a new item of wall decor can quickly turn into a mild panic when I'm faced with the prospect of drilling another hole into my pristine walls. Thankfully, over the years I've learned a few tricks and tips to make sure that my walls are safe from damage during this process.
The key to getting this DIY task right is a little preparation and making sure you're equipped with the right tools for the job. Below, I share the 6 easy steps I always follow to avoid damaging my walls when hanging artwork or mirrors.
1. I consider where to hang my artwork

Nothing beats a carefully curated gallery wall to showcase your artwork. But before I embark on such a project I make sure to pinpoint the perfect spot to hang a picture.
I start by locating the studs in my walls. Wall studs are the hidden backbone of your home and you'll want to find them if you're hanging a heavy mirror or a particularly large frame. To locate the studs, I use a stud finder wall scanner and mark their positions carefully. If your walls are made from brick or stone, you can skip this step.
It's also crucial to avoid live wires and electrics when drilling into your walls. Hit the wrong spot and you could wipe out your power or get a nasty shock. Thankfully, most stud finder wall scanners are also equipped to identify these areas. When in doubt, it's a good idea to check directly beneath or above a light fixture before drilling. The last thing you want to do is cause further damage to your walls if you have to undo a costly mistake.
Stud Finder Wall Scanner | $27.99 from Amazon
This stud finder wall scanner is ideal for DIY projects that involve hanging artwork or wall decor in your home. It can detect metal structures, such as live AC wires or pipes behind your walls, preventing you from screwing or nailing into main supplies or causing damage to your property.
2. I select the best tools for the job

The easiest way to avoid damaging walls is to use the correct tools for the job. Once I've located where I want to hang my art I make sure I'm equipped with everything I need to safely secure my pieces.
Design expertise in your inbox – from inspiring decorating ideas and beautiful celebrity homes to practical gardening advice and shopping round-ups.
For substantial items, like large mirrors or weighty artwork, I sometimes opt to use an impact driver like the DEWALT 20V MAX impact driver at Amazon rather than a standard drill. These tools can be set to a lower torque setting to avoid over-tightening screws, which minimizes the probability of cracks or splits in your walls.
If I'm hanging pieces high on a wall, I also make sure to use a sturdy step ladder. This allows me to drill directly into the wall and not at an angle. Trust me, this will make the job much easier, and minimize the chance of cracking the plaster around your screws.
3. I use a handy 'envelope hack' for quick cleanup

A seriously useful trick that I've used time and again is something I like to call 'the envelope hack'. I simply tape an open envelope to the wall directly beneath the area I'm going to be drilling (using painter's tape to avoid damaging paintwork) and I make sure the open part of the envelope is facing me.
If it's open wide enough, the envelope should be positioned to catch any debris falling from above. When I begin drilling, the excess dust from my wall usually falls straight into the open envelope and not all over my floors. This trick makes cleaning up a breeze.
4. I make sure my plugs and anchors are strong enough
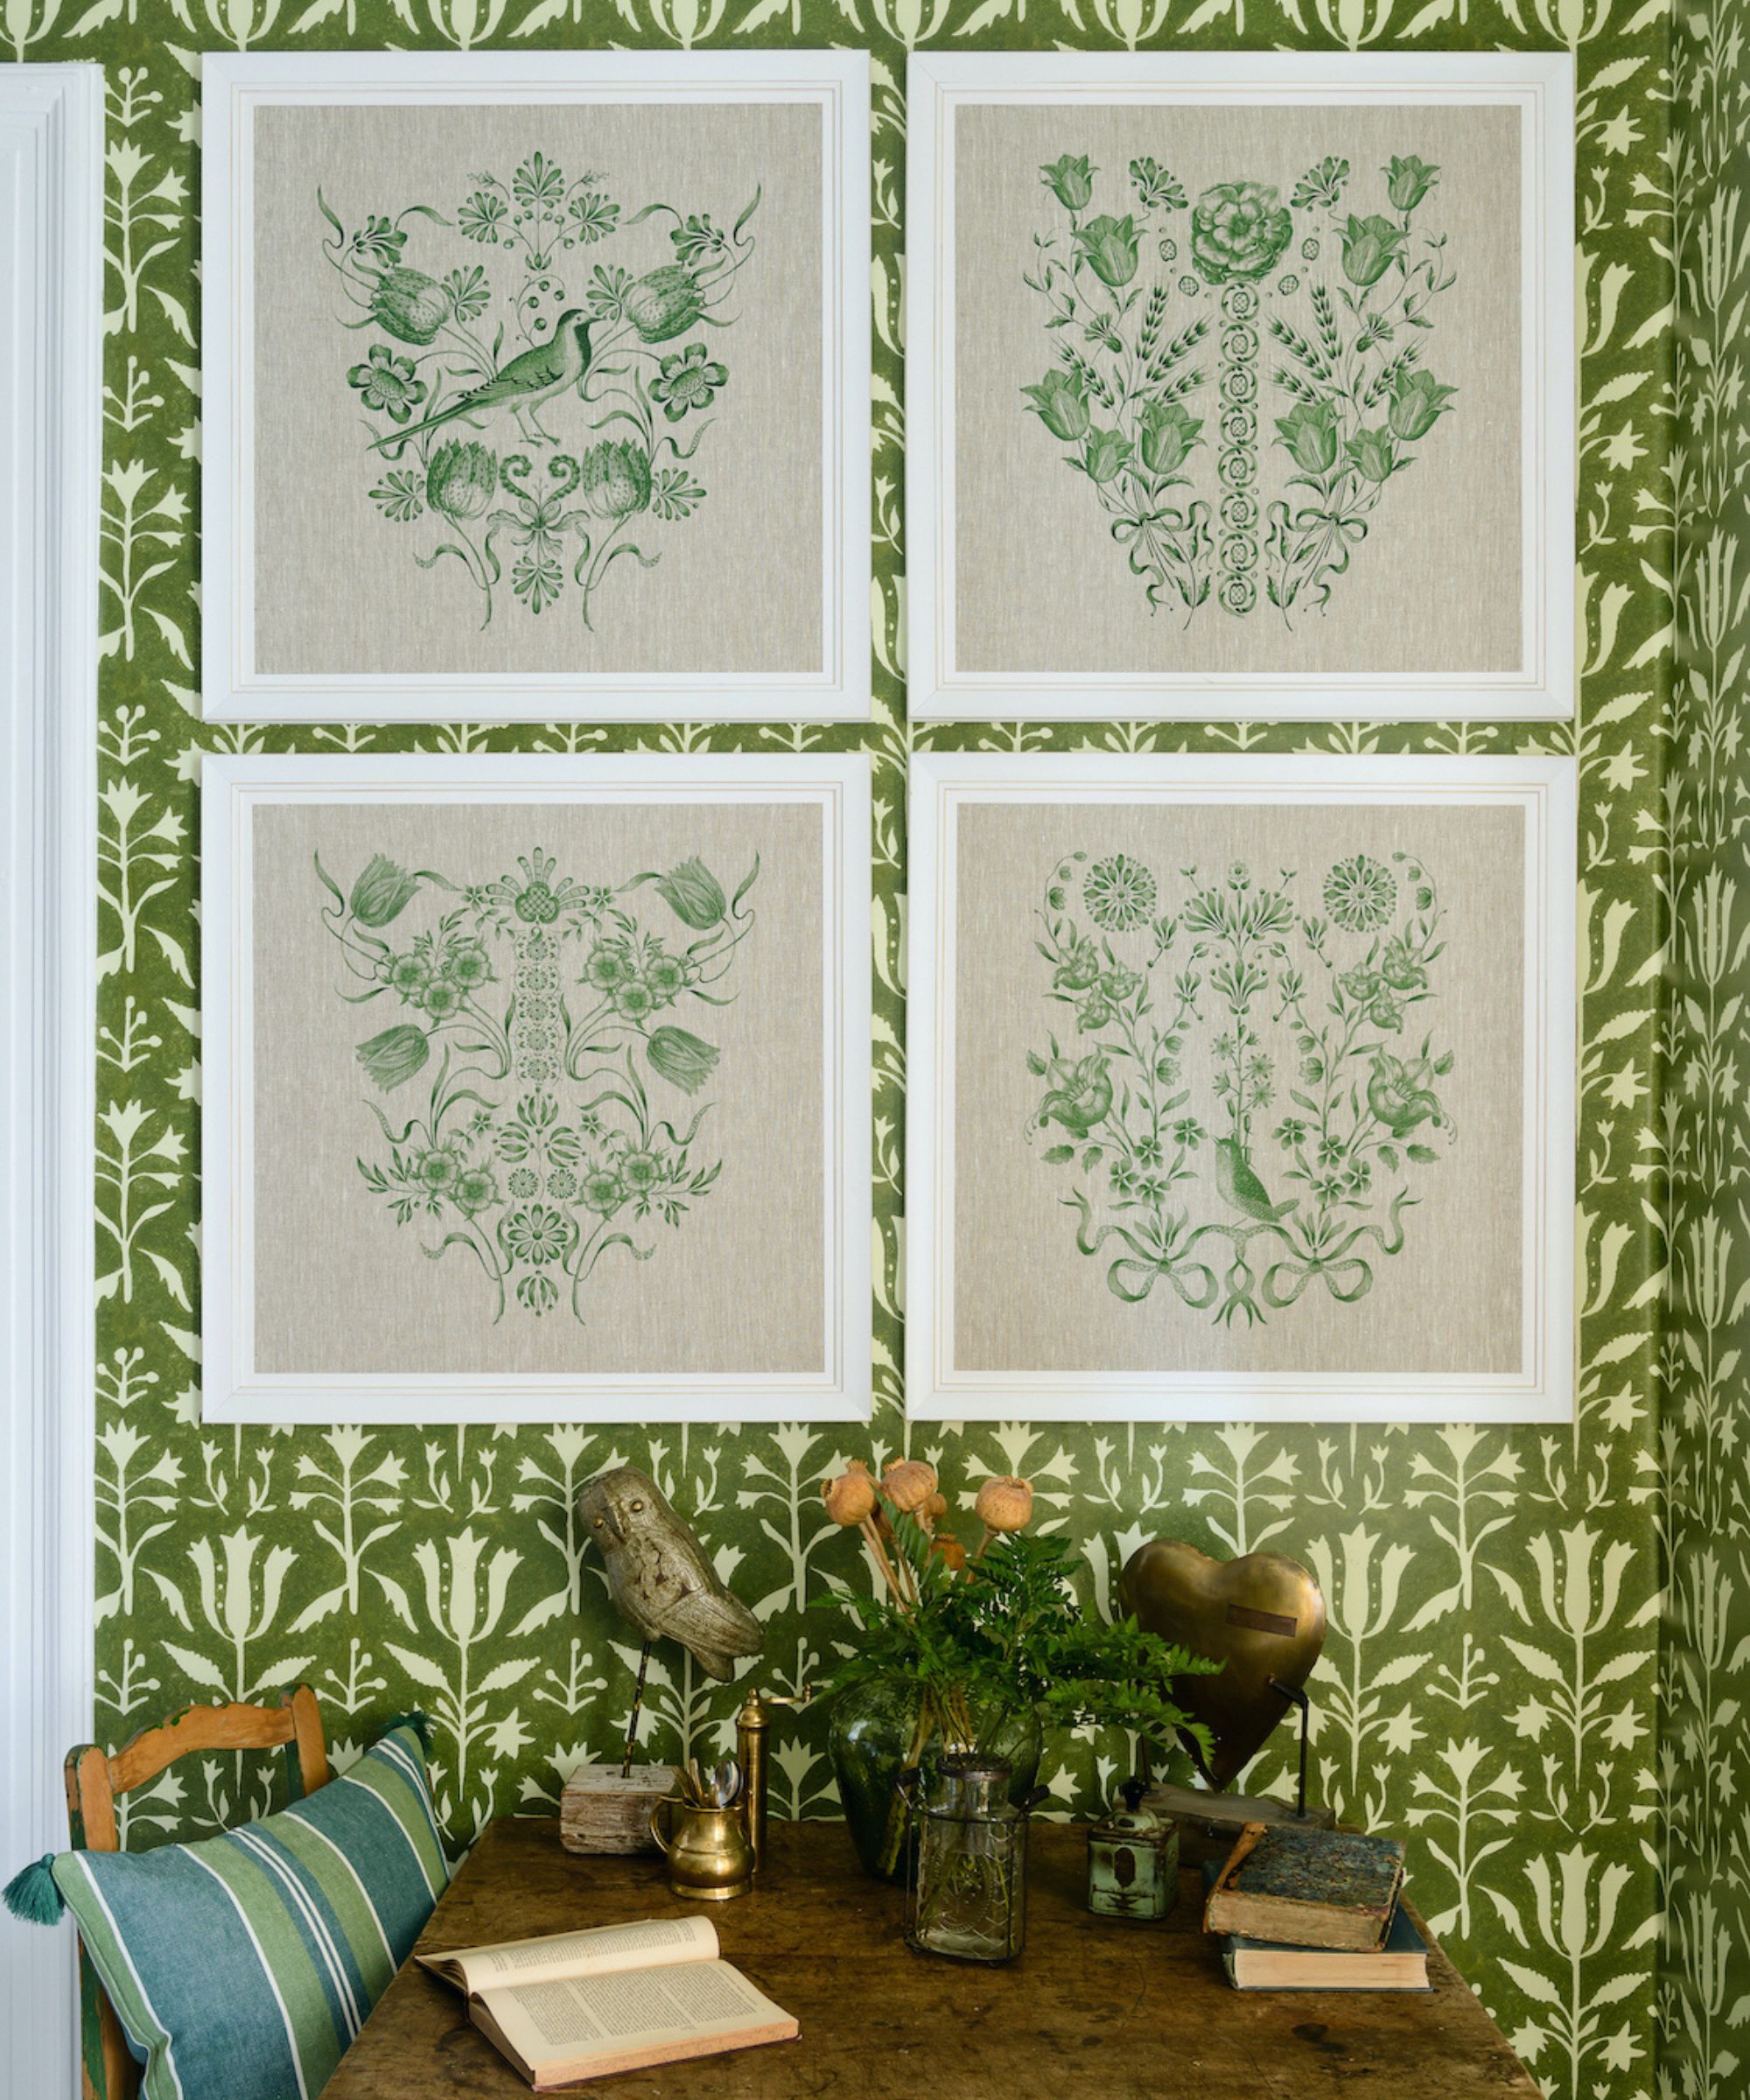
The type of wall you have, whether it's drywall, plaster or concrete, will determine the type of walls plugs or anchors you'll need. For plasterboard walls, I typically reach for hollow wall plugs or self-drill screws. These fixtures provide a secure hold without compromising the wall's integrity.
When working with solid walls like brick or stone, I make sure I drill pilot holes before inserting plugs. These holes act as guides, ensuring screws are precisely placed and reducing the risk of cracks or chips during installation.
You should always consider the load-bearing capacity of your chosen plugs or anchors. Exceeding the recommended limit could cause cracks in walls or result in damage (and nobody wants to be picking shards of their favorite mirror off the floor). When in doubt, follow manufacturer guidelines for the best results.
5. I patch up any mistakes
There have been a few times when drilling has created a bigger hole in a wall than I expected. Thankfully, this is an easy fix. I simply clean the area of dust and debris, before filling in the hole with some joint compound. Once dry, I gently sand the area to achieve a flush surface and apply a matching coat of paint to blend the damaged section back into the wall.
6. I periodically check back on my work
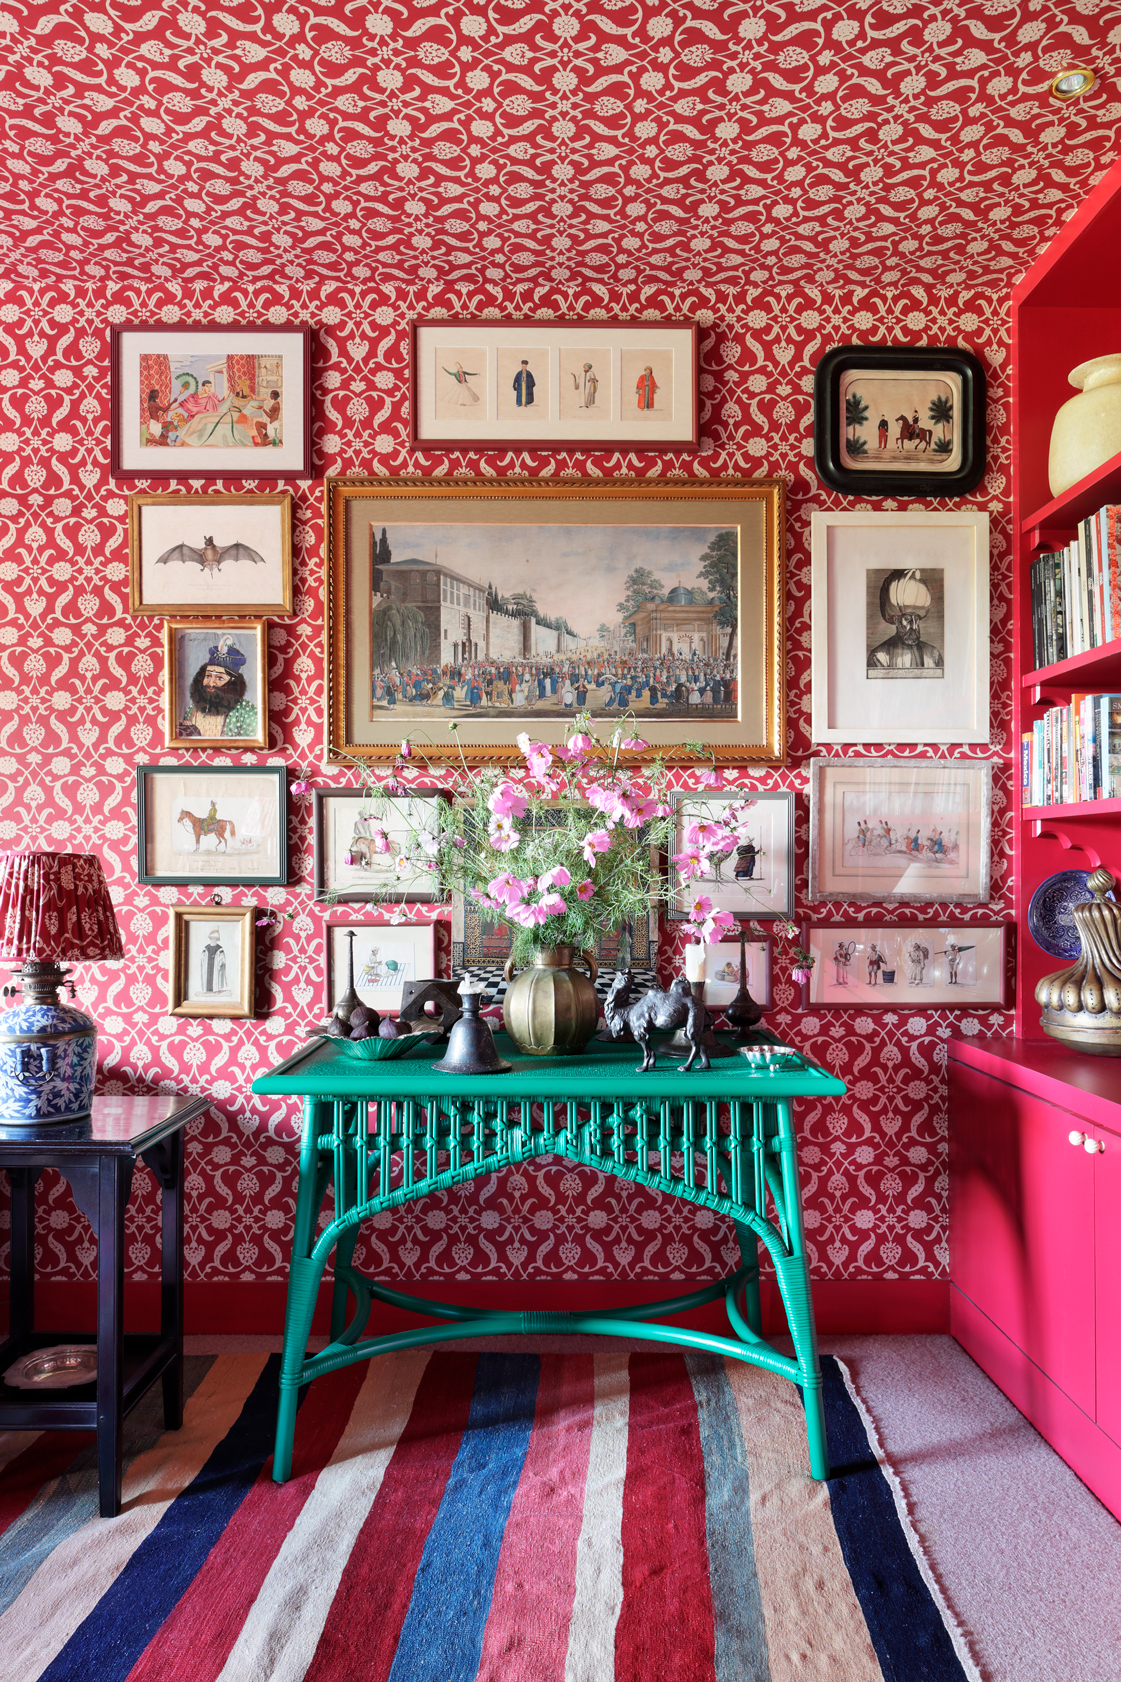
Keeping my walls damage-free is an ongoing process. Once I'm happy with the presentation of my artwork or mirrors, I make sure I regularly inspect the frames and walls for damage or movement over time.
Temperature changes between the seasons can cause materials like wood to expand or contract, causing frames to twist or shift. Similarly, daily wear and tear in a busy household can lead to small movements that result in hardware loosening or becoming misaligned.
So, whenever I'm removing dust from my walls, I like to double check that everything is sturdy and my picture frames are straight. That way, if something feels loose or unstable, I can tighten screws or rehang my artwork using the methods above.
FAQs
How can you hang artwork on walls without leaving marks?
If you're using nails or screws, being precise about your measures will help you avoid leaving marks. You could also use hanging accessories like silicone bumpers or foam pads to create cushioned gaps between your artwork and walls.
Do command strips damage walls?
No, in theory command strips are designed to be removable without leaving marks or residue. They can hold anywhere between 0.5 - 16 pounds of weight, depending on their size, and don't require any drilling.
Large command strips, like these from Amazon Prime, are a favored design trick of designer Bobby Berk, from Netflix's Queer Eye. Bobby recommends using them to layer mirrors on a wall, to create an almost gallery-wall-inspired aesthetic. When you're ready for a new design, they can easily be removed without damaging your walls.
Now you know how to hang a gallery wall or a statement mirror without damaging your home, you can get creative with different styles of artwork and decor. Try playing with scale and color to curate gallery-like walls that will reflect your own personal style.

Gabriella is a freelance contributor for Homes & Gardens. She is a DIY enthusiast and a lover of all things interior design, often found antiquing or browsing the aisles of her local hardware store. She has a particular passion for historic buildings and is in the process of renovating a Victorian coachhouse in the countryside.
For much of the past decade, Gabriella has worked as a freelance writer, crafting copy for national publications and renowned homeware brands. Most recently, she worked for Homebuilding & Renovating Magazine and is the former Head of Solved at Homes & Gardens, focusing on case studies for the magazine and website, as well as writing features about issues surrounding historic and listed building projects.
