7 DIY tips for how to hang a gallery wall from experts
Wondering how to decorate your empty wall space? A gallery wall can be the perfect idea to display all your favorite wall decor

Design expertise in your inbox – from inspiring decorating ideas and beautiful celebrity homes to practical gardening advice and shopping round-ups.
You are now subscribed
Your newsletter sign-up was successful
Want to add more newsletters?

Twice a week
Homes&Gardens
The ultimate interior design resource from the world's leading experts - discover inspiring decorating ideas, color scheming know-how, garden inspiration and shopping expertise.

Once a week
In The Loop from Next In Design
Members of the Next in Design Circle will receive In the Loop, our weekly email filled with trade news, names to know and spotlight moments. Together we’re building a brighter design future.

Twice a week
Cucina
Whether you’re passionate about hosting exquisite dinners, experimenting with culinary trends, or perfecting your kitchen's design with timeless elegance and innovative functionality, this newsletter is here to inspire
A gallery wall is a fantastic way to create a captivating display with your favorite wall decor – and doing this project yourself allows for a flexible and creative approach to hanging a gallery wall that reflects your personal style.
Whether you are hanging baskets, painting, posters, or other wall decor, you can curate select pieces for your gallery wall according to your personal style and home's decor to add a dynamic focal point to your space.
These expert tips for how to hang a gallery wall successfully can turn what could seem a challenging task into an enjoyable and rewarding DIY project.
Expert DIY tips for how to hang a gallery wall
'A gallery wall can be a gorgeous focal point for a room, but the key to creating a professional-looking display is pre-planning,' explains Andre Kazimierski, professional decorator and founder of Improovy.
1. Choose the right tools
Invest in a good level to make sure your templates and subsequent nail placements are straight as well as a measuring tape for accurate spacing of your frames. You can find this WILBEK level and measuring tape at Amazon.
Make sure you have a pencil or painter's tape for marking where your frames should go on your wall.
'Invest in a comprehensive gallery wall hanging kit to hang a picture,' recommends Shlomo Cherniak, owner of Cherniak Handyman Services. 'These kits often include a variety of hooks, nails, and wall anchors to simplify the hanging process, making it easier to achieve a perfectly aligned display.' We recommend this KURUI 303-piece picture hanging kit, from Amazon. If you are using nails, you will also need a small hammer.
Design expertise in your inbox – from inspiring decorating ideas and beautiful celebrity homes to practical gardening advice and shopping round-ups.
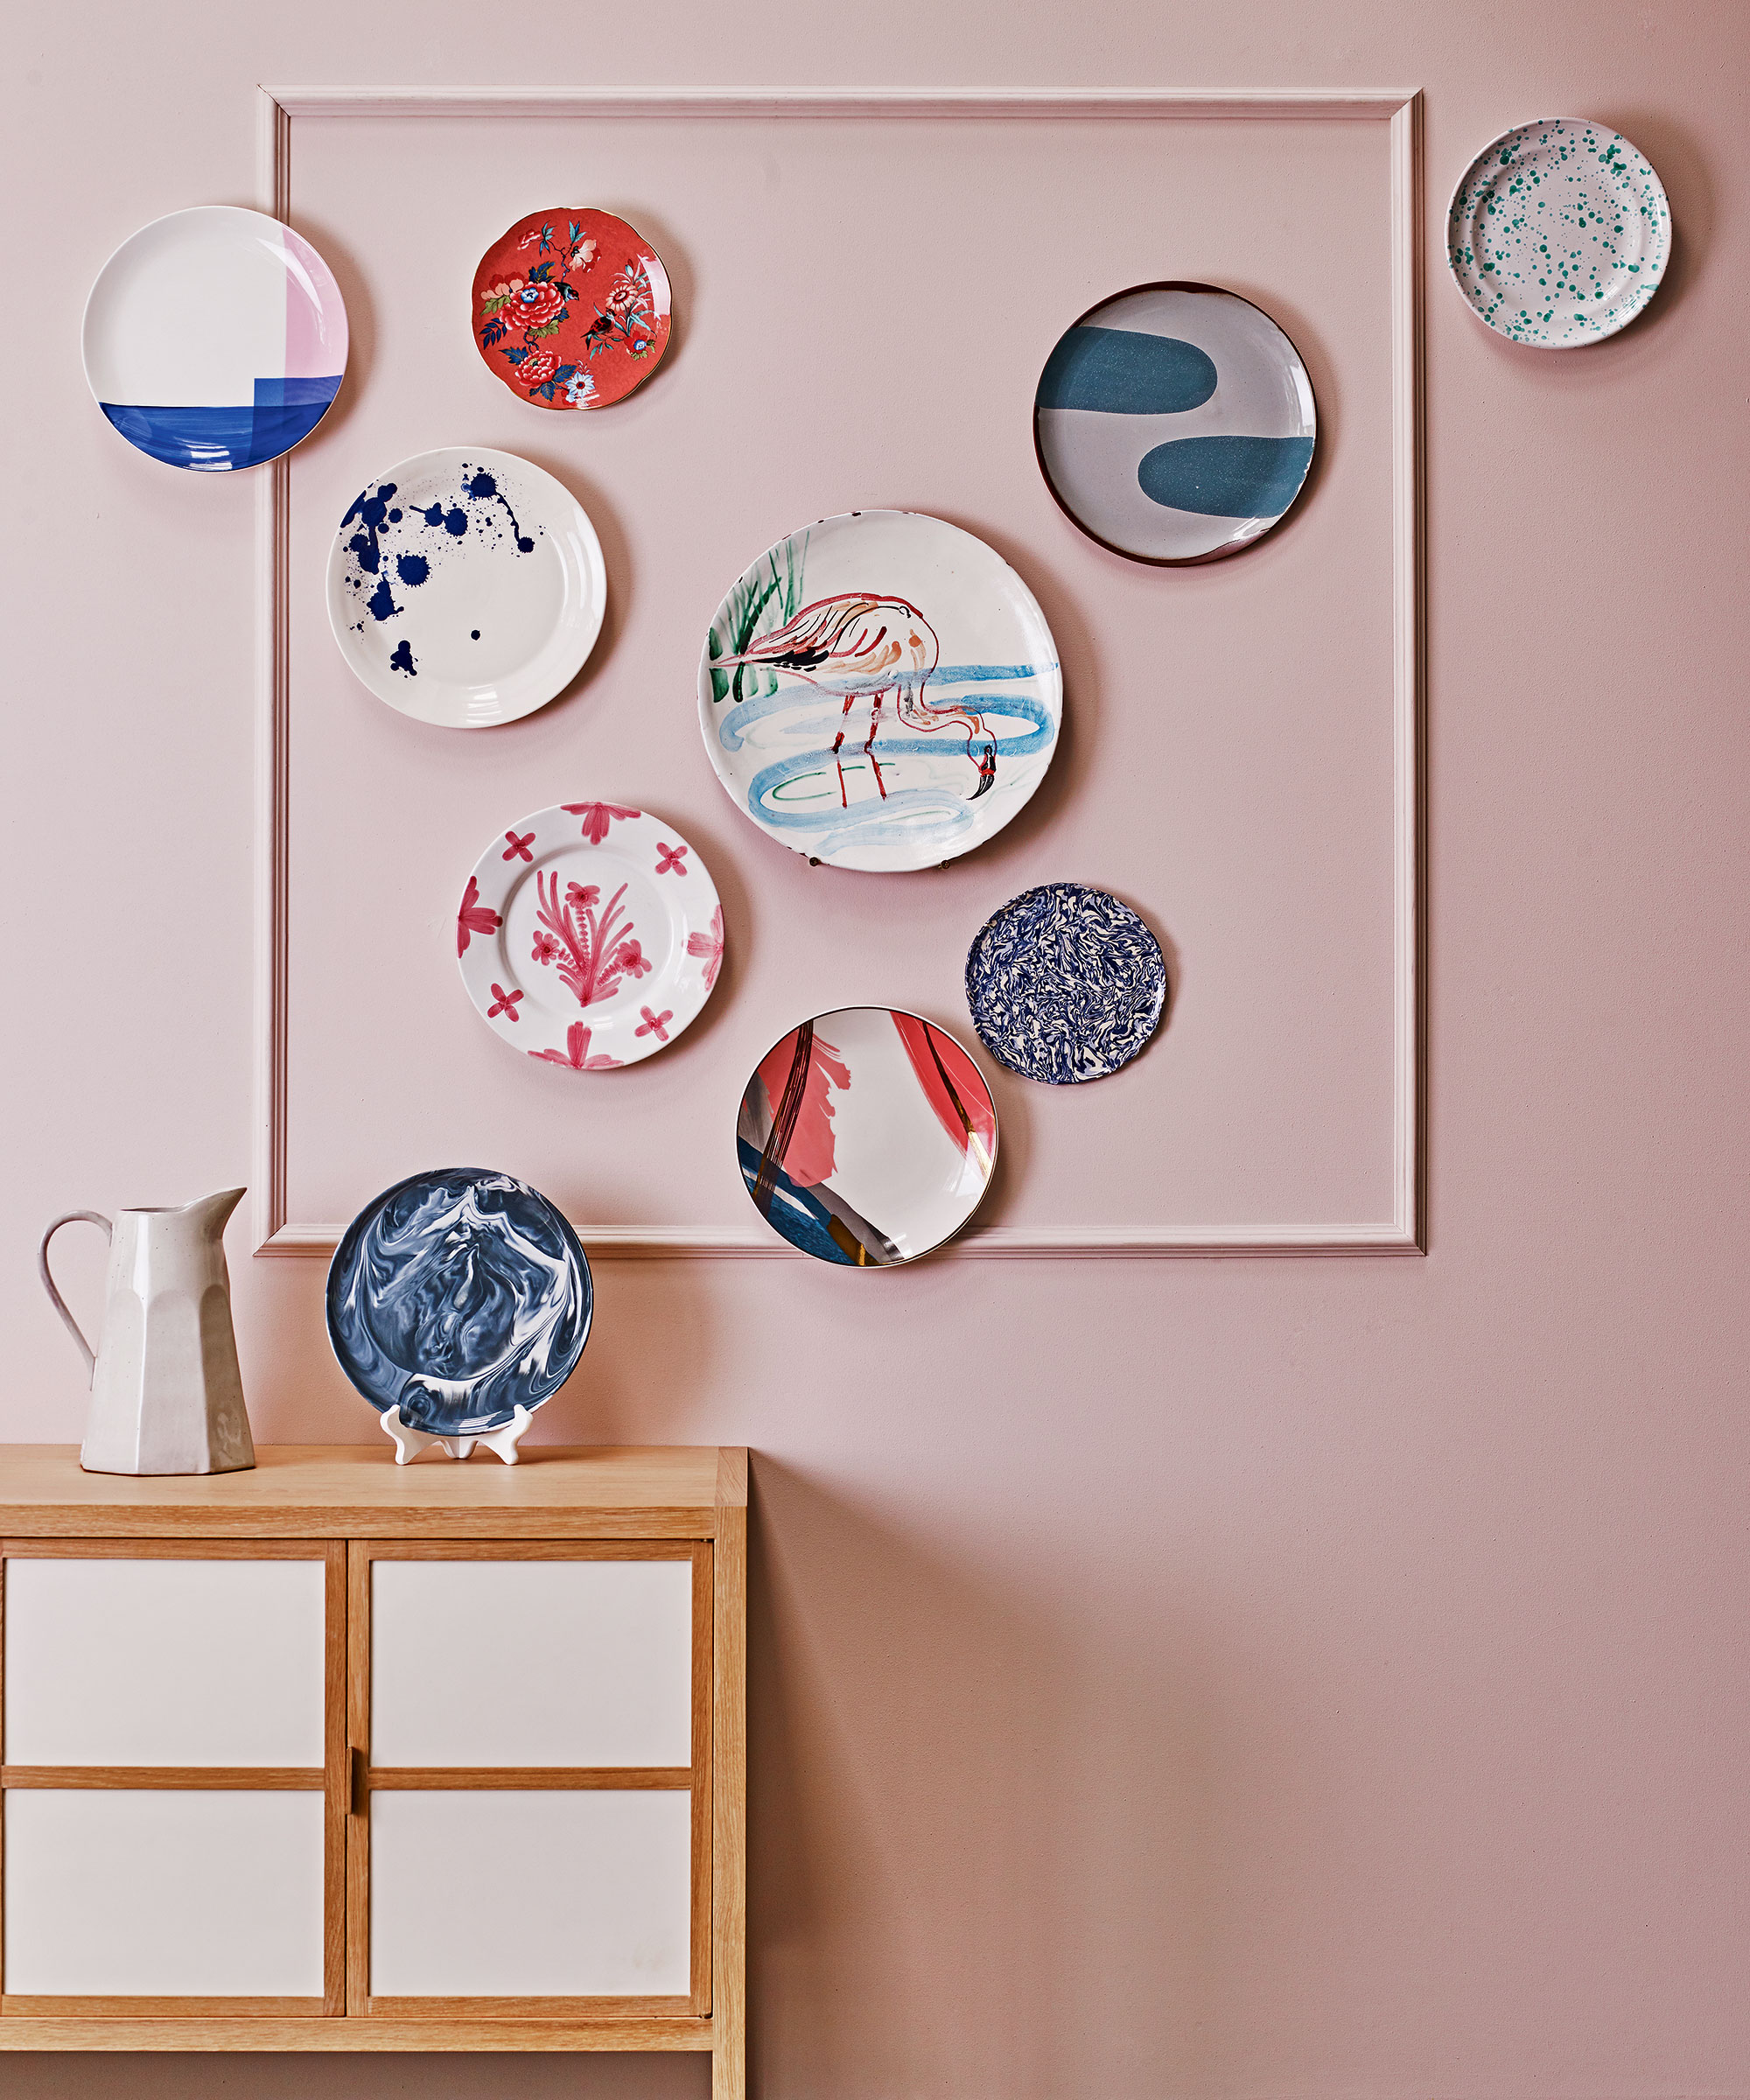
If you are hanging plates or baskets on your gallery wall, you can use these wall plate hangers, from Amazon.
For a damage-free option, consider using adhesive picture hanging strips, such as these from Walmart, or hooks, such as Command Strips. These allow you to securely hang frames without the need for nails, making it easy to reposition or remove items, and won't leave marks when removed properly.
Depending on the weight and size of your frames, choose the appropriate hanging hardware that is strong enough to hold your frames, especially for larger pieces. Be sure to check the weight capacity of the hardware and adjust accordingly.
'If you’re using anchors as a hanging tool, I recommend checking the weight capacity for each anchor to make sure that it can hold the weight of the artwork,' advises Ben Thomson, manager at Promain Paints.
You may want to choose an assortment of frames – either those in various sizes and styles or a cohesive set. We love these long classic gallery frames set, from West Elm.

Shlomo Cherniak is a handyman and founder of Cherinak Home Services in Baltimore. He has over seven years of experience in home improvement, with him and his team specializing in everything from installing kitchen cabinets to fixing leaky faucets to hanging pictures on the wall.
2. Select your pieces
Before you begin hanging up your wall decor, it's important to carefully consider the pieces or frames you will be hanging.
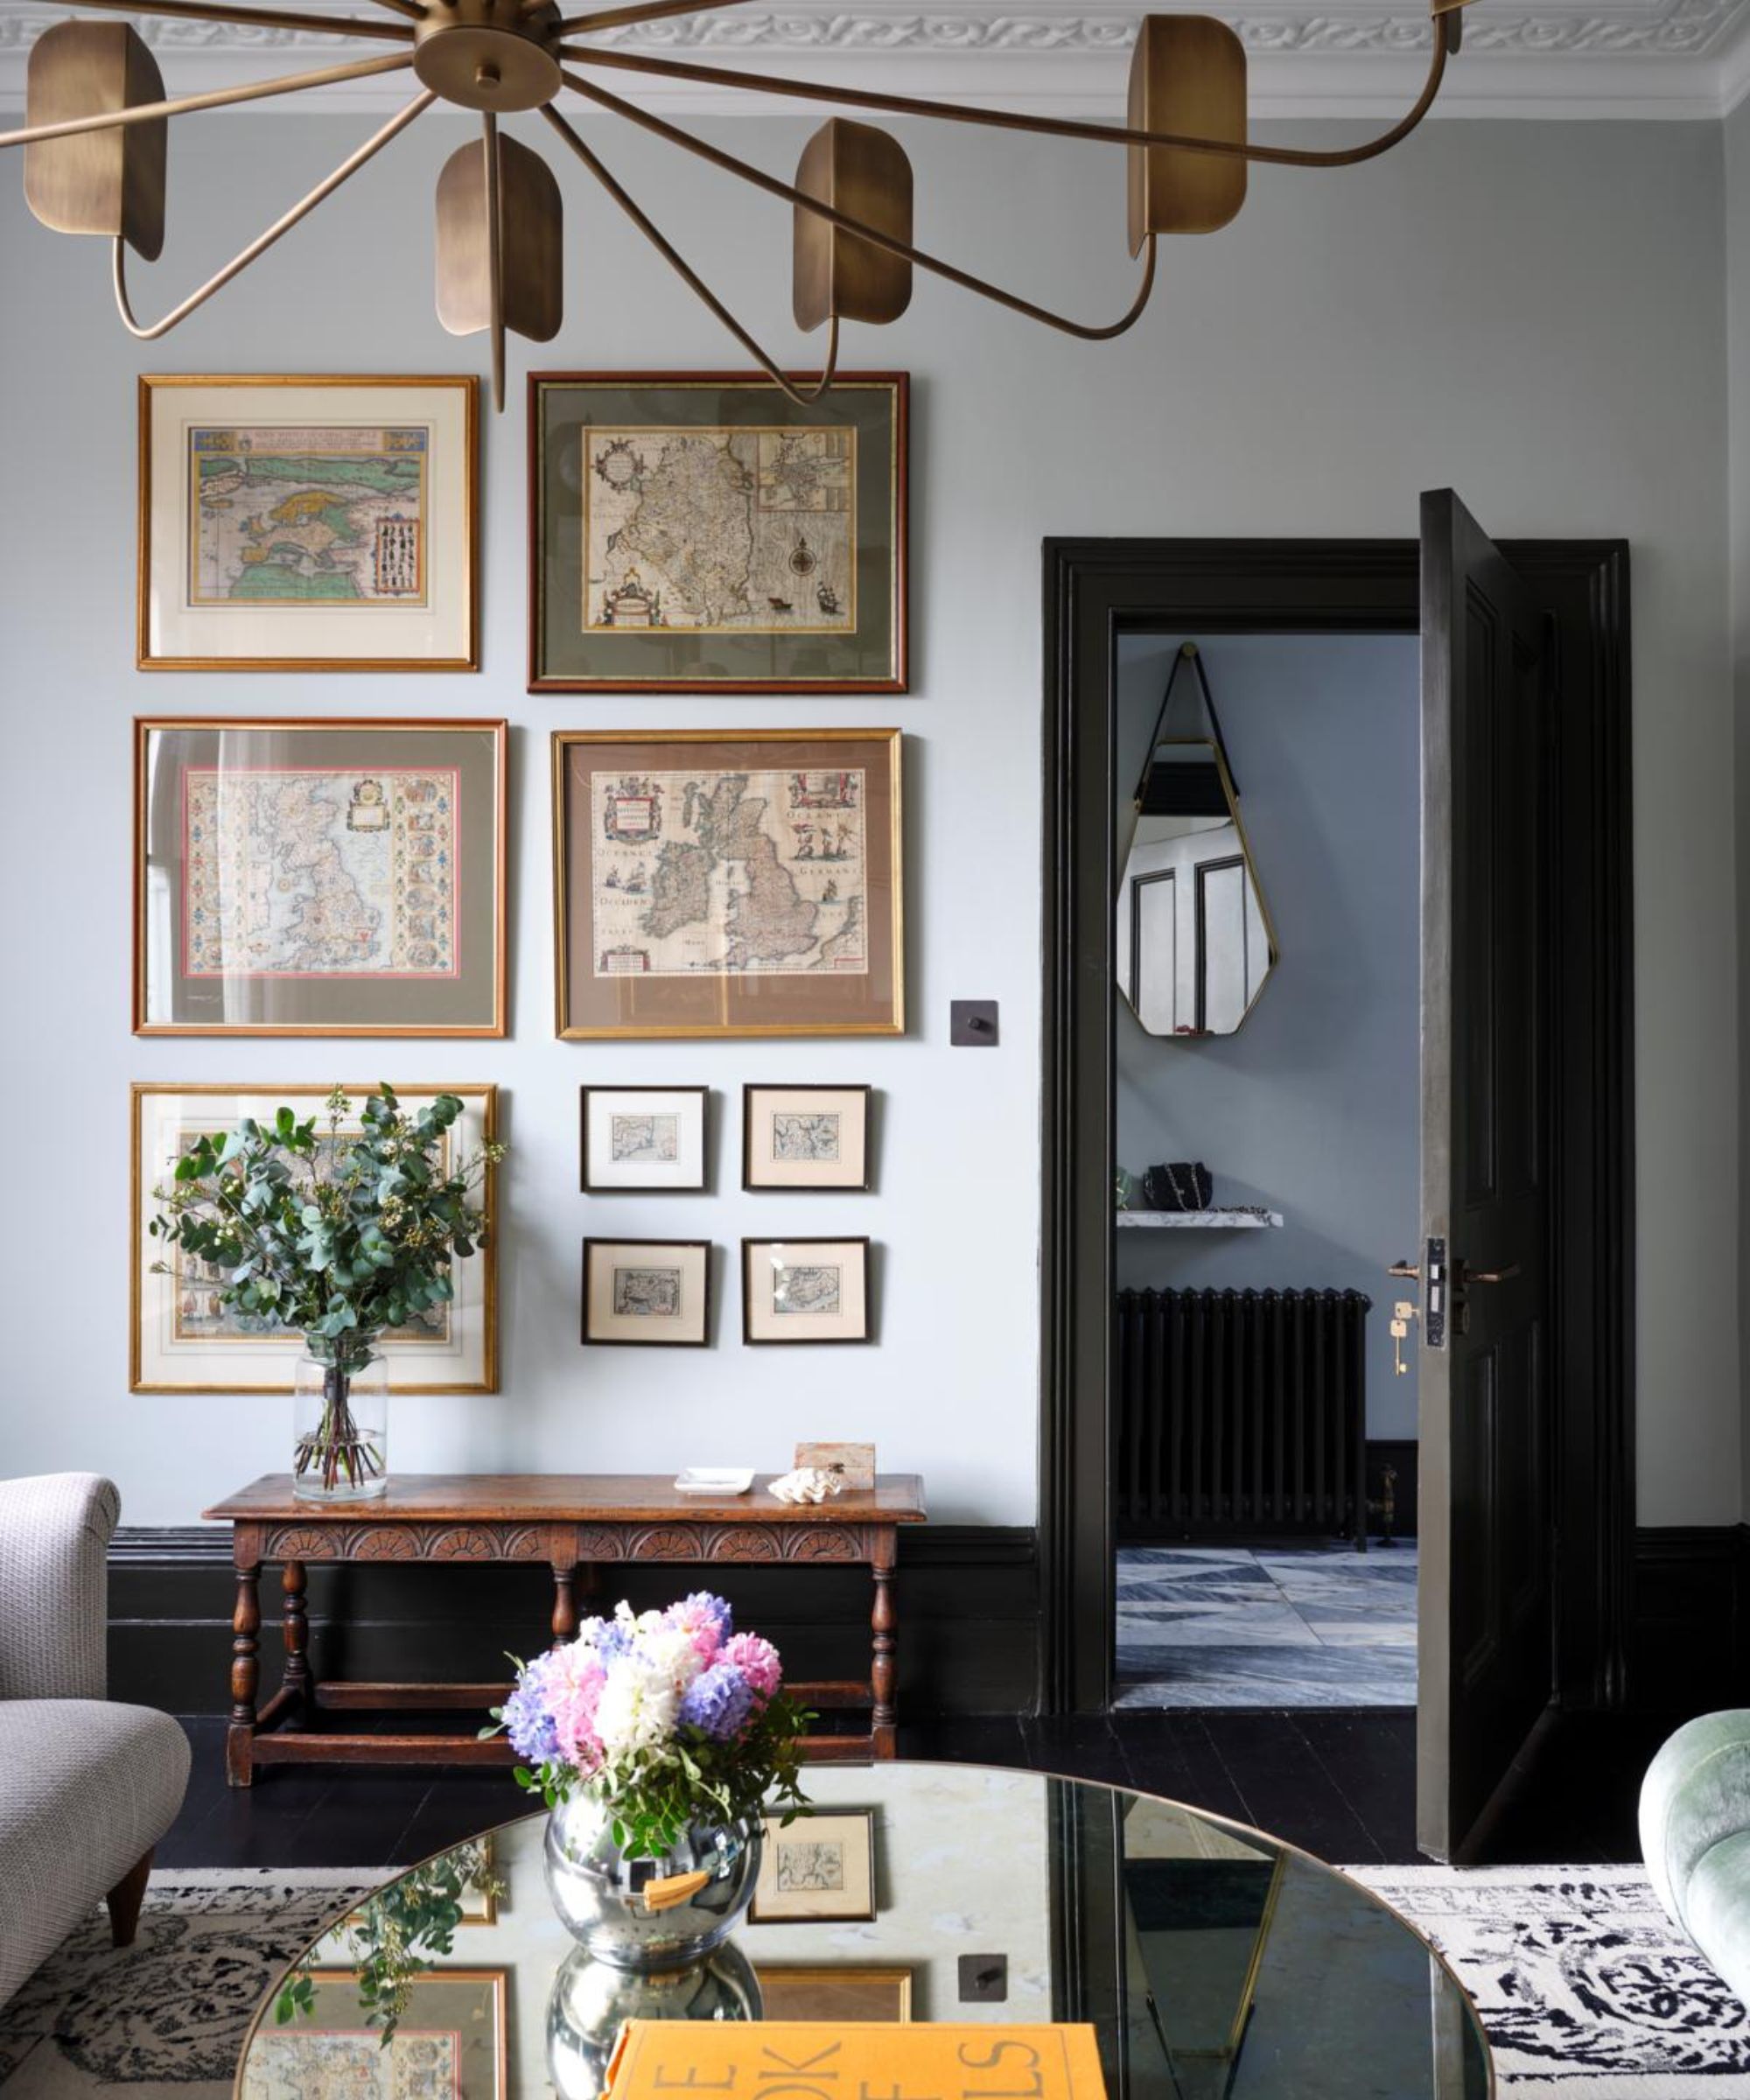
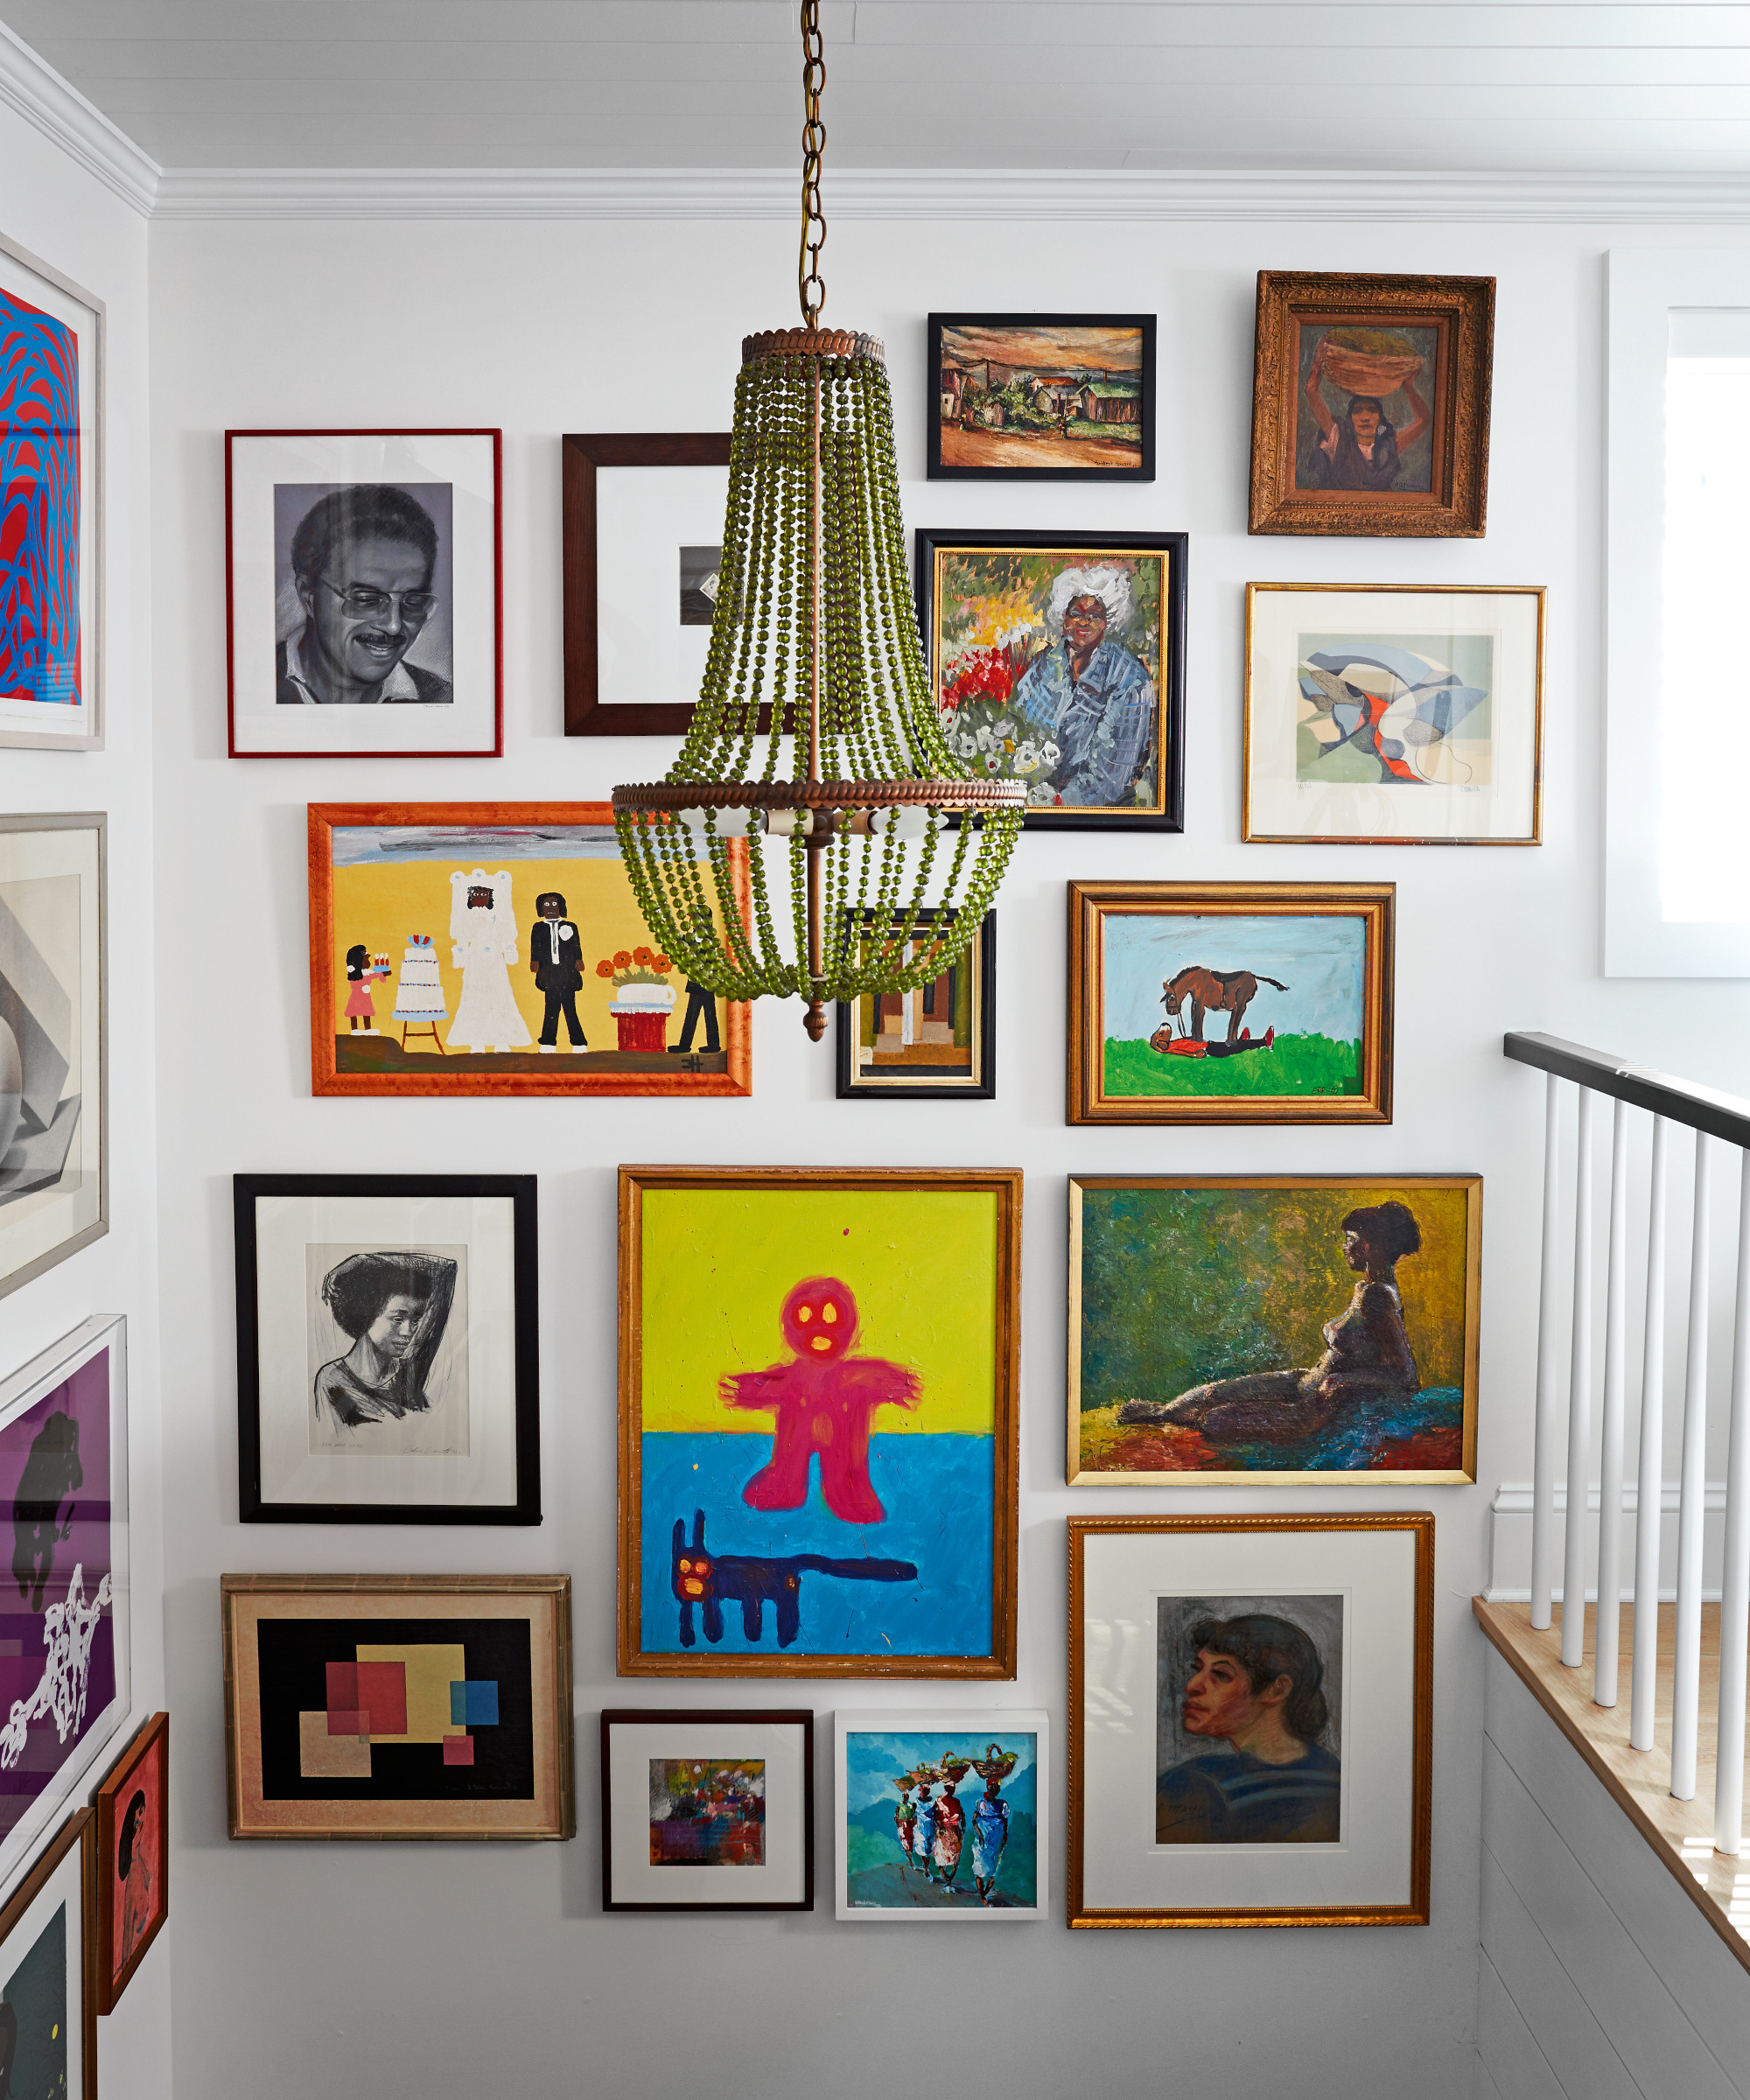
Whether it’s a color scheme, frame style, or type of artwork, a unifying theme gives your gallery wall a cohesive look. Alternatively, you can mix different sizes and shapes of frames, it depends on whether you want it to look minimalistic or more eclectic.
'While conceptualizing a gallery wall as a form of storytelling, think about the themes, subject matter, or color schemes that can help you to express this story,' explains Mike Rivers, owner of Fusion Office Design. 'This way your intent will be portrayed, regardless of whether the individual artwork is directly related to each other.'
'It’s not just artwork that can make an impact on a gallery wall – frames can also offer a huge opportunity to make a statement,' continues Mike Rivers. 'Curating an eclectic look can add character and individuality to your wall, where varying colors, styles, and sizes of frames can create a look that stands out.
'You can even be creative with the items you use to display the frame. Floating shelves, ledges, and shadow boxes can come together in a unique supporting role for the display.
'Additionally, don’t be afraid to show alternative monuments on your display, such as souvenirs, plaques, or even postcards. Decorating with mirrors is also a great tool that works with light play and reflection, offering an introspective moment for the viewer.'
Ben Thomson advises: 'Think about the size of the pieces, along with the lighting and any shadows that might be cast and the visibility that each piece will have in its space on the wall.'
3. Plan the layout
'Lay your artwork and frames down in a collage style on the ground. Experiment with different pieces that you want to group together, and ways that you want to arrange the entirety of the artwork,' recommends Ben Thomson. This will help you find the best arrangement without making the gallery wall mistake of installing nails or adhesive materials first and planning the layout afterward.
Review the overall balance, spacing, and how each piece complements the others. This visual guide will help you to streamline the hanging process.
'Consider the size and shape of your wall, as well as the size and arrangement of the frames or artwork you want to hang,' adds Shlomo Cherniak. 'Select a focal point for your gallery wall, such as a larger piece of artwork or a unique item that will draw attention. Arrange the other pieces around the focal point to create a visually appealing composition.
'You can use templates or cutouts of your frames to experiment with different arrangements before committing to a final layout.'
'I suggest tracing the outlines of all of your desired photos or artwork on poster board and cutting them out, creating mock versions of each piece. You can then tack these onto the wall in your desired layout and tweak it to your heart's content,' recommends Andre Kazimierski.
'When you have finalized the layout, double-check that each poster board piece is level and trace the corners on the wall with a pencil.'
4. Measure and mark
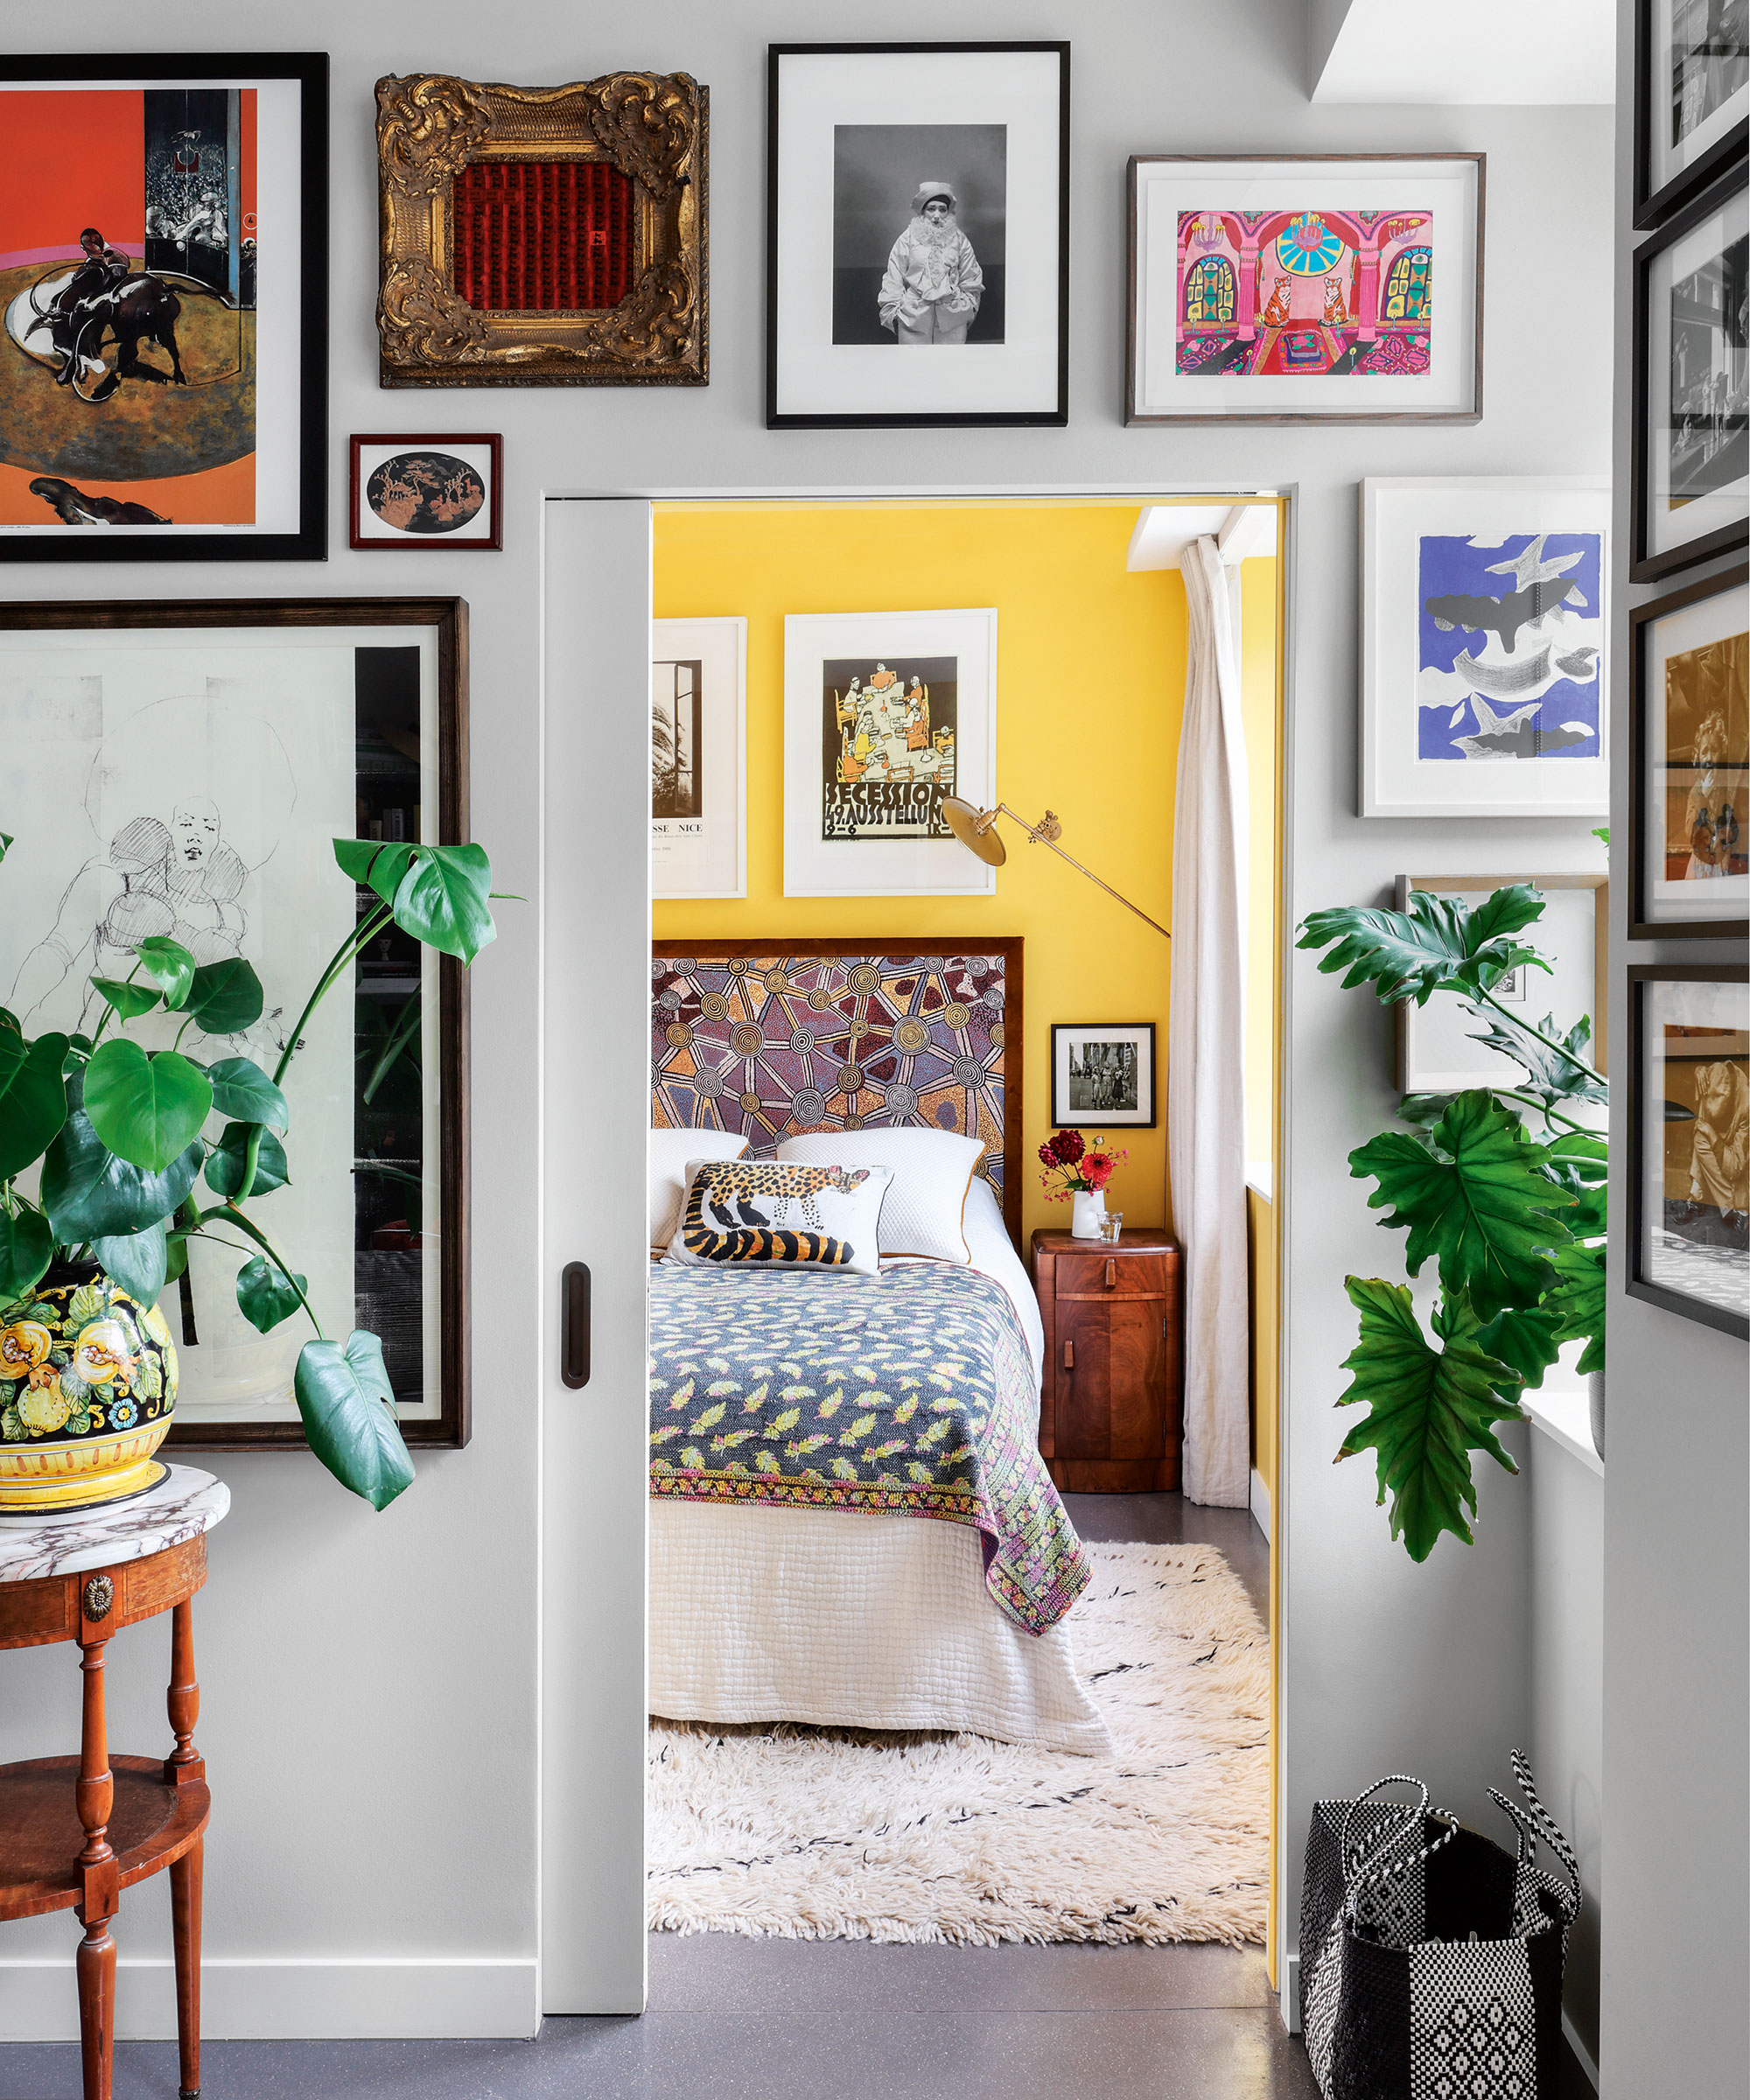
'Once you’ve decided on the layout, measure the wall space and narrow it down to the centre point of the wall; this is the starting point for the gallery,' advises Ben Thomson. This helps in creating a balanced composition.
Before adding any nails or adhesive hooks or strips, measure the distance between the frames and use the level to make sure that the frame is straight and sitting where you need it to.
For a cohesive gallery wall, maintain consistency in spacing between frames.
'Use painter's tape or a pencil to make light marks for where the top center of each frame will go,' continues Ben Thomson. 'Mark where the top of each frame will be to ensure proper alignment.
'Working from the middle outwards, using your templates as a guide, begin to hang each frame in complement to the focal point.
'Keep the desired spacing between each frame in mind while you’re hanging the artwork, and use the hammer to add nails to the center point where each artwork will be displayed.'
5. Level your display
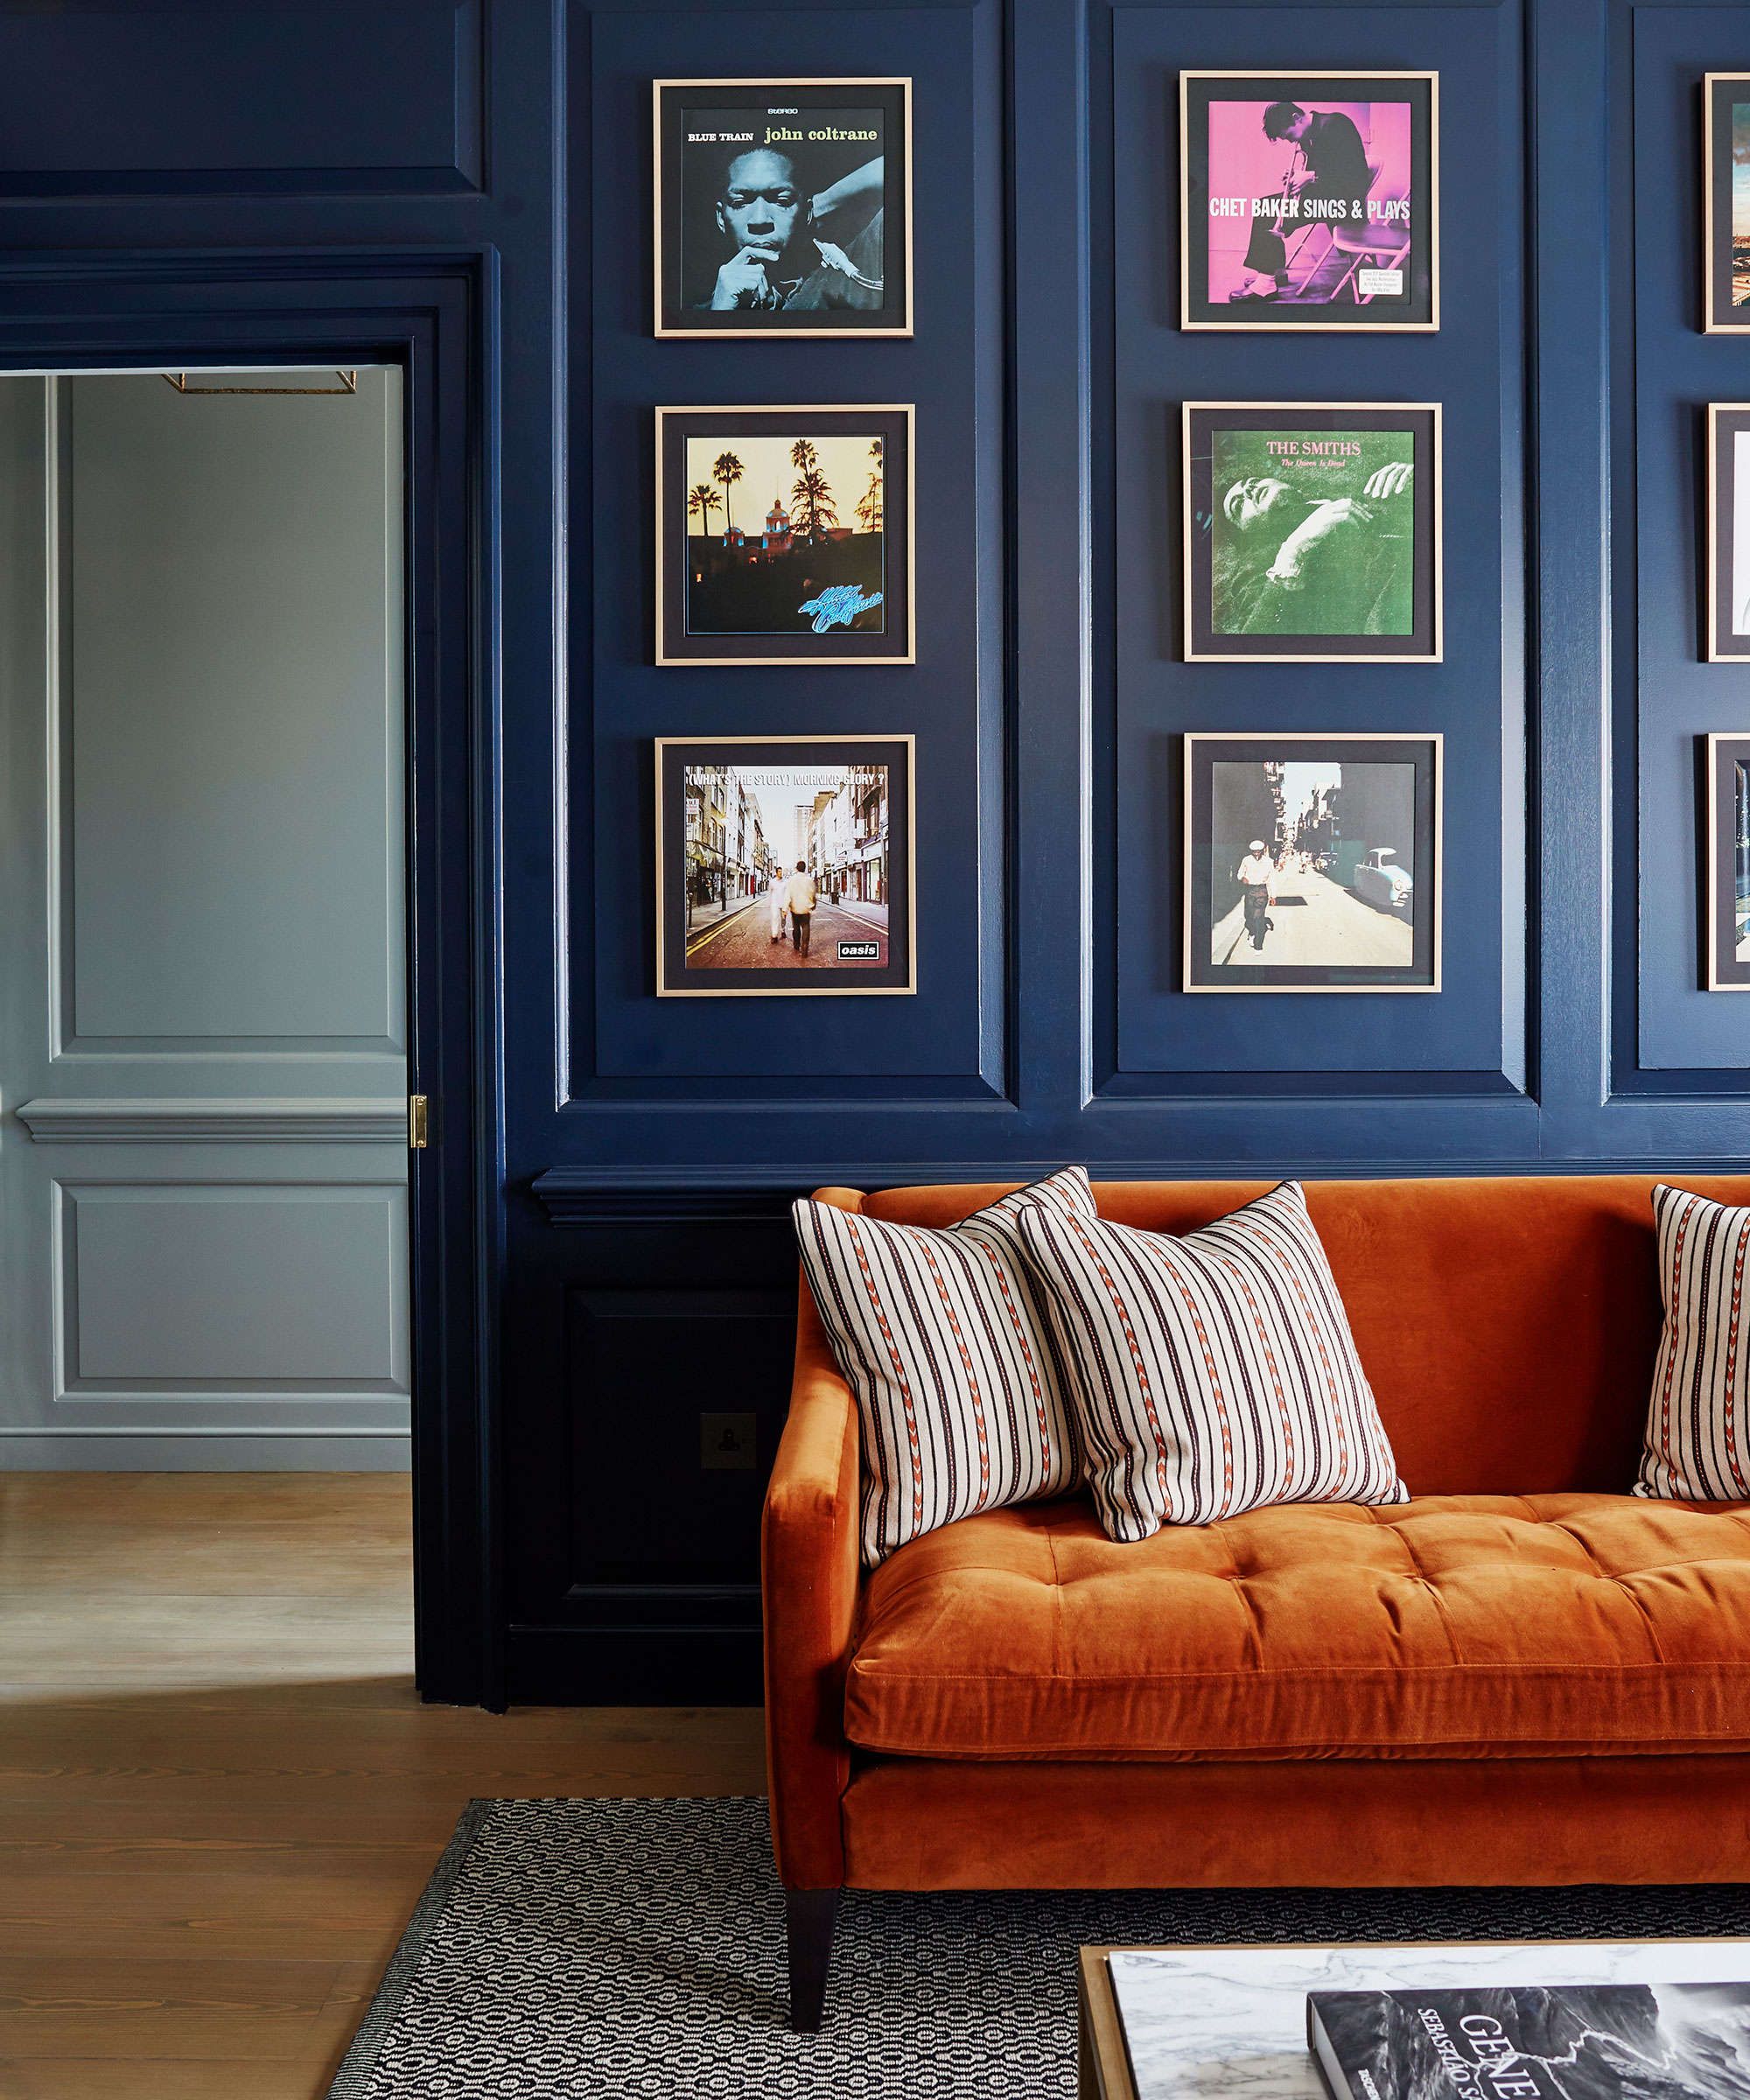
'To ensure that your gallery wall is straight and level, use a level or a laser level to guide your placement,' advises Shlomo Cherniak. 'You can draw a light pencil line along the top or bottom edge of the frames to help you align them.'
6. Hang the frames
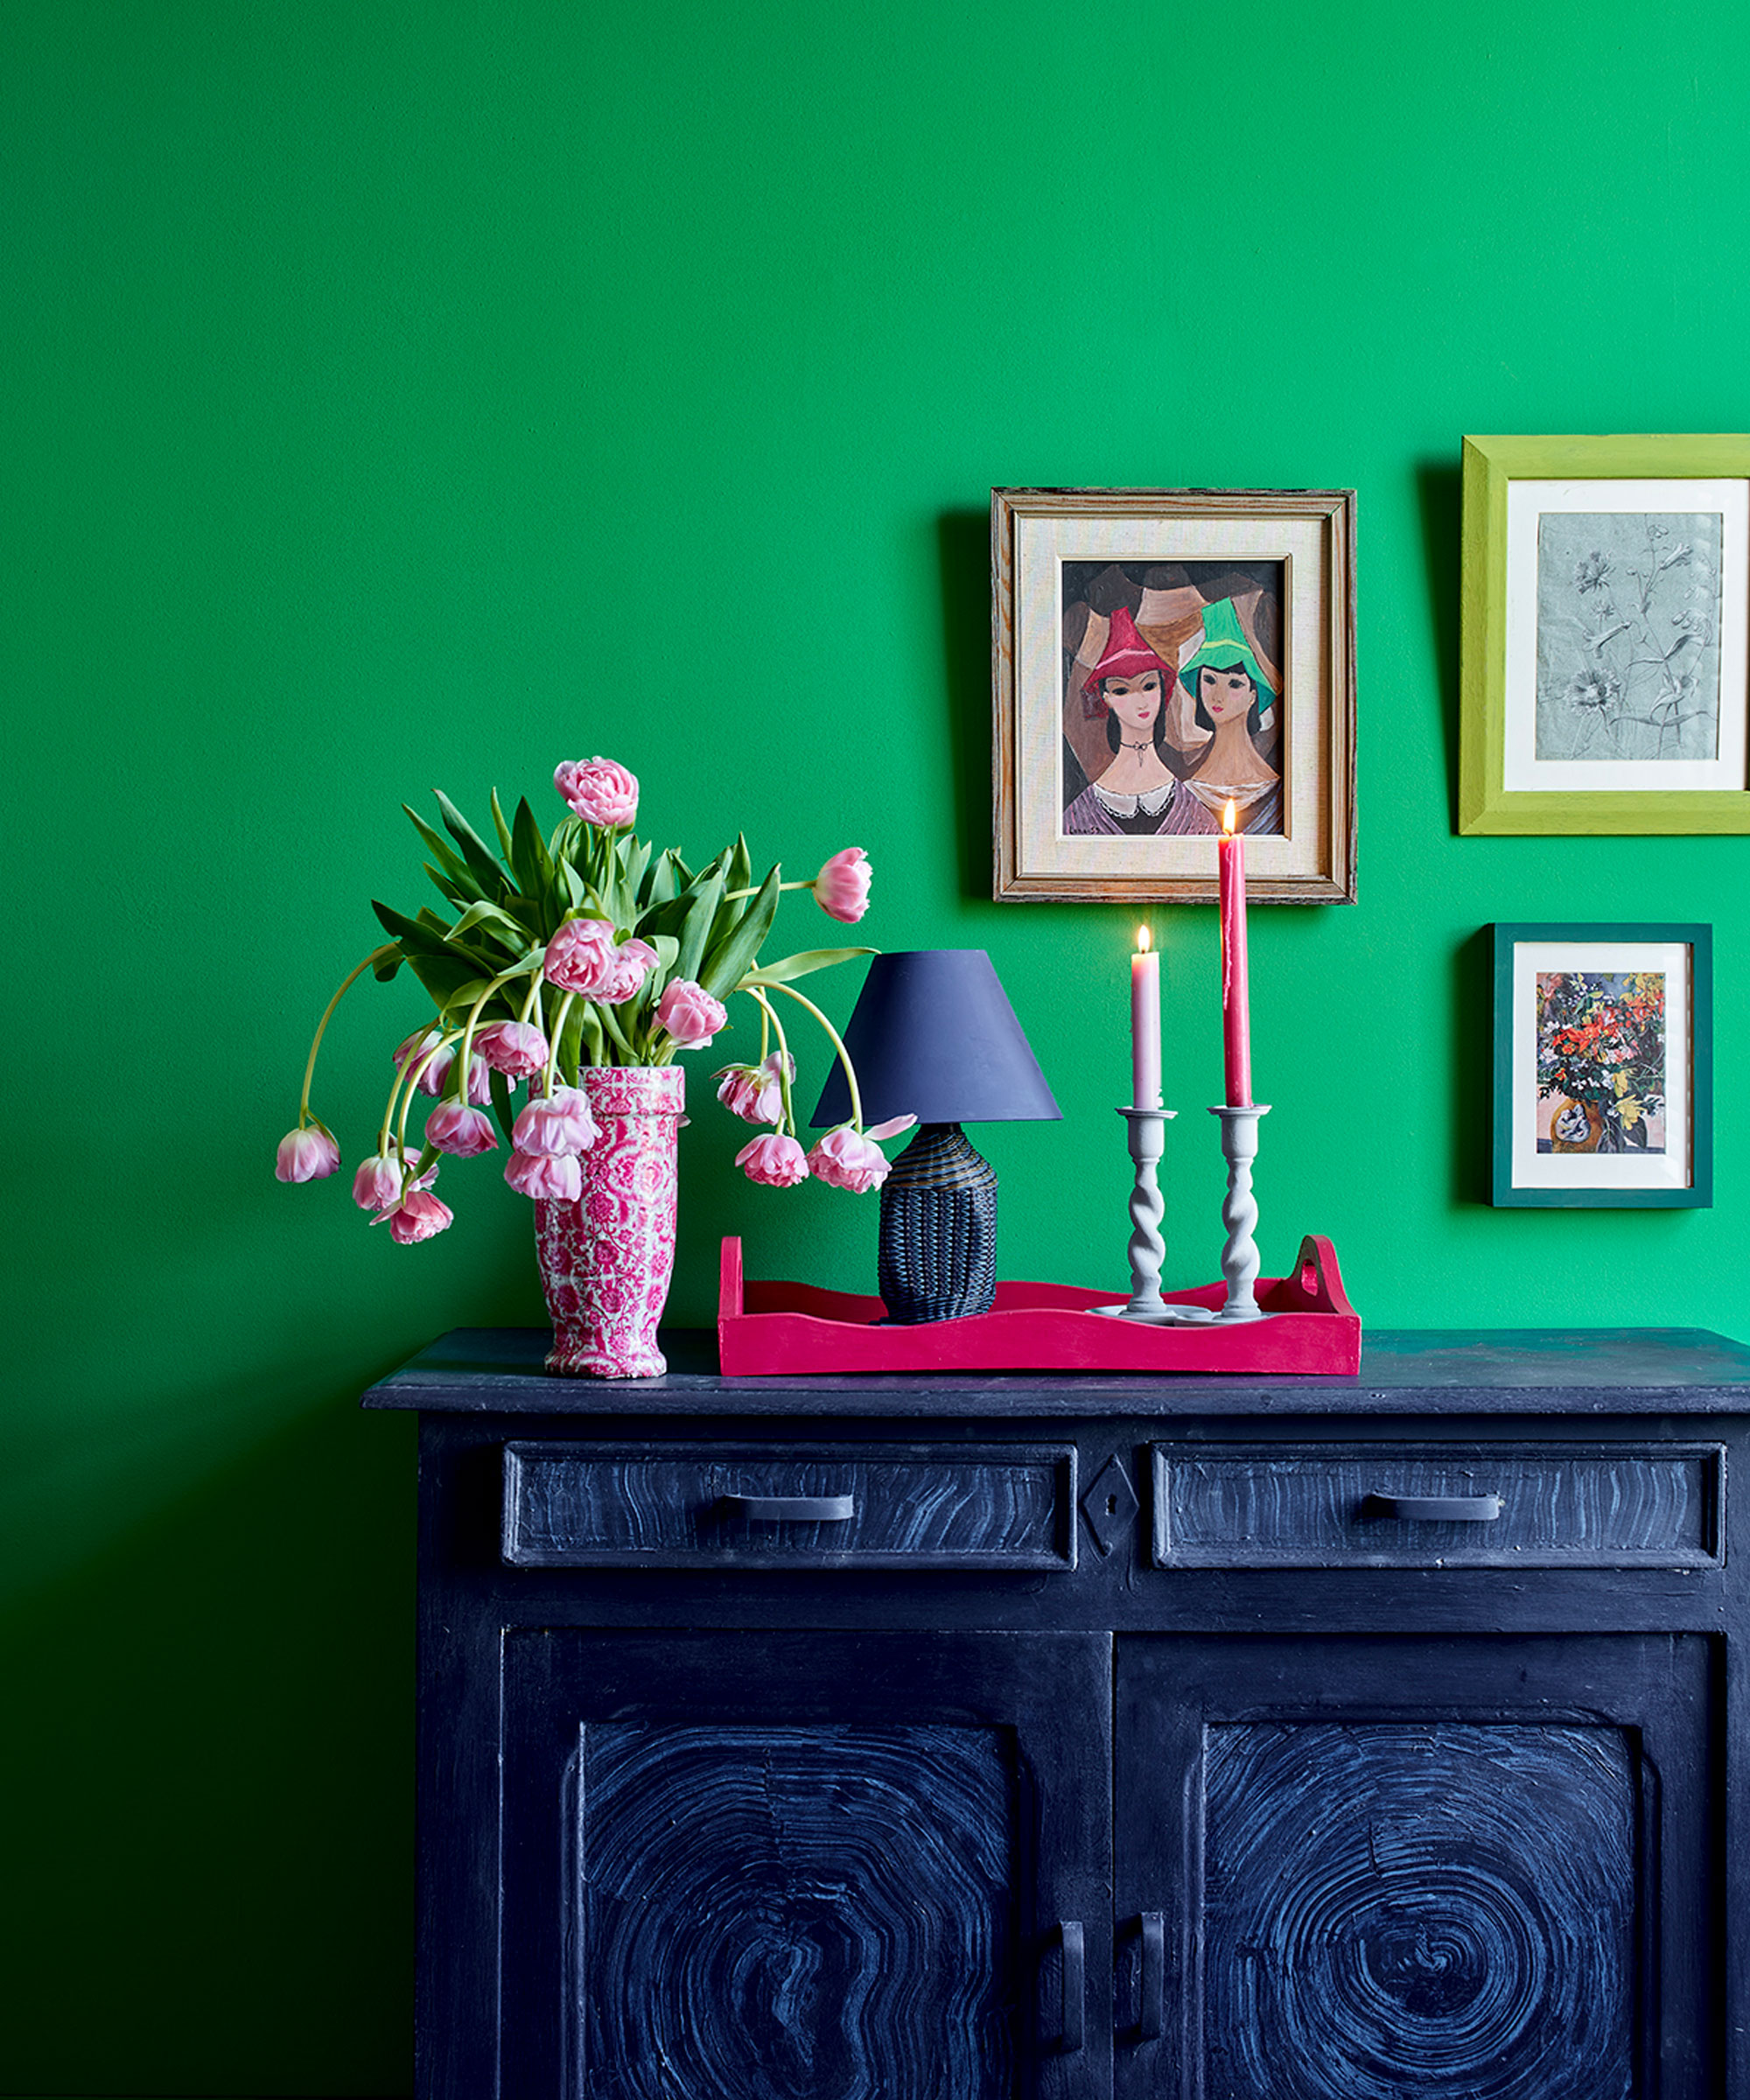
Carefully assess where to place nails, hooks, or strips according to where the frame will hang from. Add these to the wall, making sure they will not damage any pipework behind the wall when installing.
Once these have been installed hang the frames or decor. Enlist a helper if possible, especially for larger or heavier items.
7. Make necessary adjustments
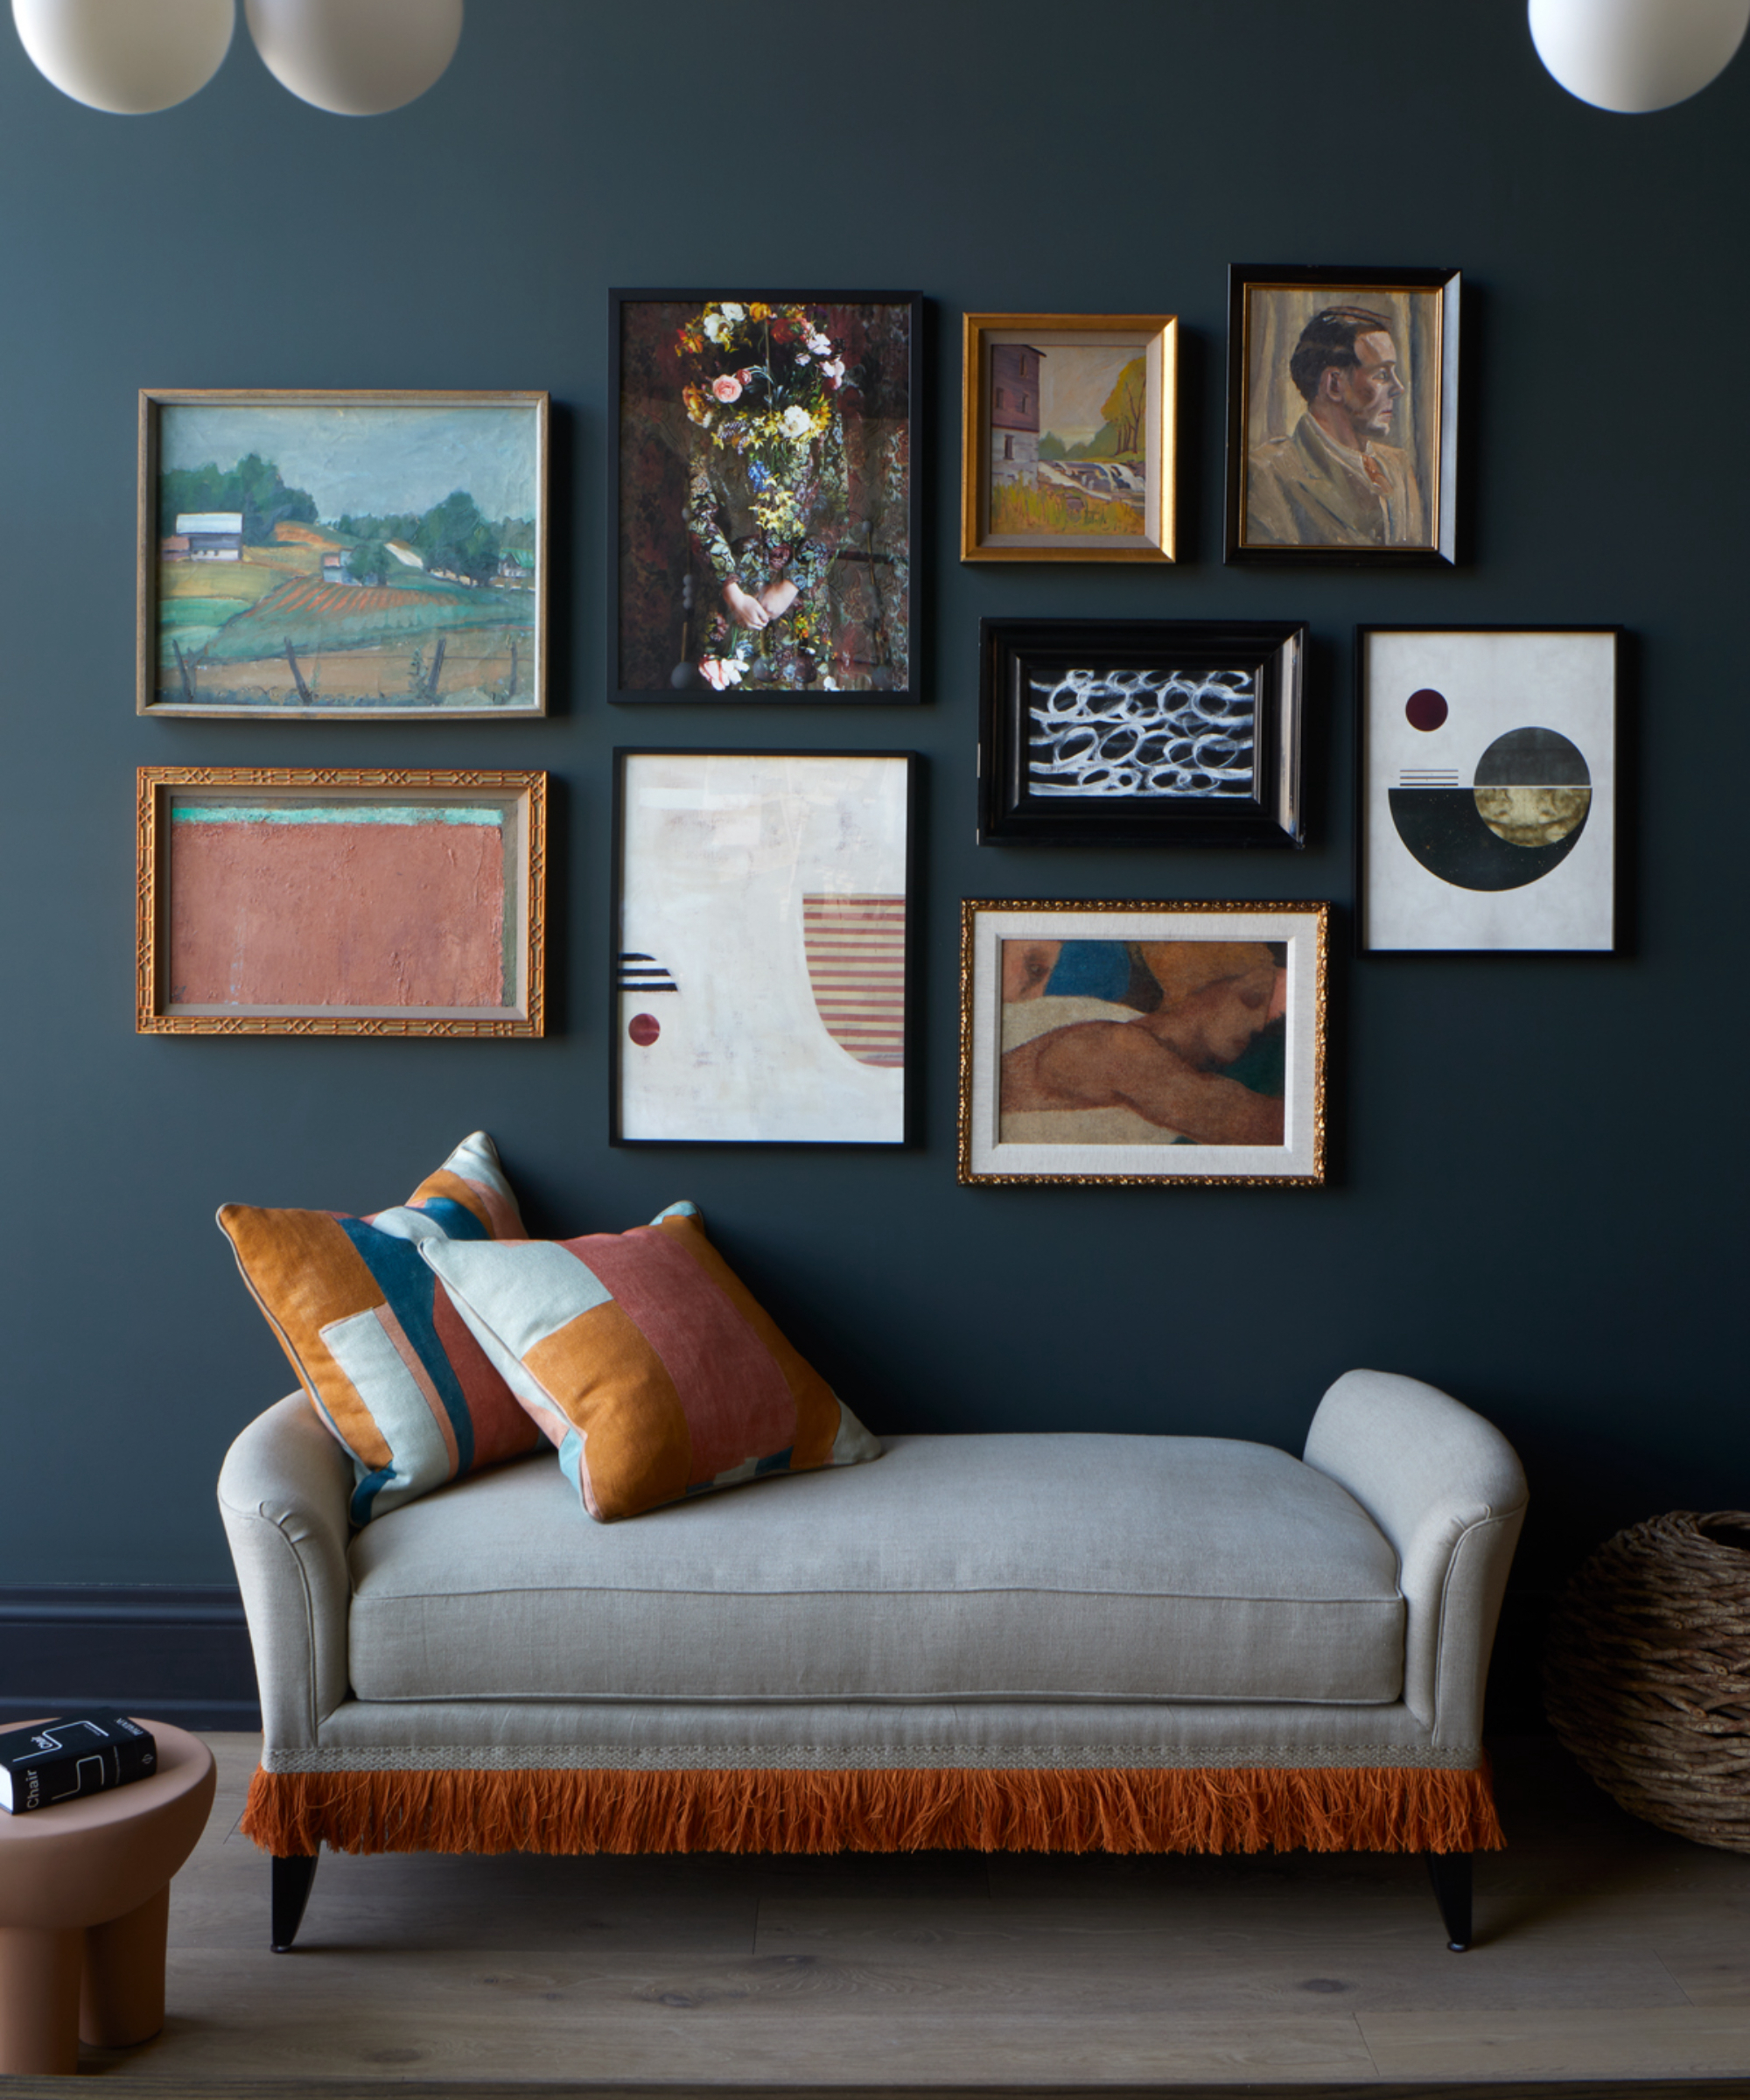
'You might find that occasionally you’ll need to adjust the placement of some frames, so keep an open mind for the arrangement style of the frames, and make adjustments as necessary,' says Ben Thomson.
'Once you’ve completed the wall, take a step back to see how the gallery looks as a whole. Adjustments in this phase might include adding an extra nail or two for artwork that need extra security,' or to ensure the overall balance and spacing look right.
FAQs
How can you light a gallery wall?
'Consider incorporating LED lights into your gallery wall for a stunning and modern touch,' recommends Jessica Wilson, designer and co-founder of InYouths LED Mirrors.
'LED strip lights discreetly placed behind or around the frames can add a subtle glow, highlighting your artwork and creating a captivating ambiance.' You can also choose spotlights or picture lights to use above the display to highlight certain features. We recommend this Graciela LED picture light, from Pottery Barn.
'Opt for warm white LEDs for a cozy feel or choose customizable RGB lights to match your mood or decor,' adds Jessica Wilson.
Make sure not to rush this process to ensure it is done carefully and you don't damage your walls or wall decor. Take breaks if necessary and step back to see how it's coming together before making final decisions.

Lola Houlton is a news writer for Homes & Gardens. She has been writing content for Future PLC for the past six years, in particular Homes & Gardens, Real Homes and GardeningEtc. She writes on a broad range of subjects, including practical household advice, recipe articles, and product reviews, working closely with experts in their fields to cover everything from heating to home organization through to house plants. Lola is a graduate, who completed her degree in Psychology at the University of Sussex. She has also spent some time working at the BBC.